


Thukydides
-
Posts
1,363 -
Joined
-
Last visited
Content Type
Profiles
Forums
Gallery
Events
Everything posted by Thukydides
-
 To be fair I have a 1794 primary sources which seems to indicate that 12pdrs and up had a double single combo for the tackle blocks. I have also identified a 1765 list which show at least 18pdr and up had the double single combo, but I don't have access to the sections of it showing the smaller calibers and so it is on my list to acquire at some point. I suspect given the similarities it has to the 1794 list that it also will show12pdrs and up had the single double combo. On the how it is secured, that was why I was wondering about the source. The resolution is not very good, but if you squint it looks like there might be something round the breeching (maybe a thimble?). I have been trying to identify a primary source depiction of the "double thimble" method of attaching the breeching to the cascabel which was prevalent from 1760s till the 1800s. That being said a number of other aspects of the image are questionable and likely it is just someone without a lot of knowledge blindly copying elements from things they have seen before. But I always like to see if I can identify the original source when I see something unusual as occasionally it has some basis in truth.
 -
Alan, what is the source of this picture?
-
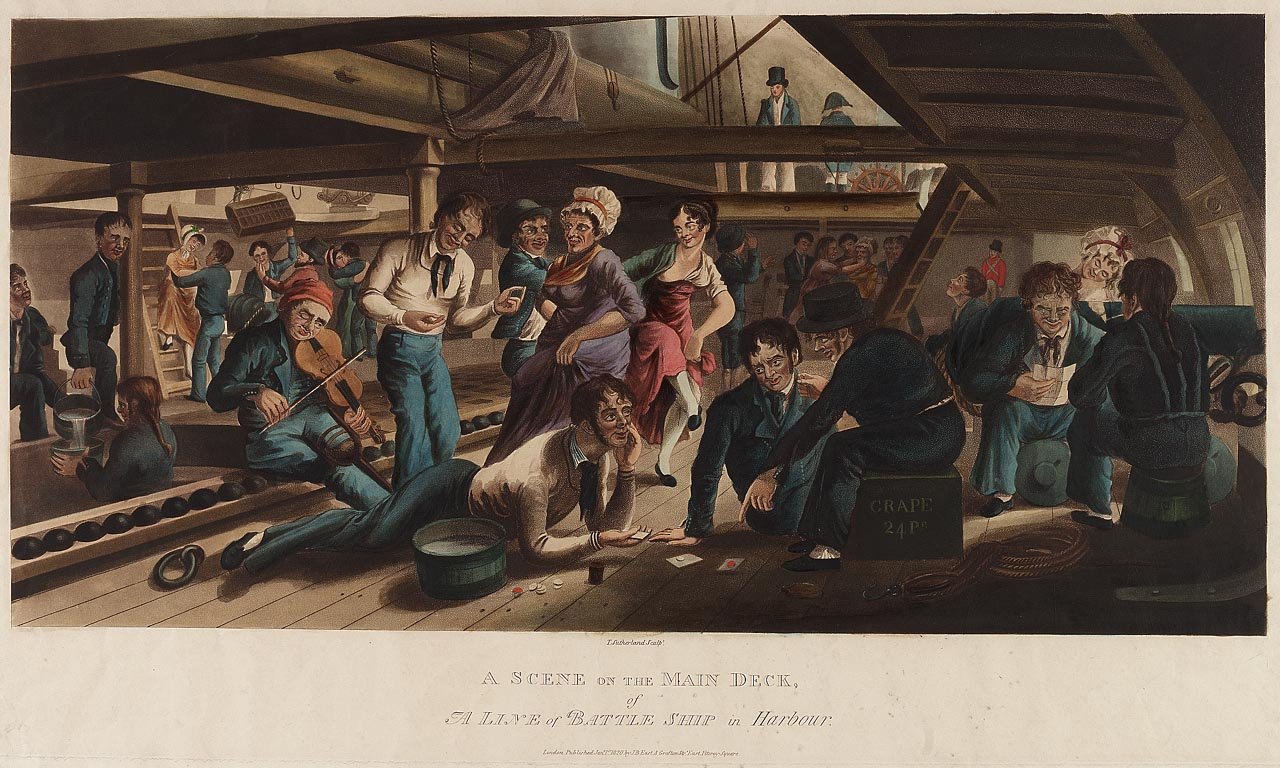
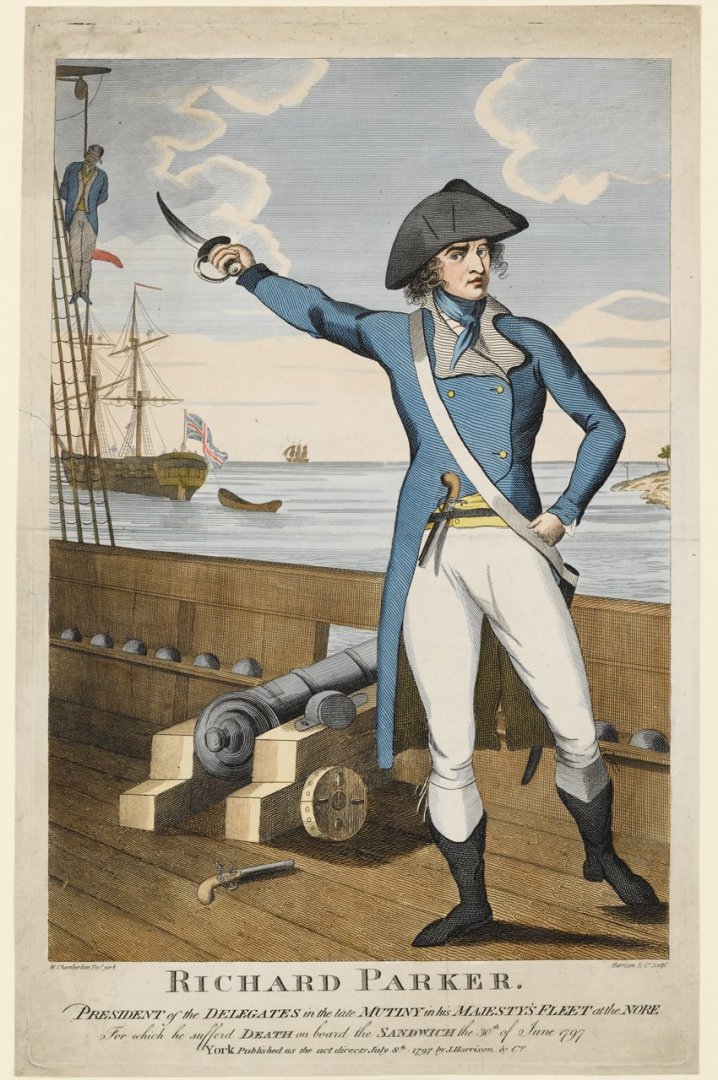
They would have been stored in shot garlands. There are lots of examples that you can find in build logs of ships all over the forums. Many of them would have been stored below deck, but some would have been kept close at had for loading. There are three basic types of shot garlands that you will find: First those on racks on the bulwarks (see the below contemporary drawing example from 1797): https://www.rmg.co.uk/collections/objects/rmgc-object-145388 Second those around the hatches. I have seen some examples of these where there appears to be a lip under them such as the below one from 1820: https://www.rmg.co.uk/collections/objects/rmgc-object-147286 Finally I have read about movable shot garlands. These could be carried around, but I have never seen any contemporary images of them. If anyone has seen any I would love to see an example.
-
Isopropyl will loosen PVA and acetone will loosen CA. Be careful as you don't want to get it on any finished parts as it may stain them. It doesn't really matter which side you choose to tapper, just pick one side and stick with it. Theoretically you could just cut the correct curved shape out of sheet stock, but using strips you need to do a combination of edge bending and tapering to get them to fit right. You should be able to just place the plank in the right place without any effort if you have done it right. I do planks individually, but do one on one side then one on the other. The reason is to make sure that the plank ends at the bow and stern are lining up with each other. You should check out the planking tutorial videos (look under modelling techniques in the top bar). Also take a look at some of the build logs for people who have done similar ships. As @vossiewulf said starting a build log is a good idea. Good luck.
-
Beautiful work as always Tom. So many cool little details which combine together to create a really impressive model. Personally my eyes are drawn to the shields. I like how the bright colours contrast with the drab wooden ship. Congrats!!!
-
USS Constitution by mtbediz - 1:76
Thukydides replied to mtbediz's topic in - Build logs for subjects built 1751 - 1800
I like the dark grey better. You could also look into dry brushing with a slightly lighter colour on the top to give a bit more contrast. Looking good. -
One thing I also found with the fly tying thread is you have to give it some extra twist as you serve it on otherwise it lies too flat. Yes magnification is the way to go when doing the smaller threads. The yard looks very nice
- 714 replies
-
- 2
-

-
- lady nelson
- victory models
- (and 1 more)
-
Painting question
Thukydides replied to jcurtis55's topic in Painting, finishing and weathering products and techniques
One further thought on this. You can actually use the fact that the grain raises to your advantage. One of the issues with making scale models look realistic is that in real life nothing is just one colour. There are minor variations which our eyes pick up on even if we don't consciously notice them. In miniature painting one of the things you are trying to do to make something look realistic is trick the eyes into thinking it is bigger than it is. I have been experimenting lately with very thin ink coats to raise the grain, sand it back and then go in with a slightly different shade, sand it back etc... This produces subtle variation on the colour which I have found to produce an interesting effect. Obviously you need very watered down coats for this to work, but it is also something you could experiment with on scrap wood. As a note I would say whatever you do try it out on some scrap first to make sure you are happy with it before you try on the model. -
Welcome to MSW.
-
Welcome to MSW
-
Welcome to MSW. I also came from the plastic modeling world and started with a cutter. I think they are good starter ships if you have some modeling experience as they allow you to work through all the many problems that come from switching from plastic to wood without overwhelming you. There are a number of cutter model kits out there you could consider, most of them on the lower end of the price scale for wooden models. Take a look at some build logs and find one that inspires you. Maybe read up on the history of the ship a bit. If you are interested in your subject you are far more likely to complete it. Good luck.
-
Painting question
Thukydides replied to jcurtis55's topic in Painting, finishing and weathering products and techniques
You certainly can do that. I personally just paint straight on the wood and then sand it smooth and then do so again and again until I have the finish I am looking for. If you do seal the wood then I would recommend using a primer before painting as it will adhere a little better. -
I am pretty sure I many cases it was canvas or potentially filled in with wood. There are lots of examples where they are painted red. So likely not hammocks. The example I saw which made me think had things attached around the other sides, not just the one you usually see the railing on.
-
I have never heard of this before though as you say it does sound plausible. I have recently been on a kick looking through contemporary marine paintings and I have vague memories of one painting I looked at having something odd about the fighting tops that stood out to me. I will try to go back through and see if I can find it again. Not really a help with this per say, but if you search 'bray album' at the RMG collections website there are a number of drawings of sailors carrying/stowing their hammocks which might be of some help is making them for your model.
-
Looking good. Uboats are a fun little builds. Are you planning on putting it in a seascape or just the sub?
-
This is one of those cases I think where you have to weigh the aesthetic considerations with historical accuracy. Too much randomness may potentially look a bit off. You might want to try gluing card paper planks on a section just to make sure you are happy with the look before committing to the wood. That being said I would say your plan sounds like a good one. If you want to make the variable widths more random you could split into more bands and/or potentially randomly adjust some of the widths so that they are say 75% of what you put on the ticks and then make another one in the band take up 25% more. What I mean by this is lets say you have a band of 4 planks and at the point you are measuring they are each 8mm if equally divided. Then you could make the first one 6mm, the second 8mm, the third 10mm, the fourth 8mm. So essentially you are still equally dividing up the band, just in a much more random way. Now obviously this is much more complicated than just using a planking fan, but it will probably get a more random look if that is what you want to achieve.
- 312 replies
-
- 2
-
-

-
- Chile
- Latin America
- (and 6 more)
-
Like many things in a build the instructions are basically showing you how to produce a reasonable model out of the box. There are many places such as this where you can make small adjustments to improve the model. Ultimately it is up to you (a model is a piece of art after all), but if you want to see an example you can look at my alert log where I detail how I did it.
- 177 replies
-
- 2
-
-
- Sherbourne
- vanguard models
- (and 3 more)
-
Nice job on the tiny served eyes. They are not easy to make look that good.
- 419 replies
-
- 1
-
-
- Victory Models
- Pegasus
- (and 2 more)
-
Those pumps look really good.
-
If all other avenues fail Masting and Rigging of English Ships of War by James Lees has the ratios. I believe there is somewhere on the forums where someone turned them into an excel sheet to calculate the sizes based on the size of your ship. However, I would recommend taking a close look at the plans from RMG as a starting point. Sometimes the mast and yard dimensions are written onto the plans. Check out the plans for all the other ships of the same class as some plans will have info others will not. You can also take a look at The Steel tables the following link has the 1781 numbers as well as the more detailed 1799 ones. https://www.goldenhind.ru/steel_en/ Good luck.
-
What colour are you planning on painting them? I have been looking through every contemporary deck painting I can find and my very unscientific survey has found approximately an equal split between yellow ocre and red ocre. In one case they even had both colours on the same ship. The gun deck ones were yellow and the forecastle chasers were red. It is always possible they were repainted in-between the two drawings, but they were dated very close together. In any case good to hear you are on the mend. Merry Christmas.
-
As you say it is somewhat subjective. The problem is that what might be a good thing for one person might be a downside for another. For example if you want to kitbash / super detail your model then in many cases all you are looking for is the main structural elements as you will end up replacing most other parts anyways. In such cases the extra costs associated with "better fittings" would be wasted on you. But I suspect that most people asking the question are doing so because they are relatively new to the hobby. Once someone has at least one major build under their belt they should know enough about what they want to answer the question themselves. If we then redefine "best" to mean good for a relative novice, we are really looking for something that allows them to complete the model out of the box without requiring additional fittings or materials. I would say this means the kit should have: Clear easy to follow instructions Laser cut materials that don't require the builder to scratch build many things Quality materials and fittings meaning that the purchase of 3rd party materials is not necessary
-
Great Job Mike. Alert is indeed a lovely model and you should be proud of her.
- 34 replies
-
- 2
-
-
- Alert
- Vanguard Models
- (and 1 more)
-
Yes it does require a bit of practice to learn to keep everything within the focal range. But as your ropes get smaller, I found it really helps with getting things right.
-
Great job, you can really see the progression as you have gotten more practice. Only thing I will mention is as your rope size changes you will also need to make sure the line you are serving with is appropriately sized (what you have looks great, I am just referring to if you serve smaller ropes). I had to go down to fly tying thread for some of my ropes (granted I was at a smaller scale than you). Yes a machine really helps. Good job on building it/ I also find that having some form of magnification is good. It allows you to more clearly see that the loops of the serving as you go particularly if you are serving smaller ropes. I just use some cheap glasses similar to these though you can use whatever ones work best for you / are easily available: https://www.amazon.ca/dp/B0D5LX2FG1/ref=sspa_dk_detail_4?pd_rd_i=B0D5LX2FG1&pd_rd_w=1XFVw&content-id=amzn1.sym.516c2169-755e-413a-a38a-68230f4ab66f&pf_rd_p=516c2169-755e-413a-a38a-68230f4ab66f&pf_rd_r=HR22QG8YS7AGKM1XNDFY&pd_rd_wg=ofXh7&pd_rd_r=75eec39e-7cea-4bea-8486-54a2f9768de1&s=kitchen&sp_csd=d2lkZ2V0TmFtZT1zcF9kZXRhaWw&th=1

