


Dave_E
-
Posts
1,280 -
Joined
-
Last visited
Content Type
Profiles
Forums
Gallery
Events
Everything posted by Dave_E
-
 Hi Alexandre, welcome aboard! 😀
 -
Can’t do better than that brother! 👍😀
-
That cockpit is really nice! I don’t know about the fighters but the Russian heavy jets have aqua blue painted panels.
-
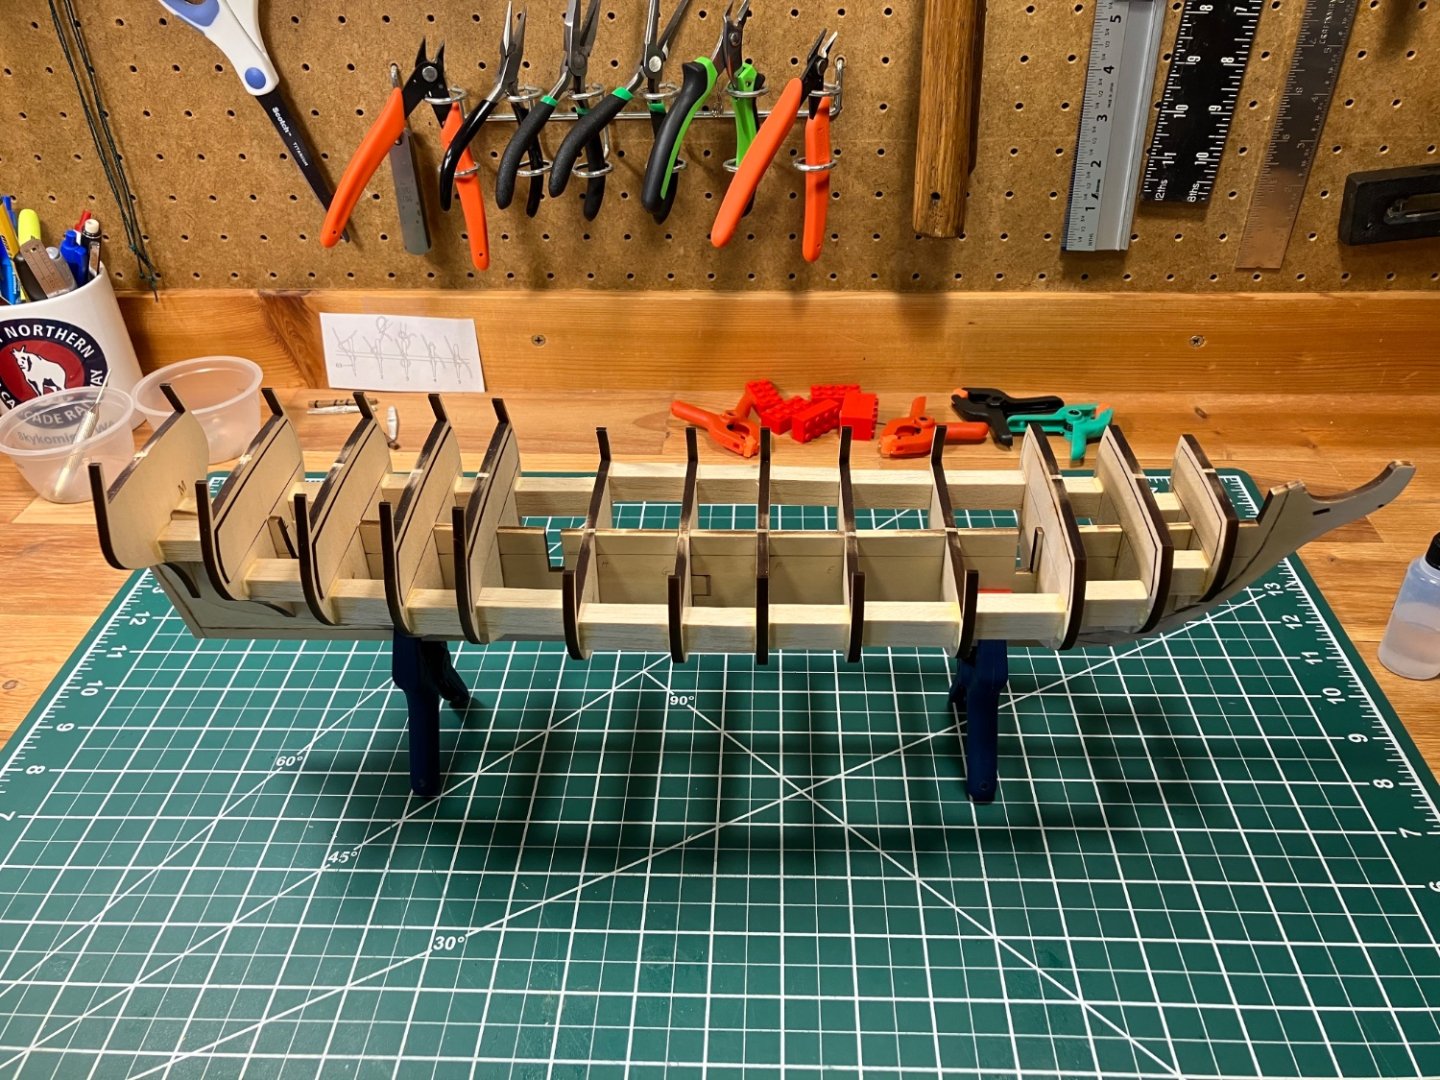
Hi All, I think I can call the skeleton complete. I have to agree with the other comments about the bulkheads being flimsy (bass wood), so I did what others have done and stiffened them up making sure the keel was straight. I’m also glad I did not precut or shape any of the bulkheads for planking. You can really tell the difference just handling it.
-
Hi Ken, how’s the build coming along?
-
Superior attitude to have before you even get the next kit for sure! On top of all the advice on what to build next… browse through the build logs, something may just jump out at you. That’s how I ended up with the Rattlesnake for my second build. What’s you name?
-
Very nice Sir, very nice! 👍
-
I’m in. 👍
-
Welcome aboard Fox. Feel free to look at my Lady Nelson build and ask all the questions you want. I did, that’s how you learn and grow in the hobby. 👍😀
-
Congratulations Sir! Outstanding! Now… what’s next? 😁
- 89 replies
-
- 1
-

-
- Enterprise
- first build
- (and 2 more)
-
I usually say something like OUTSTANDING, but this gets an additional unreal, unbelievable, stupendous or something like that. Really nice Chris! 👍😀
- 98 replies
-
- 12
-

-
Hi Jason, welcome to the forum. 👍😀
-
Thanks John, Just my .02, but I thought the same of my planking on the Lady Nelson and afterwords thought “show me a perfectly planked ship (in real life) and I’ll show you a museum piece”. After all the wooden recreational and fishing boats I’ve seen (even the Lady Washington), planking imperfection seems to be part of the game, especially over time. Your bulwarks look fine! 👍😀
-
Looking good John! How long is each plank? What are you following for the planking?
-
Hi John, welcome to the forum! 👍😀
-
I concur with Glenn. NRG notified me via email. Can’t do better than that. 👍
-
OUTSTANDING! Nothing else to say. 👍😀
-
Hi Kale, welcome! 😀

