allanyed
-
Posts
8,149 -
Joined
-
Last visited
Content Type
Profiles
Forums
Gallery
Events
Everything posted by allanyed
-
 As Marshall was there, perhaps these ships were exceptions to the norm. Then again, drawing ZAZ3919 shows what looks like 10. No matter, it is not important to most observers and your model looks great. Allan
- 857 replies
-
- 2
-

-
- Sphinx
- Vanguard Models
- (and 1 more)
-
Your model looks terrific! Hope you don't mind one question, regarding the wheel. Looking at other Sphinx builds I am guessing the wheel is from the kit, but wonder why it has twelve spokes instead of the normal 10 spokes. I looked at a number of photos of contemporary models, including sixth rates and referenced Lavery's Arming and Fitting of English Ships of War and I could not find a ship for which the wheel had twelve spokes. From Lavery, page 23, Most wheels had ten spokes, so they were fitted at an angle of 36 degrees to one another. A few smaller wheels had eight spokes. There is no mention of any wheel with twelve spokes, so I was wondering, is Lavery wrong? Thanks again for sharing your build. Allan
- 857 replies
-
- 3
-
-
- Sphinx
- Vanguard Models
- (and 1 more)
-
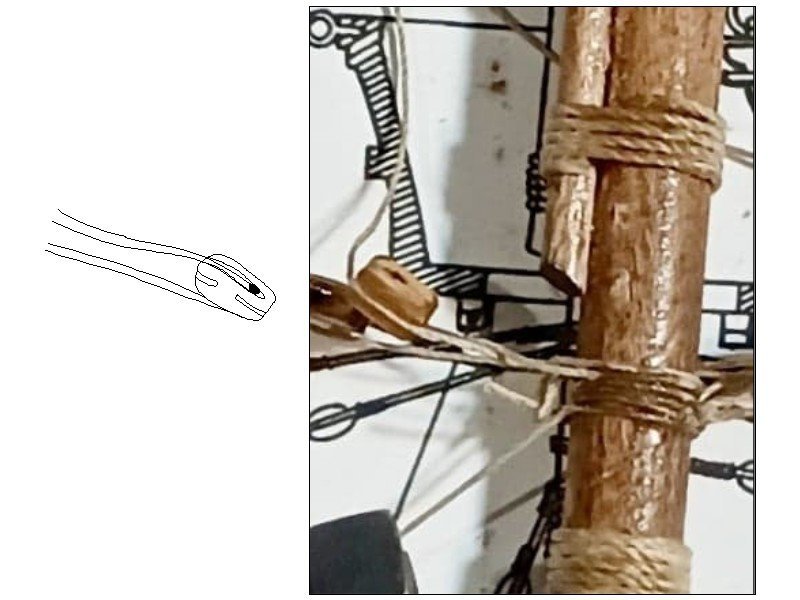
Hi Bob, Hard to tell from your photo but the one block looks to be backwards such that the line will not roll over the would be sheave. Allan
- 74 replies
-
- 2
-
-
- Santa Maria
- Amati
- (and 1 more)
-
At 1:76 the scale diameter of the treenails used on deck planking would be about 0.01" Finding a drill bit that small would be a challenge, and making consistent dots with a 0.3mm pencil lead would be a challenge. Even a #80 drill bit is 30% too large. When in doubt, leave it out. Allan
- 63 replies
-
- 2
-
-
- Dapper Tom
- Model Shipways
- (and 1 more)
-
Hi Alan, The short answer is that carronades did not always count for some time period. There were variations on the 74's from their inception to the American war, and again from the American war to the Napoleonic war so to be more specific, the date in which you are interested needs to be a bit more specific. Caruana goes into a lot detail across 7 or 8 pages as to numbers of each size gun and location for each time period, including the introduction of the Gover guns in volume 2 of The History of English Sea Ordnance. There are a lot of photos of contemporary models of 74s on the RMG site that might help. Allan
-
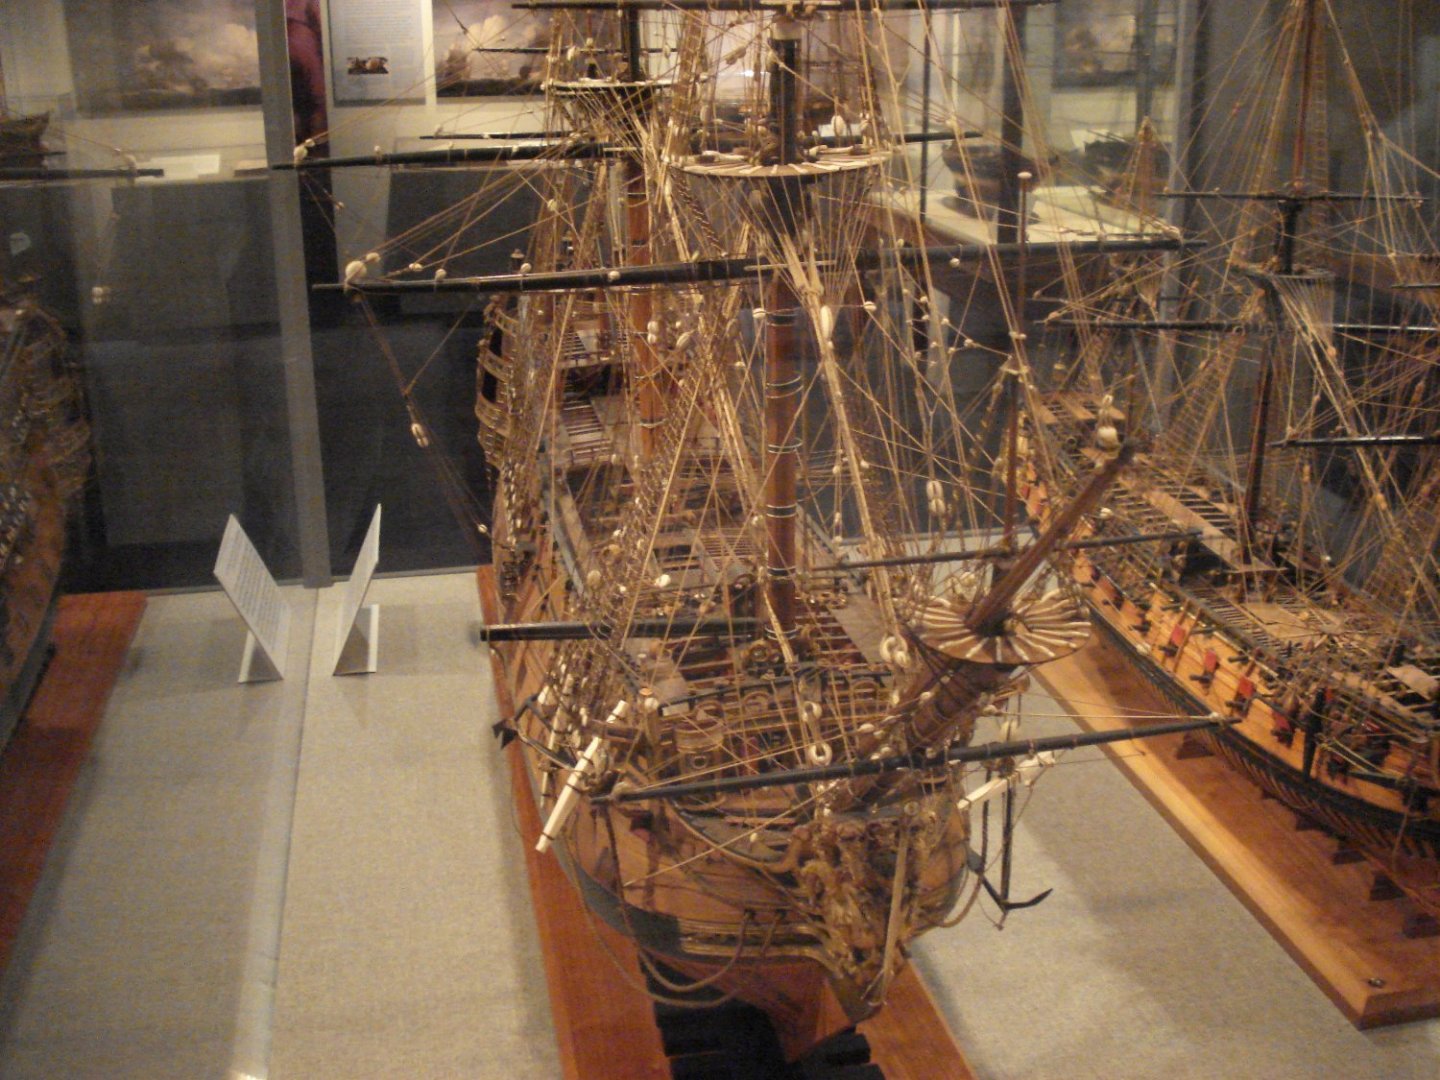
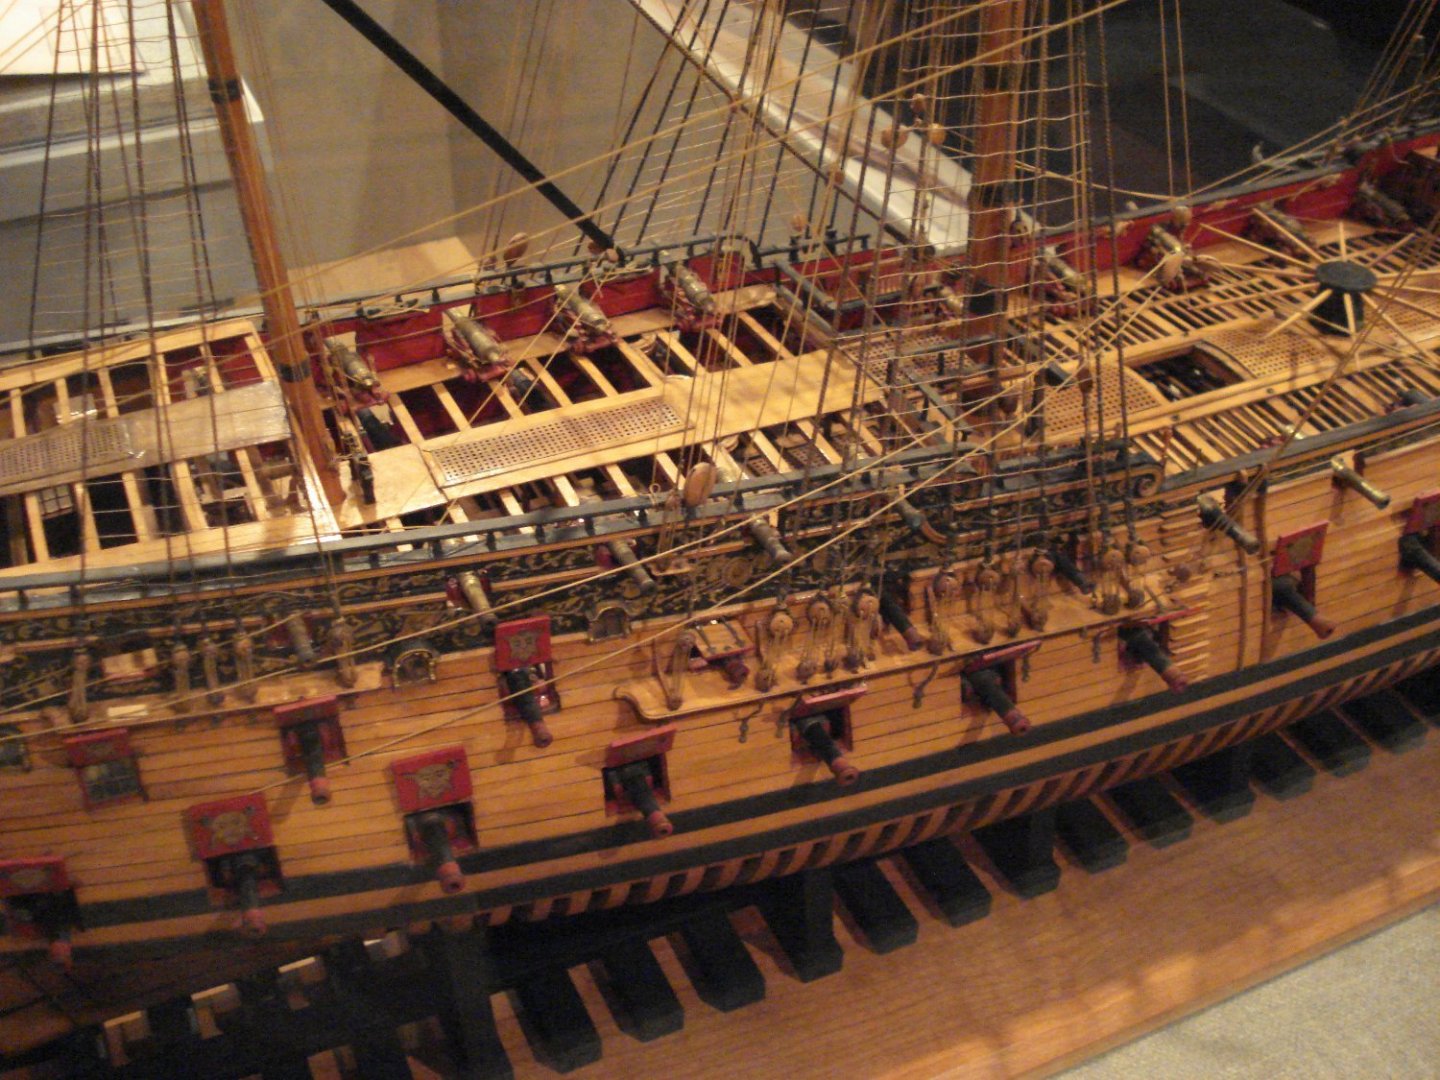
Below are two contemporary models at Preble Hall. All the running rigging is in place, but no sails. There are many examples of this at Preble and in photos of rigged models sans sails on the RMG Collections site. Take the virtual tour of Preble Hall and "walk" upstairs for more examples. usna.edu/museum/3dtour.php which Brian Falke posted yesterday. It took me a little time to get the hang of walking through doors, going upstairs, and maneuvering around each model to get views from bow, stern and sides, but well worth the effort. Allan
-
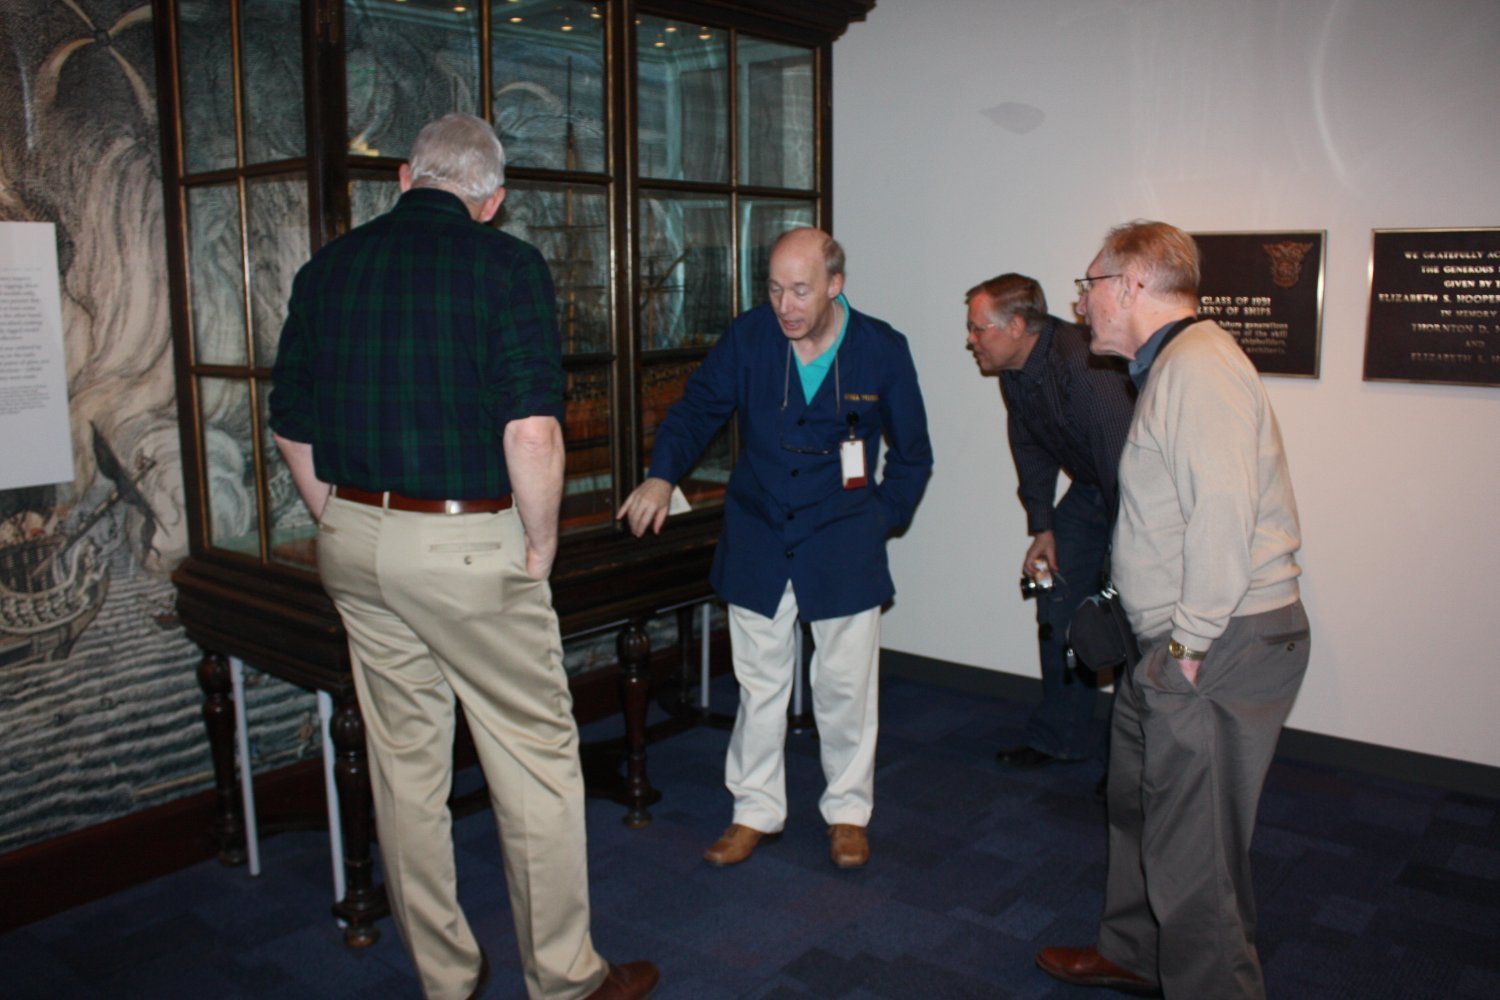
If anyone has an opportunity to visit, don't miss the chance. I was lucky to tour with Grant Walker on one of several visits (see photo I took below). Ed Tosti, Wayne Kempson and I carpooled to Preble and had a grand day. Allan

-
Thanks Brian, Probably just me, but how do you get out of the lobby and onto the other floor level where all the models are? Their idea is great but I cannot figure how to get to where the good stuff is which I think was on a different floor lever, including the wood shop where they repair, etc. Allan
-
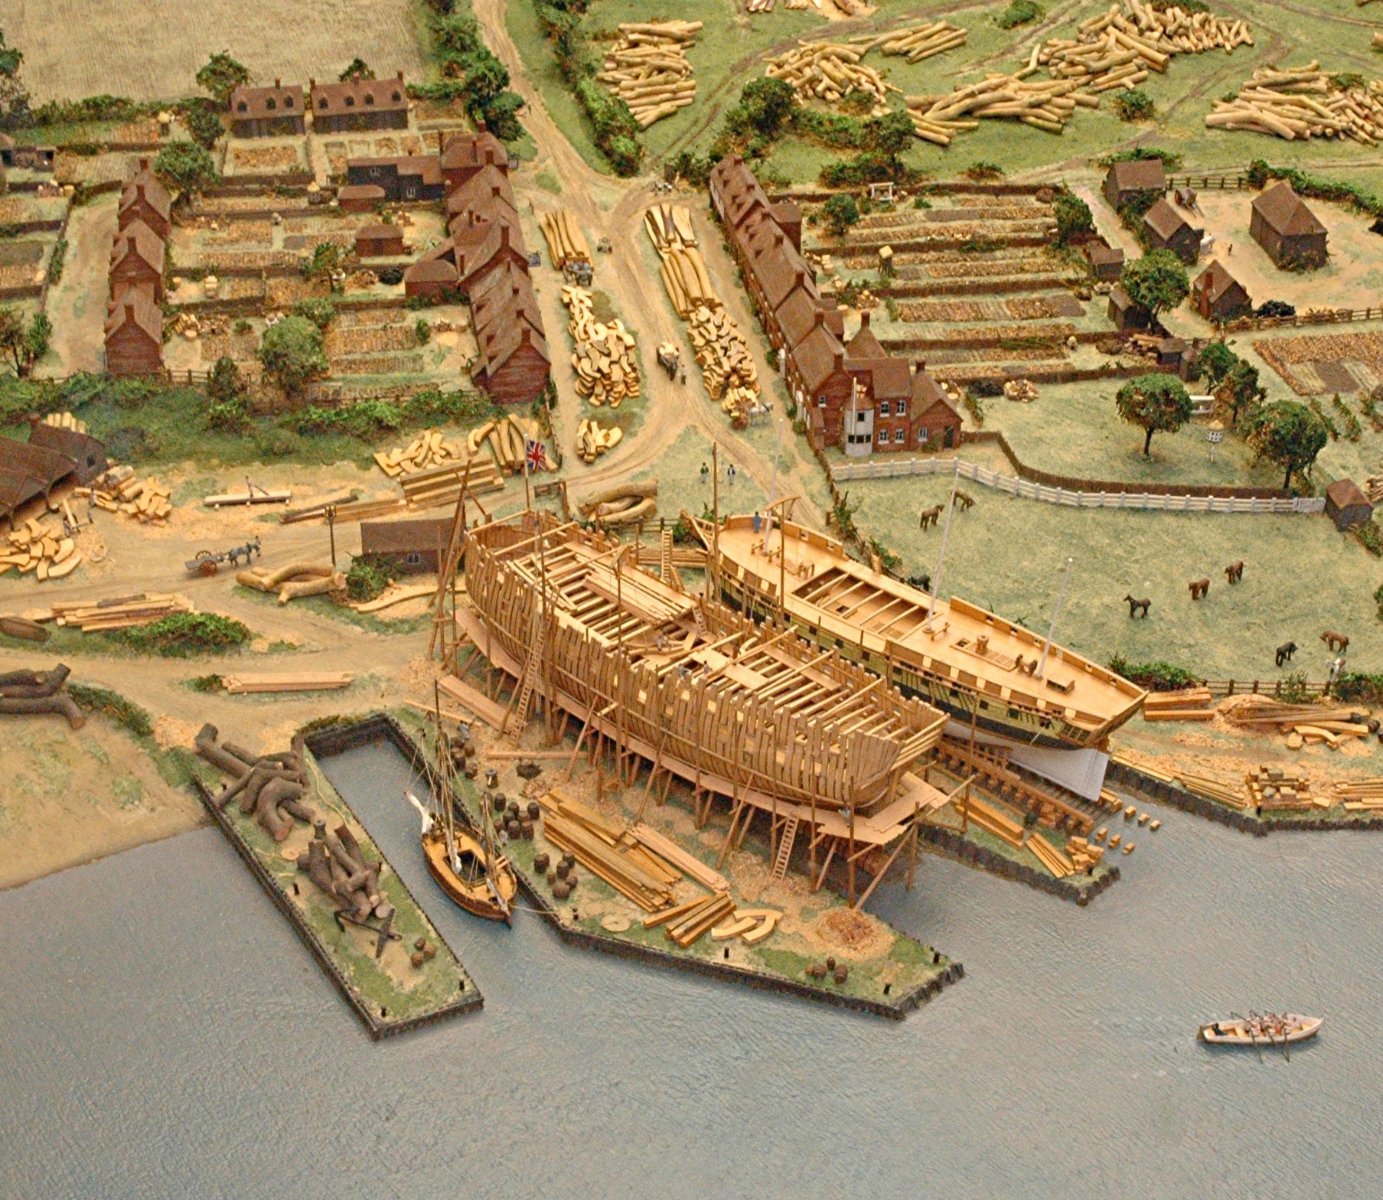
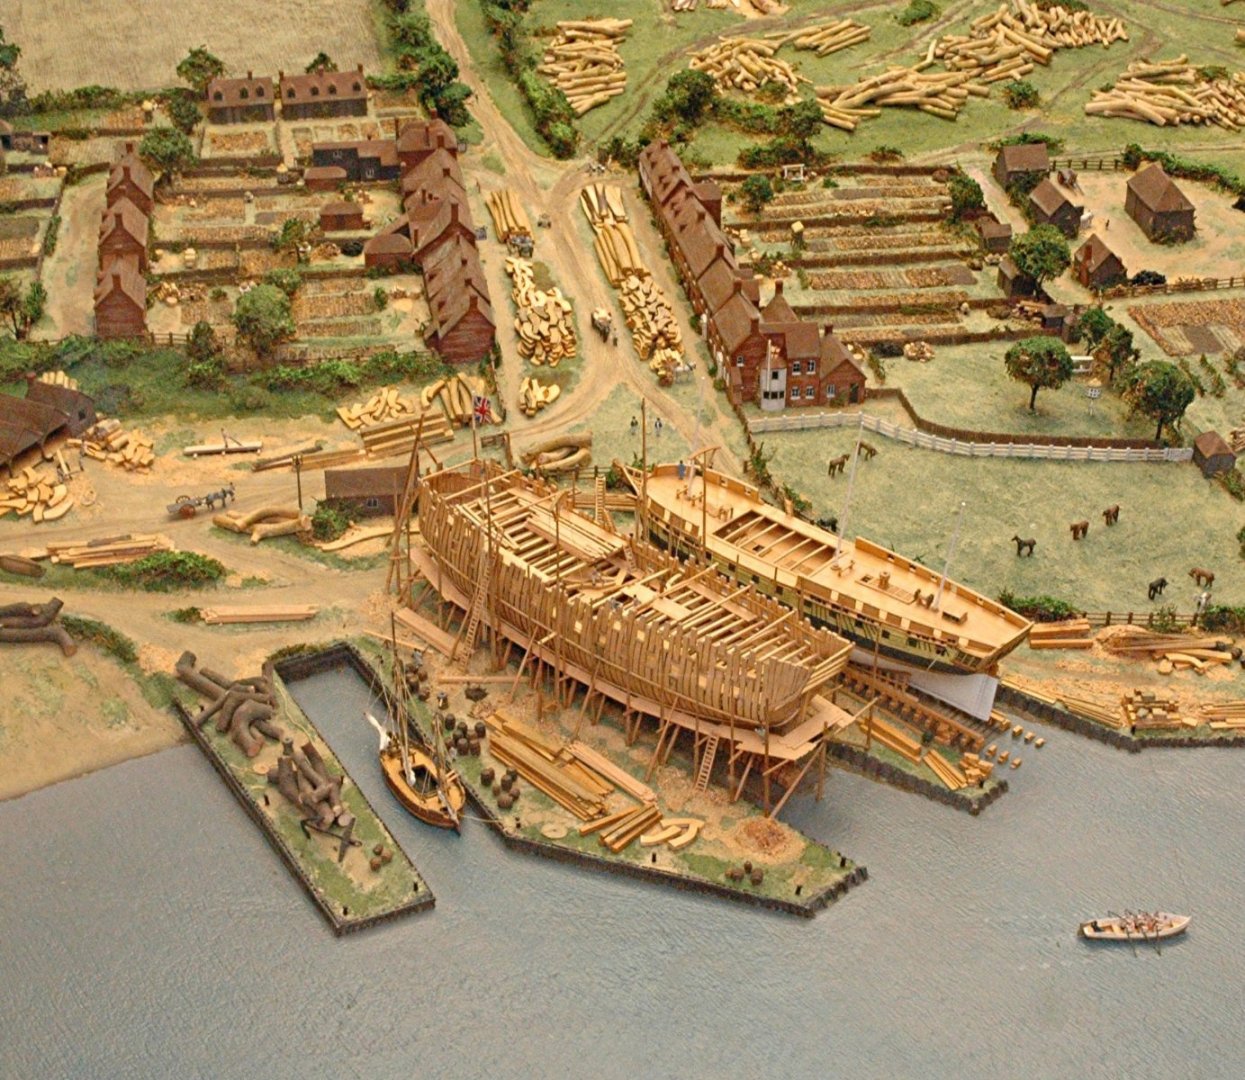
Hammer Look at some contemporary models and paintings of ships in drydock for repairs. They have no sails, often the upper masts are not in place, and sometimes the lower masts are unstepped depending on the amount and type of repairs. You could also build the hull on the building slip. There are many examples, both contemporary and modern, that you can see with a few minutes search. Don't go by the well known Underhill model from 1950 that has the ship on the building ways and fully rigged. Per RMG, that model was more of a lesson on building a model than accuracy of the the scene itself. Then again, this may be what you would like. 😀https://www.rmg.co.uk/collections/objects/rmgc-object-68469 Other ideas Ship under repair drawing: Example of a contemporary model on the ways, from Preble Hall at the academy. Old Buckler's Hard diorama located at Buckler's Hard museum
-
As mentioned above, if you decide to go with sails, silk span or similar non-woven material is a great choice as cloth is totally unrealistic if you are interested in scale accuracy. If scale is not a concern for you and you want to use cloth, try to use super high thread count (TC) cloth material. Consider investing $7 and buying the sail making booklet by David Antscherl offered by SeaWatch Books. I understand it is currently sold out but the owner Michael may be able to give you info on when a reprint will be available. There are You Tube tutorials that give similar methods using SS. Allan
-
Schooner Your methodology is spot on. Totally agree with your choice of glue as well. Marking out where to bevel the bulkheads is a great idea. Holly is a great wood for decks. It has the color of a holystoned deck and is readily available from the normal wood suppliers mentioned here at MSW. As you are starting to plank the hull, do you plan to plank as the kit instructs or have you considered realistic looking planking instead? If case you are not aware, there is a great Antscherl tutorial here at MSW and there is a four part Passaro video series on-line on proper planking. Thanks for sharing your build with us. Allan
- 36 replies
-
- 1
-
-
- Harvey
- Artesania Latina
- (and 1 more)
-
Shipwreck The Gloucester hailed most important since Mary Rose
allanyed replied to Kevin's topic in Nautical/Naval History
Thank you very much for posting the link Kevin, it is a very interesting read. Allan -
I tend to agree with these points for the most part - There is no cloth in existence that is to scale nor any sewing method for scales of 1:48 or smaller, and even 1:24 is a stretch. Non-woven materials can be used and look far better than cloth but they still block the view of much of the rigging. Like Steven mentions in his post, I have also done both, but I am of the school that in most cases sails ruin the look otherwise beautiful models. With the exception of when a client requires and pays for sails I never consider adding them. Just one opinion. Allan
-
Jobble, There very well may have been stern lights (windows) but probably not. Look at models of other brig rigged sloops on the Royal Museums Greenwich Collections website as one source of contemporary information. The points about the cannon rigging and stern lettering have been discussed a number of times here at MSW based on contemporary information and research by folks such as Adrian Caruana and others. The MSW search function is a godsend. Allan
-
Jobbie, Glad to see back, very nice work! Just as an FYI for the future, during the ten years RN ships had their names on the stern, 1780-1790, they were painted on, they never had carved letters. No names in any form were allowed before 1780 or after 1790. Also, guns smaller than 32 pounders used 2 single blocks for the running out tackle, not a single and double. Not a huge issue for the casual observer, but some builders find these kinds of details interesting. Allan
-
Nails are not needed if the planks are properly pre-shaped. Consider studying the planking tutorial by David Antscherl in the Articles data base here at MSW and watch the four videos that Chuck Passaro made on proper planking techniques. Allan
-
From Lees' Masting and Rigging English Ships of War, page 44, "Ratlines were spaced 13 to 15 inches apart...'' (32.5cm-37.5cm) Allan
-
No surprise there. After studying the tutorials you will see that this is totally unnecessary. Sanding and otherwise fairing the hull is difficult at best with hundreds of nails with which you have to contend. Allan
-
Glad to hear MS provides pins that are closer to scale. If the pins are brass, light brown paint could do the trick. At this small scale, brass pins really are better than wood as they are strong enough to which a line can be belayed tightly. Beats using bowling pins😀 Nice ship's boats! Allan
-
Please do take Steven's advice above and thoroughly study the planking tutorial by David Antscherl (https://thenrg.org/resource/articles) in the Article data base and Chuck Passaro's 4 part videos on proper planking techniques so at least the second layer looks good. There is no need to use metal pins, especially on the second layer. Is there a reason you used pins? Good luck! Allan
-
Brush hair treenails, interesting idea! Just don't use HER brush as she might notice thousands of missing bristles. Two diameters will usually suffice for most builders, the 3/4" or so for the deck and the 1 1/2" to 2" for the ceiling and outer hull planking, depending on the ship, era, etc. Allan
-
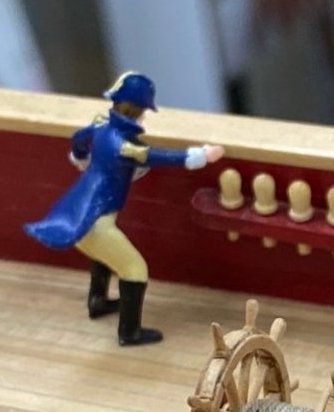
Your build has been fun to follow and I really like the idea of using the laser for aligning the masts! This has nothing to do with your work, but rather a habitual problem with most kit designers, i.e. the belaying pins. Your figure in the below photo looks to be right at scale. How on earth does the kit designer expect a seaman to get his hand around these gigantic pins? Again, I realize you did not make the pins, it is just frustrating to see this problem so often with most, not all, kits. A little home work on the kit maker's part would go a long way, or at least let the builder know they have an option to make or buy their own that are to scale. Allan
- 370 replies
-
- 1
-
-
- Model Shipways
- Confederacy
- (and 1 more)
-
Whitebeard, did you research the Miss Sherri (aka Jenny of Forrest Gump fame)? I believe it was built by Desco Marine in St. Augustine. Not sure if they are still in business but they were a few years ago. I found an old address for them but no phone number or website so they may be defunct. They may have the plans or similar ones as they built about 800 trawlers, and Miss Sherri may be one of them. The Islander Yacht and old Californian Yacht boat yards gave me sets scaled prints back in the day once I explained it was for a model and not for reproduction of a real boat, &c. &c. This could be a good route to take for your Jenny, even if it is from some other trawler shipyard if Desco is closed. The Maritime Reporter and Engineering News may be able to steer you as well. I list of the boats built by Desco, last updated February 2021, is at http://shipbuildinghistory.com/shipyards/small/desco1.htm Allan
-
Love your castings, well done and very neat work overall! The barrels look super, but I am not sure about the long gun rigging, is this something the kit shows? Just as an FYI for the future, deck treenails were typically 0.75" diameter, maybe as much as an inch. At 1:60 they would be about 0.013 which are barely visible and difficult to make, even with bamboo and a high quality draw plate like from Jim Byrnes ($25). If you look at photos of contemporary models, most do not show the trennals on the deck at this scale or even larger scales. When in doubt, leave them out 😀to avoid that measles look. Allan
-
For beginners, the three boat series by Antscherl cannot be beat, it teaches a LOT. For your next projects, offerings from Syren and Vanguard seem to be the best way to go based on reviews and build logs here at MSW. There are surely others that are OK. Study up on all the comments you can find at MSW and look at the build logs to see which brands are high quality and which are not. There is always going over to the dark side and scratch building😀 Allan