


Azzoun
-
Posts
288 -
Joined
-
Last visited
Content Type
Profiles
Forums
Gallery
Events
Posts posted by Azzoun
-
-
Would it be possible to advise what you paid for the kit? Tia!
- lmagna and Old Collingwood
-
 2
2
-
I've really been happy with purchases with BNAModelWorld.com.
MK1 Design - 1/200 IJN Battleship Mikasa Value Pack Detail Set with Wooden Deck (bnamodelworld.com)
Joshua
- Ryland Craze, Canute, mtaylor and 1 other
-
4
-
3 hours ago, nehemiah said:
Thanks for all the comments and thoughts. Just ordered the schooner Polotsk. I'll start a build log when I get going.
I'll check on the Philly Ship Modeling Club too. I love the Independence Seaport Museum and spent about 25 minutes watching someone work on a ship model last time I was there.
PSMS runs that exhibit
")
- Keith Black, mtaylor, Ryland Craze and 1 other
-
4
-
Nehemiah,
Welcome to MSW. Might I offer that you consider visiting and potentially joining the Philadelphia Ship Model Society. Currently we are meeting virtually via zoom. We'd enjoy the opportunity to connect with you, offer assistance if you have any questions, and having you show off your accomplishments. We're also hosting a ModelCon at the Battleship NJ on 8/7 and we are welcoming models complete or in process. Details are at philadelphiashipmodelsociety.com. Best of luck on your builds!
Joshua
-
1 - Revell Constitution that passed away from my ex-wife waving a towel at the smoke detector. 1/2 way through the model, I discovered wood model kits and loved the idea of working with material similar to the real thing. Forced my way to finishing the constitution, been building wood ever since. However, I do have a few steel hull kits, working on the 1/350 Mogami.
-
-
1 hour ago, Valeriy V said:
Azzun, thanks for the feedback.
If you start writing books, you will have to give up building models, which is impossible for me. Therefore, instead of a book for sale, I can offer to build an interesting model to order, for sale.")
fair enough!
-
Inspirational work - you could write a book on model building. I'd buy it!
- popeye the sailor, mtaylor, mikegr and 3 others
-
6
-
Vince, I just found this log because I recently acquired a stash of kits that contained this kit, def. a diamond among the rough and it's intact! She's an impressive build! Keep up the good work! I've got too many started to kick in it with you as much as I'd love to! I was just checking out the figurehead, such amazing detail!
Joshua
-
-
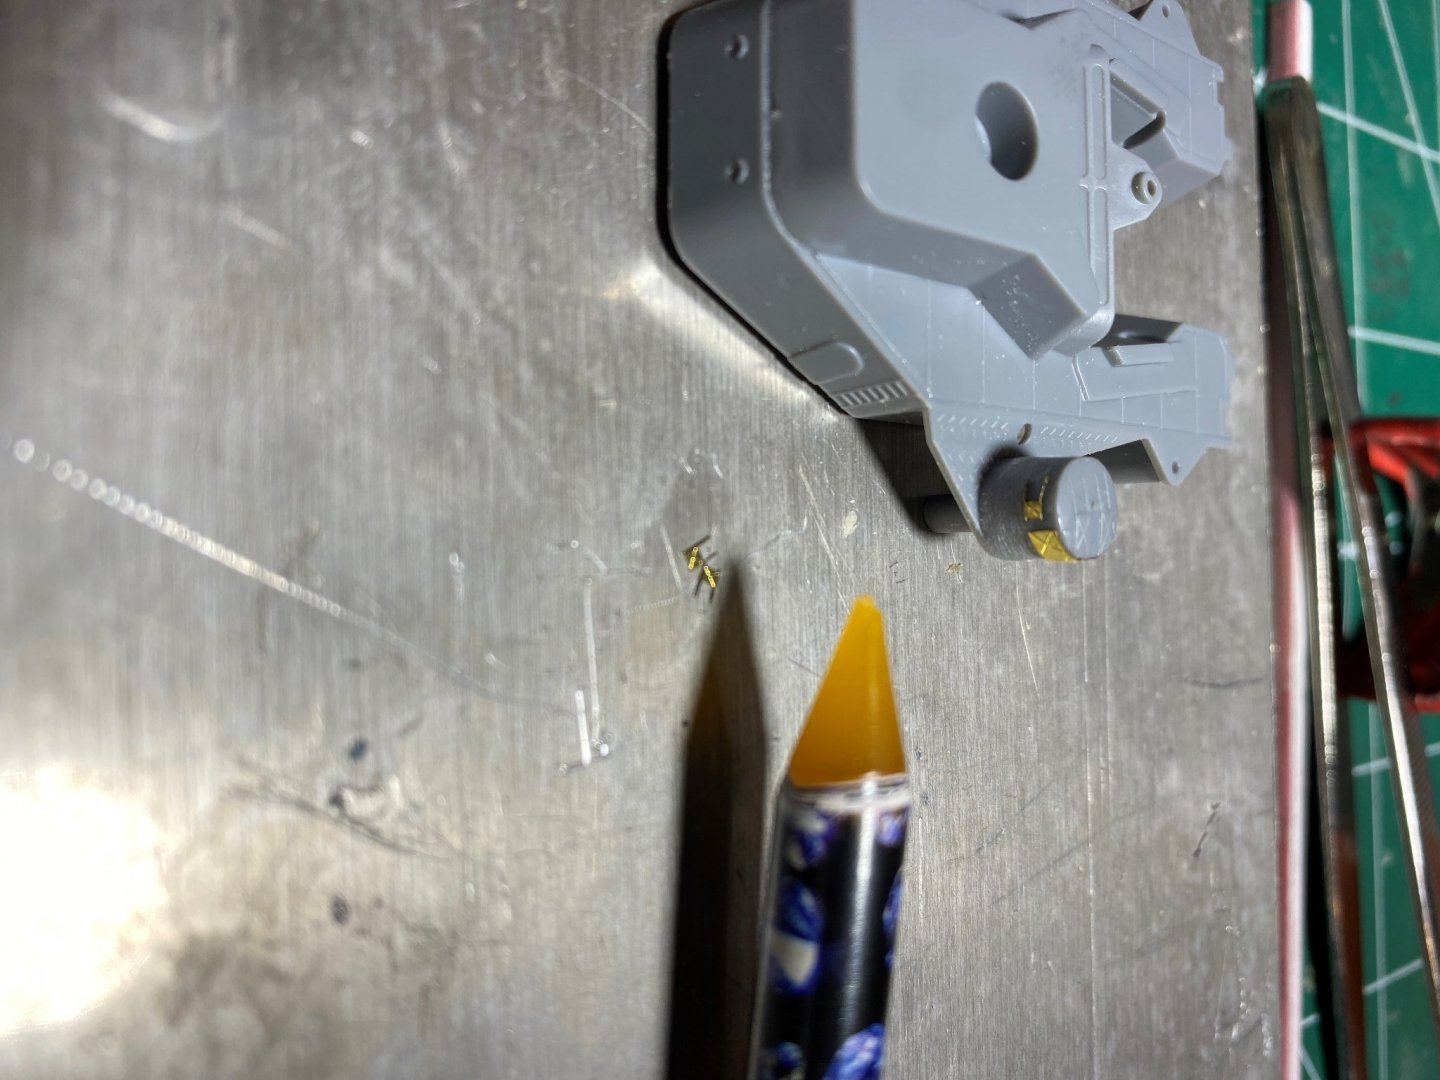
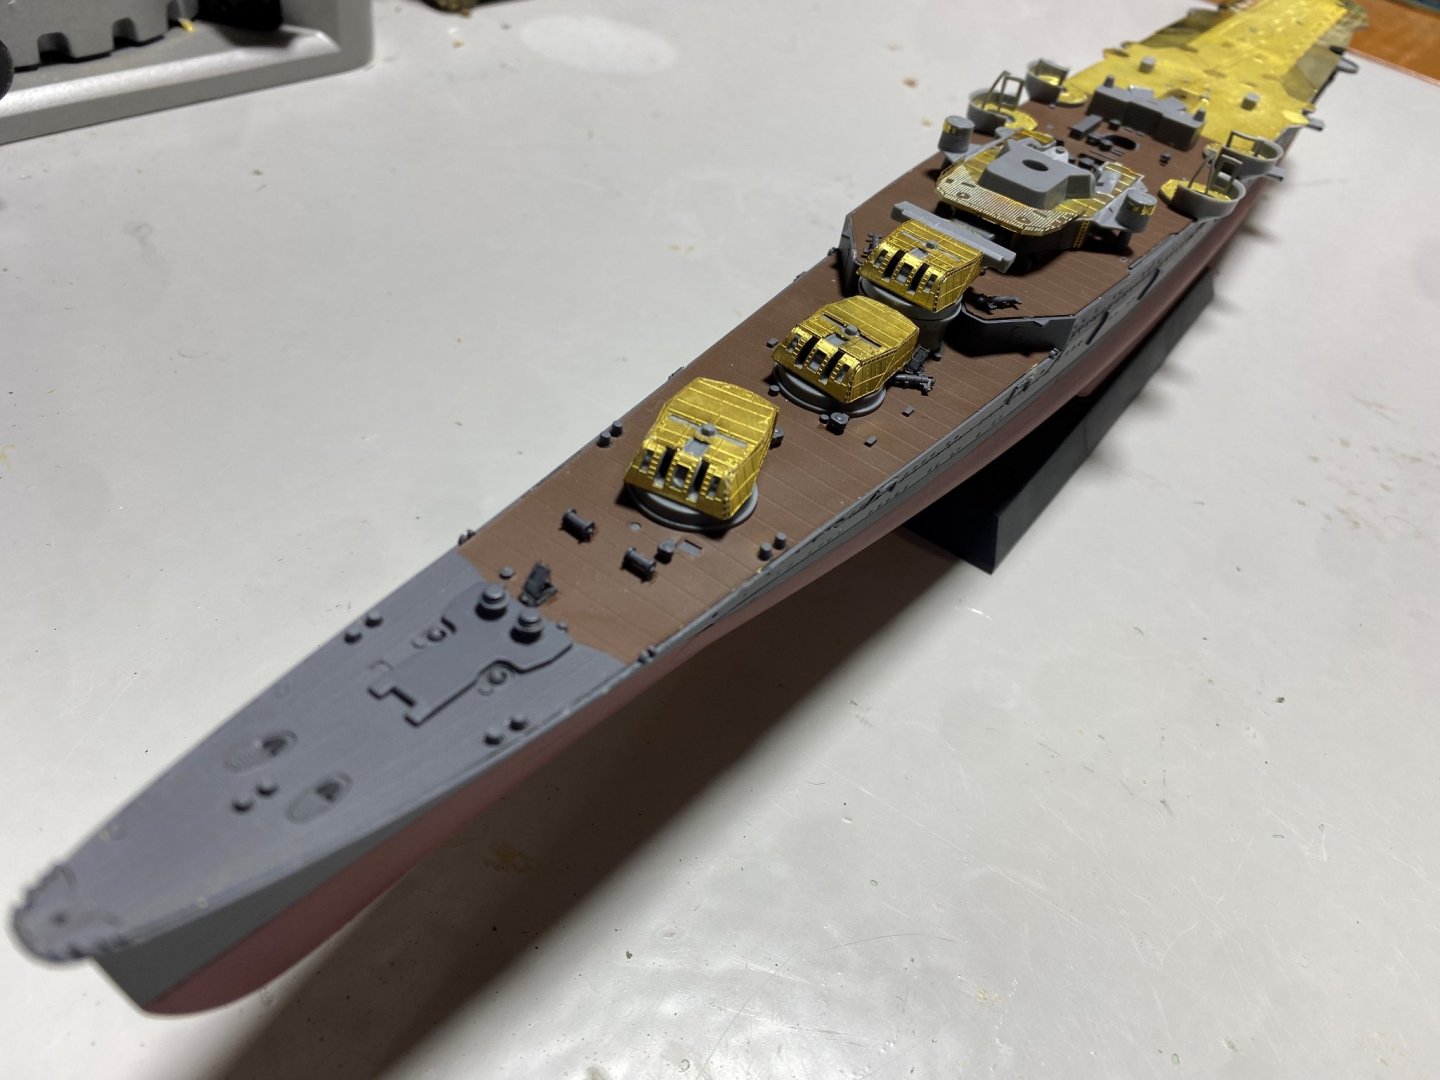
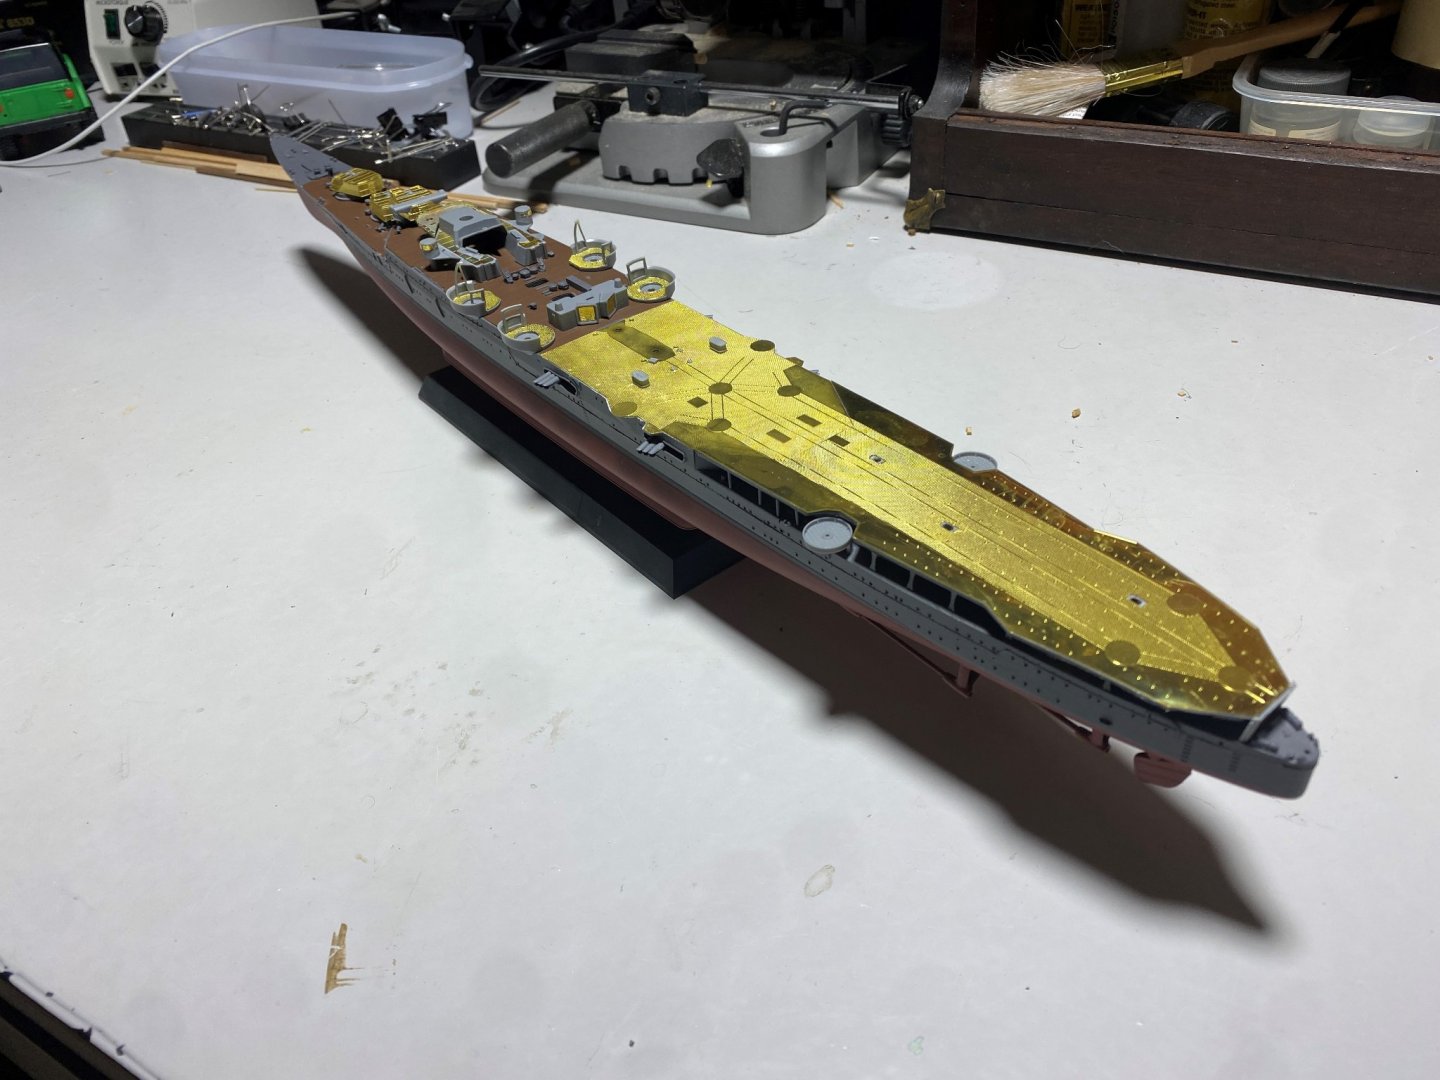
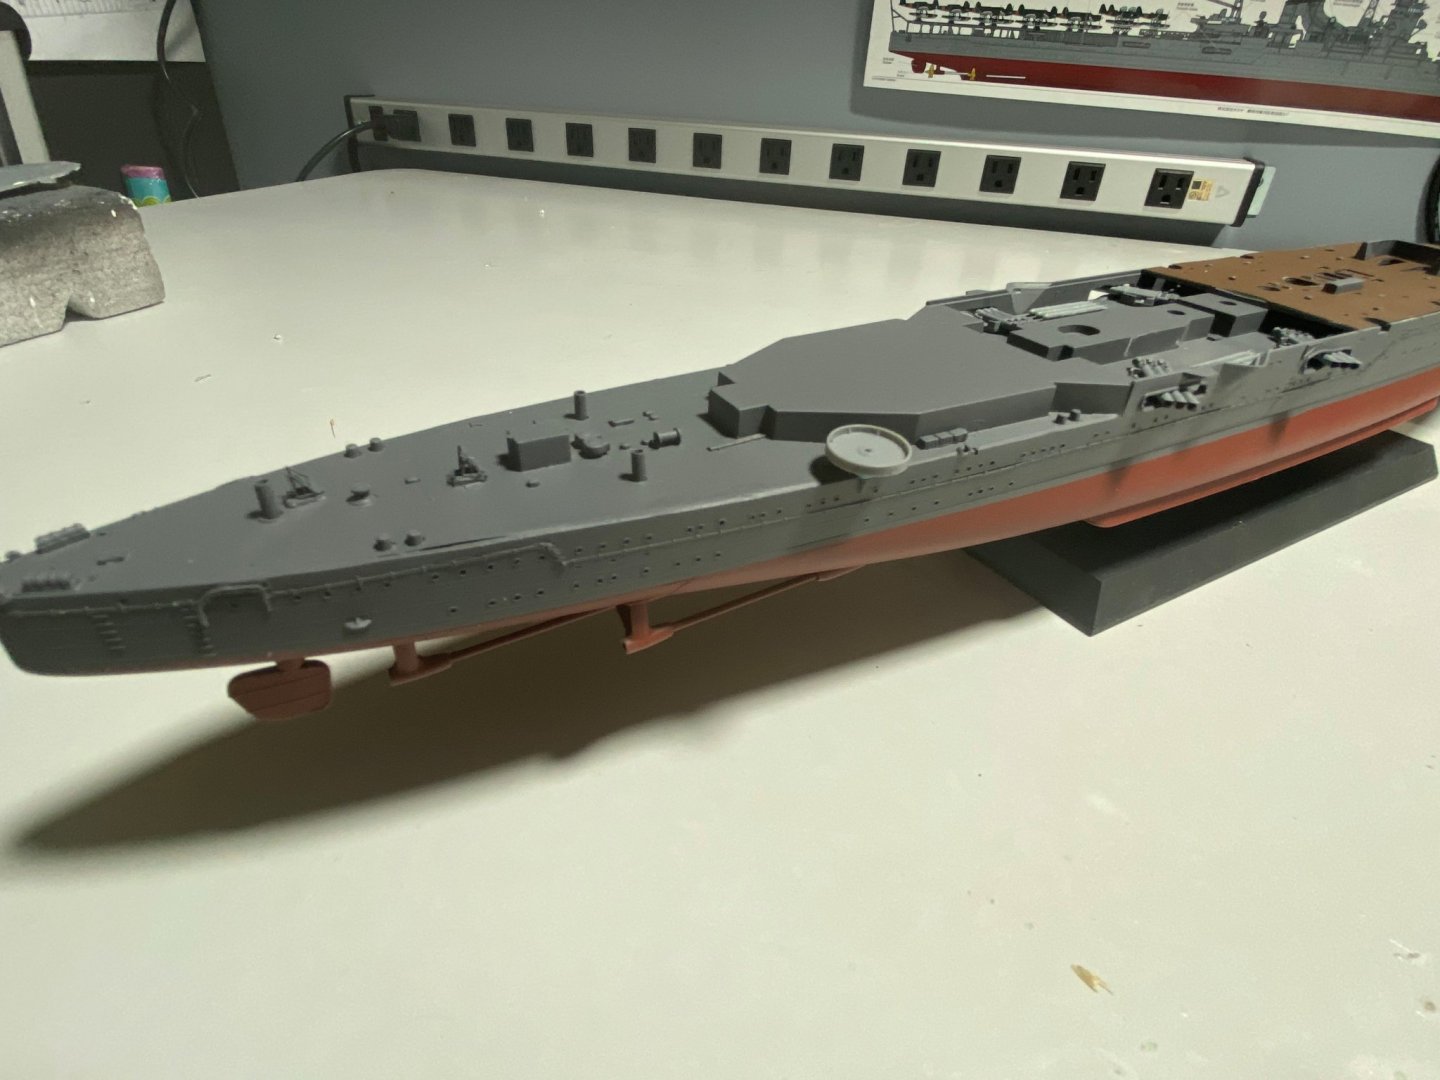
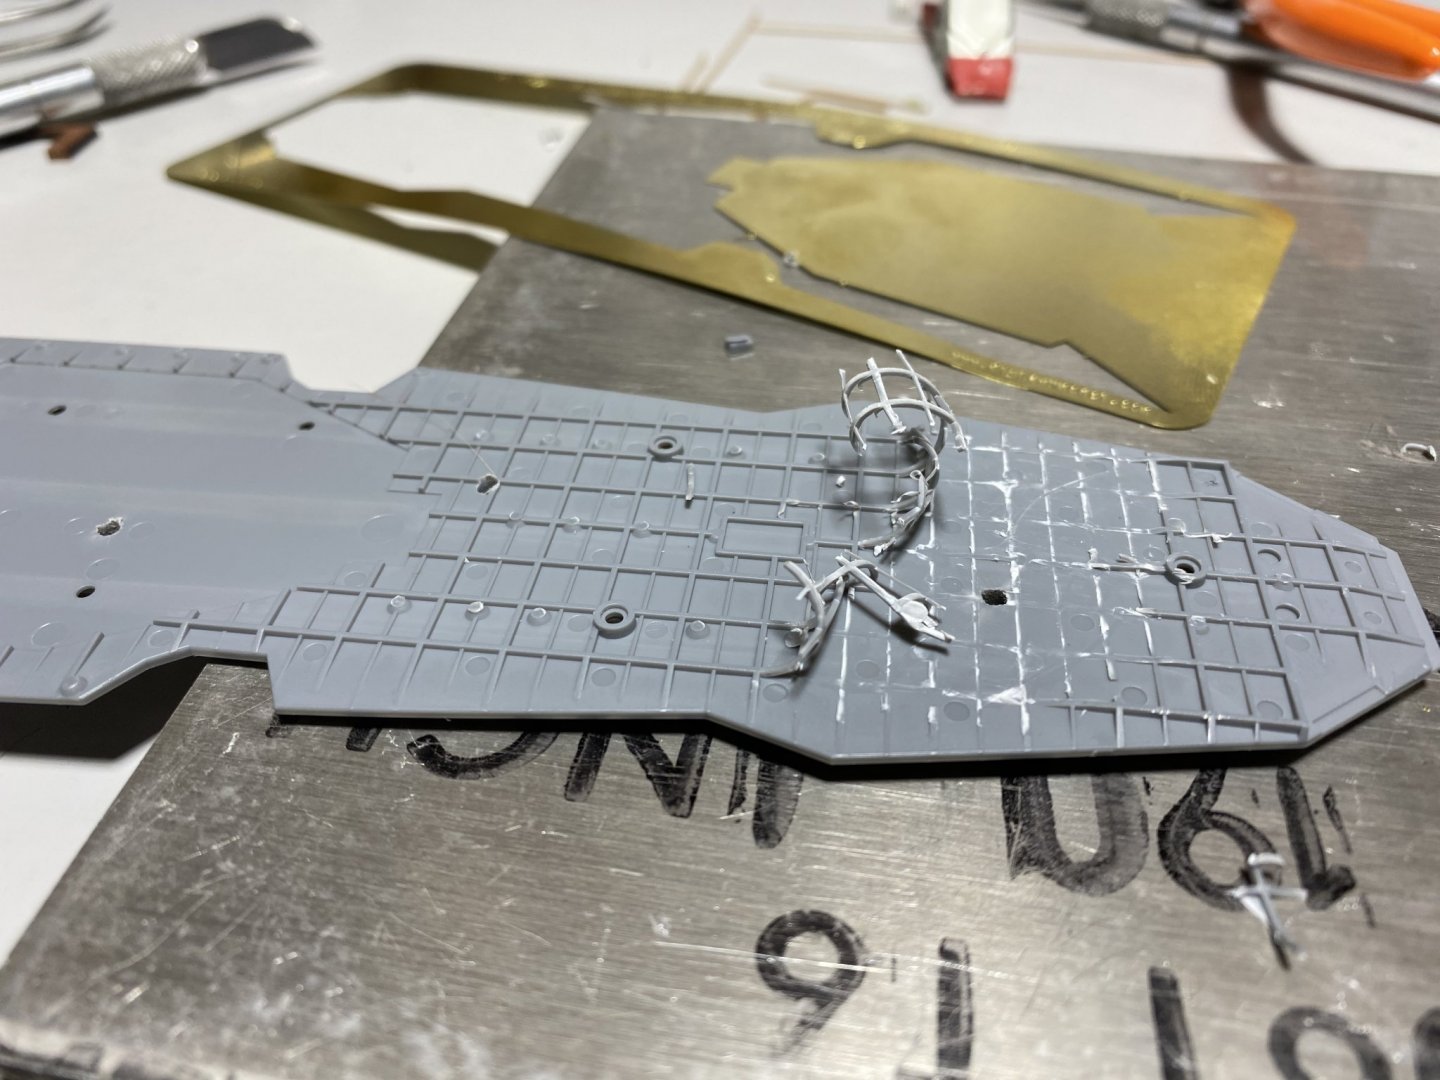
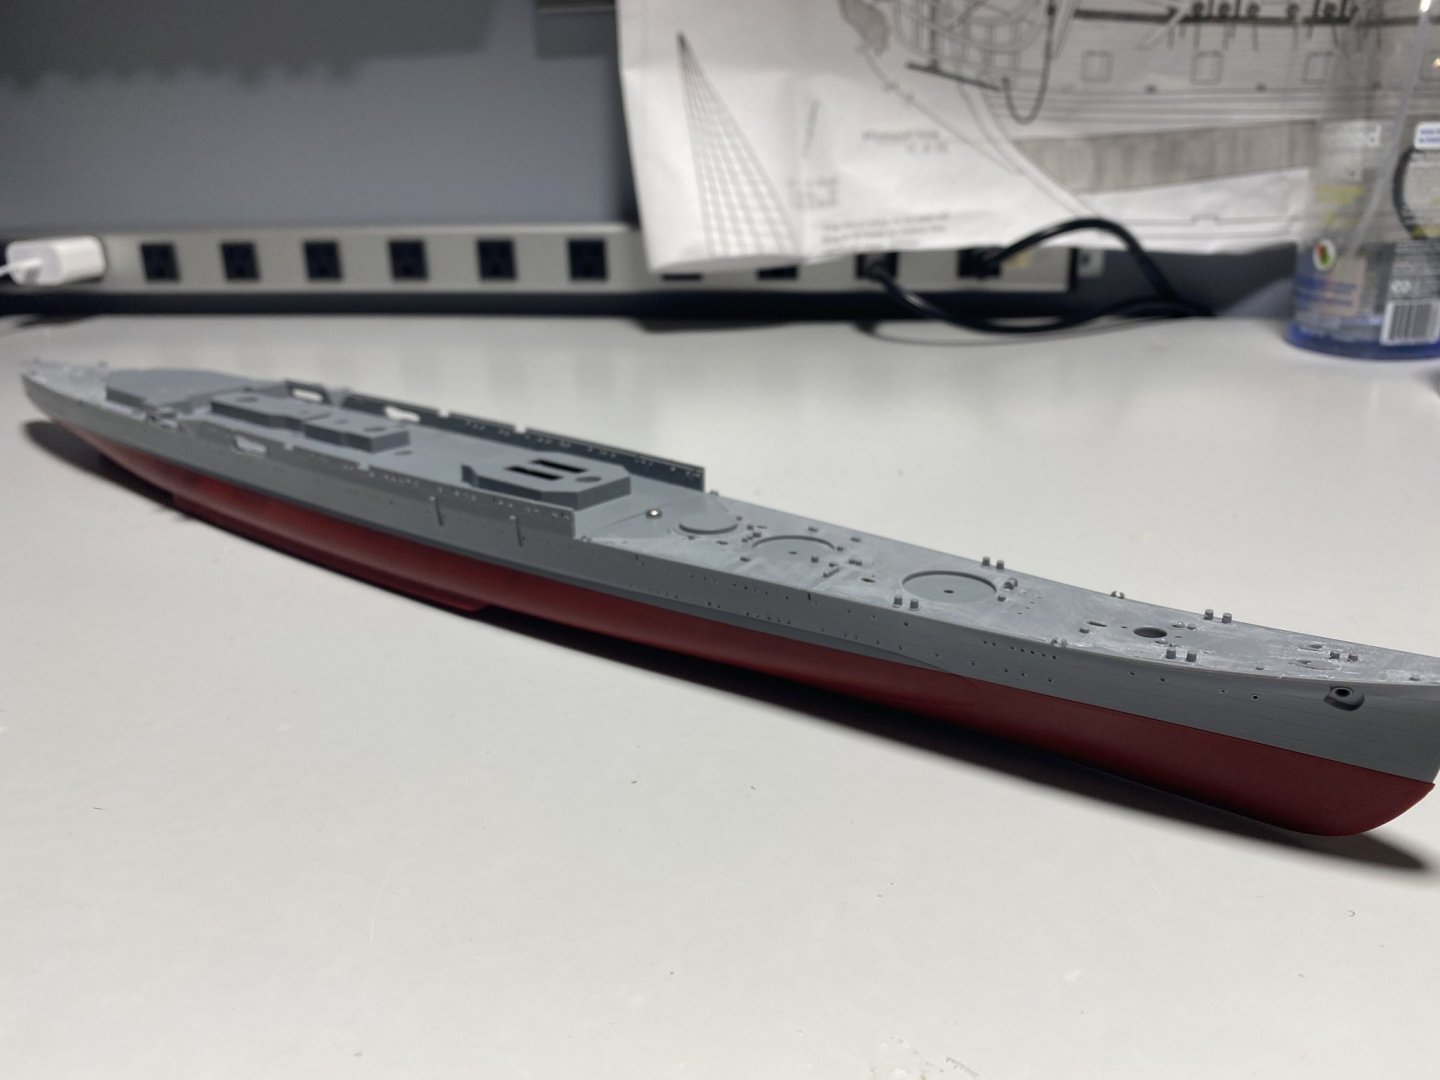
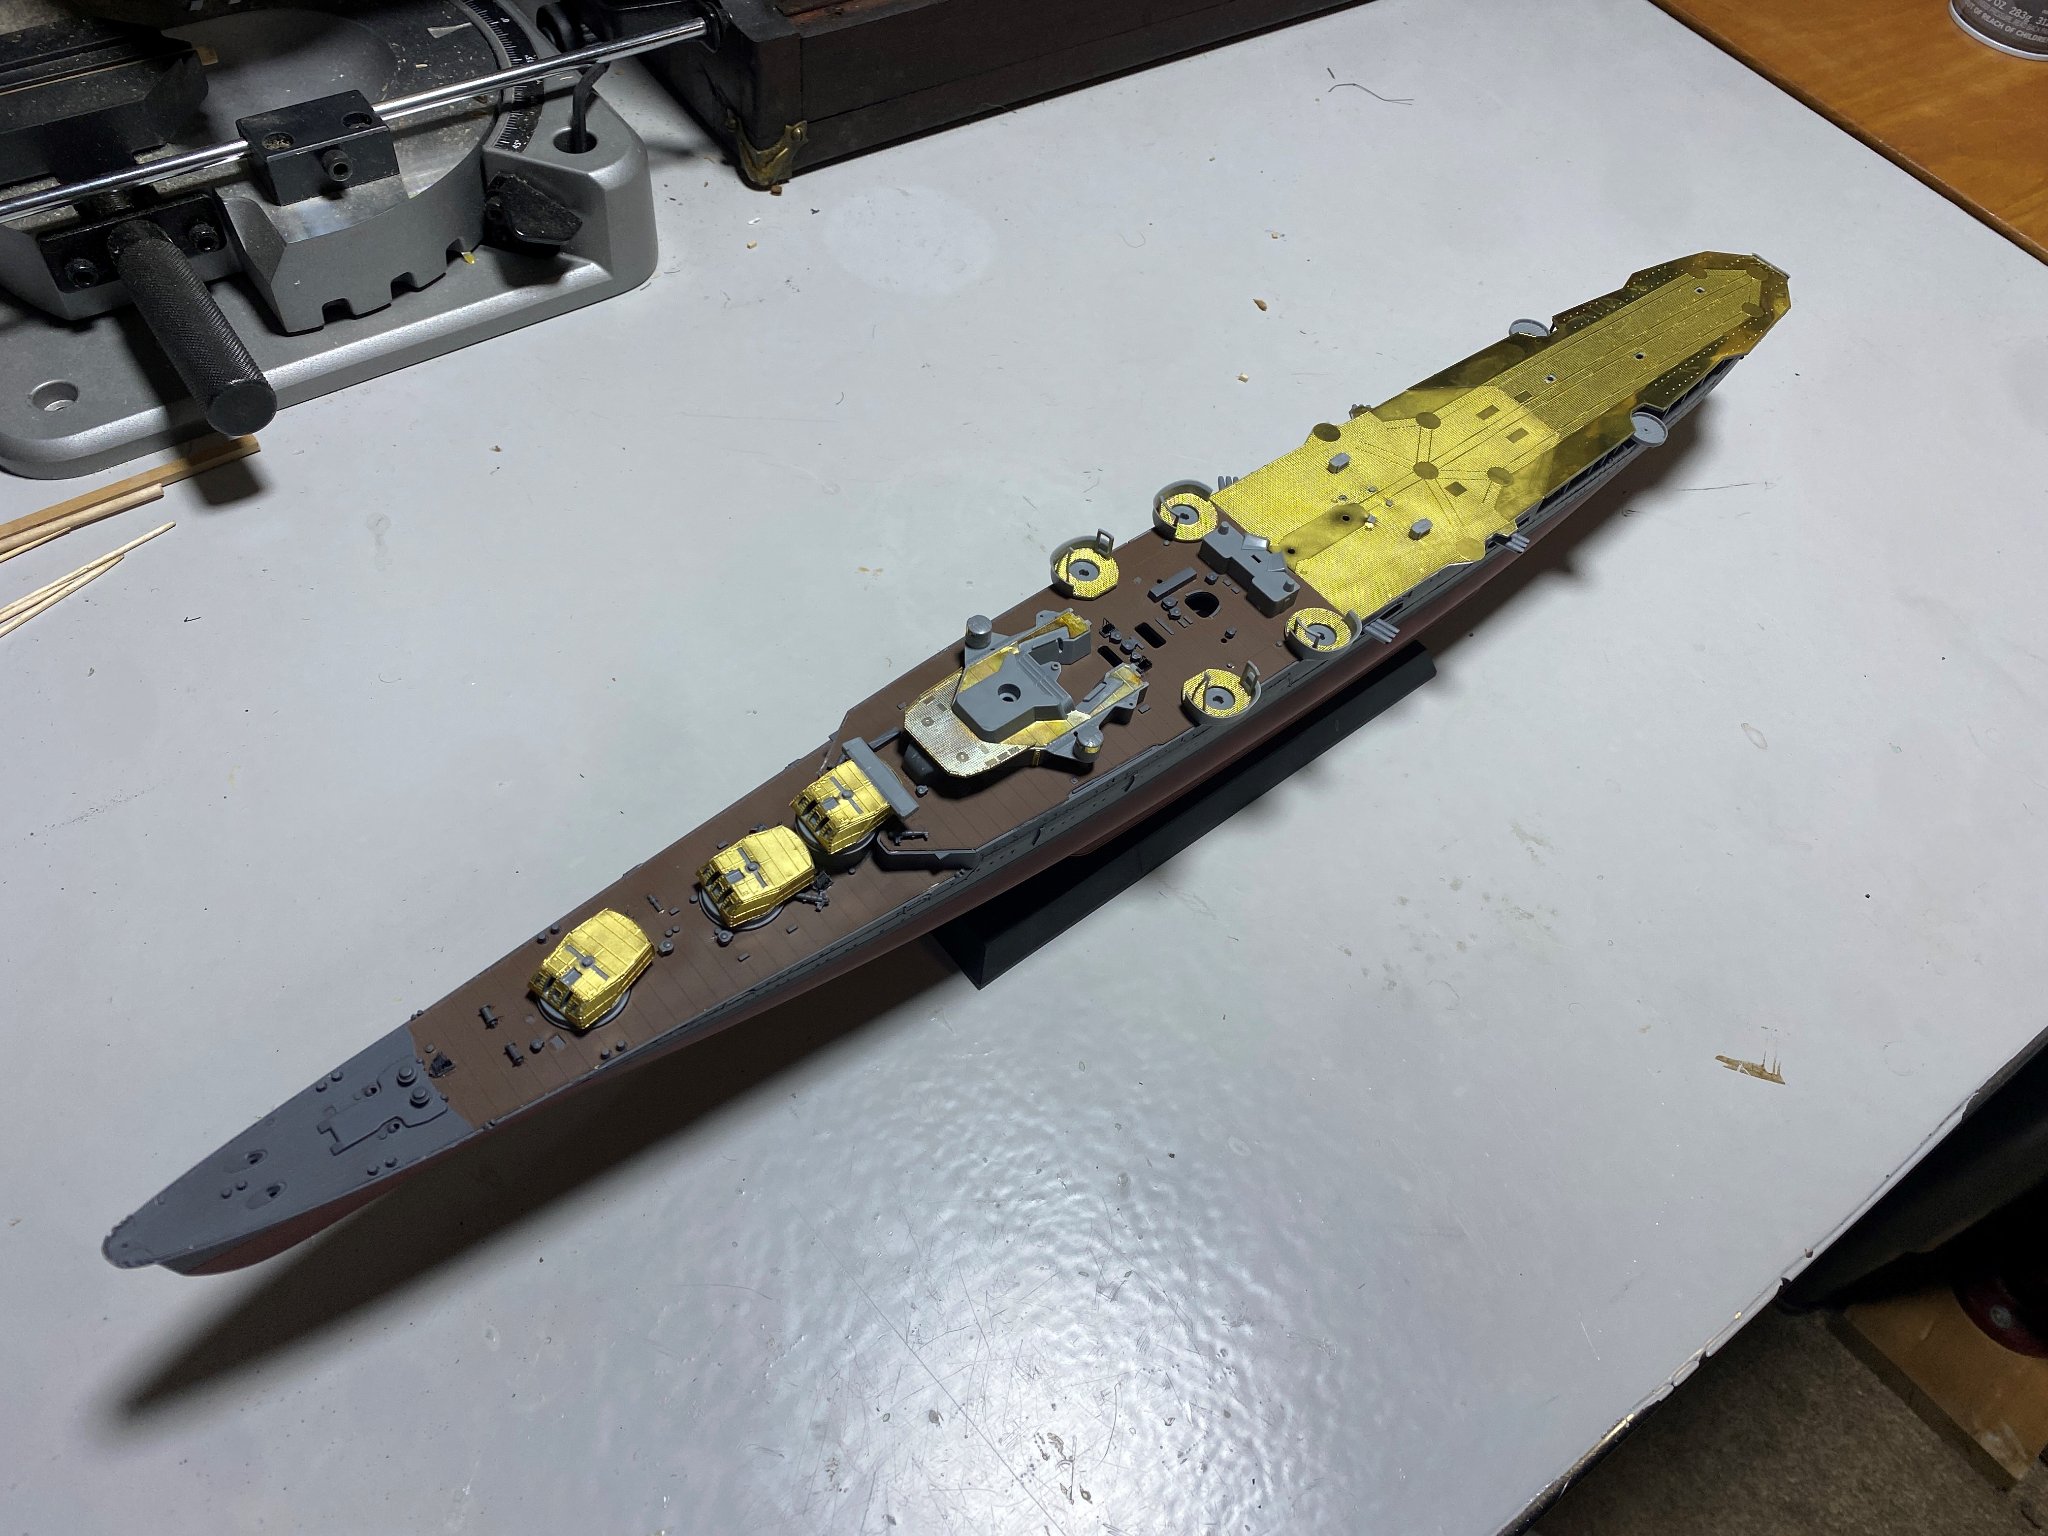
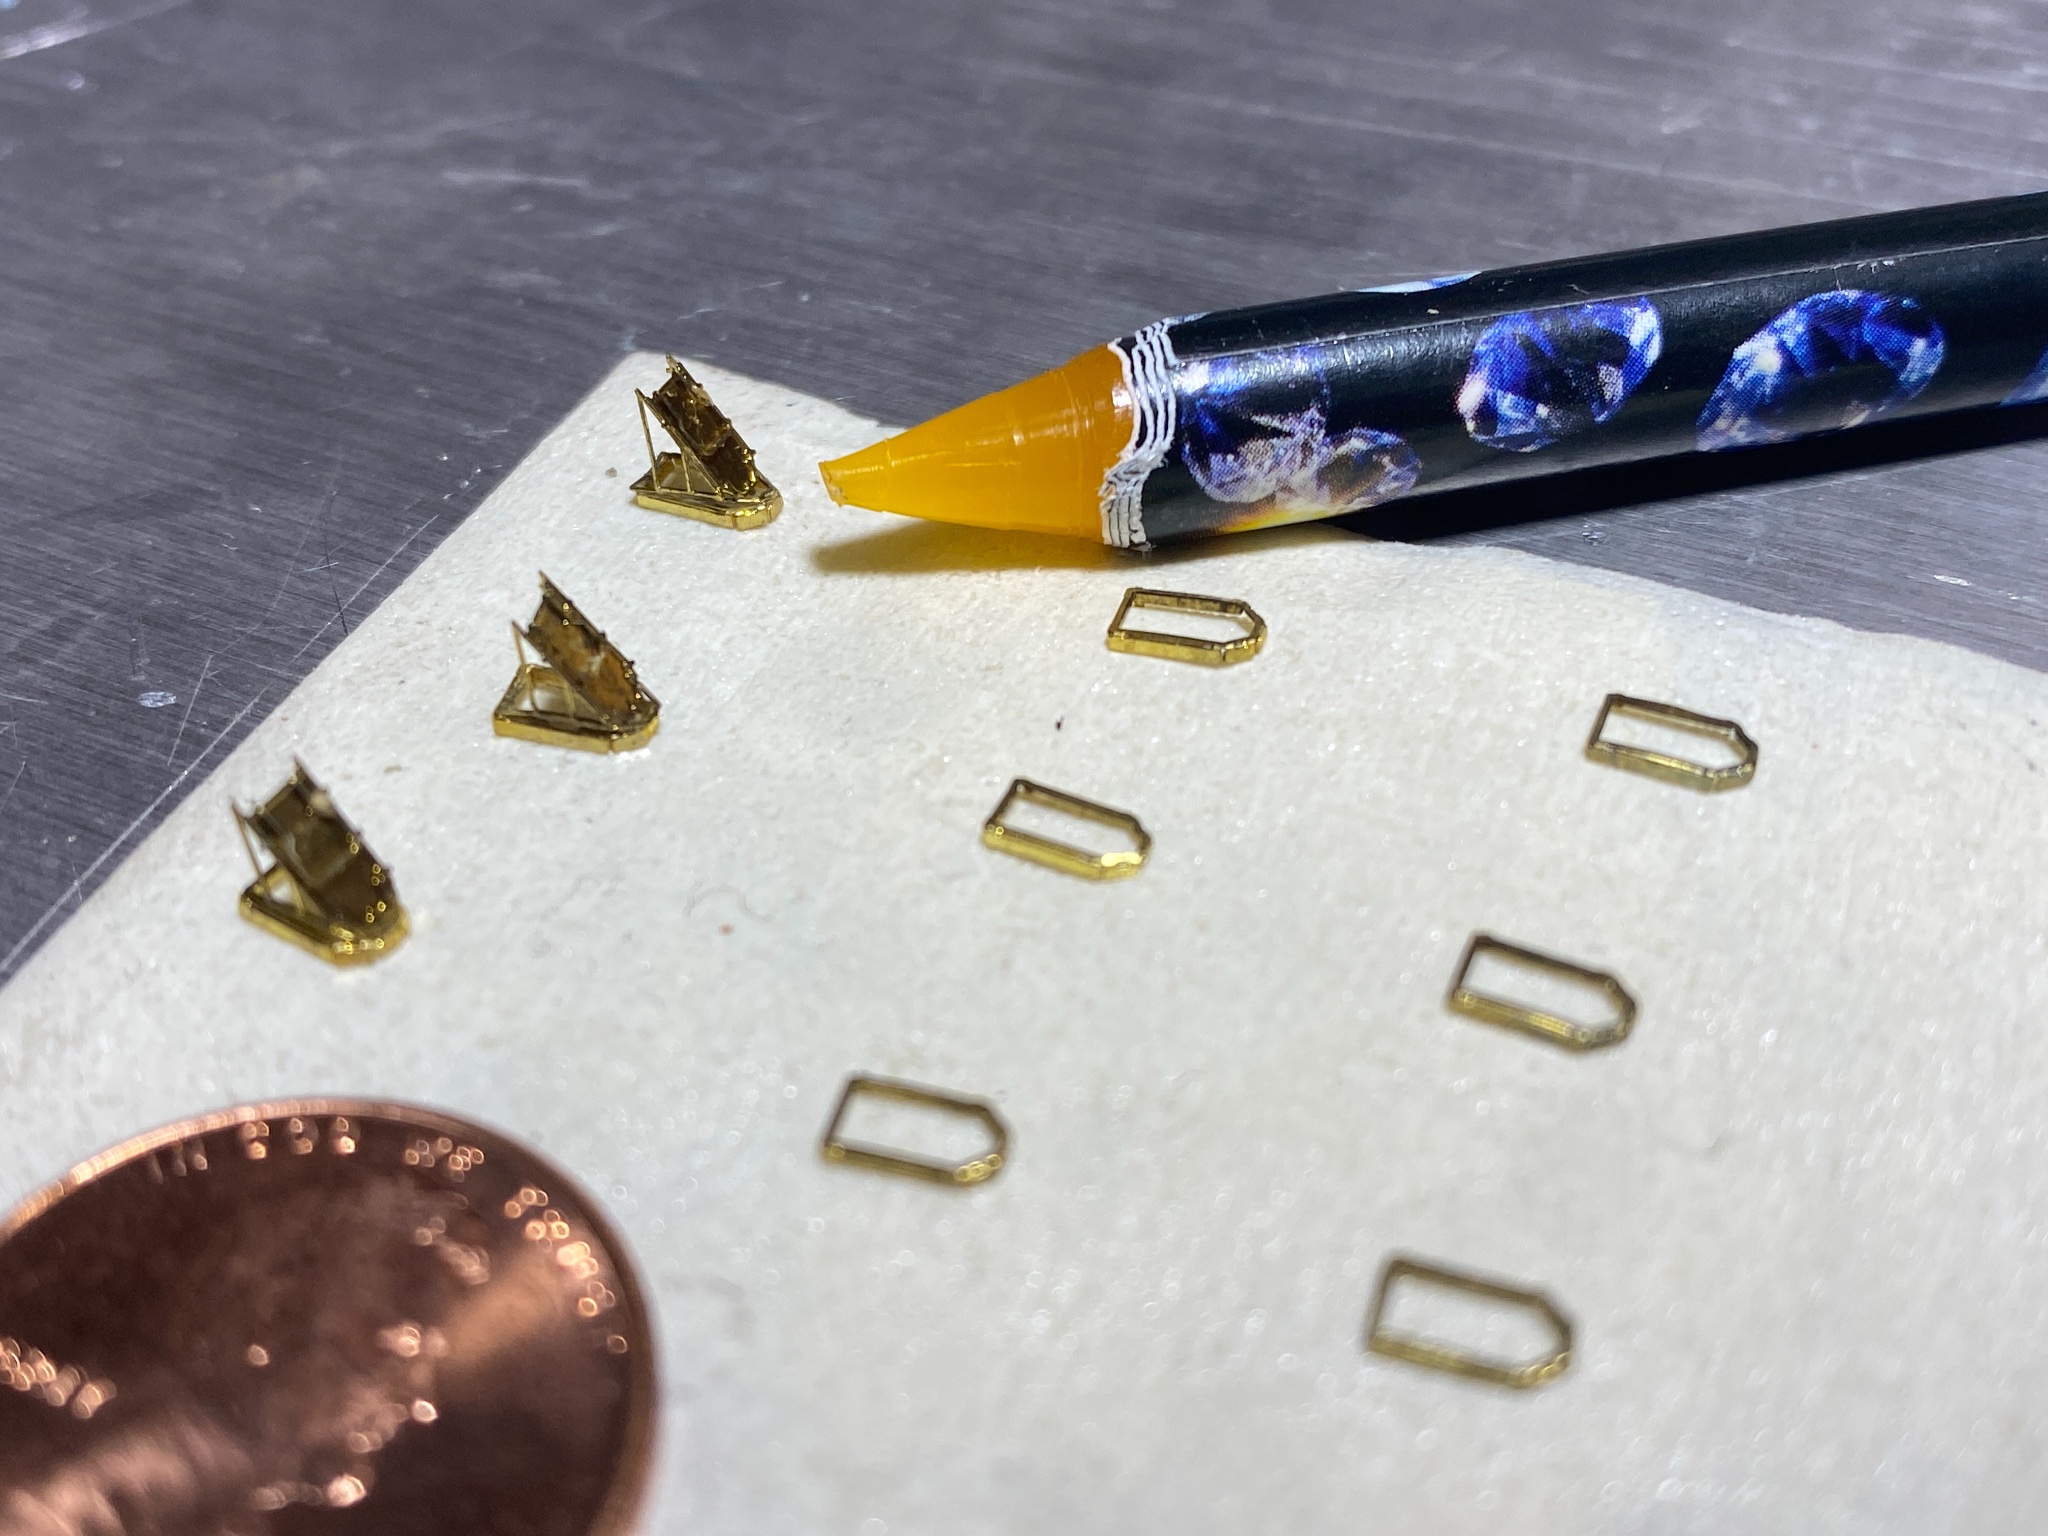
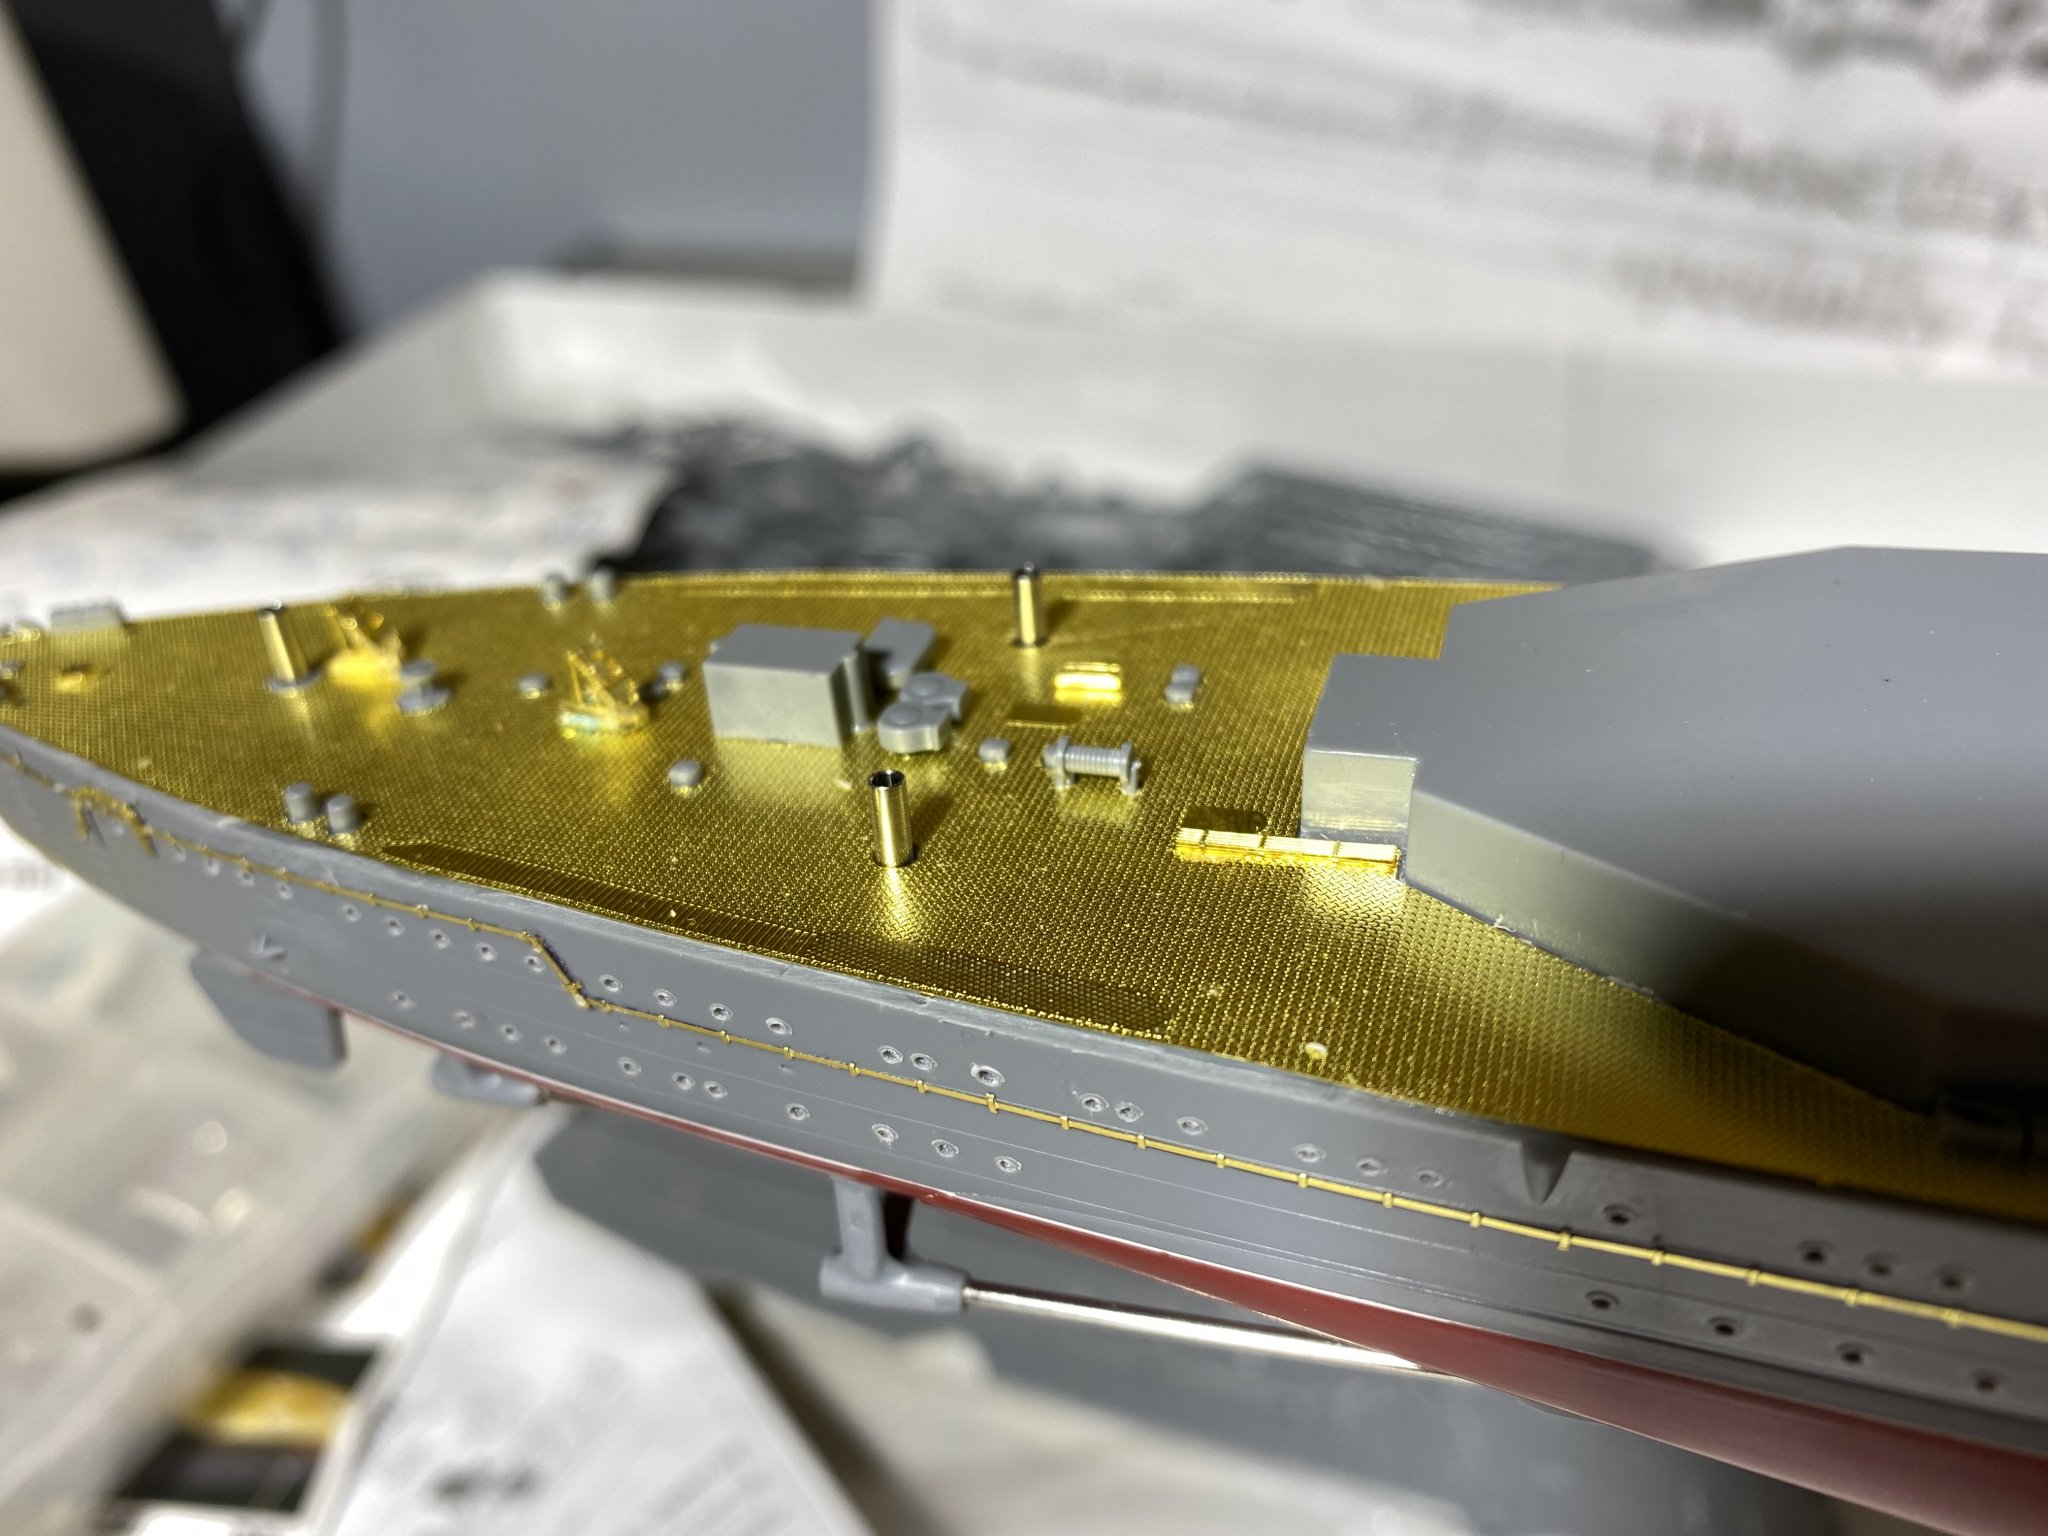
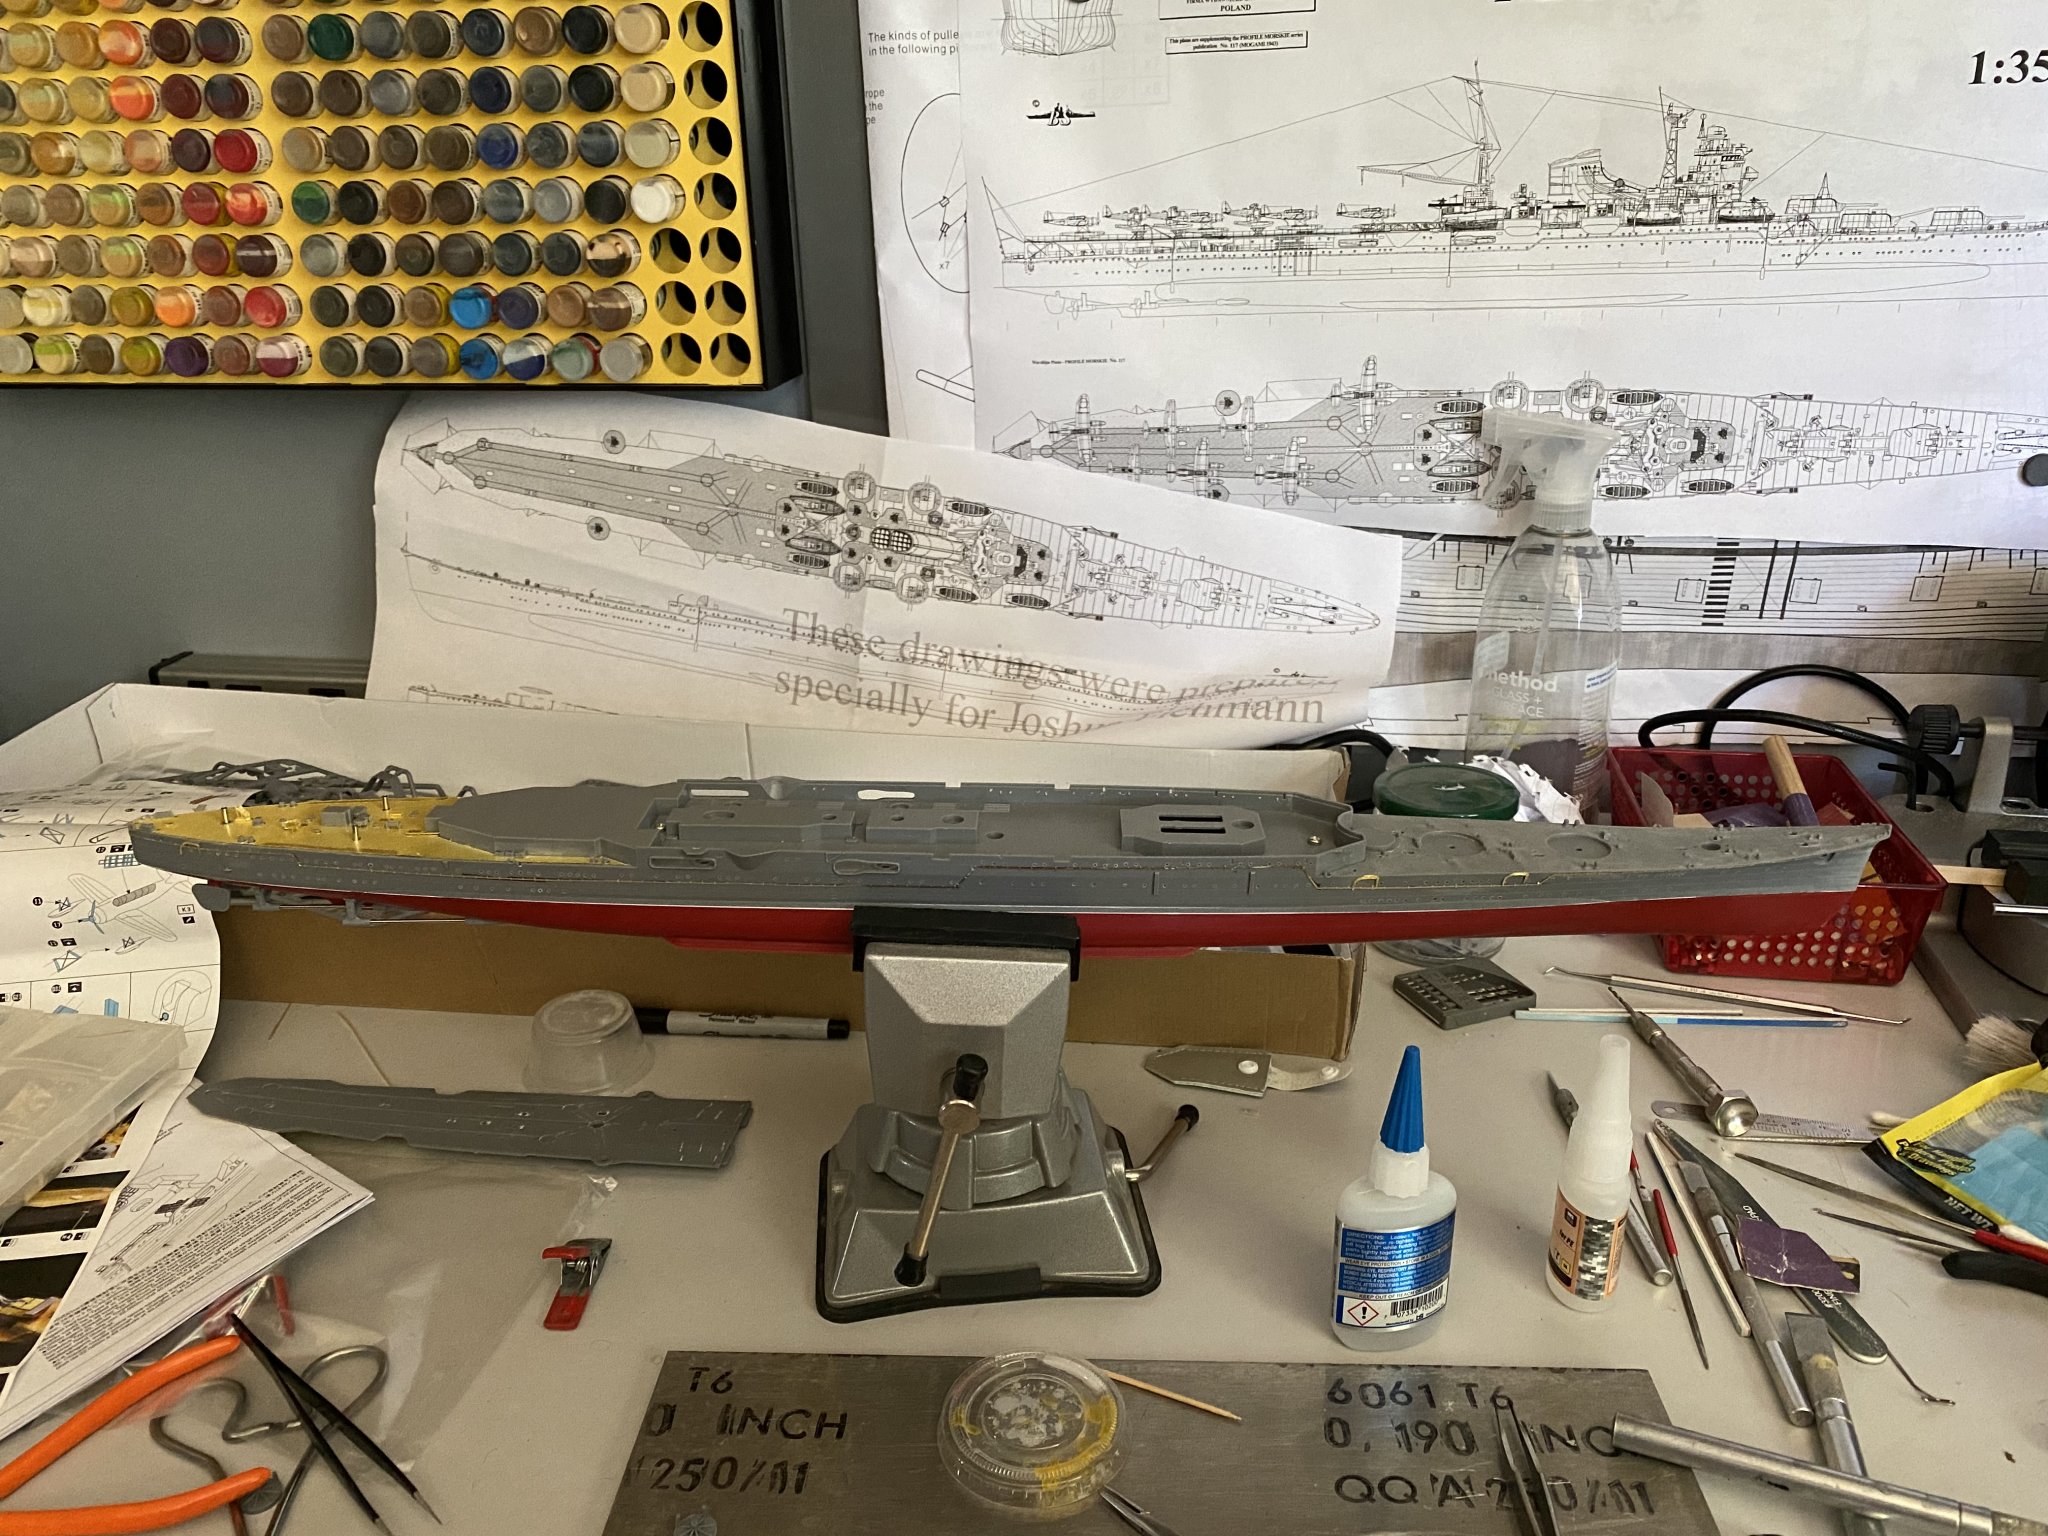
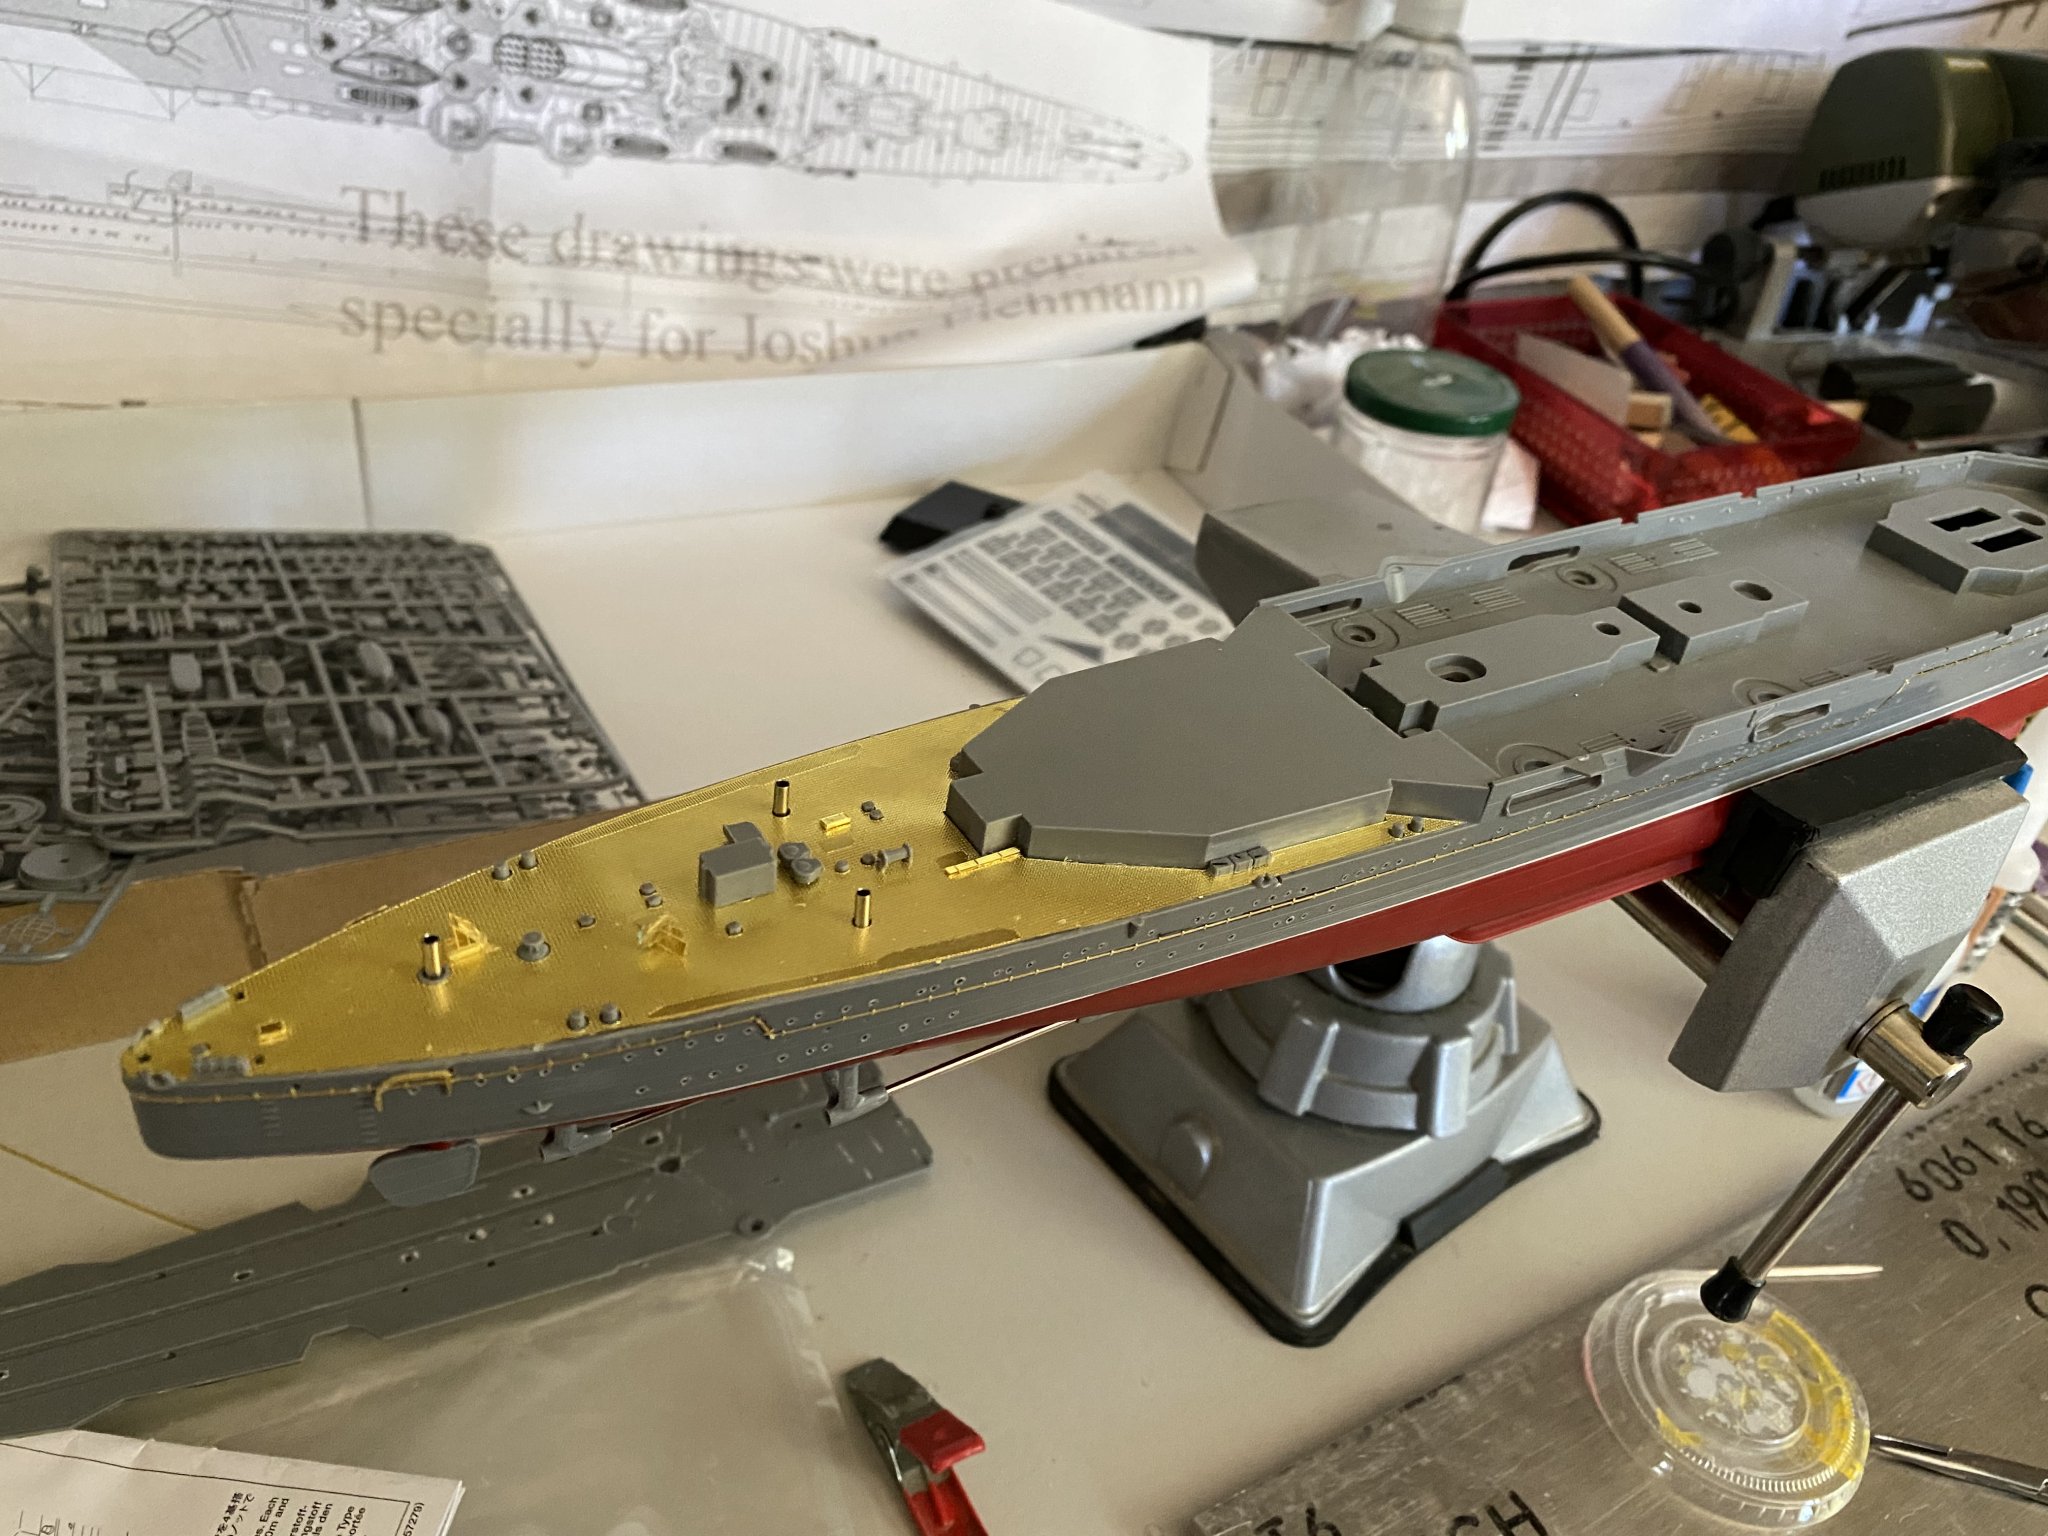
Made good progress on the Mogami over the weekend. I'm almost confident enough to make another attempt at the AA guns. I've discovered that wax pencils for doing rhinestone work is amazing at picking up small details to glue on. The flight deck has been affixed with some persuasion, the PE had interfered with the kit designed assembly so some modifications which are livable. The PE details completely replace this lower bridge which was interesting to build but had some pleasing results. There were PE options for the aft AA gun stations on both sides of the flight deck but.... well, they didn't work out. Here's a couple overall status photos of parts that have been prepped and dry fitted to show progress.

-
9 hours ago, Old Collingwood said:
How can you heat up PE or am I just being thick.
OC.
I just hit it with a grill lighter for a half of a minute, worked great, metal is much easier to bend after that and it takes away its memory!
-
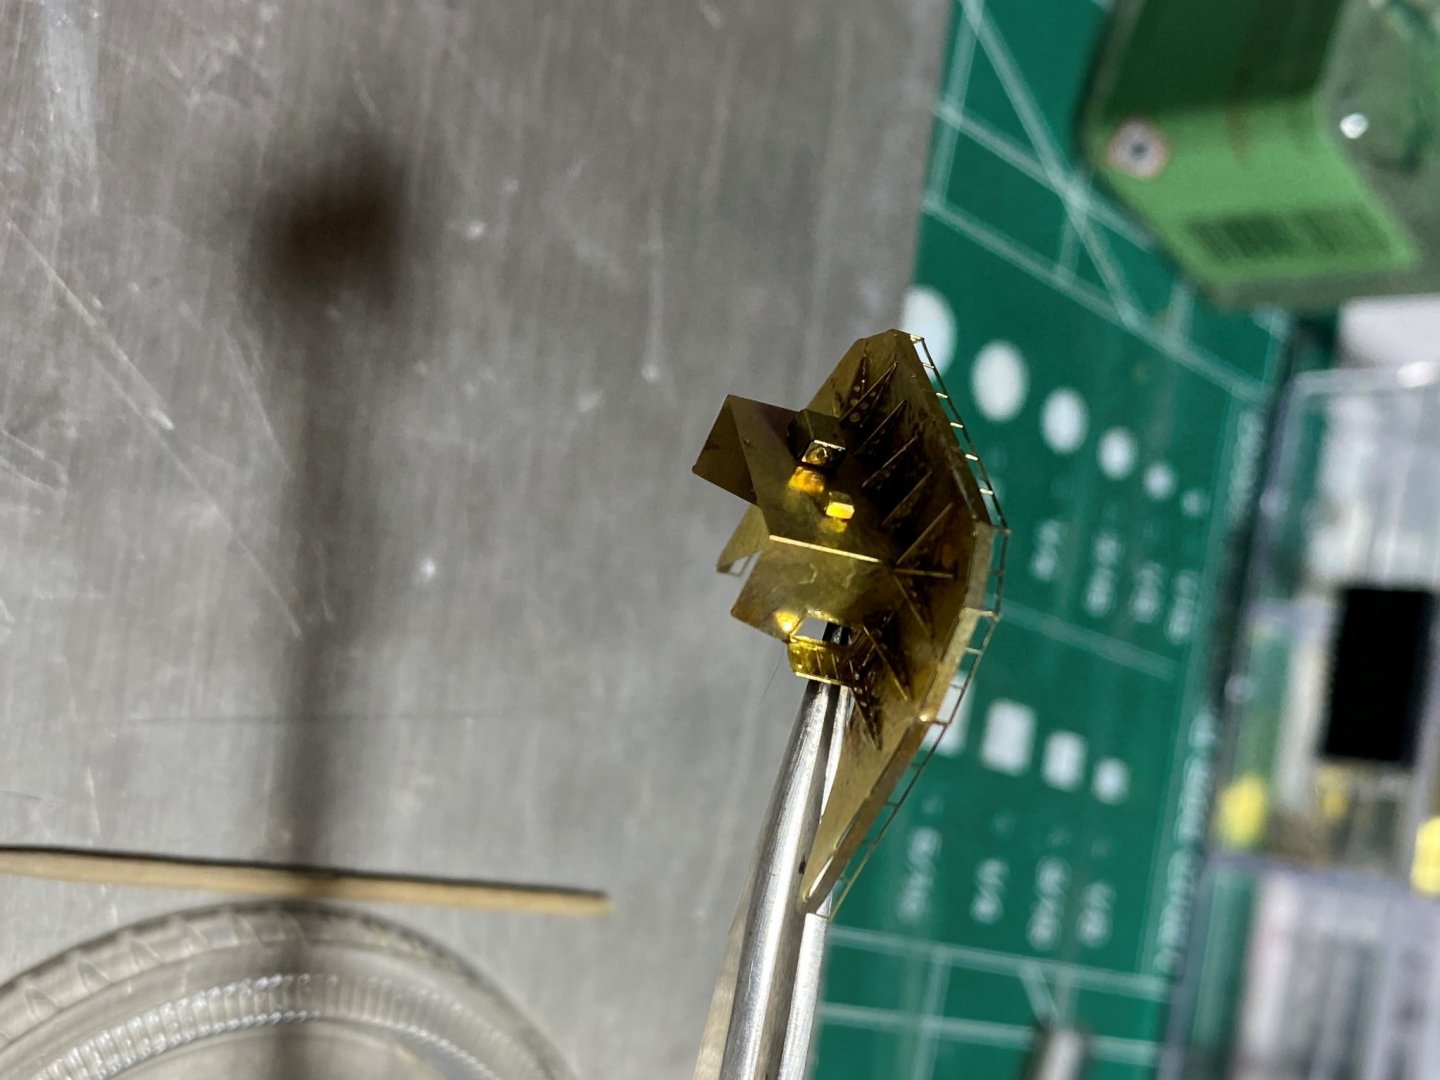
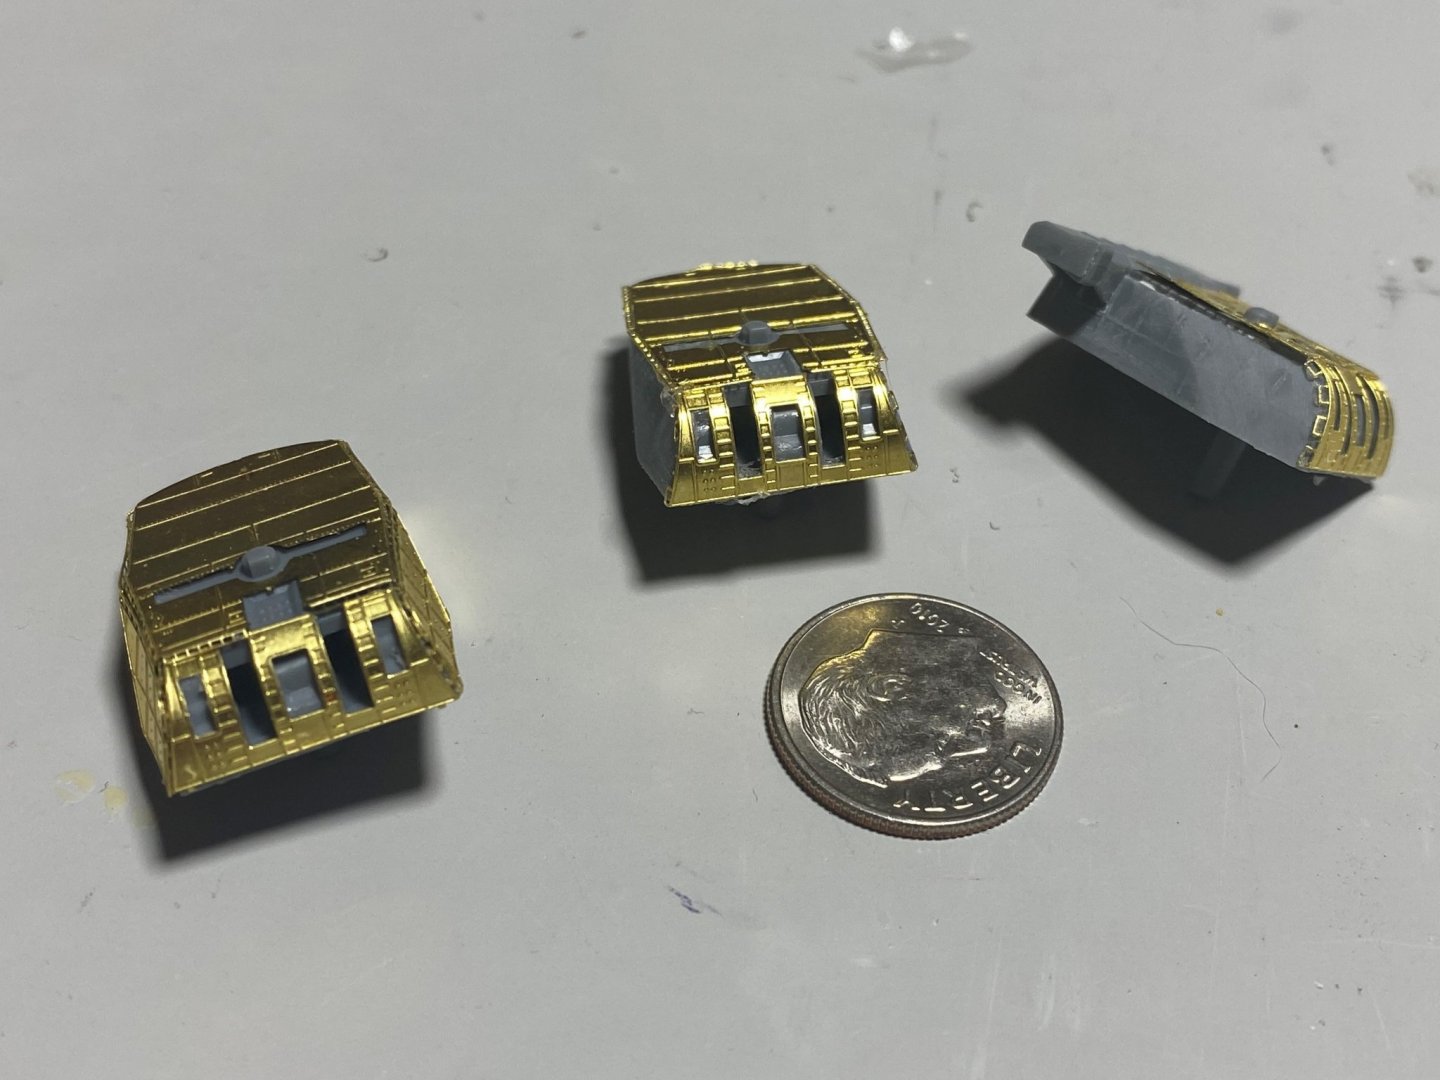
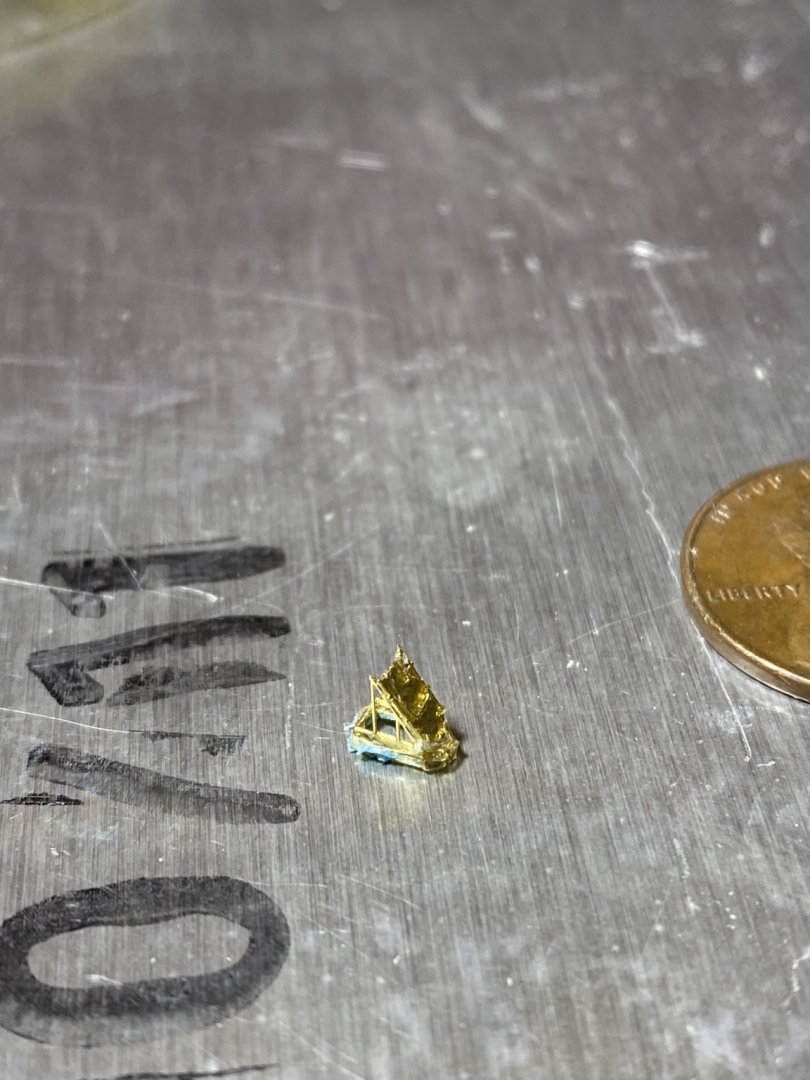
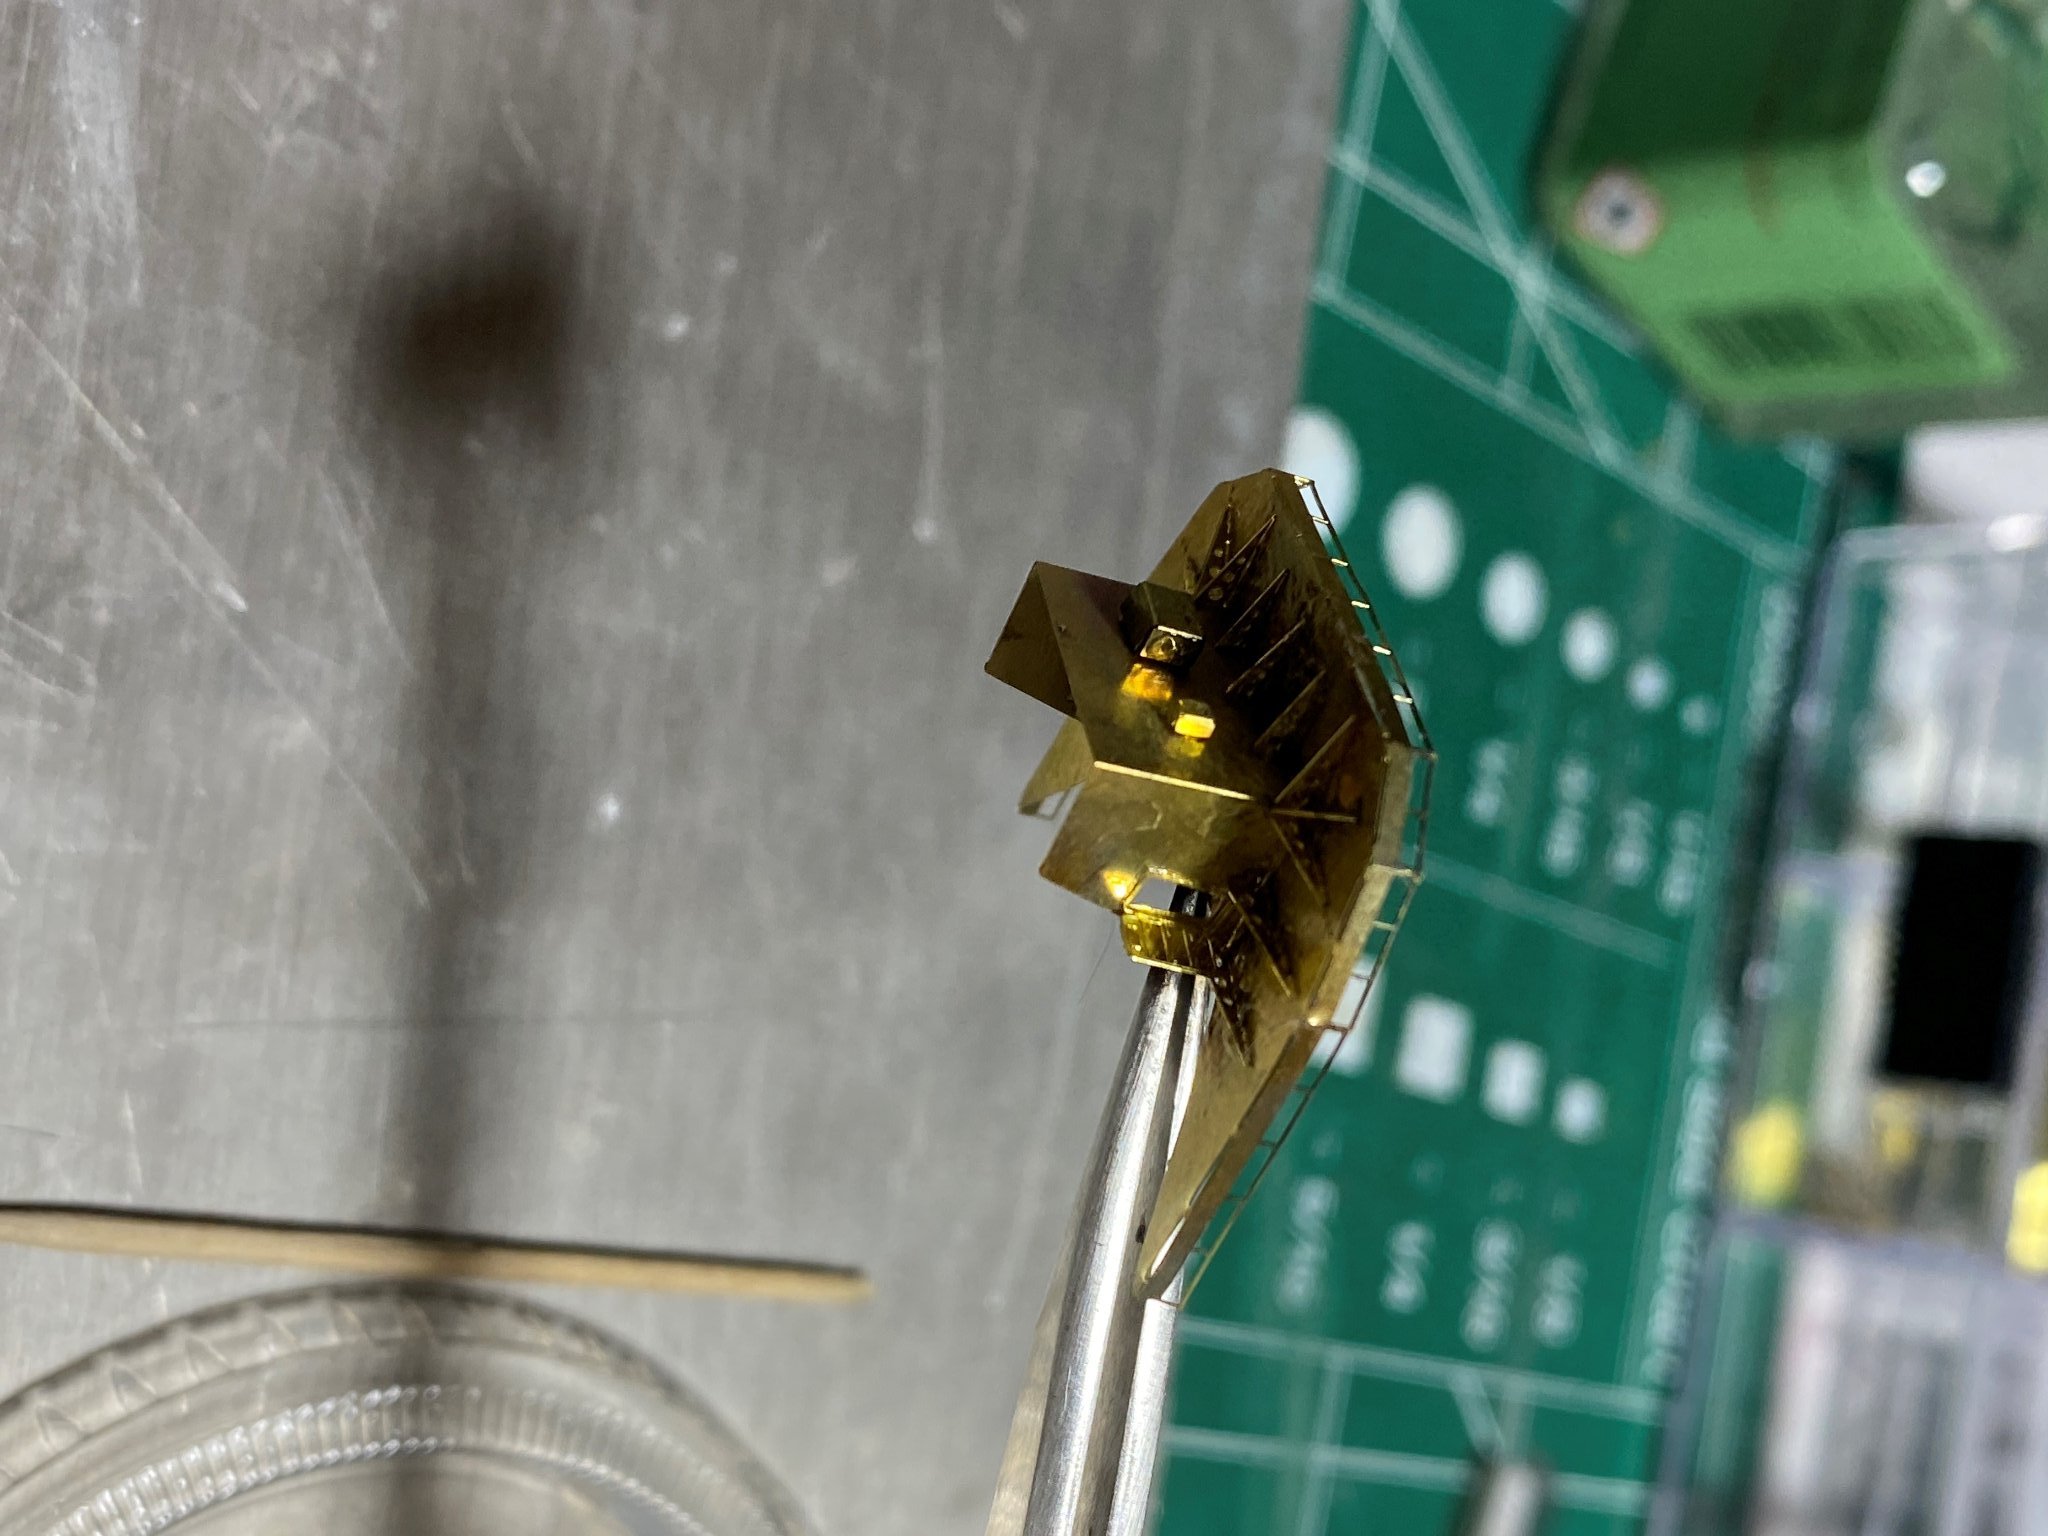
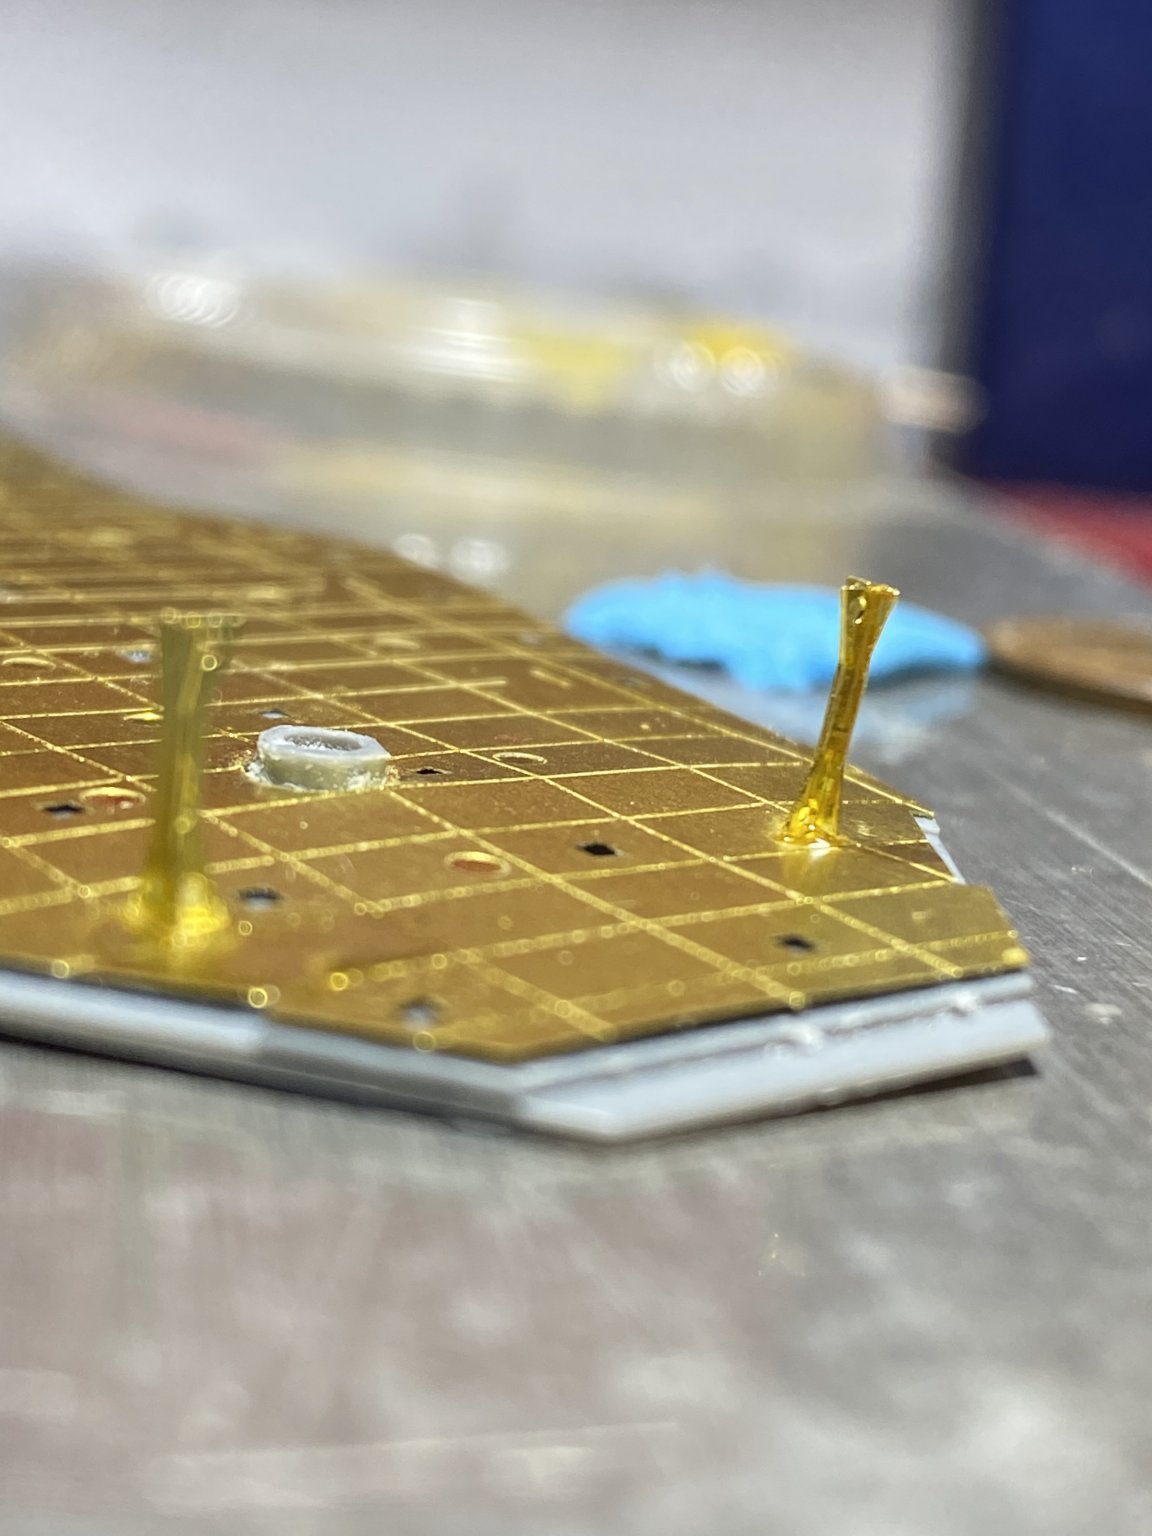
Almost a year since I last touched this model, been busy on another project. Had fun building these hatches tonight. Remembered to anneal the metal this time, what a difference!

- popeye the sailor, ccoyle, lmagna and 4 others
-
7
-
2 hours ago, MichaelW said:
Thank you Eric and Joshua! I'll ask to join the New Jersey group - looks like I'll need a sponsor. You know, I've never been to the Battleship.
If you send me your email to Modelship@yahoo.com, the New Jersey Club's meeting is tomorrow night at 7p. Stop in as a visitor. I'll be on.
-
Hey Michael,
I'm a member at both clubs, both great organizations. We are currently meeting via zoom meetings. We have a big ModelCon coming up in August at the Battleship. Maybe you can join us!
Joshua
-
this was my first wood model and was a very pleasant memory, and builds into a very nice model. I still have it!
- Sparky21, GrandpaPhil and VTHokiEE
-
3
-
-
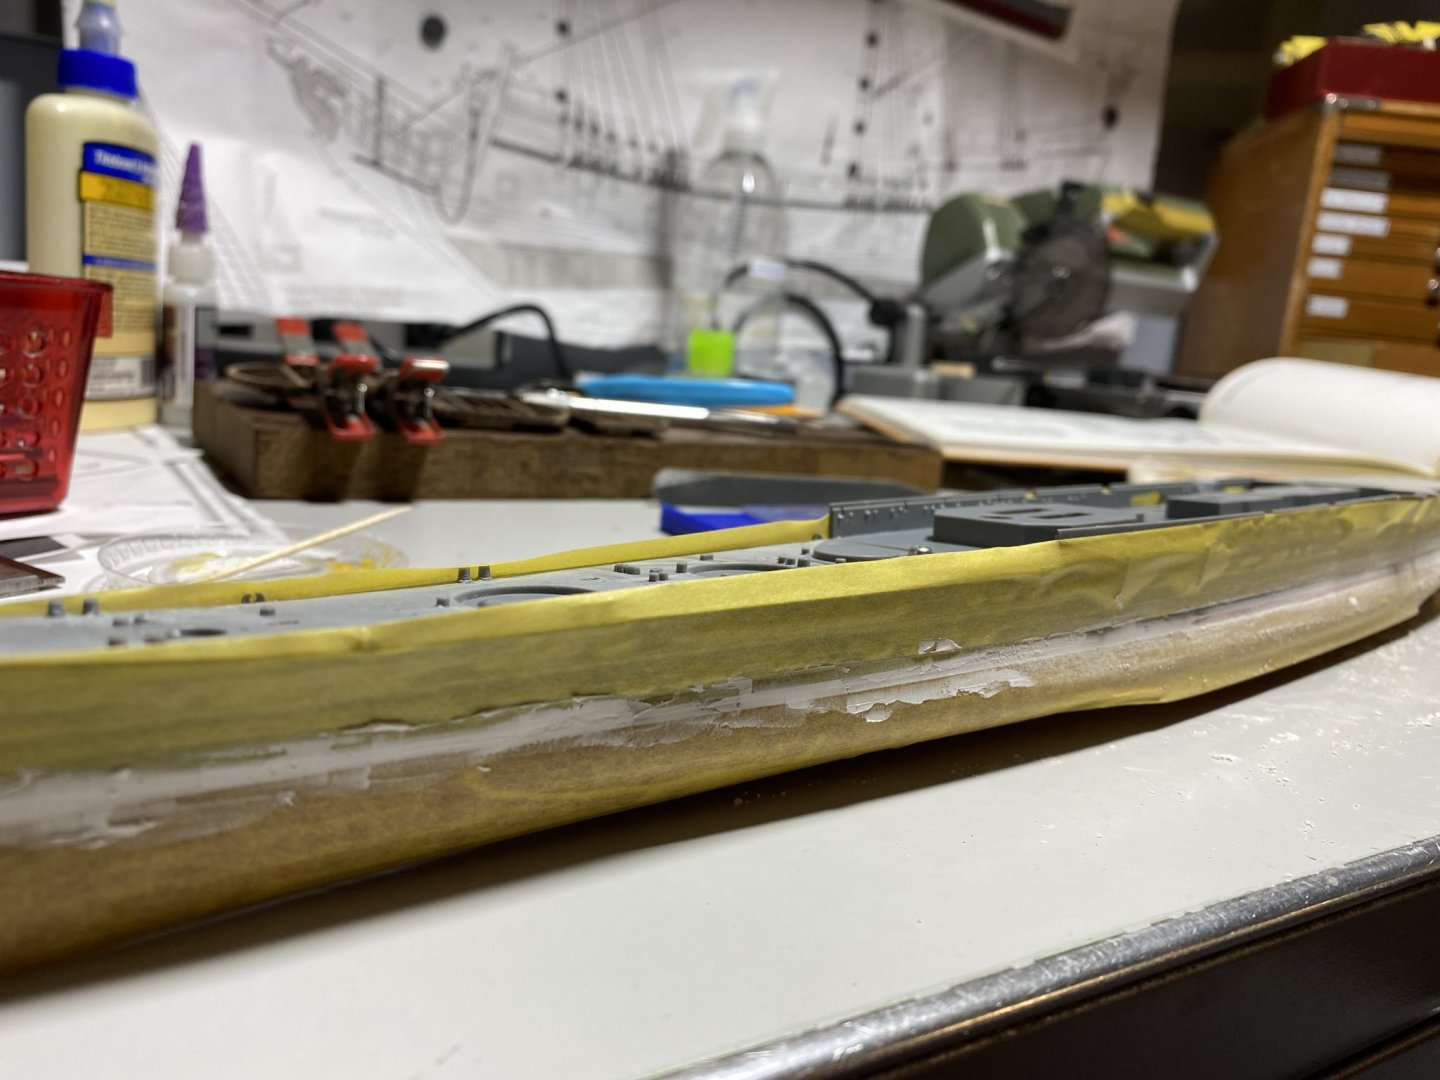
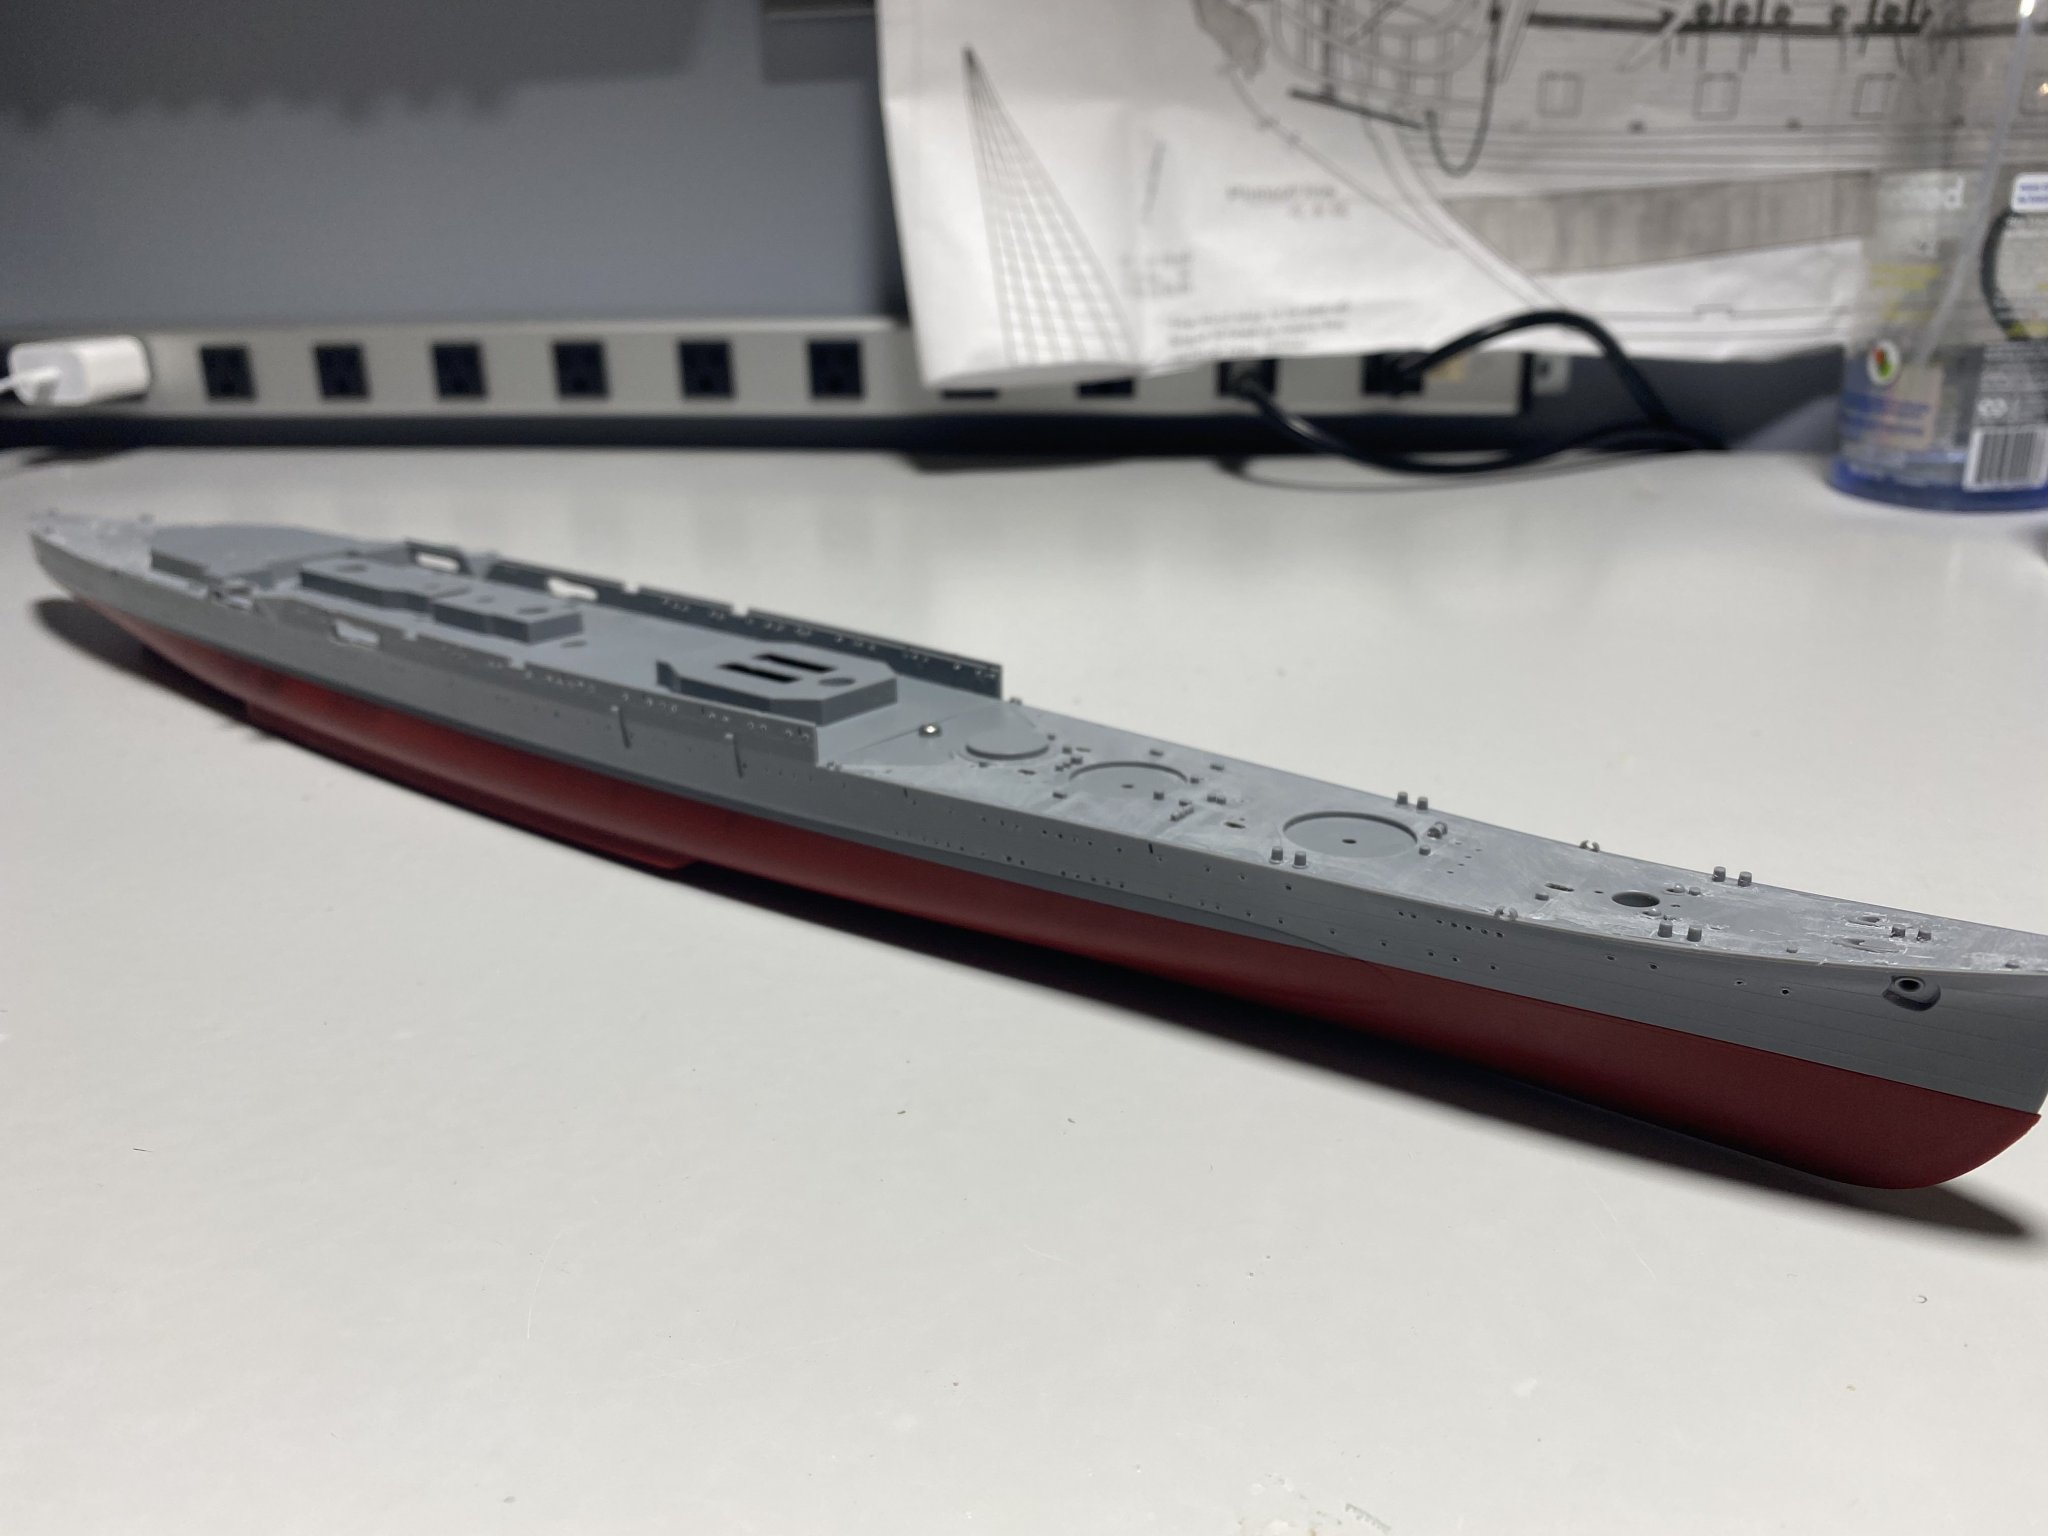
Hello All,
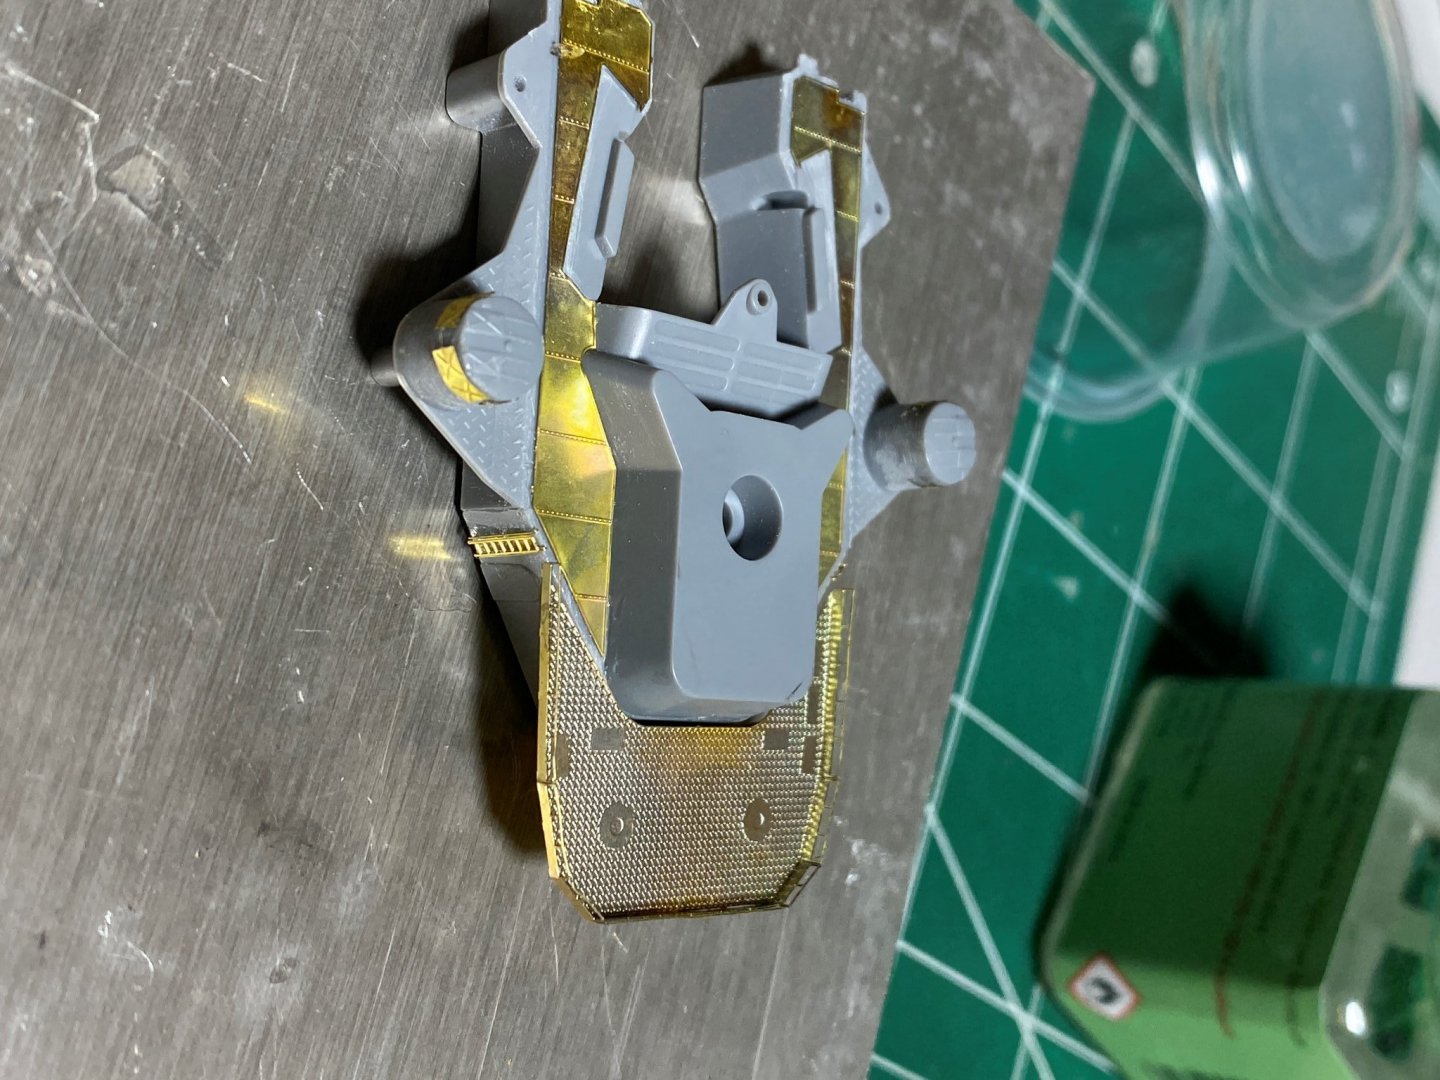
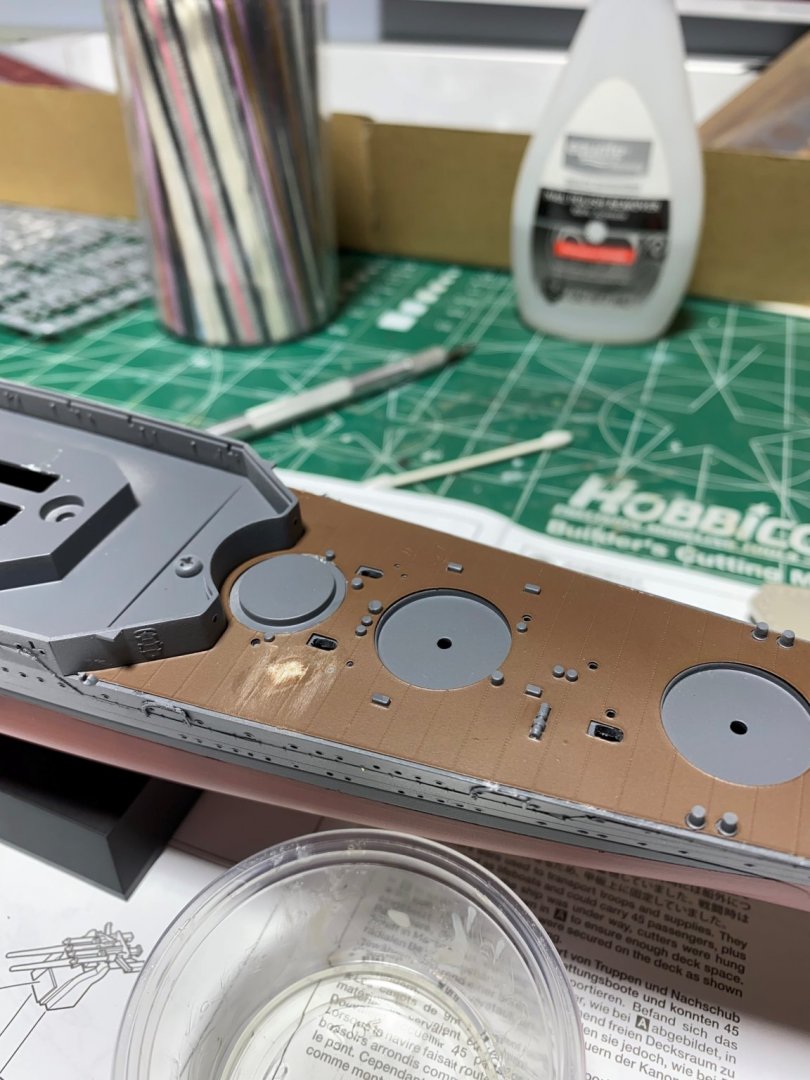
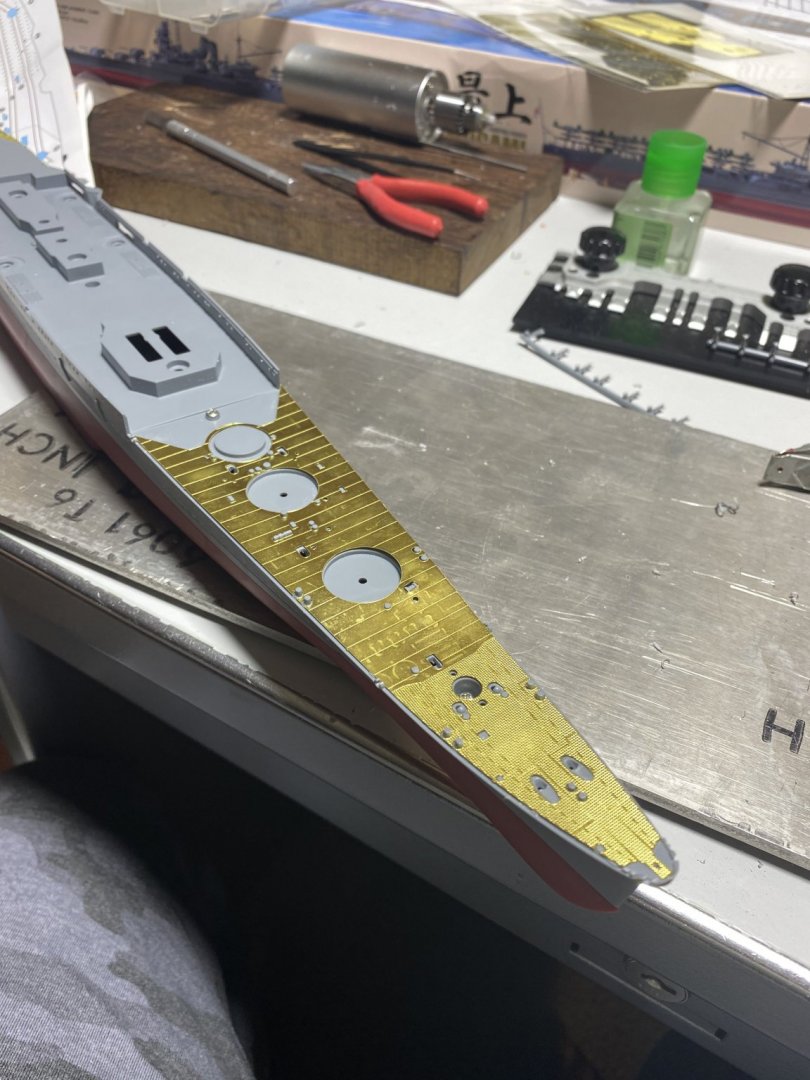
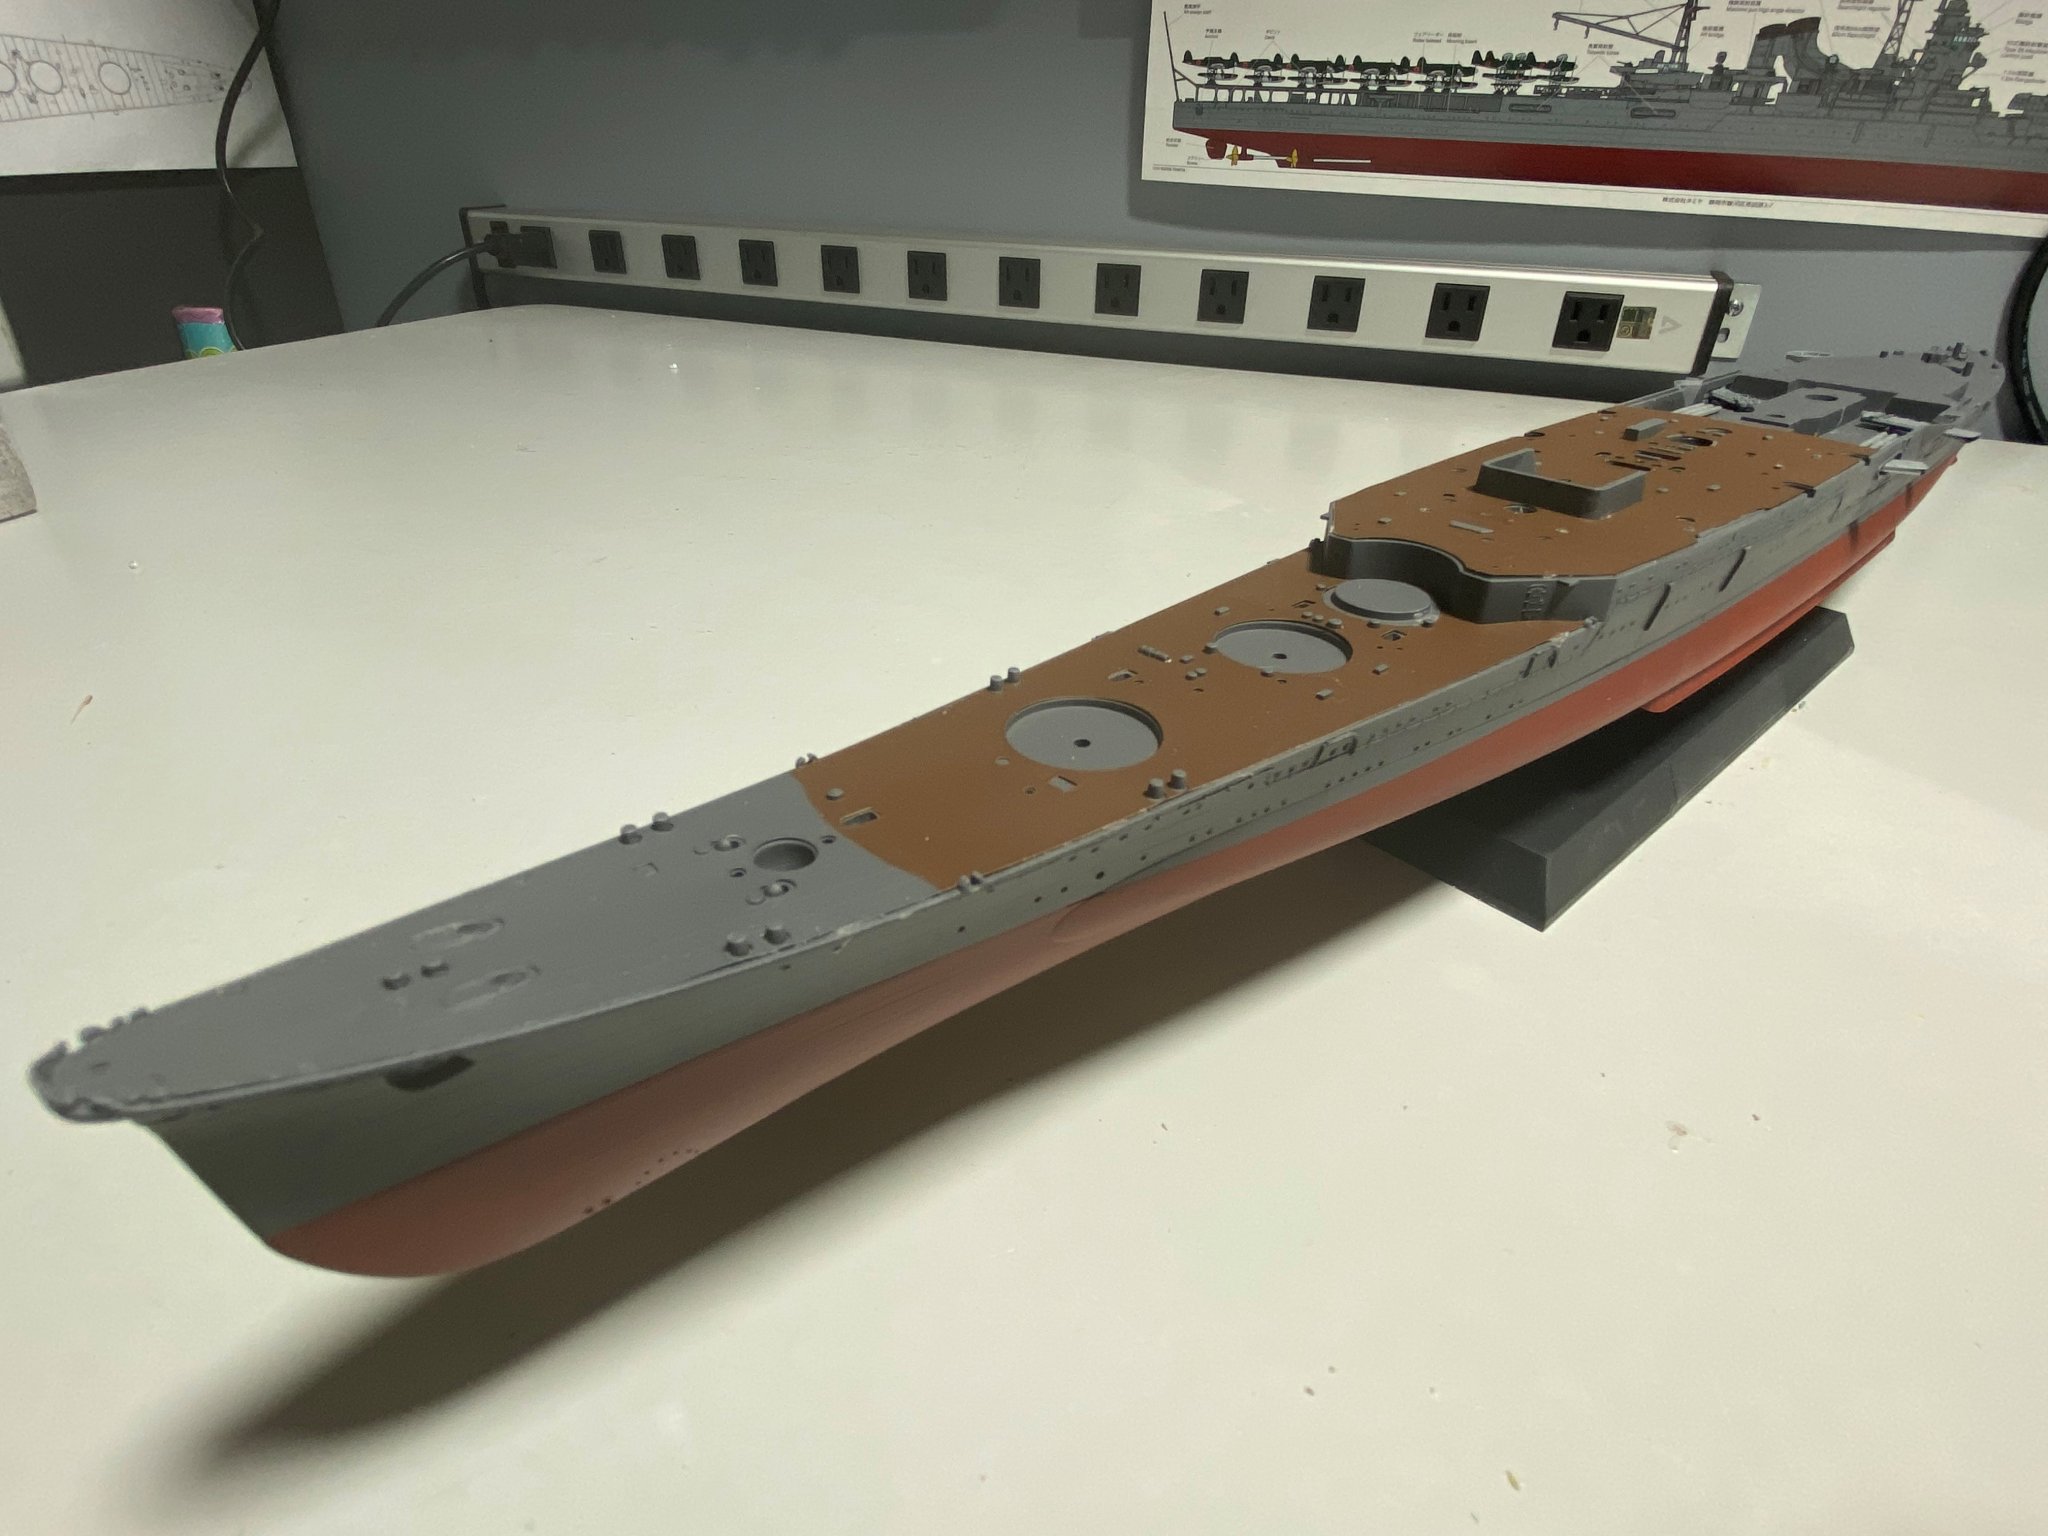
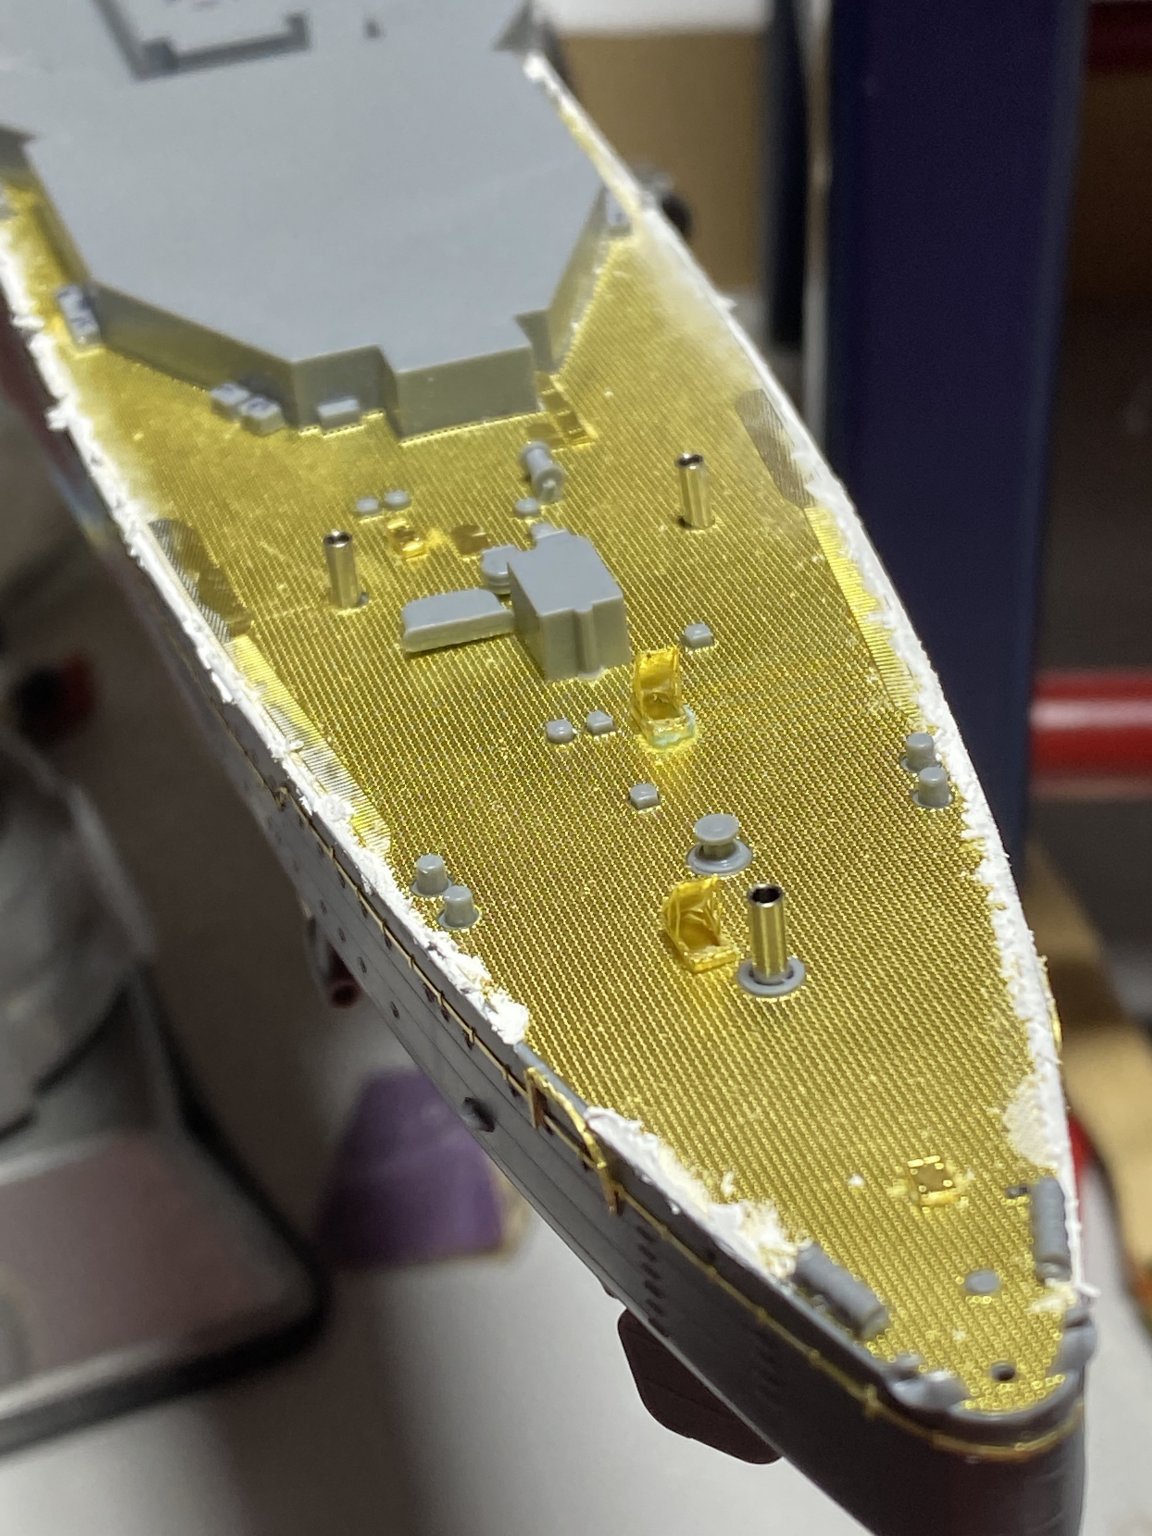
Some progress on the Mogami - Painted the hull, applied the foredeck plating since it was now painted and had a wicked mishap with the glue dissolving a small spot! I managed to cover the surrounding errors for a passable light sand and quick paint touch up. Not perfect but it'll do. I was much more careful with the 2nd brown deck level application. I've got a couple small seams that I'm going to try and go back and fix/touch up.
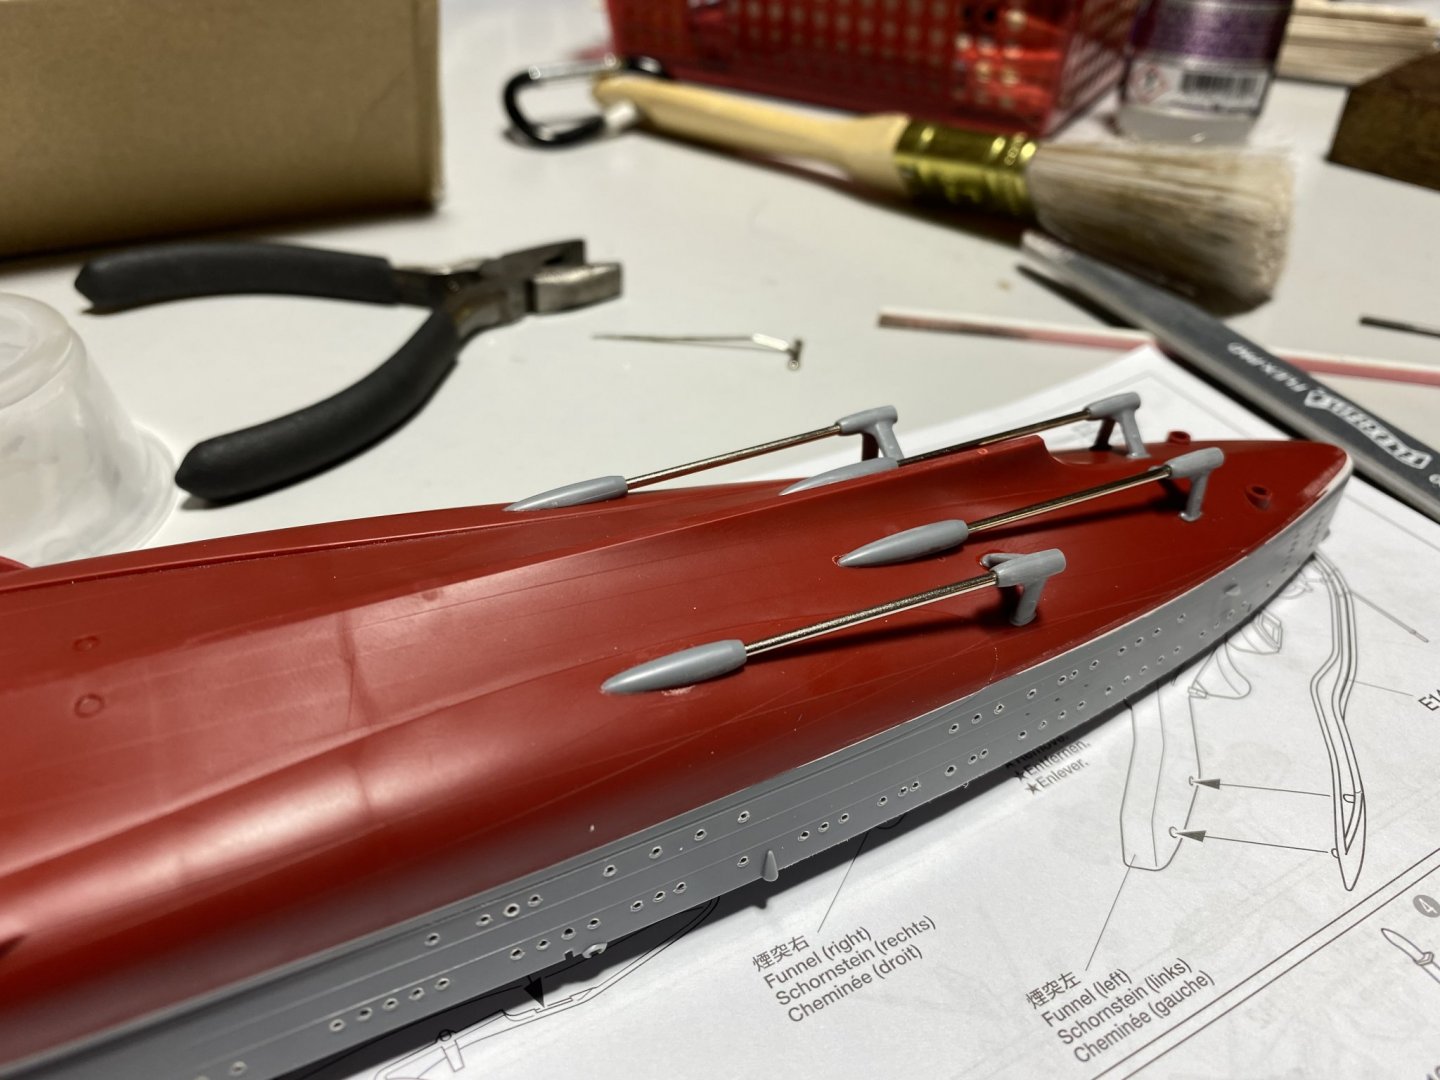
Installed the torpedo launchers - the spare torpedoes were also a glue-able part but I didn't bother painting, you'll never see them once the deck goes on. Only the completionism in me made me glue them in.
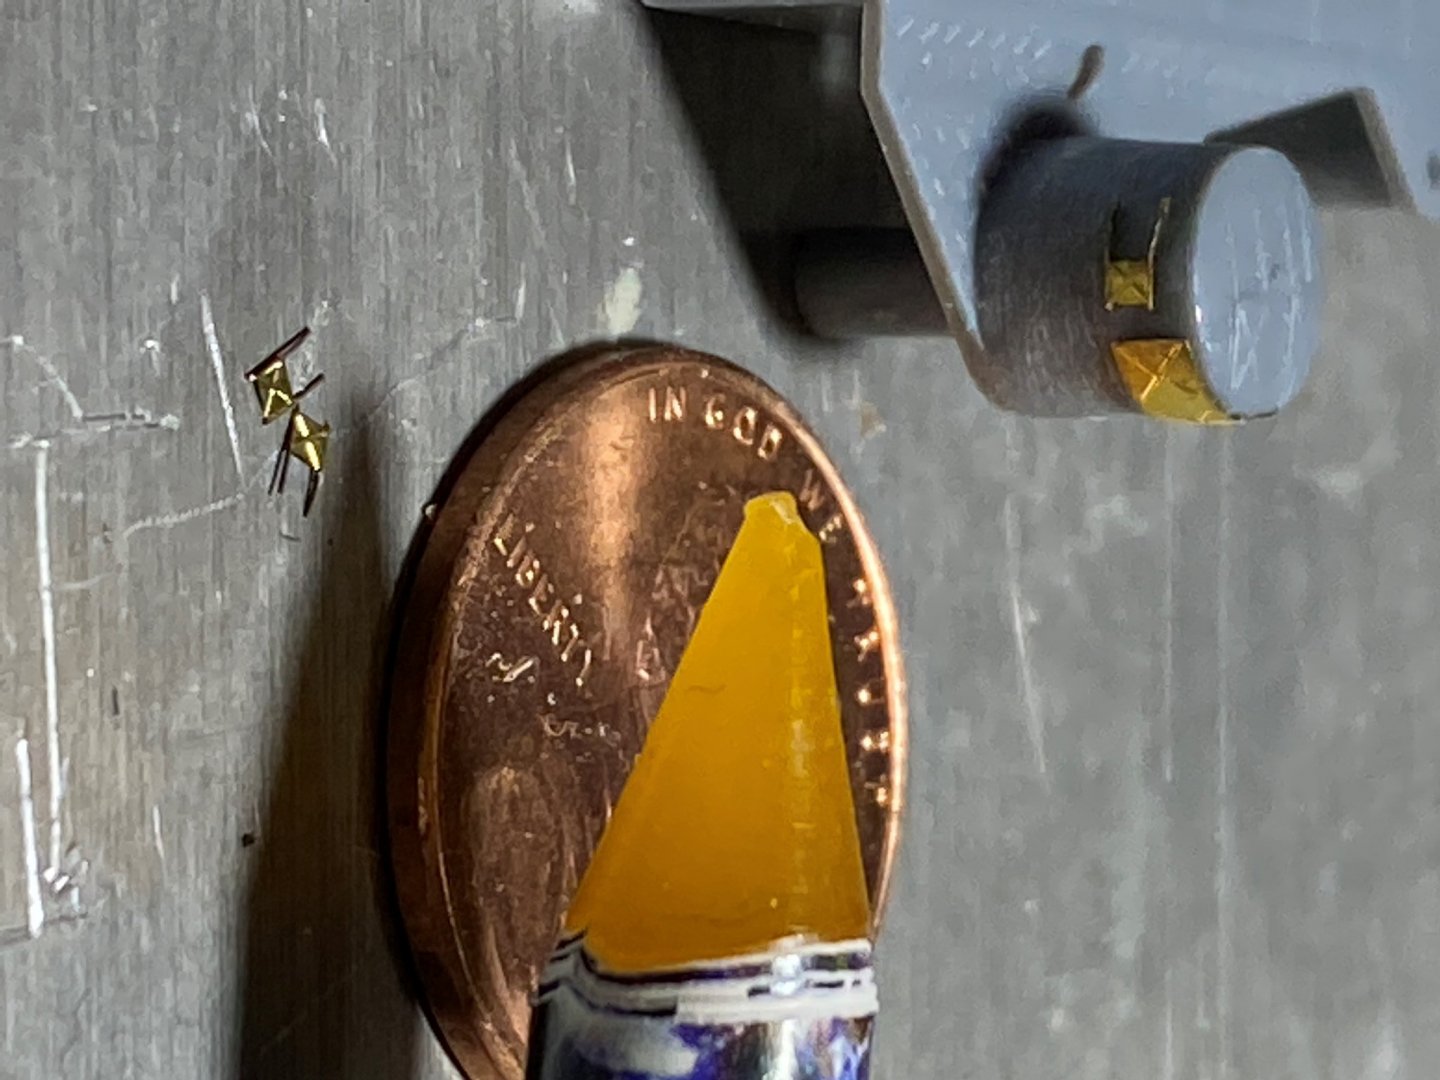
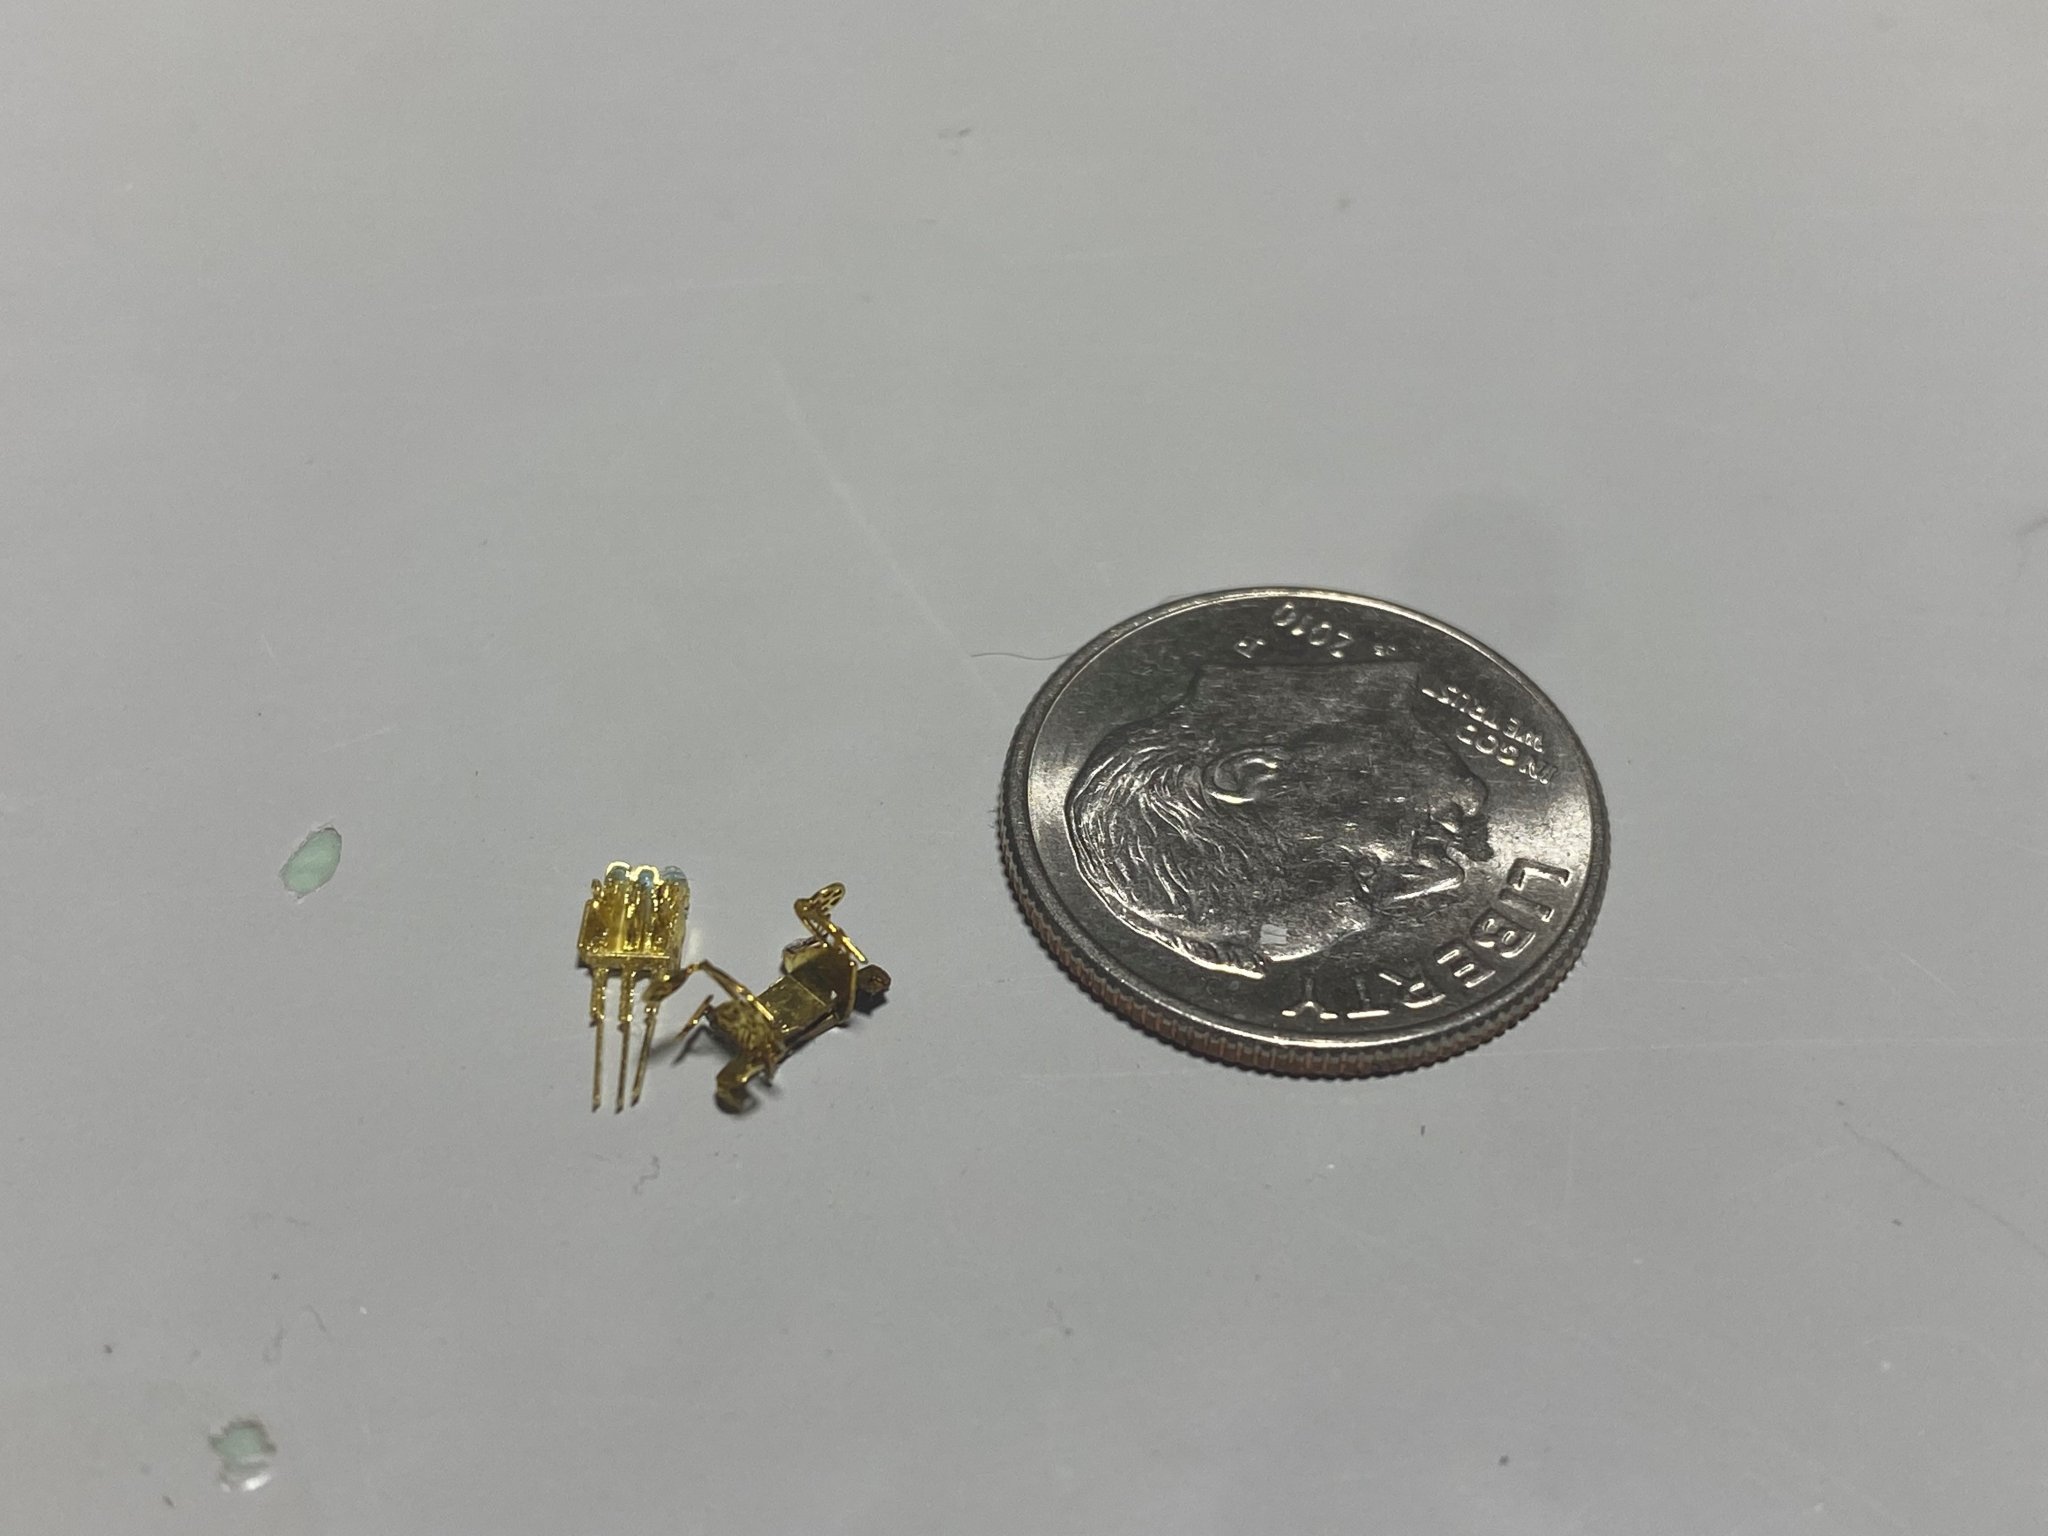
This is my first real incursion with photo etch and learning lots of lessons. My first try at folding one of these triple AA guns was a disaster. It requires the folding and assembly of 5 separate pieces! Thankfully the detail kit give two extra to consume. Worst case is I use the plastic molded guns, or I get a set from Infiniti. The application of PE detail to the turrets went much better and enjoyed the result.
Thanks for stopping in.


-
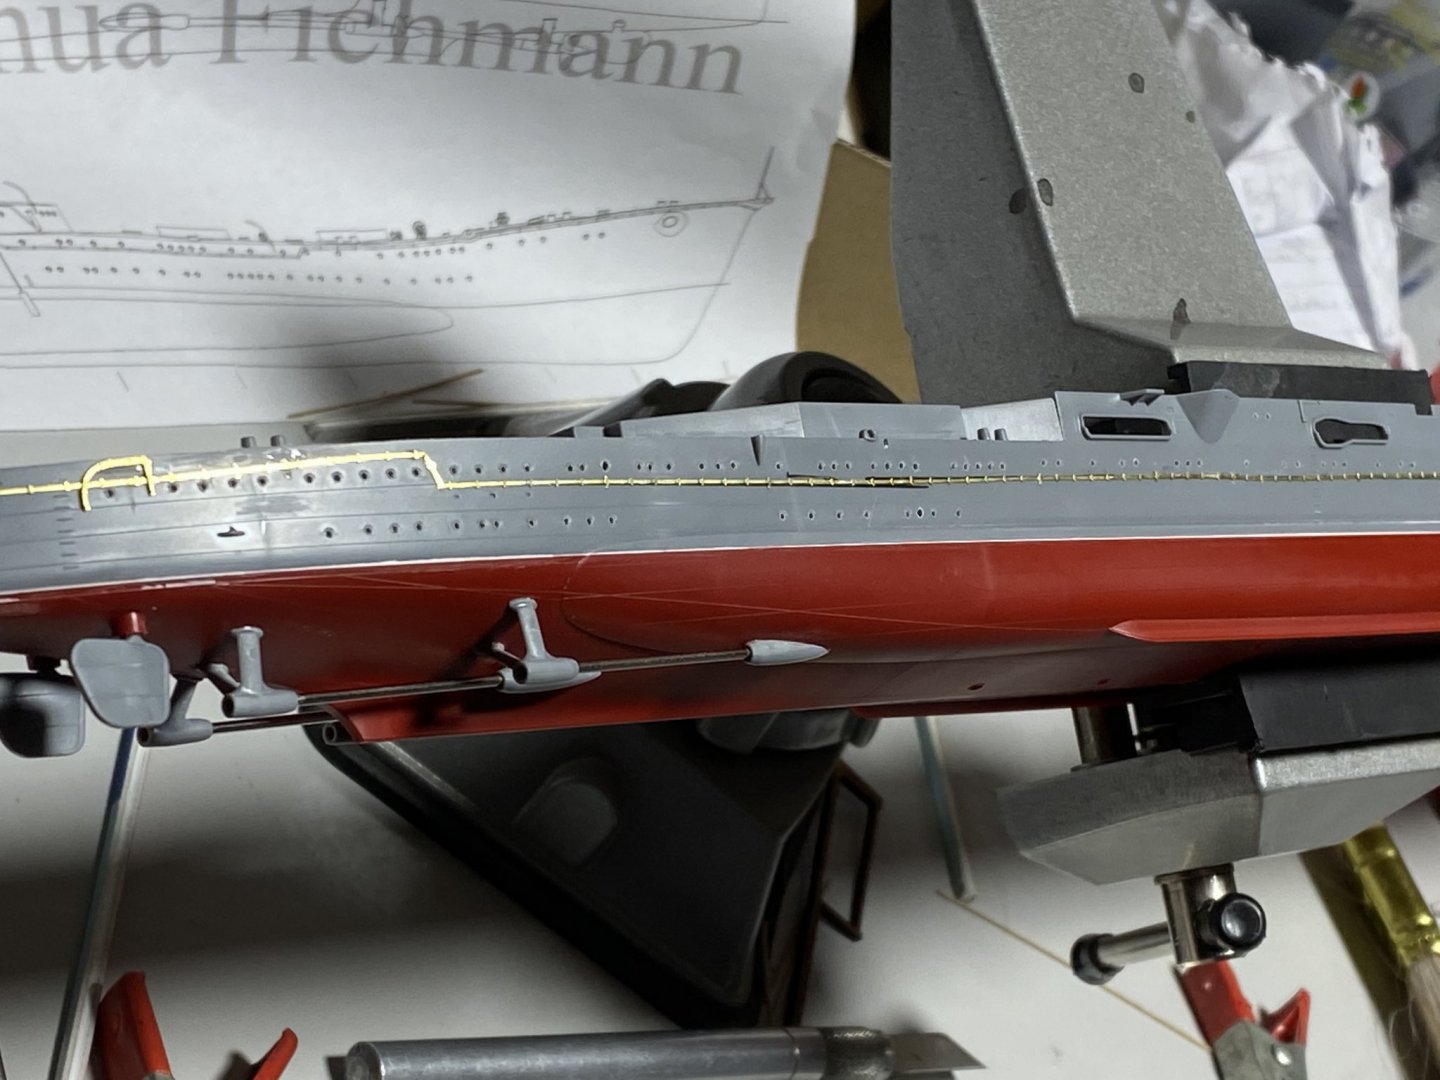
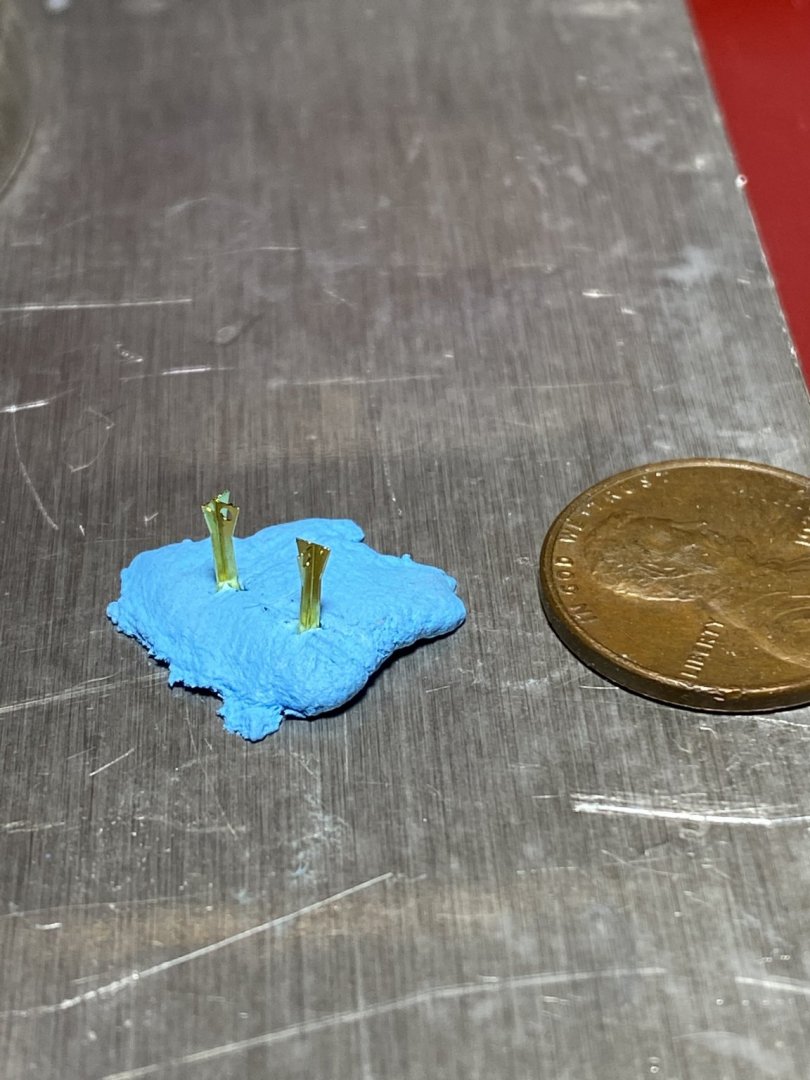
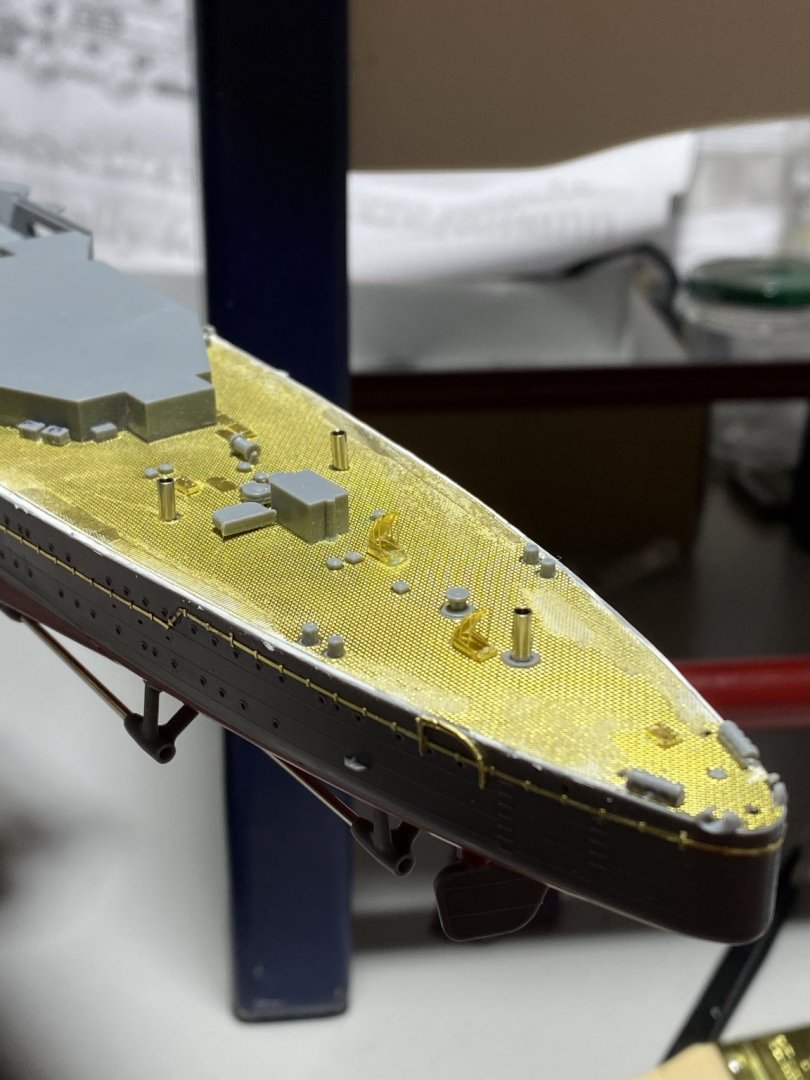
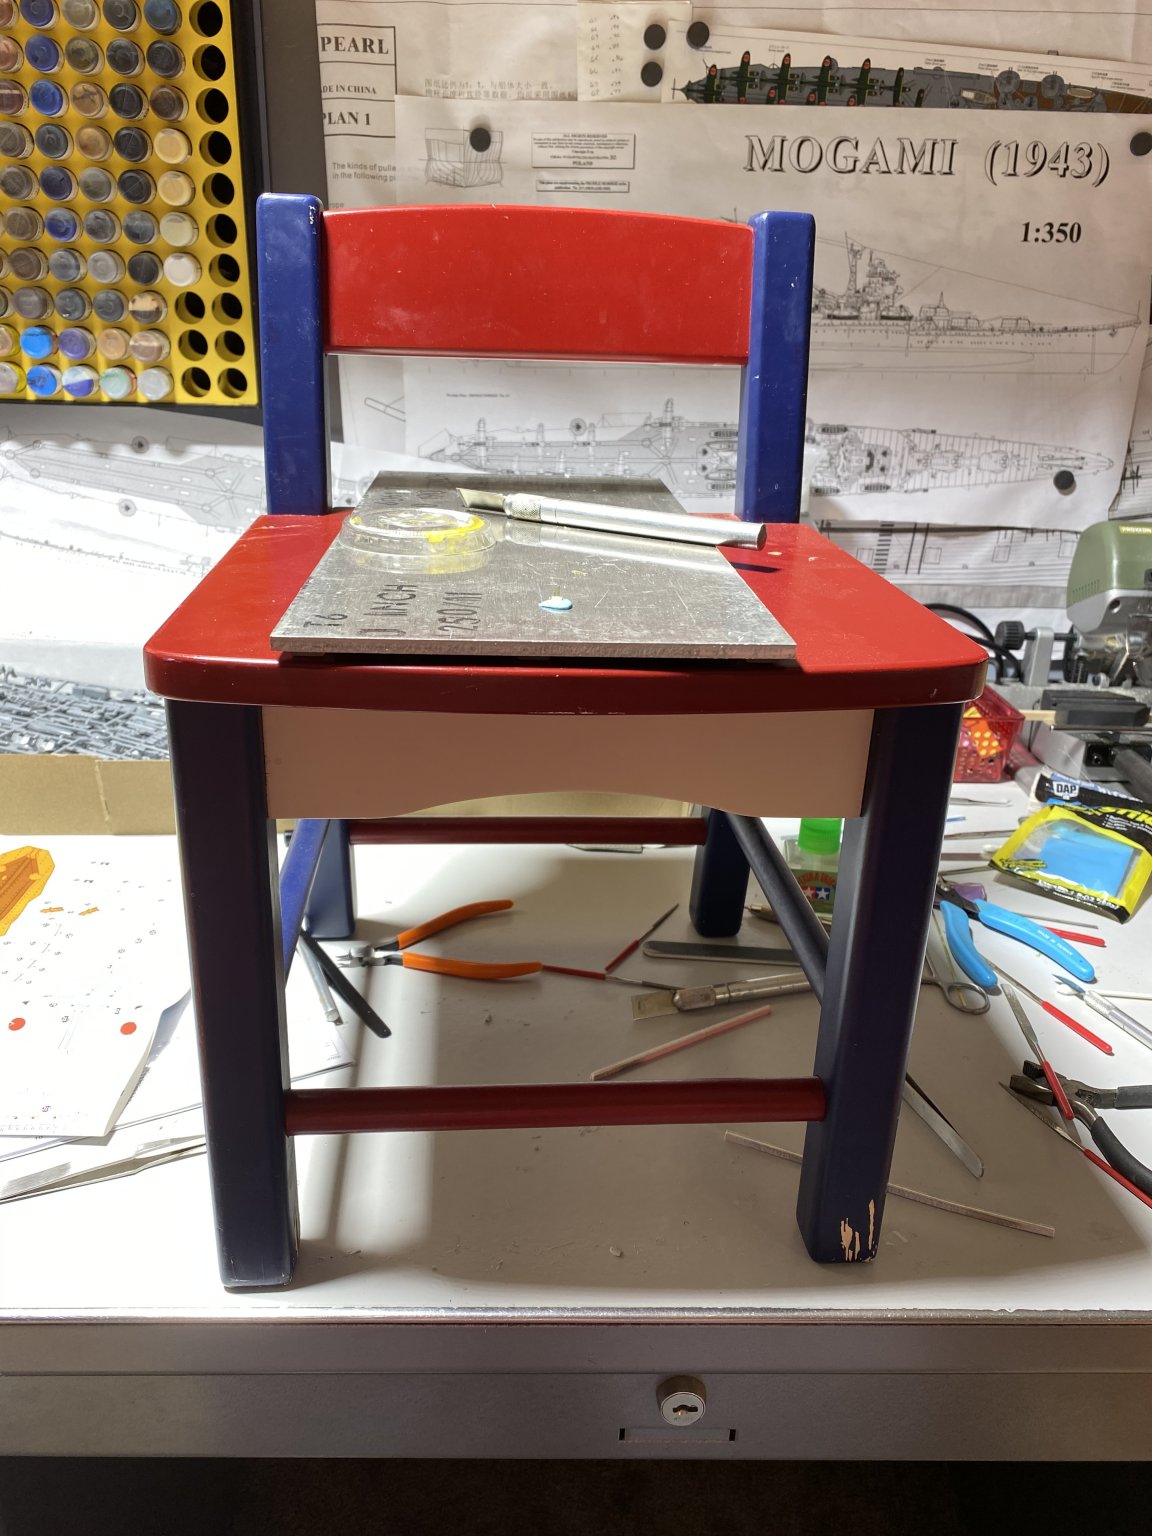
Hello,
Things are starting to get a bit fiddly with these companionway hatches and flight deck supports. I started using my daughter’s desk chair so that I don’t have to lean over to get in close to the work. This is my first go with PE at this level but definitely is worth the effort. Trying to figure out where some of the PE goes is a bit of a puzzle sometimes as FlyHawk doesn’t explicitly place every part. Requires time to go over the directions, diagrams and parts a couple of times to assess what gets replaced by the PE. The decks require a fair amount of stripping to prepare them for the PE detail replacements.
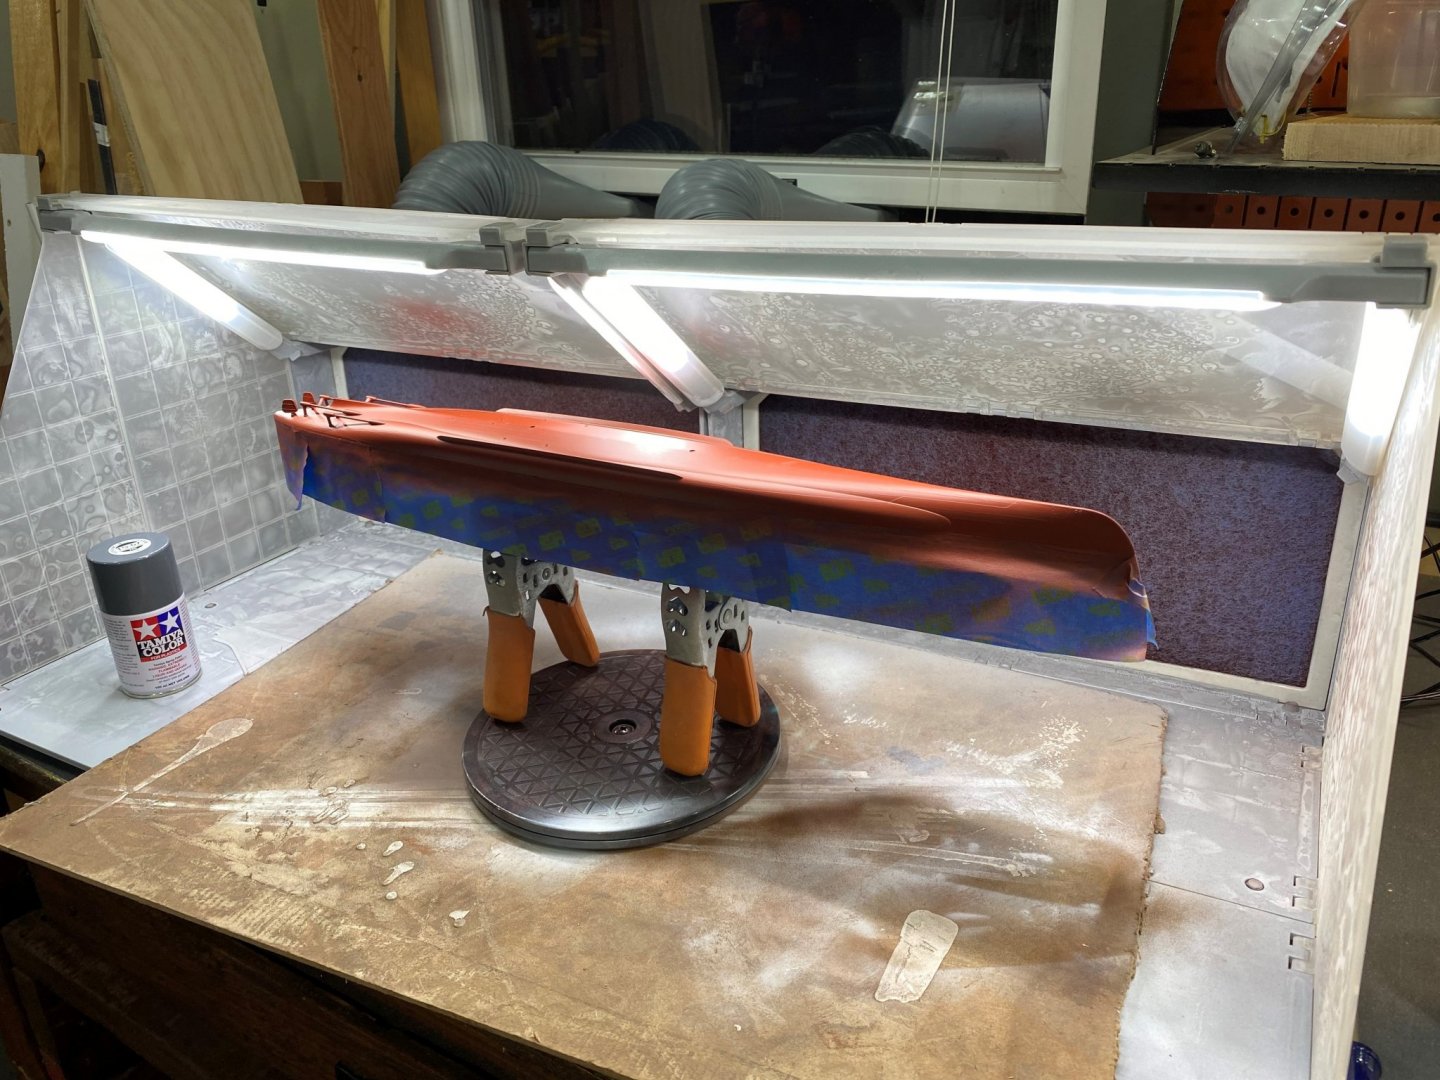
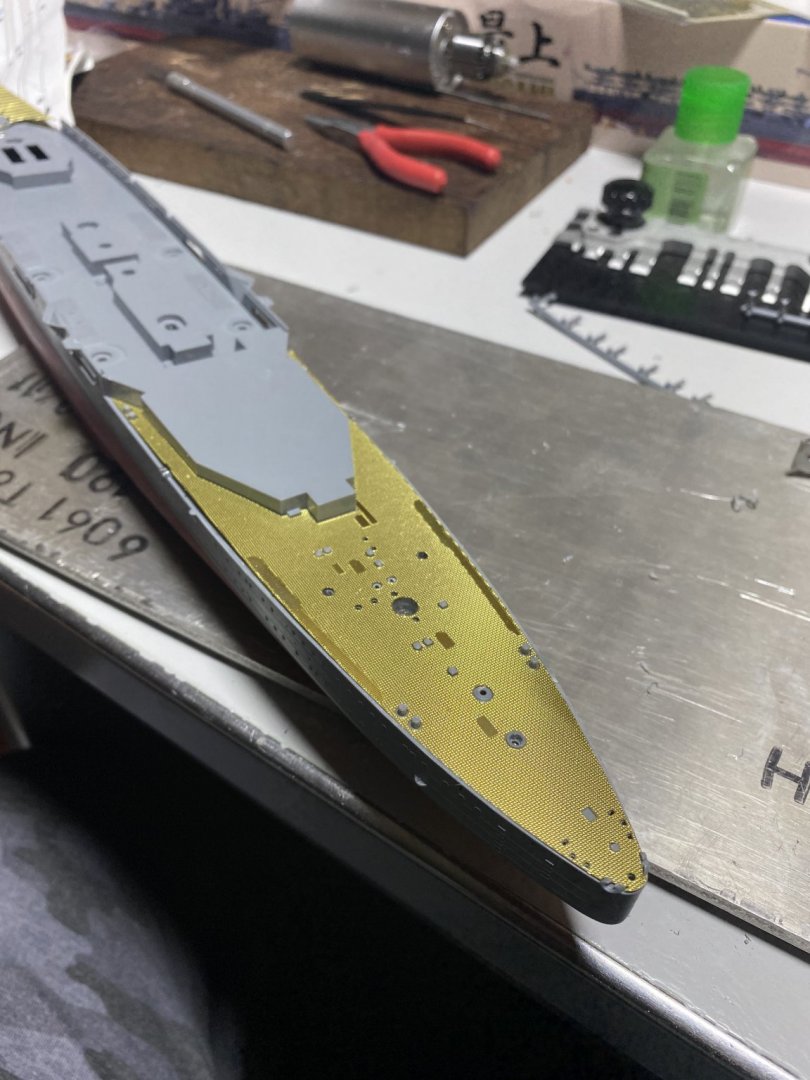
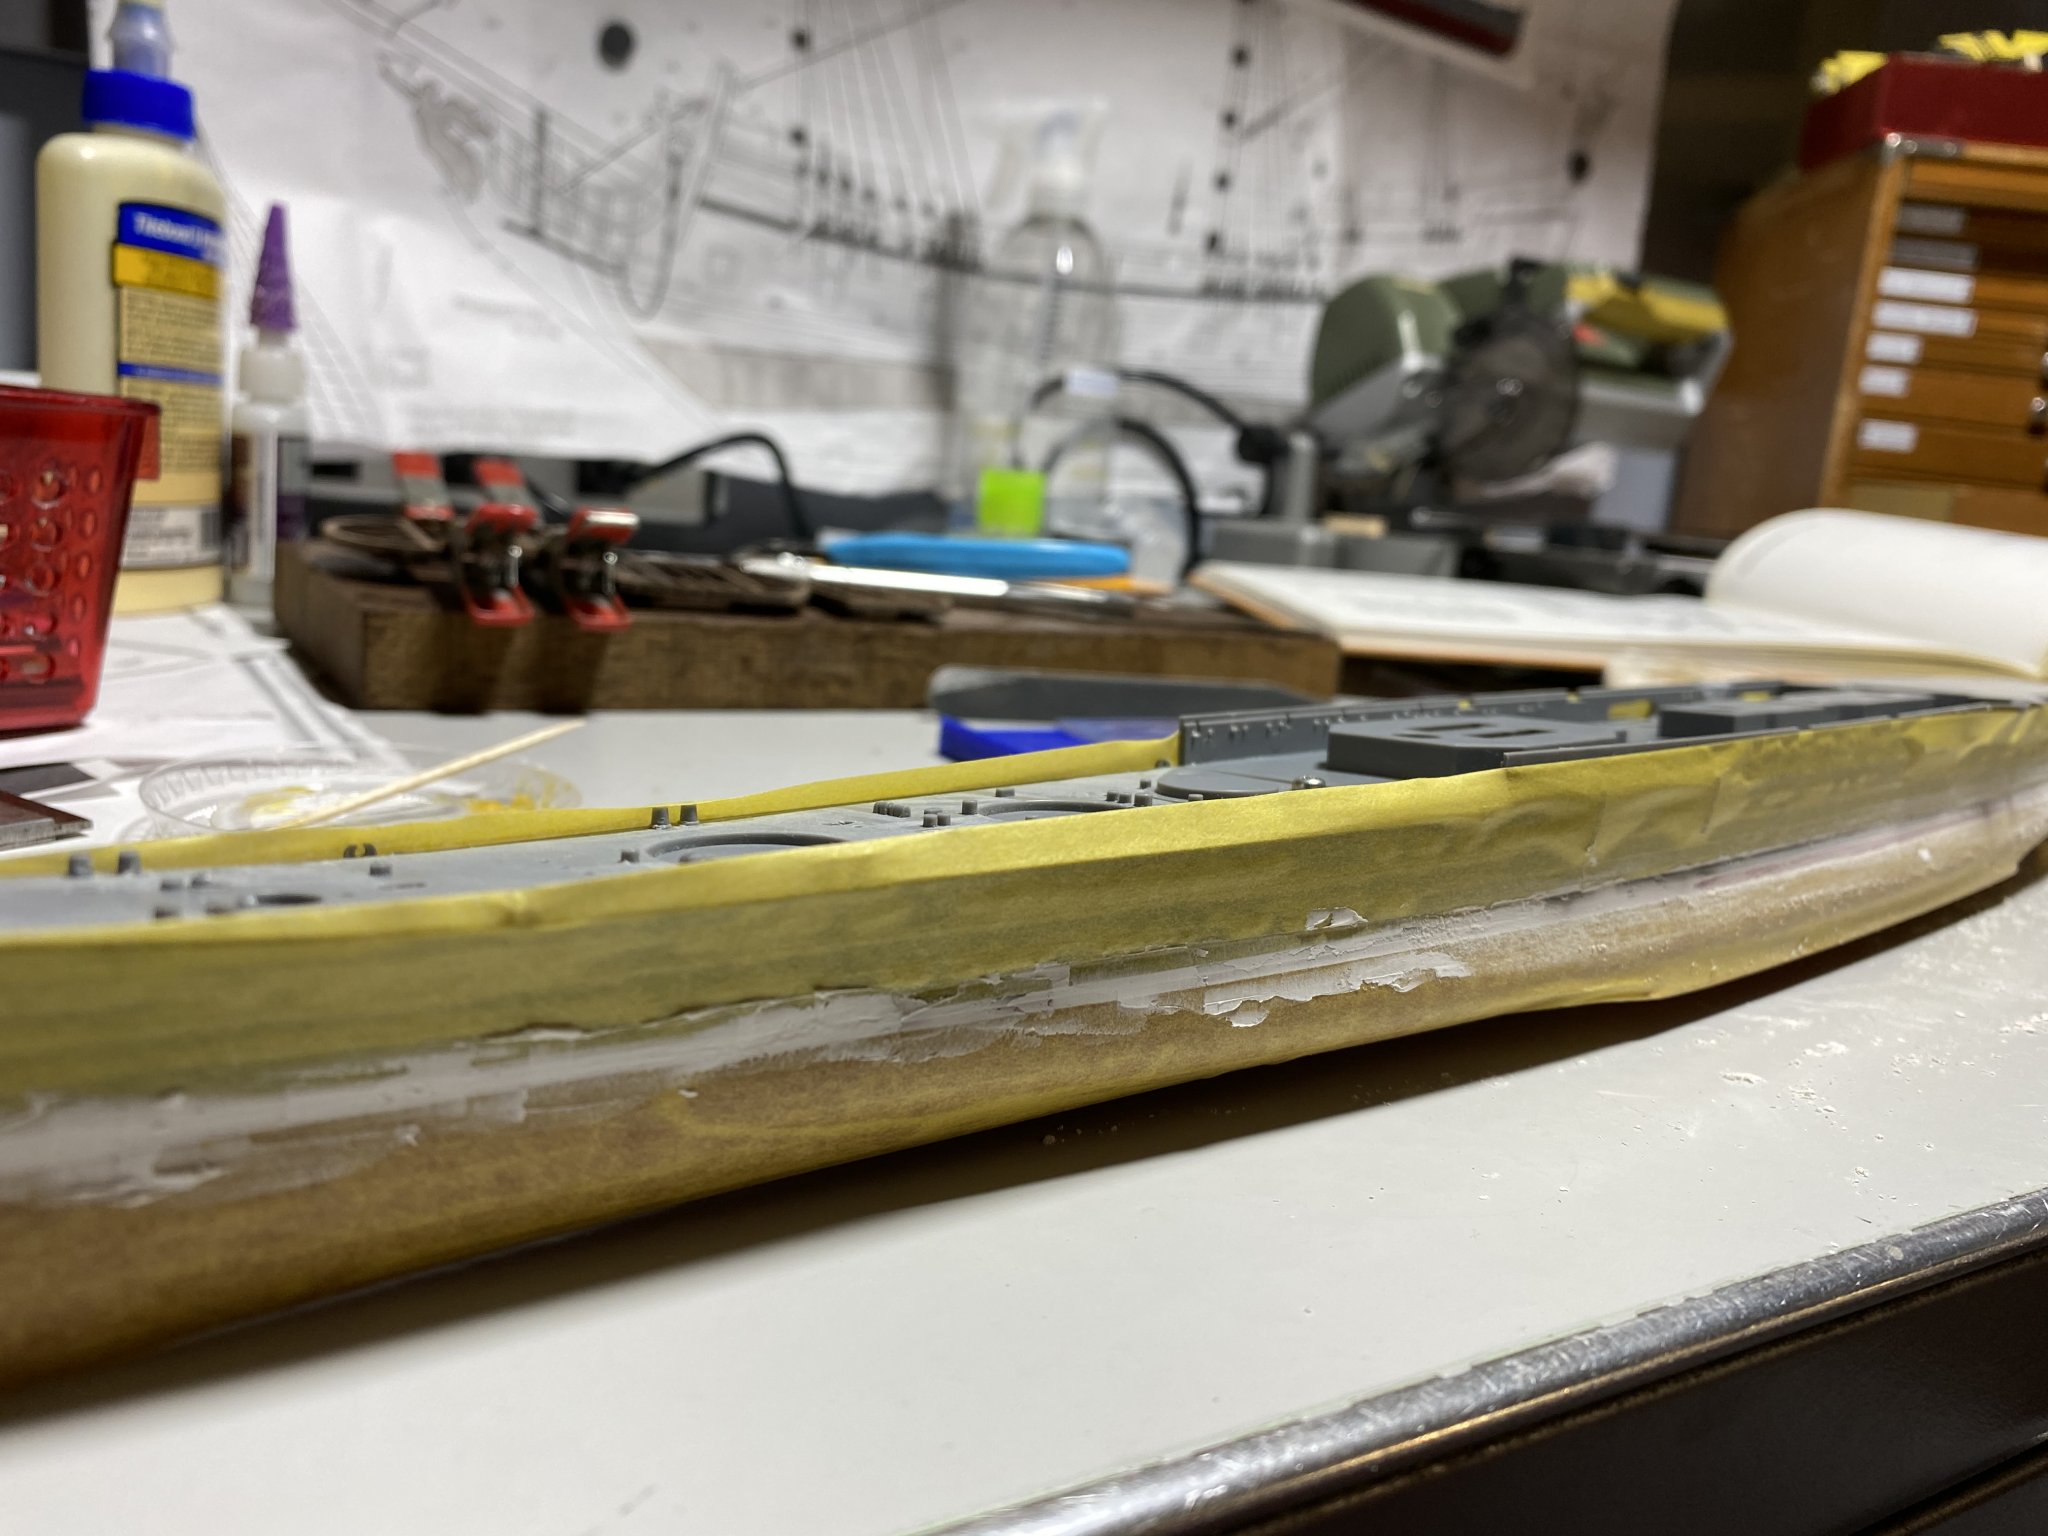
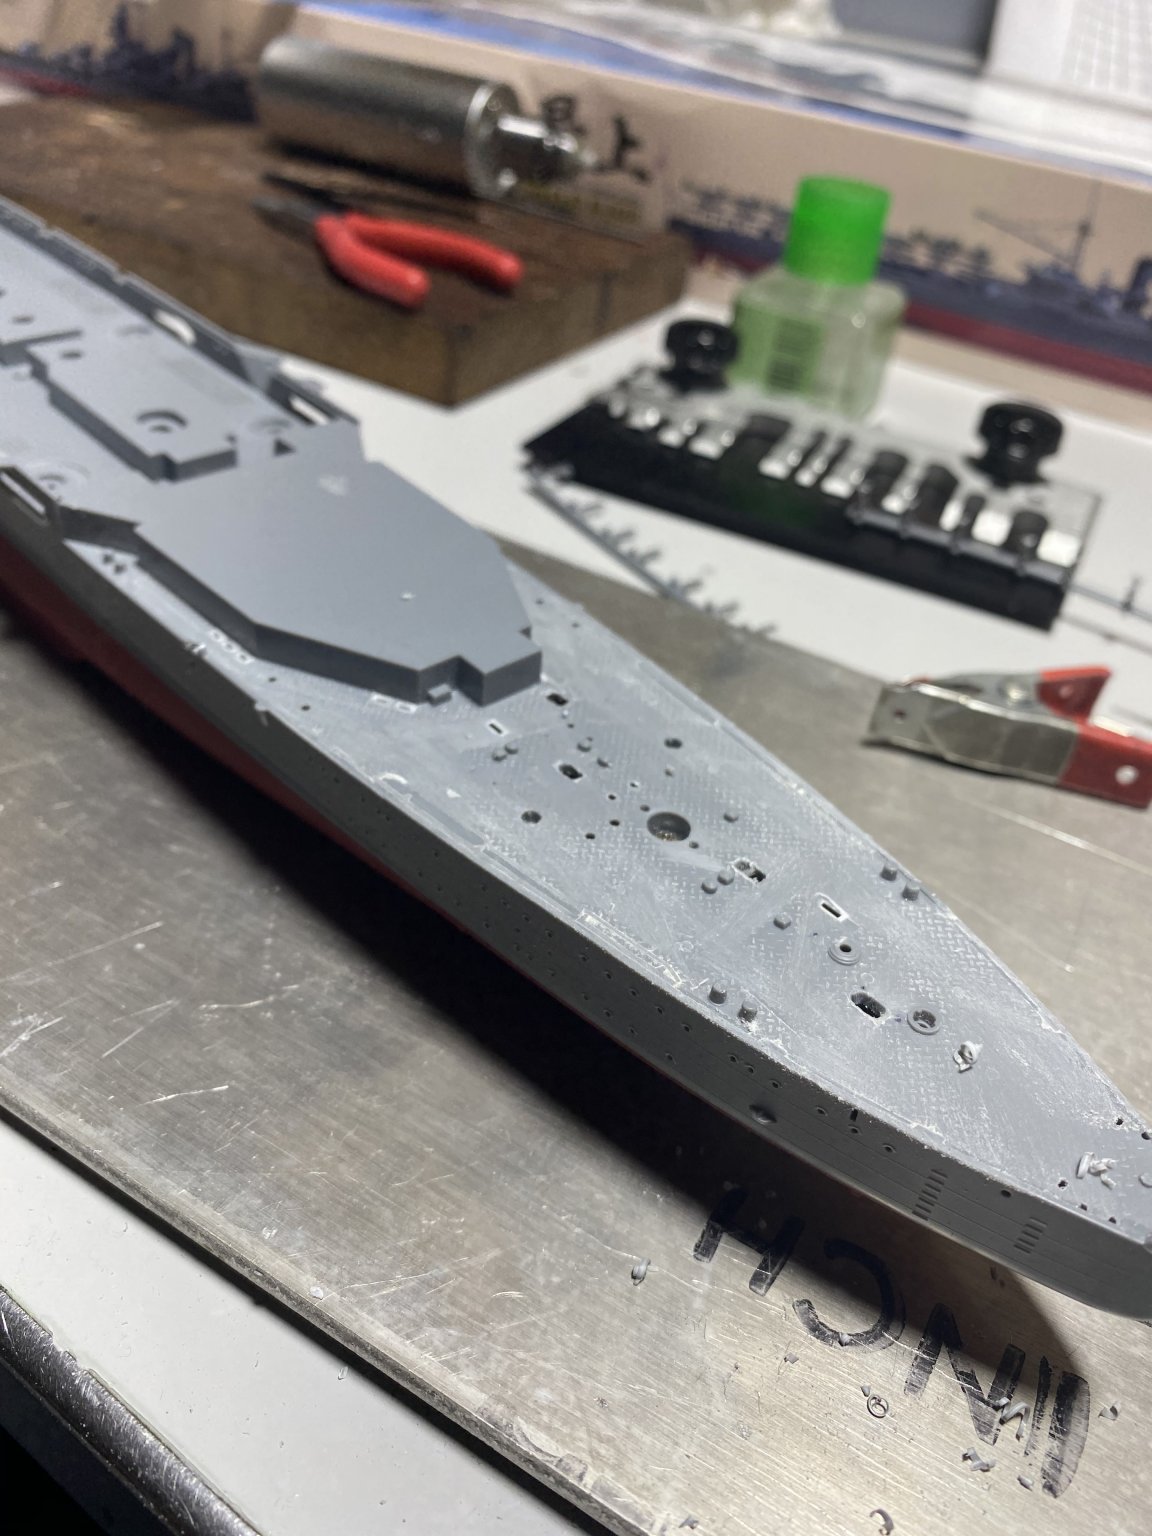
Getting ready to be able to put the hull through the first round of painting with IJN Grey and Anti-fouling Red. I’m going to paint the bow plate separately because most of it will be brown for the linoleum. Puttied the seam in the middle of the hull, did some puttying at the lip of the deck plating to eliminate.
I’ve been having a hard time stepping away from this one! I’m going on a camping trip soon, I’m trying to work out what I can bring with me to work on!
Joshua


-
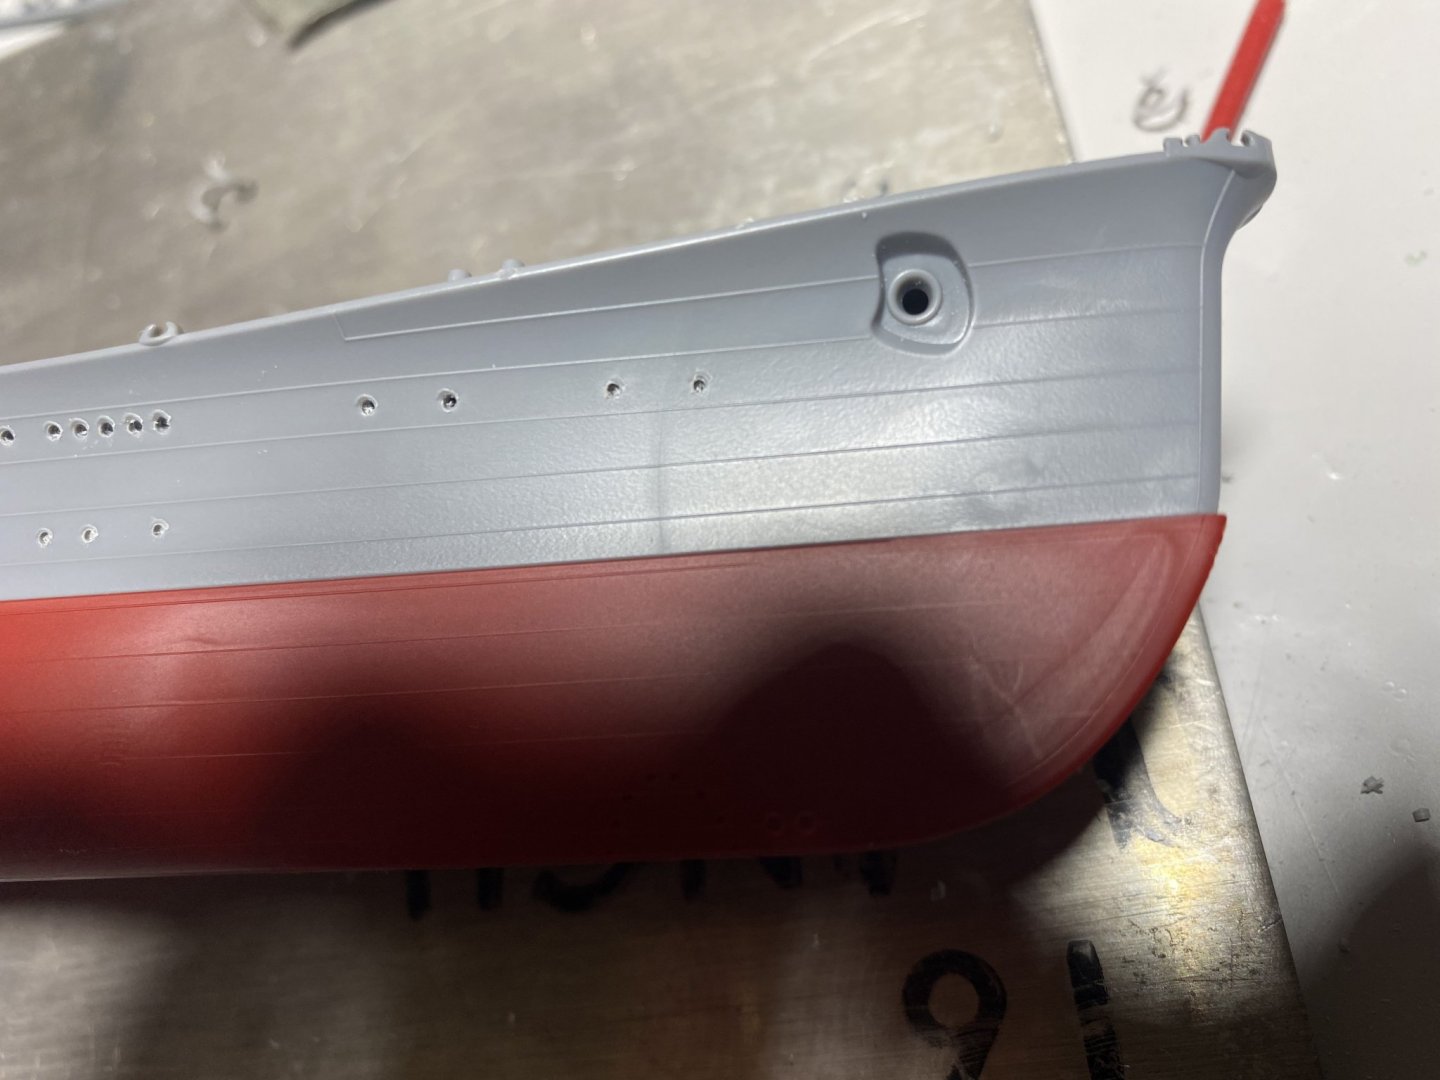
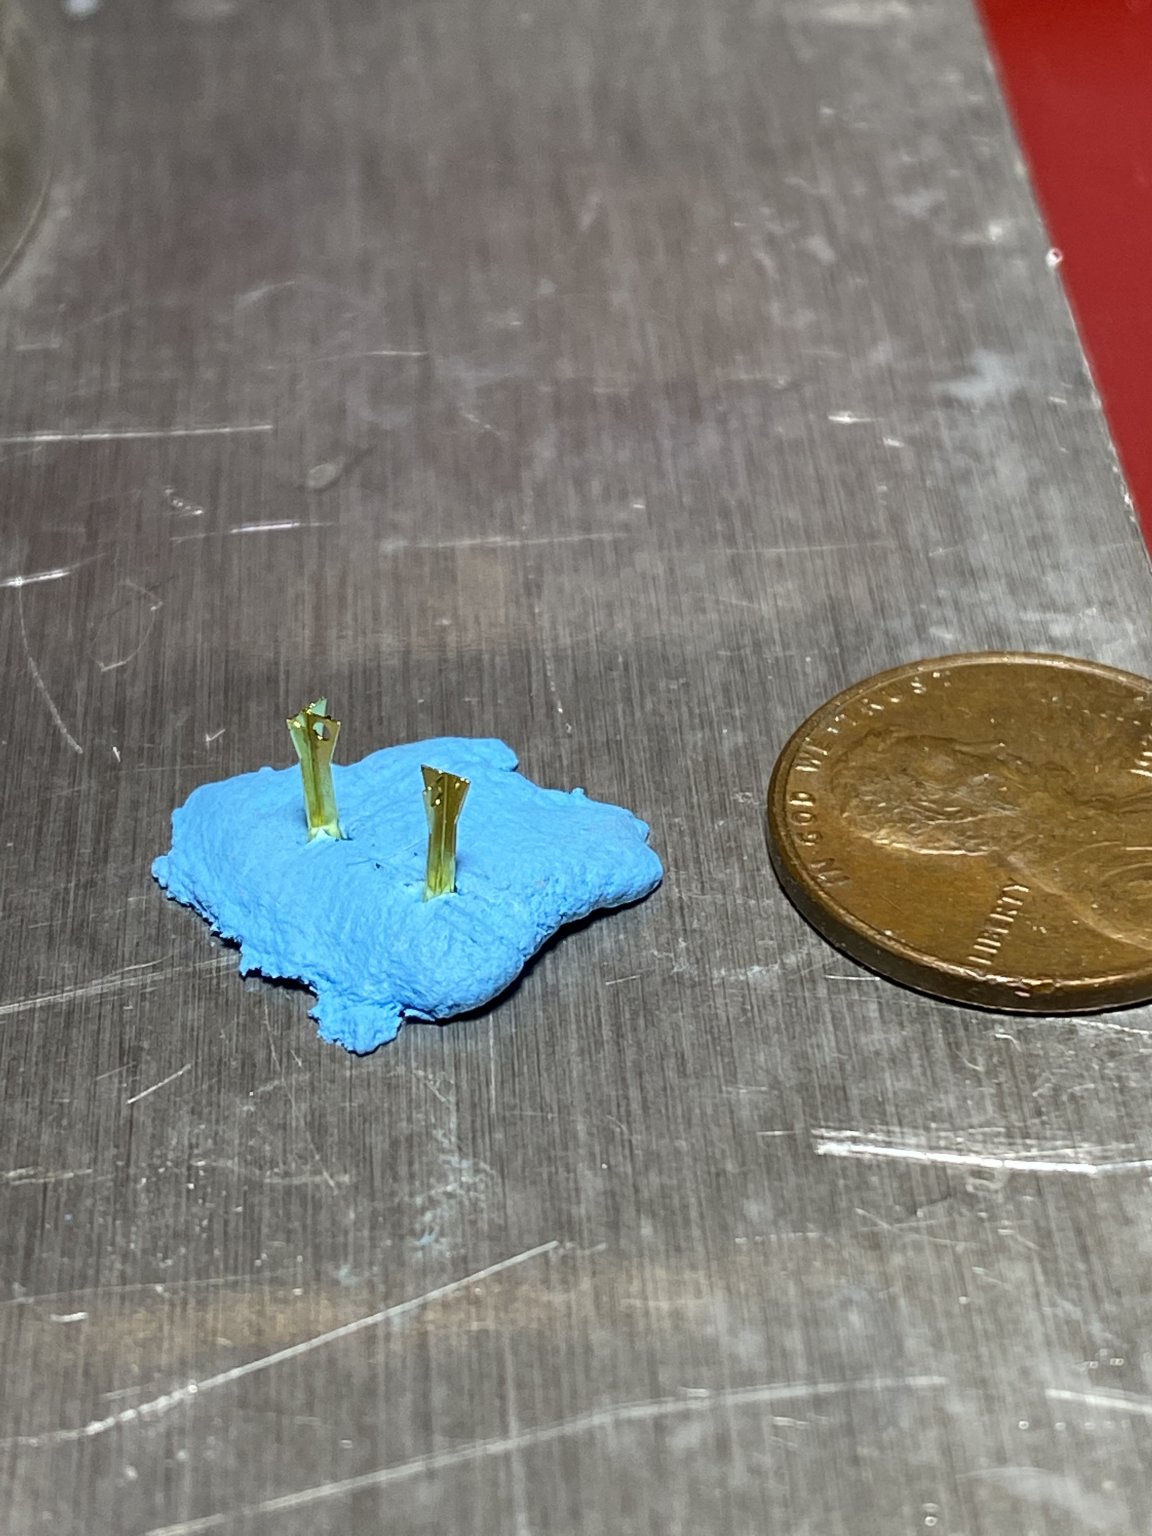
11 minutes ago, MikaH said:
A little bit of Tamiya Extra Thin in the hole will melt those fuzzies right back
Sweet, I'll try that!
- mtaylor, Canute, popeye the sailor and 2 others
-
5
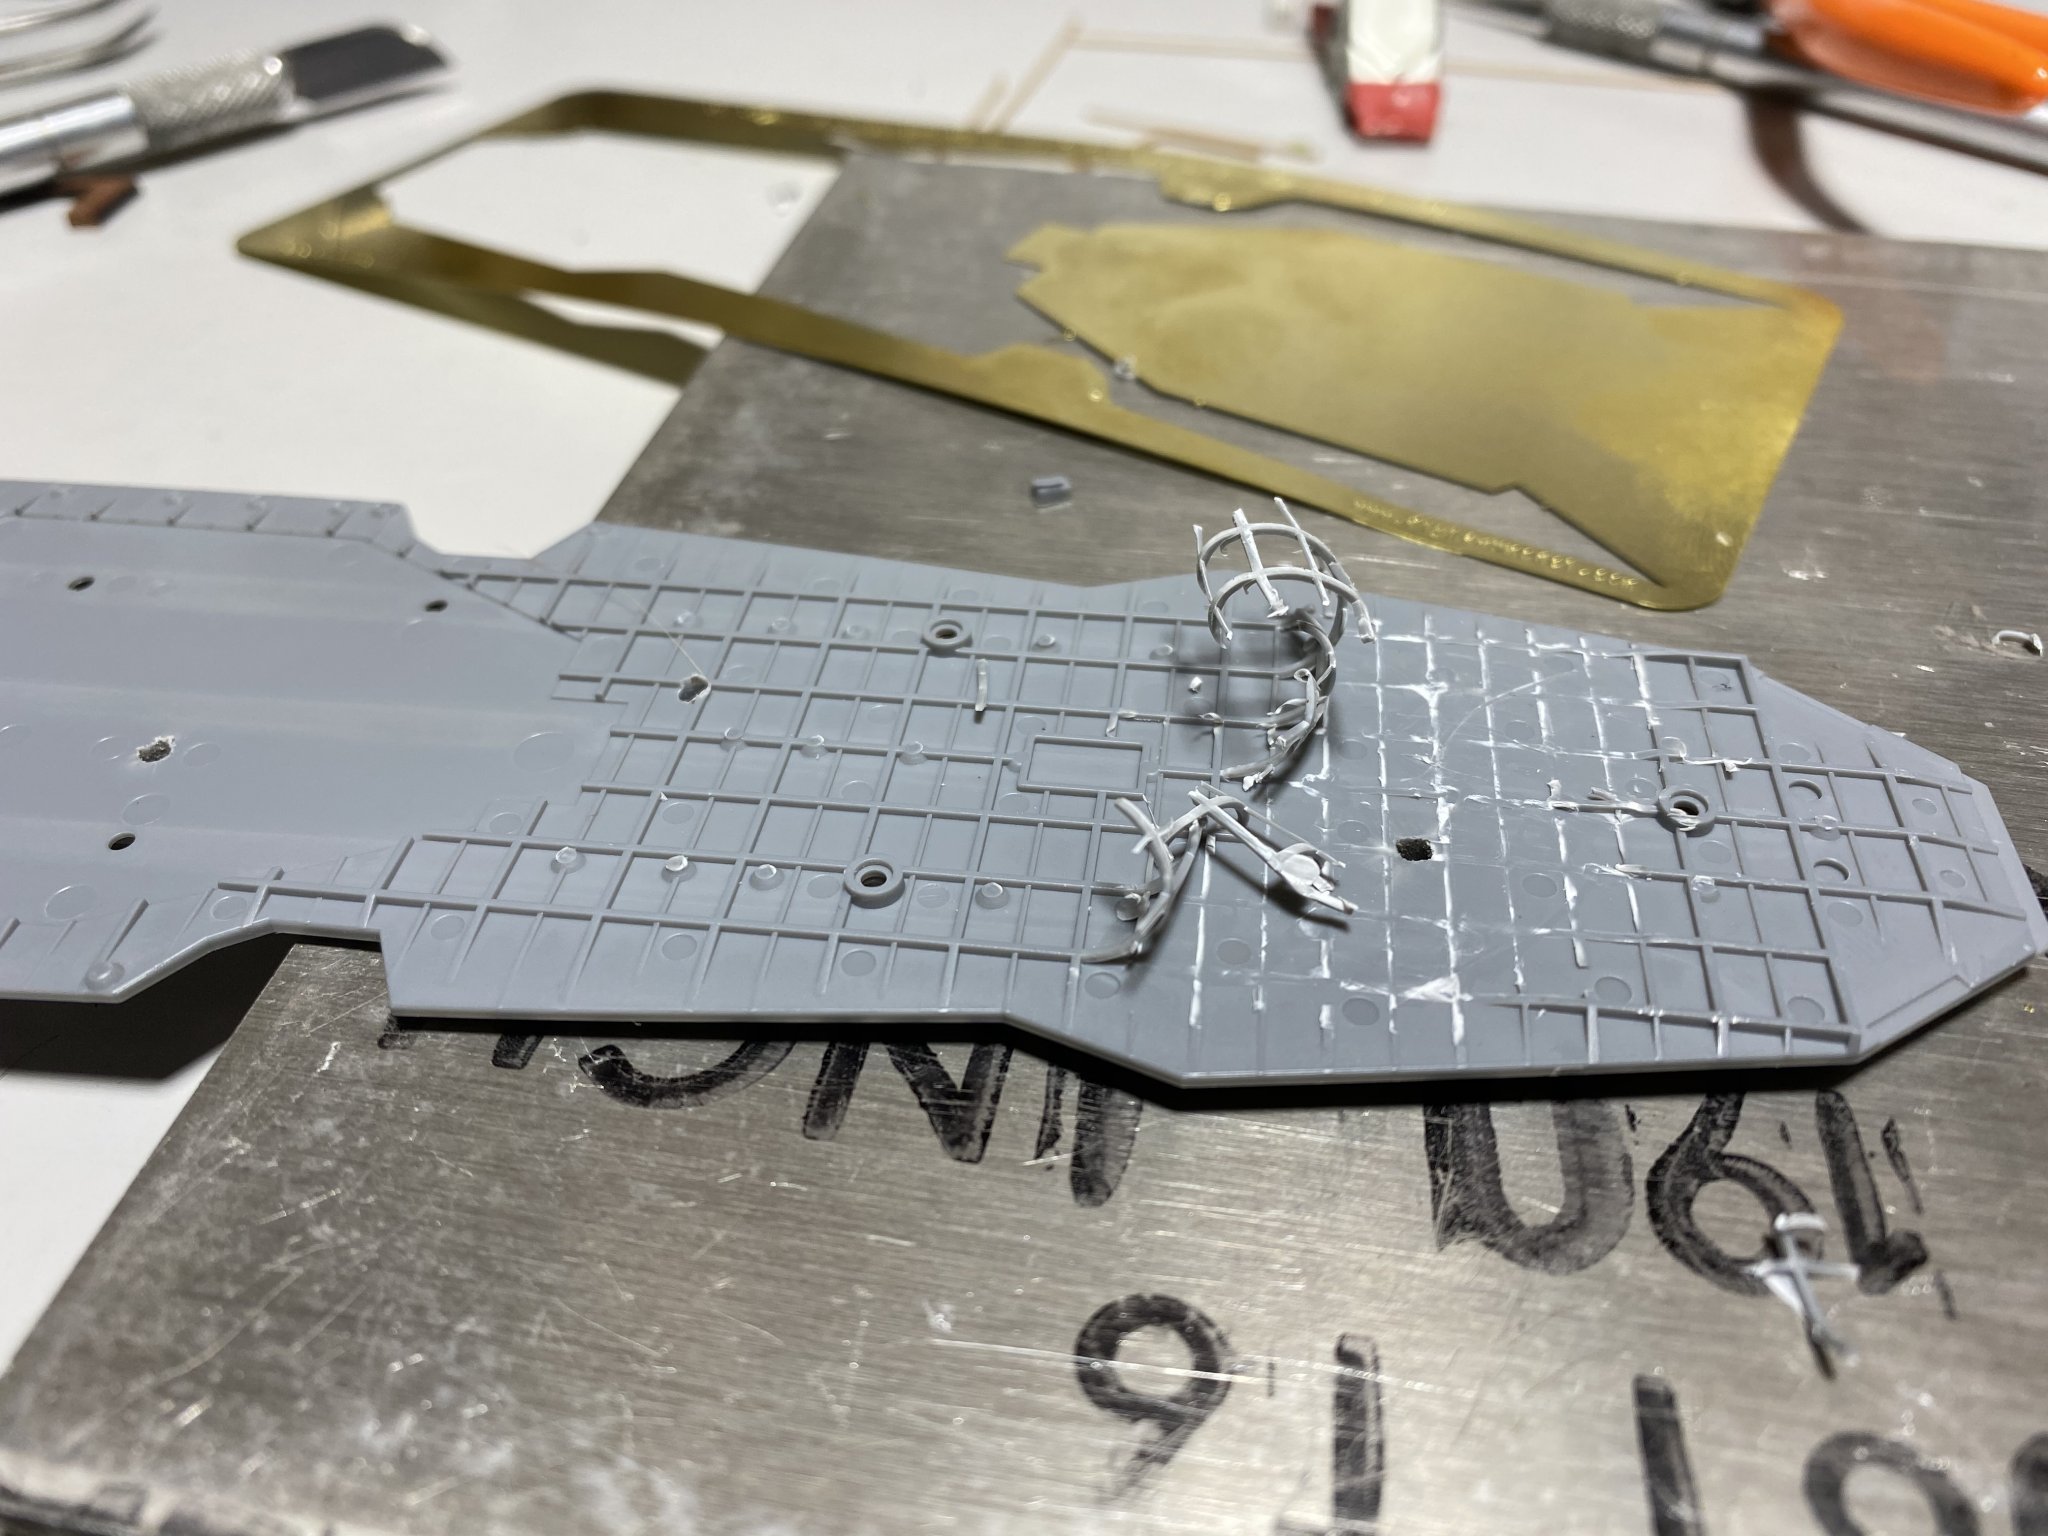
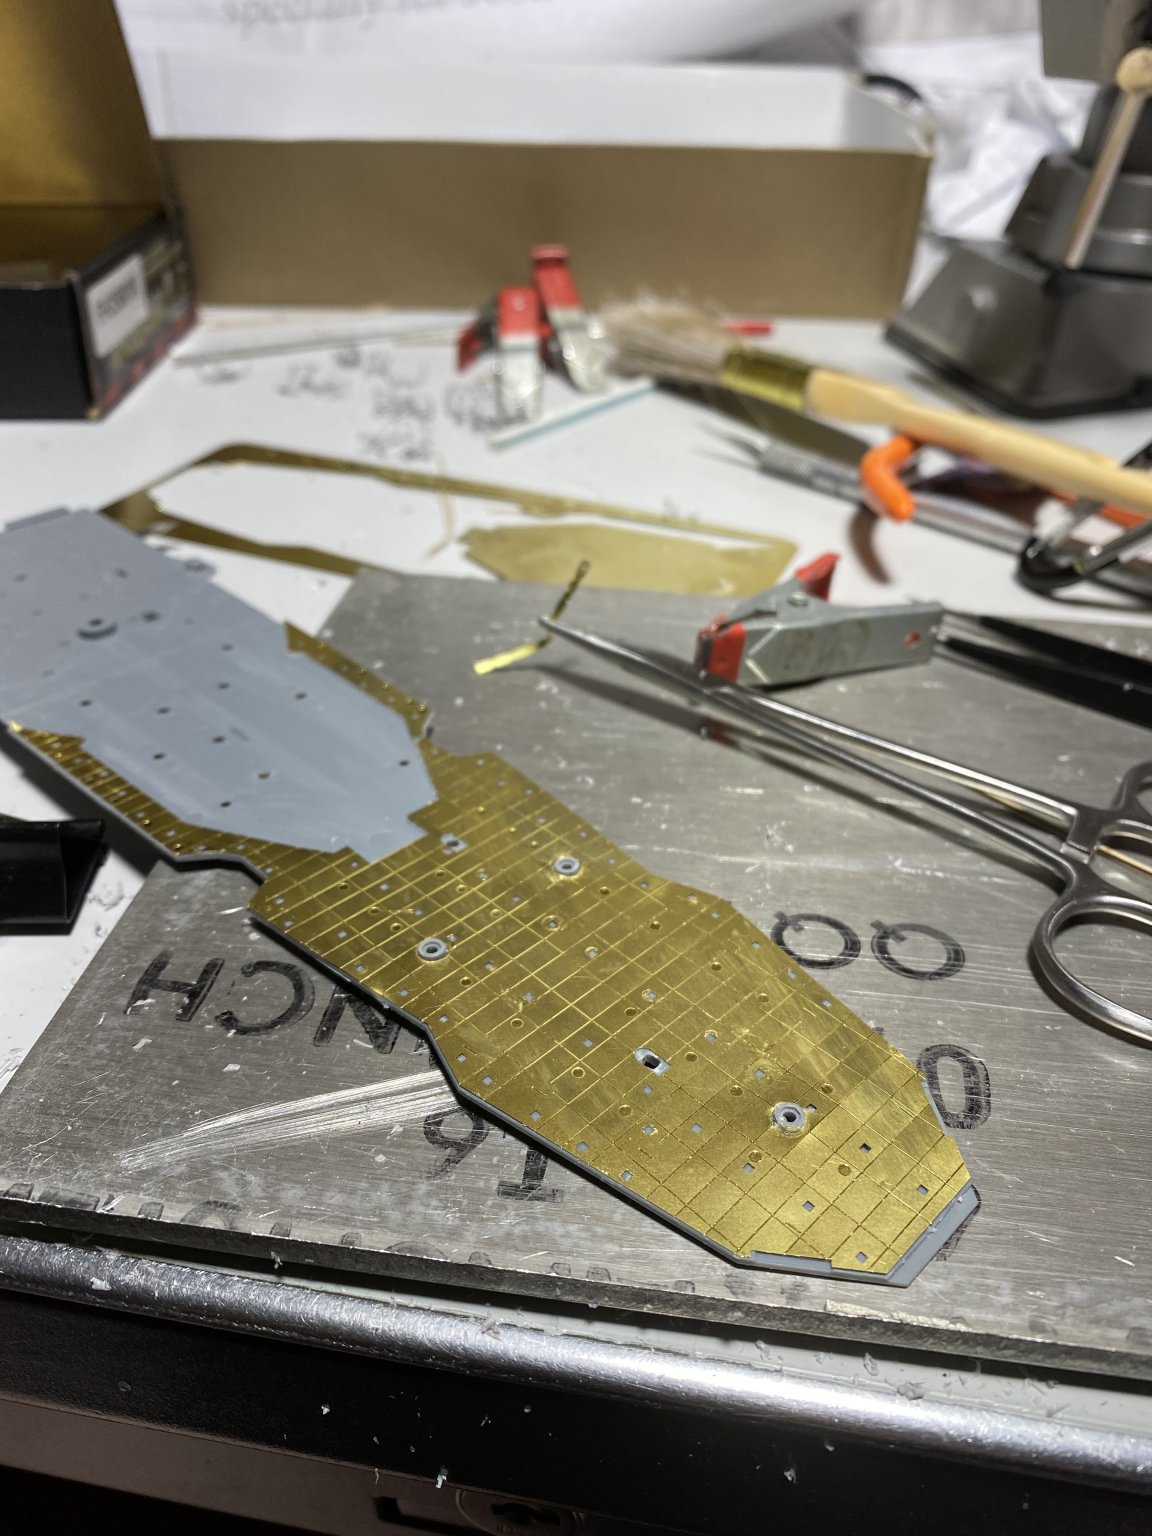
-
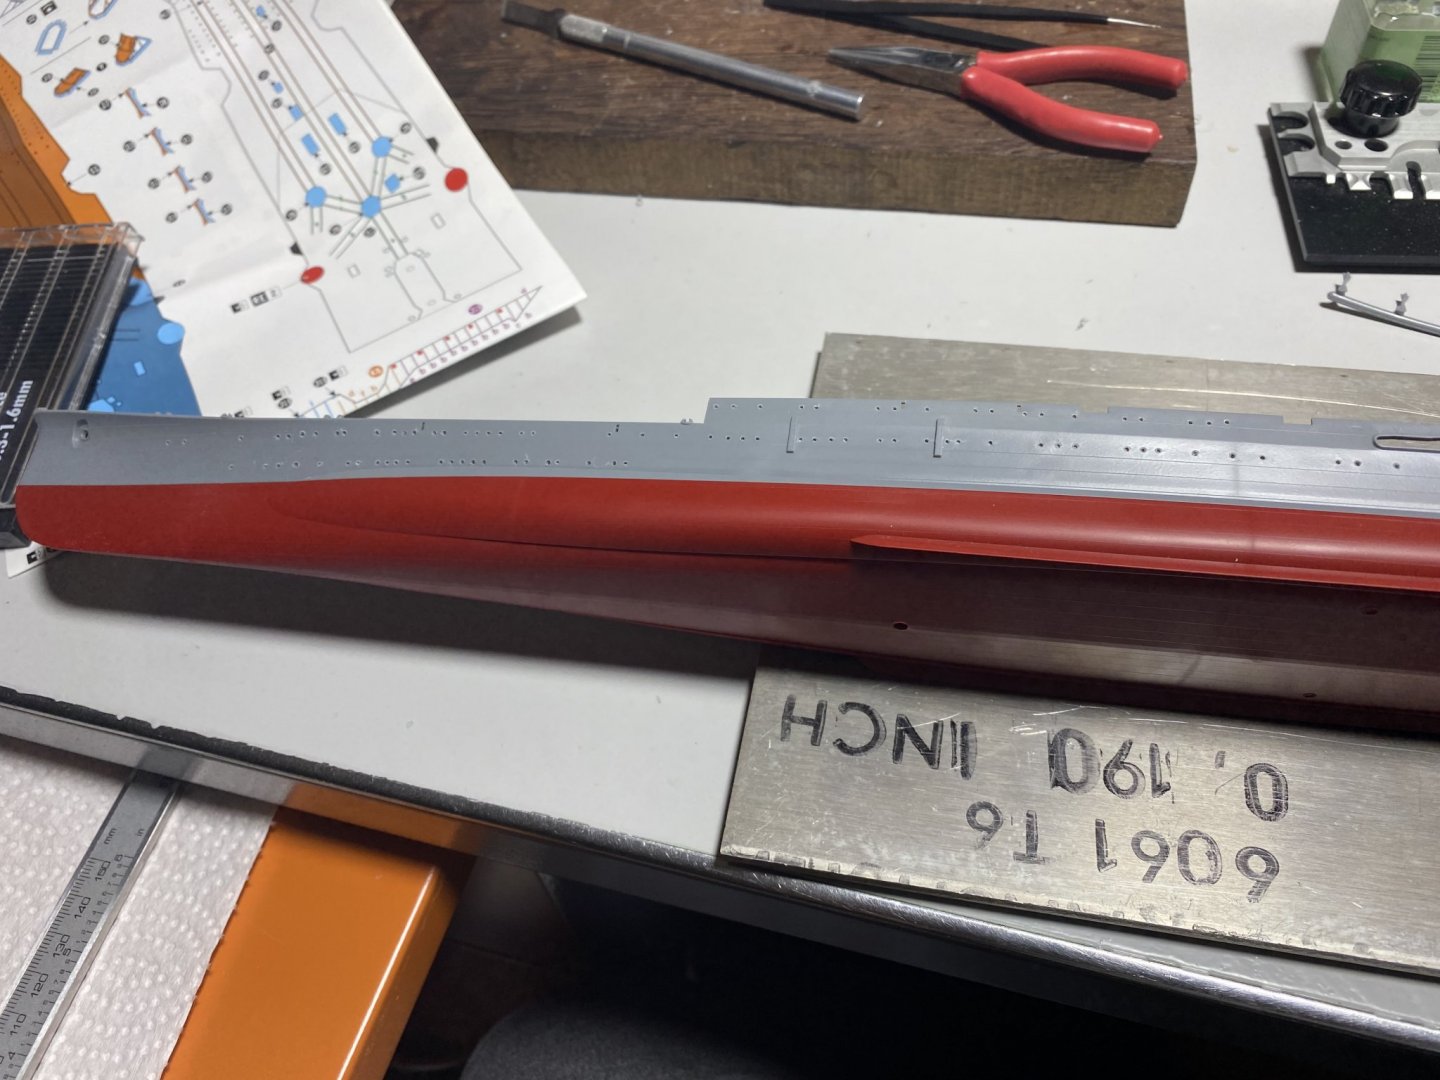
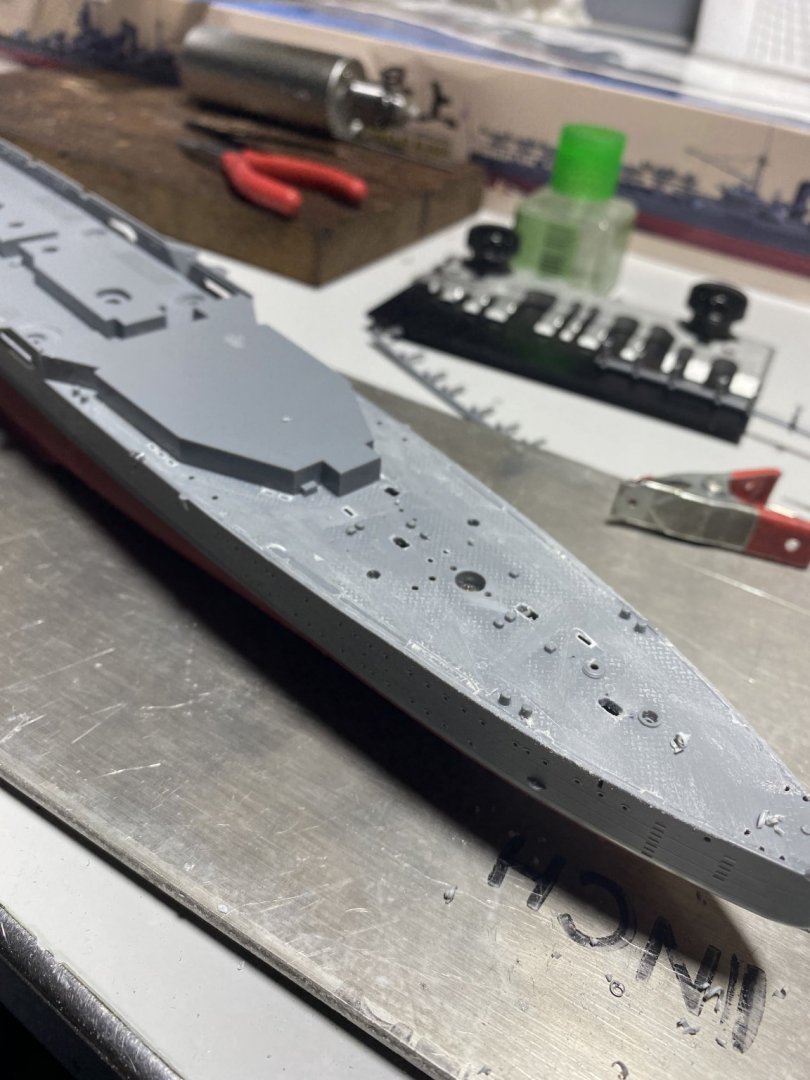
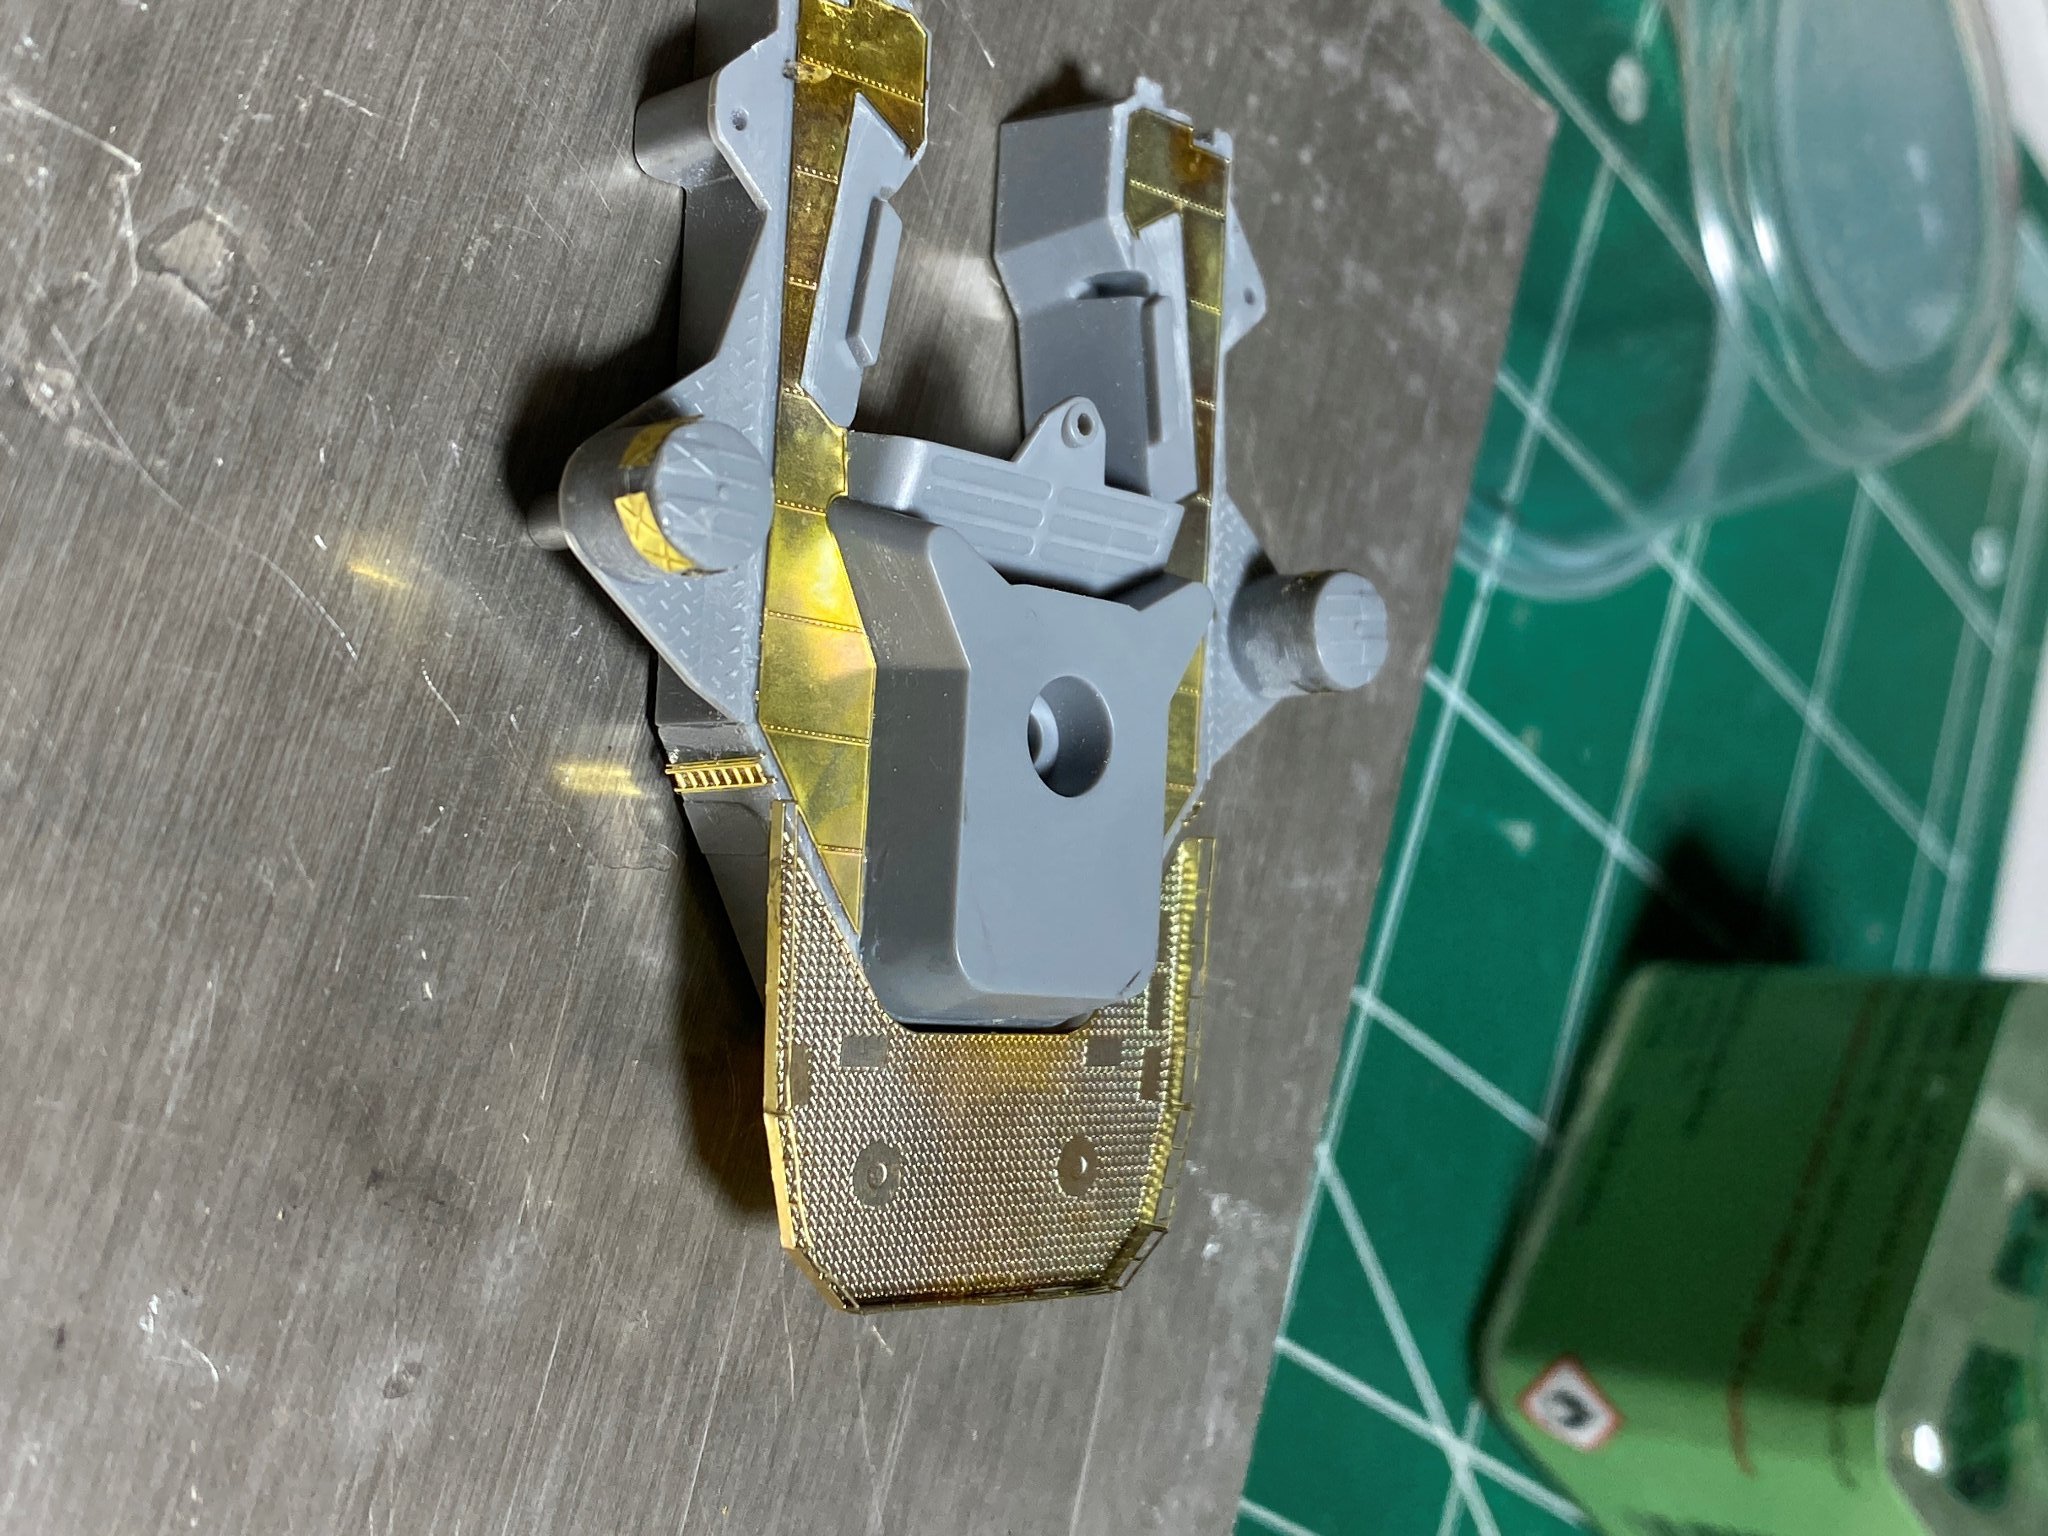
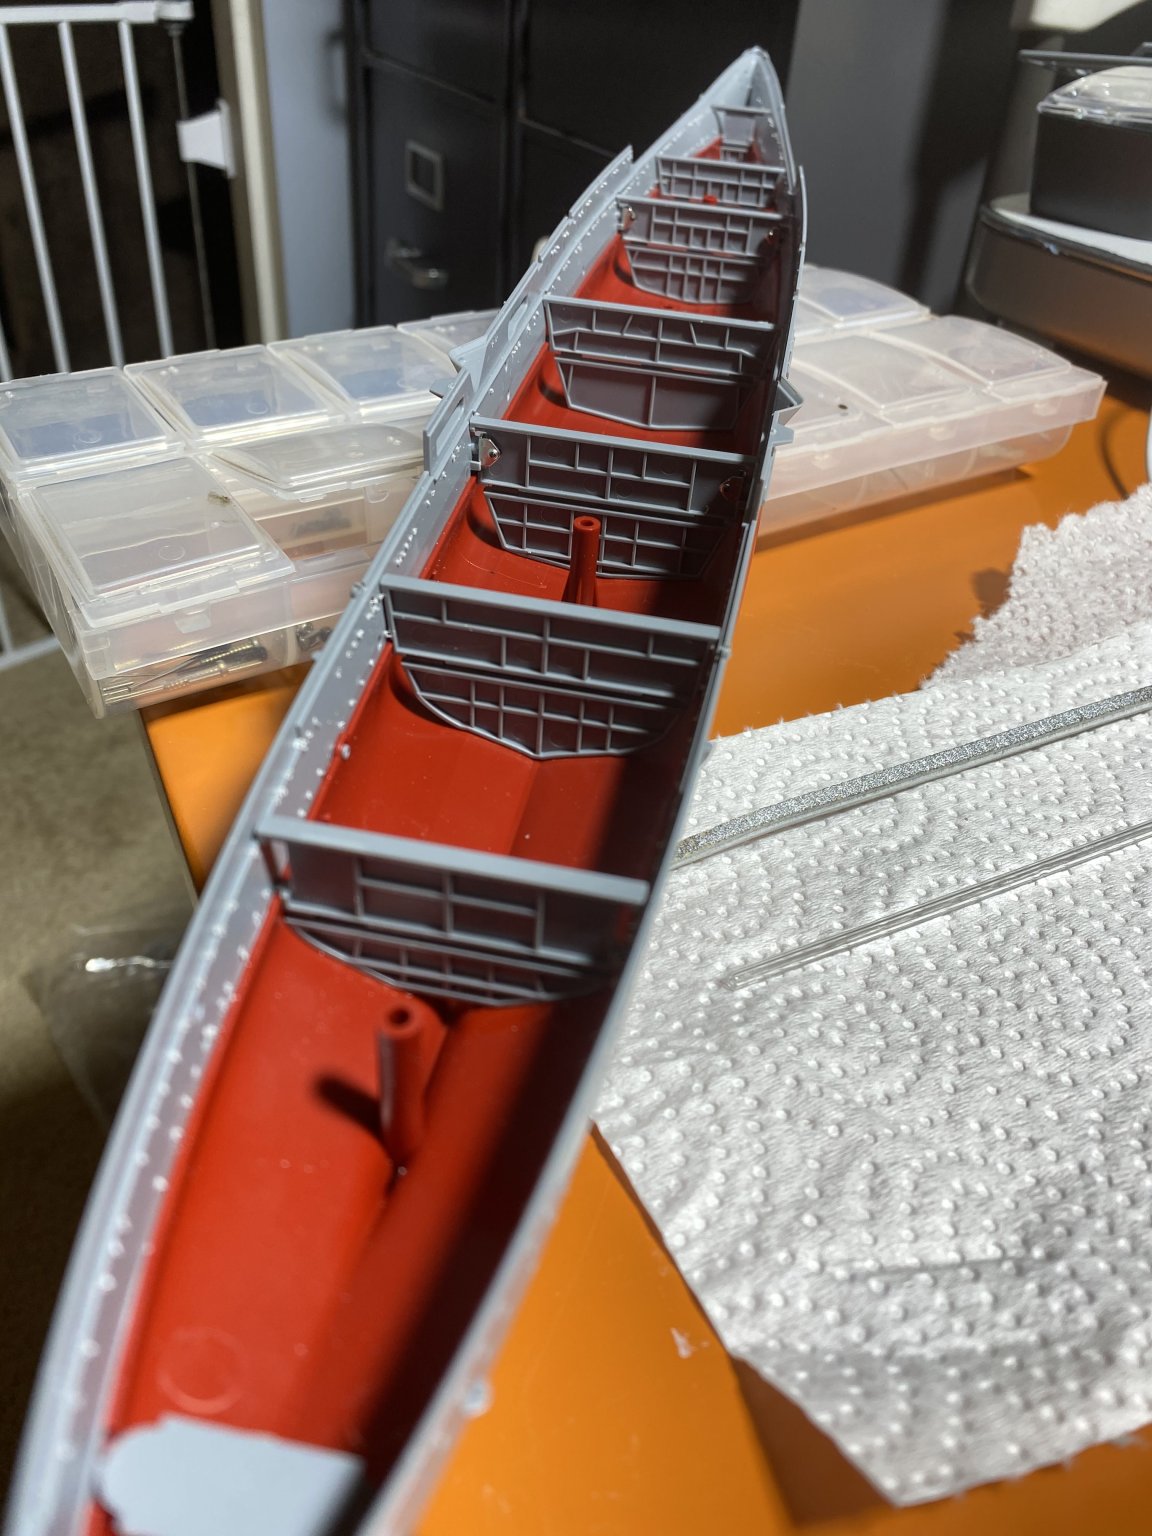
One fun element to plastic ship modeling is you can have a hull together is pretty much one sitting, that's motivating. I really enjoyed how this model has gone together with metal fittings and screws. Worst part of it being this little lip at the bow. It's a little unnerving scraping off all this detail for the brass etch replacements, less sad for the overscale diamond plate on the aft deck. I drilled out the portholes. I'm going to start working on the propeller assembly and filling in the seams of the hull to paint. Any ideas on cleaning up the plastic "fuzzies" in the portholes?

-
Greetings,
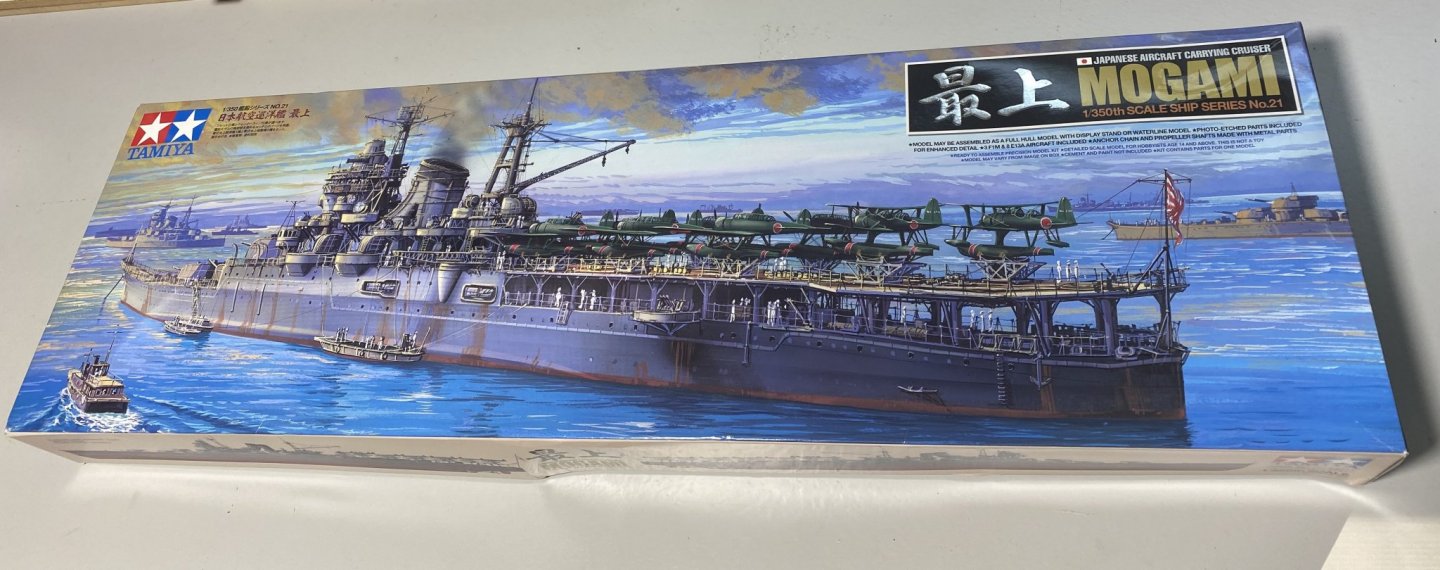
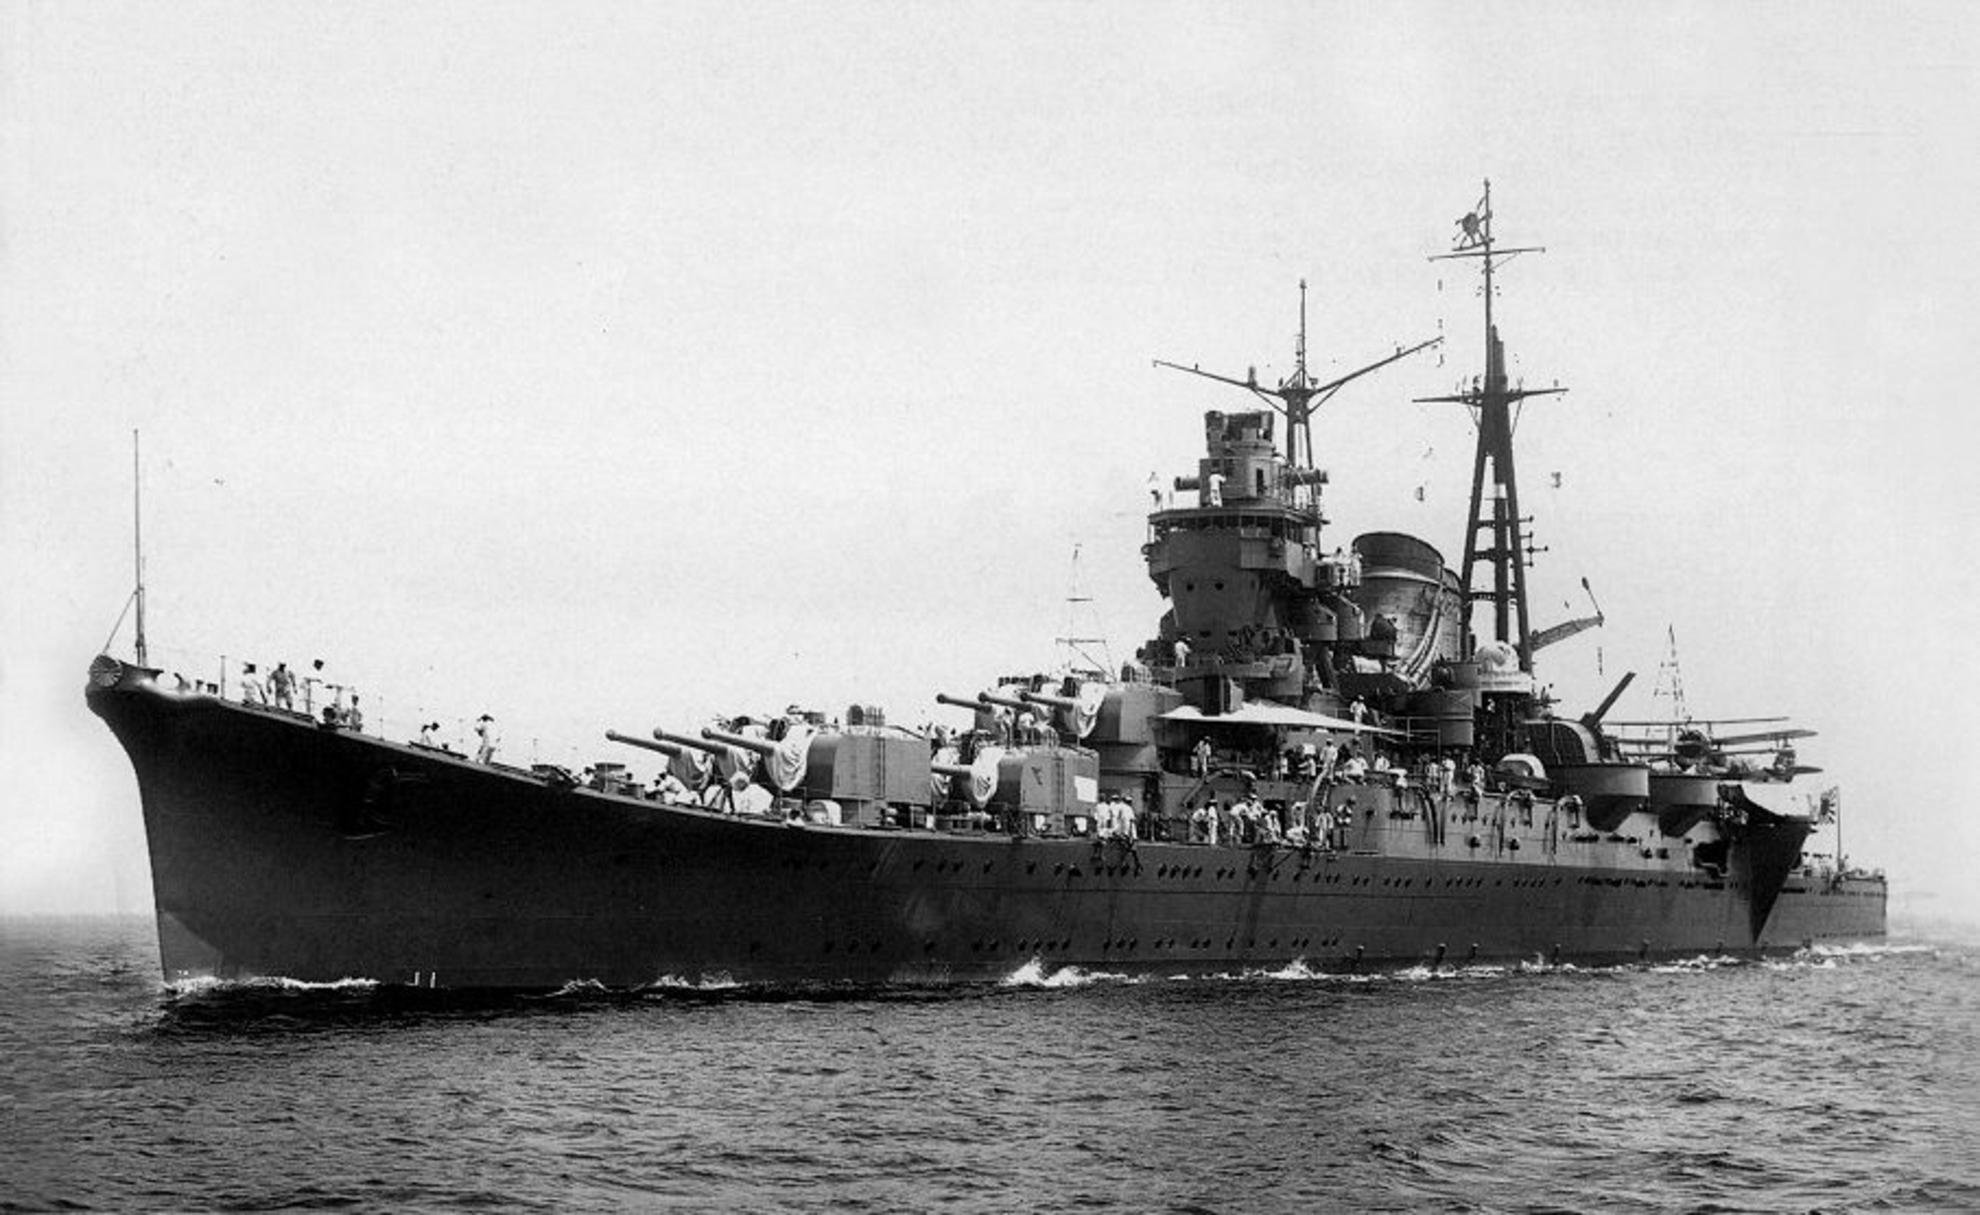
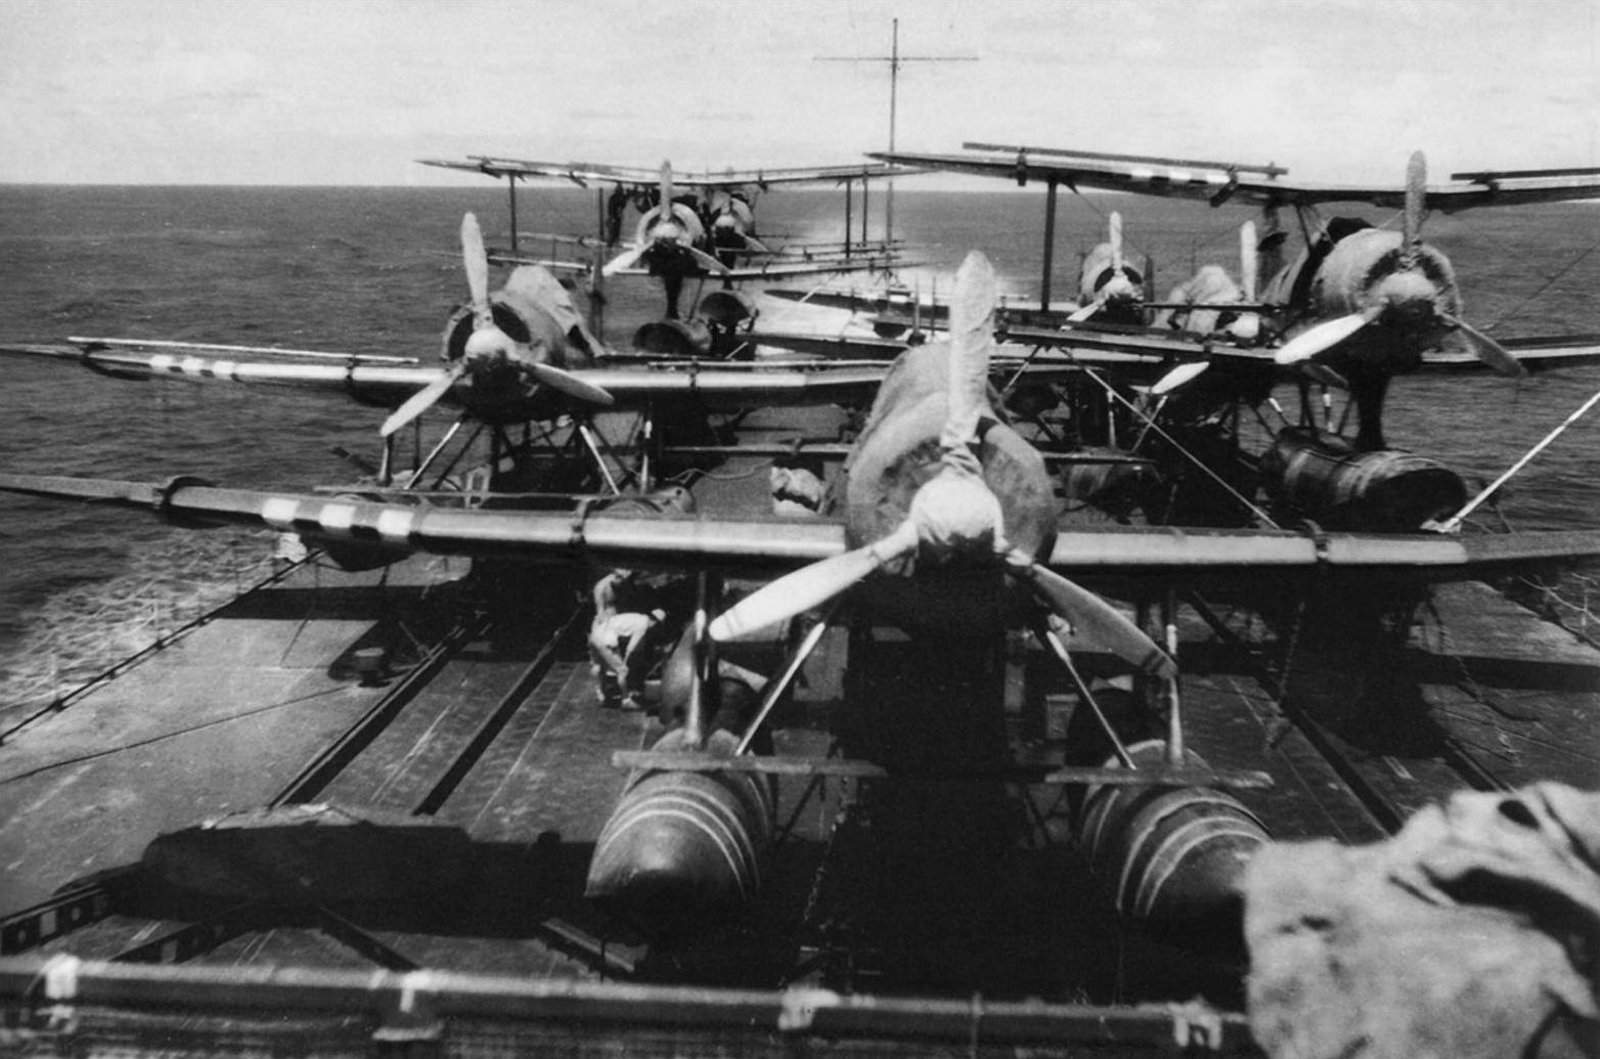
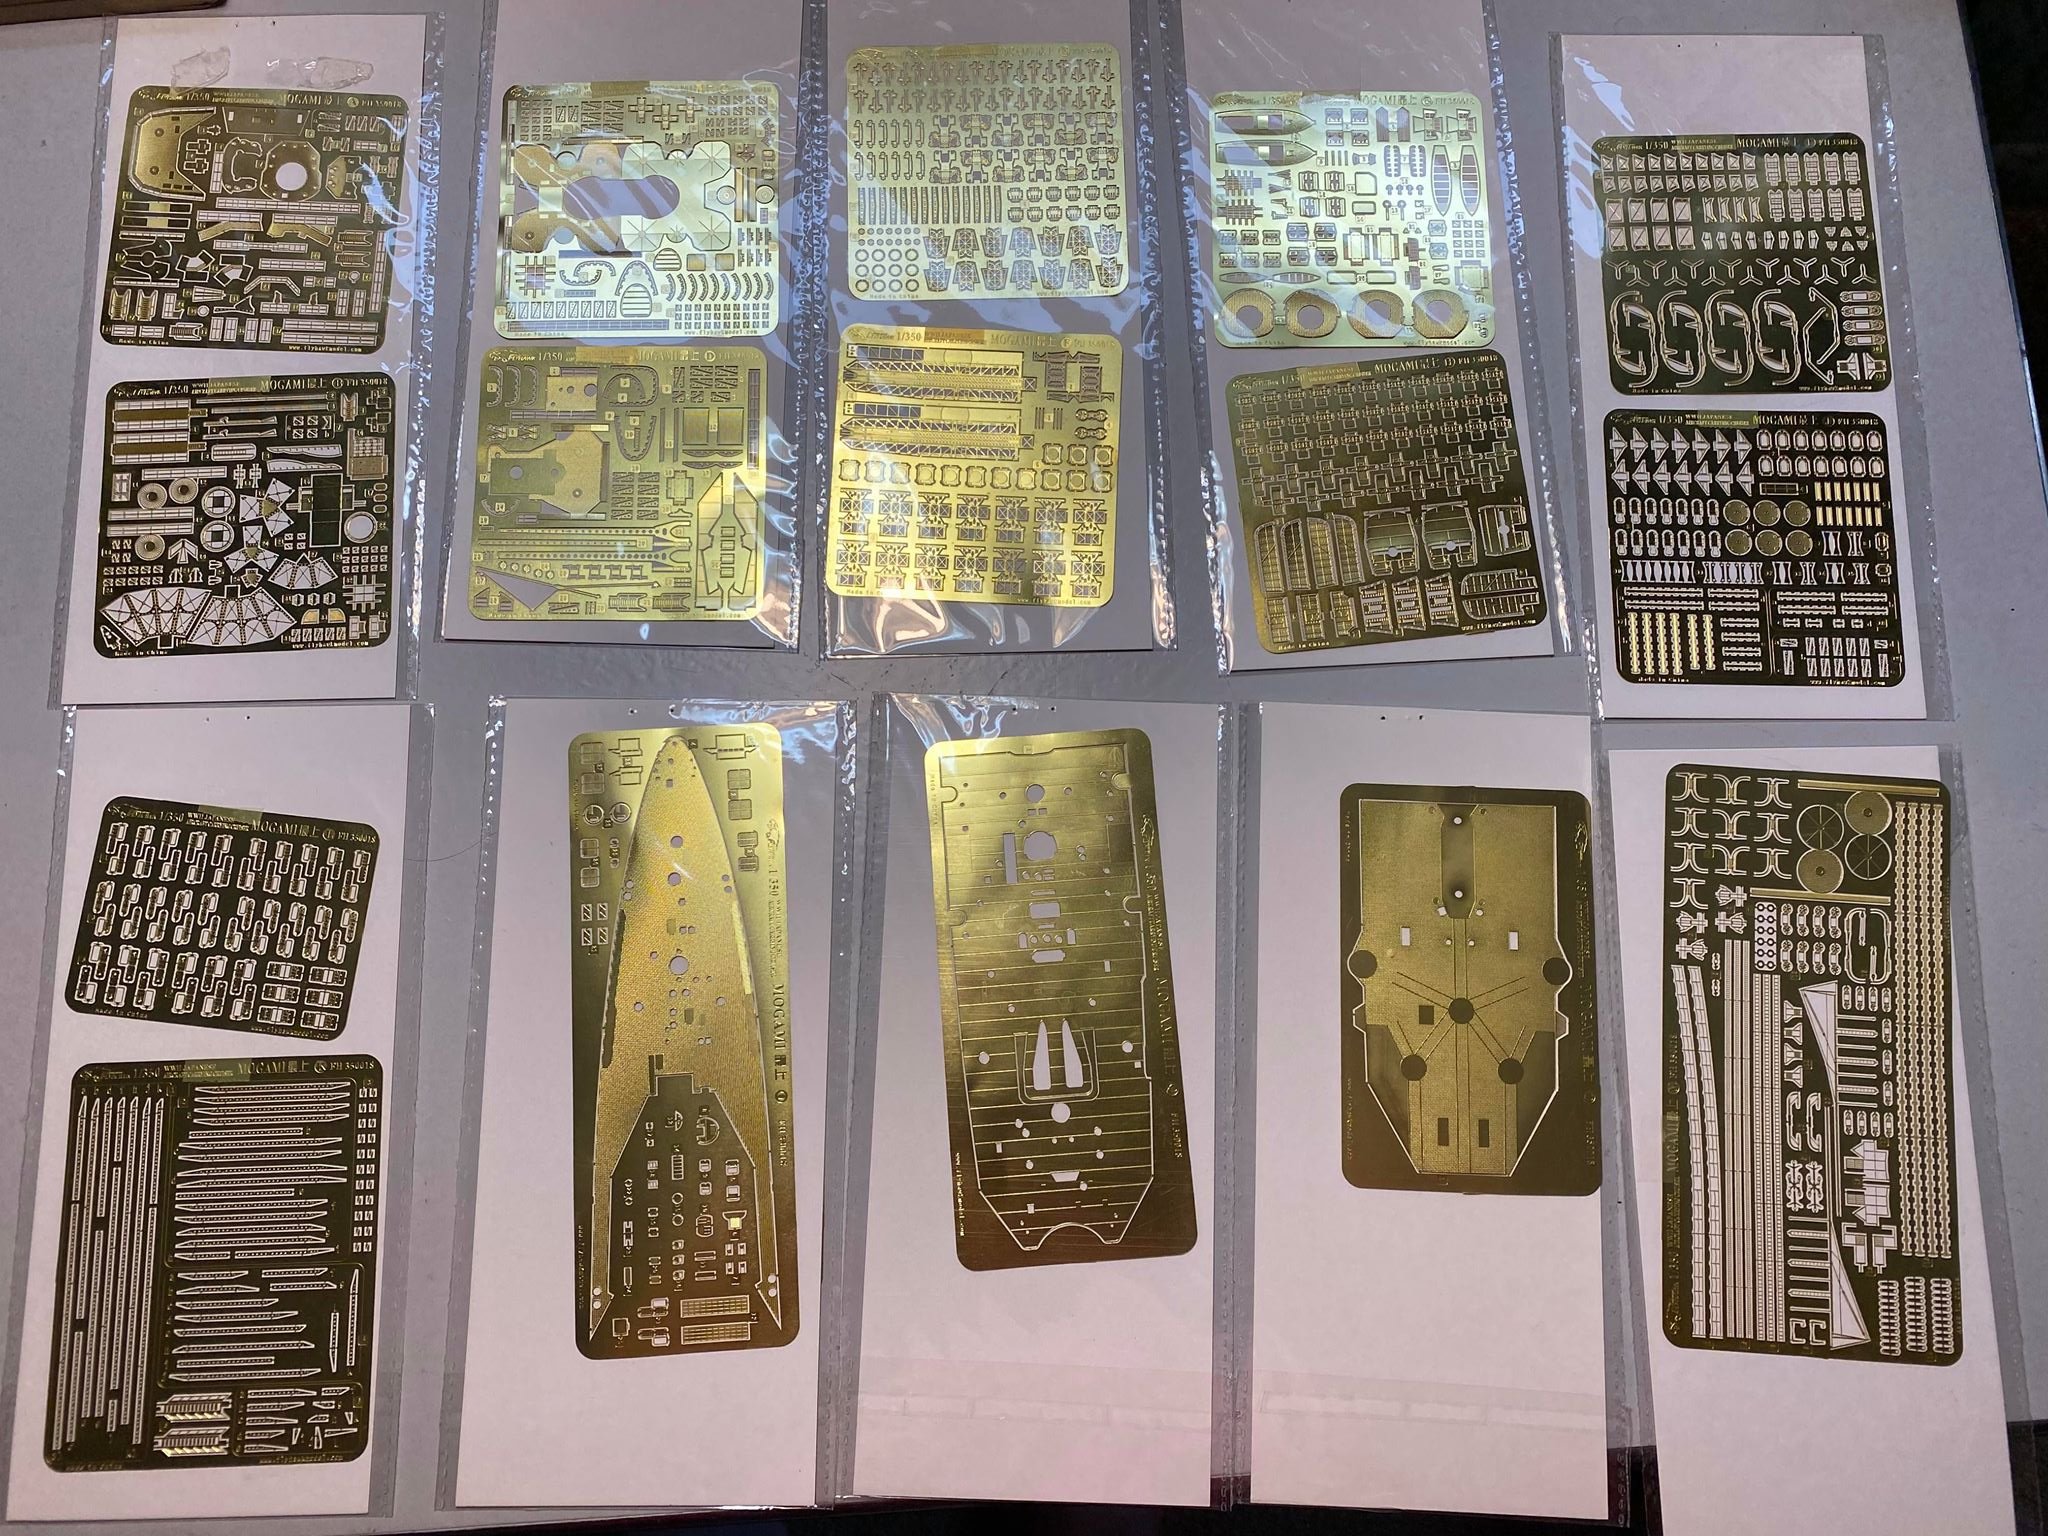
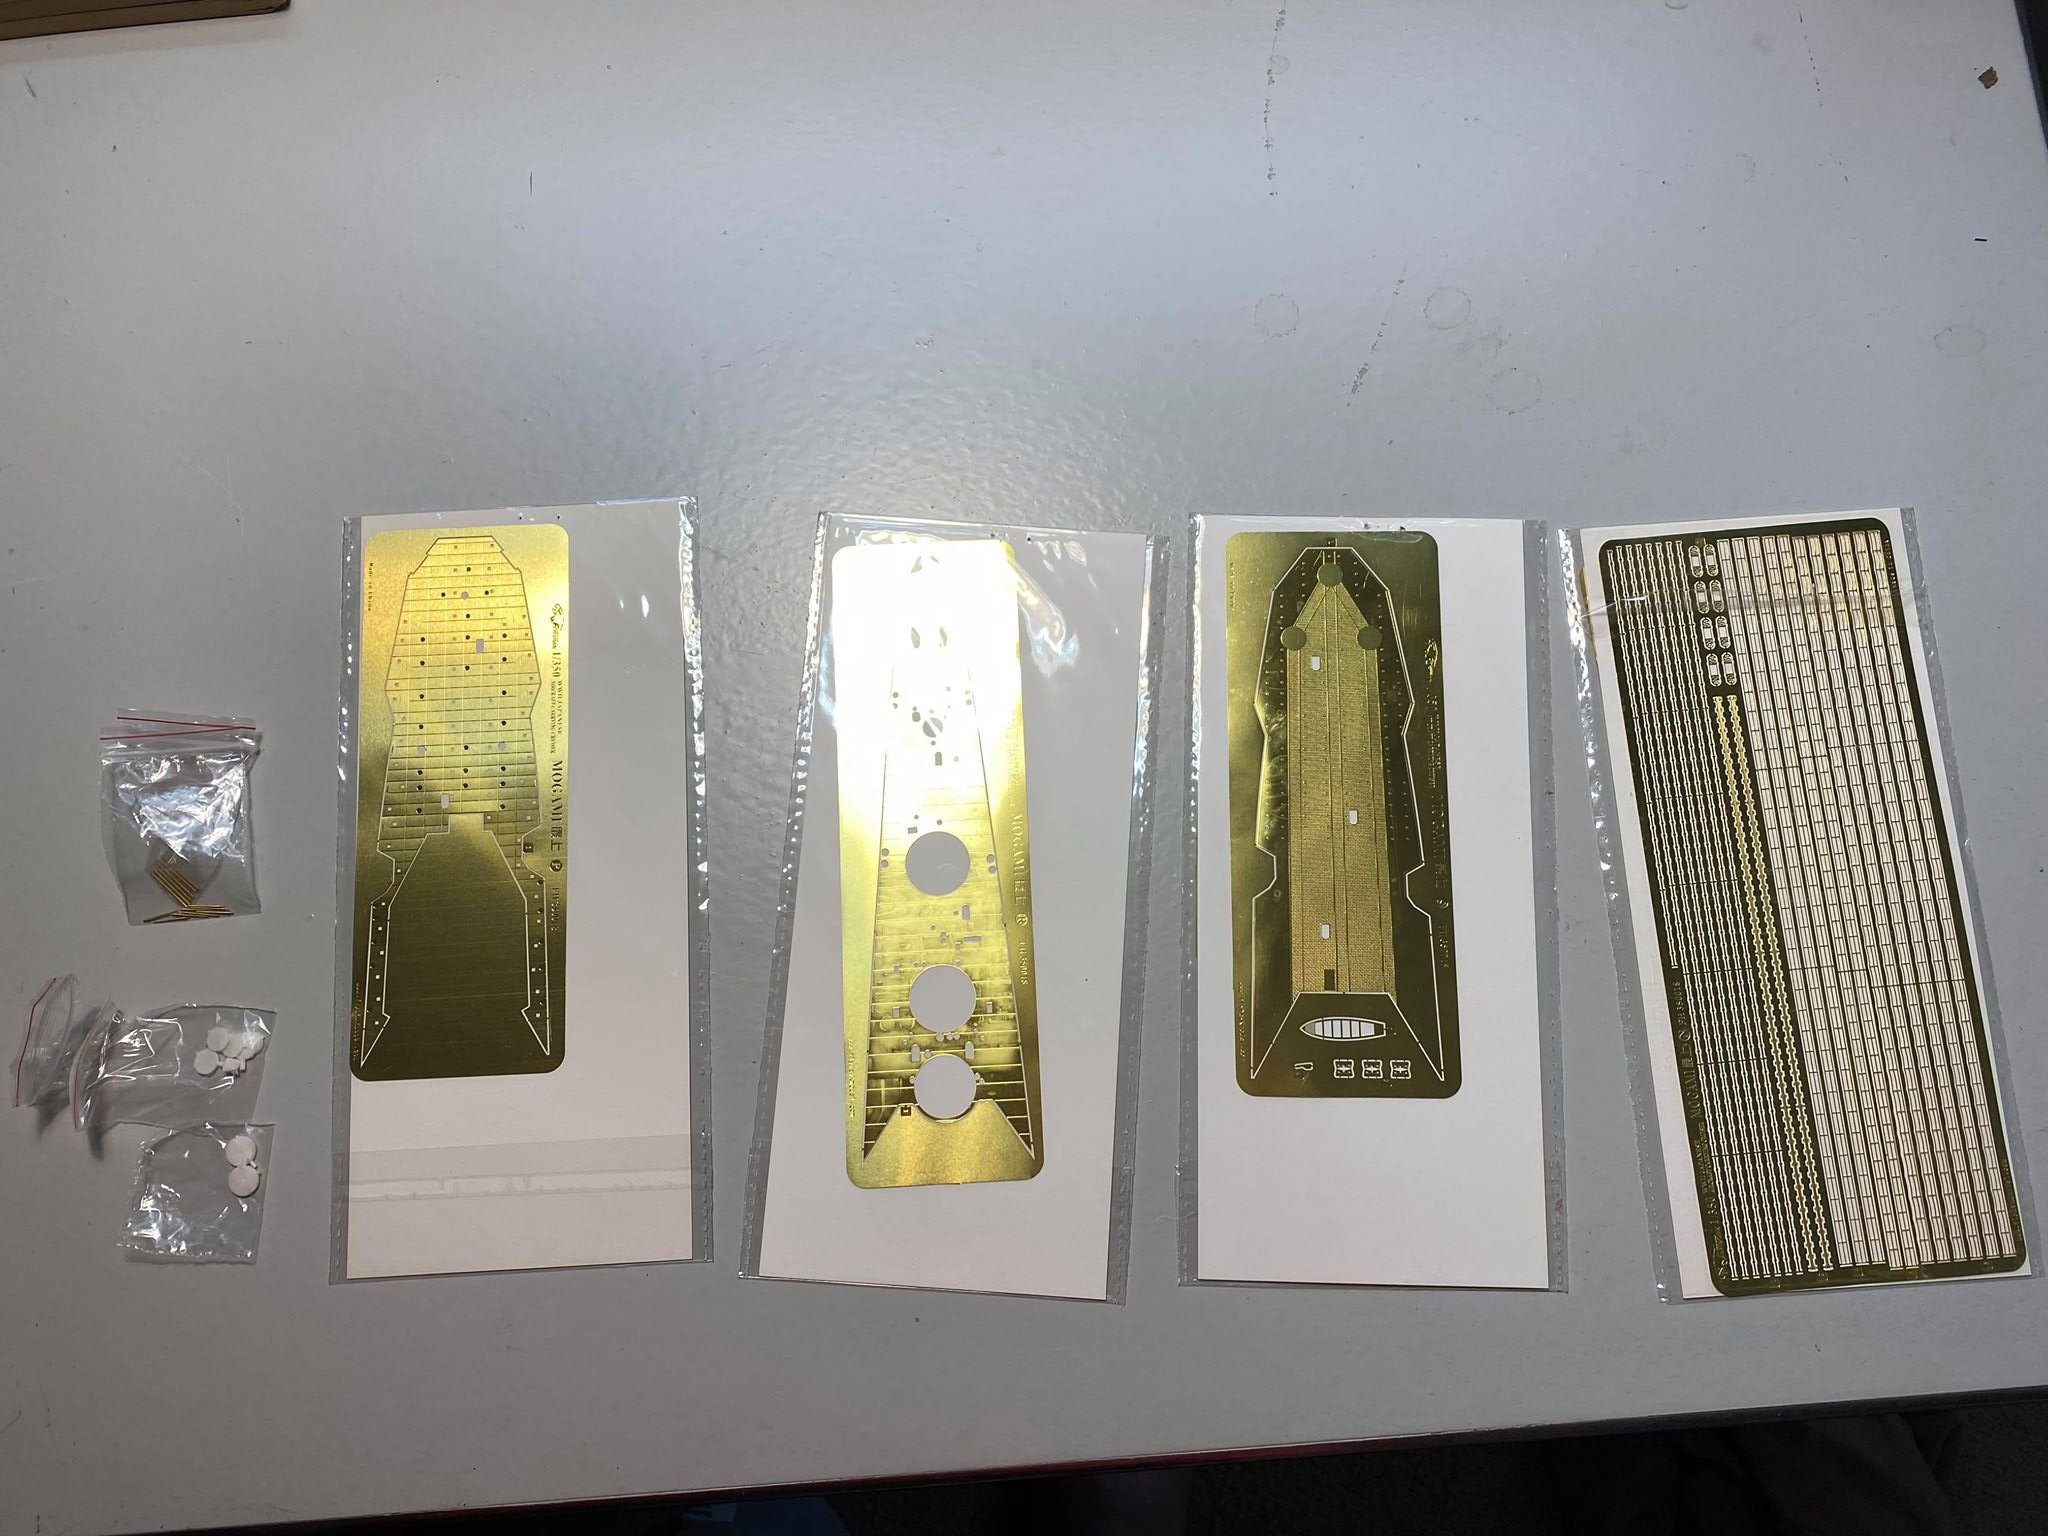
As far as I can tell, I’m the only IJN Mogami build log on here. I decided to take this project on as I wrap up other projects which is very different from the stick and string models I usually like to build. I found this subject interesting because of the hybrid characteristics as an aircraft cruiser which she was converted into in 1944. Commissioned in 1935 and named after a river in Japan and was the lead ship of four of her self-named class of heavy cruisers. Served in numerous battles in World War II until she was sunk at the Battle of the Surigao Straight in October 1944.
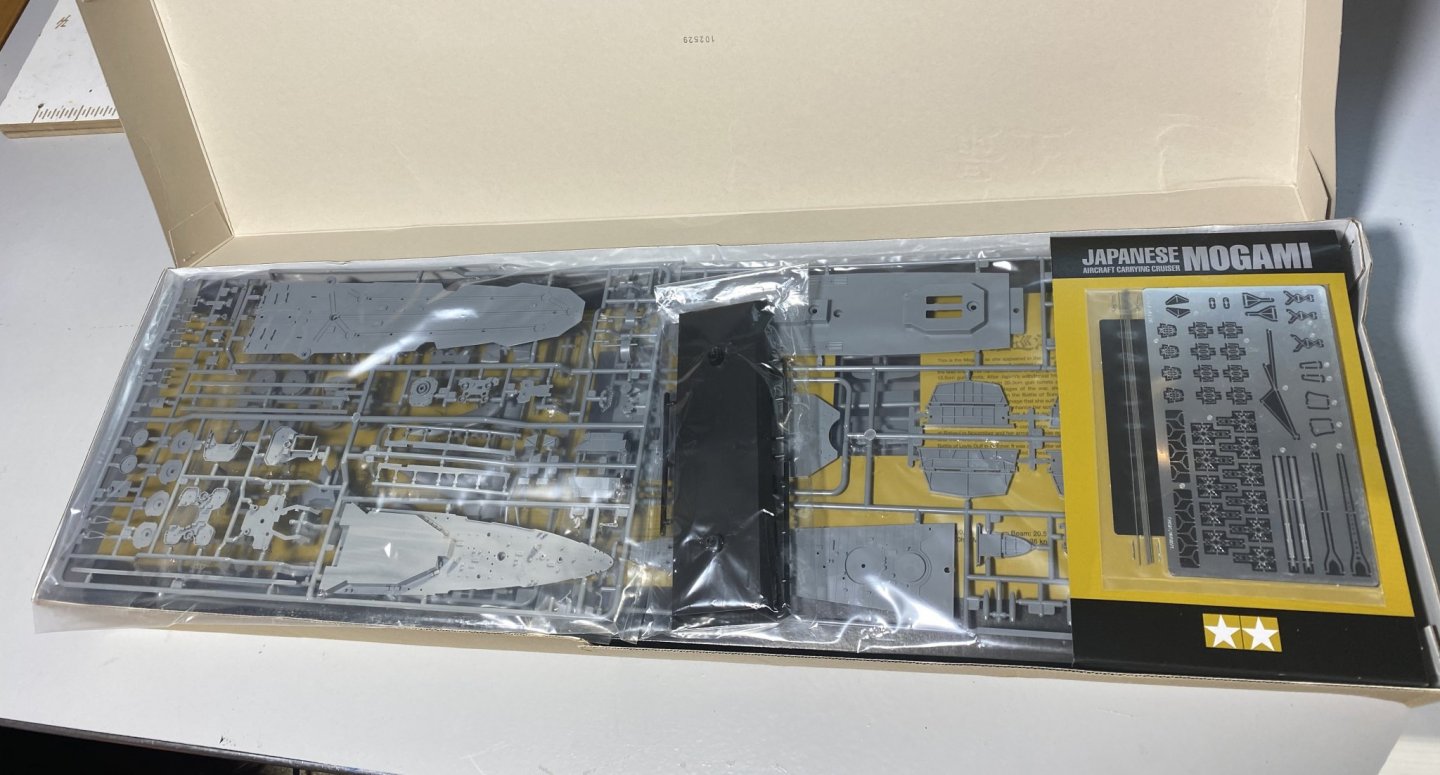
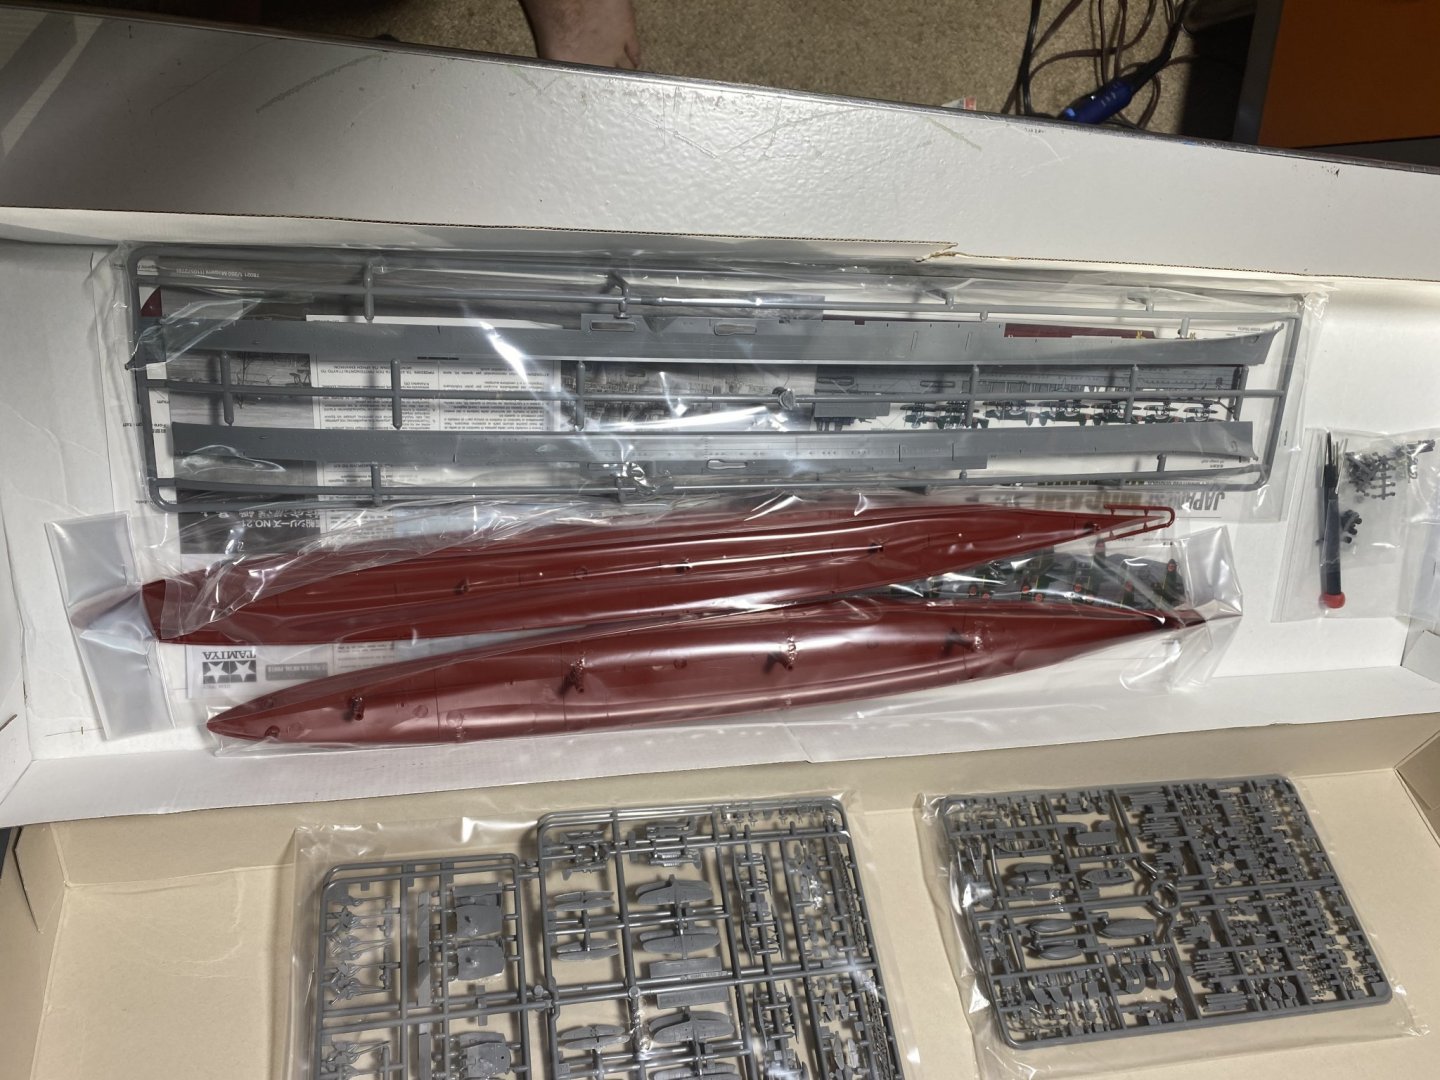
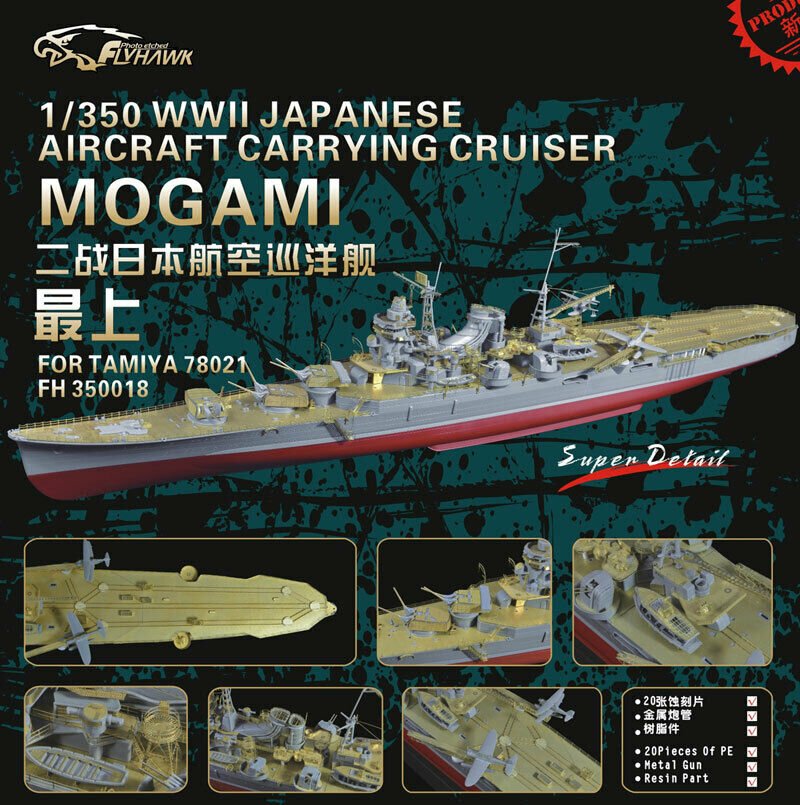
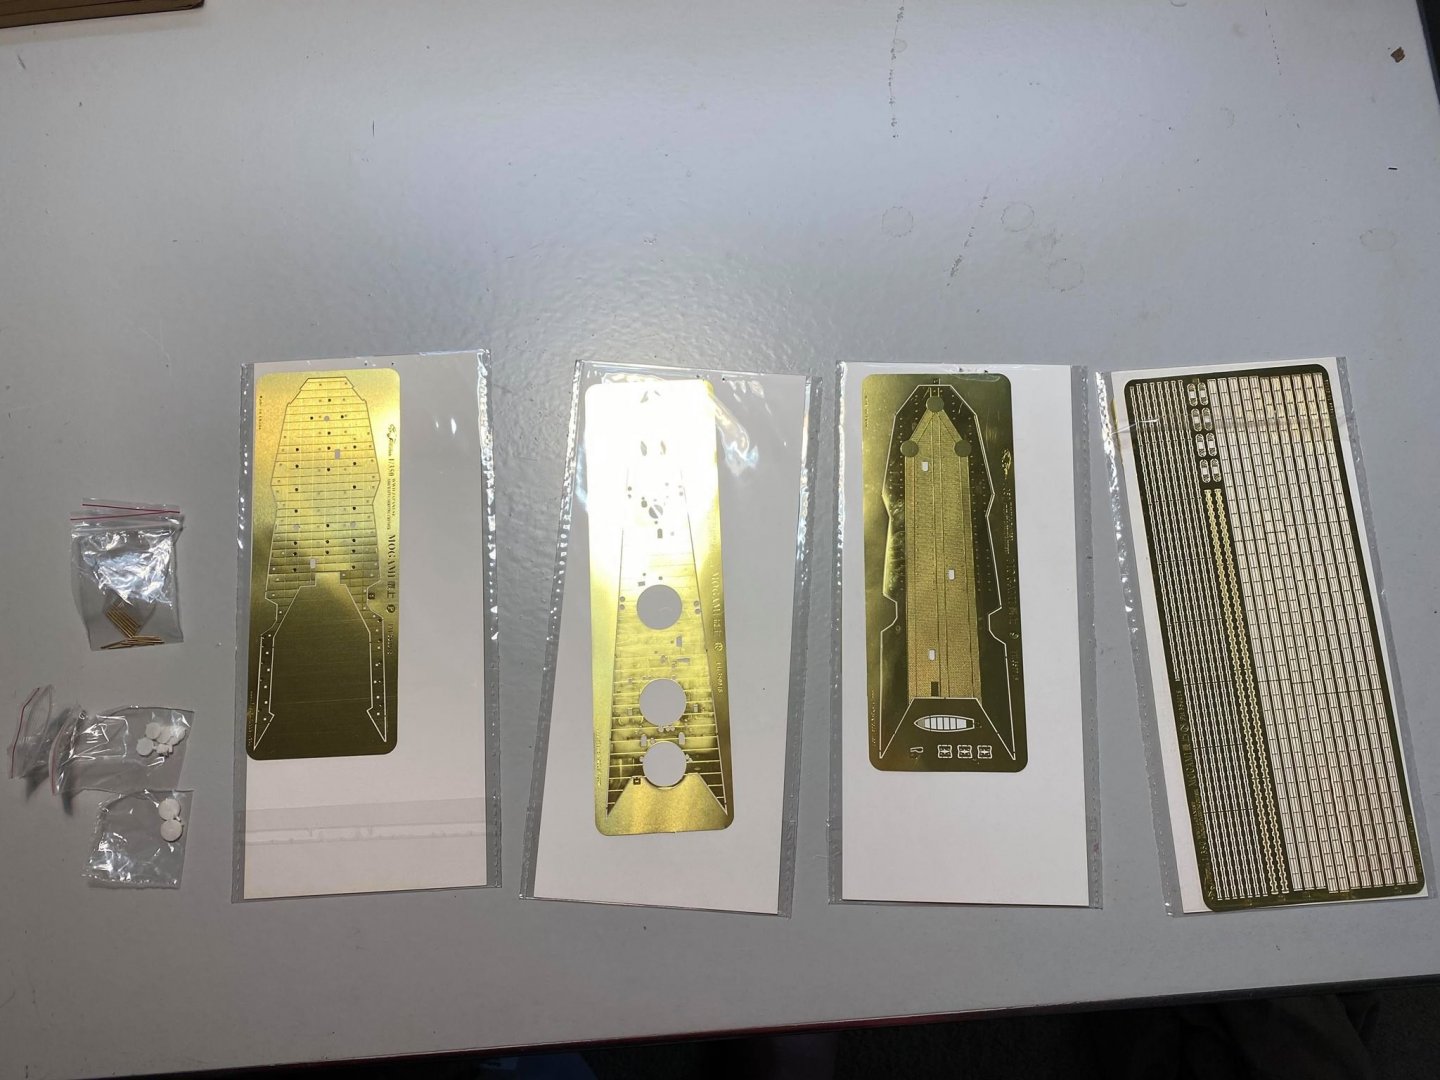
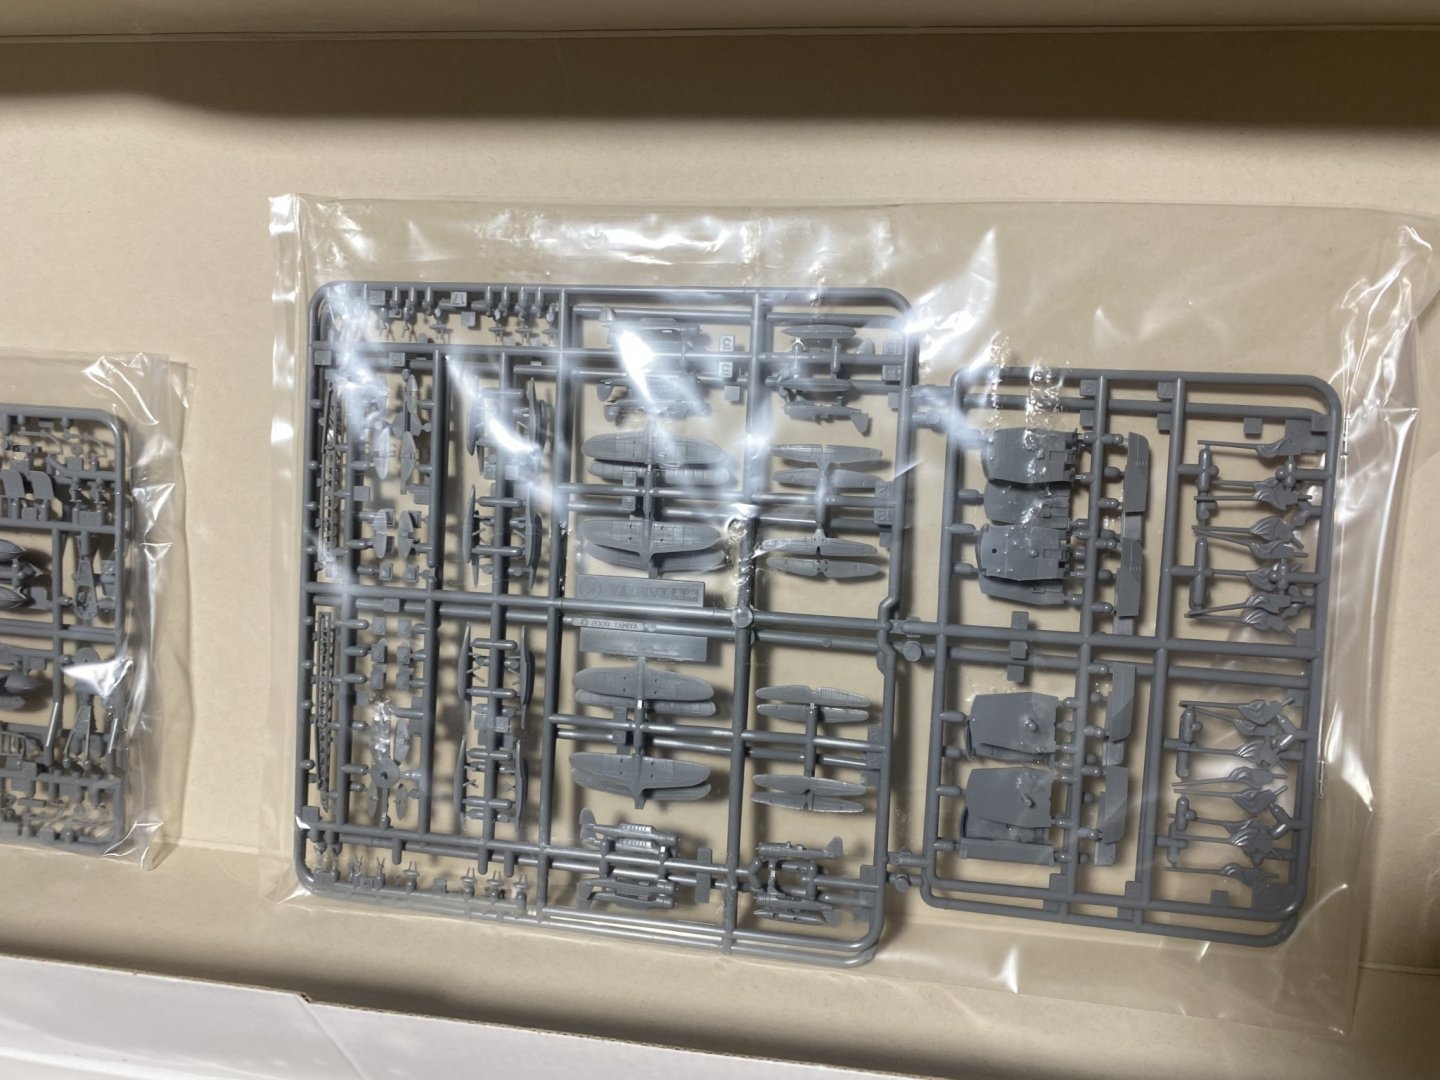
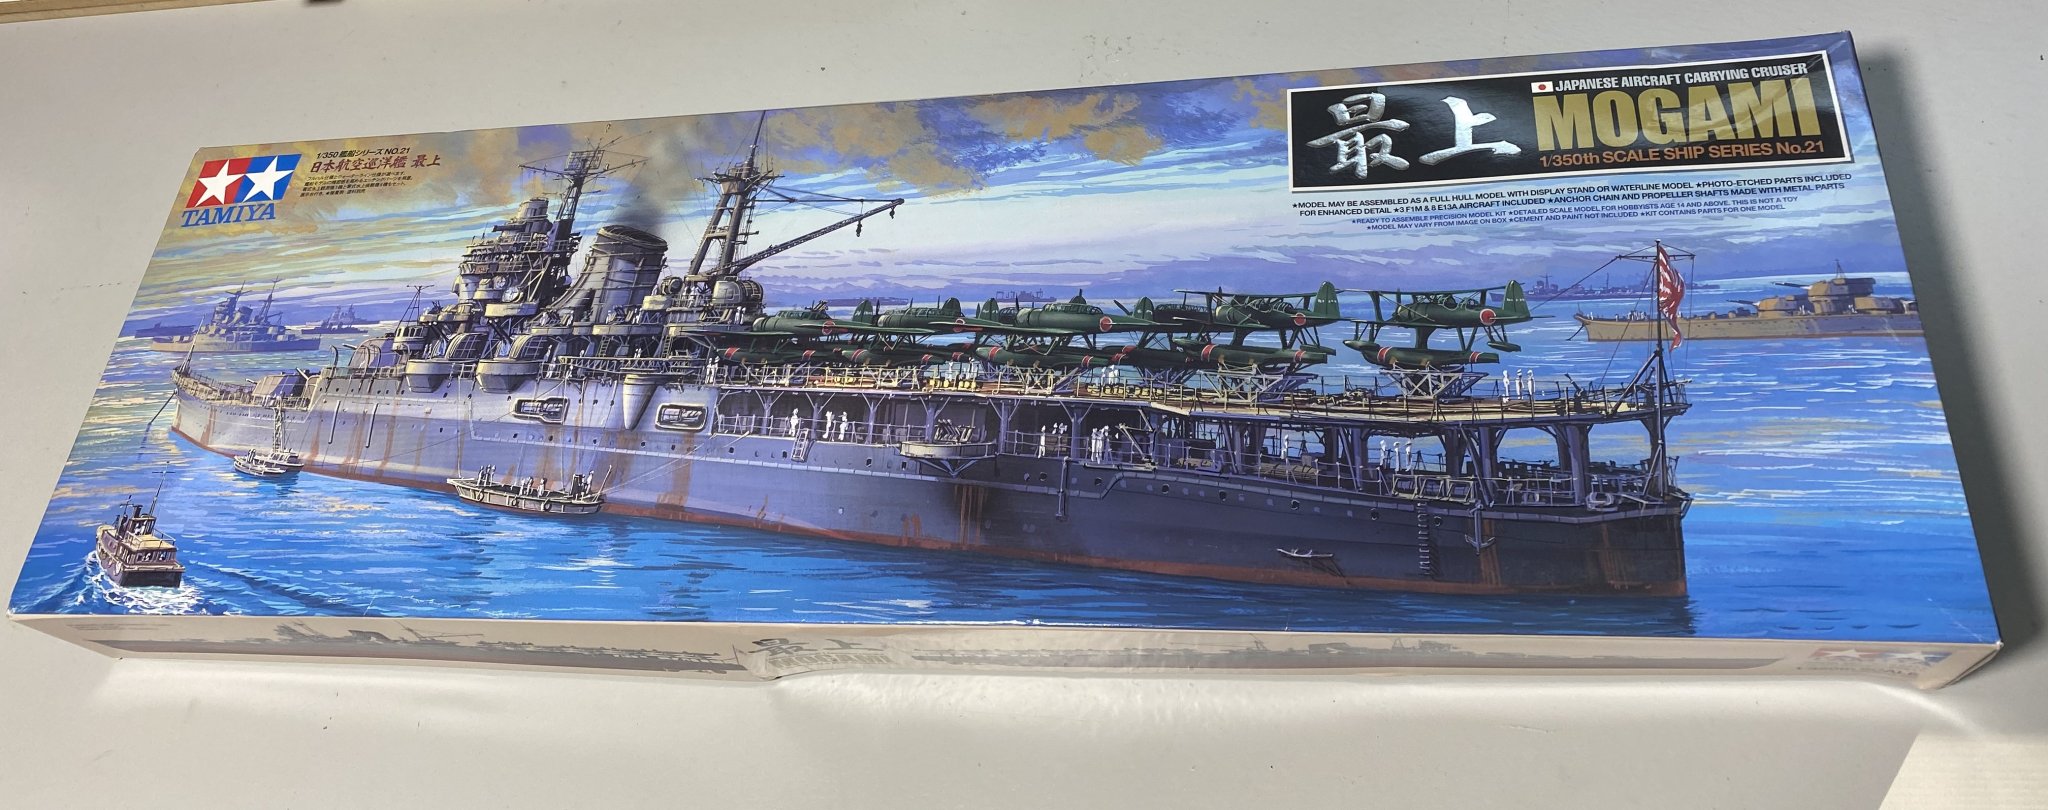
This is a 1/350 Tamiya kit and I’ll be using the Flyhawk detail photo etch kit. Below are some photos I’ve found, mostly courtesy of Wikipedia and my unboxing of the kit and PE details. Should be an interesting challenge.
All the best,
Joshua


-
-
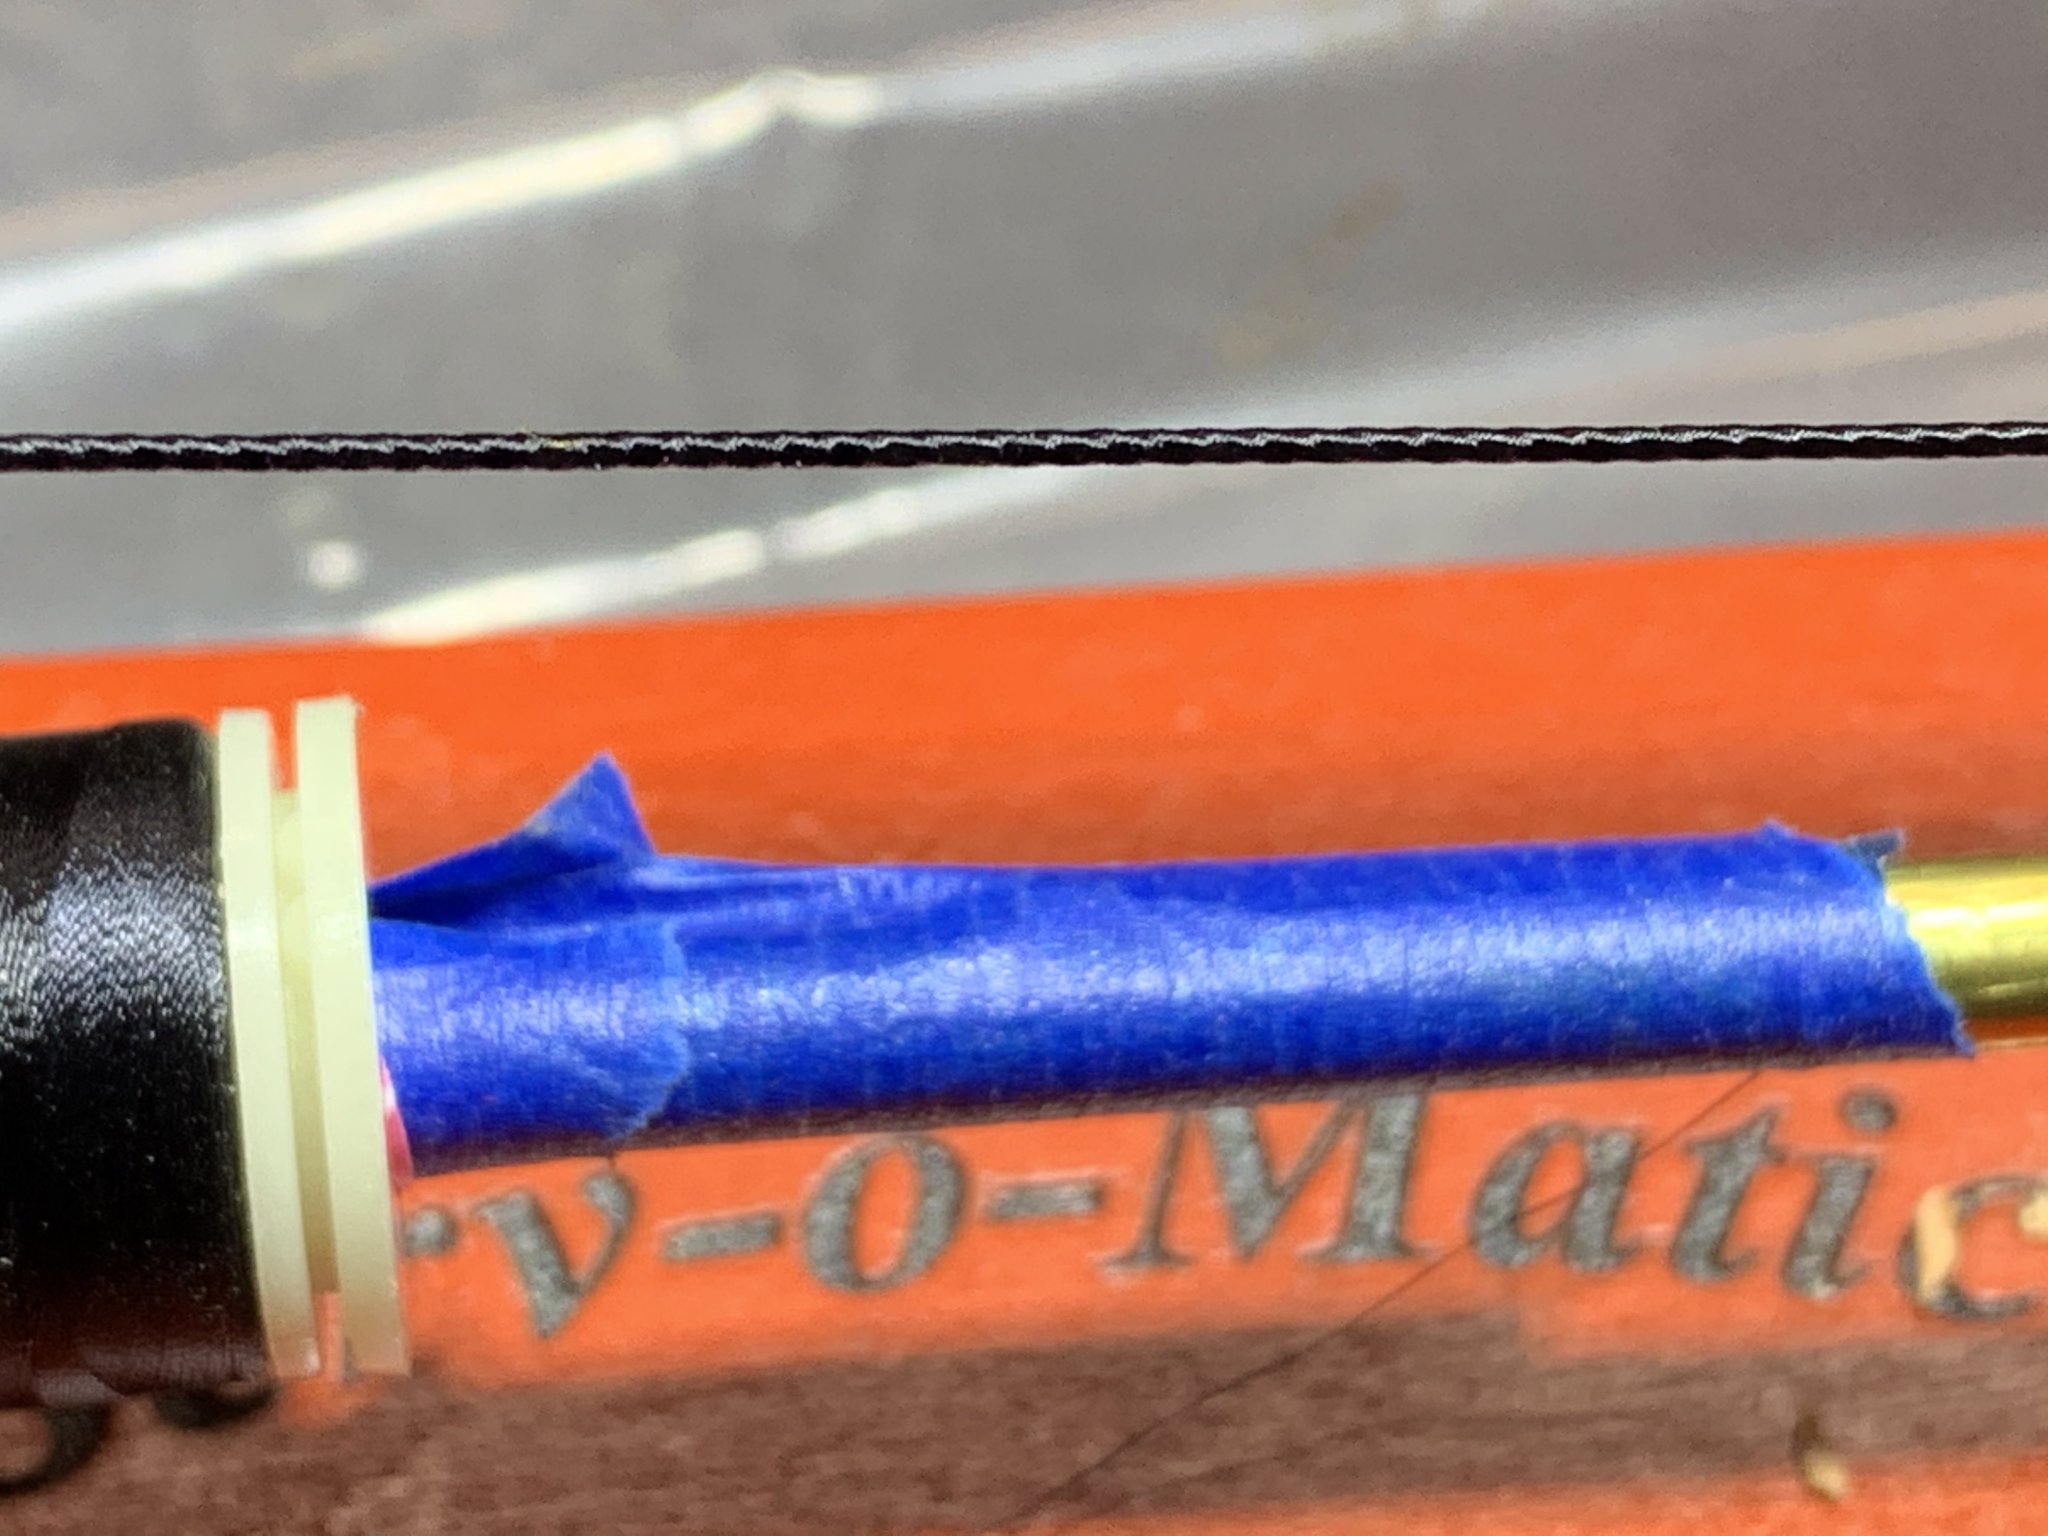
I had 42 inches to serve so, i rigged up something to hook it up to my drill. Here is the result.
Drill powered Serv-o-Matic Youtube Video
Joshua

.thumb.jpg.0f1d180306d18329f3e57cd9856f75d2.jpg)
- Chuck, Ryland Craze and mtaylor
-
3


.jpg.5b90e05b74d40fbc31f6f70c9fb005b8.jpg)
USS Langley by RGL - FINISHED - Trumpeter - 1/350 - PLASTIC
in - Kit build logs for subjects built from 1901 - Present Day
Posted
Looks great, what would you say was your best resource in learning how to mask and weather a ship for painting? I really want to get into weathered hulls. Most of my building has been wood ship models.
Thanks In advance
Joshua