


Rustyj
-
Posts
2,516 -
Joined
-
Last visited
Content Type
Profiles
Forums
Gallery
Events
Posts posted by Rustyj
-
-
-
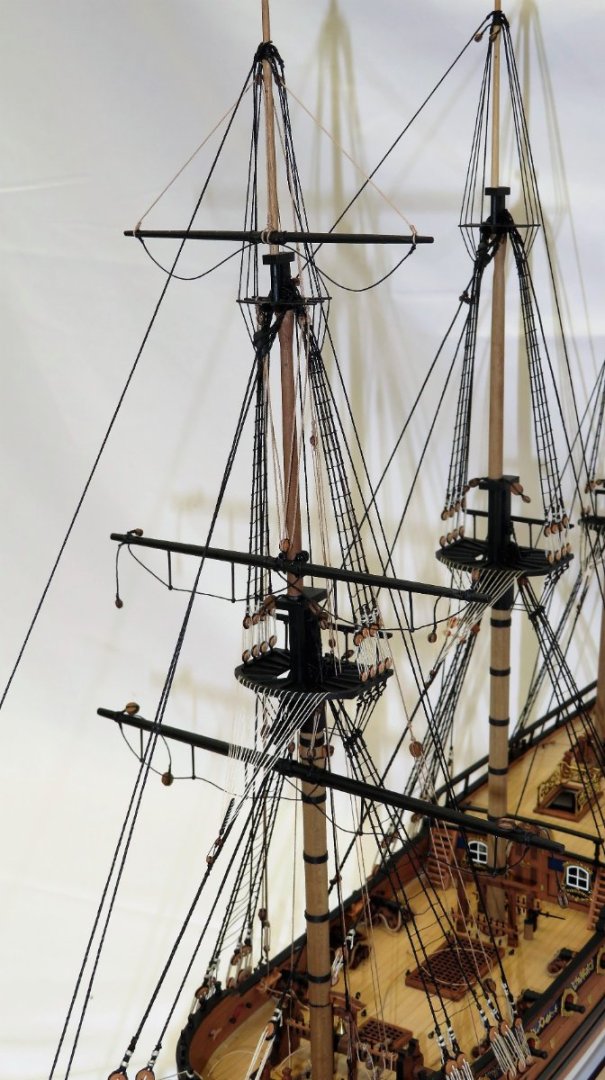
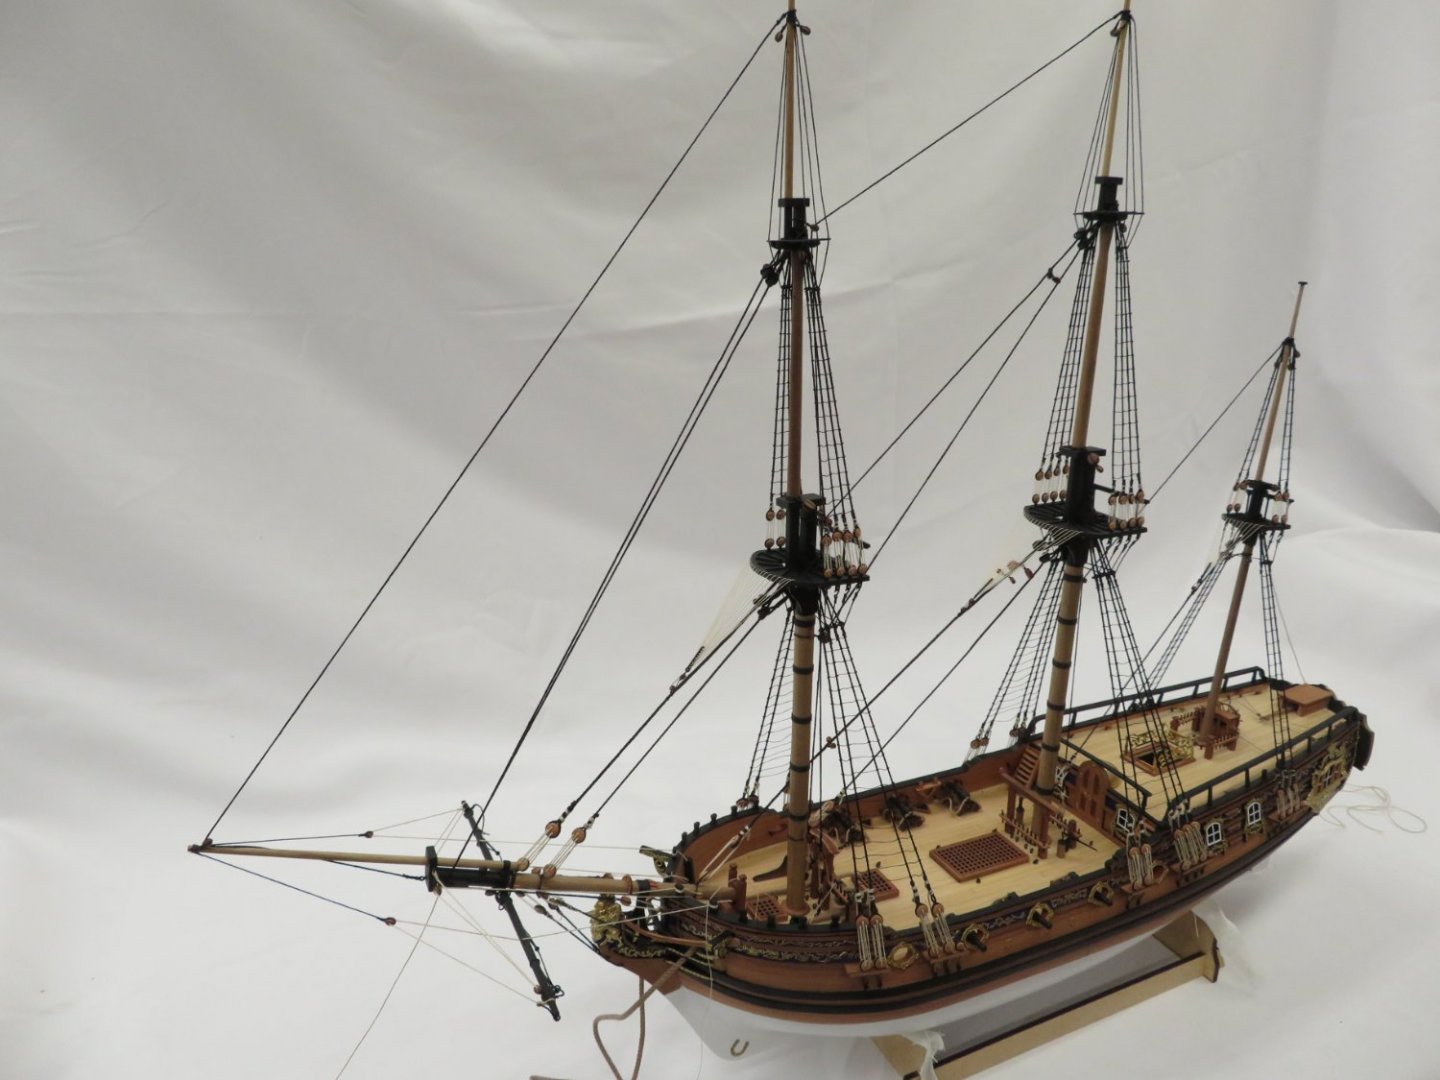
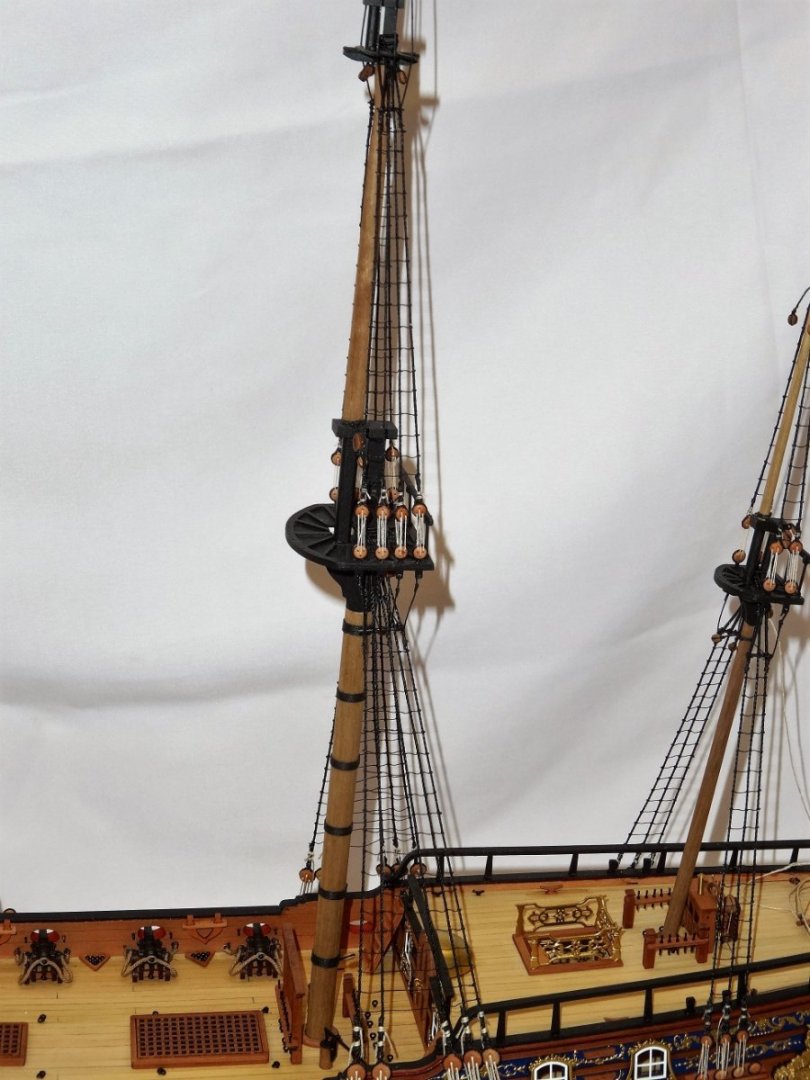
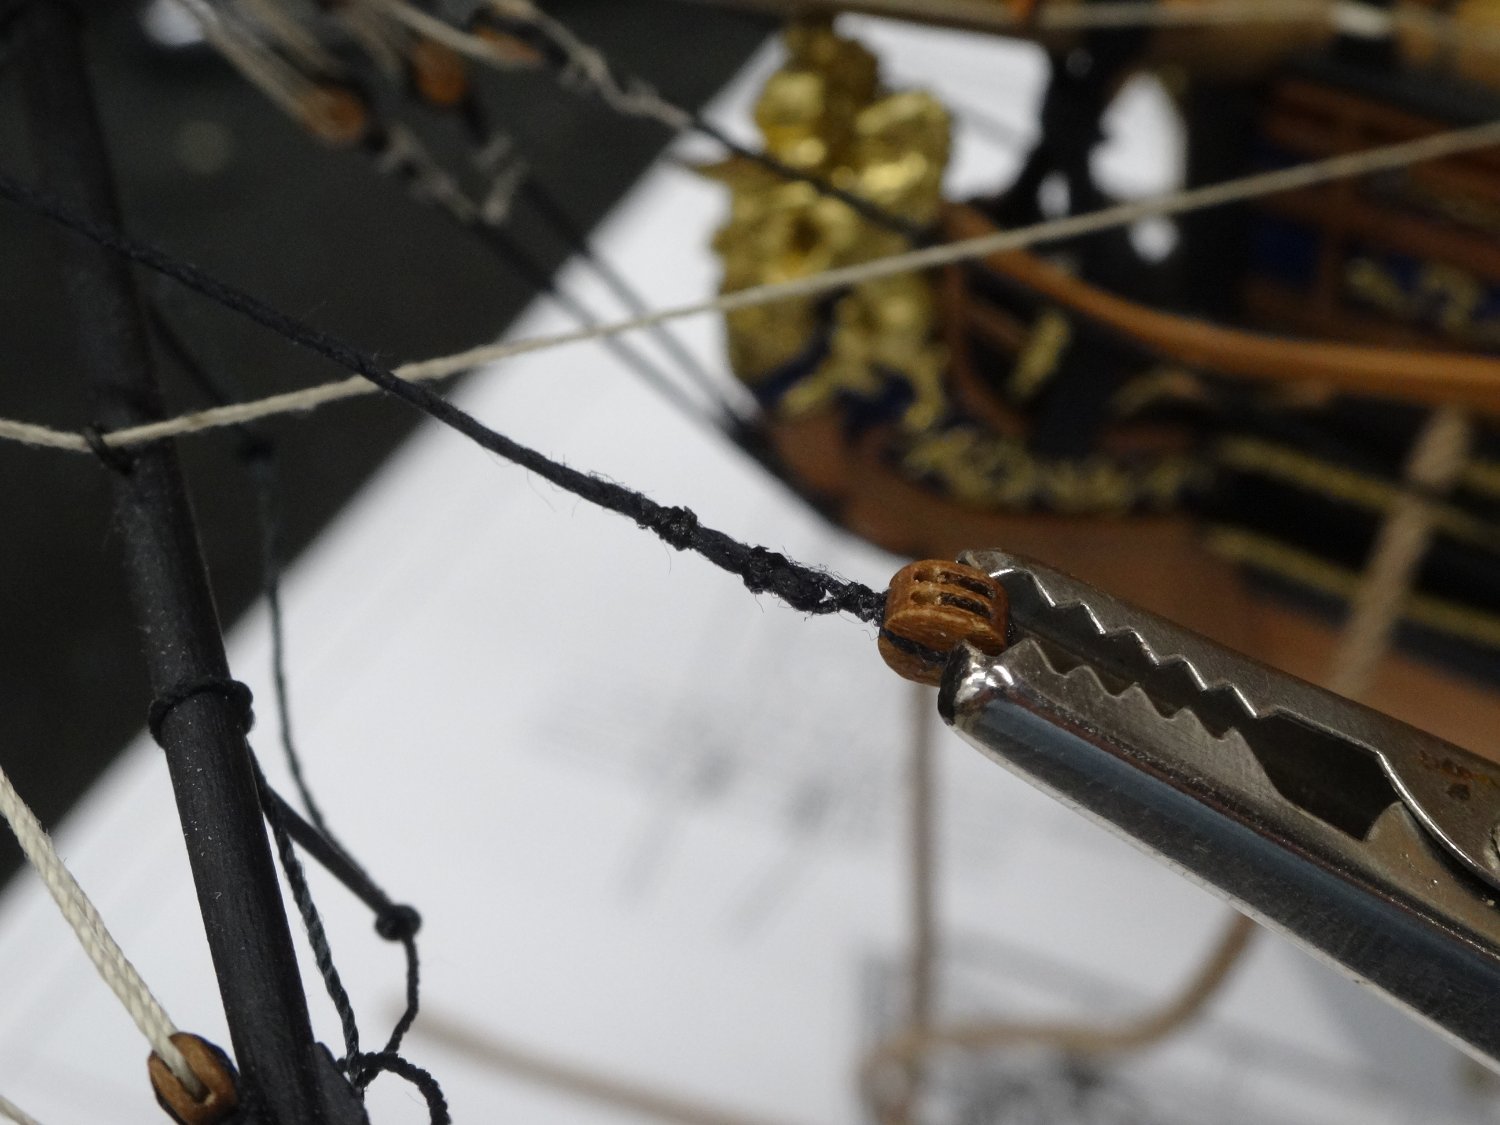
I've started to add the yards and the yards jeers/tyes on the fore mast.
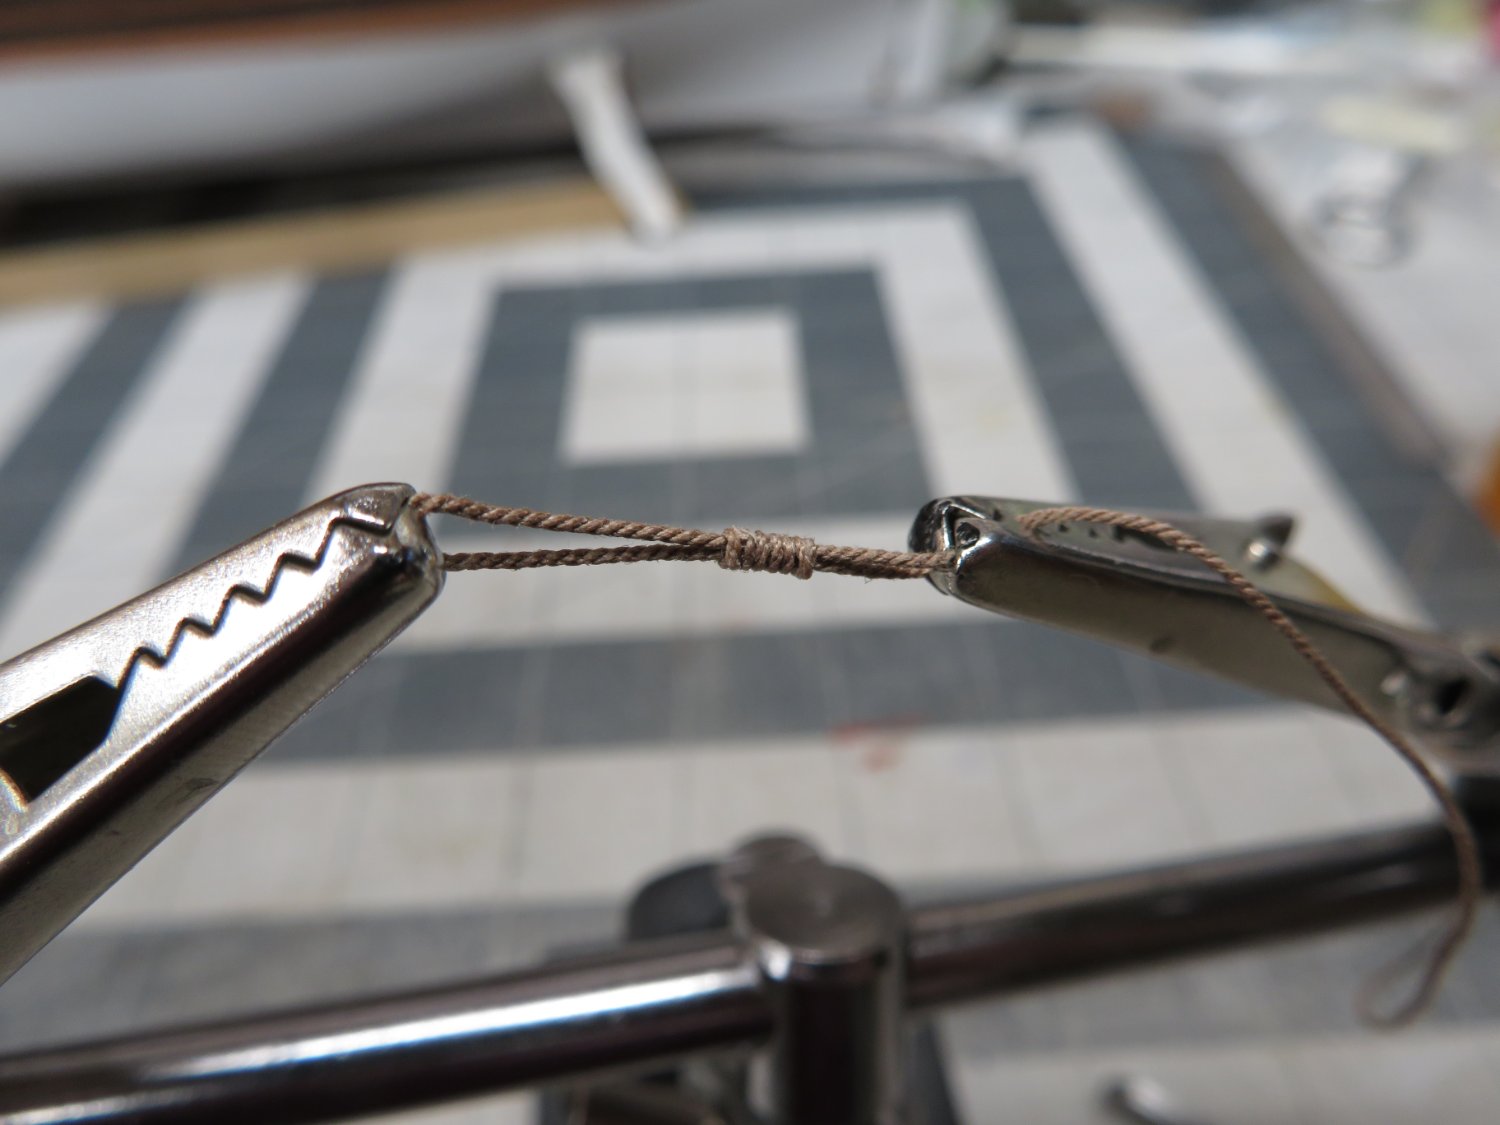
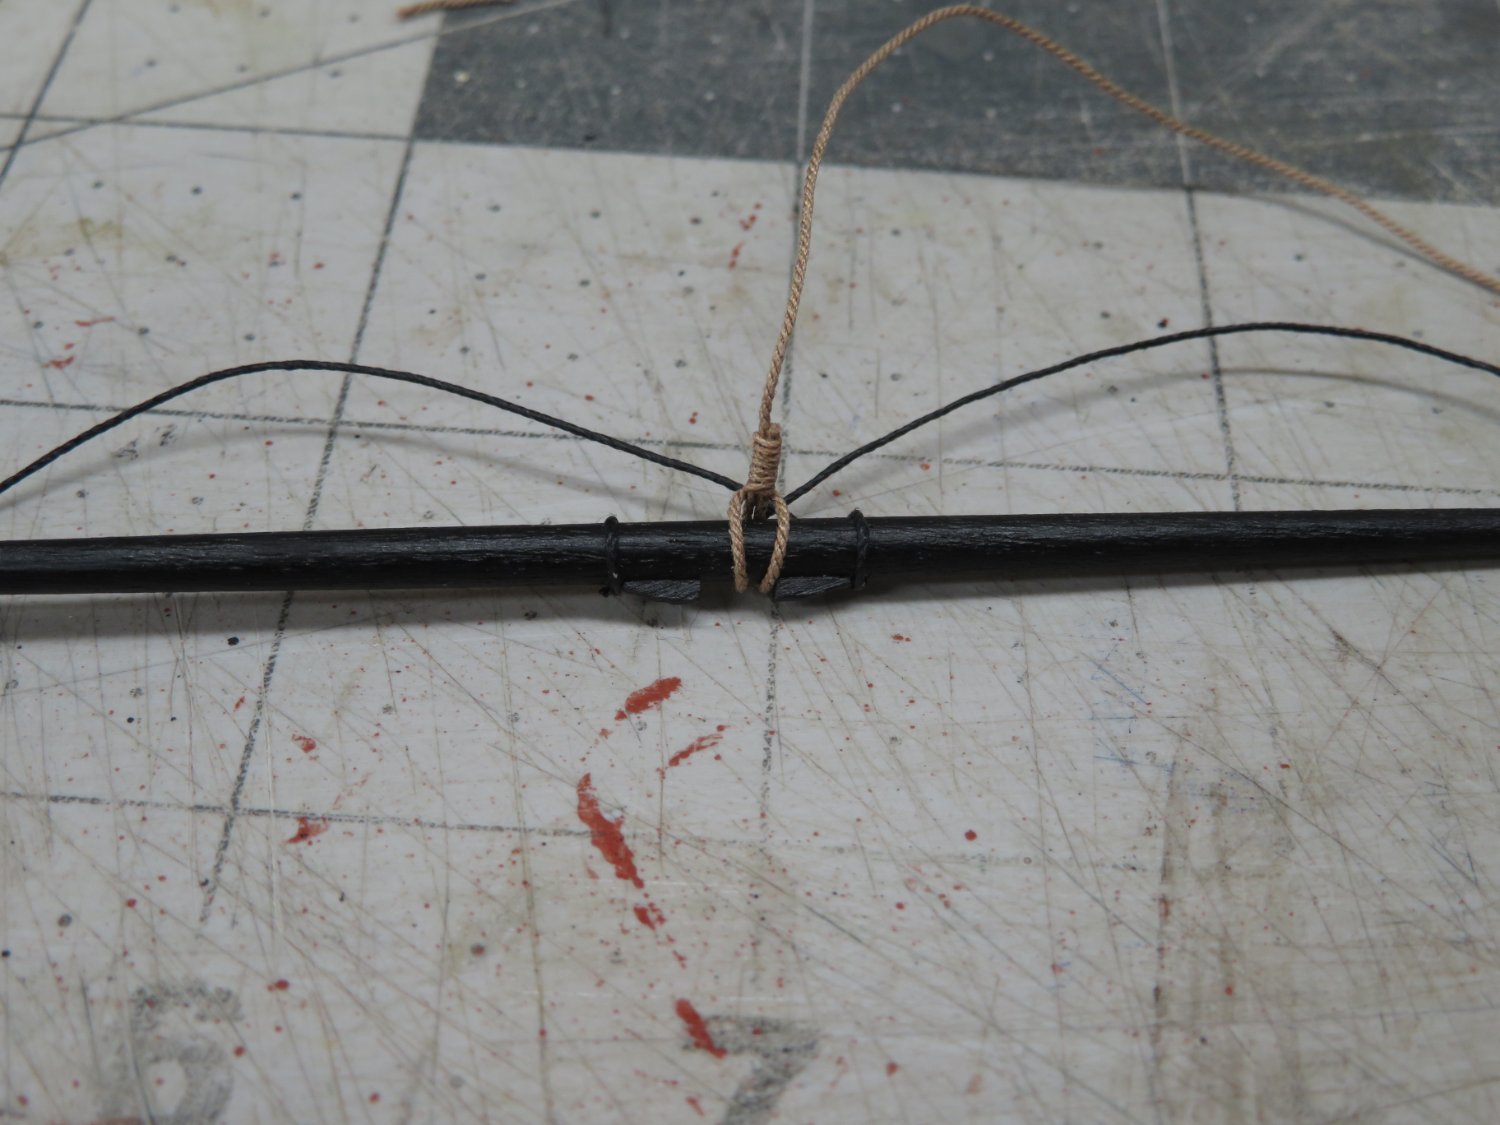
For the fore topgallant yard the plans showed the line attached like this.
I then pinned the yard to the mast and secured it with a strand of parrel beads.


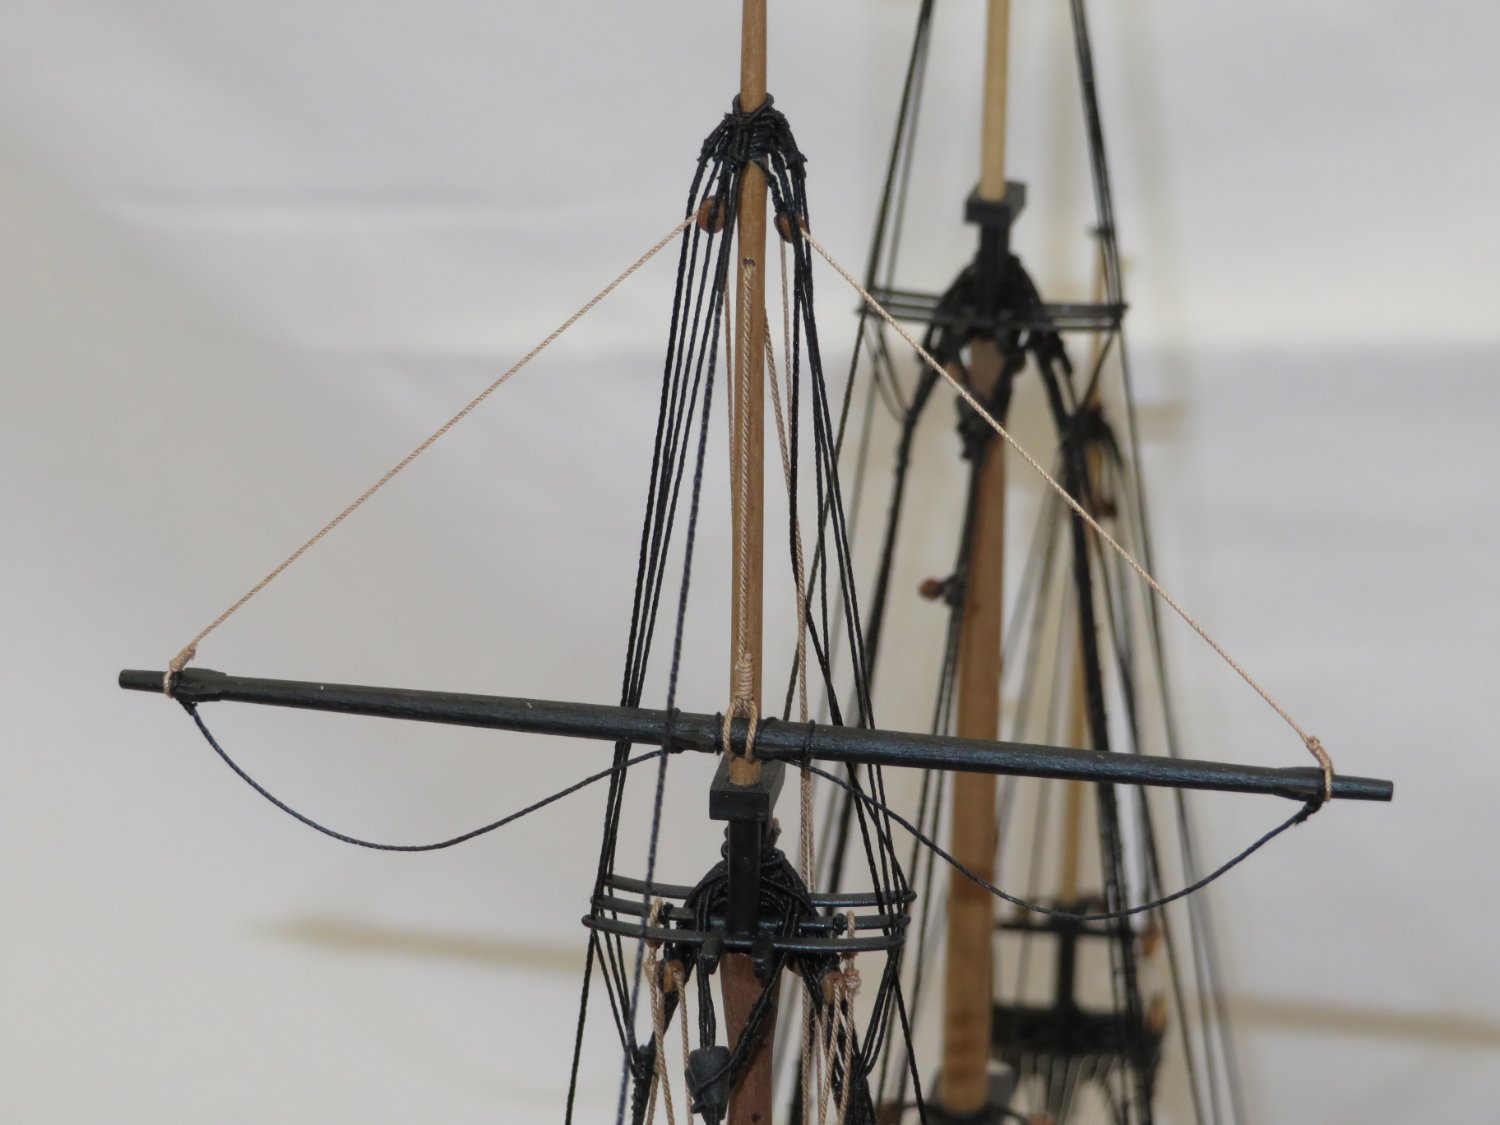
The fore topsail yard was also pinned to the mast and secured with a double strand of parrel ribs and beads.
And finally the fore yard was added pinning it to the mast and then rigged per the plans.
-
Just caught up with your build Glenn! Excellent job on the planking.
It's a perfect example of Chuck's "slow and steady" approach!
- FrankWouts, Ryland Craze, Dave_E and 1 other
-
 4
4
-
Thanks Rob. I'm chugging along looking at the plans, other logs and just trying to make it look good.
")
I look forward to seeing your progress.
- chris watton and DocRob
-
1
-
 1
1
-
34 minutes ago, glbarlow said:
I should get back and finish Flirt but I can't tear myself away from Winchelsea
I know what you mean. I love this build but I'm exhausting all of my patience to finish up the DOK's rigging!
-
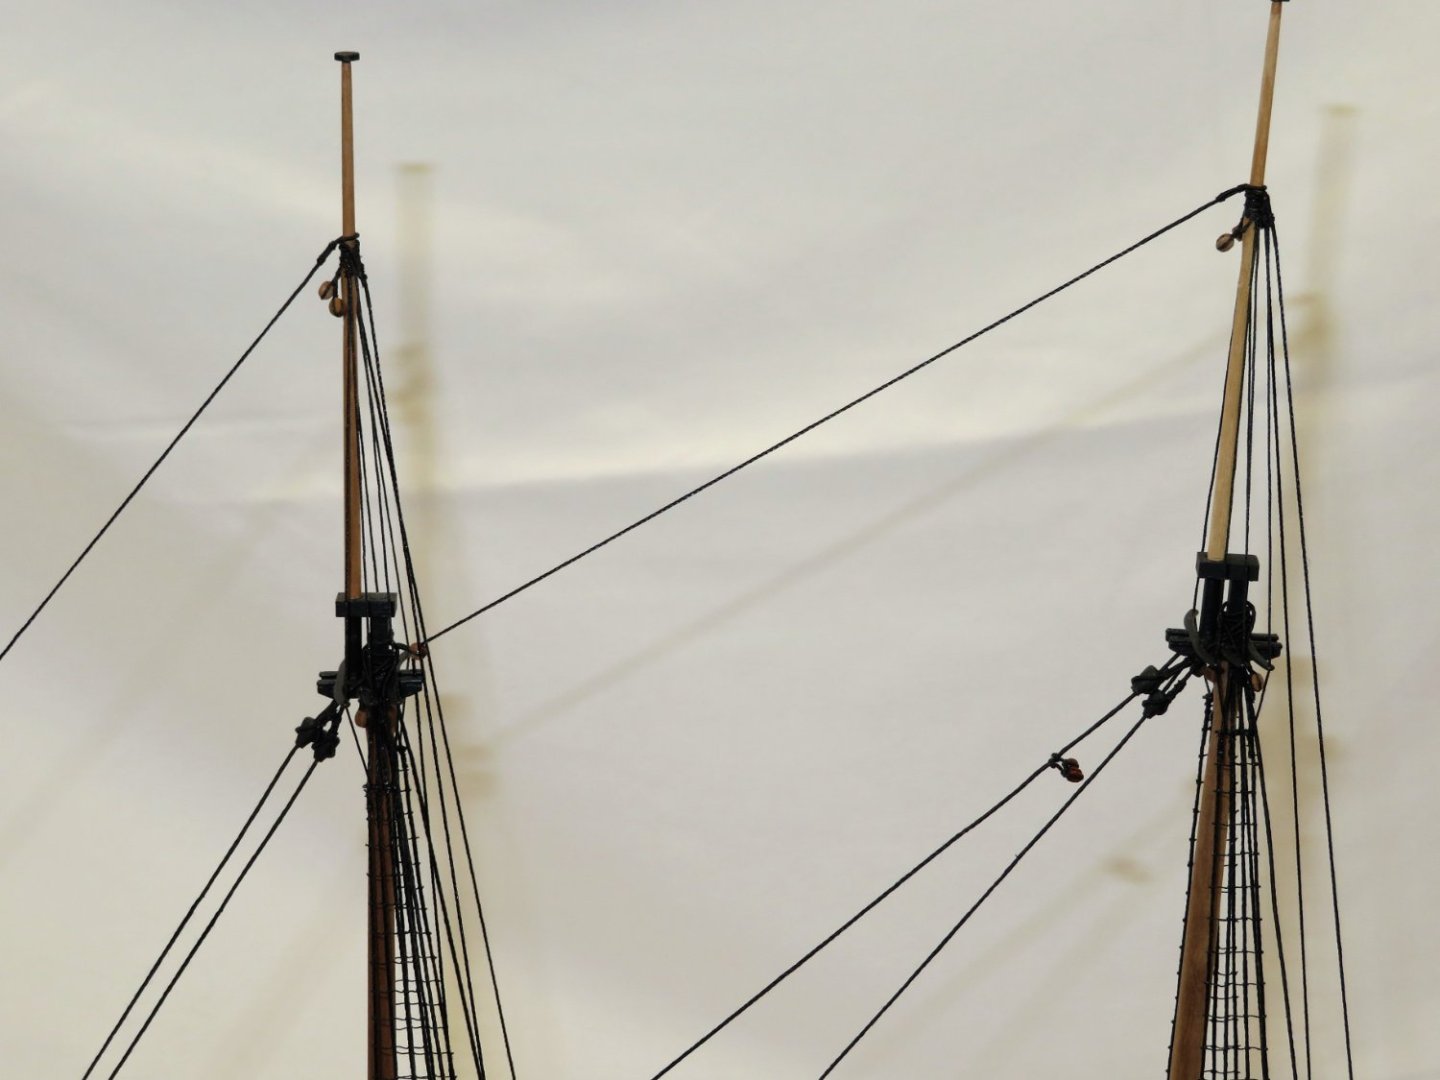
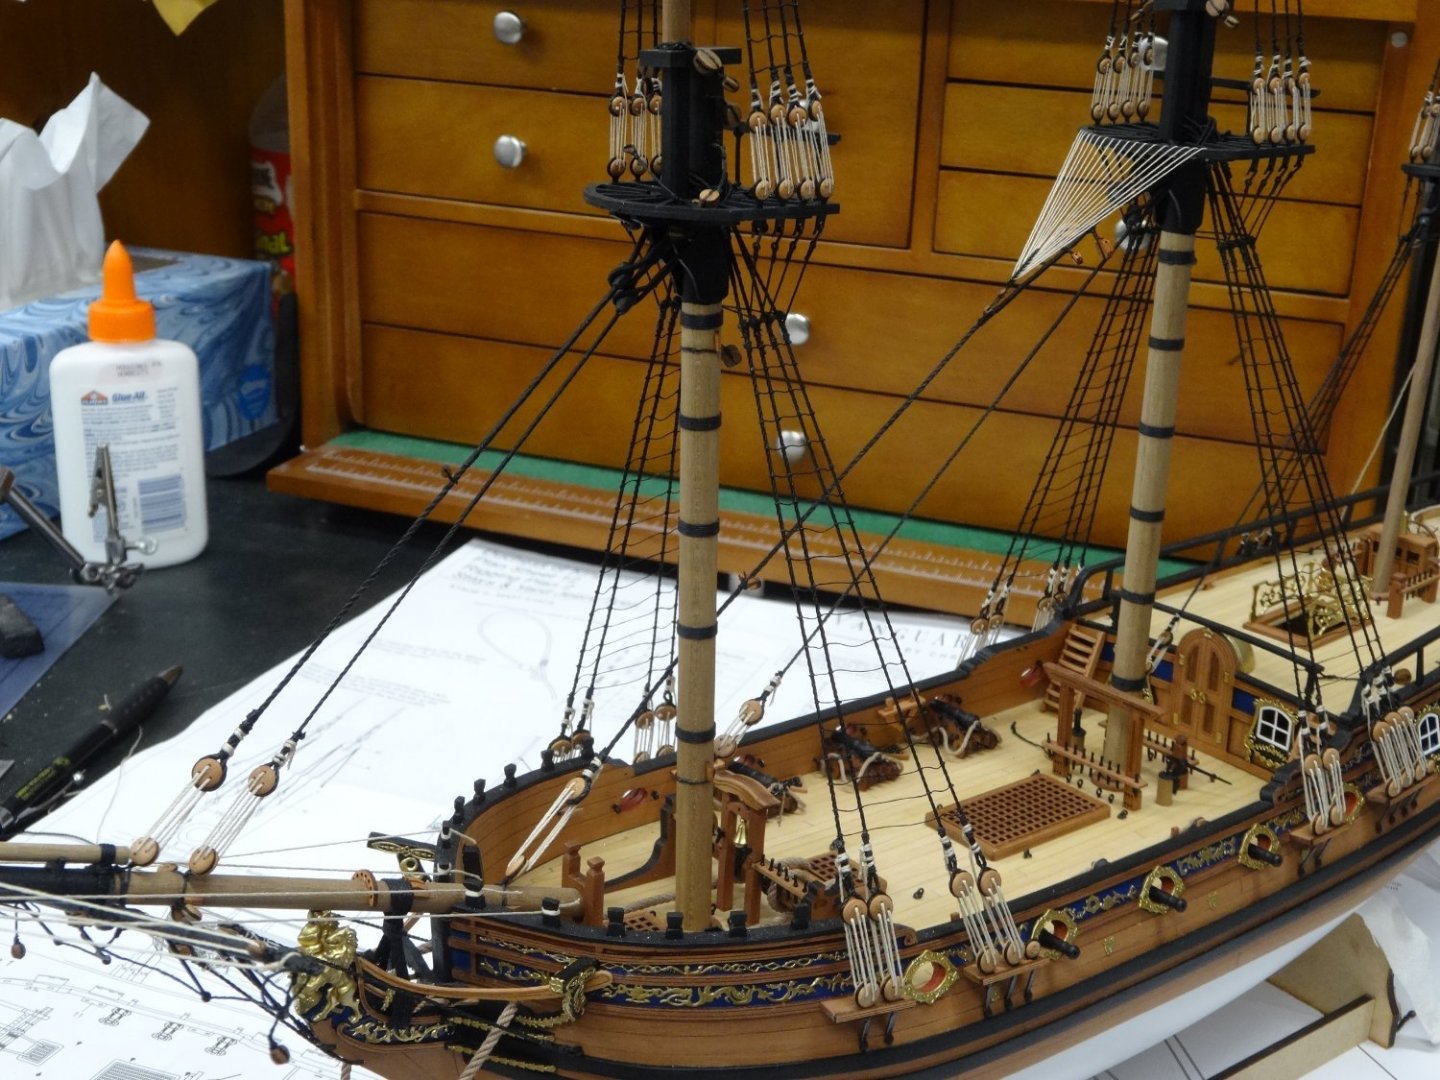
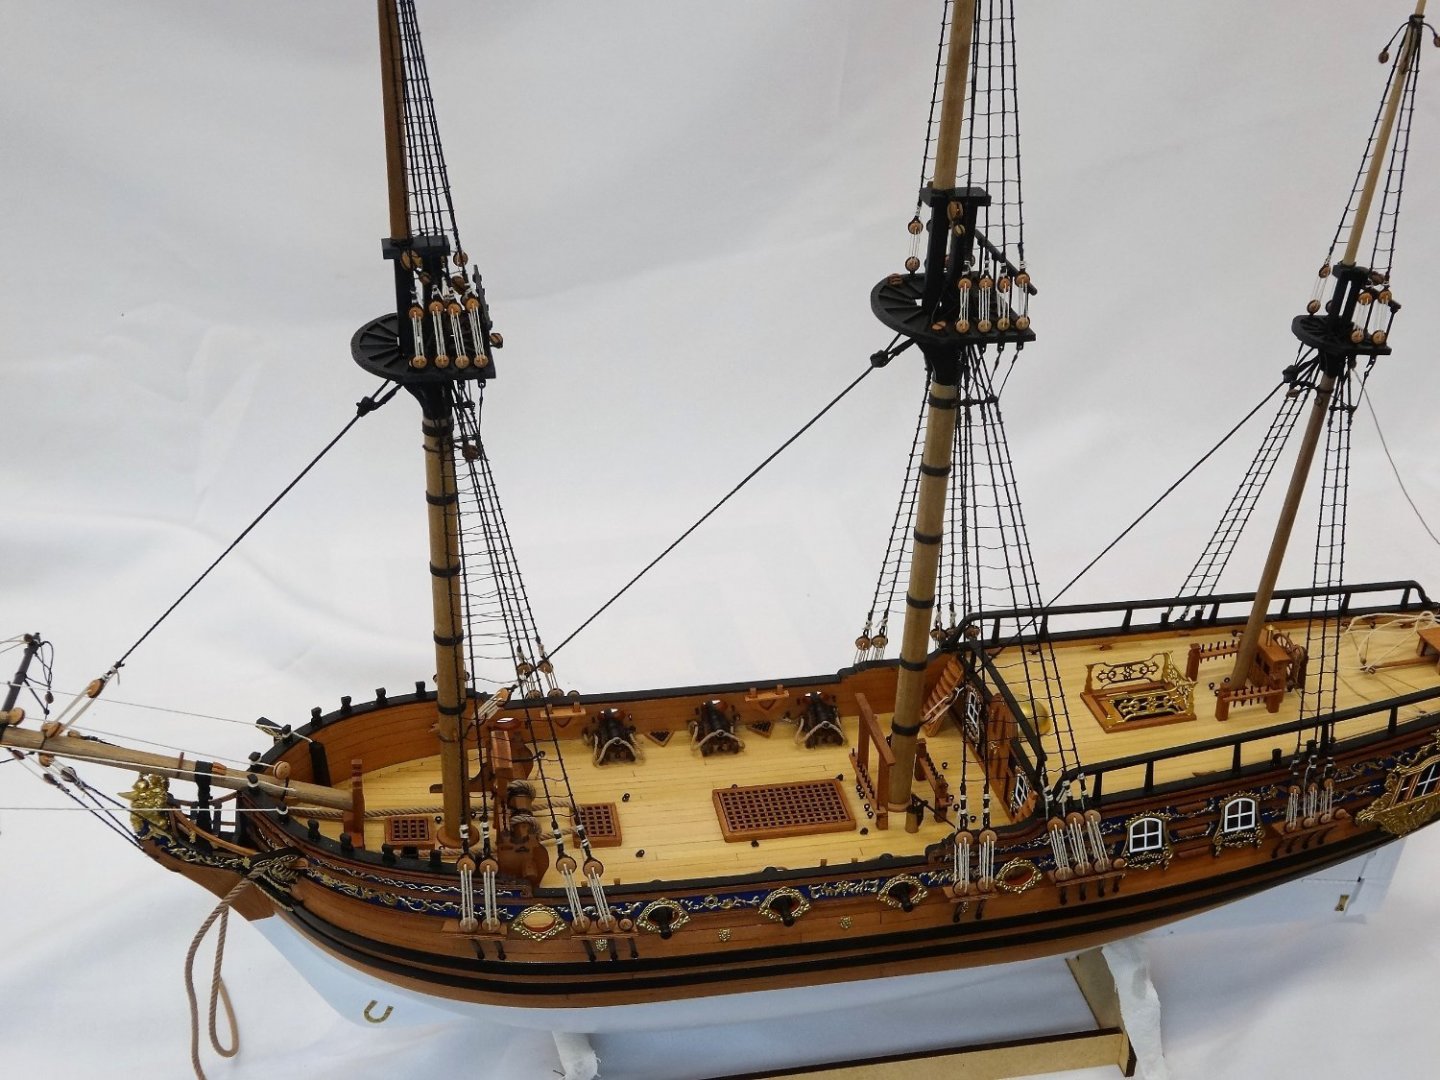
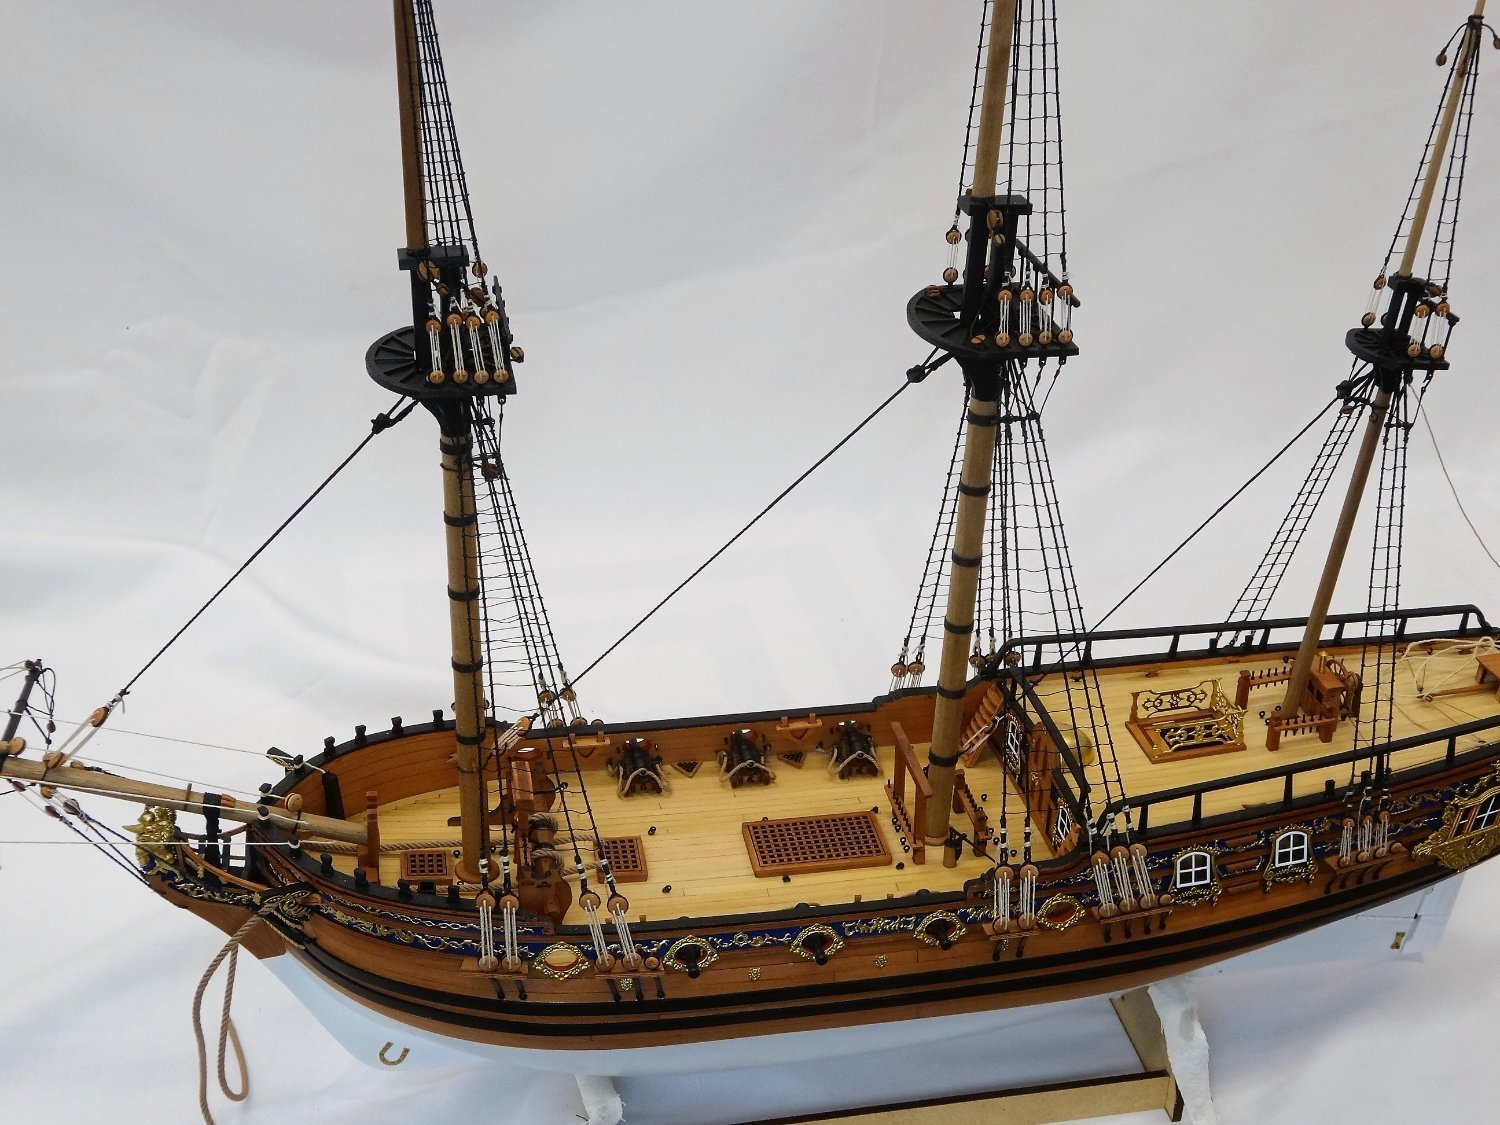
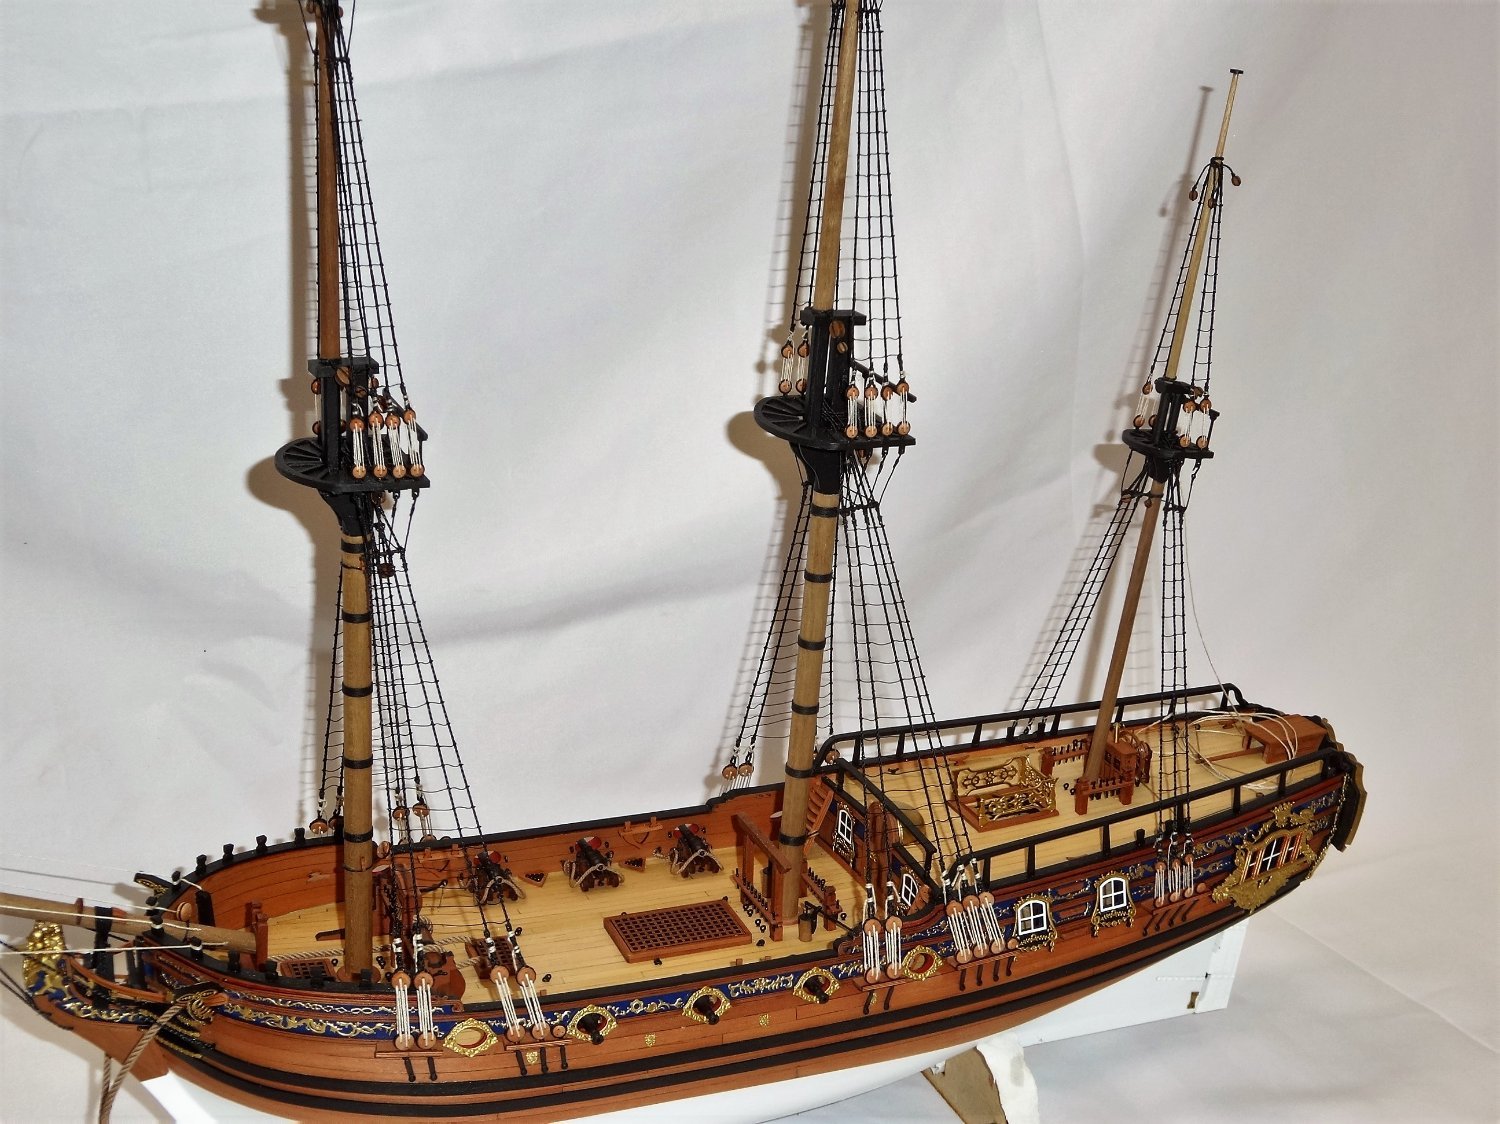
I've now added all of the backstays to the Fore, Main and Mizzen Masts.
That should complete the majority of the standing rigging. Next I'm onto hanging
the various yards. That should prove to be an interesting adventure!

- chris watton, bruce d, 59roadking and 12 others
-
13
-
 2
2
-
Very nice work Reg!
-
I agree with Yves and Chris to leave the cradles off if you don't fit the boats.
-
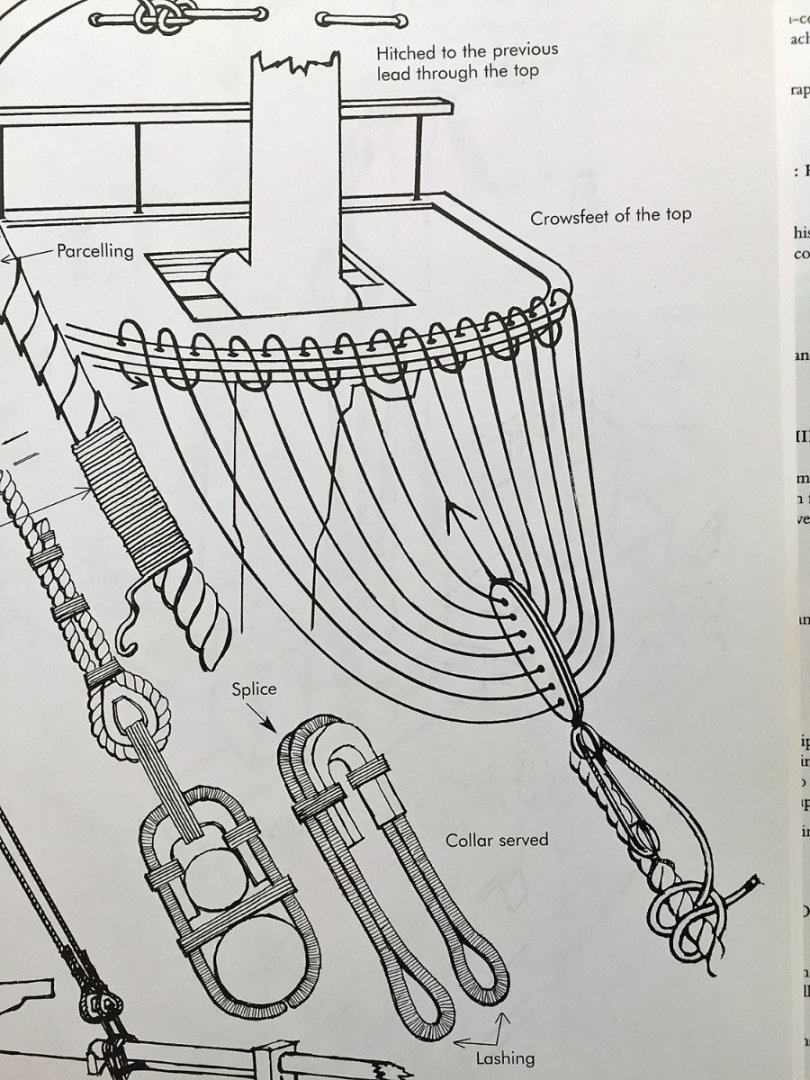
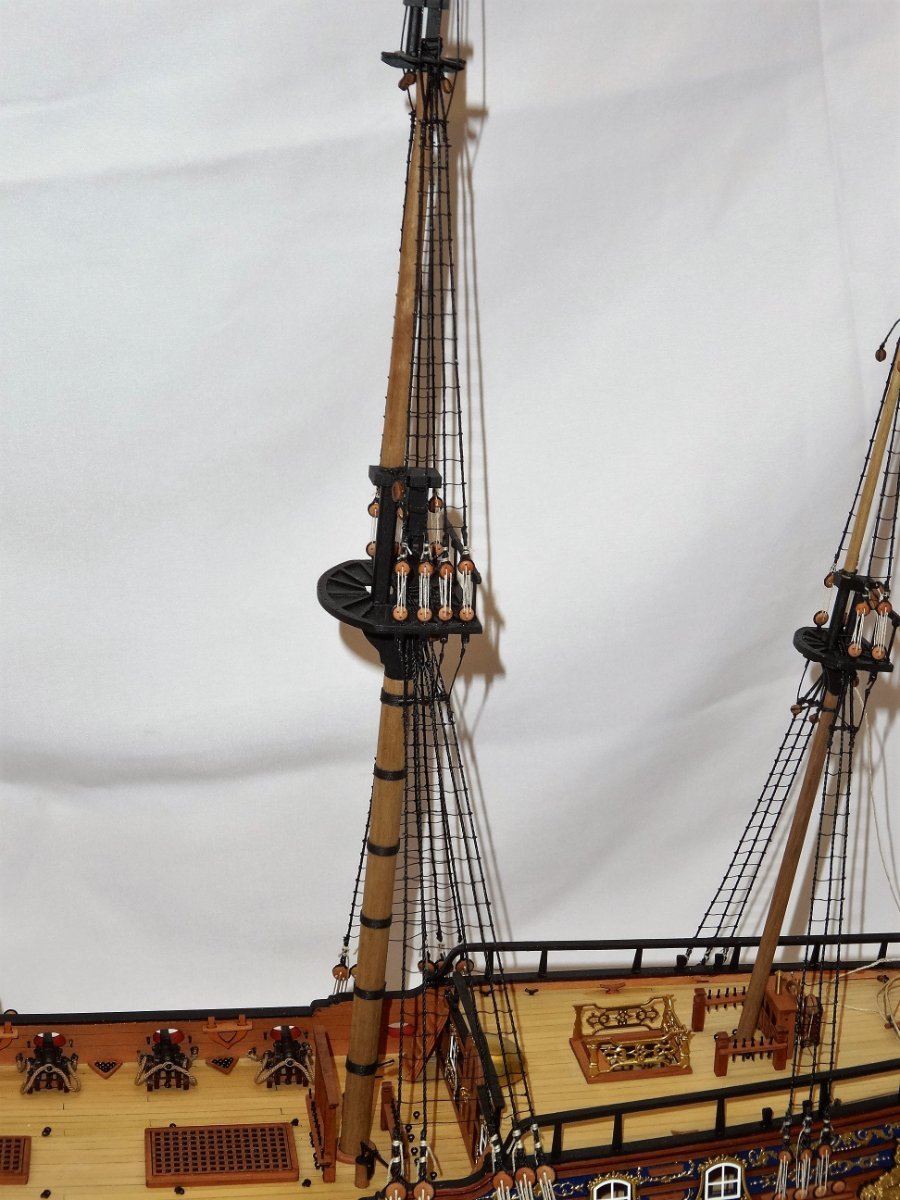
Thank you Glenn, Derek and DocRob. This is the model I've done that had crowsfeet and I too really like the look.
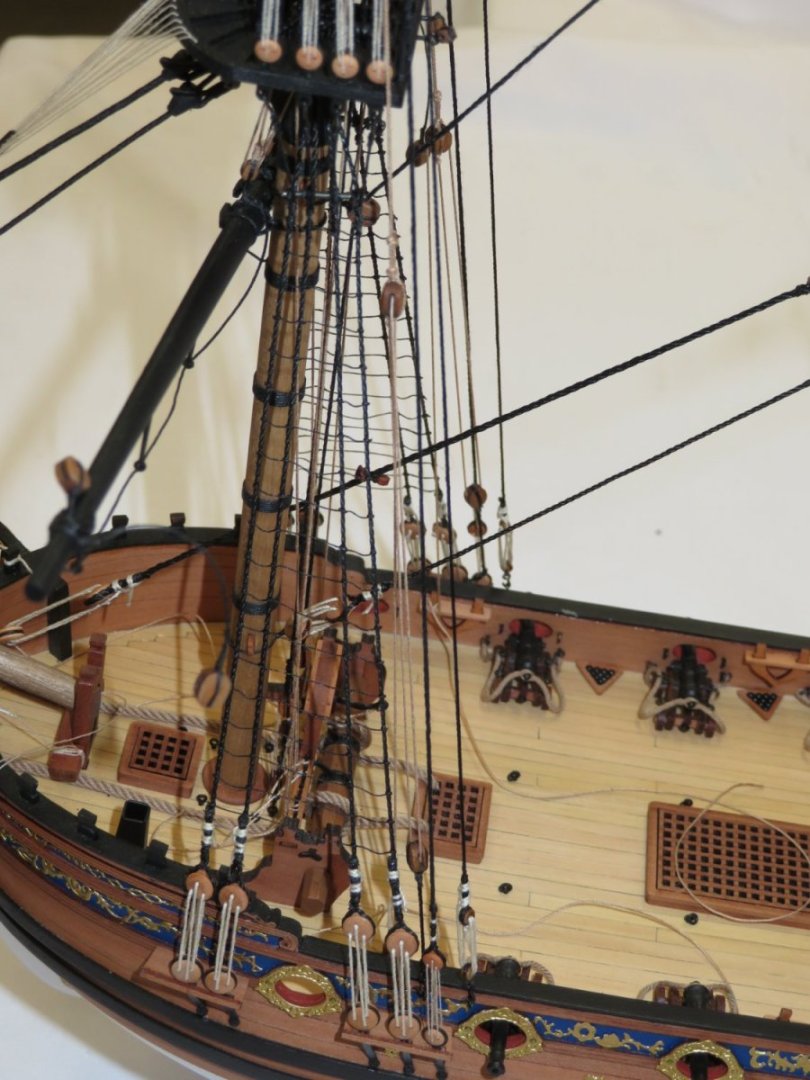
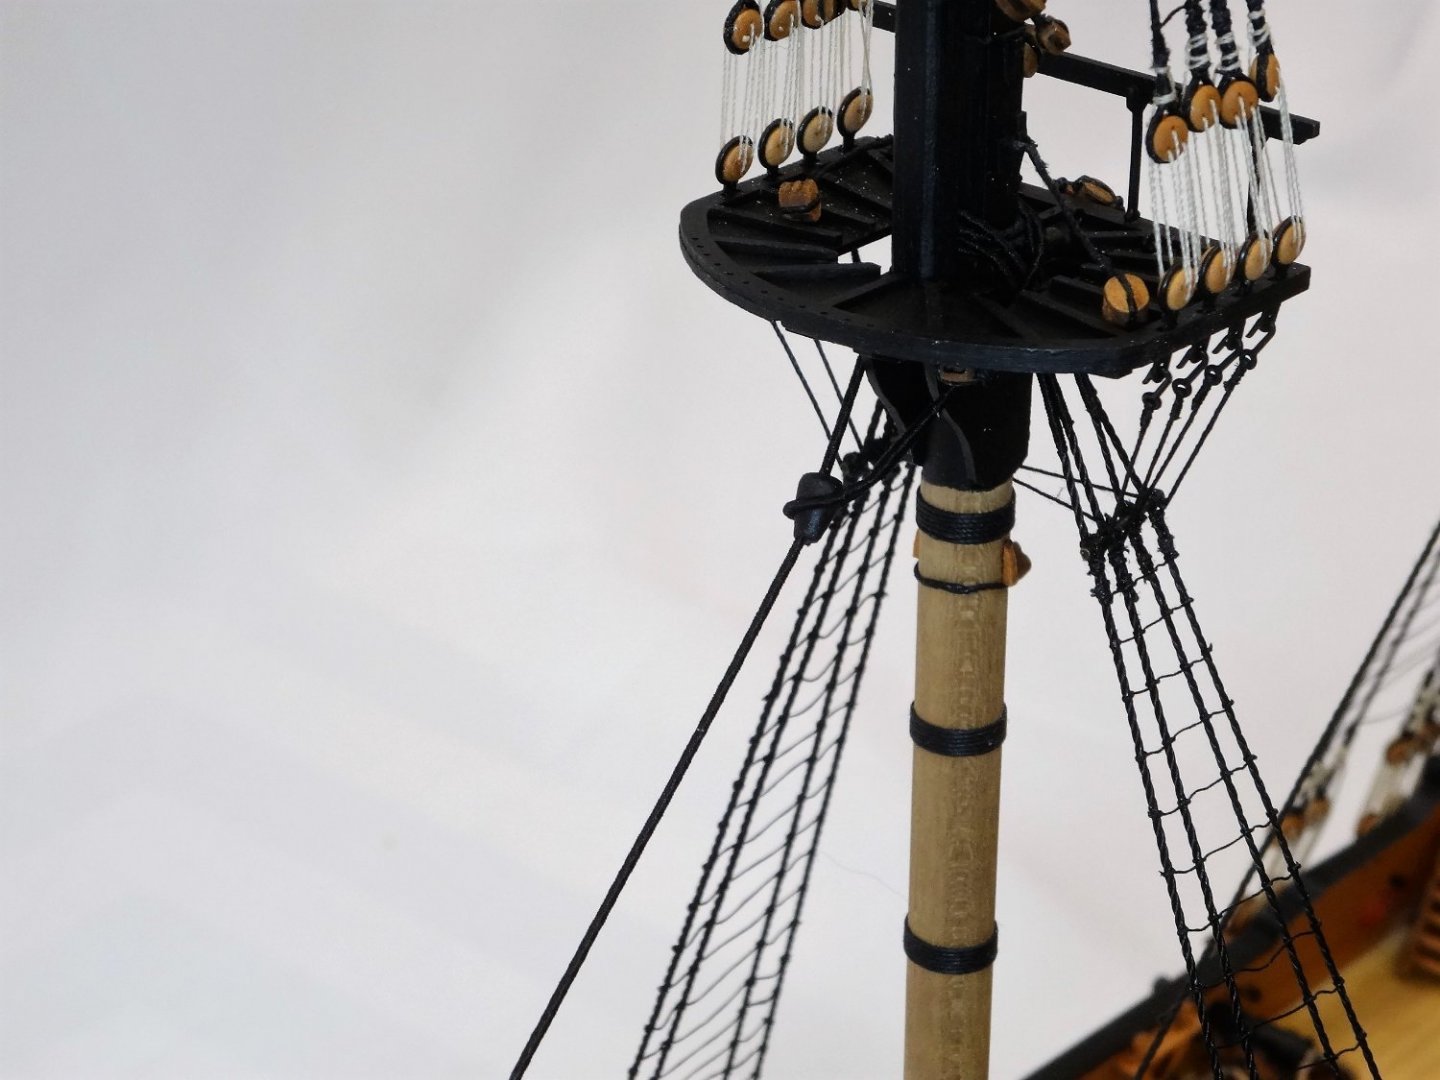
I've now added the all of the stays and preventor stays.
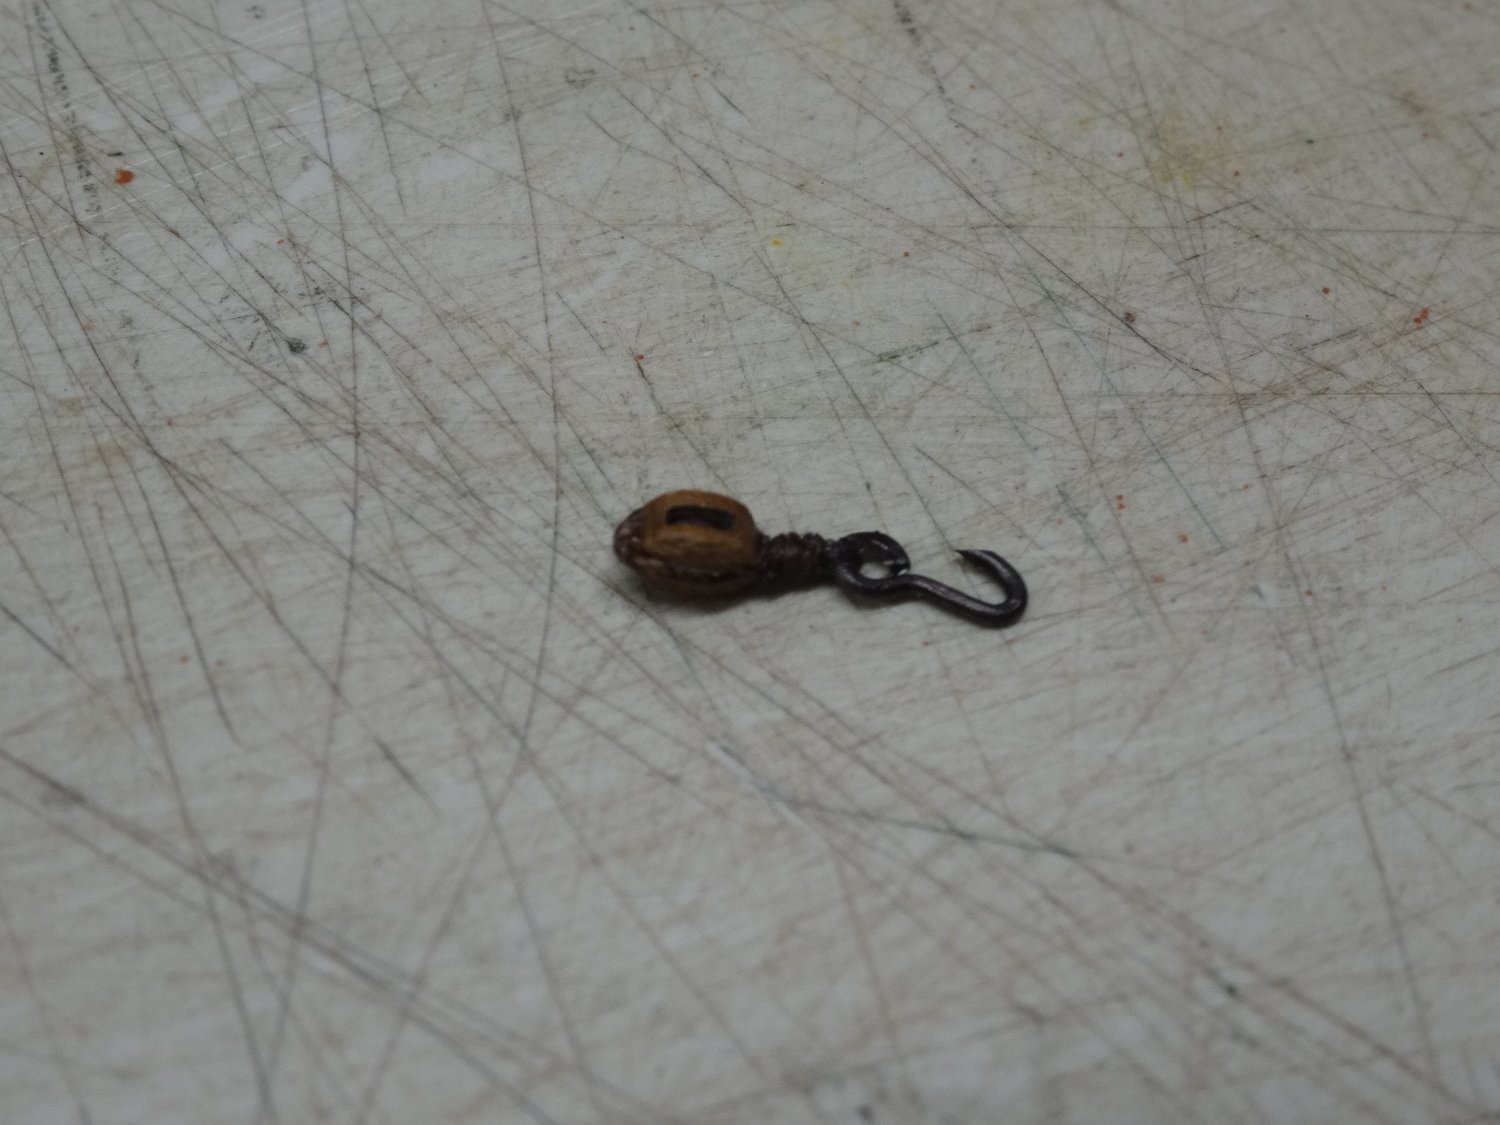
Here is an example of the blocks used in some of the rigging. These are for the fore topmast preventor stay.


And here is the bocks in place for the fore topmast preventor stay.

And some overall picture of the completed stays.

Thanks for stopping by!
-
Welcome to the group. It's always great to see a new build start!
-
-
Fantastic planking Glenn. Your workmanship is second to none!
- Dave_E, glbarlow and FrankWouts
-
3
-
1 hour ago, glbarlow said:
Glad to see you back at it. The columns are a great add and a nice touch!
I agree with Glenn. Very nice work JJ!
- FrankWouts and scrubbyj427
-
2
-
-
Nice catch. For whatever reason I did a similar thing before. Much better to find it now than in the middle of planking.
-
-
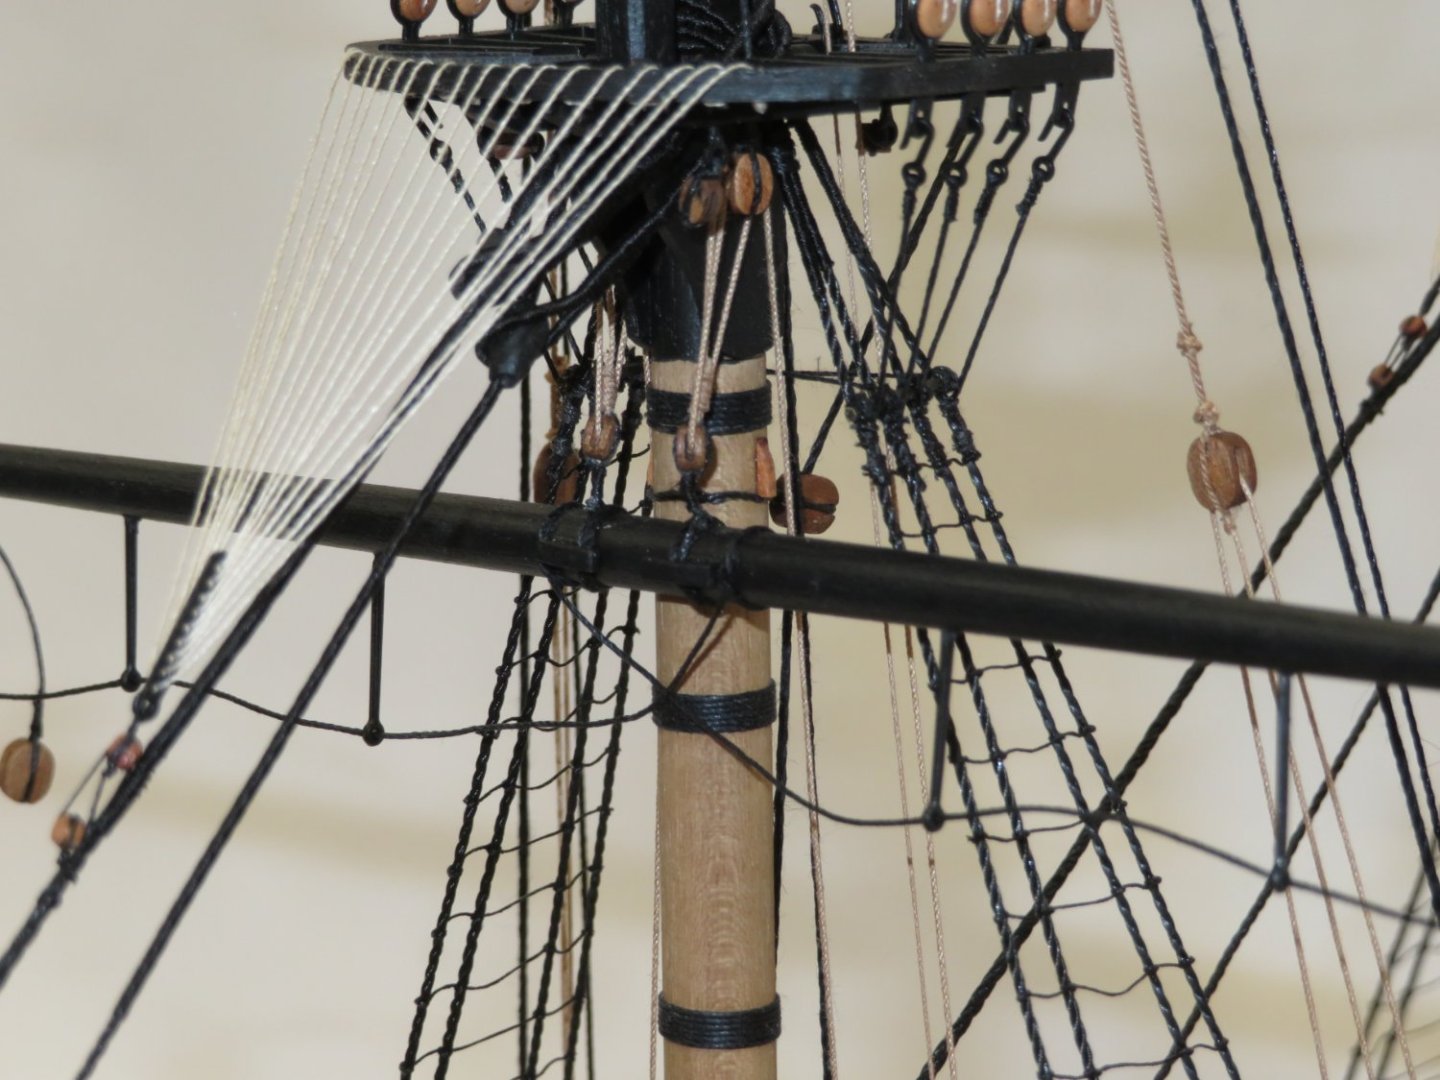
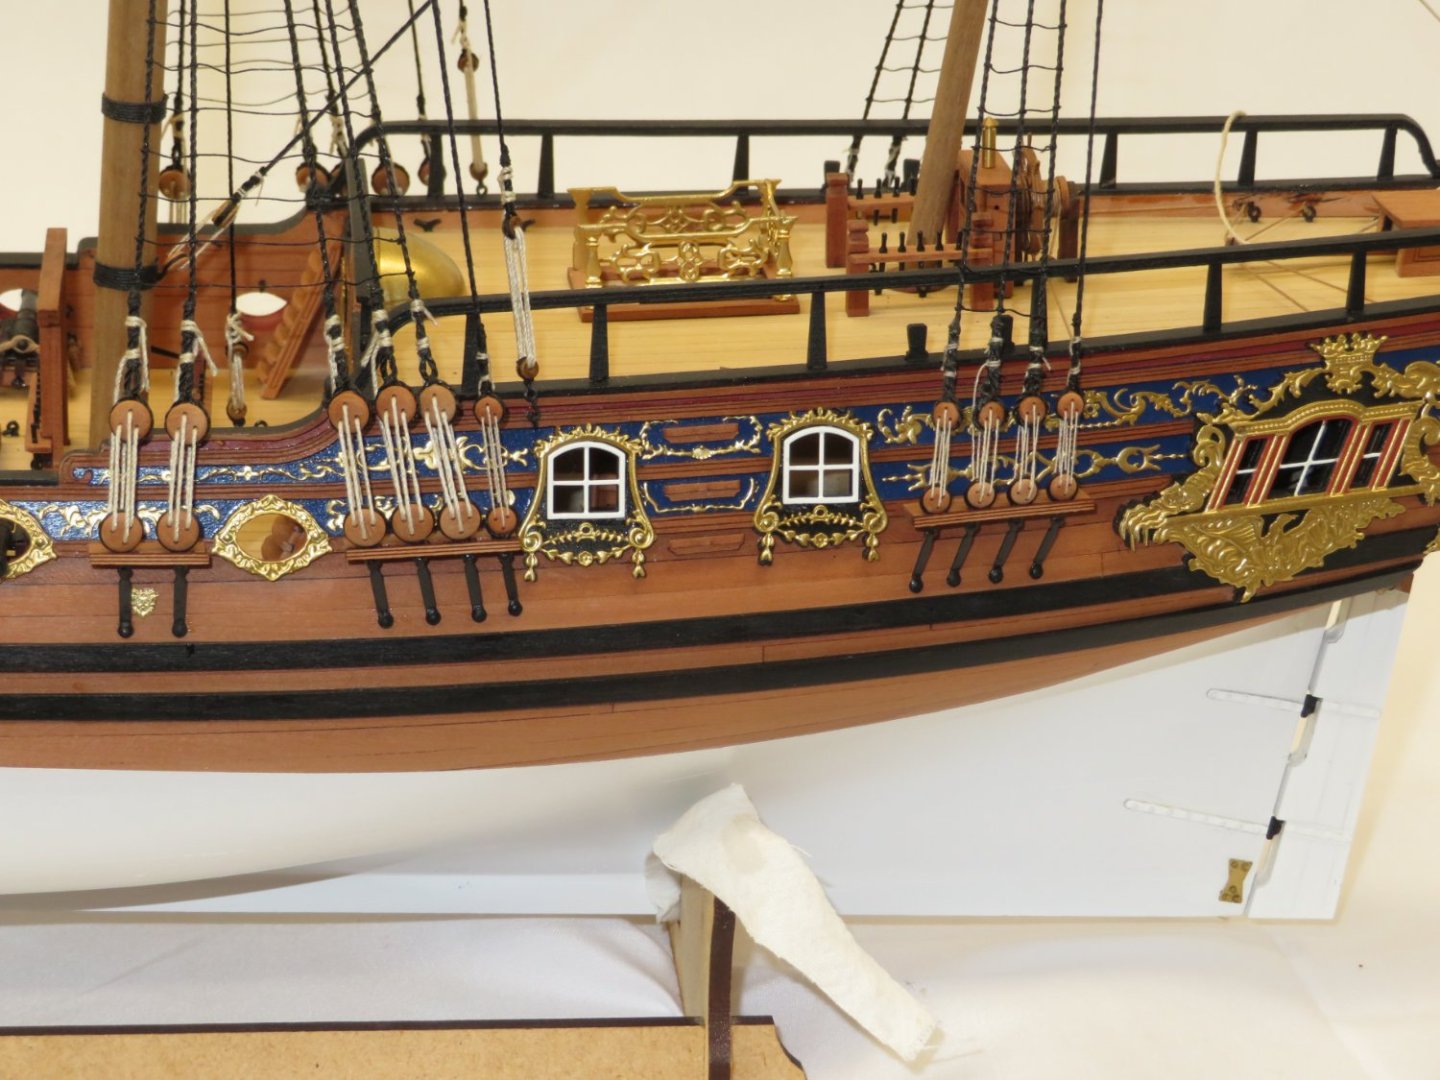
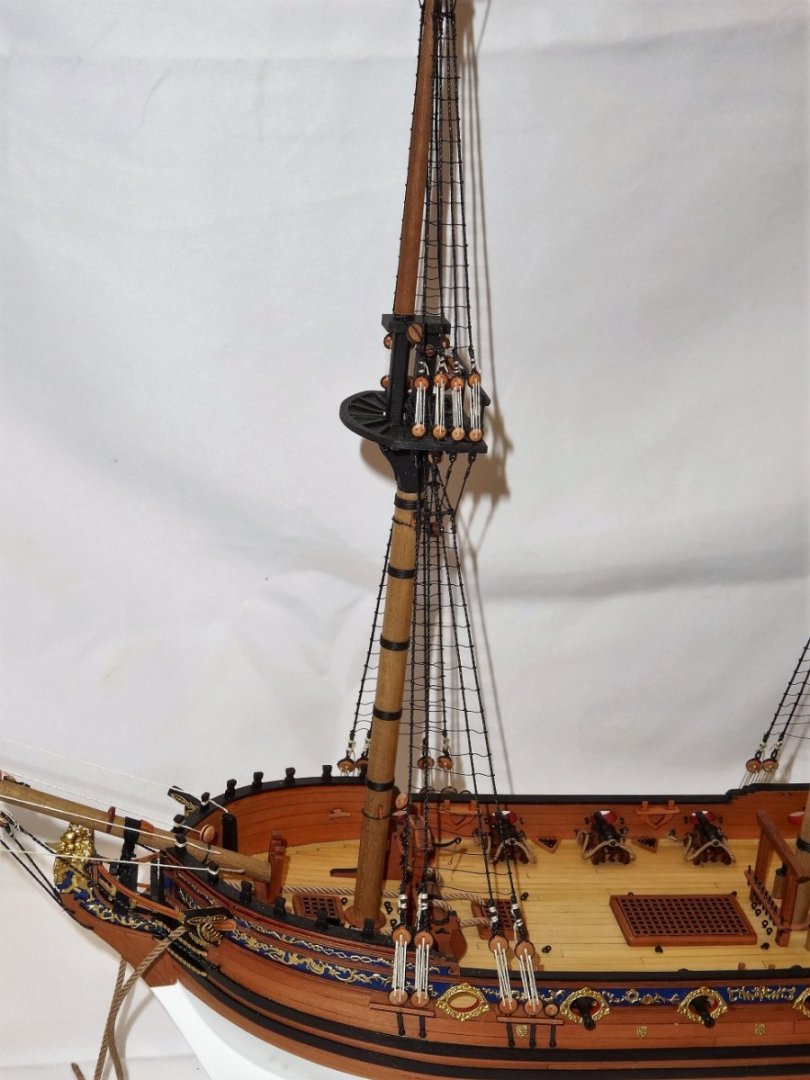
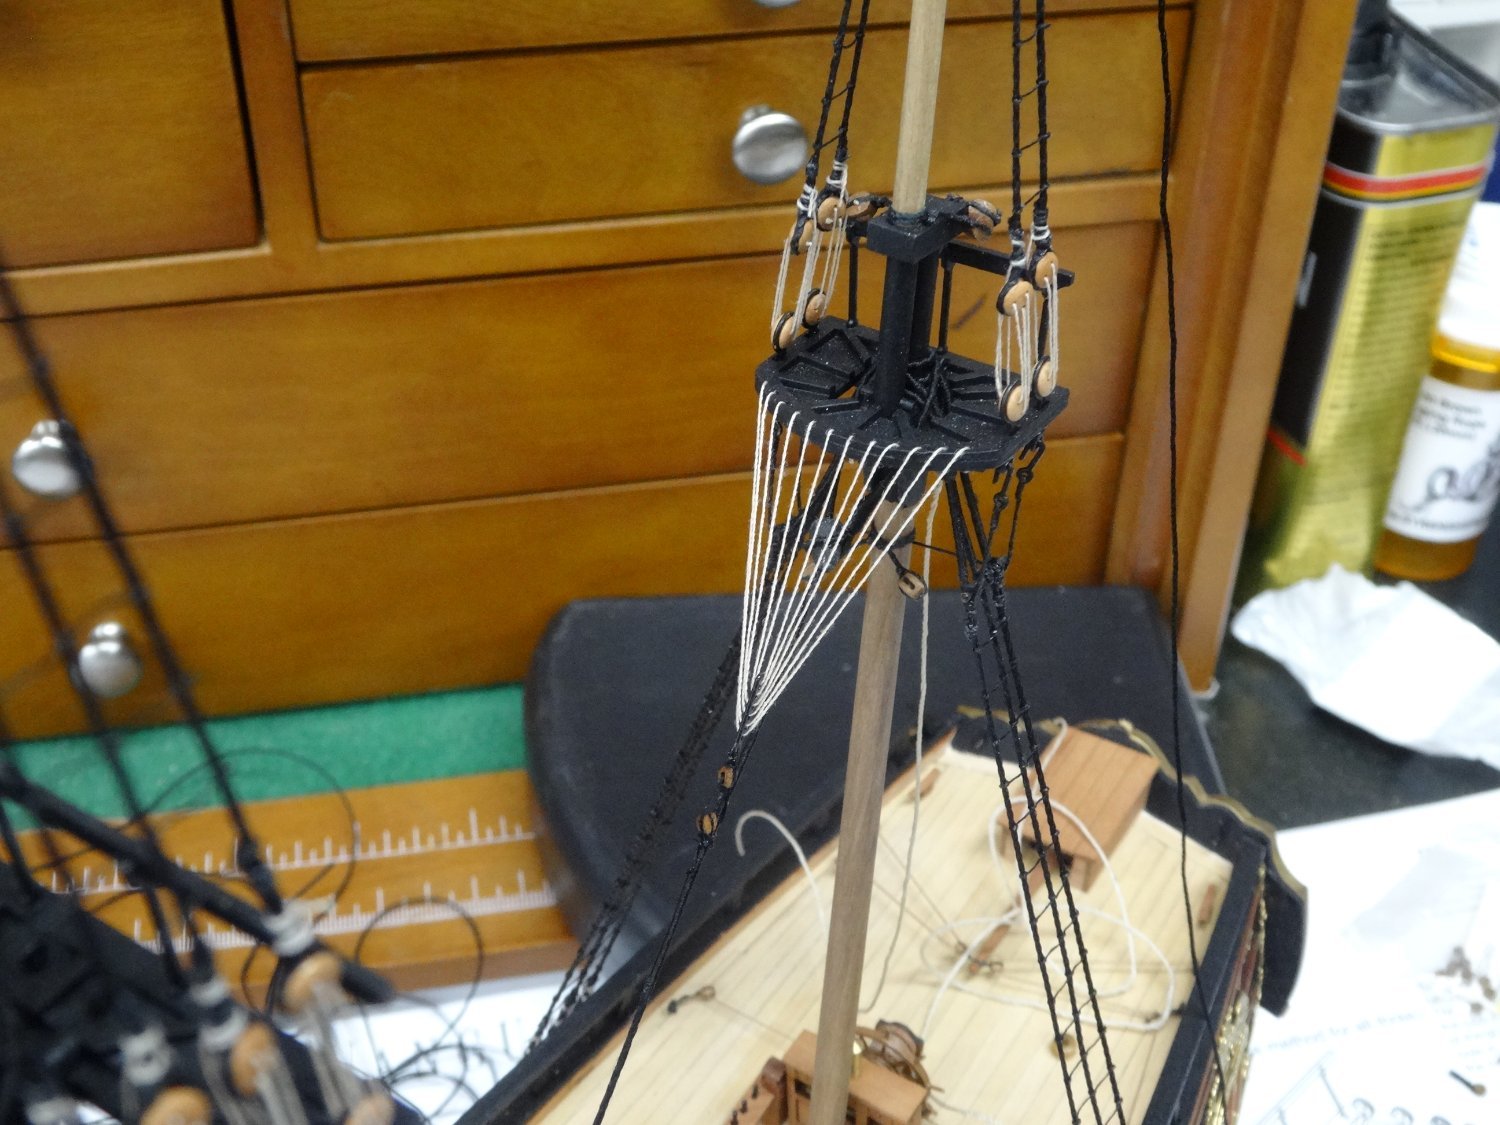
I've served the main and fore stays and mounted them per the plans. After reviewing other logs,
(Glenn's DOK and Ron's Sphinx) plans and pictures I made my first attempt at rigging the crowsfeet.
There were a few false starts, twisted and knotted line that had to be untangled numerous times,
I finally completed the first of three crowsfeet.
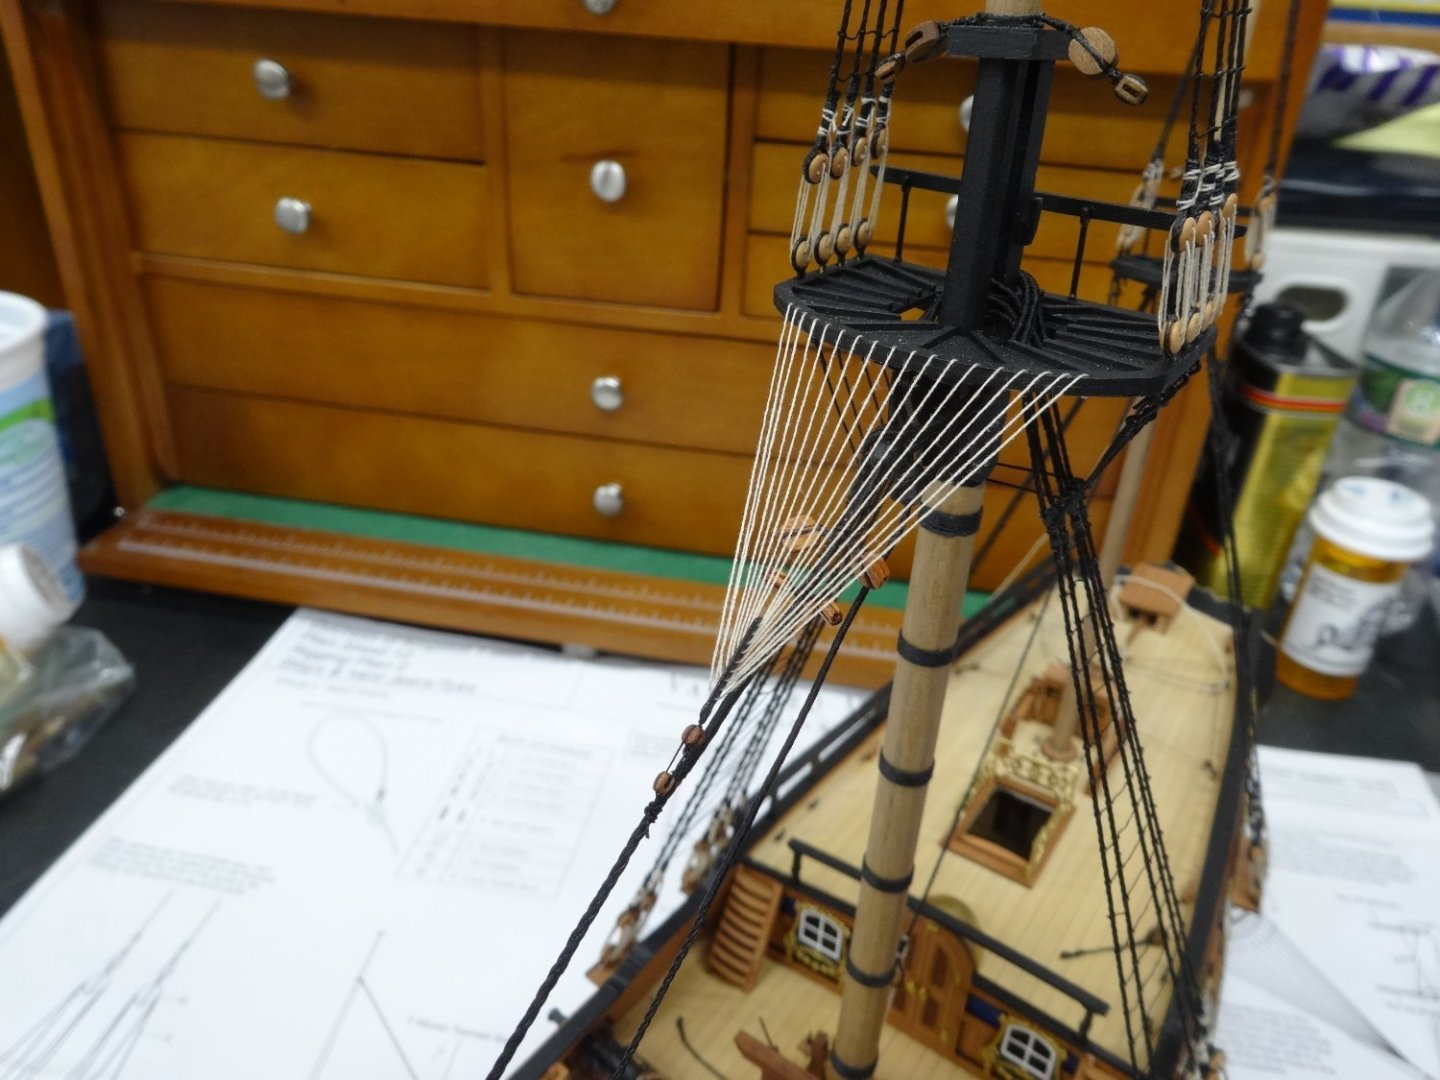
Thanks for stopping by!
-
Stunningly superb Chuck!
- Chuck, FrankWouts and mtaylor
-
3
-
That's a fine start and welcome to the club!
-
Thats some fine work Ben! Very nice.
-
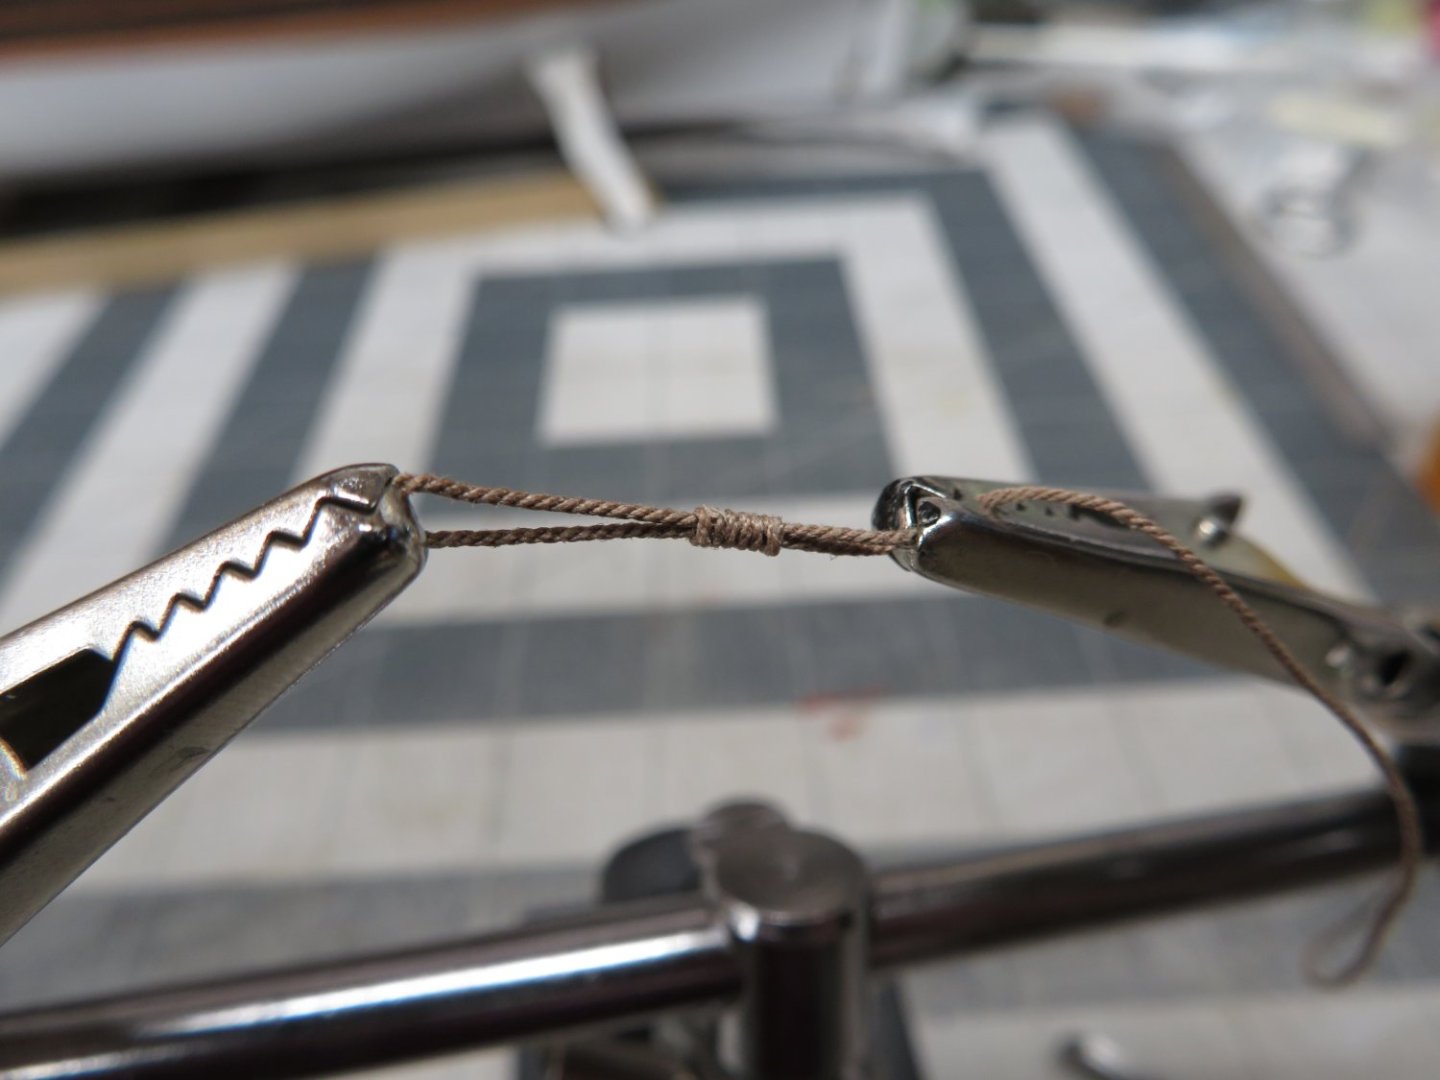
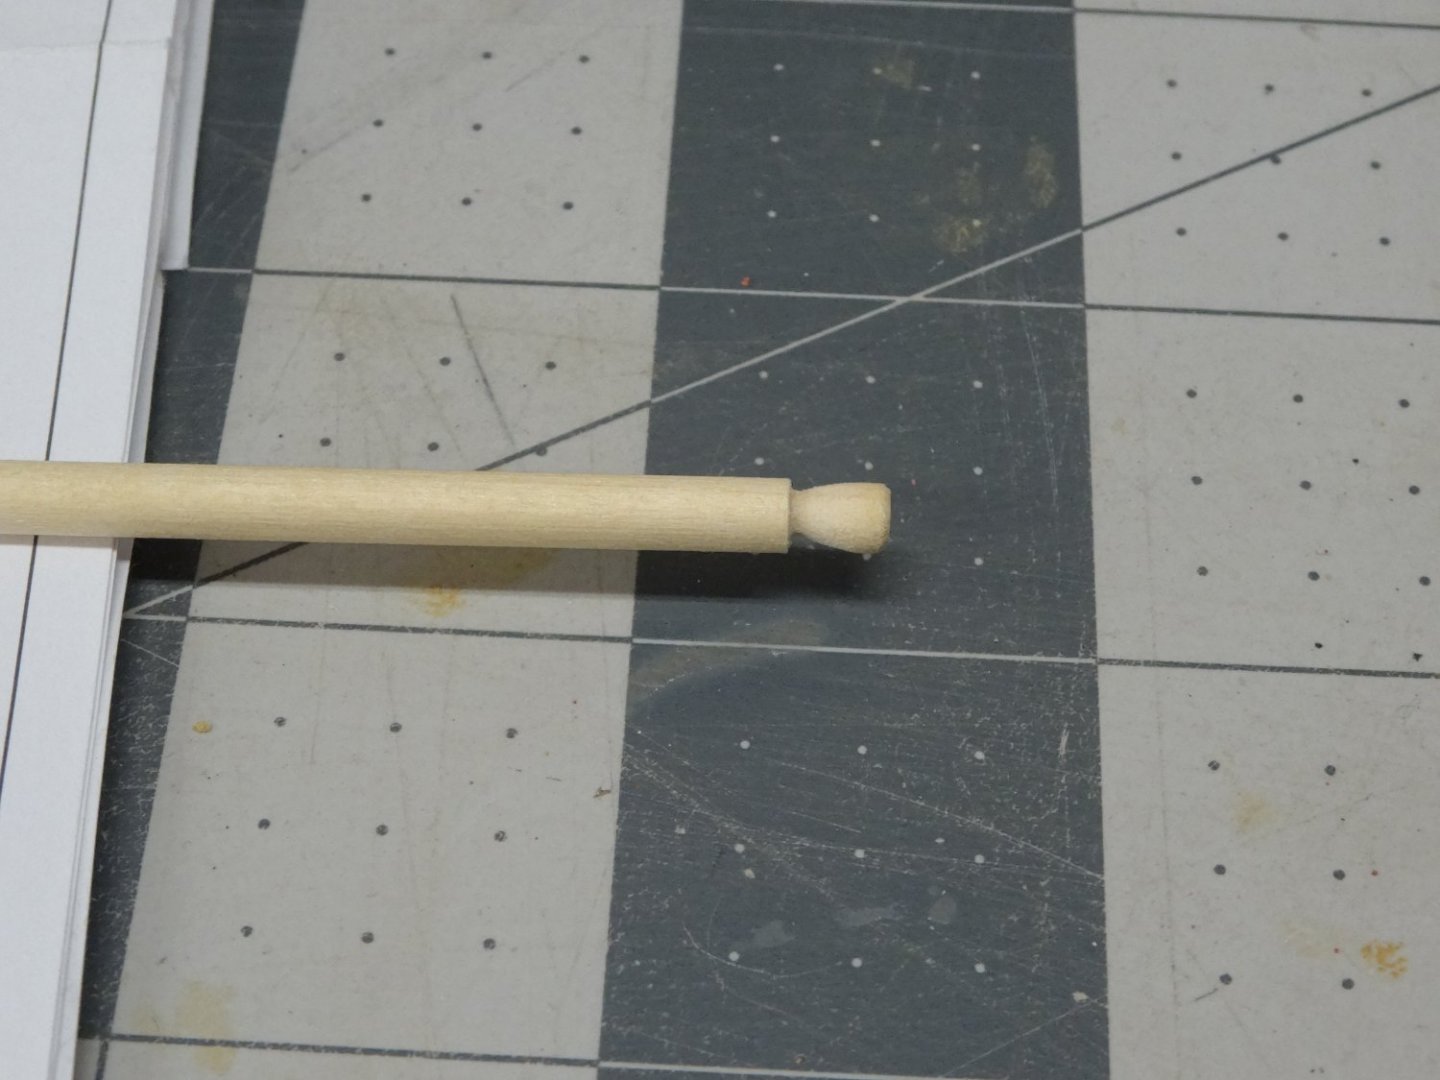
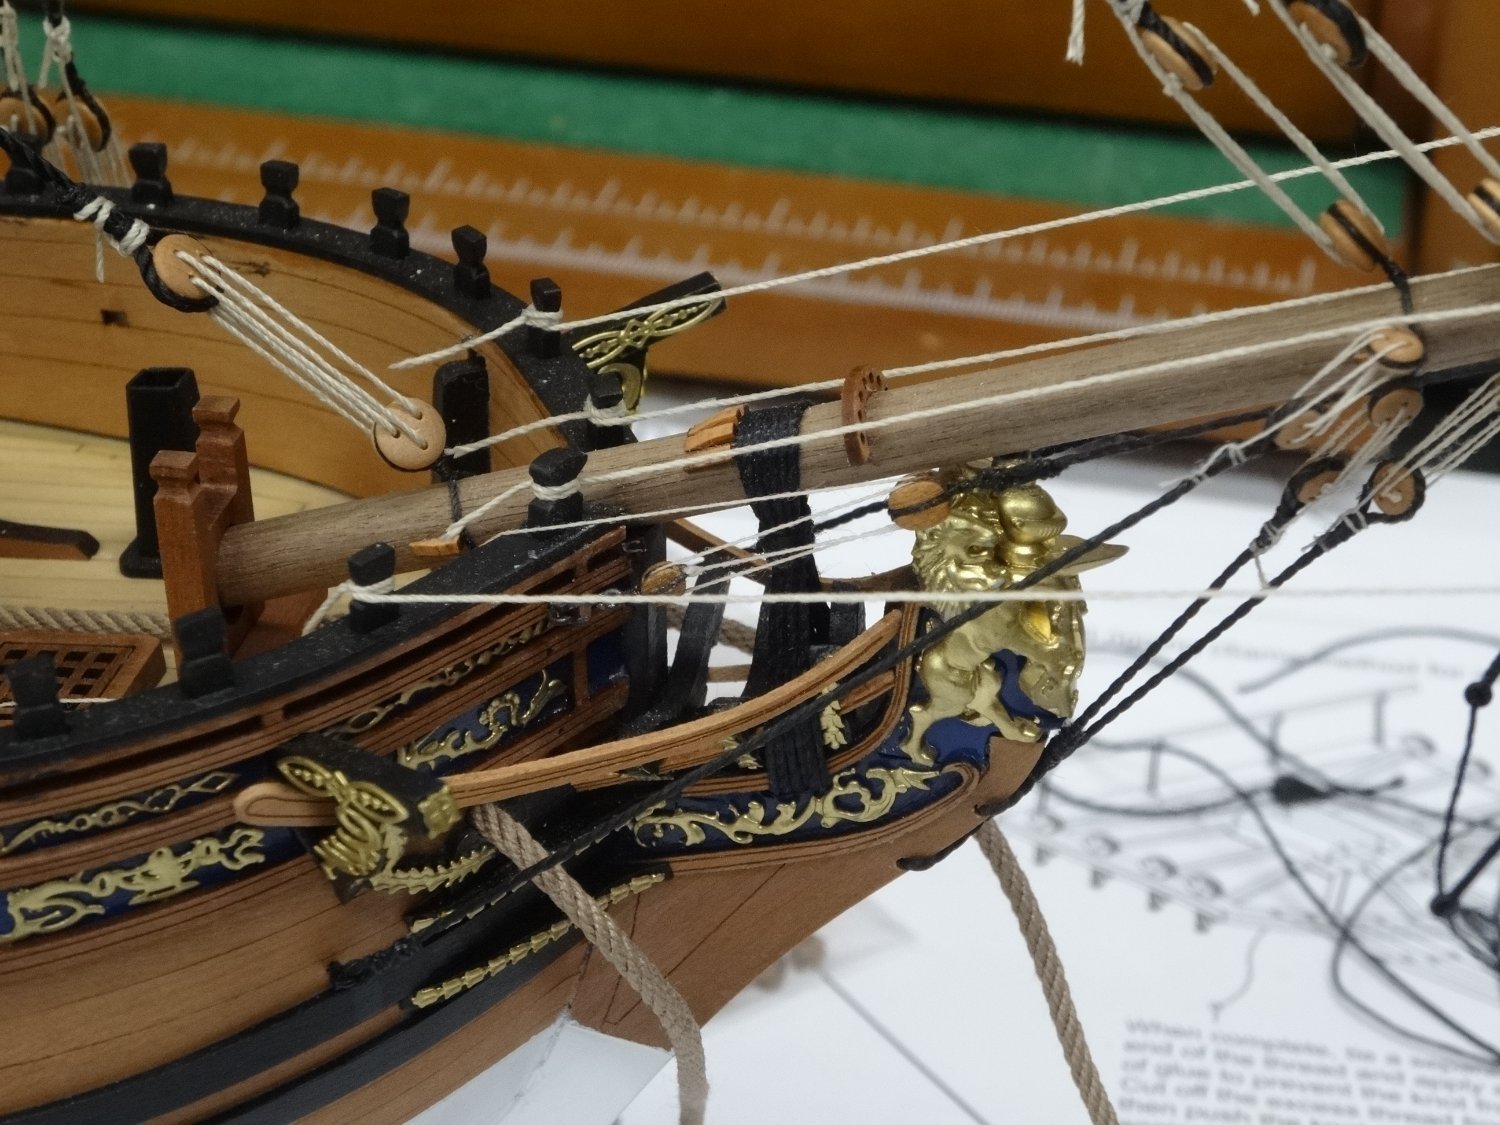
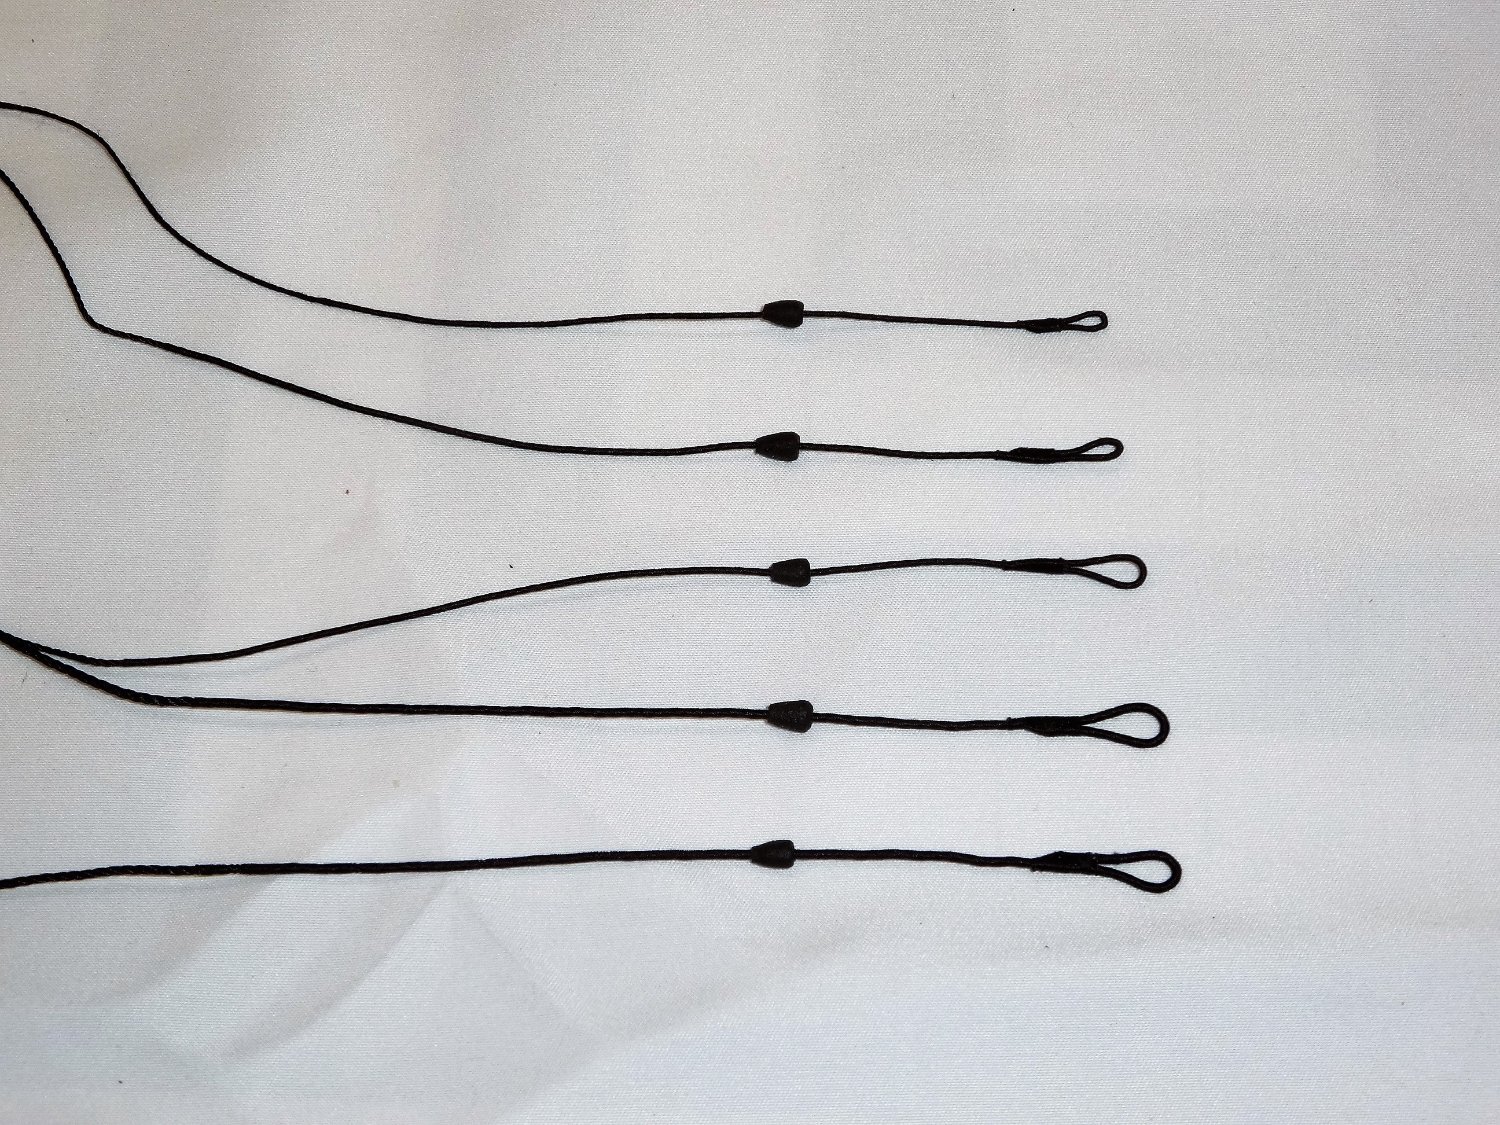
I've started working on the five stays. The all of the stays have a mouse on them. I've seen others make the mouse from a dowel which I copied. I drilled a hole down the center just slightly larger than the line, sanded them to shape, cut them off and painted them. I then served the lines below where the mouse will be. I then made the eye seizing it and sliding the mouse into place.

Here you see the fore preventor stay and mouse in place.
Here are the fore and main preventor stays and the mizzen stay. Next I'll add the main and fore stays and then three sets of crowsfeet!
-
Hi Bob. I'm sorry to hear that you're having a tough time with your health.
Once you start getting healthier and more parts arrive, I'm sure your enthusiasm will return!
- FrankWouts and Wacom
-
2
-
-
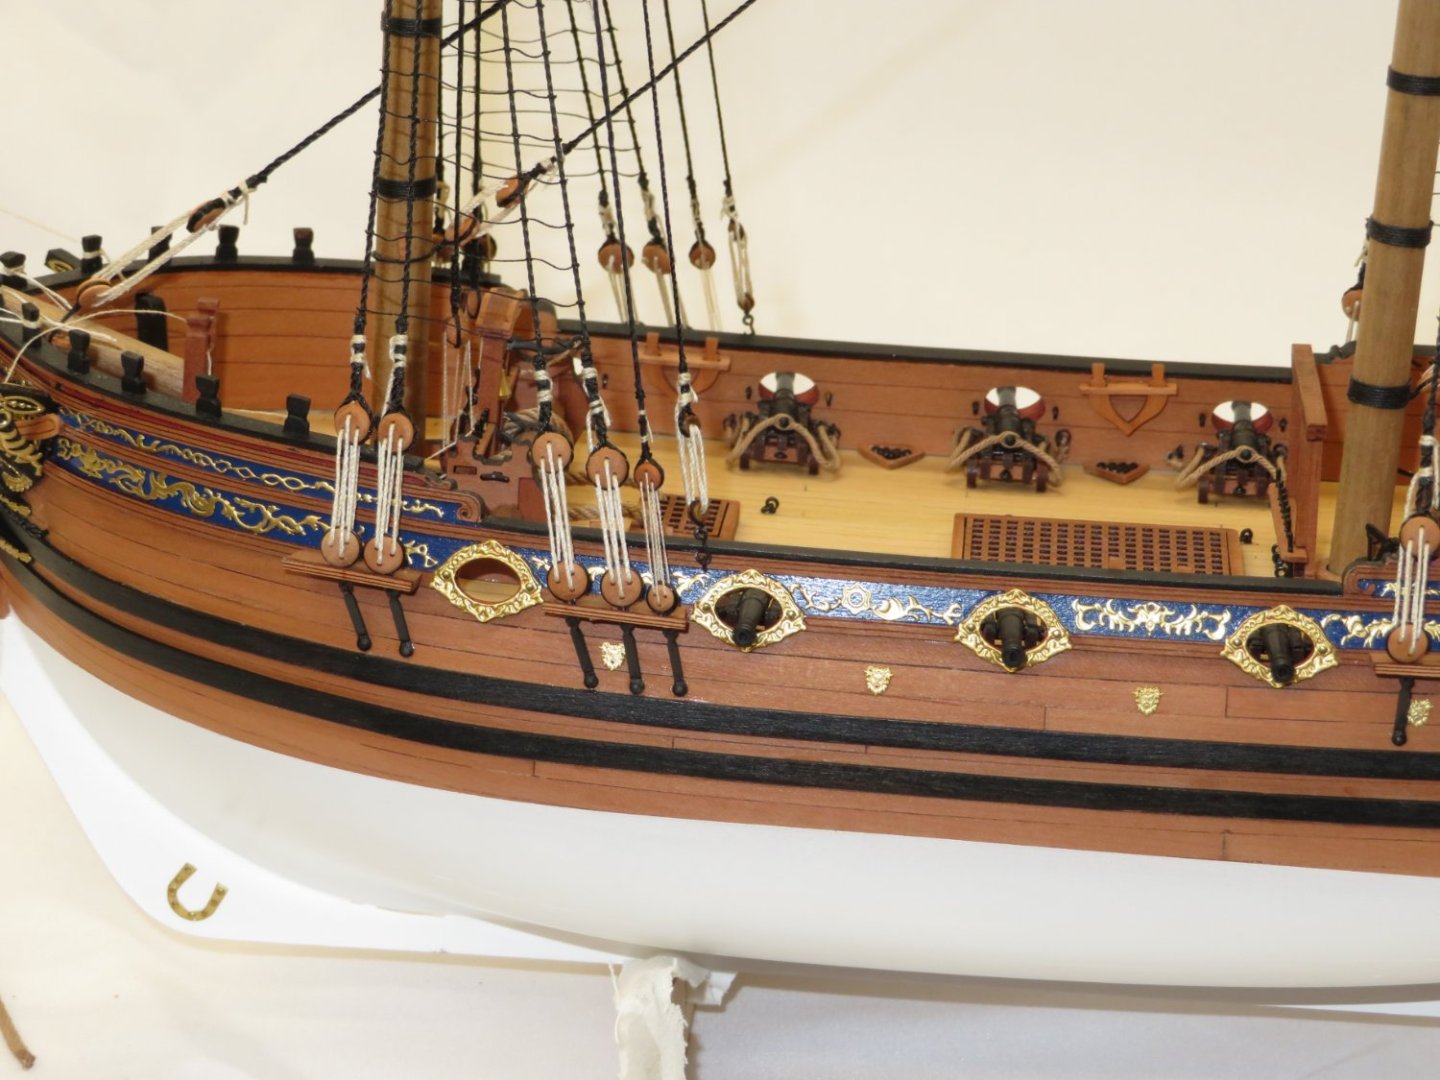
The portside ratlines have all been tied and went much quicker than the starboard ones!
Before I hang the yards I'll be working on all of the various stays and the crows feet.
Having never done "crows feet" on to a stay should be a fun learning experience.


- Ryland Craze, Theodosius, Gahm and 12 others
-
15


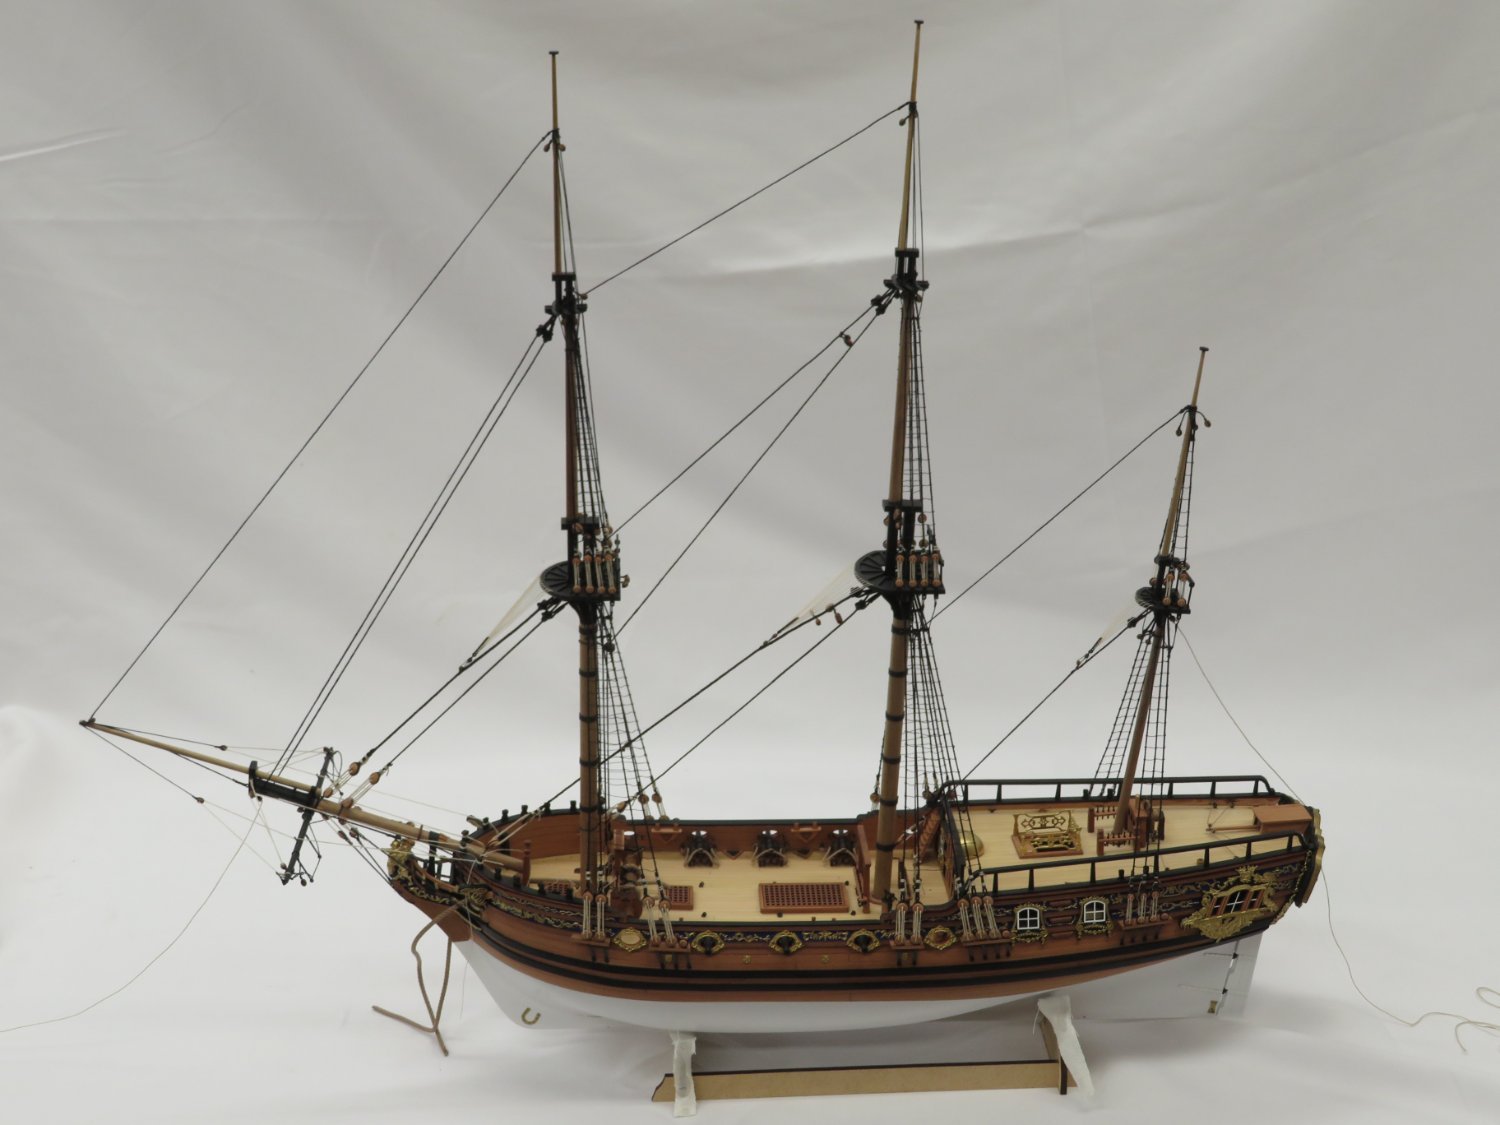


Duchess of Kingston 1778 by Rustyj - FINISHED - Vanguard Models - 1:64 - Royal Yacht
in - Kit build logs for subjects built from 1751 - 1800
Posted
Thanks Reg. Also, thanks for the likes!
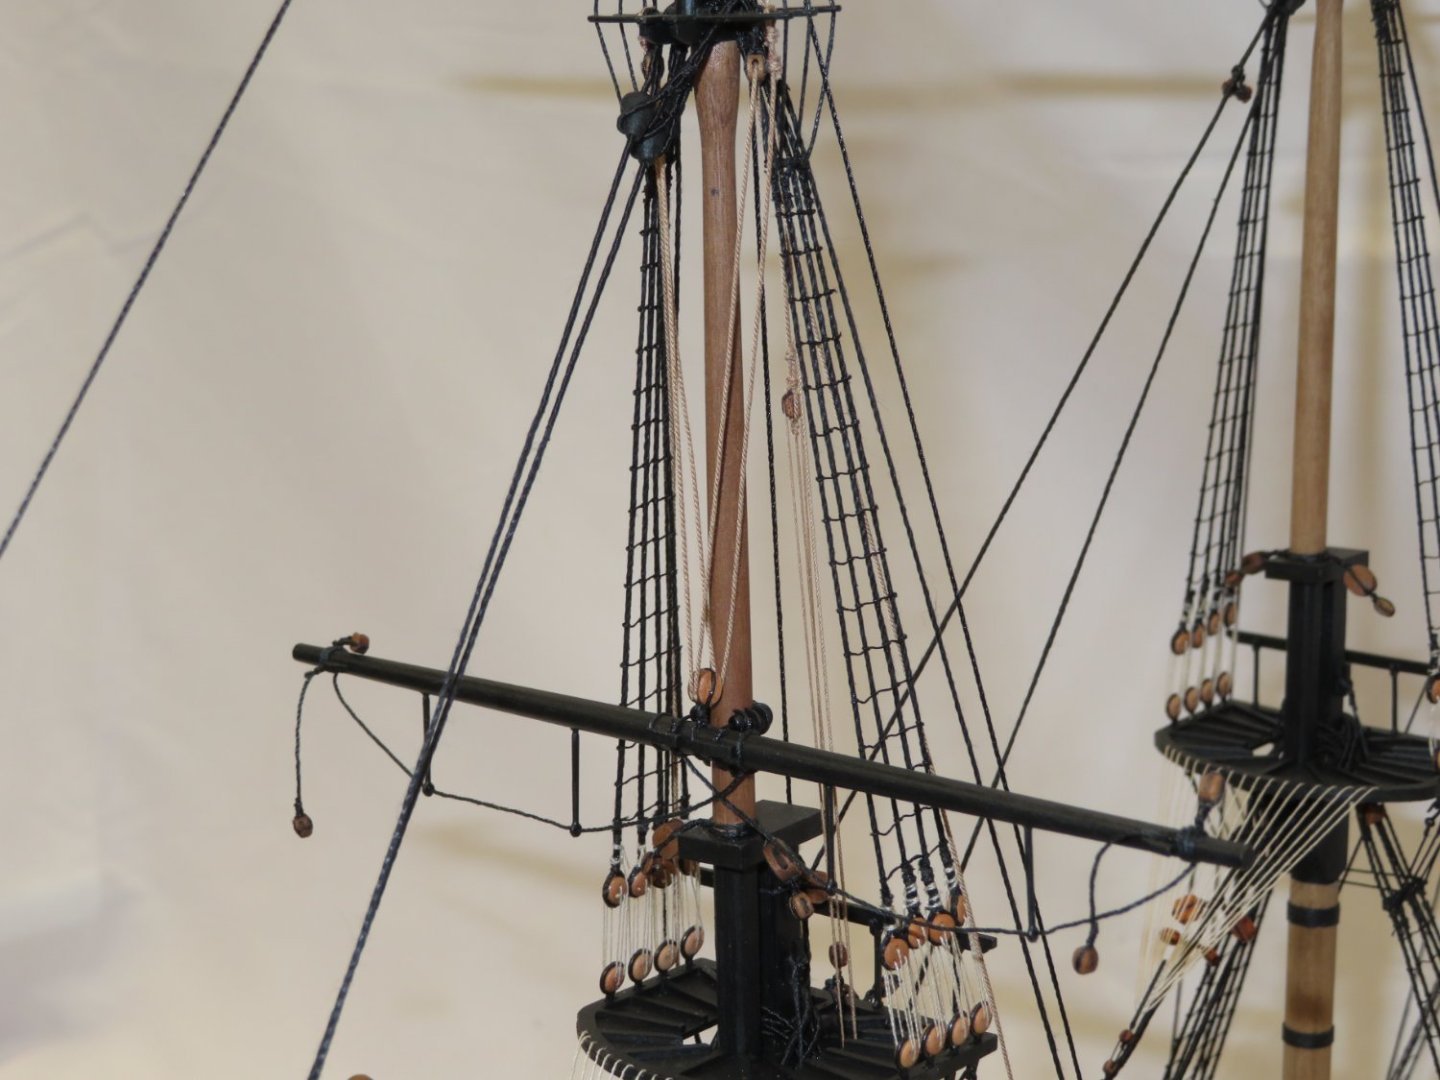
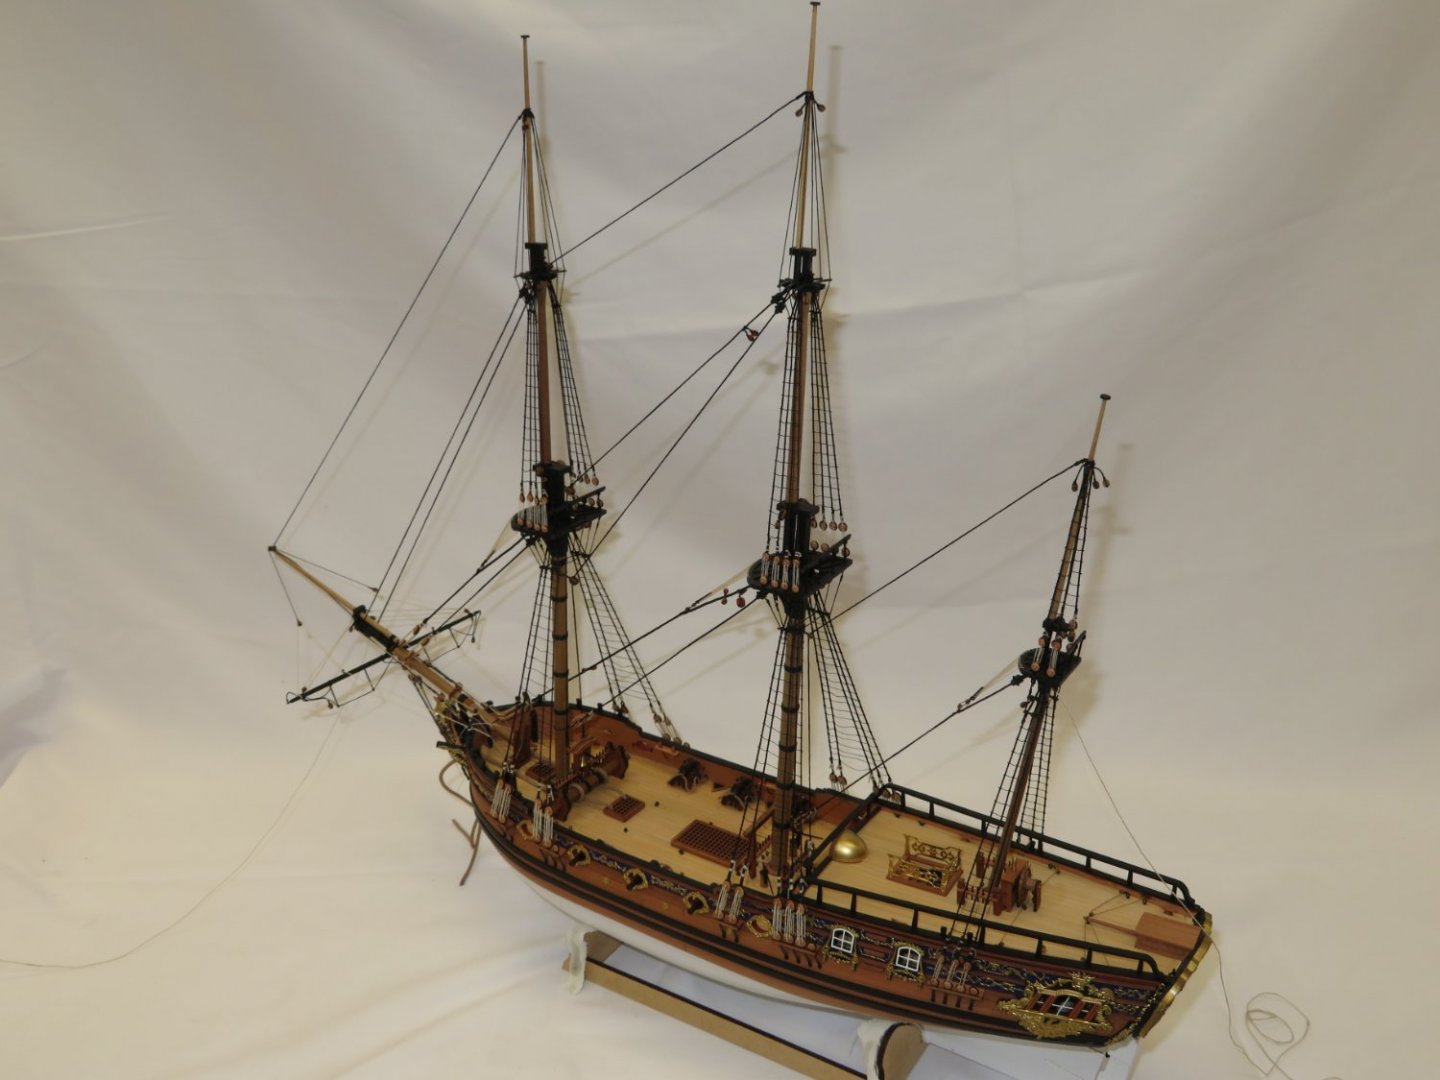
I've completed attaching the yards to the main mast and mizzen mast like I did on the fore mast.
With all the yard jeers and tyes now attached I'll start on the yards lifts and braces.
The spider web of lines is really starting to grow.