


Rustyj
-
Posts
2,516 -
Joined
-
Last visited
Content Type
Profiles
Forums
Gallery
Events
Posts posted by Rustyj
-
-
I always knew you were very innovative but wow this is so next level!
- mtaylor, druxey, Oldsalt1950 and 2 others
-
 5
5
-
Thank you, Glenn and Ben. Also, thanks for the likes.
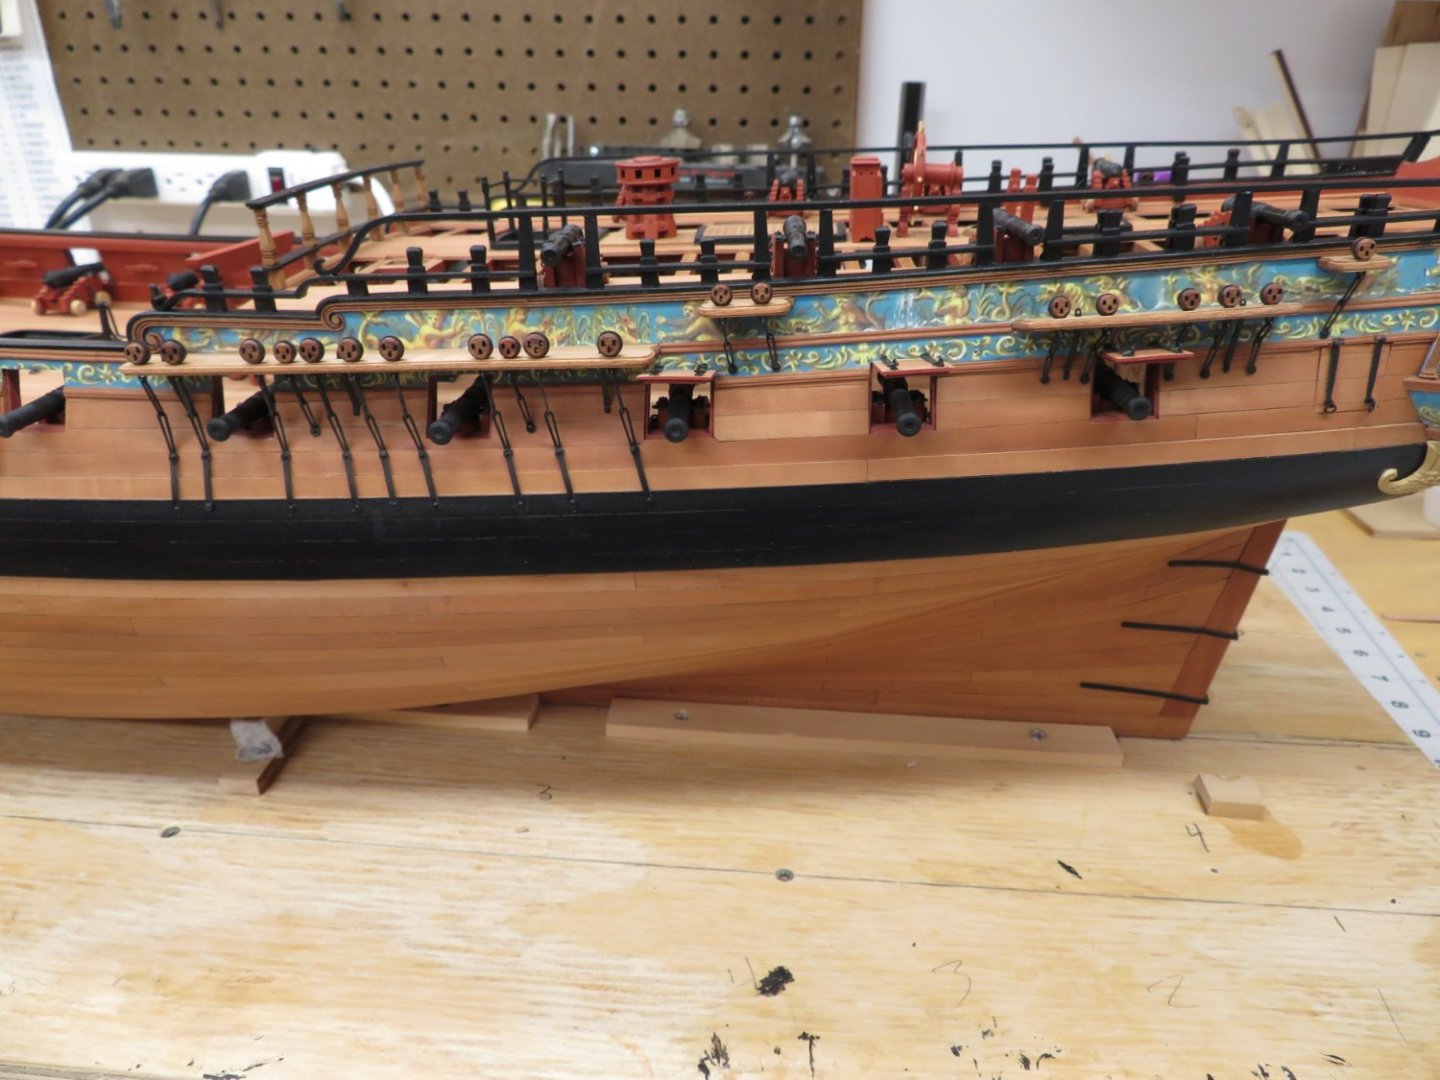
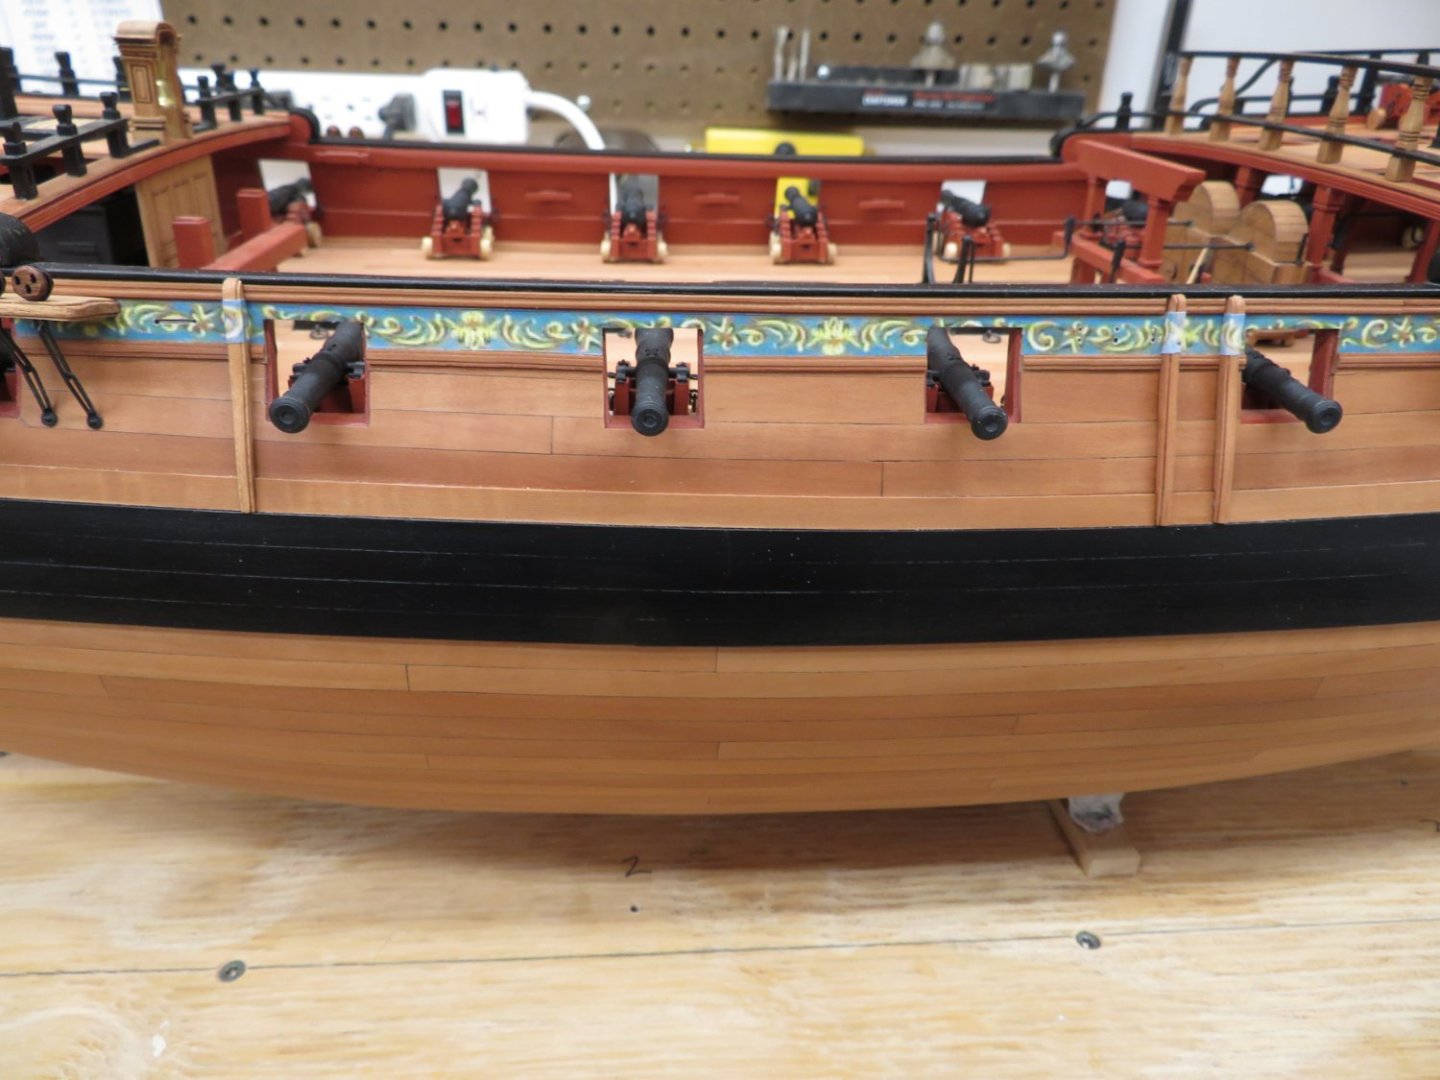
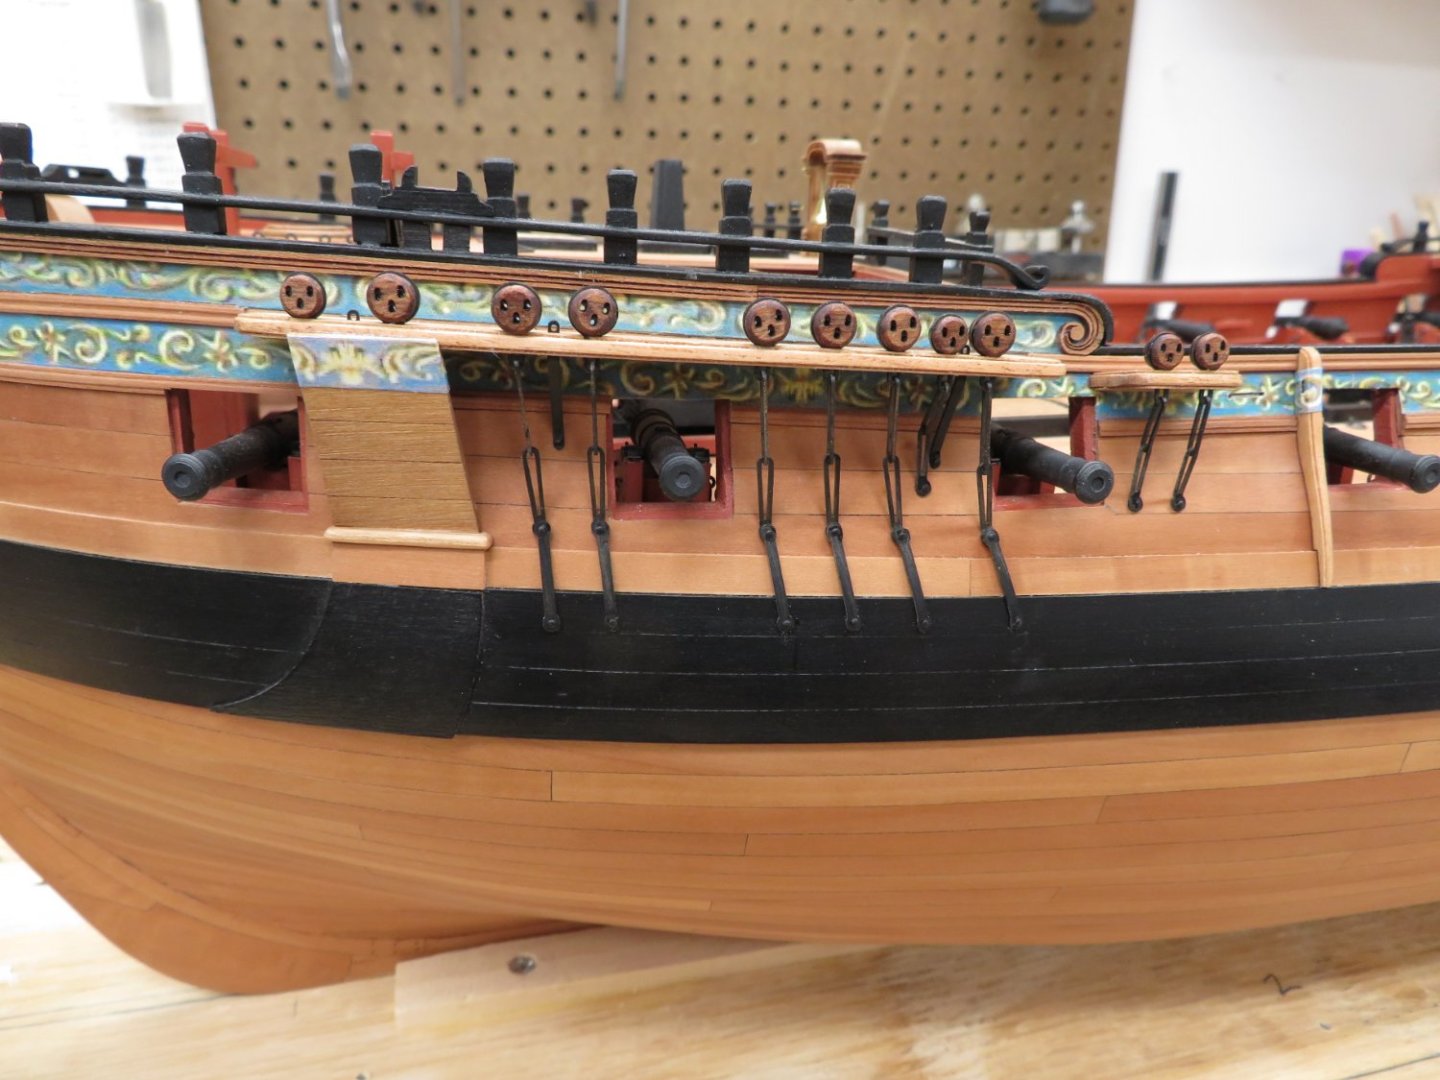
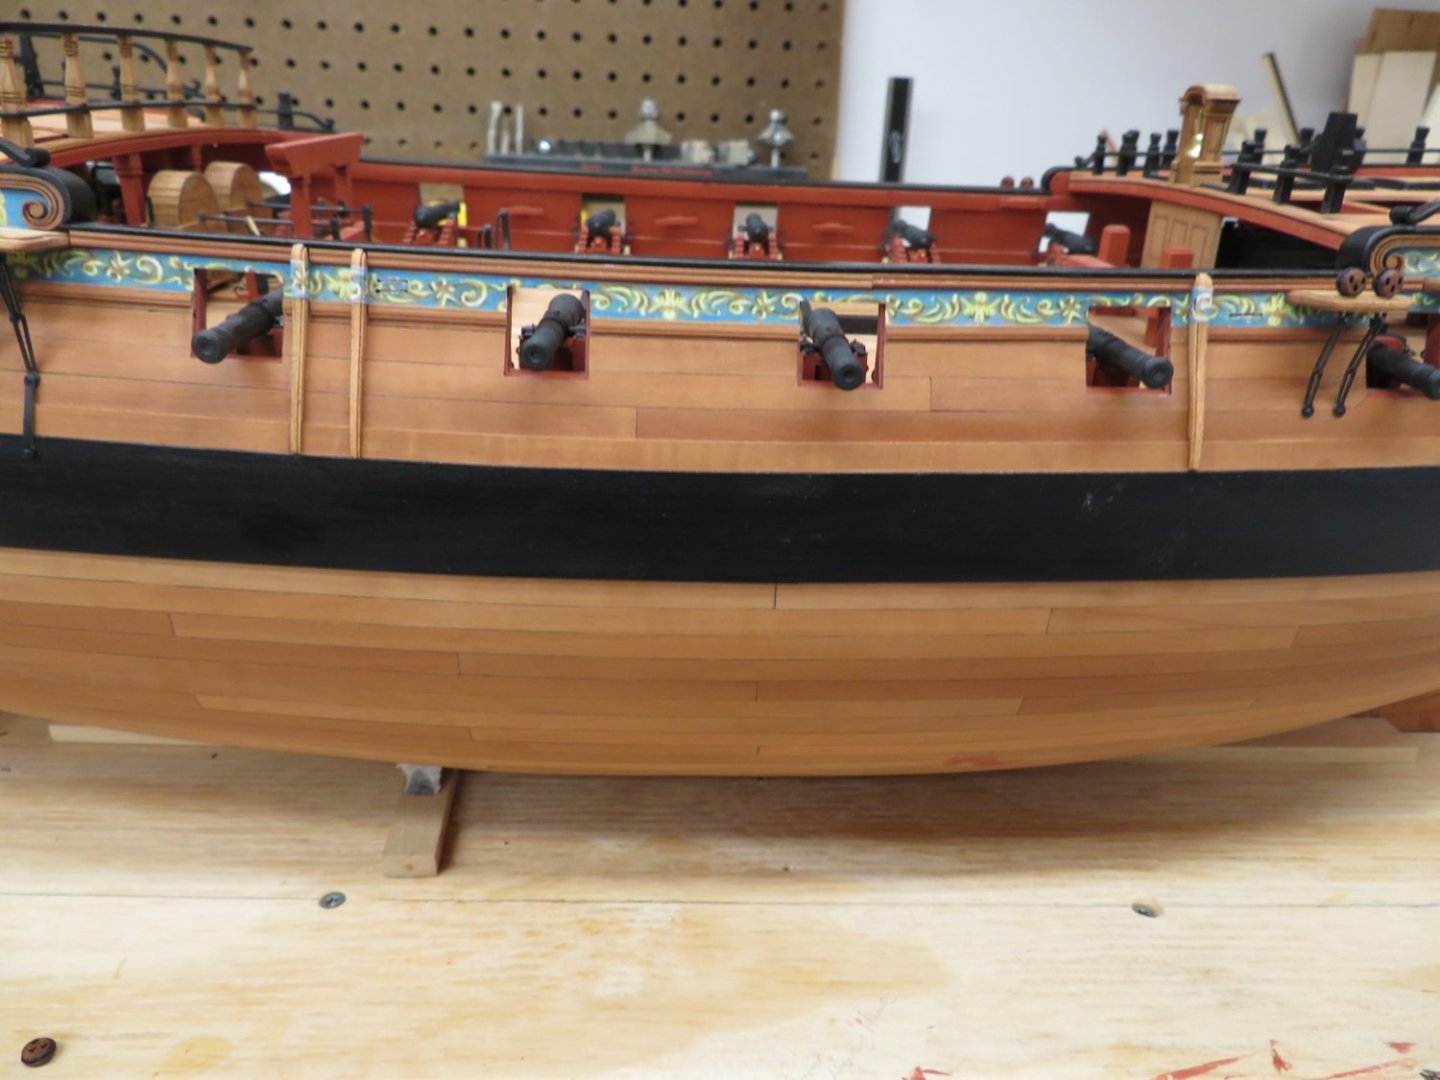
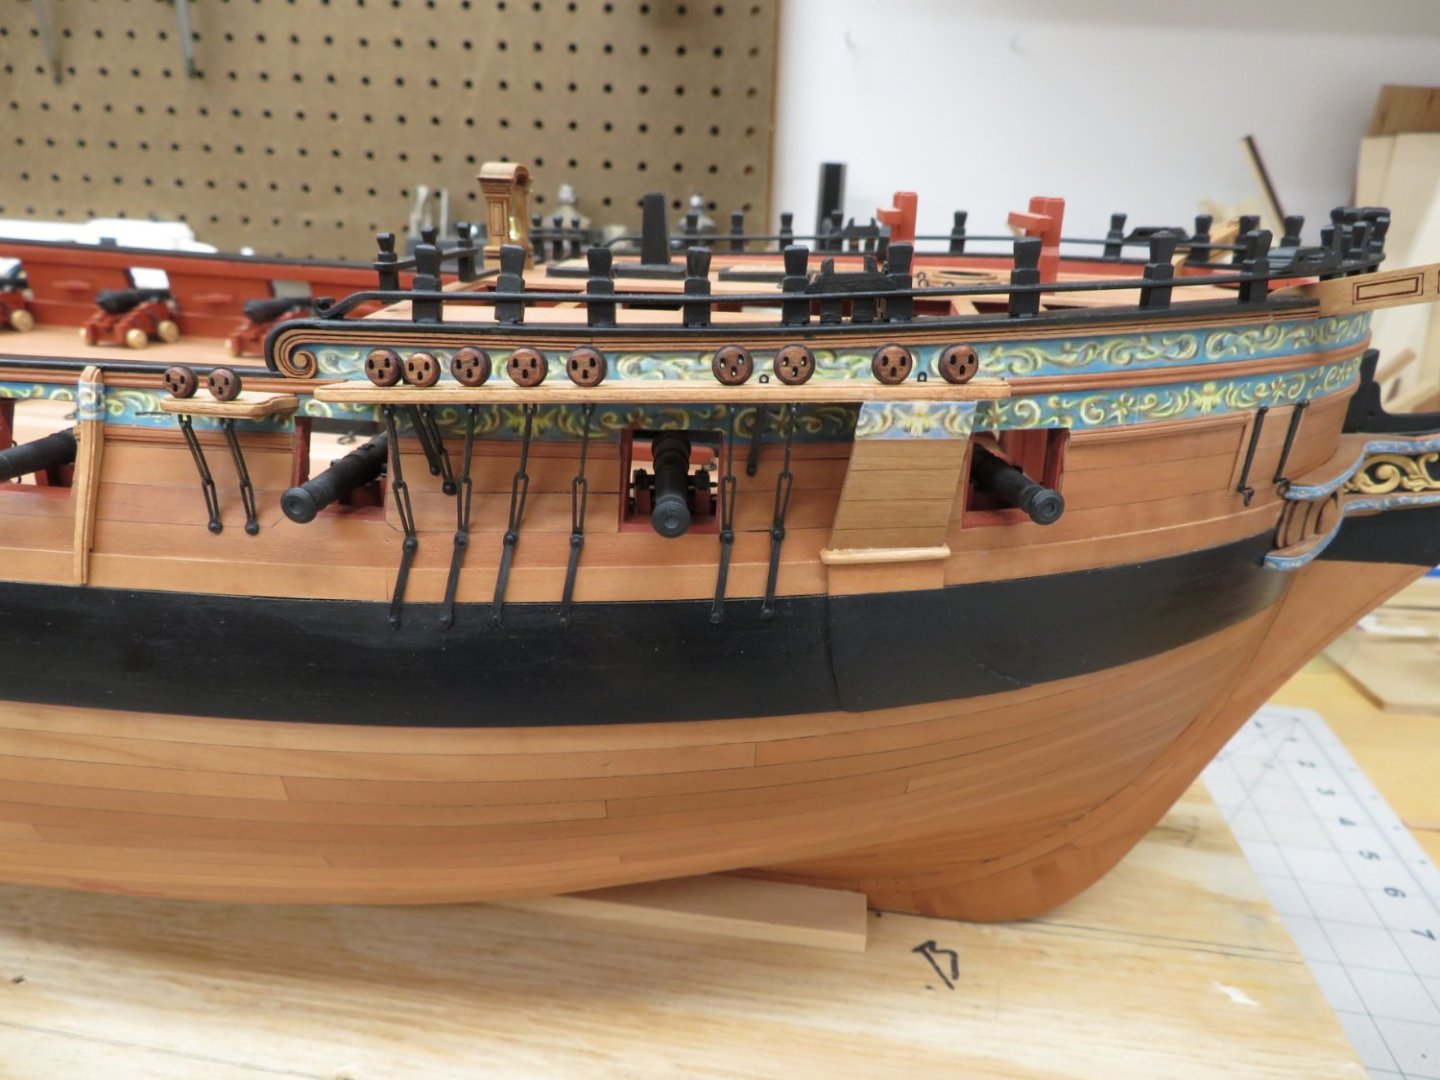
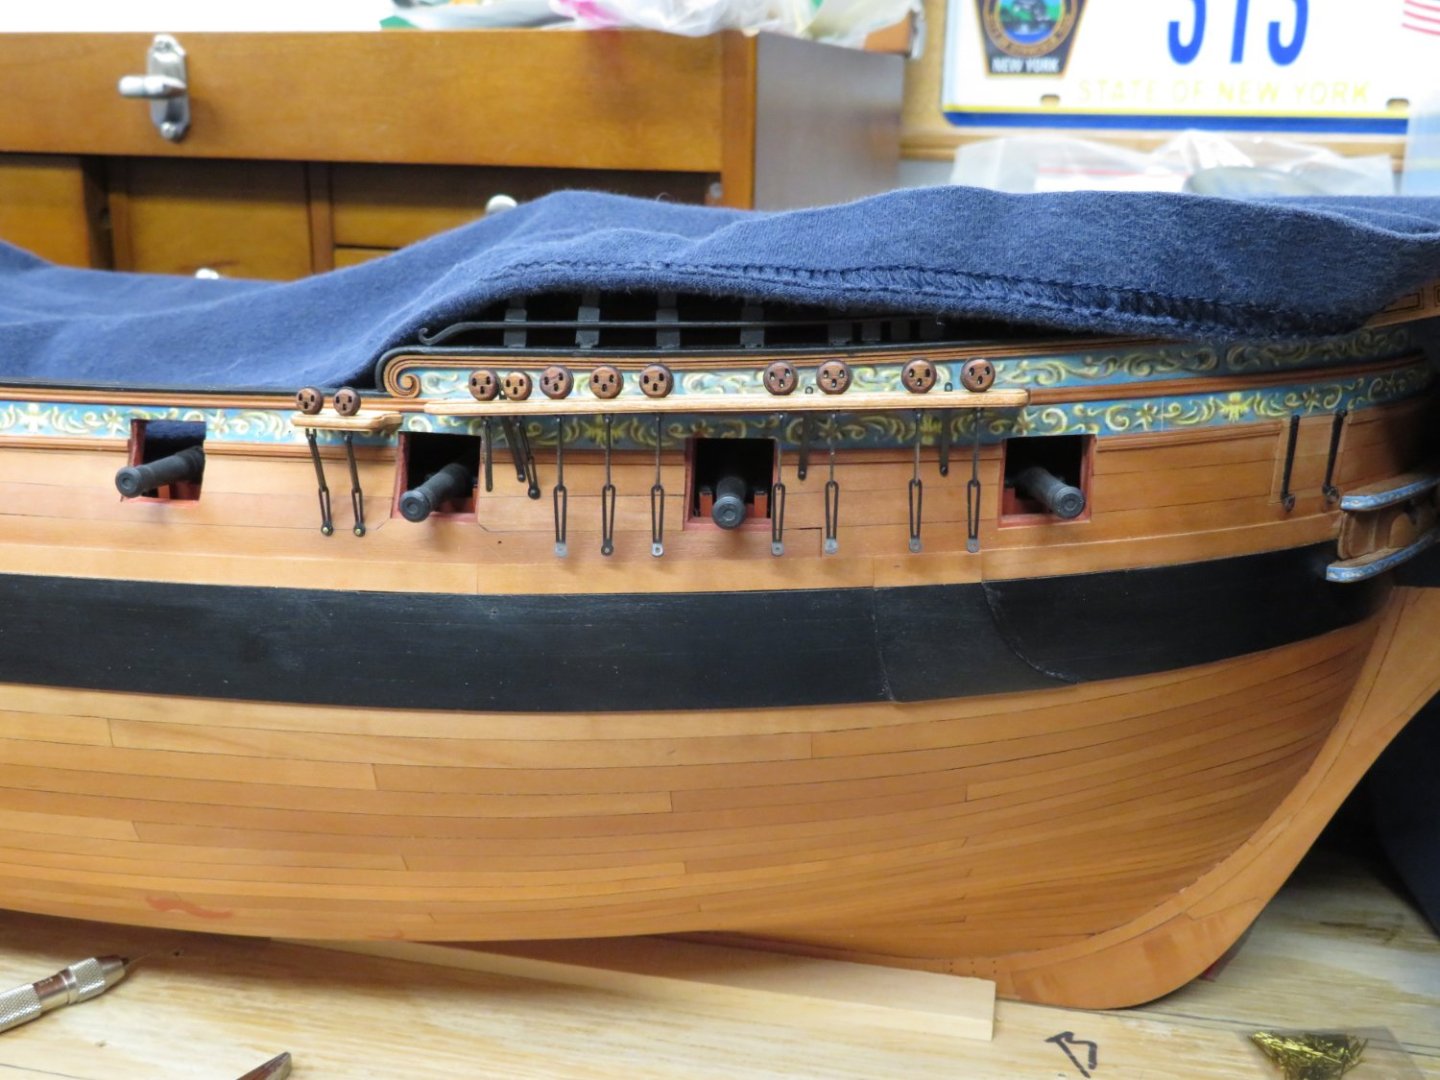
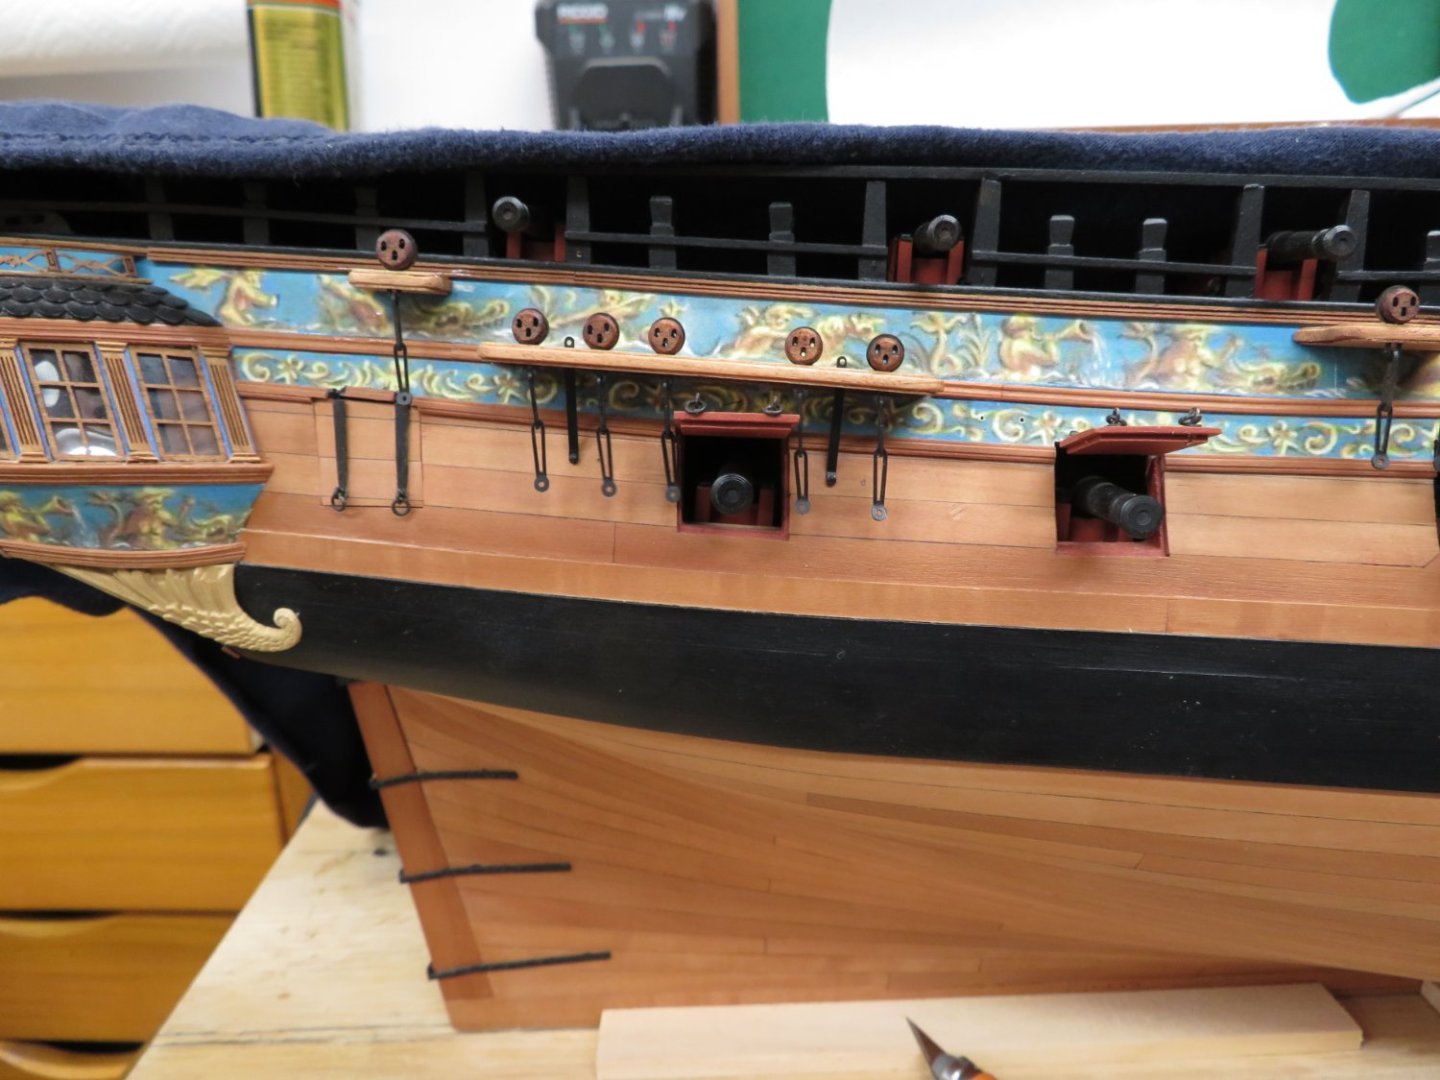
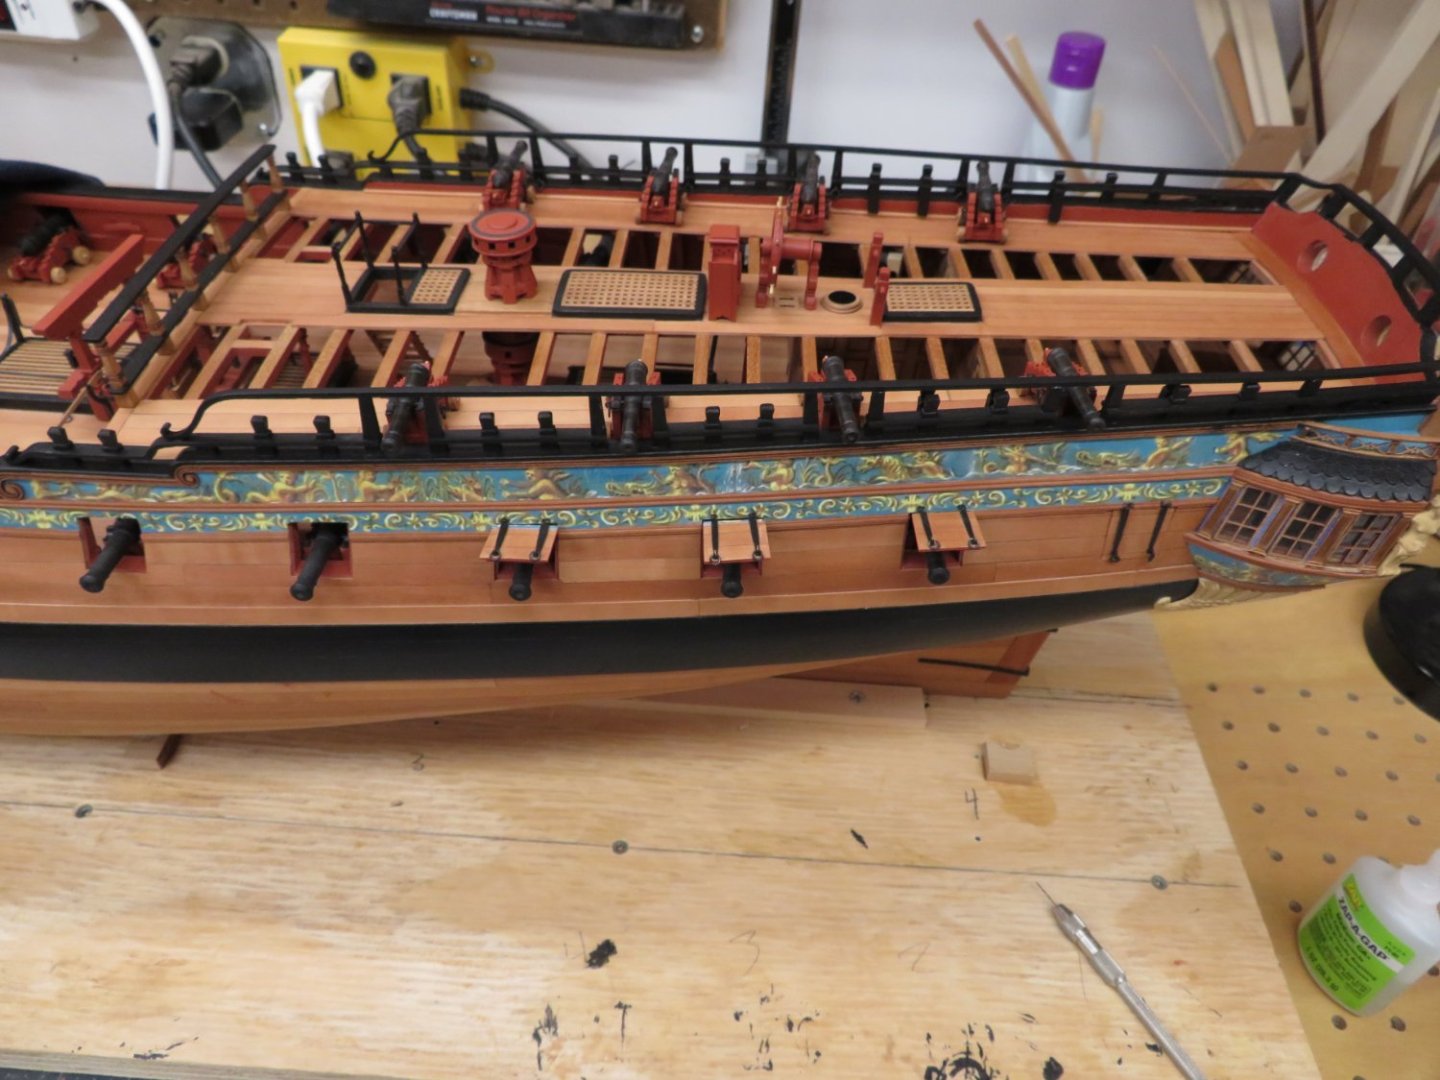
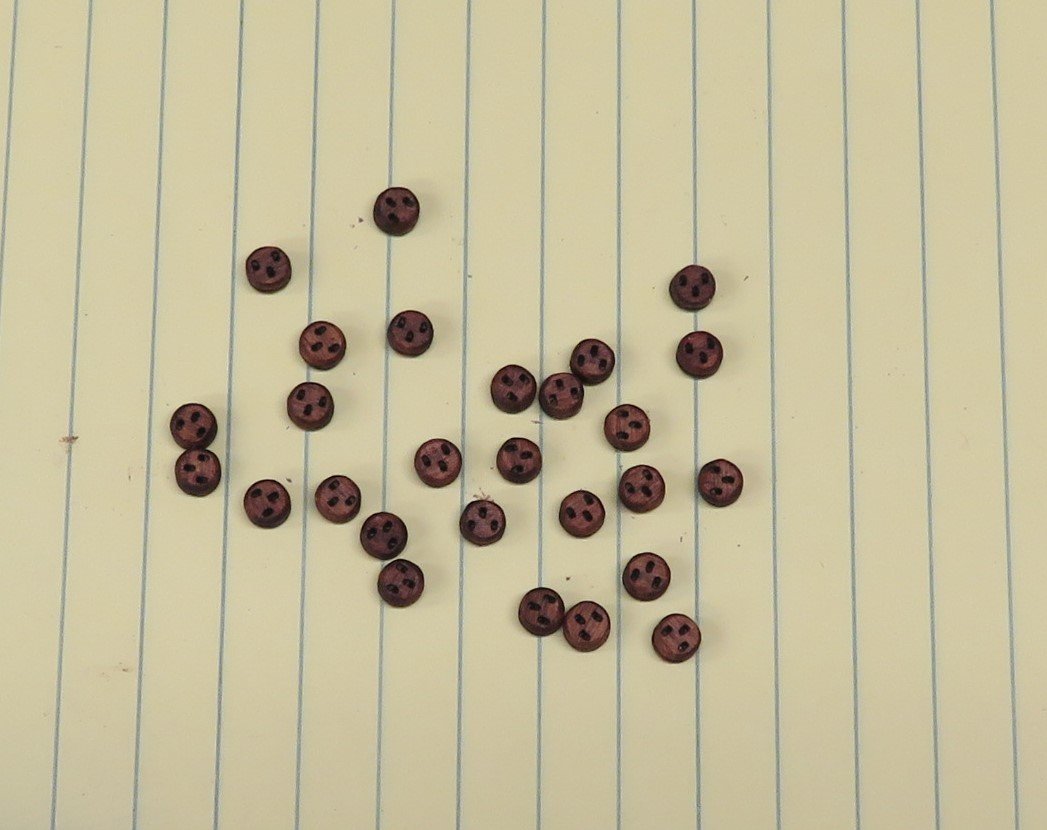
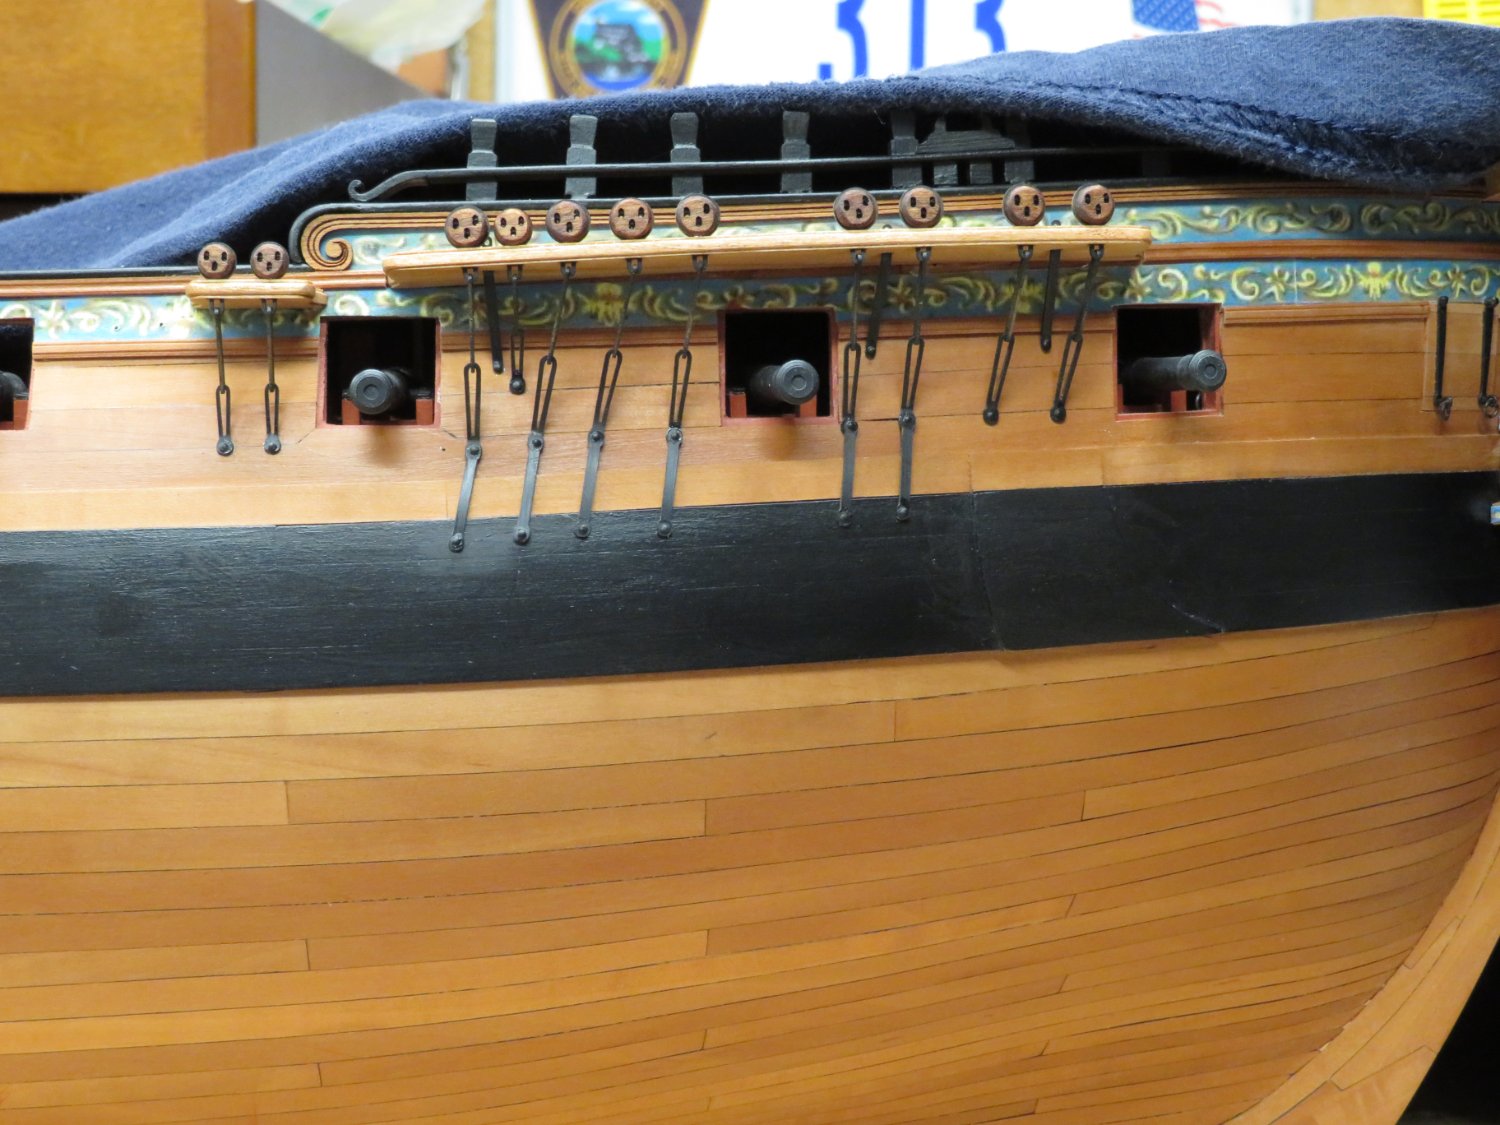
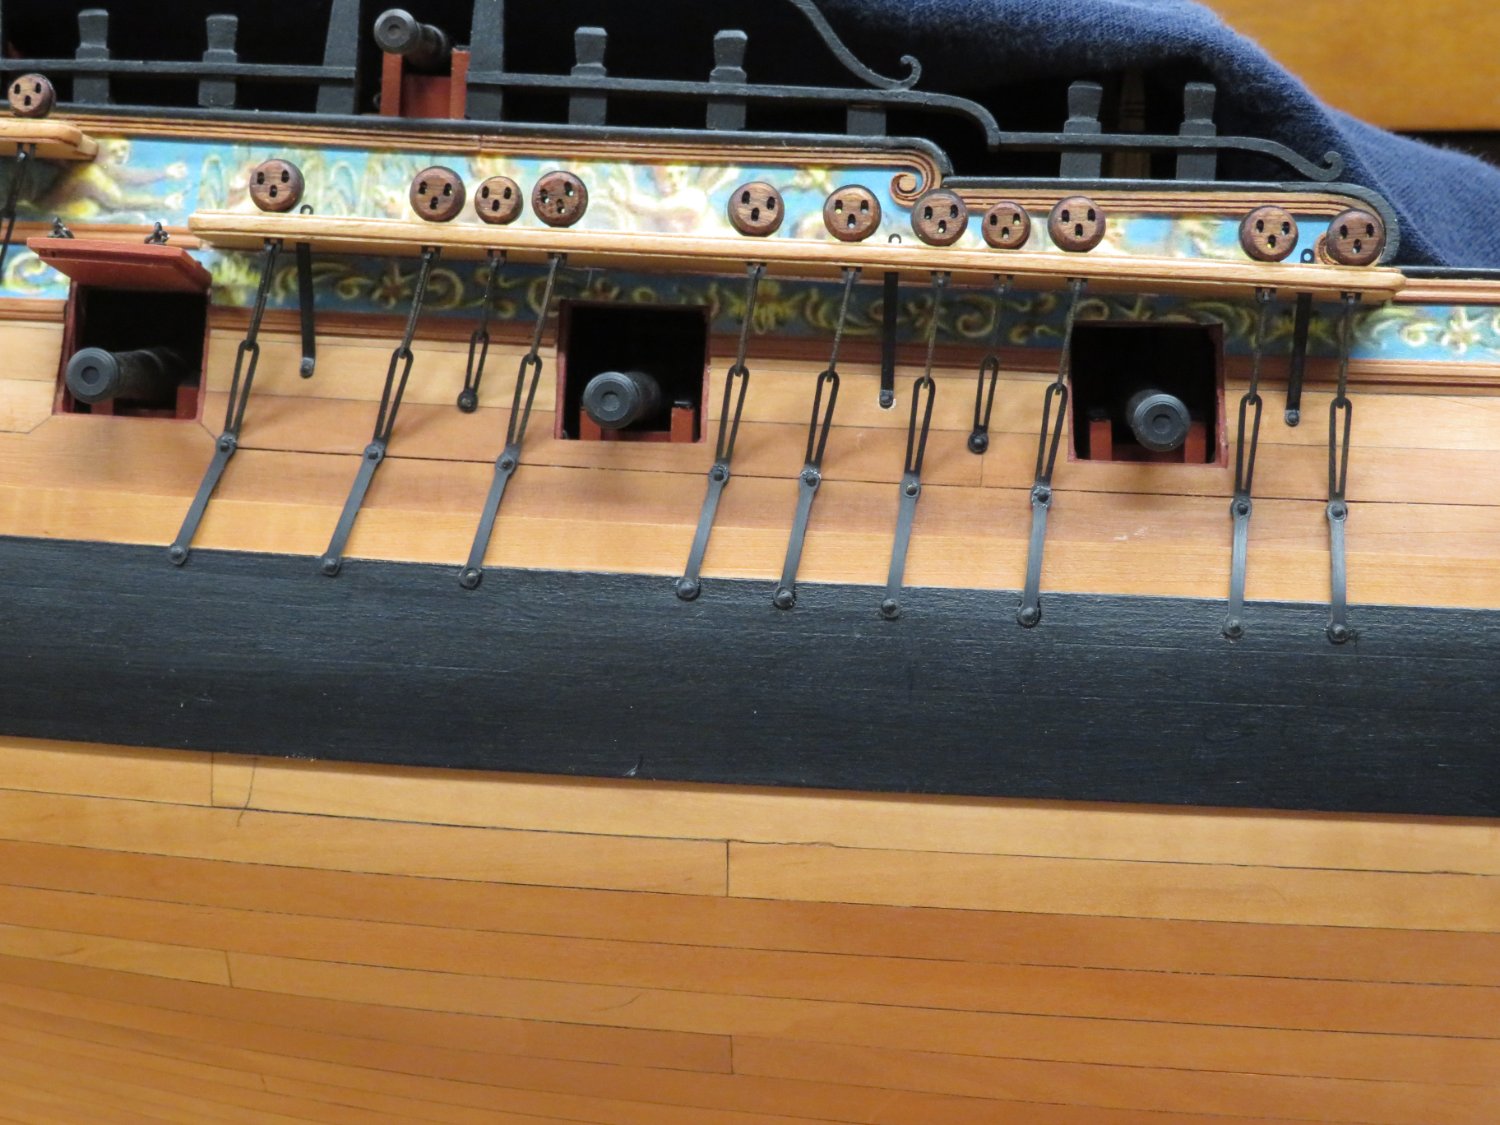
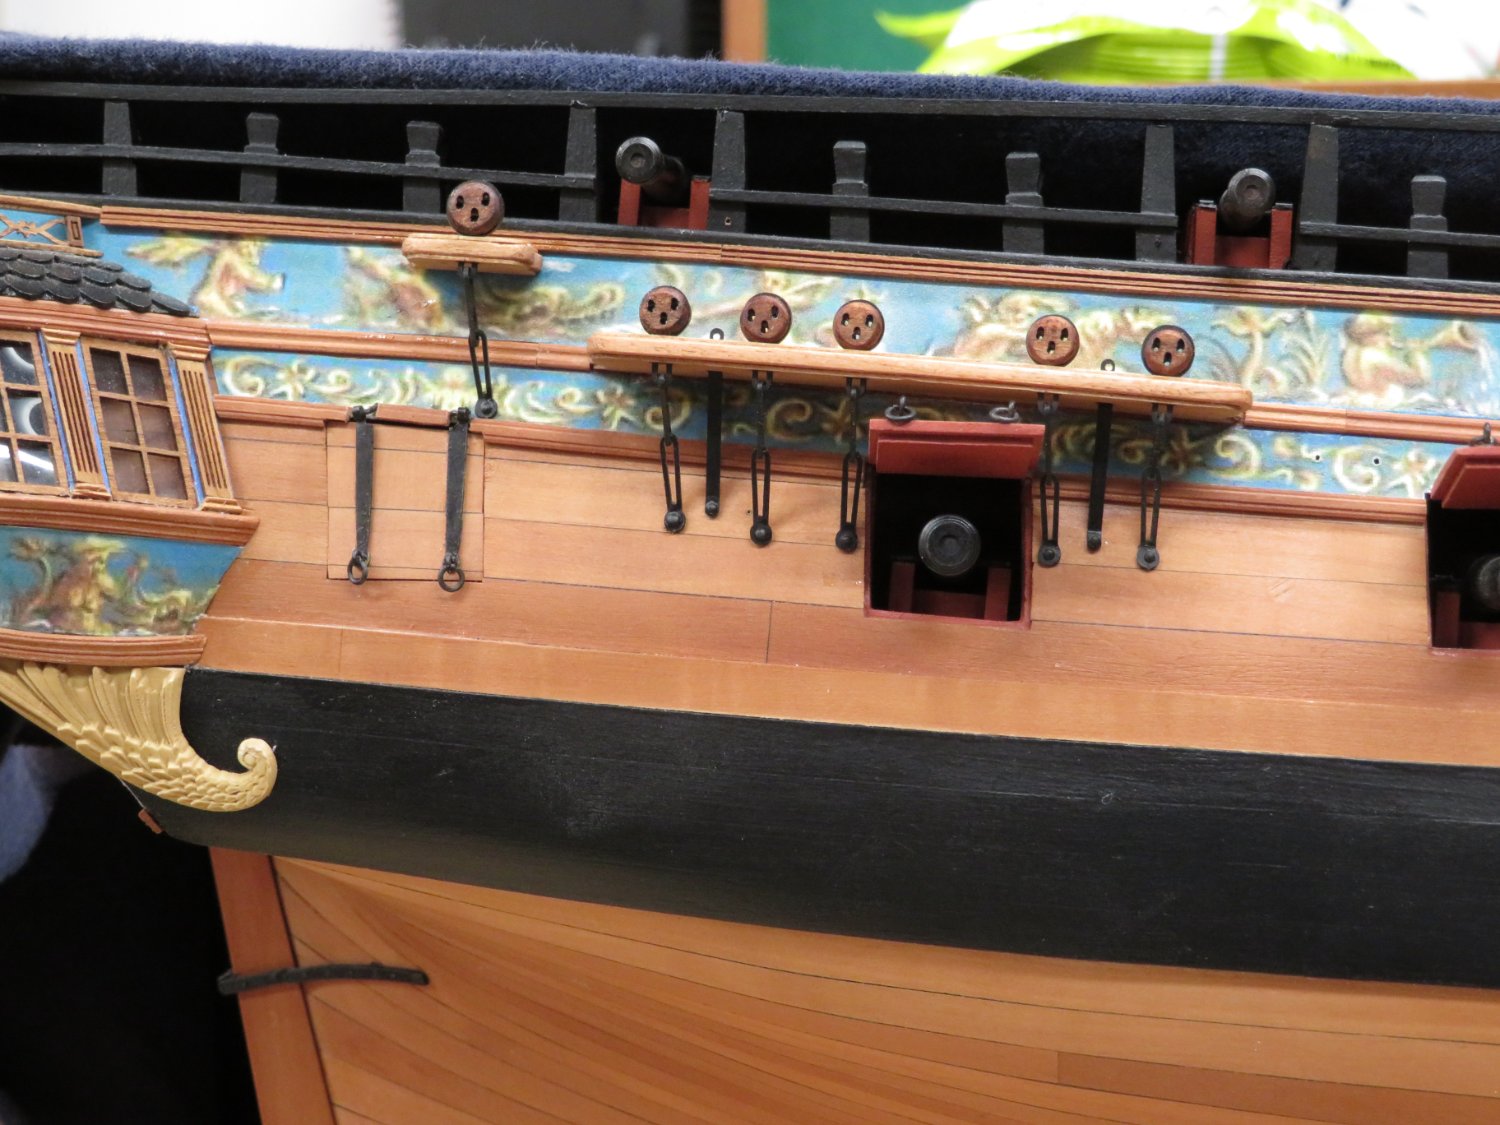
The deadeyes have been completed on both the port and starboard sides. On top of the anchor linings are the billboards. They are laser cut from cherry and required just a little sanding to get them to fit. Then the frieze was added to the top of the billboard. So, when you print out the friezes for the hull in chapter 3 don't discard them like I did as you will need them still in this chapter.
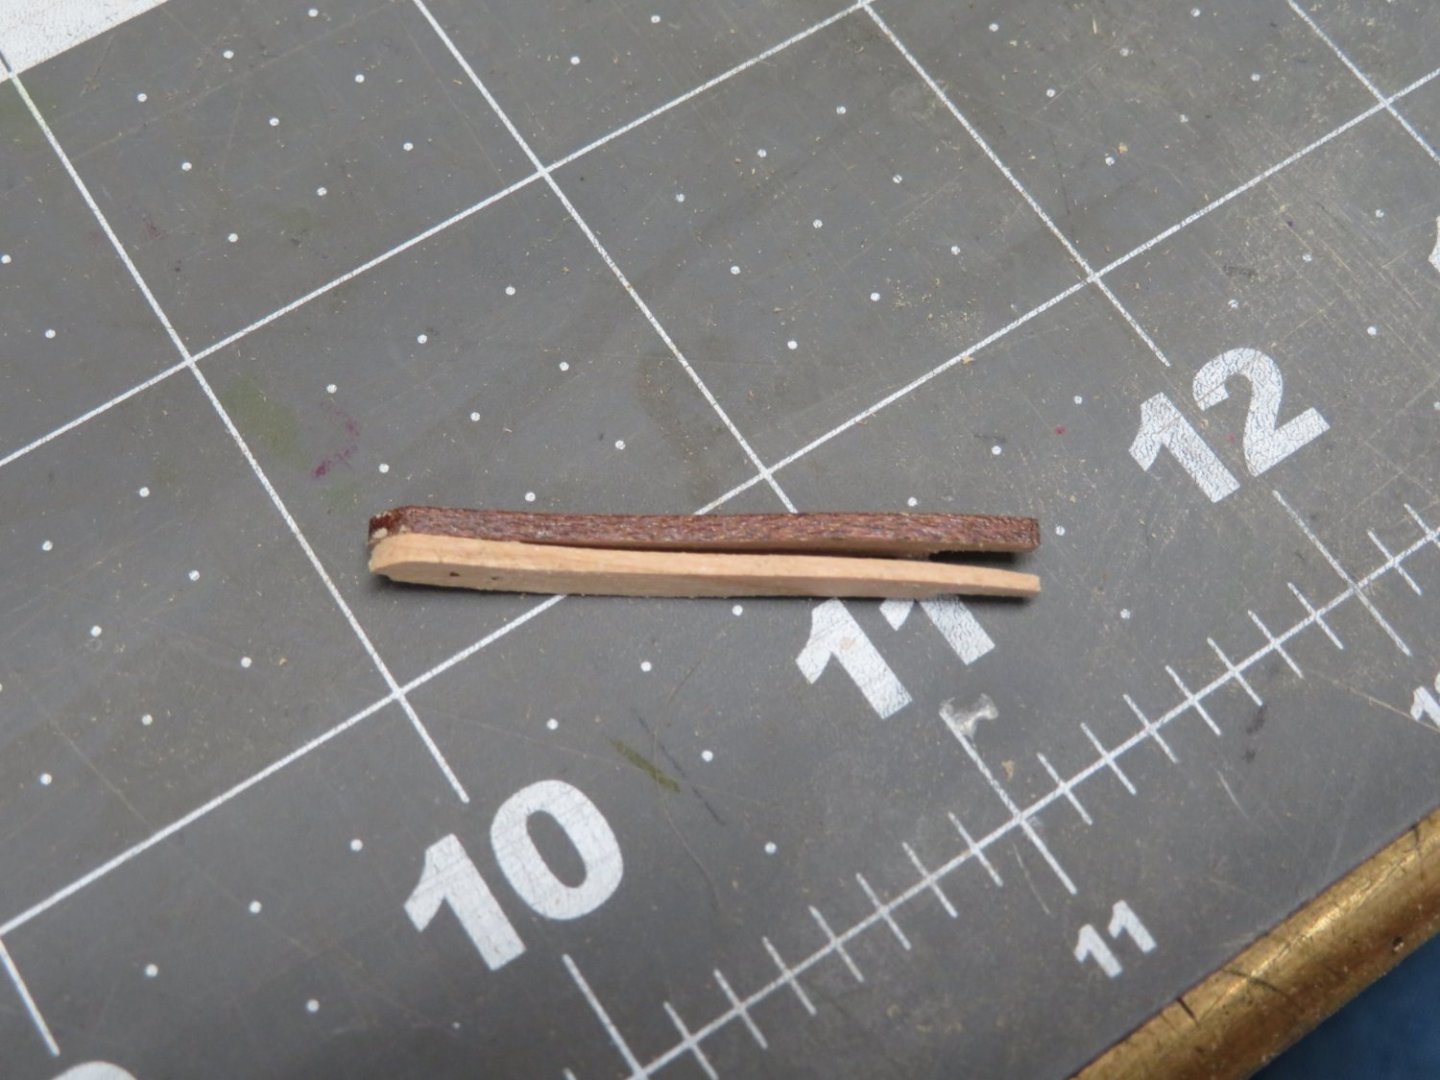
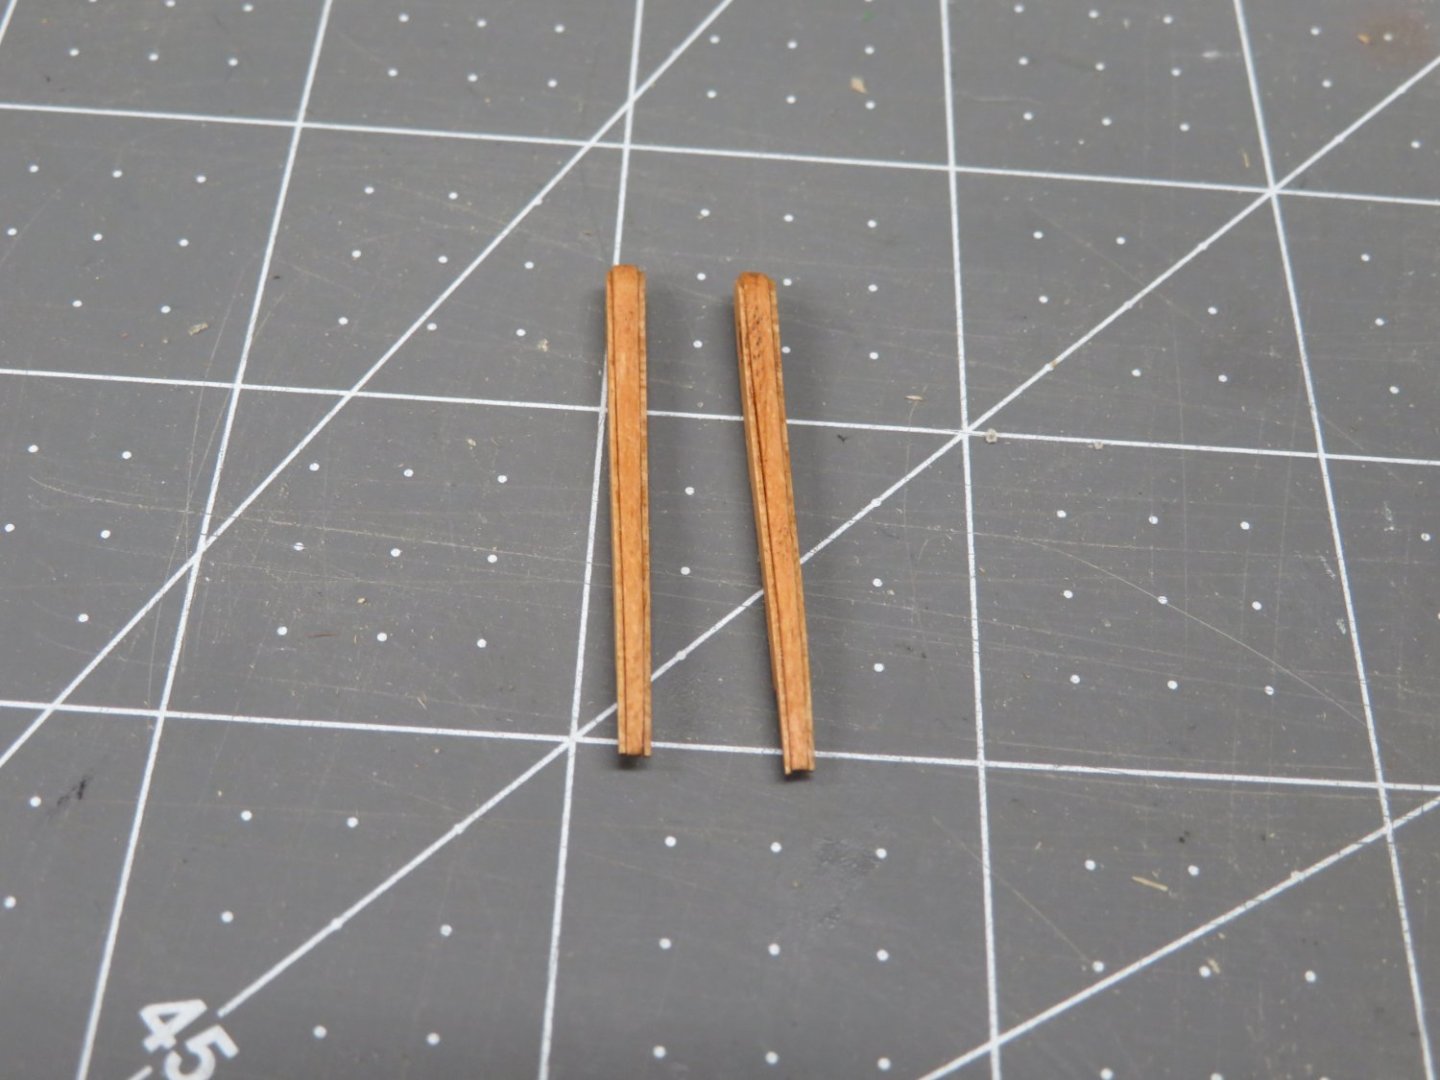
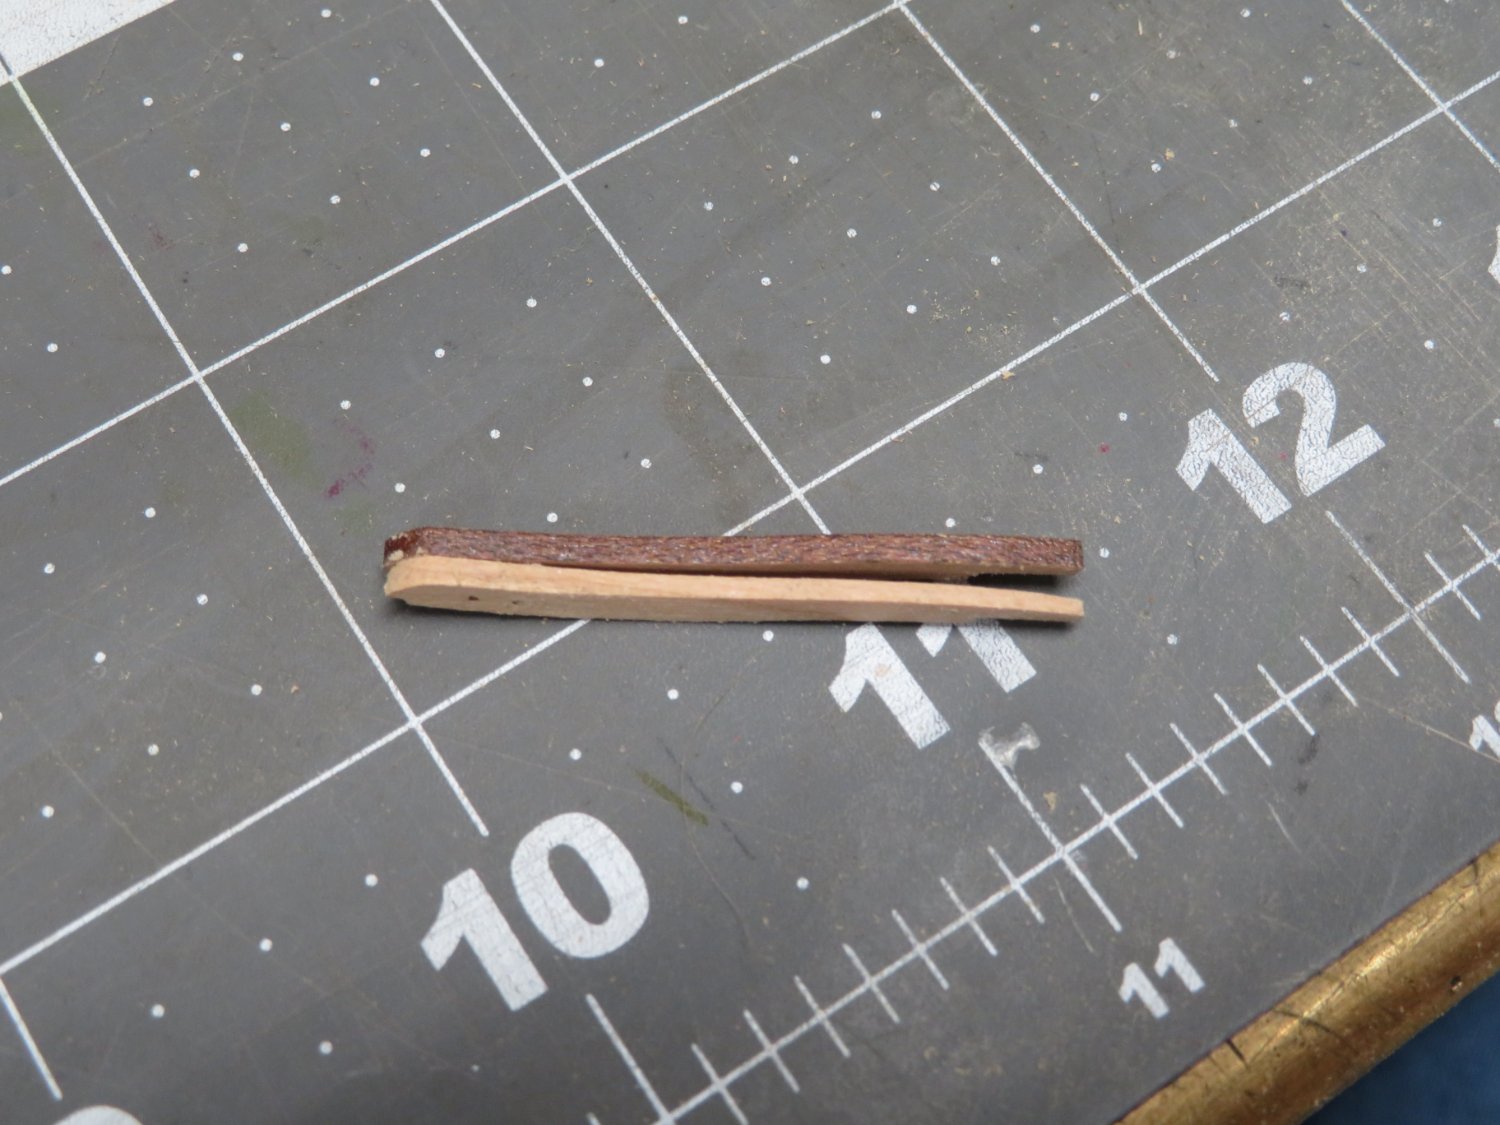
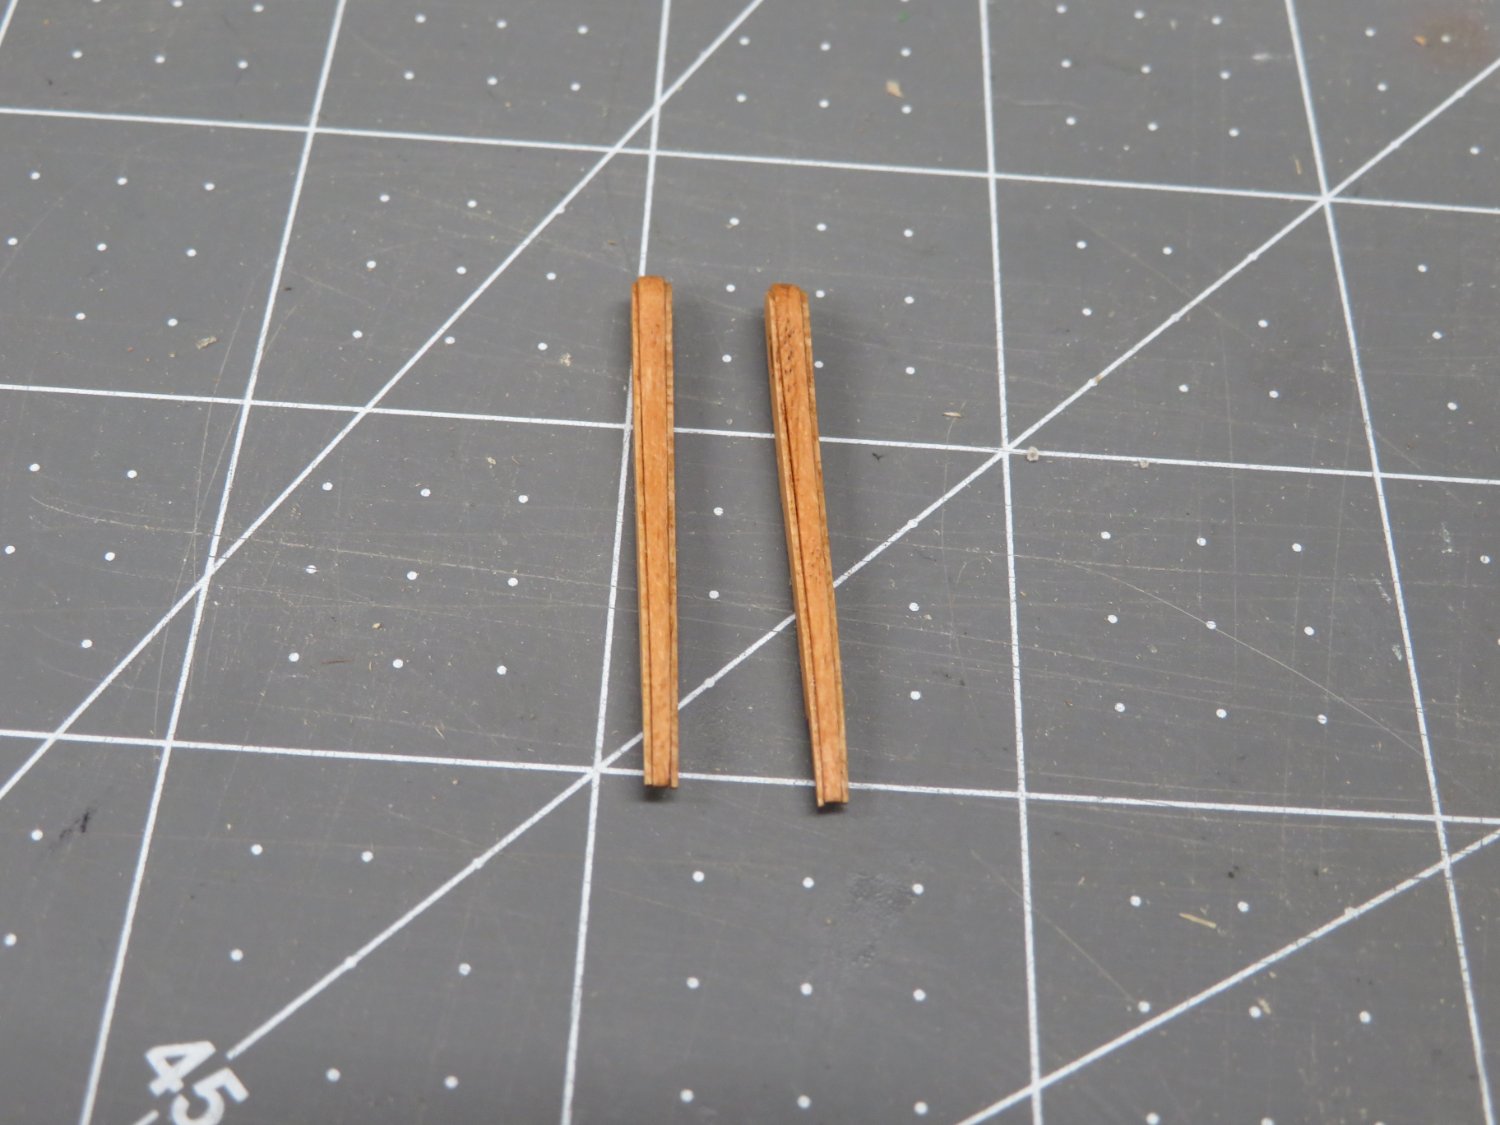
After the billboards there were fenders and chesstrees. They are assembled in three pieces but prior to putting them together the center piece needs to be tapered. You can see the laser cut piece and with the one sanded and tapered. Once assembled I sanded the outside layer even a little thinner. The frieze was then added, molding trimmed and then glued in place.
Now I was looking at the plans and realized I need to make 34 more eyebolts before I can start on the boarding ladder and swivel guns. Like gun carriages it seems the eyebolts never end.
")

- scrubbyj427, Chuck, ccoyle and 14 others
-
17
-
Very nice work JJ. "Adjustments" are not an issue when you can make them look that good!
- scrubbyj427 and FrankWouts
-
2
-
As all have said, that is one beautiful model. Your craftsmanship is excellent! Well done.
- Knocklouder, AJohnson and DelF
-
2
-
 1
1
-
The planking is looking good! I'm glad to see you redoing pieces you're not happy with.
- Edwardkenway, Jack12477, FrankWouts and 3 others
-
5
-
1
-
-
-
Thats some nice planking Frank. Slow a steady as Chuck says. You've definitely gotten the hang of it!
-
Thanks for the kind words Frank. Also thanks for all the likes. Update coming soon!
-
Congratulations Jim, You have made a beautiful model that you should be very proud of!
-
Wonderful job on the planking Glenn. Not that I'd expect anything else!
Enjoy your trip, be safe and I look forward to seeing the new photographs.
- FrankWouts and Dave_E
-
2
-
-
Hi Joe. I'll talk to you tomorrow about this.
-
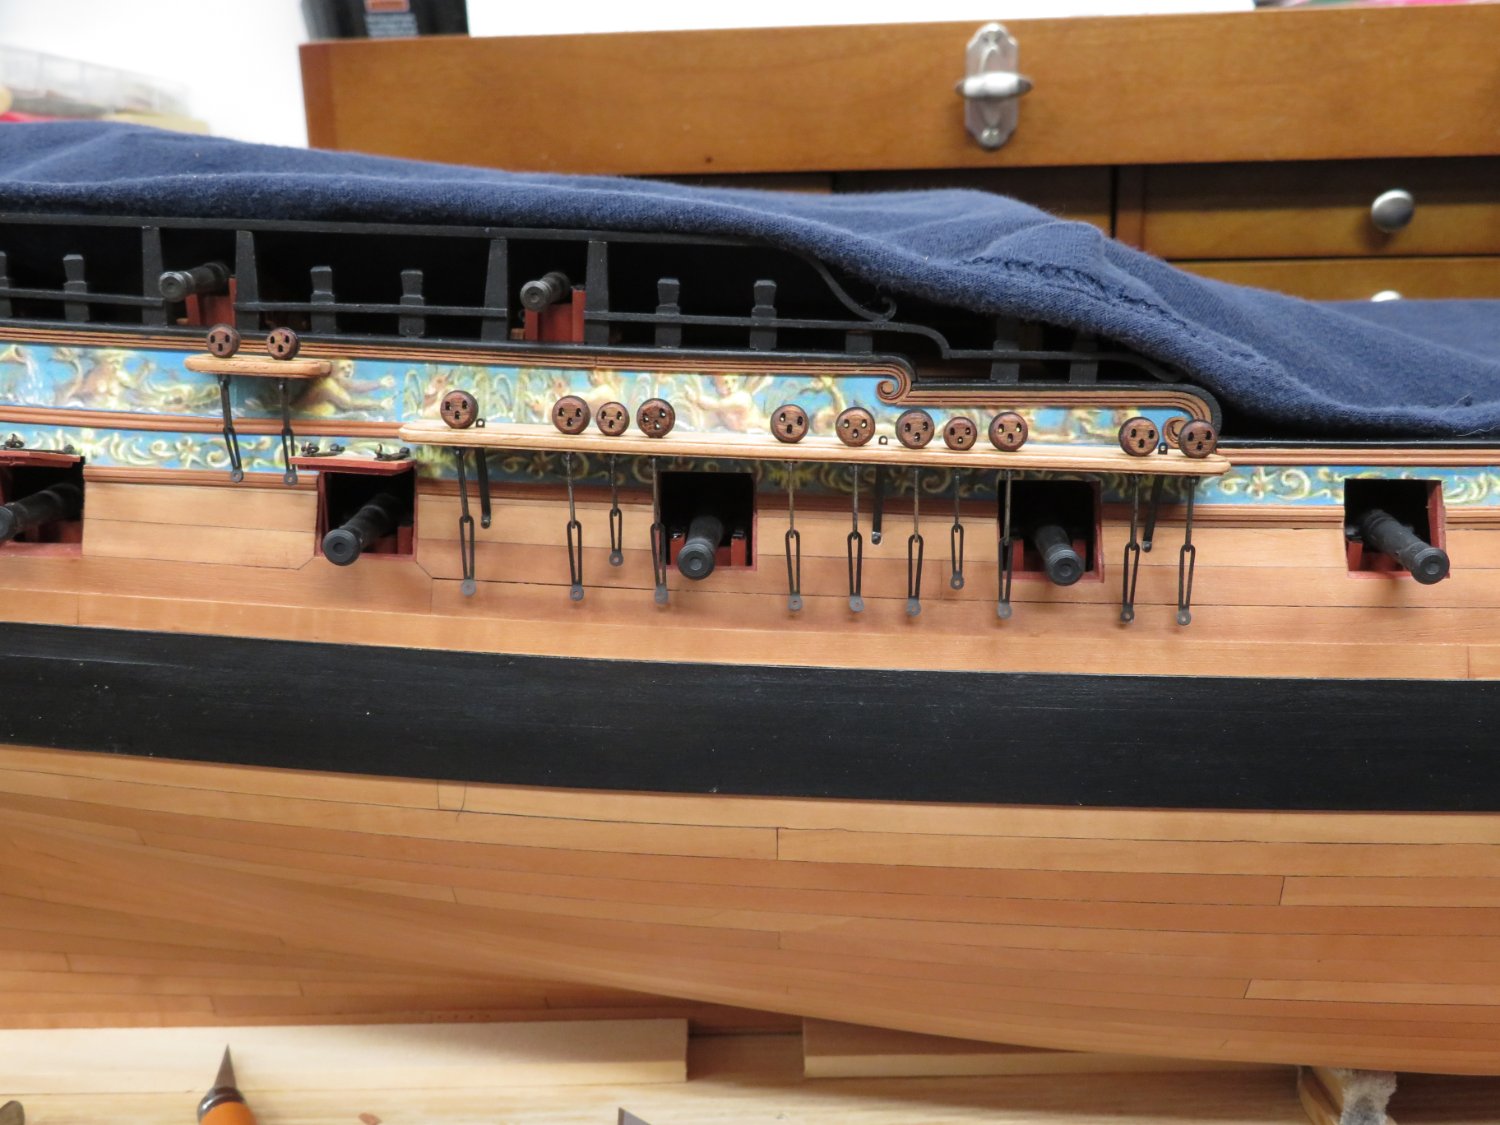
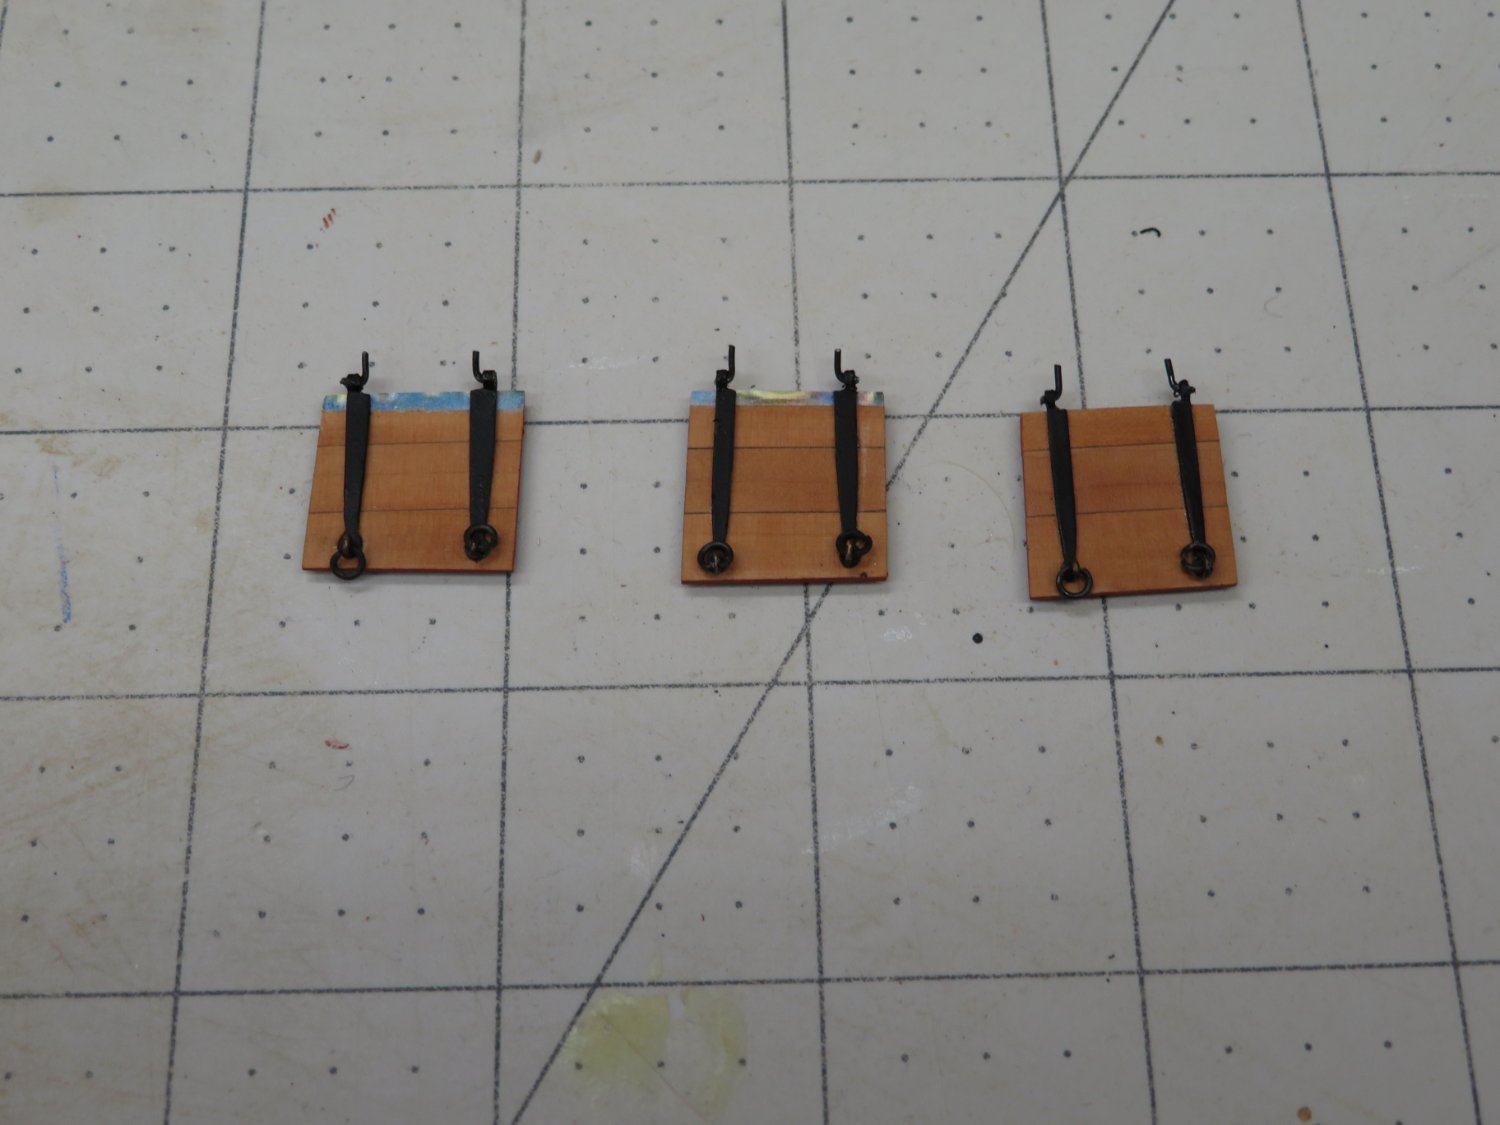
I've been slowly making some progress on the starboard side. The channels have been placed in their positions. Before adding the straps, I heated the ends of a pair of small needle nose pliers over a candle and bent them as Chuck described. The straps were then added and pinned. I then put all of the deadeyes in the strops and placed them in the correct locations. The chainplates and stools were added and are ready for pinning them to the hull.

-
That is beautifully done. I'm gonna have to break down and finally learn how to use my airbrush!
- VTHokiEE, thibaultron, Canute and 2 others
-
5
-
Wonderful job Matthias!
-
-
Very nice and creative work!
- Old Collingwood, No Idea, VTHokiEE and 1 other
-
4
-
Outstanding work Derek. She is one to be very proud of!
After seeing this I may have to go back and add anchor buoys. Thanks!
- Ryland Craze, DelF and chris watton
-
2
-
1
-
Thank you Mike. Yes they were fun to do.
Hi Glenn, Yes it is very enjoyable, though it means I'm now much closed to the end than the beginning.
Thanks Chuck. They are well designed and went through without any issues.
Thanks all for the likes too!
- FrankWouts, Matt D and James G
-
3
-
Some progress has been made though most of it is preparation work.
I did put the hinge pins on the remaining gunport lids and installed them.

I then worked on the channels, sanding the char and gluing the layers as Chuck described. I too used the Scotch spray adhesive on them.
After they were dry, I also put on a coat of wipe on poly.

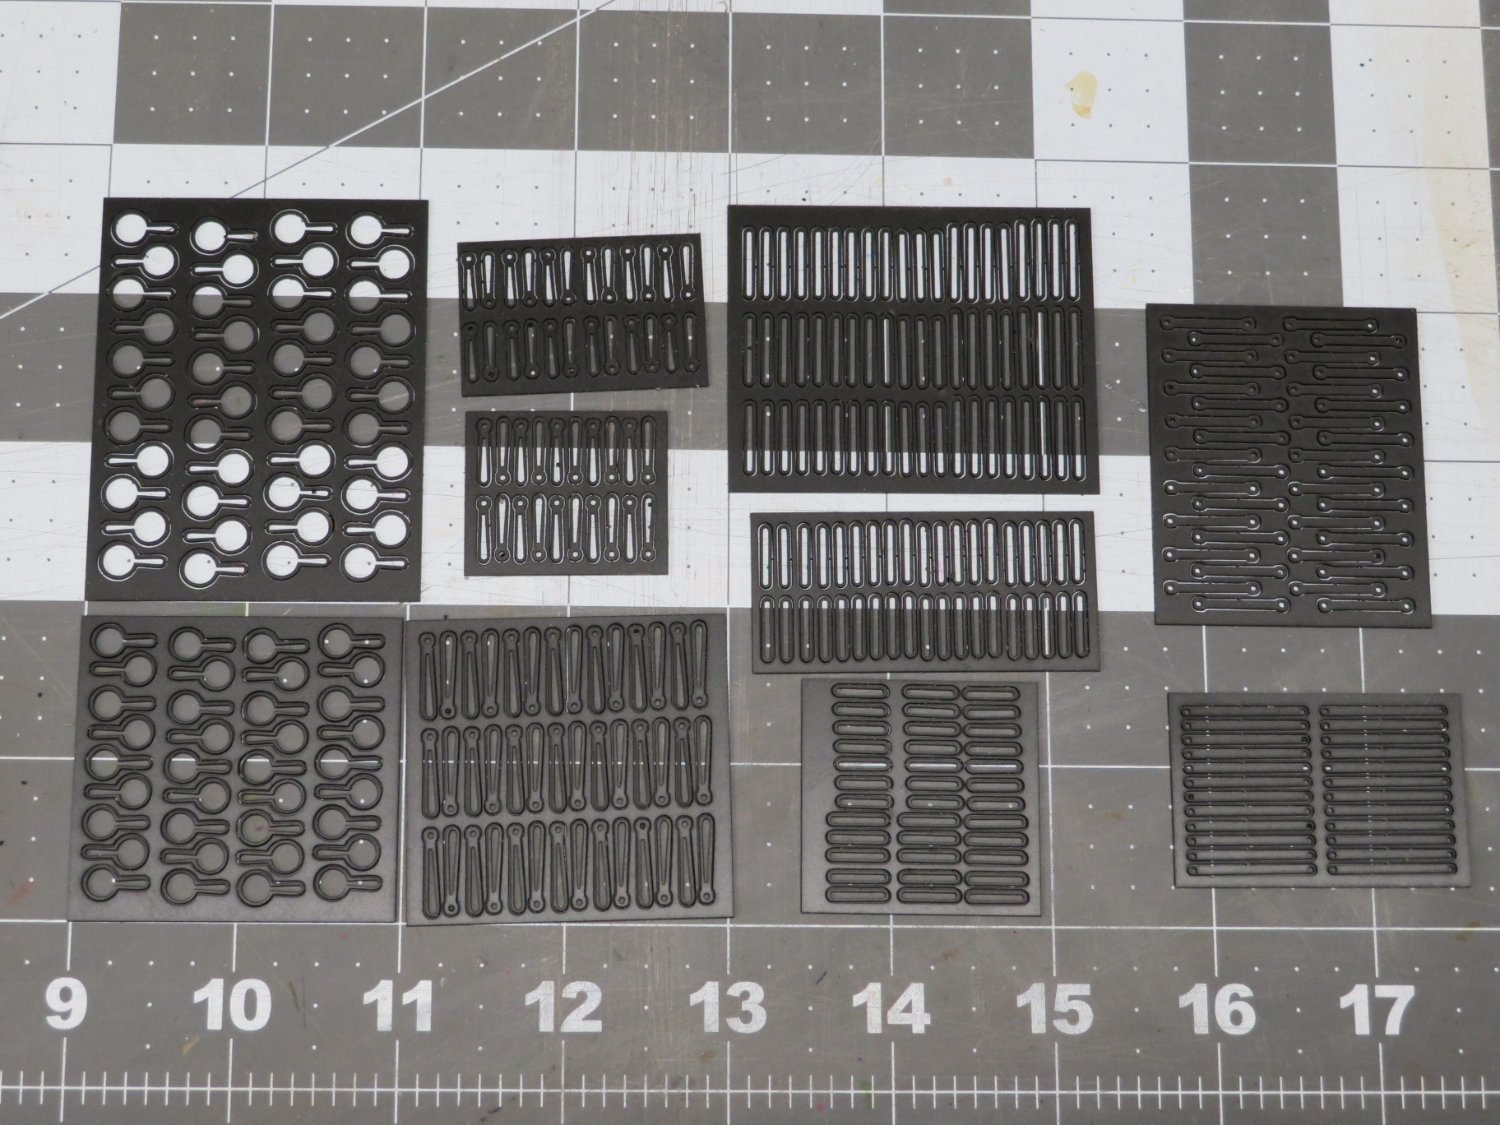
Next I assembled the 5mm deadeyes from Syren, sanded them and dyed them dark brown. Also here are the acrylic strops, chainplates and straps. I have to lightly sand them with 400 grit and then apply some weathering power.

Once I assemble and finish the 6 mm deadeyes, I'll start placing the channels and deadeyes on the Winnie.
-
Great to see you at the planking point Joe.
-
Welcome aboard Jim, it's never too late to start a great build like the Winnie. I like the others look forward to seeing your progress.
- FrankWouts and James G
-
2
-
That is some really beautiful work Mike!


HMS Winchelsea 1764 by Rustyj - FINISHED - 1:48
in Member Build logs for the HMS Winchelsea
Posted
Thanks Chuck. Fiddley yes but still fun!