


Rustyj
-
Posts
2,516 -
Joined
-
Last visited
Content Type
Profiles
Forums
Gallery
Events
Posts posted by Rustyj
-
-
I served the main and fore stays and preventer stays, created a simulated mouse on each and installed them.


Next up will be the main topmast stays.
- Tigersteve, russ, mtaylor and 5 others
-
 8
8
-
Finding a company to do such a labor intensive jobs is great news. Eagerly awaiting the next batch.
- Canute, CaptainSteve, mtaylor and 5 others
-
8
-
-
Hi John,
Keith has supplied some great information. Do you plan on making your masts and spars from square stick or dowels? Methods and tools can vary depending the type of stock you start with.
- mtaylor, thibaultron, Ryland Craze and 1 other
-
4
-
Hi Ryland. She's looking great. Your attention to the little details is really worth the effort.
- Ryland Craze and Canute
-
2
-
Yes that looks great. Well done Mike.
- mtaylor and Stuntflyer
-
2
-
-
Ah its great to be back. Thanks to everyone for your hard work maintaining this site.
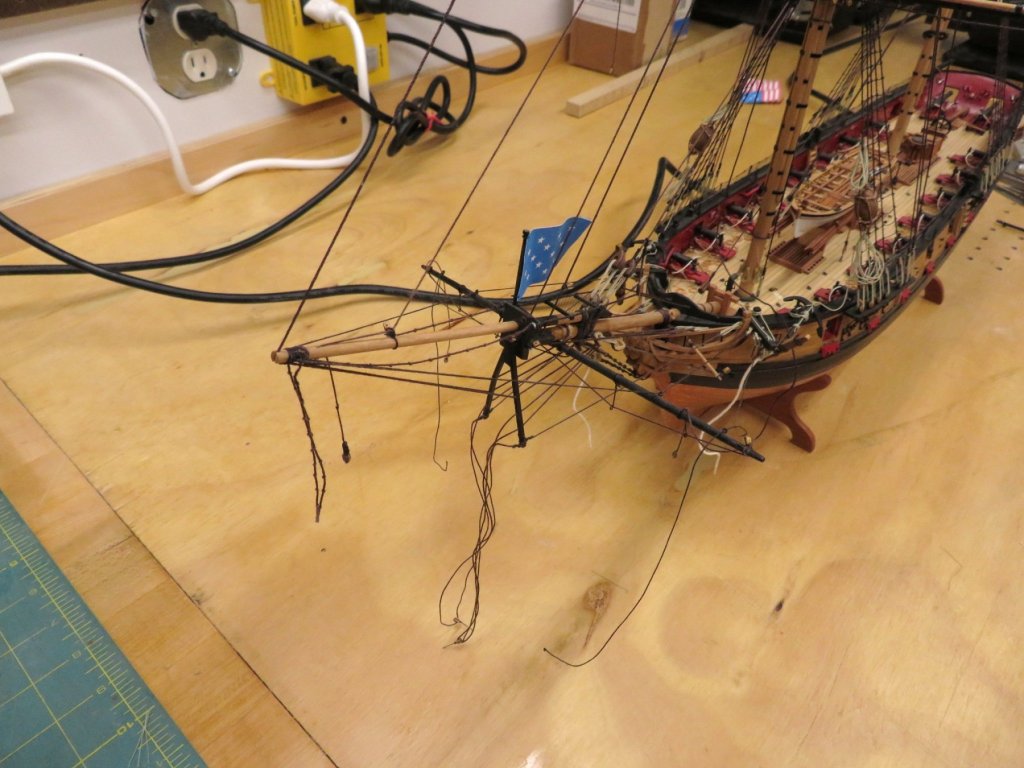
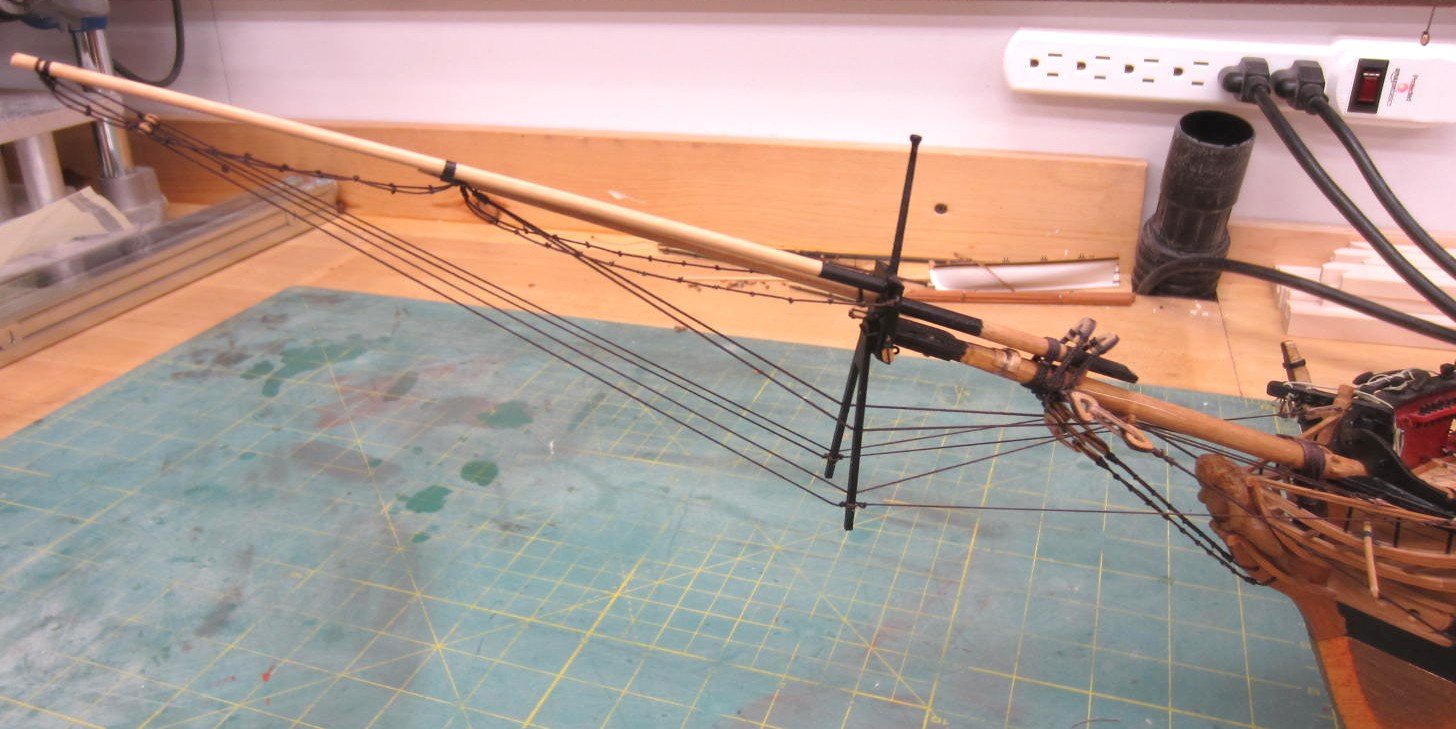
I've made more forward progress. The flying Jabboom and dolphin striker have been replaced.
I've now rigged the two bobstays and bowsprit shrouds.
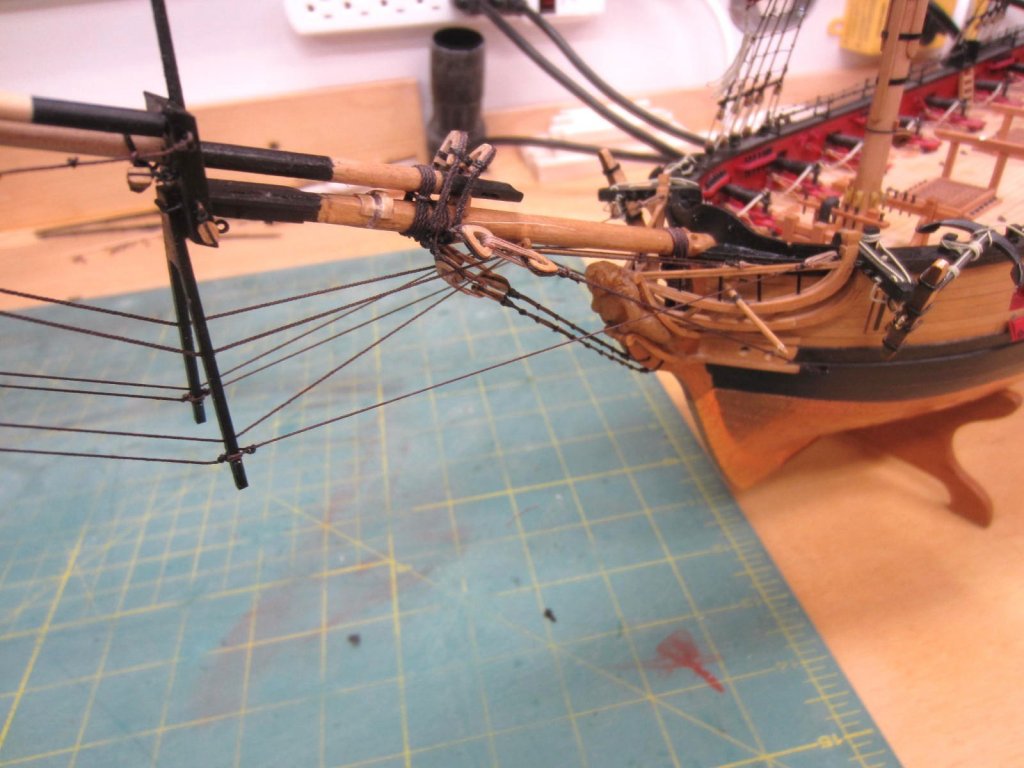
Next I added the inner martingale stays, the outer martingale backrope and outer martingale stays.
Also the foot ropes for the jibboom and flying jibboom were completed.


Next I have to serve the main stays and also create the mouse.
- Tigersteve, rafine, Ryland Craze and 4 others
-
7
-
-
-
Hi Floyd,
It's been bothering me for a year and a half now. I could have left her be but I just couldn't bring myself to do that.
I really wouldn't have done anything else differently except improve the quality of my work. Also the rope and
blocks available from Syren Ship Model Company is much better then anything I used back then.
For the deck furniture I mostly used pear. The main rail was boxwood and the capstan was cherry.
Hi Ben,
You were one of my inspirations for bucking up and fixing something that needed redoing. Thanks buddy!
- mtaylor and Ryland Craze
-
2
-
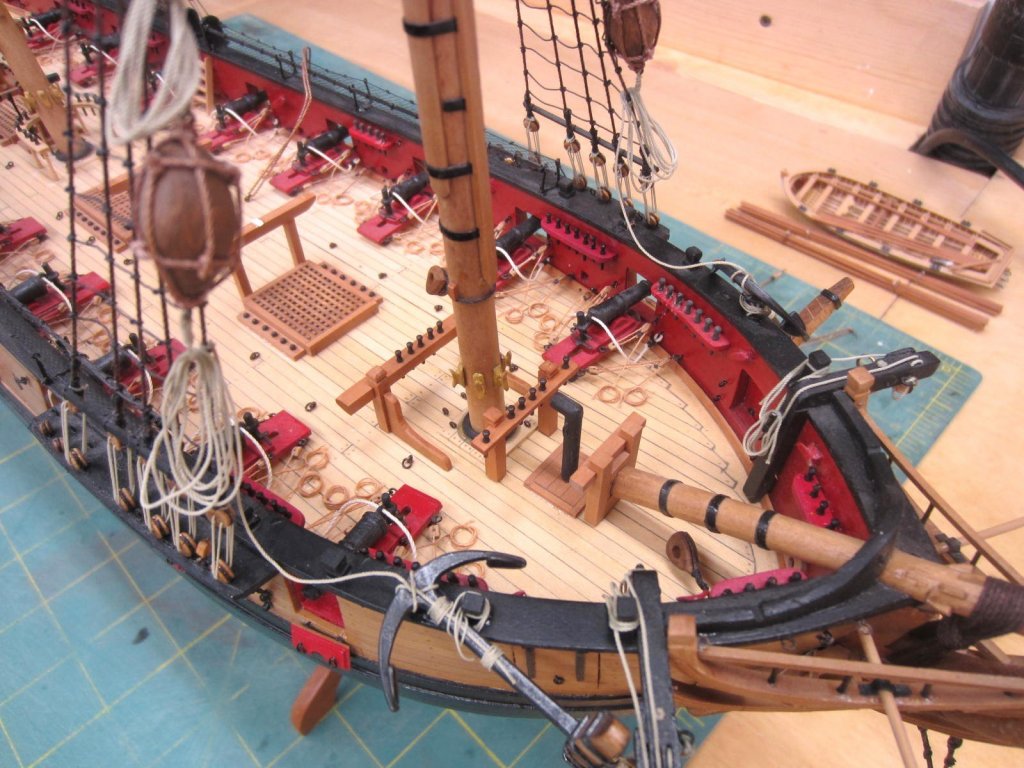
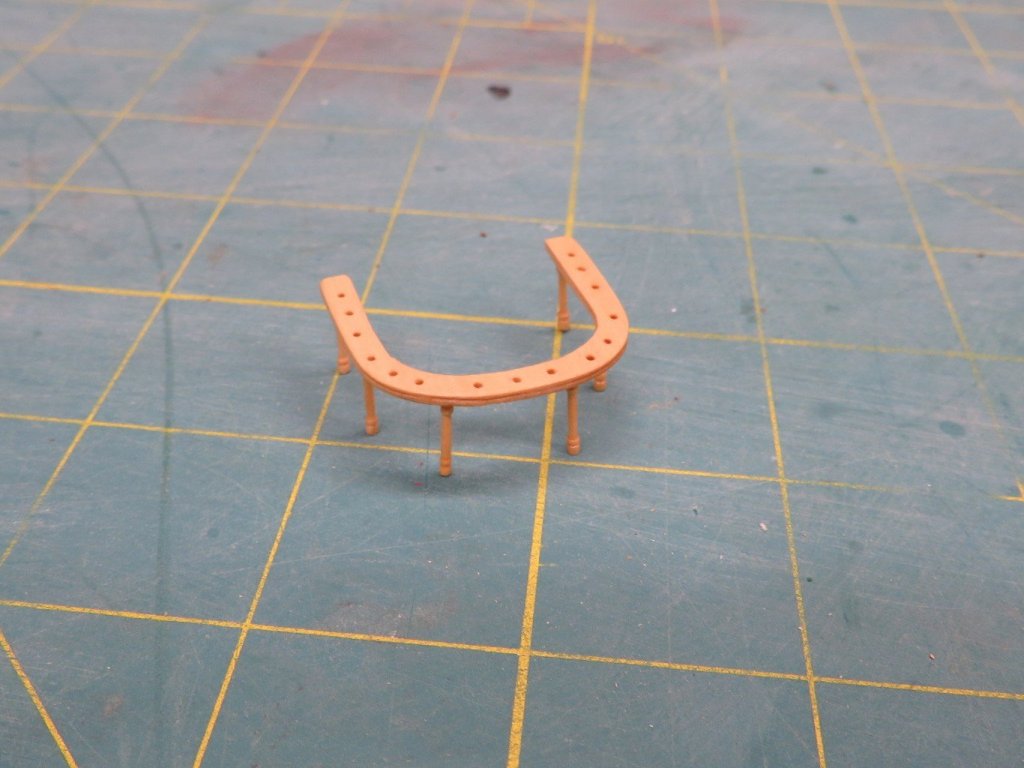
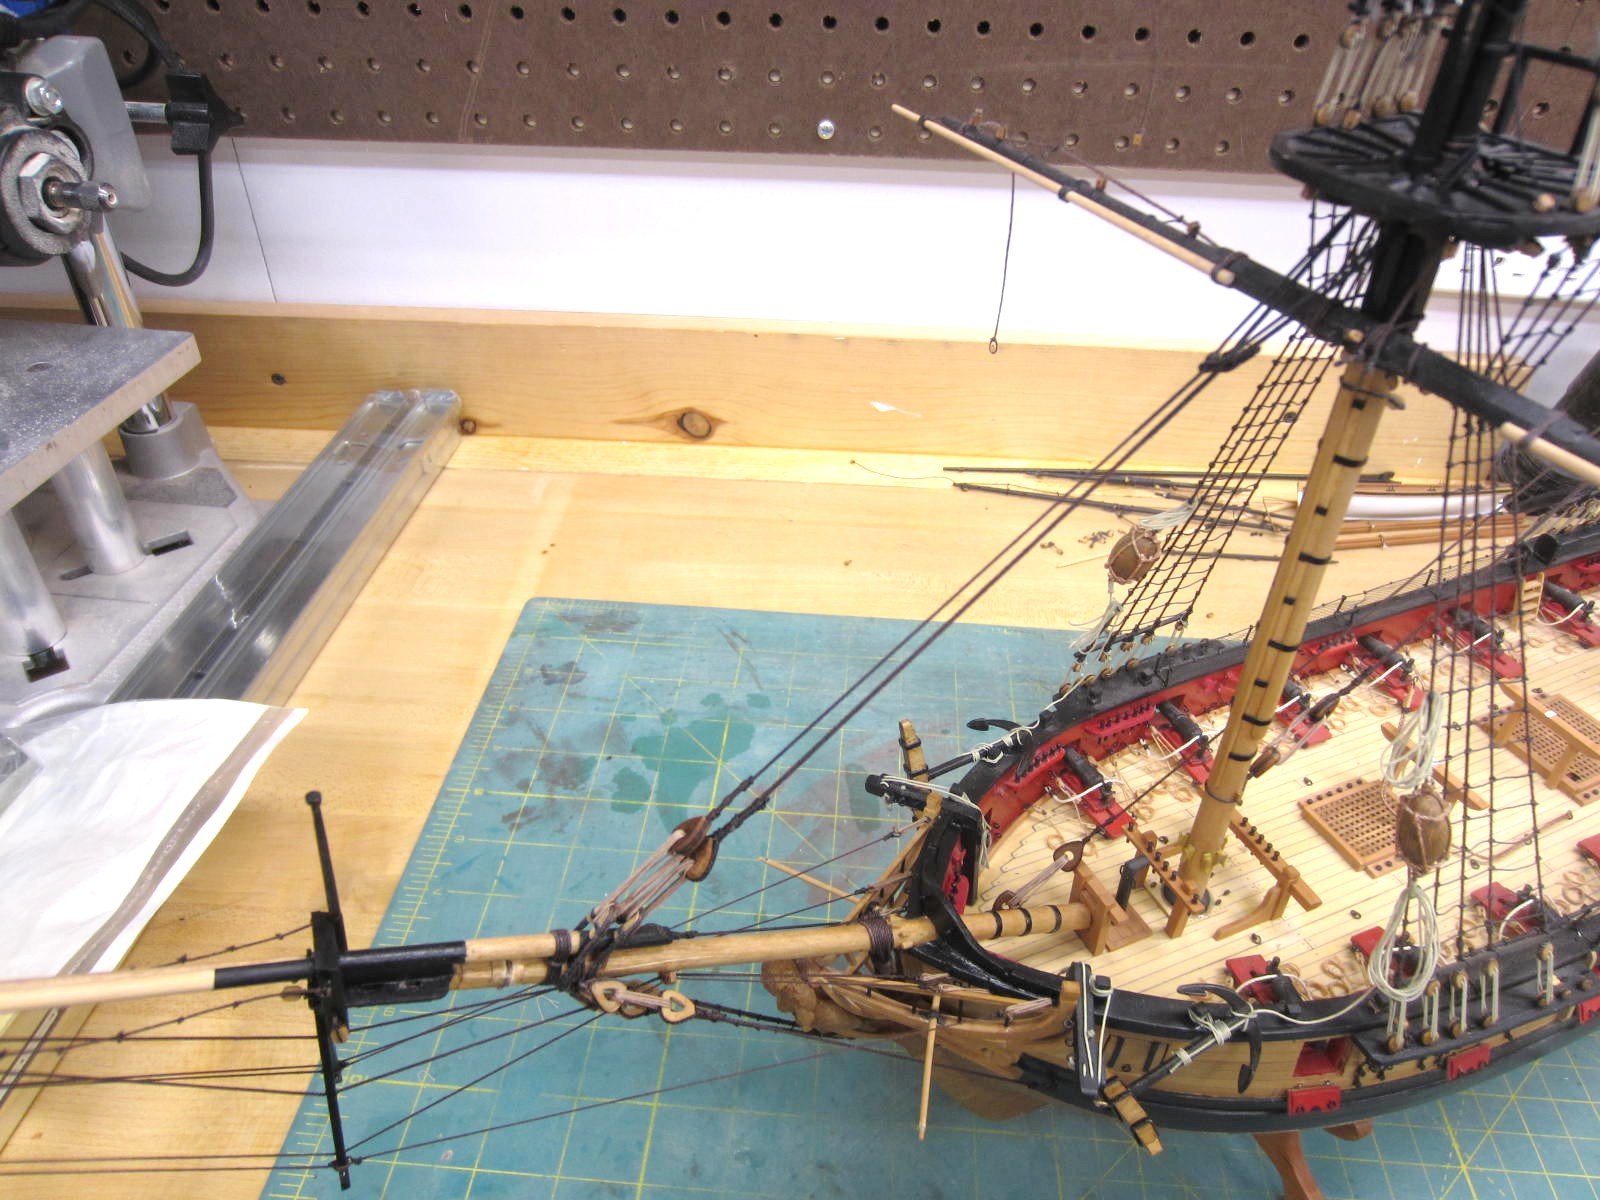
Forward progress continues.
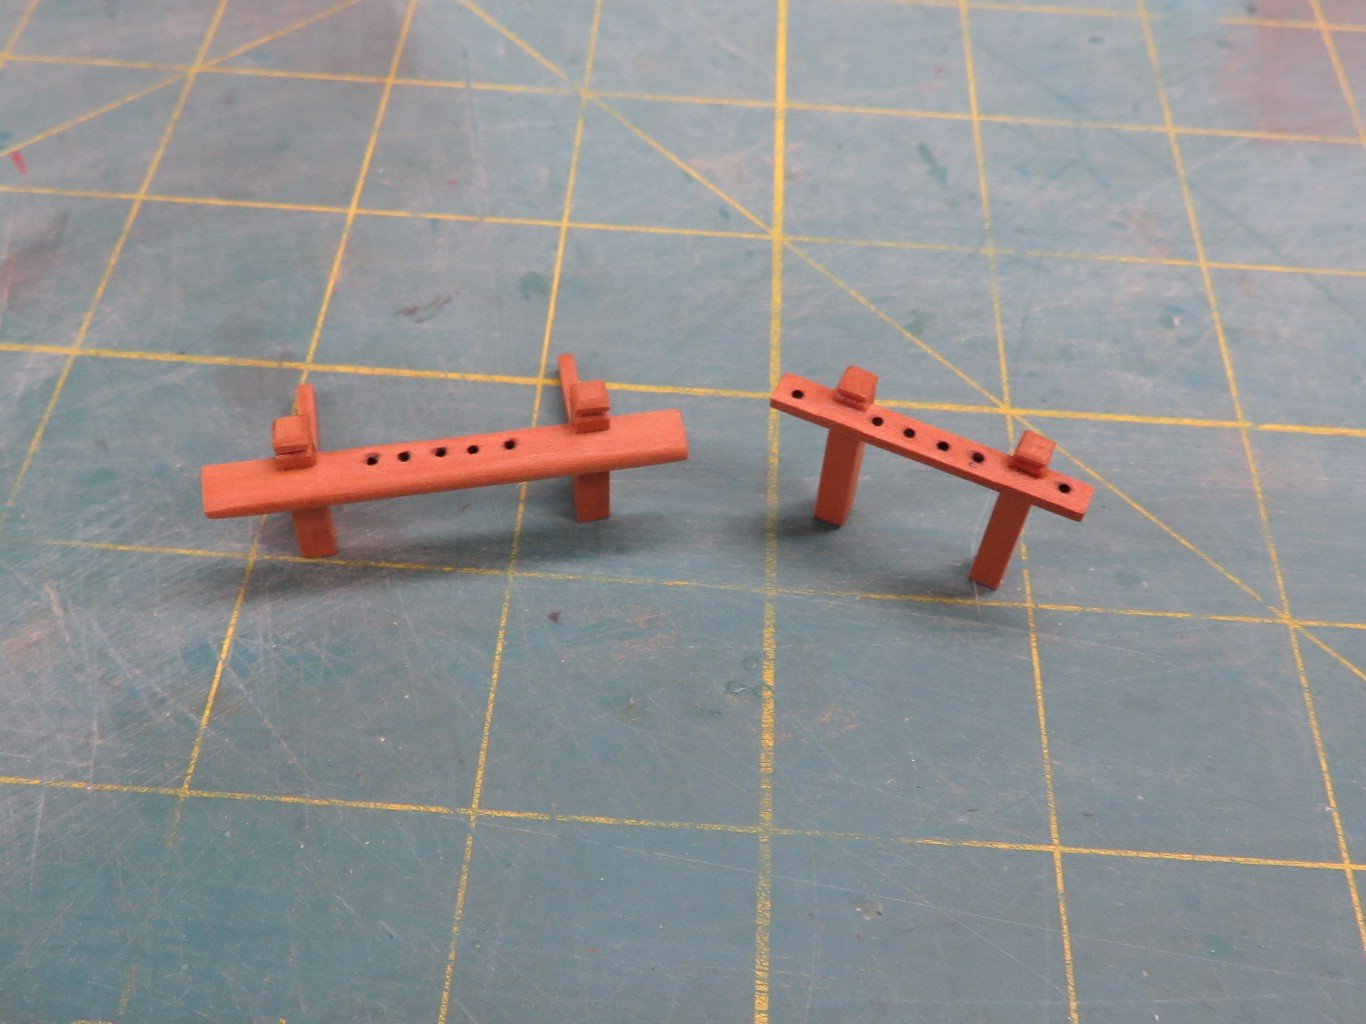
I've now made and installed the eight pin rails that were damaged and removed. I've also placed the
main fife rail as well as the gallows and riding bitts. You'll also notice the ships boat was removed
to give me more room to move about.
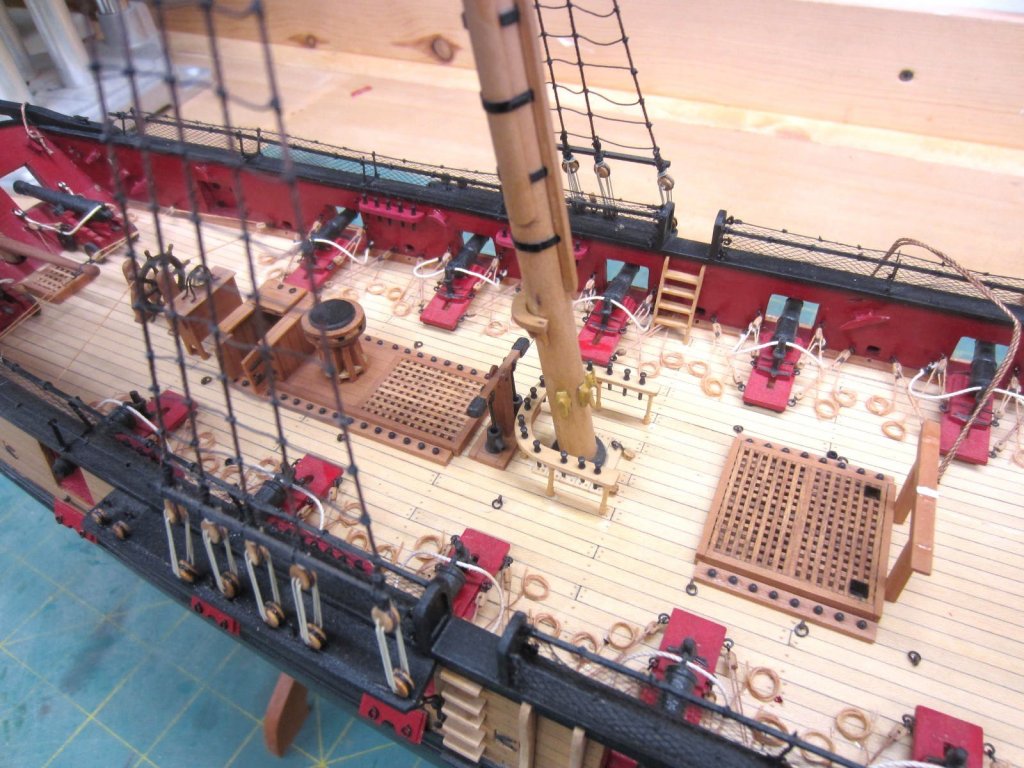
Next I'll be starting the re-rigging of the bowsprite, jibboom and flying jibboom.
- Dubz, GrantGoodale, Tigersteve and 4 others
-
7
-
-
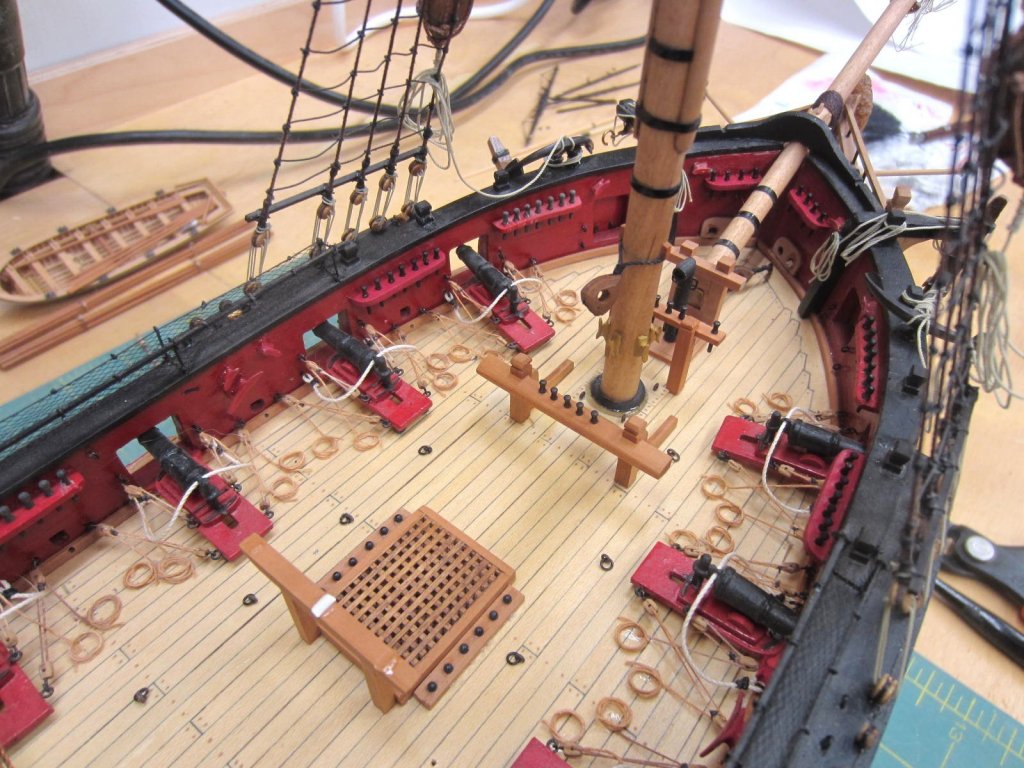
Even with the busy pre-holiday activities I've been able to continue on.
The Ridding and Gallows Bitts are done. There are made from pear.
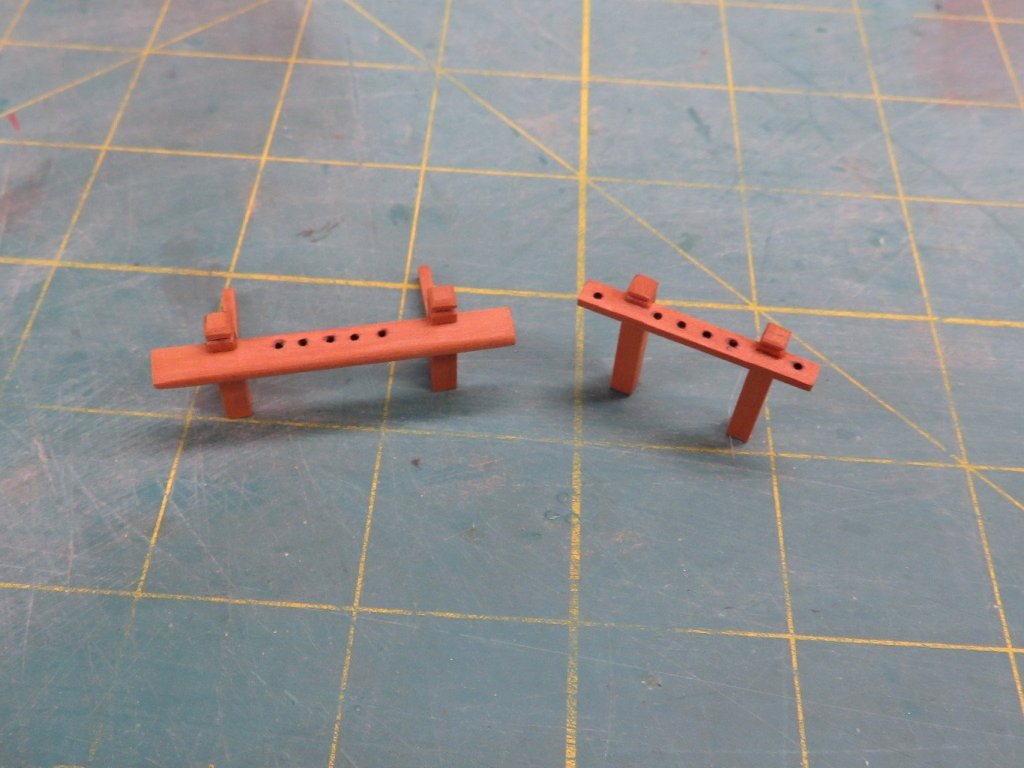
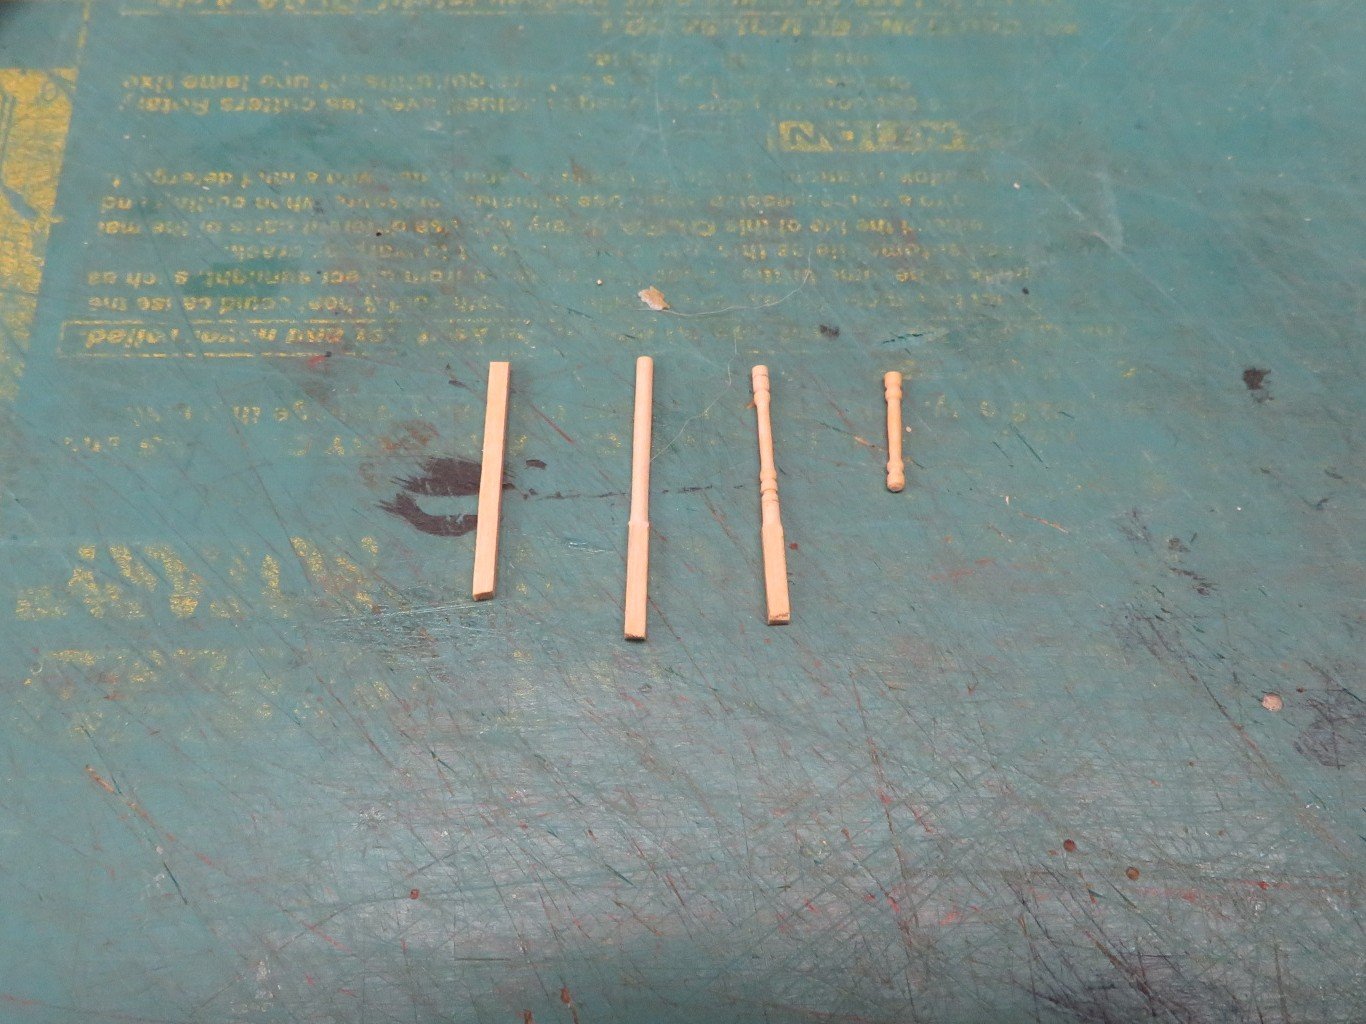
The main fife rail was made from 1/16" thick boxwood. I also needed to make six stanchions. I cut some boxwood 1/16" strips.
I chucked them in the dremel just like making belaying pins. I sanded it round first, then using files I cut the profile on the stanchions.
Once done the stanchions were added and the entire piece was coated with wipe on poly.

On to the pin rails now.
- rafine, Trussben, Ryland Craze and 4 others
-
7
-
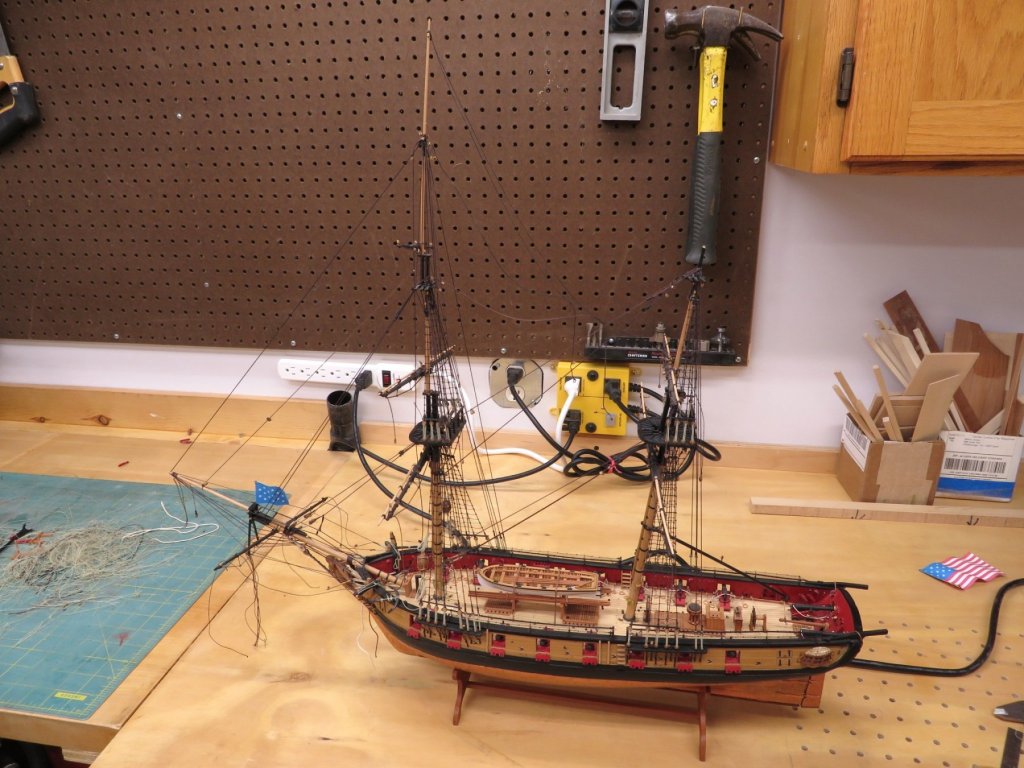
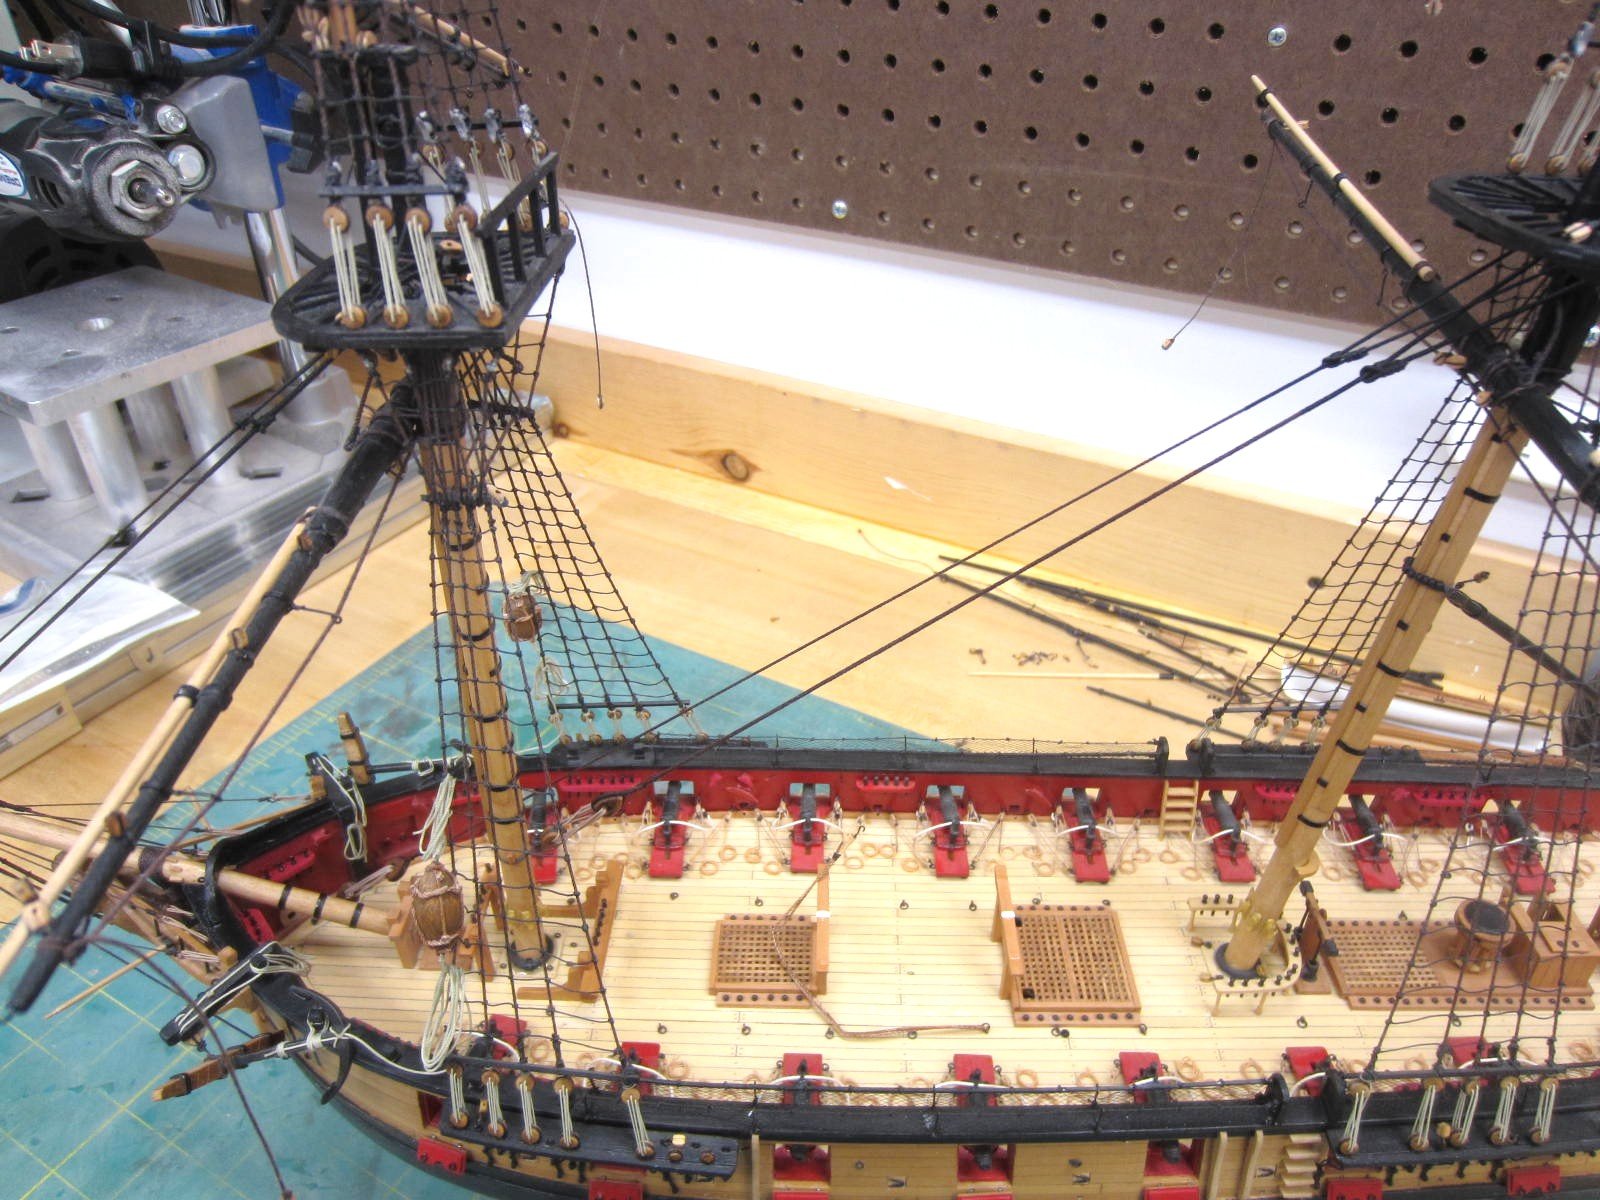
It seems that everything I've posted is going backwards. Well the trend continues.
As I've continued on all of the running and standing rigging has been removed and just the
original shrouds and ratlines remain. Now hopefully I can start moving forward instead of reverse!

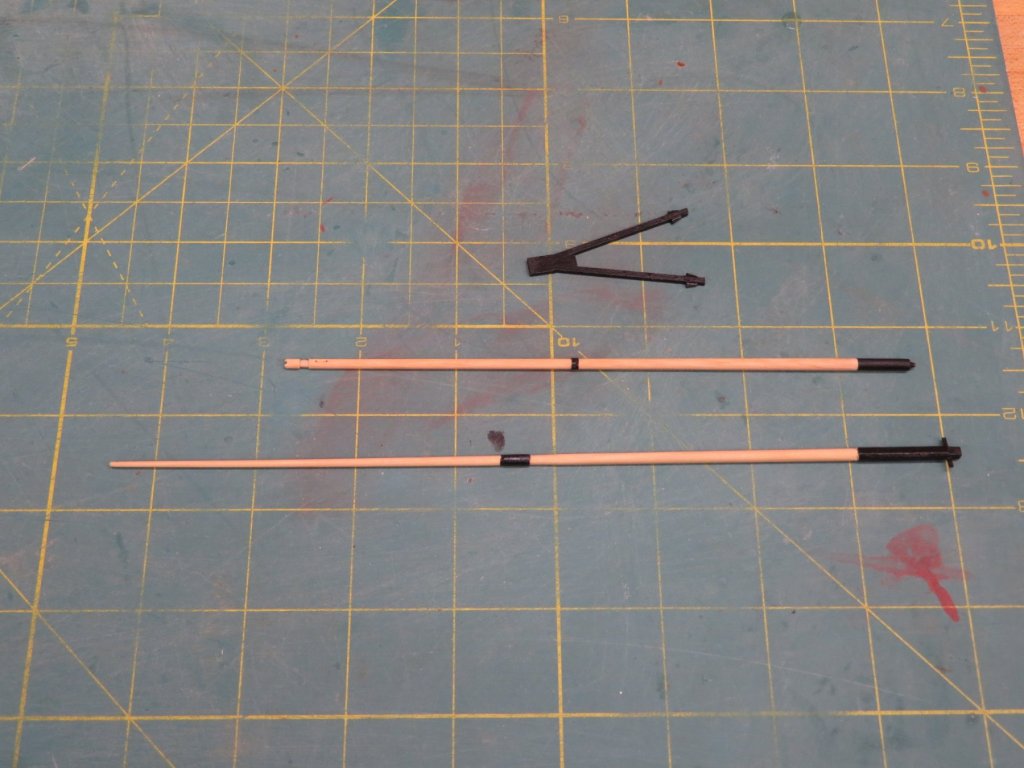
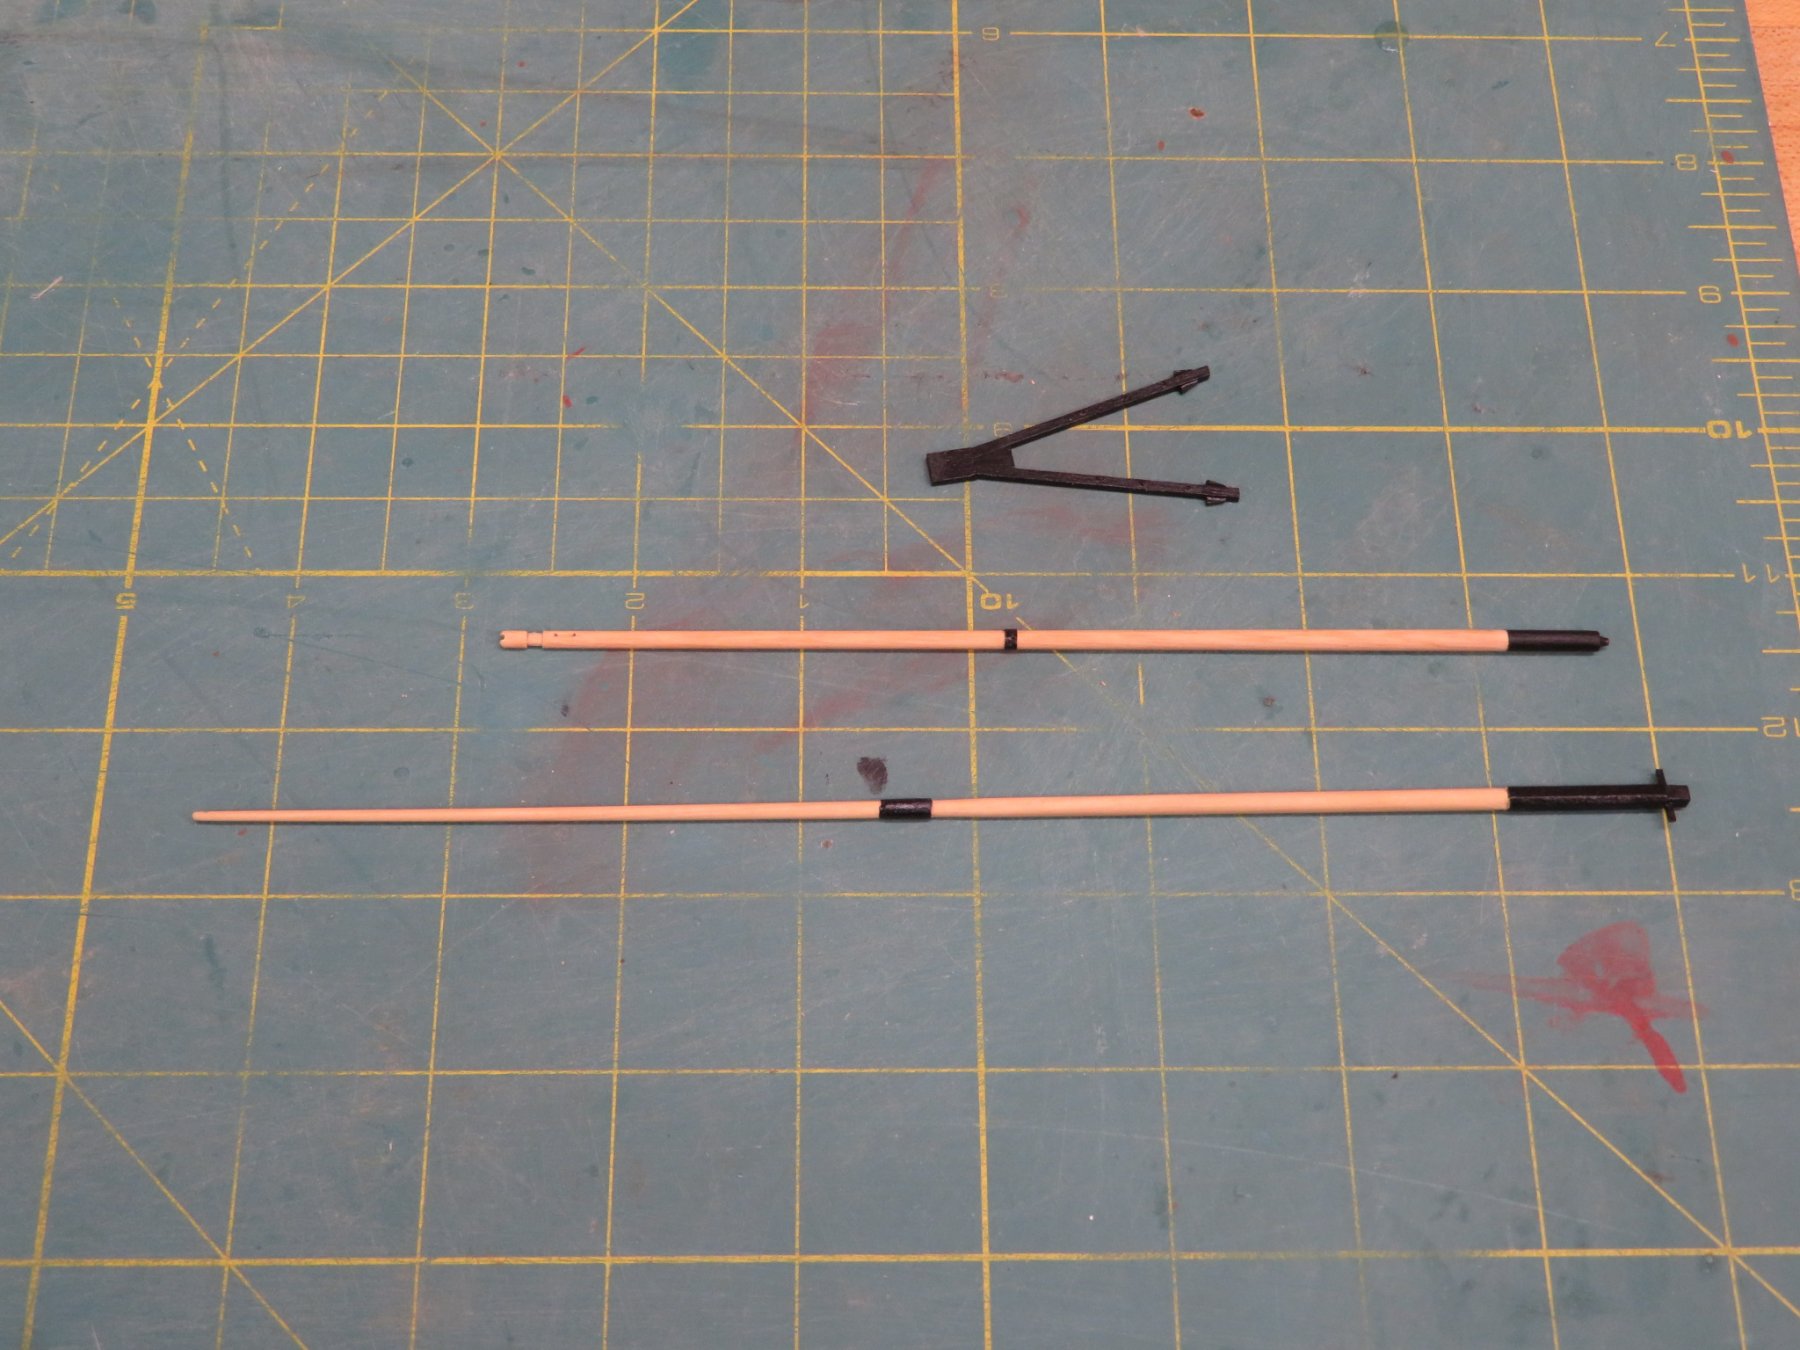
Ok here is some positive action. The Main Top Gallant, Flying Jibboom and Dolphin Striker have been remade.
Next I'll start on redoing the pin rails. bitts etc.
- Dubz, fnkershner, Peter Bloemendaal and 3 others
-
6
-
Hi Jim,
As I dig further and further into this I think you are right. I've now found that the dolphin striker was
cracked and an attempt to repair it was unsatisfactory so off it came and all the rigging on the bowsprite.
I'm getting closer and closer.
-
Hi Harley,
Now that I've finally started motivation and patience shouldn't be an issue. I look at it as a build that is just in the
rigging stage and not that I'm doing it for a second time. At least that's what I keep telling myself.
Hi Joe,
All of the running rigging was removed. I did it all because most of the main mast rigging needed replacement
and the rope I used 10 years ago doesn't match the Syren rope I'm using now. Because of this I decided to replace
all of the running rigging.
Most of the standing rigging is good but I will determine what needs replacement after I finish making the replacement parts.
- Ryland Craze and fnkershner
-
2
-
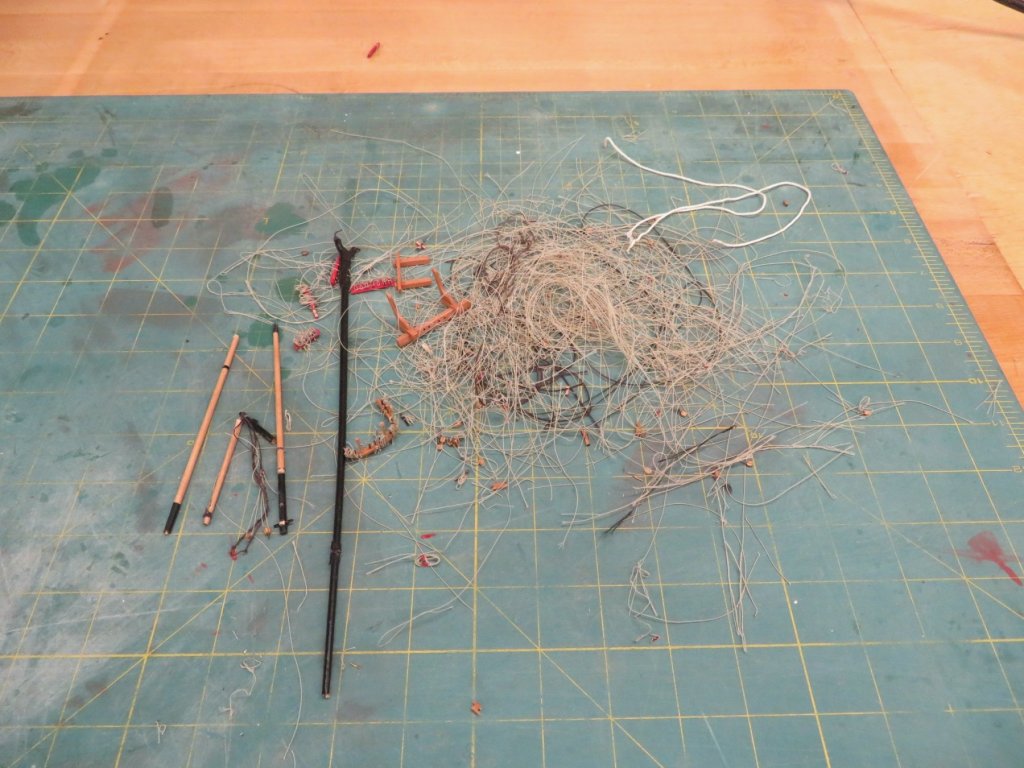
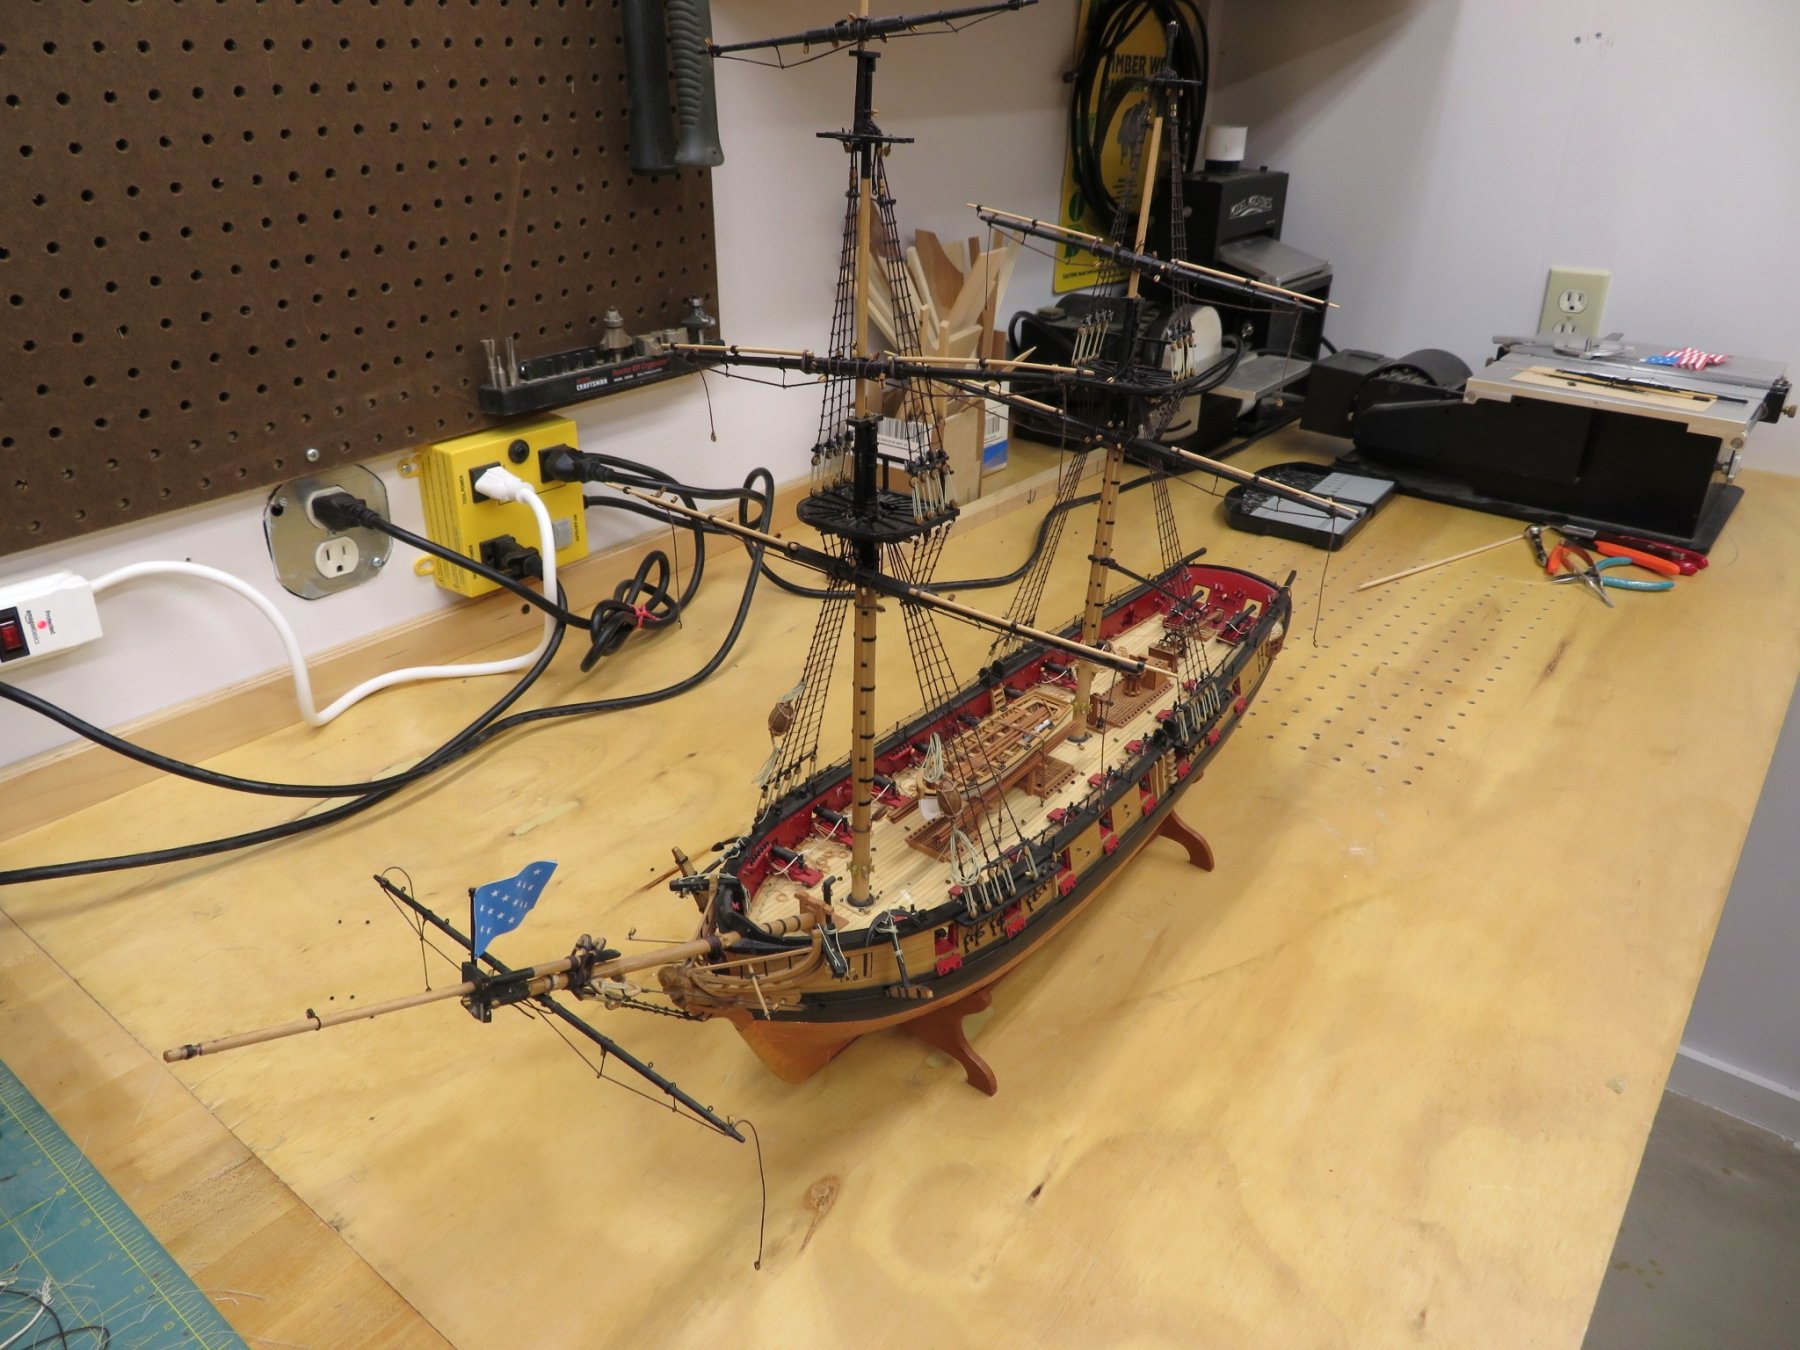
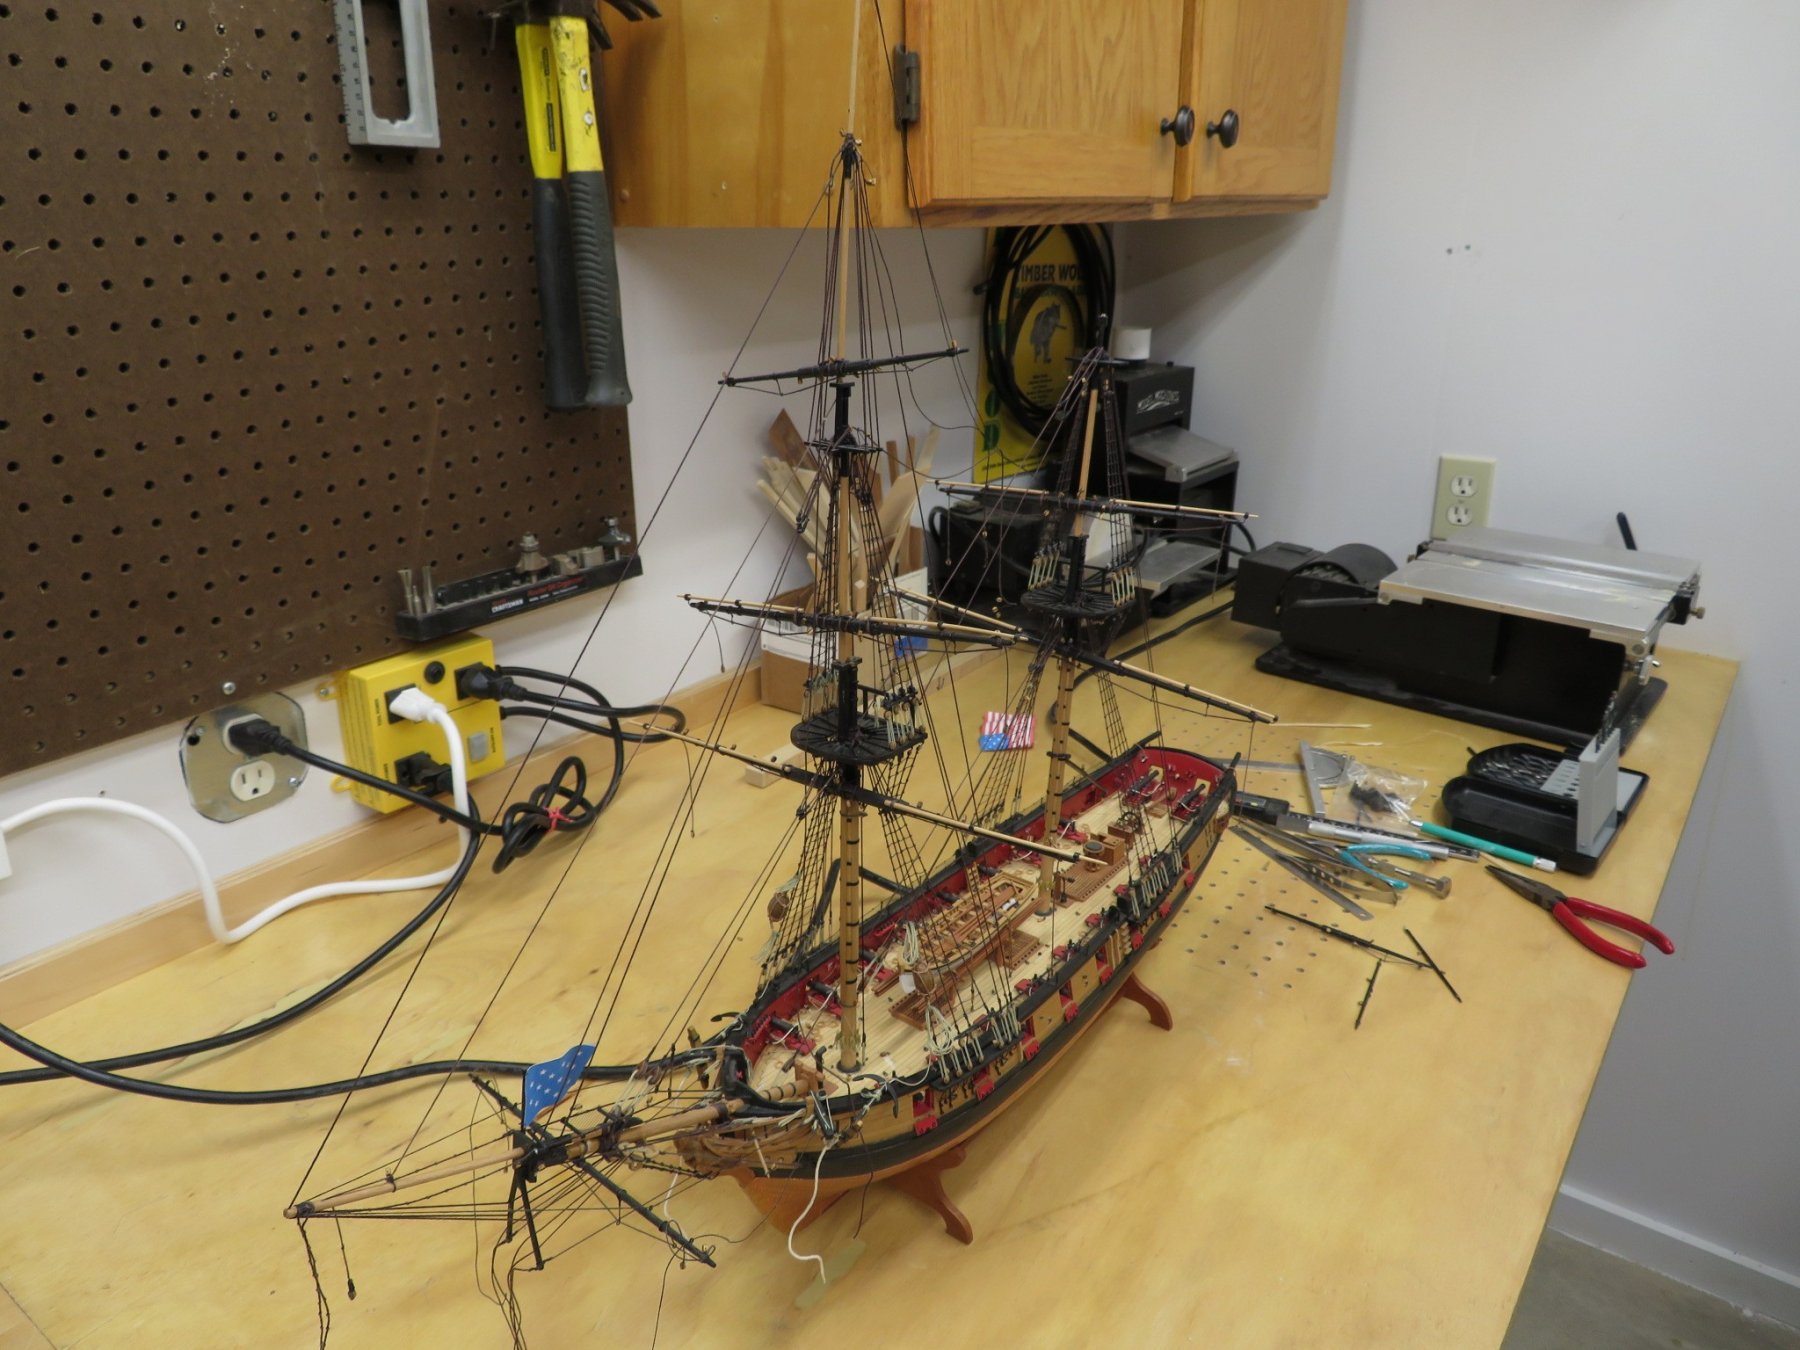
Ok I've jumped in with both feet now. All the running rigging has been removed as well as 8 pin rails,
fife rail, riding bitts and gallows bitts. The boom, main topgallant and the flying jibboom have all
been removed and I'll start remaking them.
The masts and yards are all in great shape and will be reused.

And here's the pile of debris.
-
Alright first confession of rookie/newbie mistakes on the original build. Not thinking ahead to future disasters I
thought why not a drop or two of CA to the belaying pins to make sure that the lines and rope coils didn't come
loose. Well they didn't come loose but I can't get the lines free. Thus I will be redoing numerous pin rails, removing
the Fife Rail, Riding Bits and Gallows Bits and most likely remaking them too.
If I'm not careful I may find myself all the way down to the keel!
-
-
Jim explained it very well. I've used a razor blade with my glasses on and I also have a furniture scrapper for larger surfaces.
-
Hi Tim, Thanks for stopping by.
Right now I'm removing all of the running rigging. I will then inspect the standing rigging. Right now I feel
I'll need to replace portions of them too. Once I get further into it I'll make some more decisions but I think
the masts will stay in place and just the yards will come off. Can't say for sure at this moment.
-
-


HMS Pegasus 1776 by Trussben - 1:48 - Swan-class sloop based on TFFM
in - Build logs for subjects built 1751 - 1800
Posted
Sweet!