


Rustyj
-
Posts
2,516 -
Joined
-
Last visited
Content Type
Profiles
Forums
Gallery
Events
Posts posted by Rustyj
-
-
-
Thanks for the kind words Ben.
Mike thanks for that. The offending pin rail has been removed. I didn't like it anyways!
Think I'll wait until the bowsprit is in place before putting it back.
Also thanks everyone for stopping by and all the likes!
- Ryland Craze, Canute, Stuntflyer and 1 other
-
 4
4
-
Hi All,
I can't believe how long it's been since my last post. I am alive and working just really slowly.
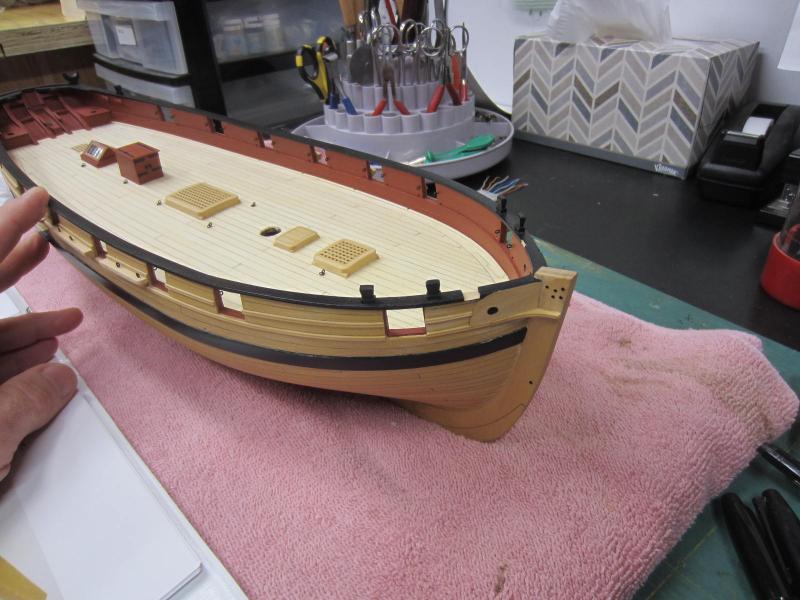
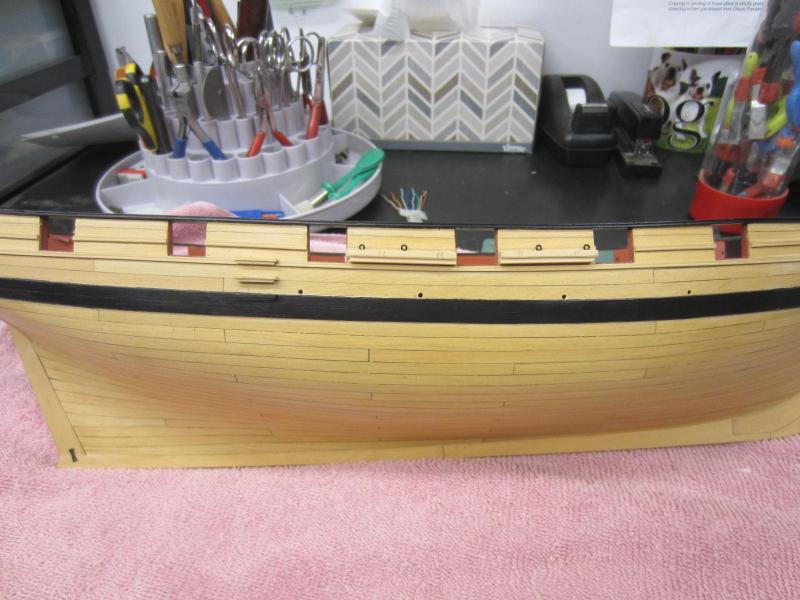
Lets see since my last post I’ve finished and installed the catheads.
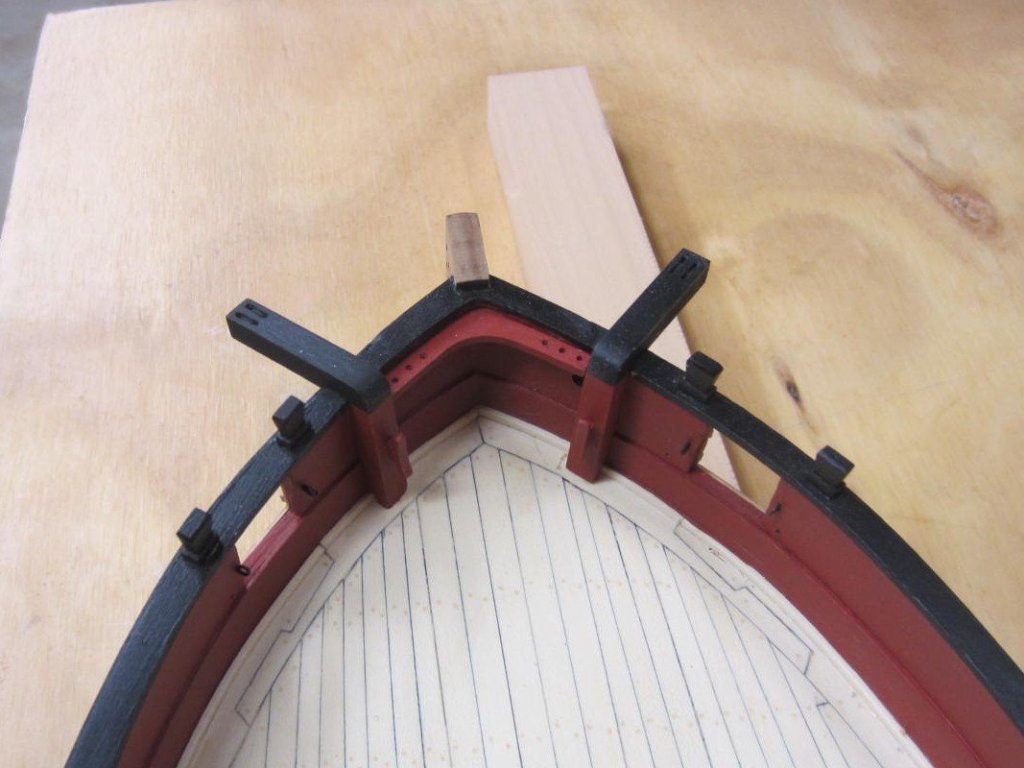
I’ve also made the backstay plates and the chain plates from brass flat stock.
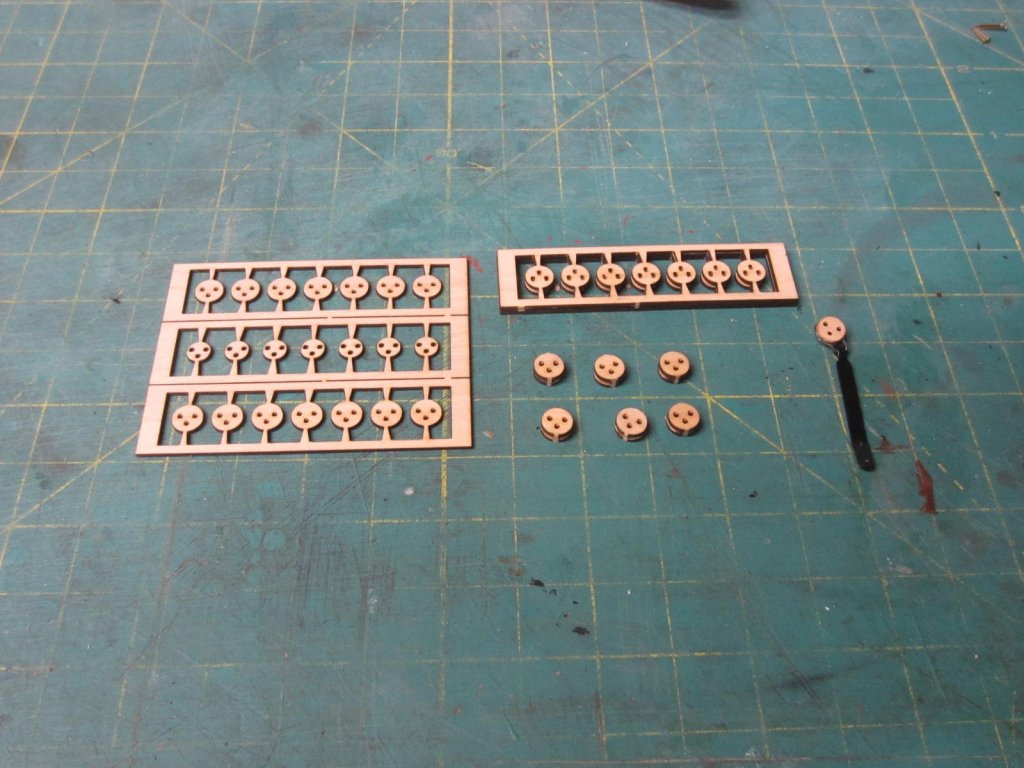
The deadeyes were made from Syren Ship Model Company.
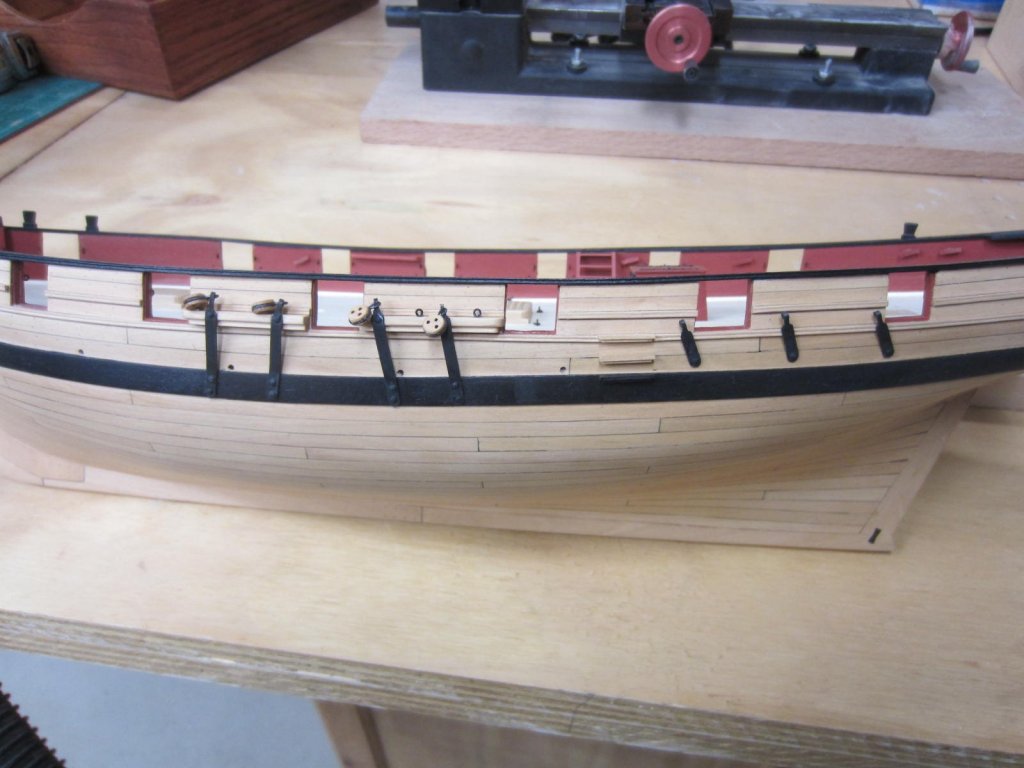
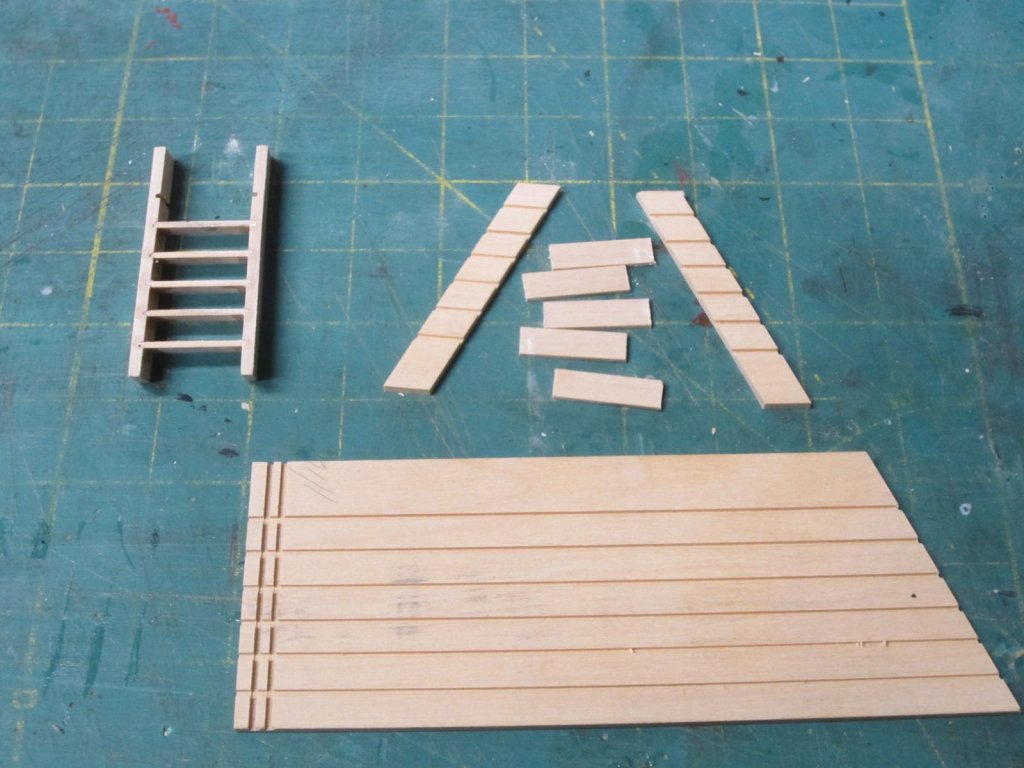
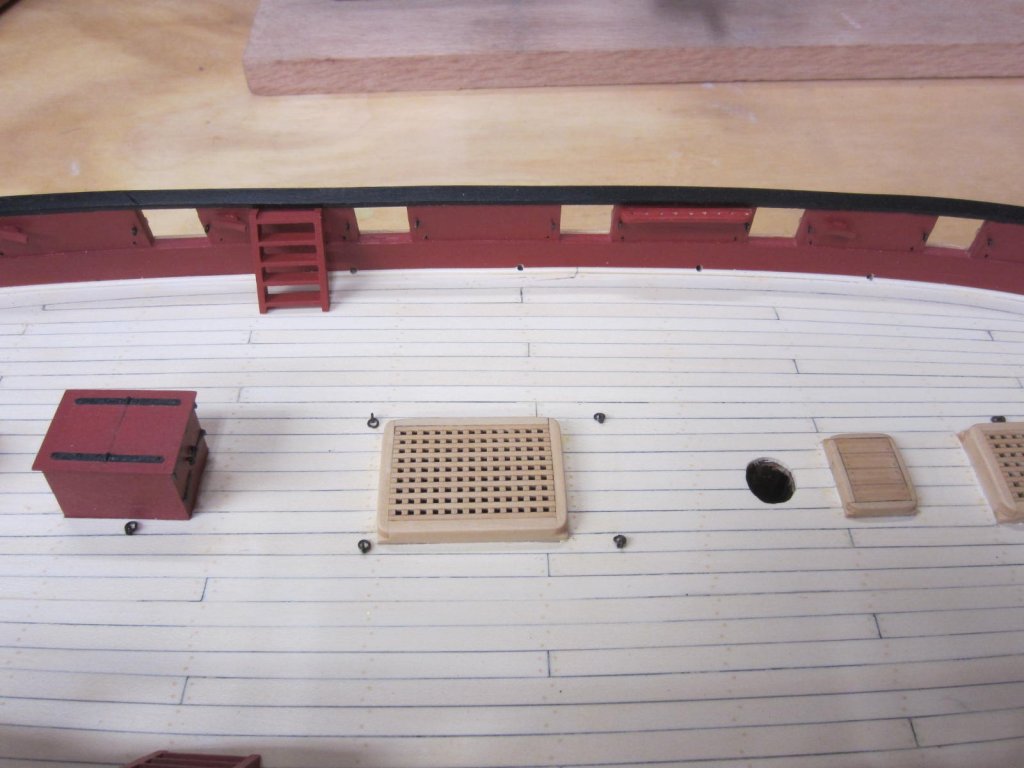
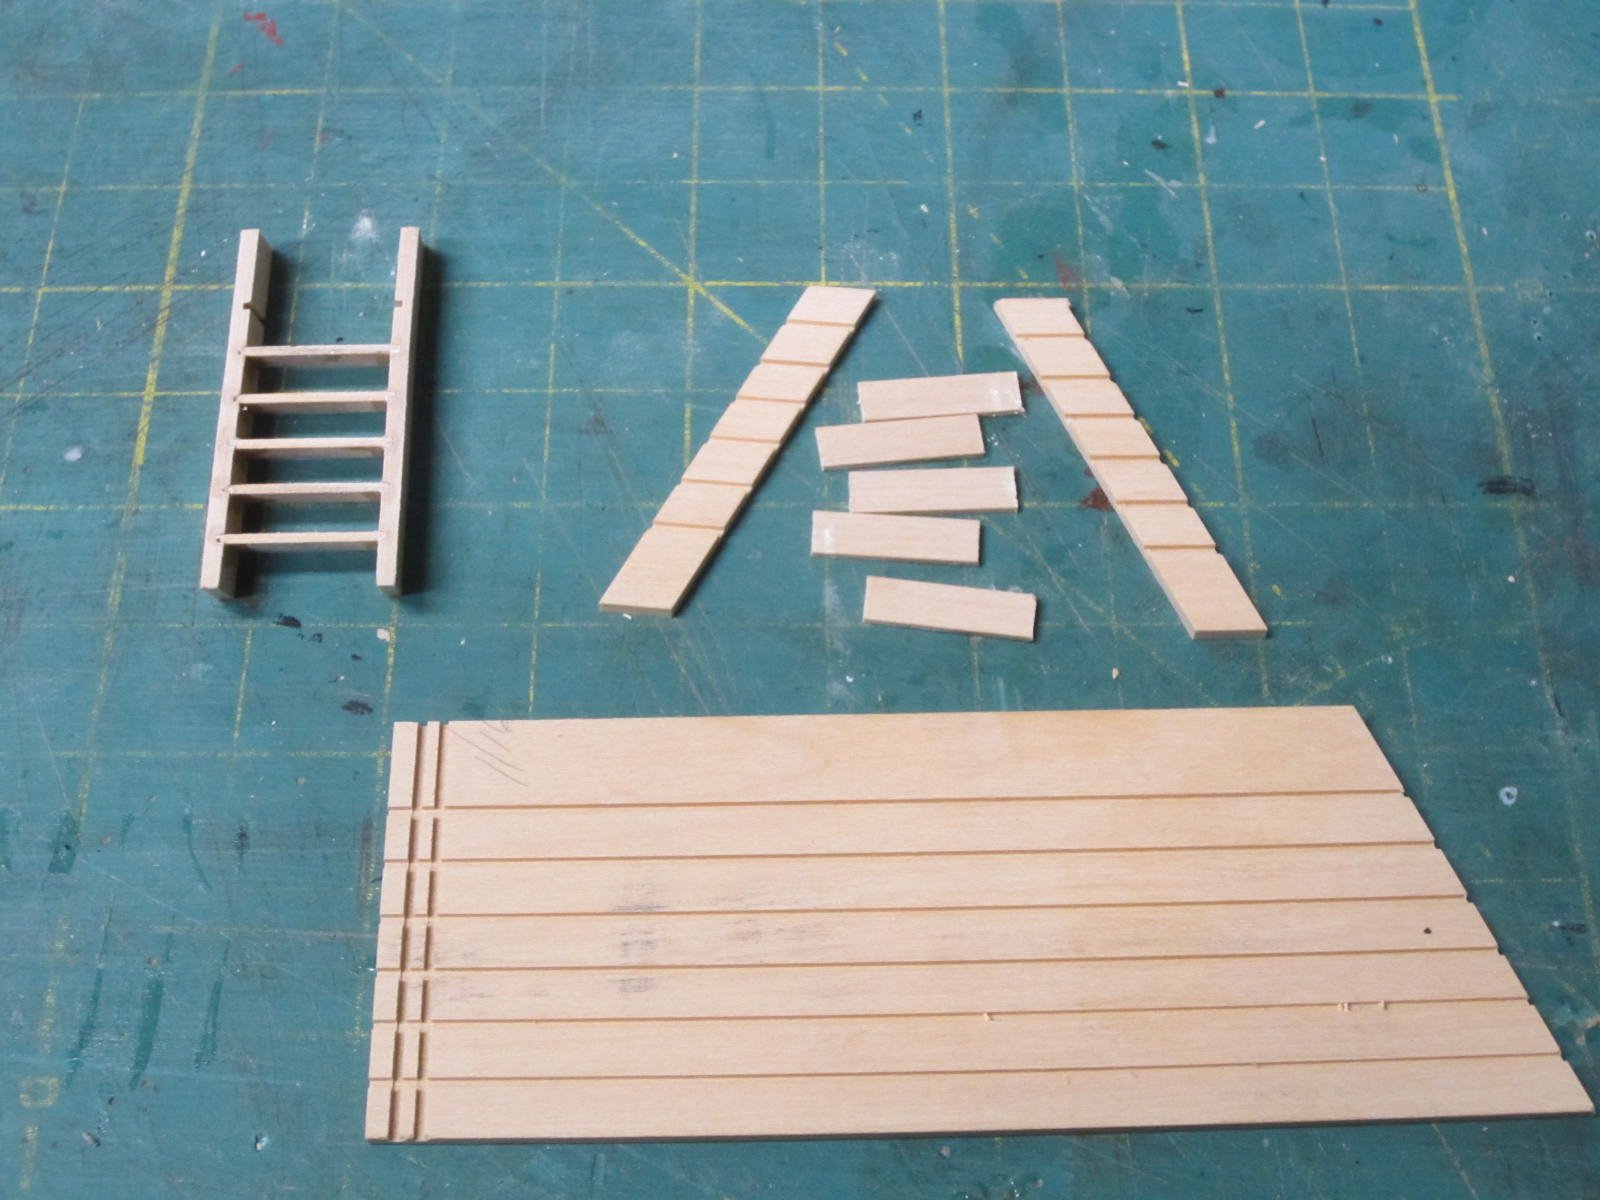
I also made the pin rails and ladders. Making the ladders I used the same method used on the Confederacy. I cut horizontal lines for the treads and then cut the sides out at the correct angle to the deck. Glue and insert treads and once dry I sanded and cleaned it up. Painted it and installed on the deck.
- Dubz, BANYAN, Captain Poison and 19 others
-
22
-
Hi Bob,
That was a really great build and your finished model looks outstanding.
As always its a joy watching and learning from you. Good luck with the Halifax. -
-
-
-
Thanks all for the input. I like the idea of the black band but if that’s not accurate
I’ve scrapped that idea.
Chuck I could have put money on your answer because I remember when you
had to make the same decision.
I’m leaning hard towards red so I’ll do up some that way and place them on
deck alongside some black ones and see what slaps me upside the head!
Thanks again.

- Ryland Craze, gjdale, Canute and 5 others
-
8
-
-
Thanks Brian. Pat I'm not sure why you don't see the pictures they show up on my PC and tablet.
Also thanks for all the likes too!
- mtaylor, Canute and Ryland Craze
-
3
-
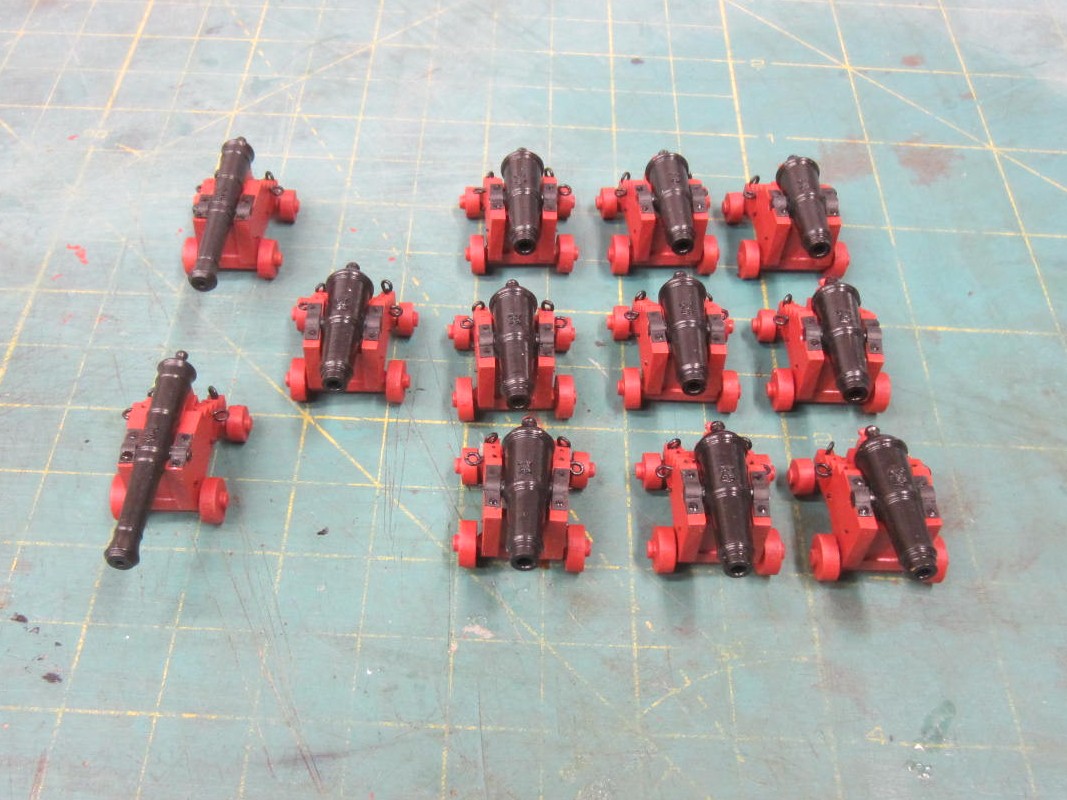
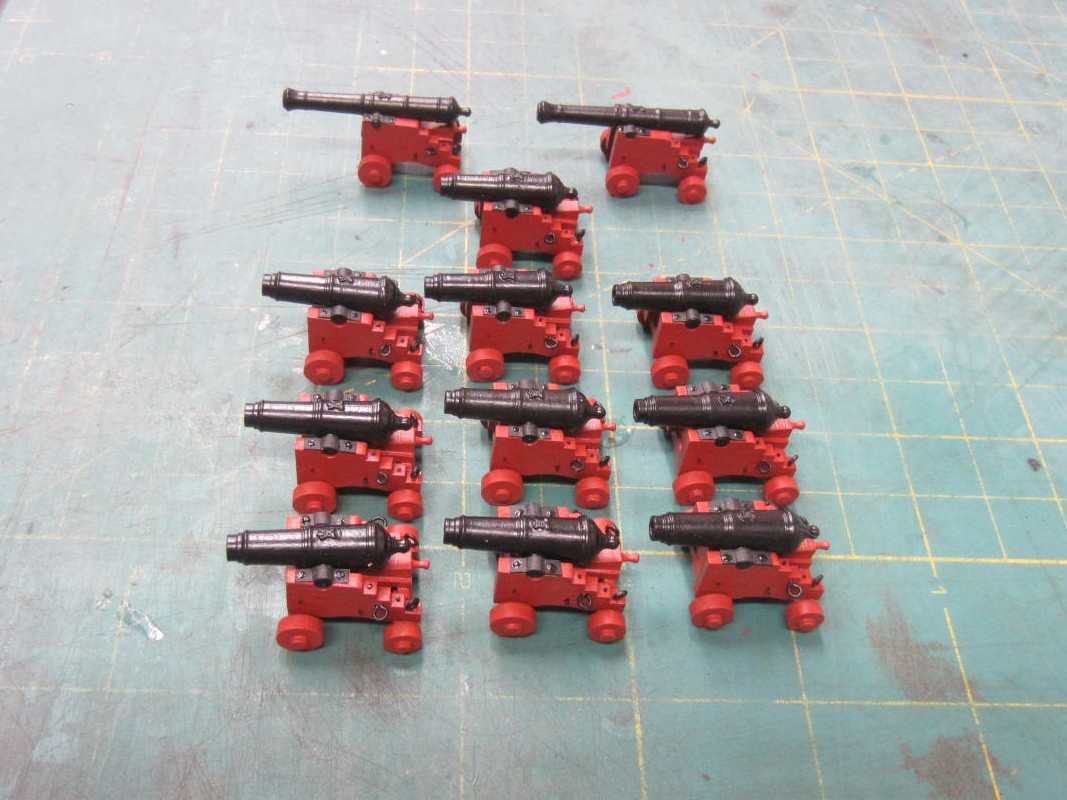
Hi All,
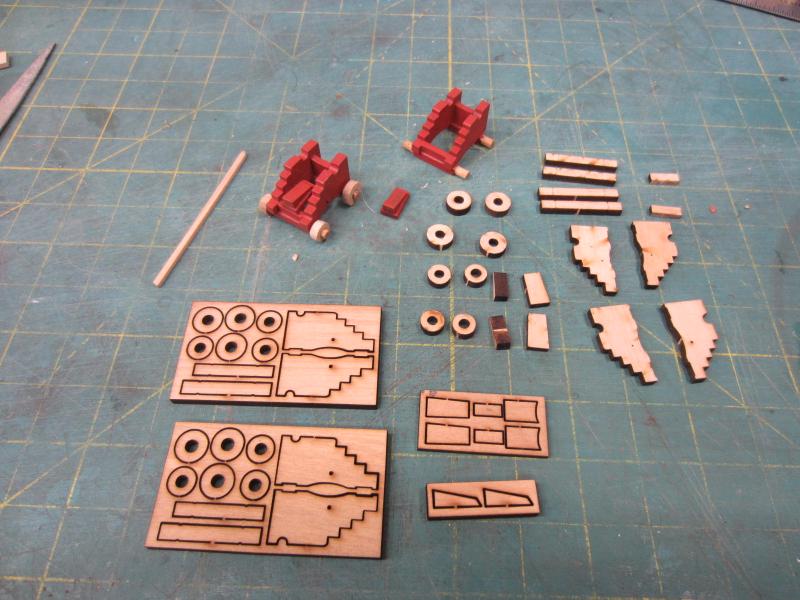
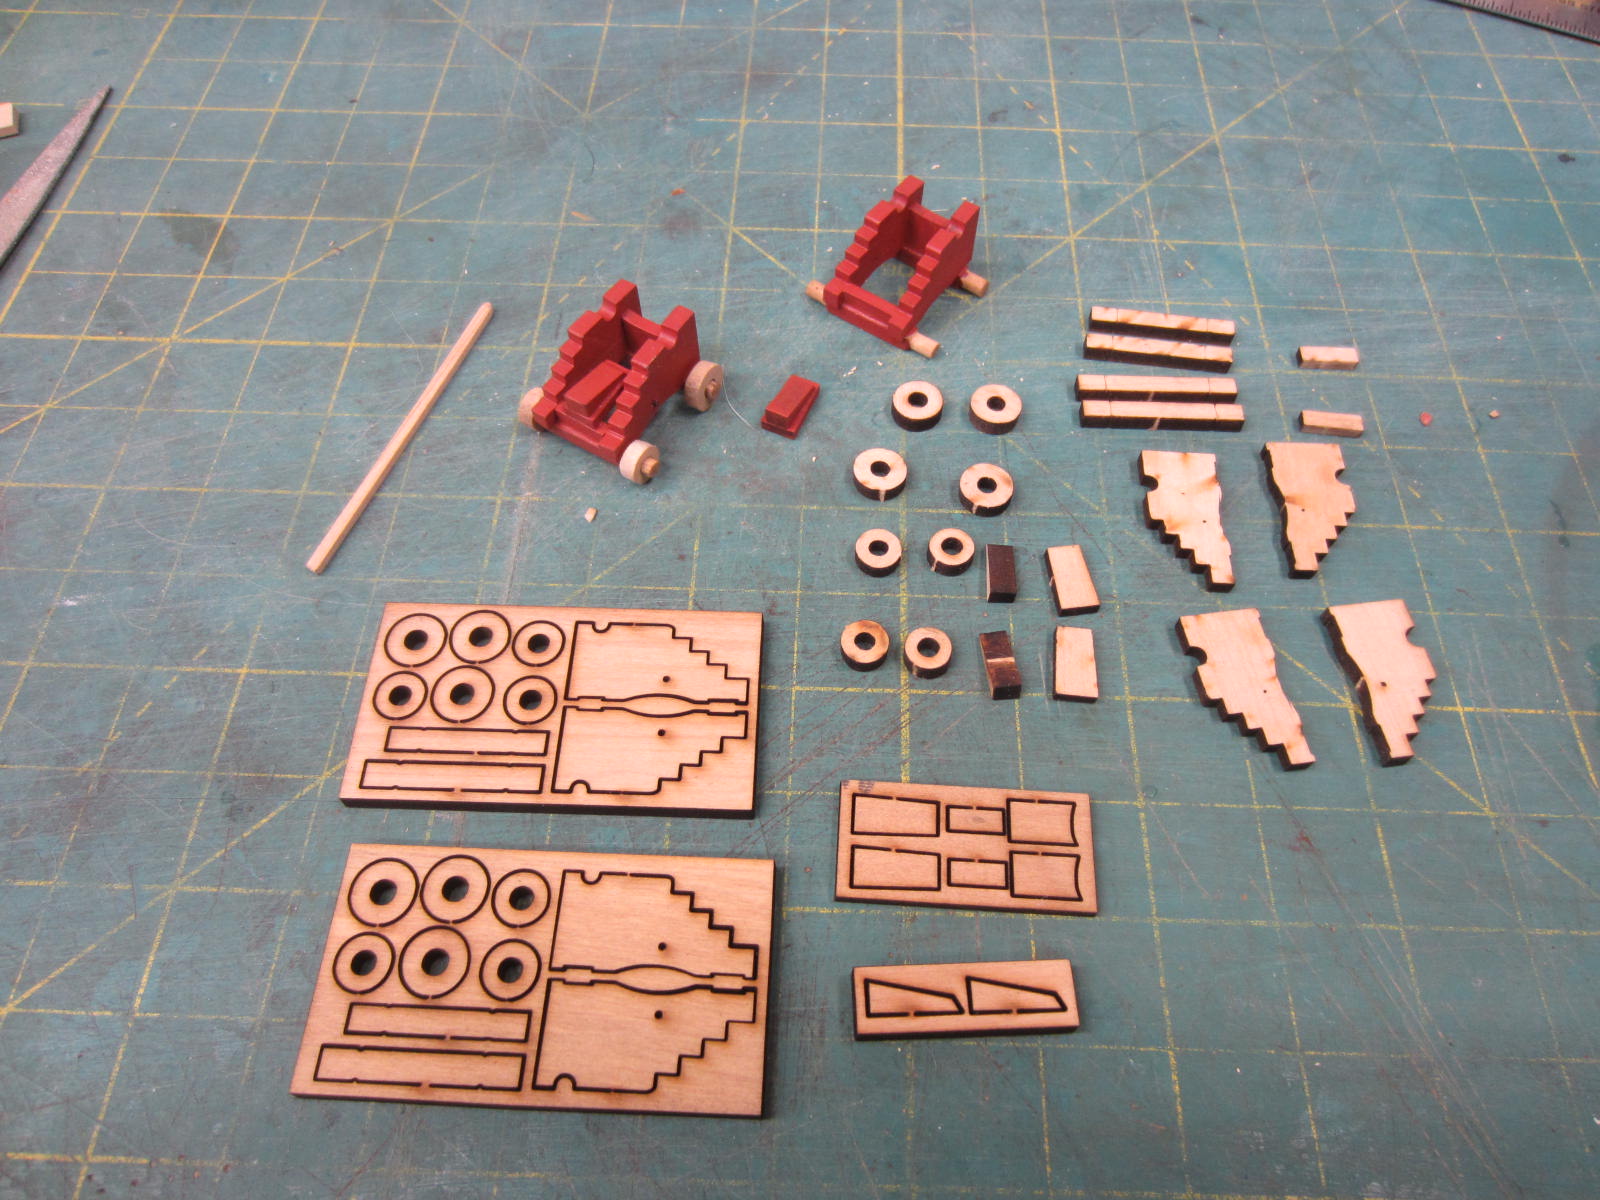
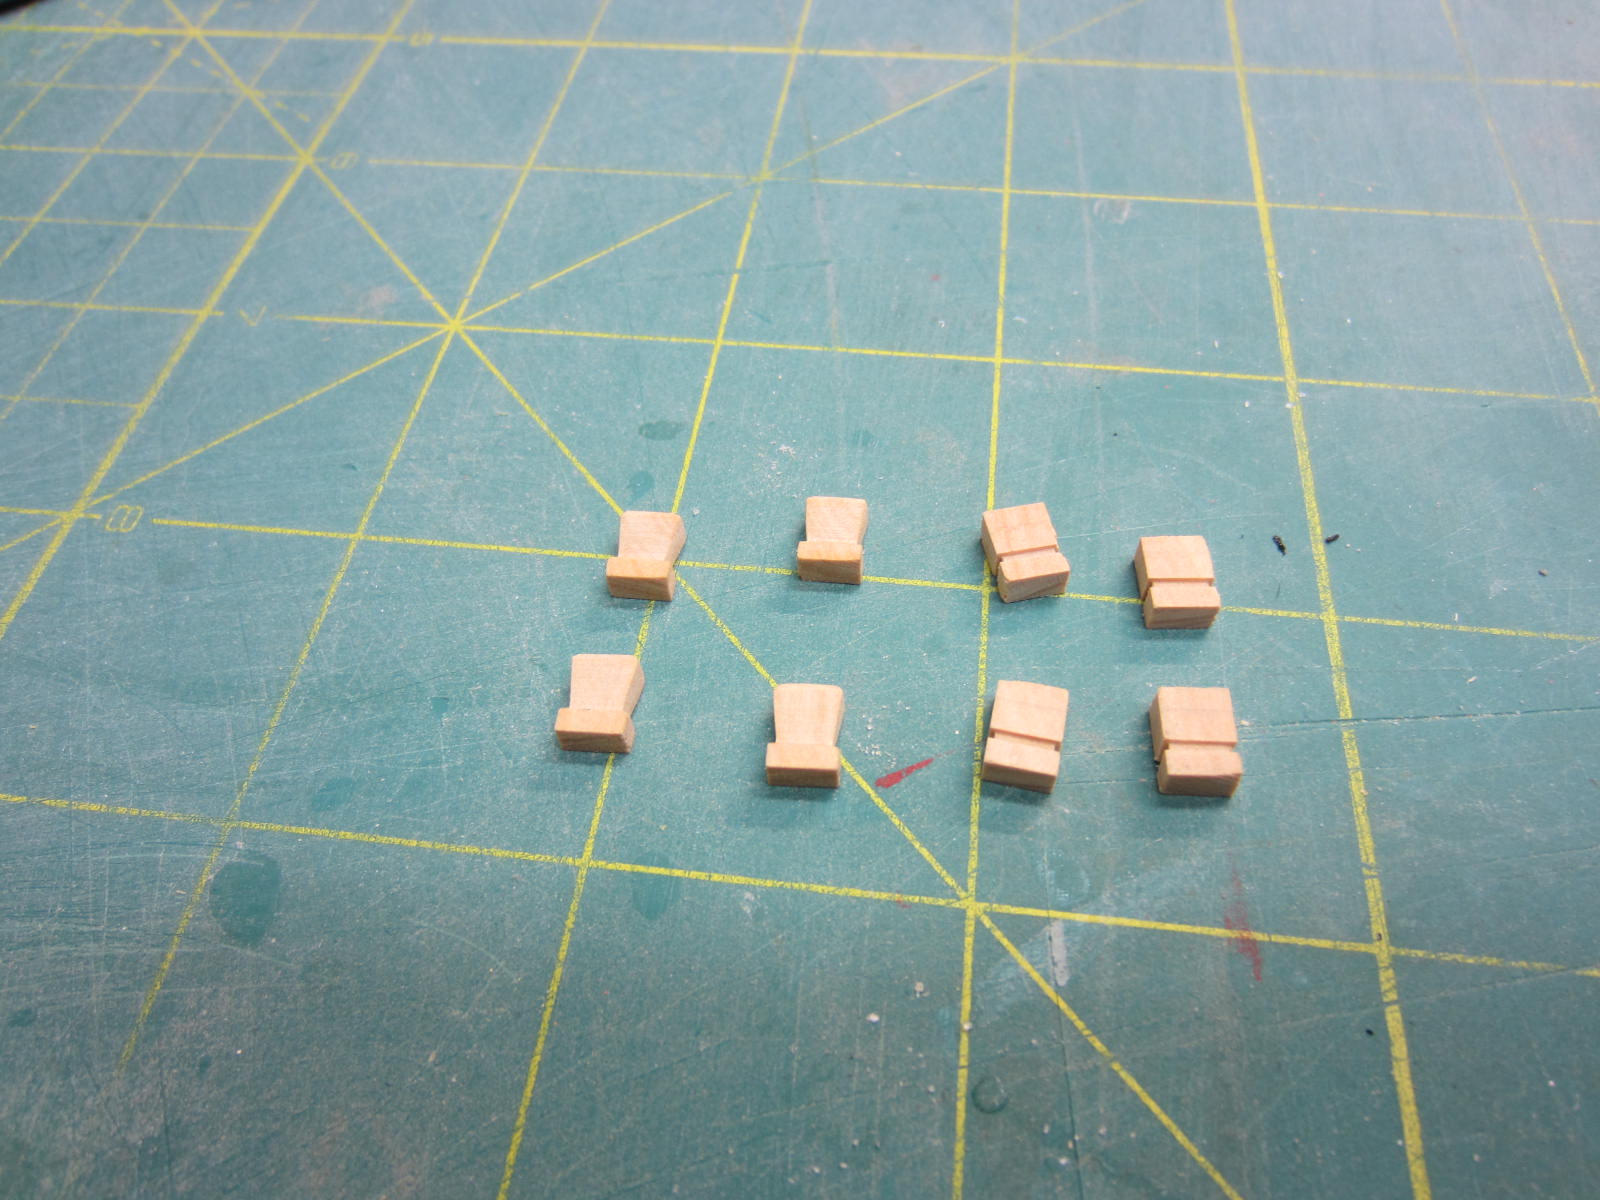
Progressing slow but sure here. As you can see all the gun carriages
have been assembled and I’m adding the eye bolts. Then I have to
sand the trucks and put them on.
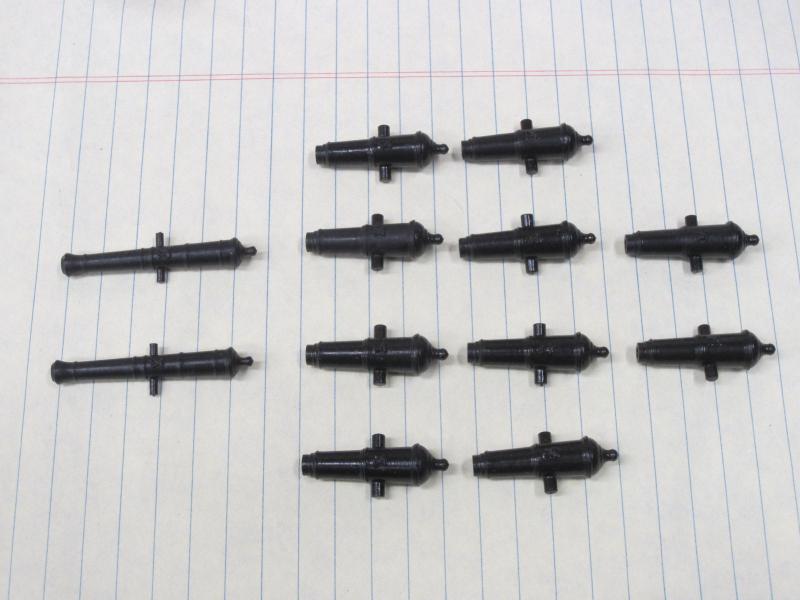
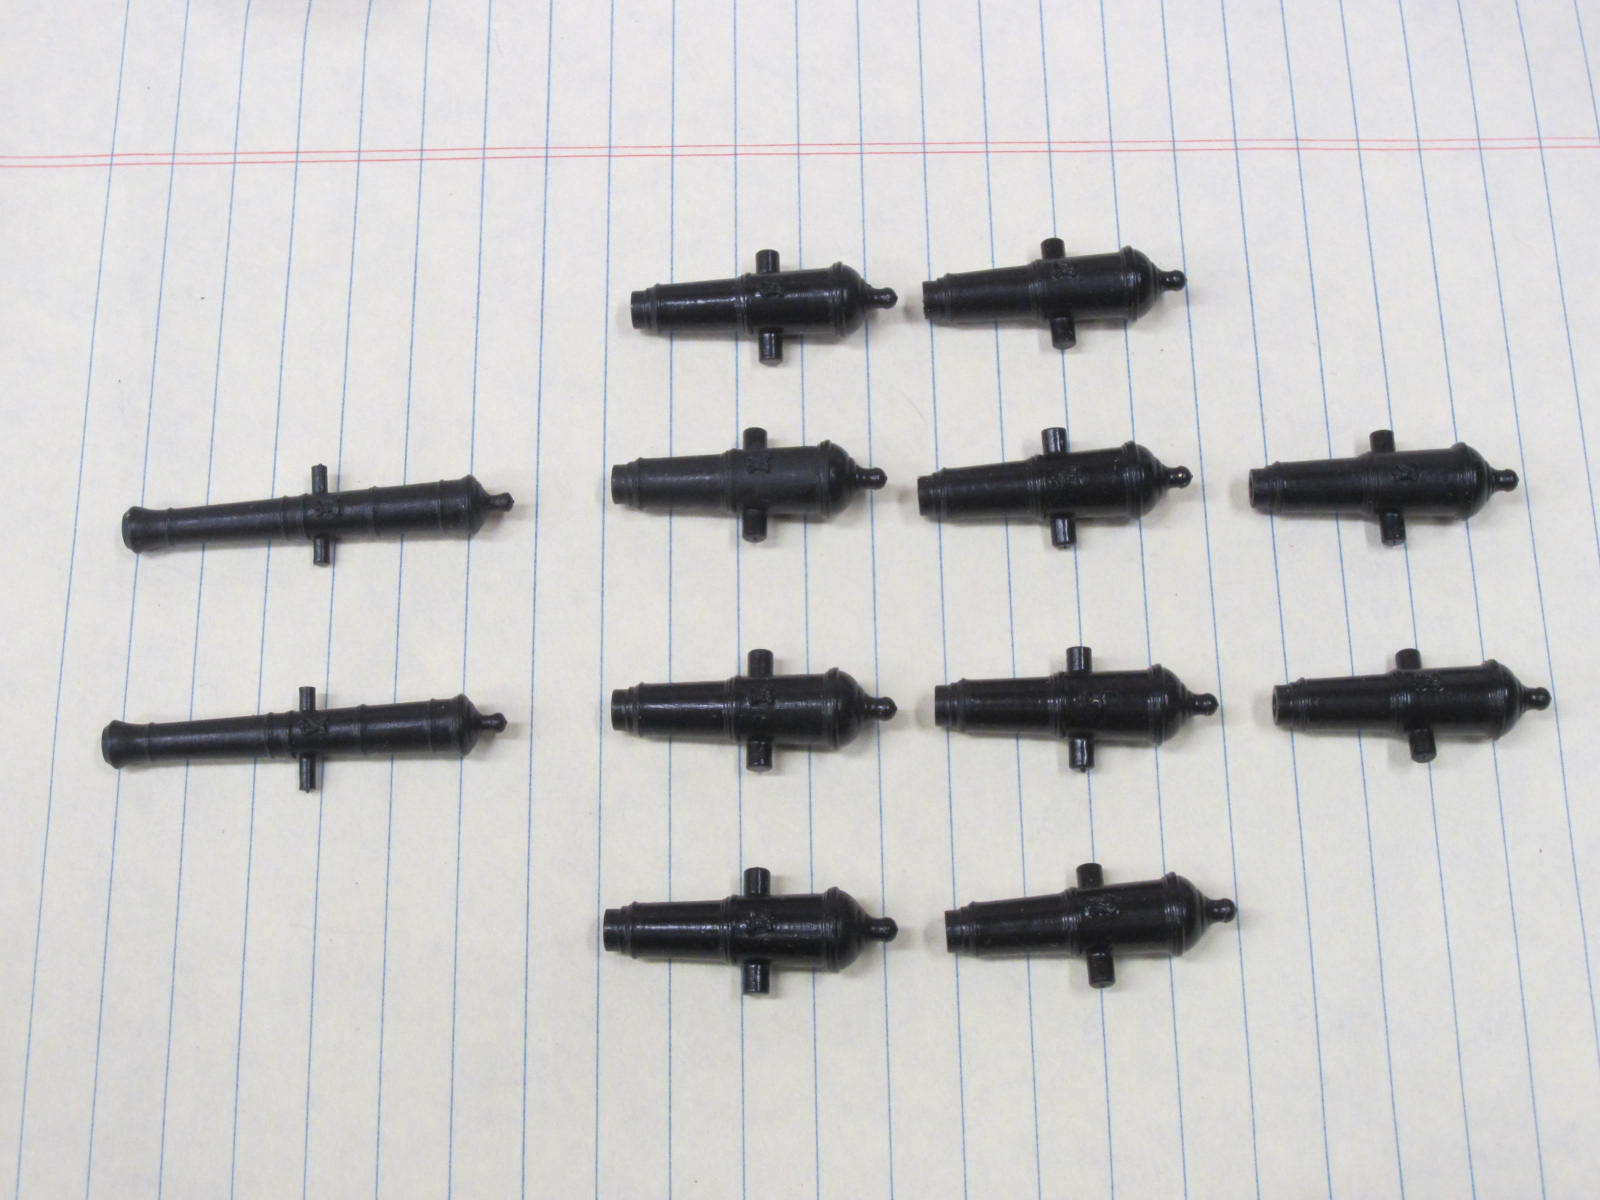
Also the carronades and cannon barrels have the first couple coats of paint.
You also see the pile of rings and eye bolts I’ve made for the carriages.

Now that all the festivities are over I hope to have everything assembled by the weekend.
- UpstateNY, Ryland Craze, reilly and 12 others
-
15
-
Same to you Ben. I'll be waiting impatiently for updates.

- Ryland Craze, mtaylor and Canute
-
3
-
Hi Eric.
Great to see you take your time and redo when necessary.
That was one of the hardest things to learn.
Keep up the good work.
- Erik W, Jack12477, Ryland Craze and 2 others
-
5
-
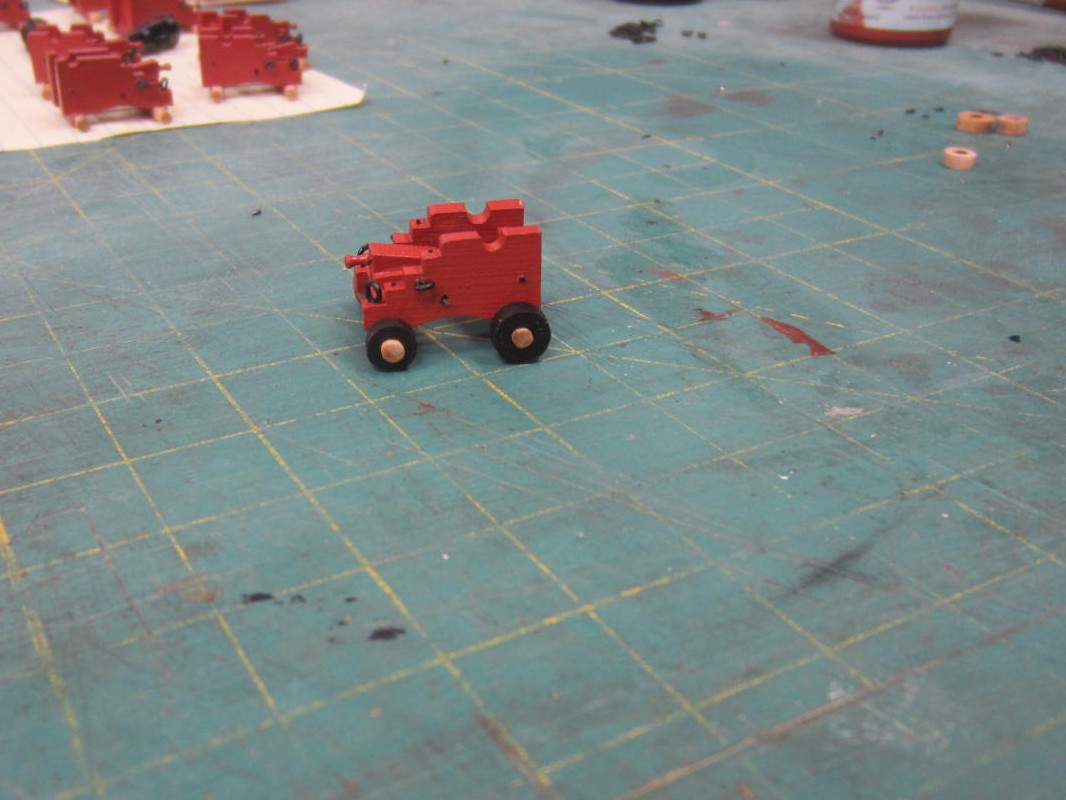
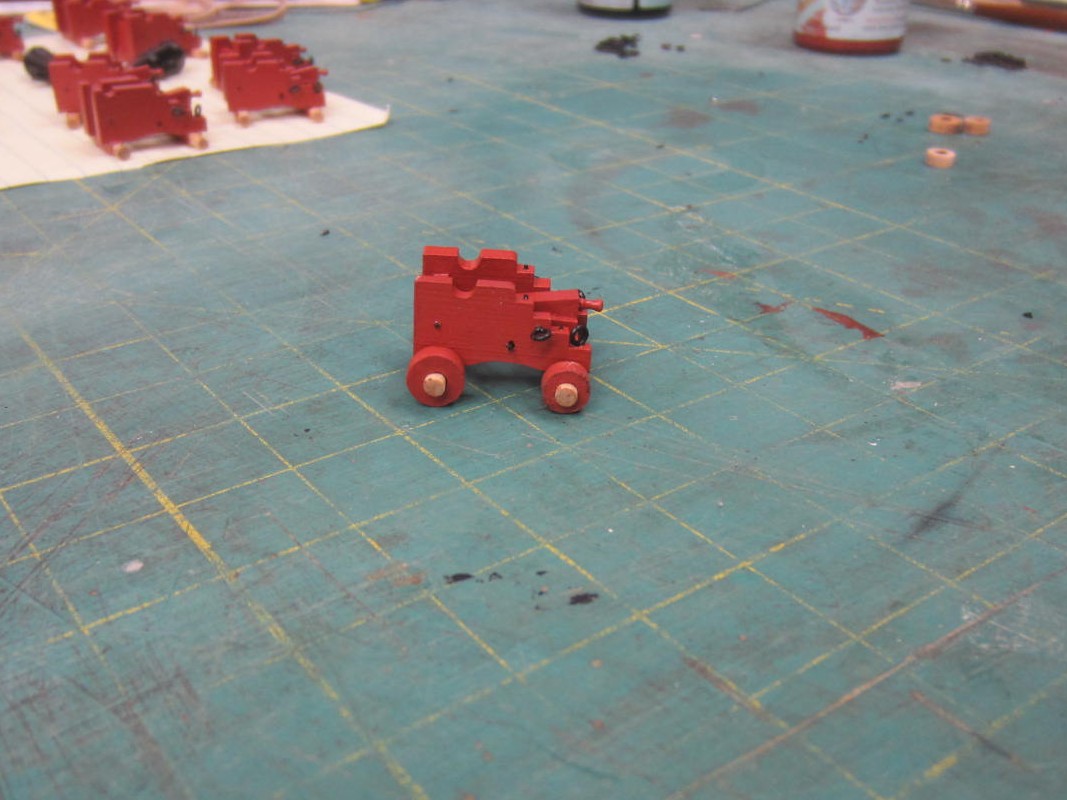
Thank you all for the welcome back and kind words. It's great to be working again.
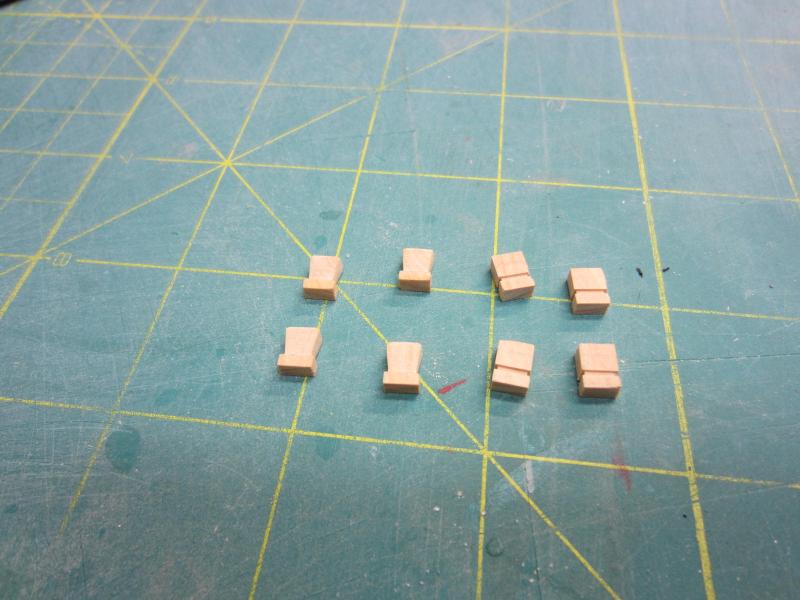
Nothing major to show but I have started building the gun carriages. It is a repetitive
task but not bad as there are only ten carronades and two 6 pounder long guns.
Here’s my progress so far.
After the carriages are complete I’ll start painting the barrels.
-
Thank you for stopping by for all the likes too.
I found out that you not only have to dust off the cobwebs on the tools and model but from the brain too.
- Ryland Craze, Erik W, gjdale and 3 others
-
6
-
-
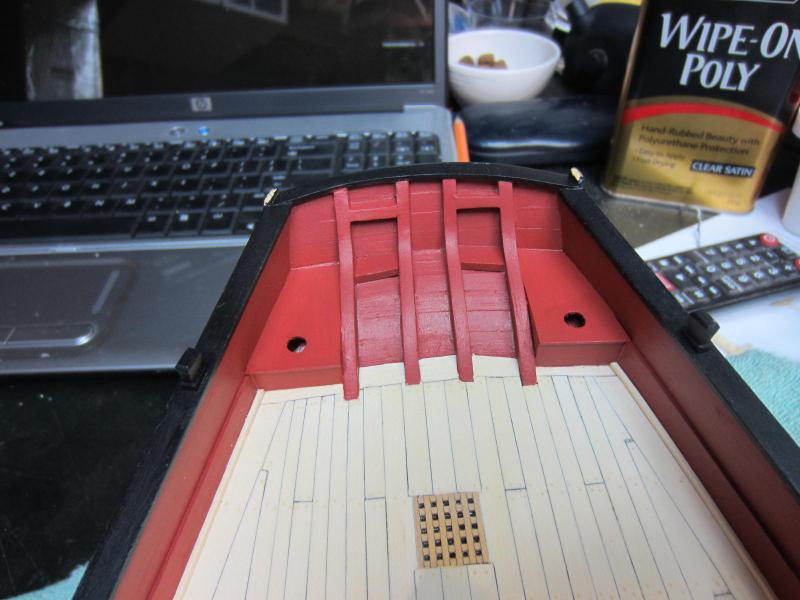
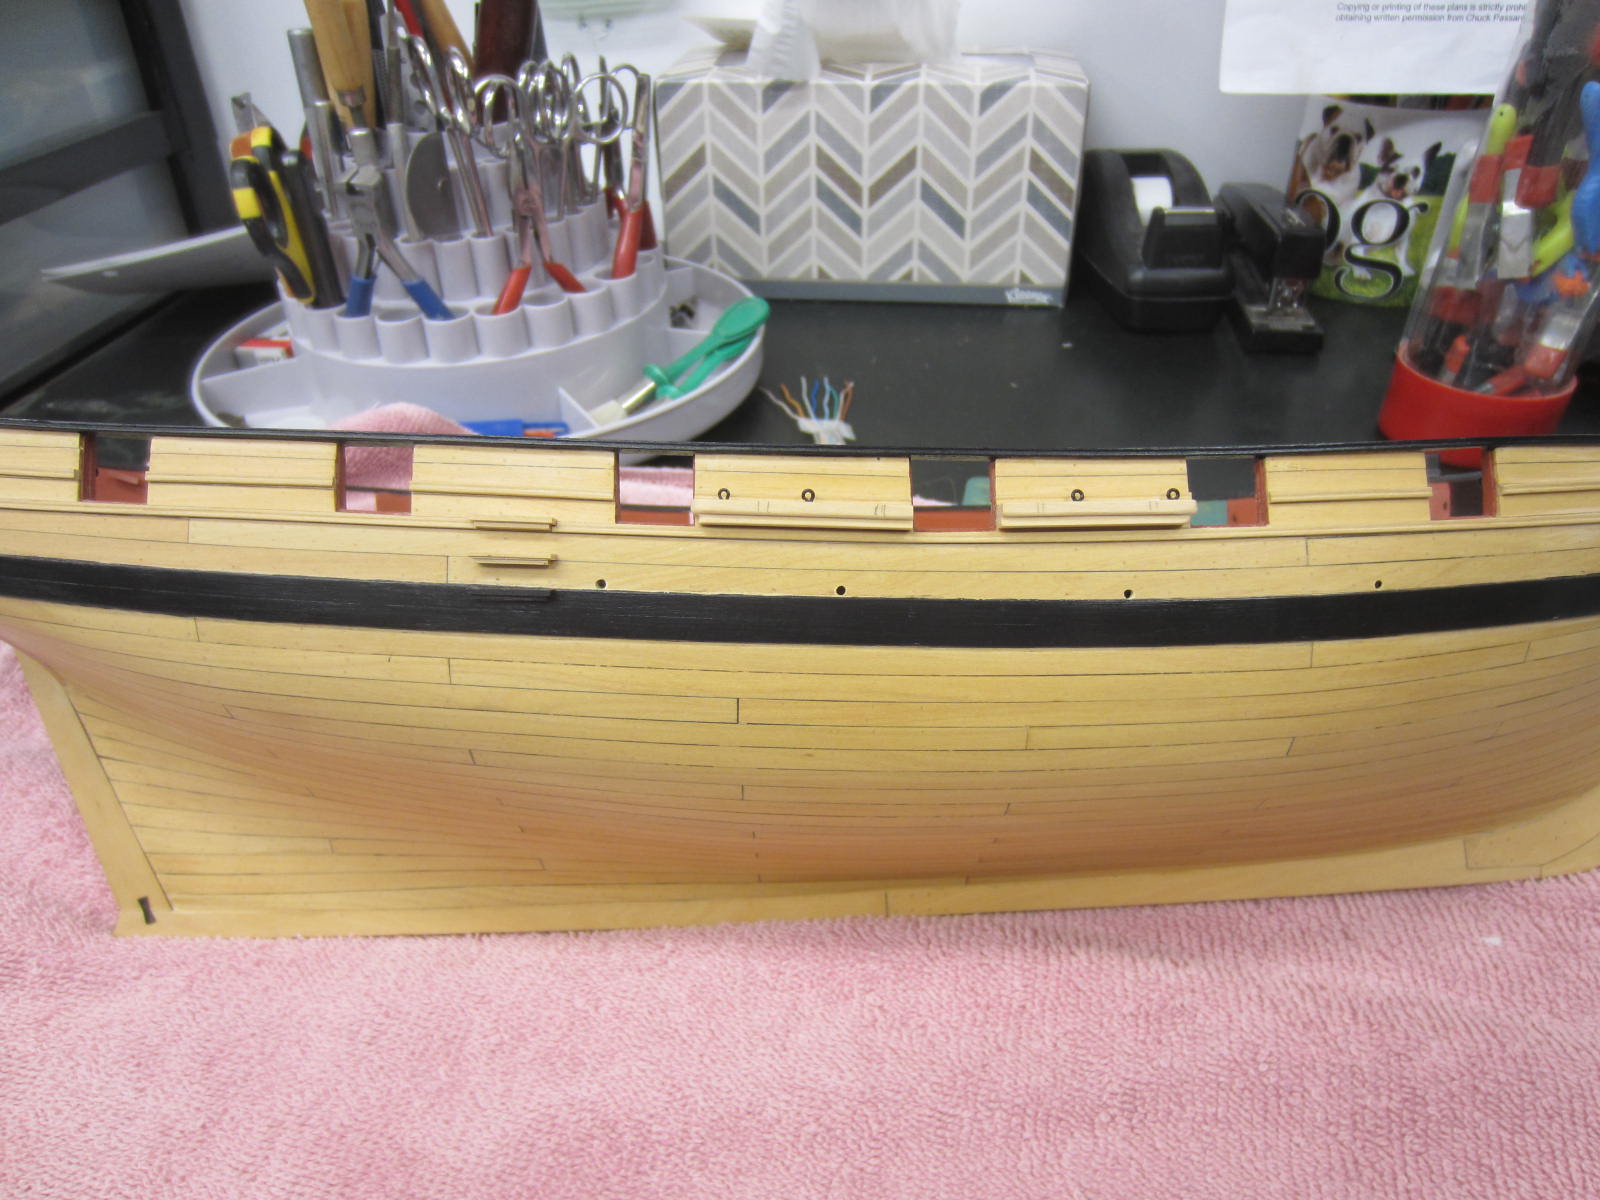
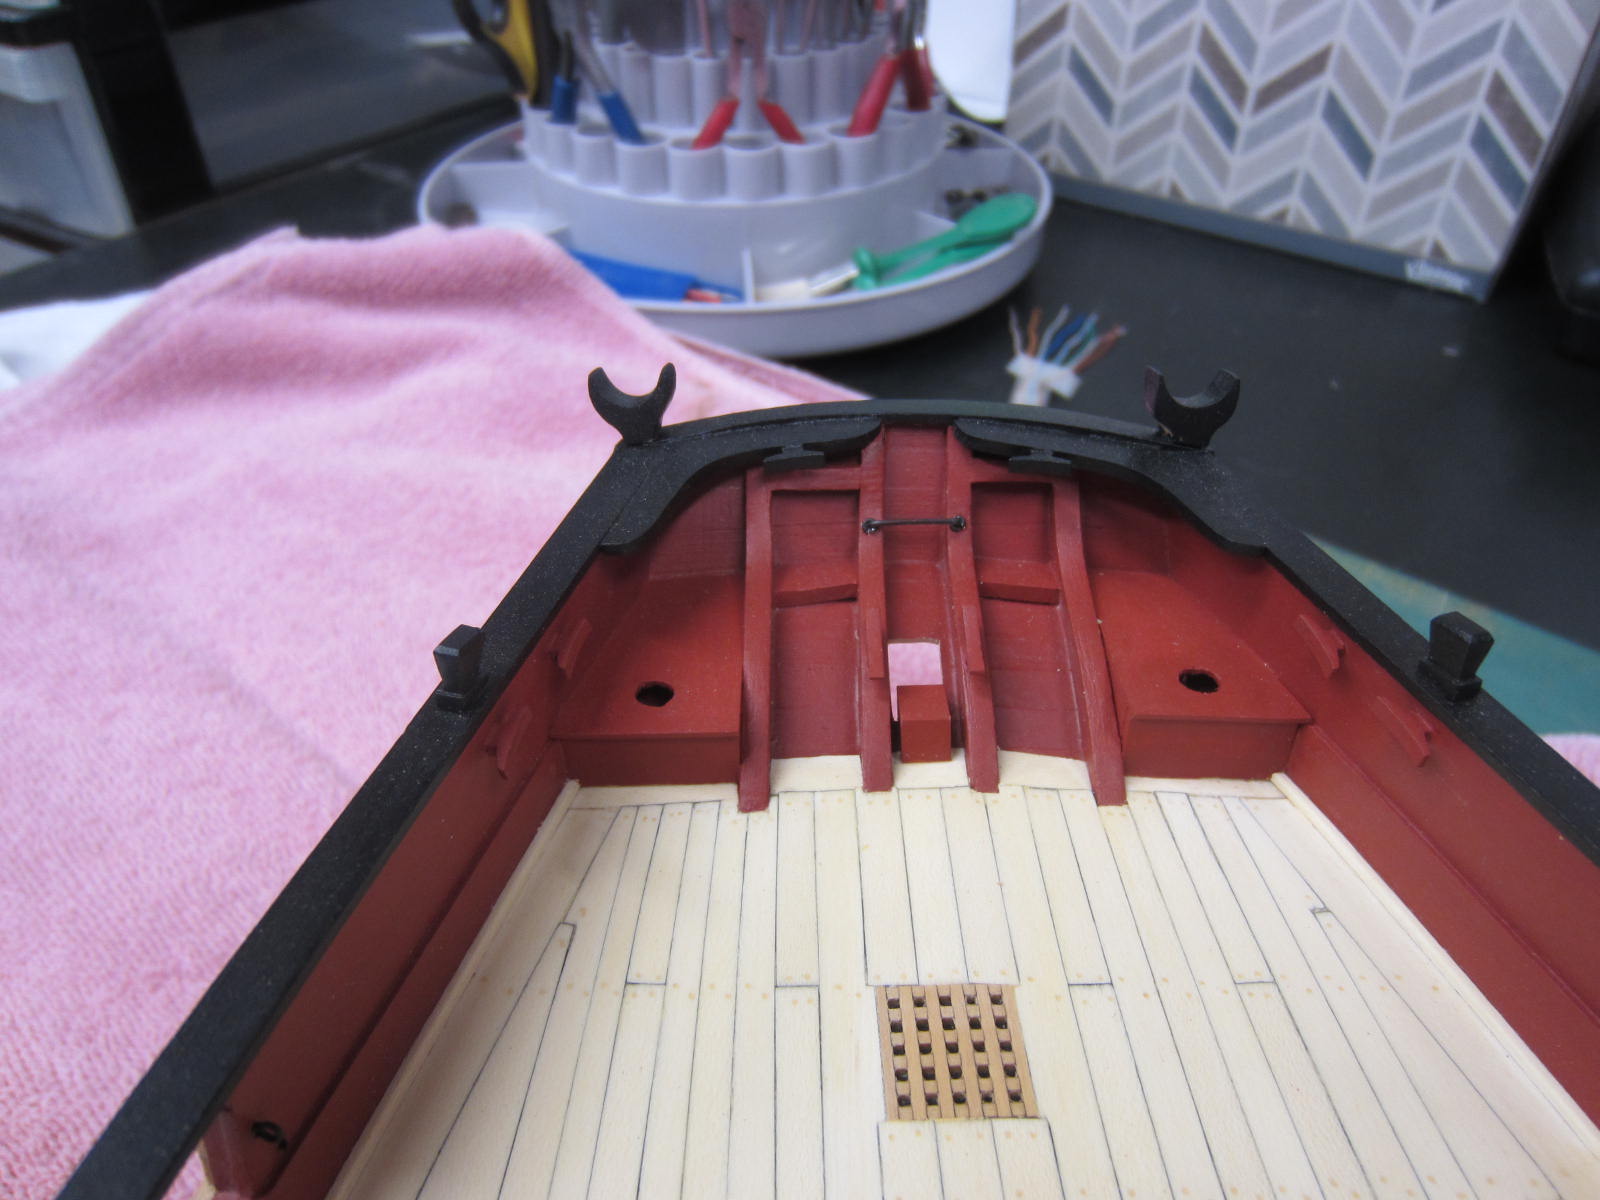
Well now the fun begins again. I’ve dusted off the plans and instructions
and have started “working” again. It really feels good to start cutting wood
and making saw dust….hack, cough sneeze. Hmmm a bit out of condition I guess.
I cut some boxwood and shaped the timberheads, added the boom crutches,
outboard ladders, transom knees, cleats and working on adding the channels.

Yippie

-
Hi Chuck,
It's was great getting caught up on all you've done while I was gone.
Wonderful workmanship and can't wait to get back to it myself!
- Chuck, WackoWolf, Stuntflyer and 5 others
-
8
-
-
-
-
Hi Dave, It was a pleasure to sit back and catch up on your build. Very nice.
- JesseLee, CaptainSteve, SawdustDave and 5 others
-
8
-
Eric, please accept my condolences on the loss of your father.
- Ryland Craze, Canute, Erik W and 3 others
-
6
-
Thanks to everyone for stopping by and all the likes.
Chris, It's nice to hear that you'll be getting a work space. Look forward to more updates.
Michael, Thanks so much.
Druxey, Much appreciated and I can't wait to start back up.
Bob, Thanks and checking on you from time to time helped with the withdrawal.
Ben, I'm glad to hear you're close to sarting to build again.
Pat, When I started stripping it I was pleasently surprised at the quality of the wood.
Grant, "Play" is what the Admiral calls it everytime I say I'm going to the shop to "work".


HMS Pegasus 1776 by Trussben - 1:48 - Swan-class sloop based on TFFM
in - Build logs for subjects built 1751 - 1800
Posted
Very nice work Ben. Glad to see you back at it.
Work sucks but does give us the funds to do what we love!