


Rustyj
-
Posts
2,516 -
Joined
-
Last visited
Content Type
Profiles
Forums
Gallery
Events
Posts posted by Rustyj
-
-
Hi Bob,
You've been busy while I was away. As usual some great workmanship and it
was a pleasure catching up on your log.
I agree making parts multiple times and the continuous sanding, test fitting and
sanding again is truly one of the pleasures.
Keep up the good work! -
Mike your workmanship is first rate . Also your pictures will be a great reference if I ever get there!
- Stuntflyer, Canute, Jack12477 and 1 other
-
 4
4
-
-
-
Very nice Mike. Wanna make a bunch more?
- mtaylor, Stuntflyer, Ryland Craze and 2 others
-
5
-
Thanks Pat but it's really a lot easier when using Chucks laser cut parts!
")
Also thanks for all the likes!
- Ryland Craze, mtaylor and Canute
-
3
-
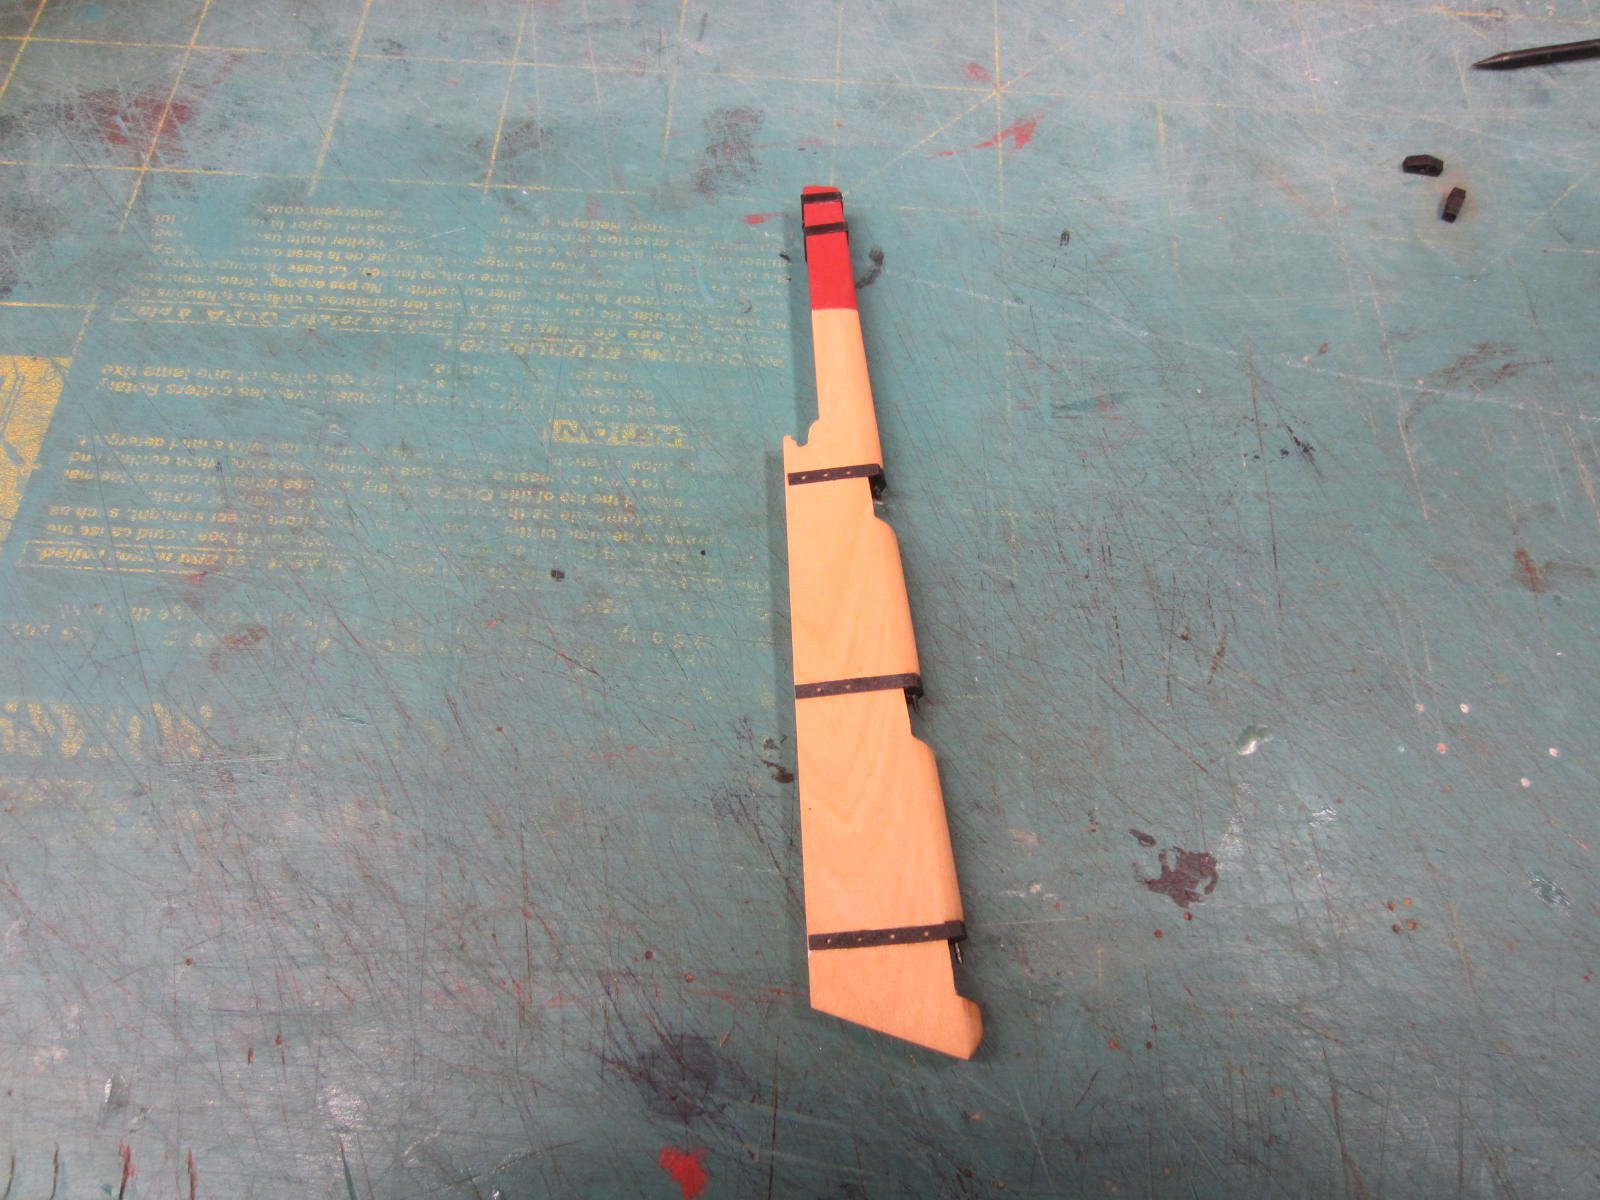
It’s time for a long overdue up date. Next up was the rudder.
Like other parts I used Chucks Syren laser cut rudder.
The rudder is tapered as it works its way aft.
Also the forward edge is chamfered on both sides.

The pintels and grudeons were made made from another Syren kit. The bolts are simulated with 24 gauge wire.

Time to make some masts and yards!
- tlevine, Tigersteve, gjdale and 22 others
-
25
-
Hi Bob, Well done. I've always admired your ability to adapt and correct "technical" issues.
- Canute, Elijah and Stuntflyer
-
3
-
Hi Chuck, Pat Bob and Grant. Thanks so much for the kind words.
And thanks everyone for all the likes too!
- Canute, mtaylor and Ryland Craze
-
3
-
Well worth the wait Chris!
-
-
-
-
-
-
-
Hi All,
Still slowly rigging the cannon. I’m so glad there are only 12!
As a distraction I assembled the elm tree pumps.
Again another great mini kit from Chuck.
The laser parts were a life saver.
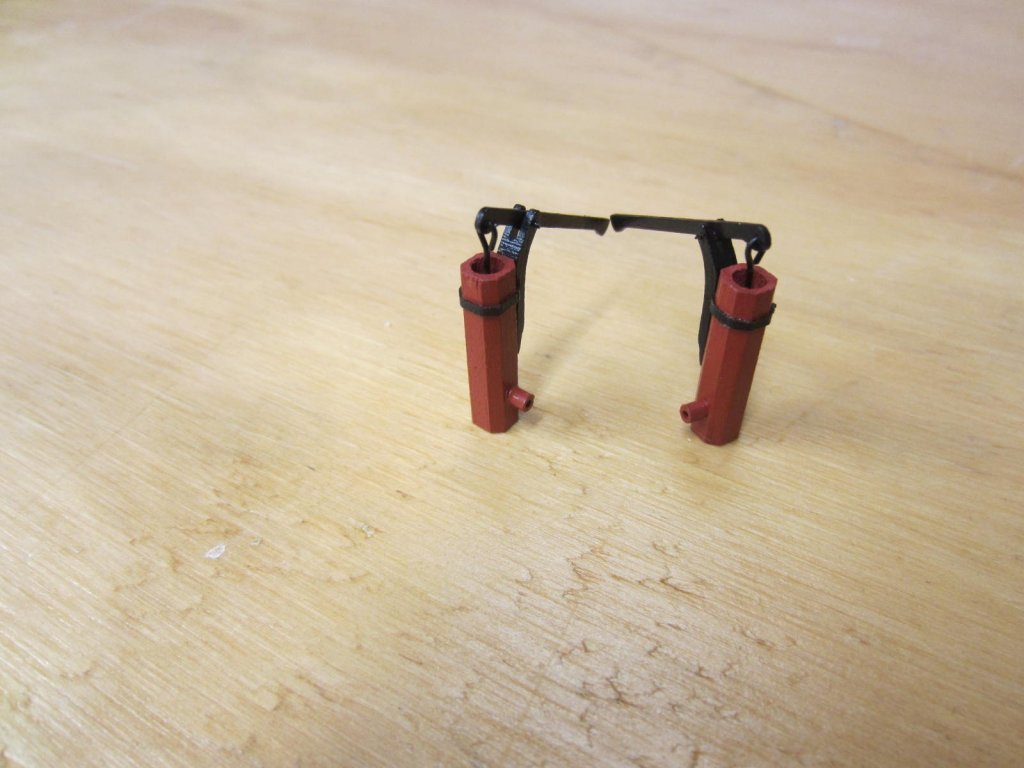

I will hold off on placing until after I finish rigging the guns.
They should be safer that way.
- mmdd, Tigersteve, BANYAN and 16 others
-
19
-
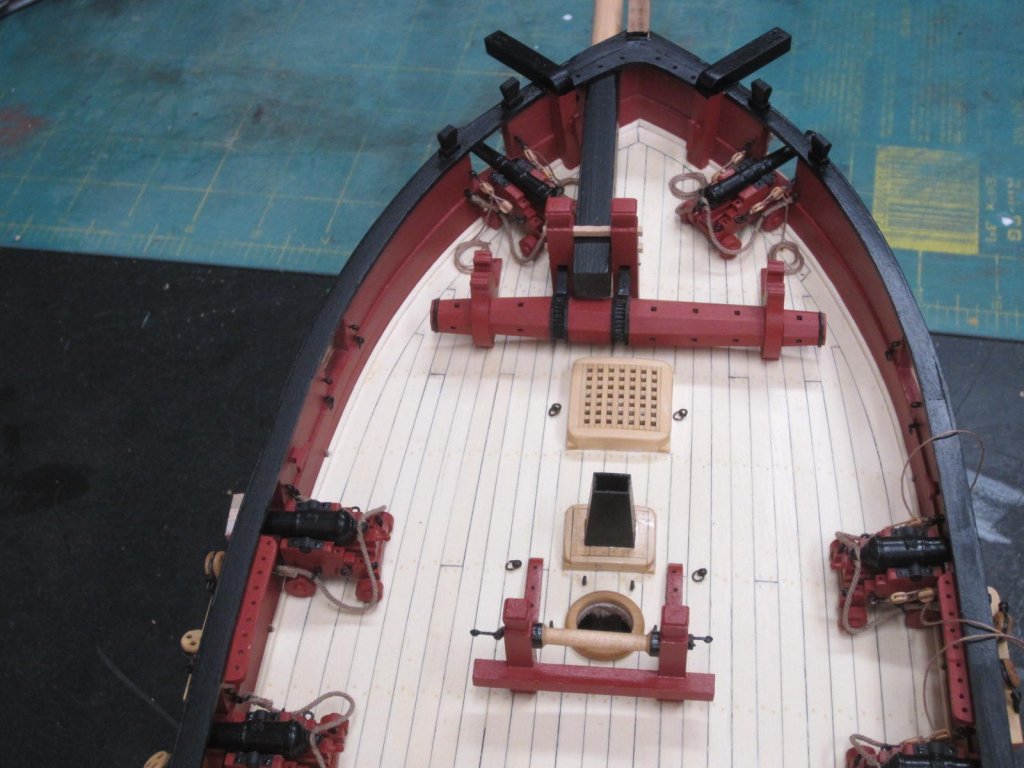
Hi All,
Time for some updating.
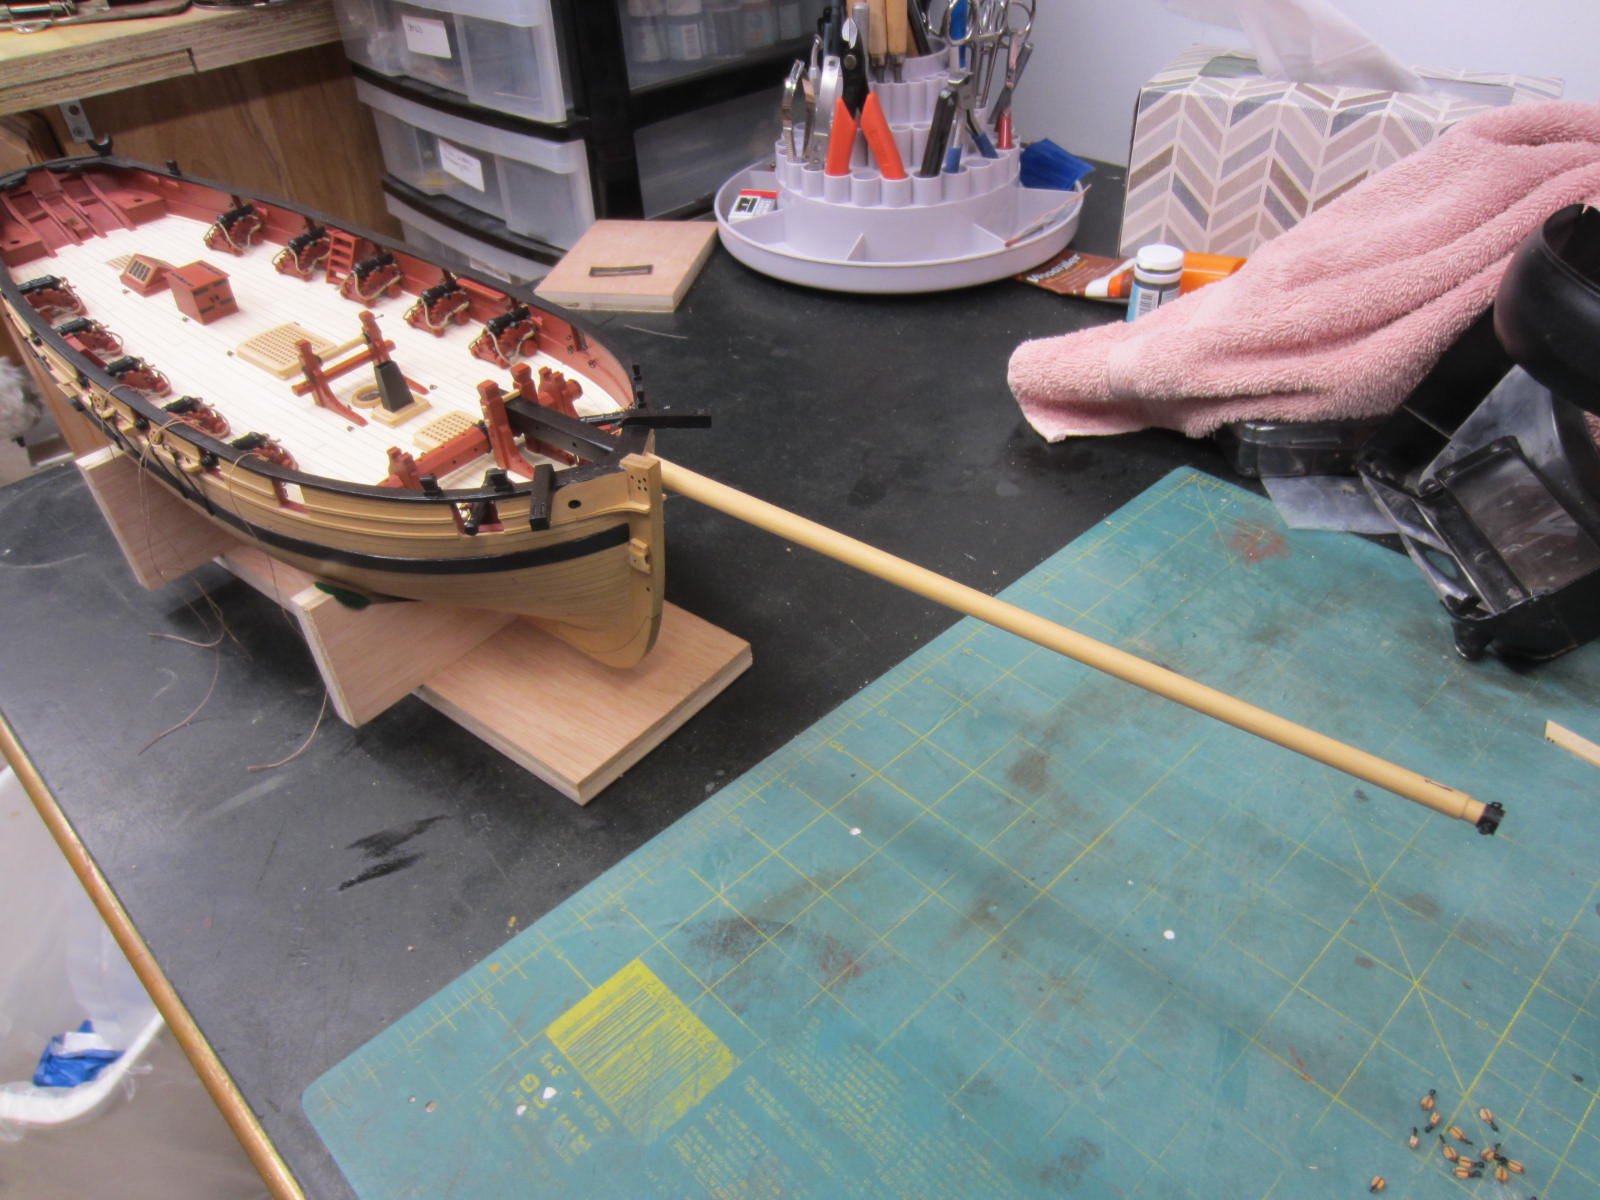
I took a break from rigging the cannon and seeing that I’d made the bow sprite I figured I should put in place.
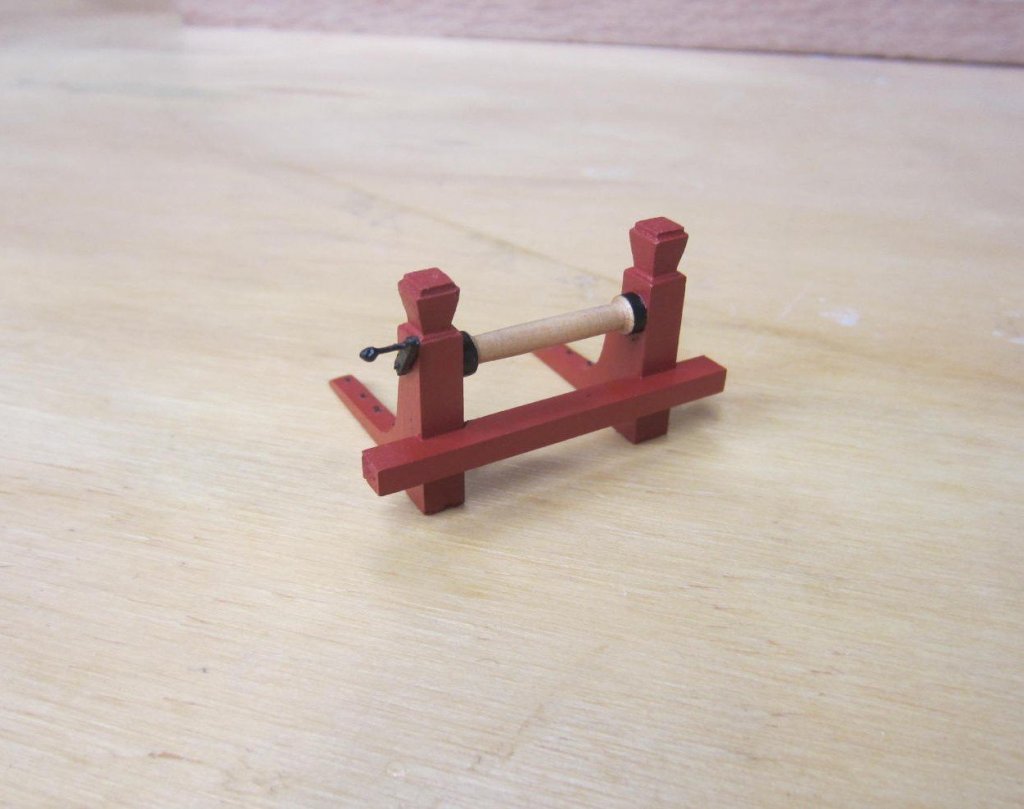
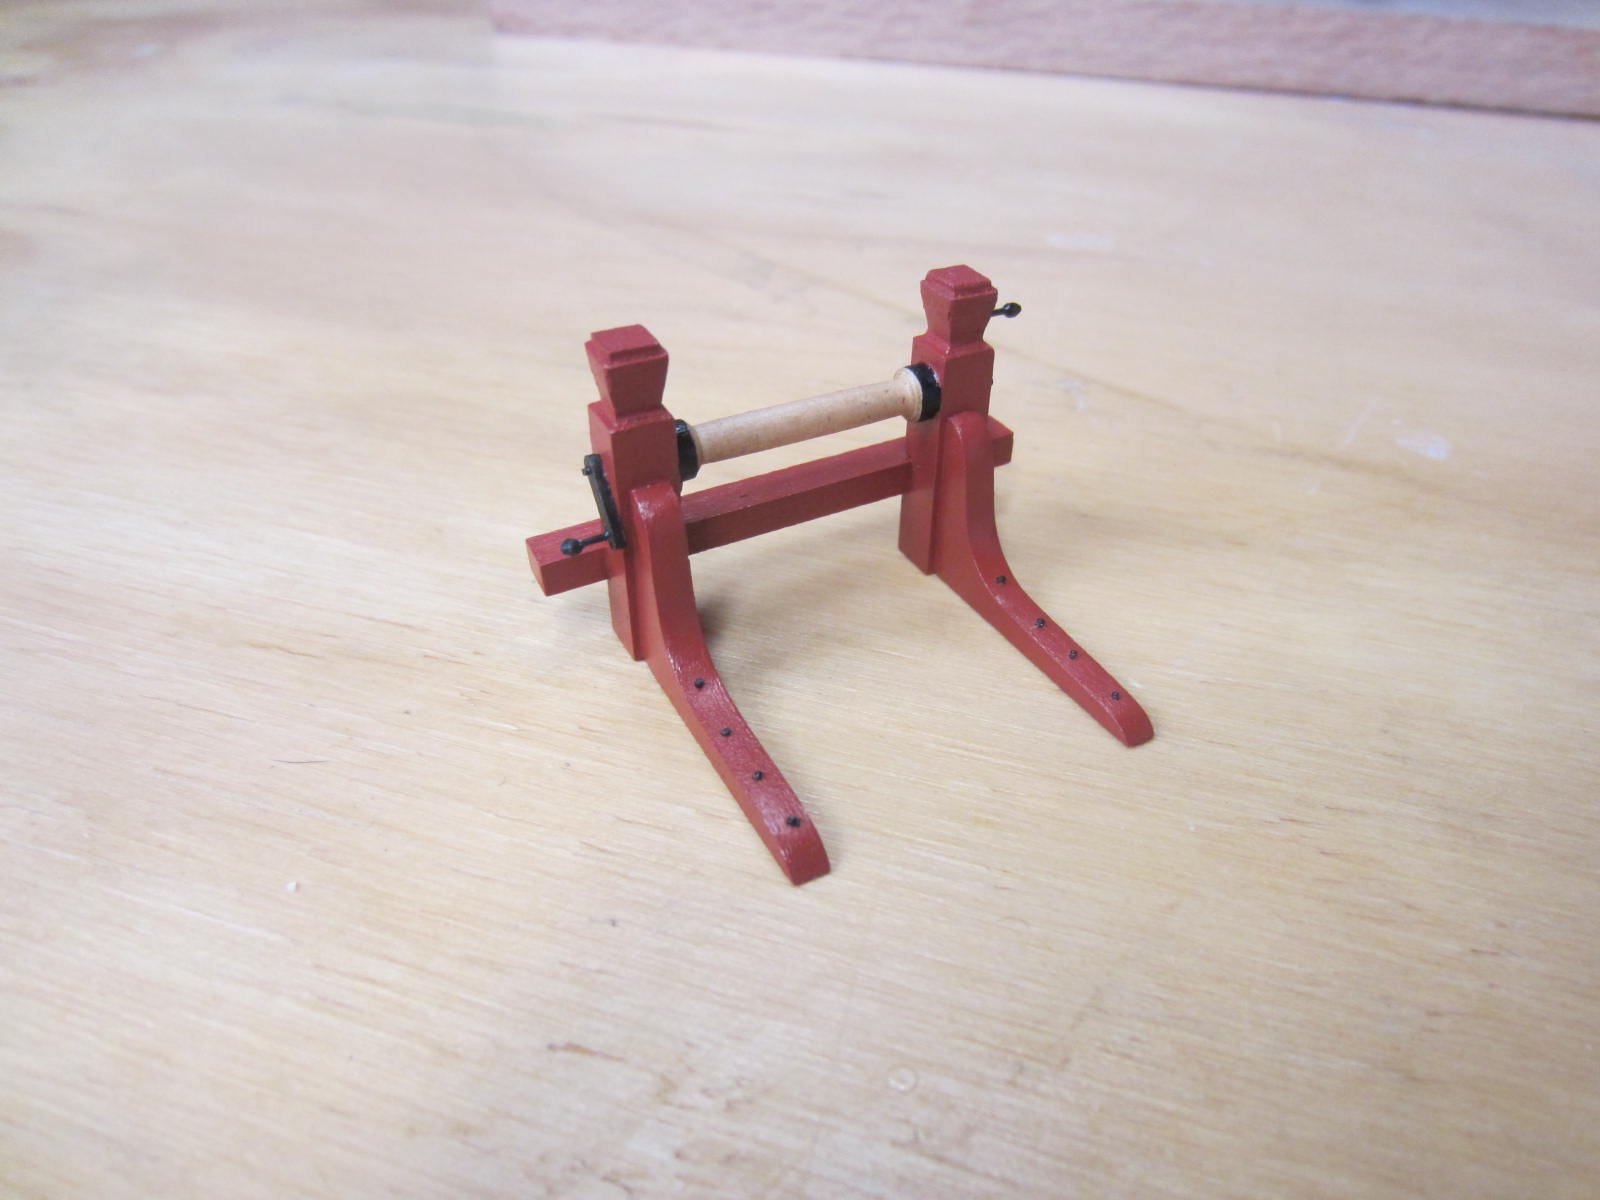
I made the bowsprit step from Chuck’s mini kit. It was of, course, a pleasure to build and went together like a dream.

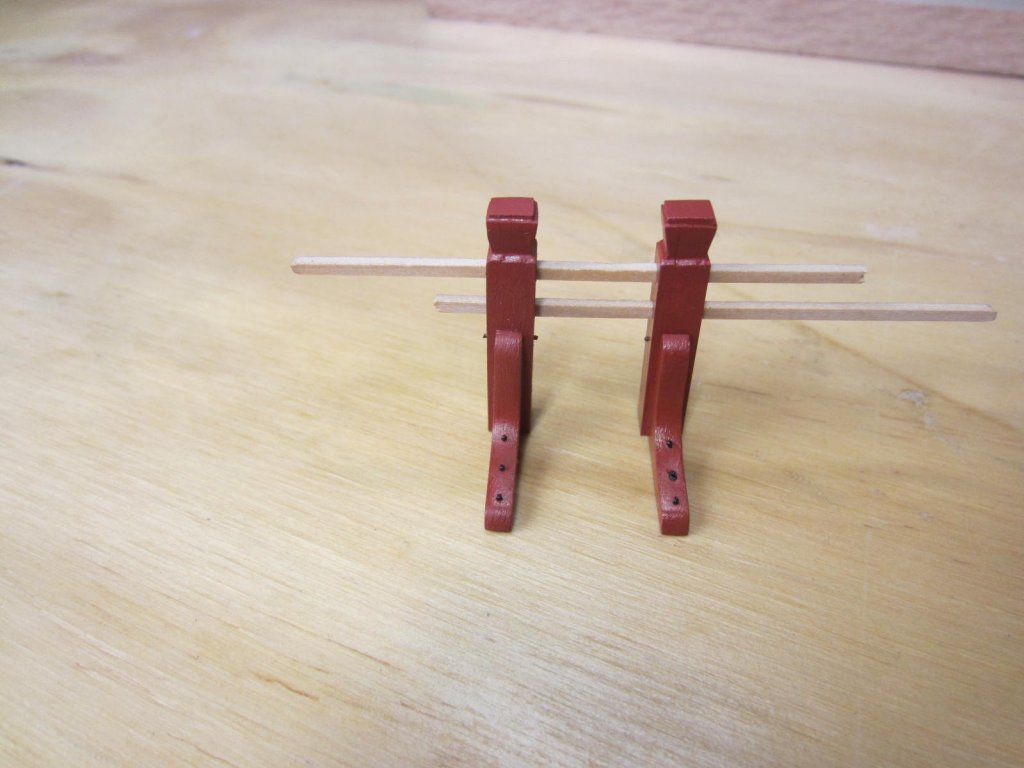
The winch on the other hand was scratch built from the plans. There were a few do over’s and the scrap bin is a bit fuller but success was finally achieved.

And here is it all in place.
I guess it's back to stropping blocks and finishing up the cannon rigging.
-
That's great. Thanks for the detailed explanation and pictures.
- Canute, mtaylor and Stuntflyer
-
3
-
Thanks Joe. Yes there is always so much to do and way too little time.
Thanks Pat, always appreciated.
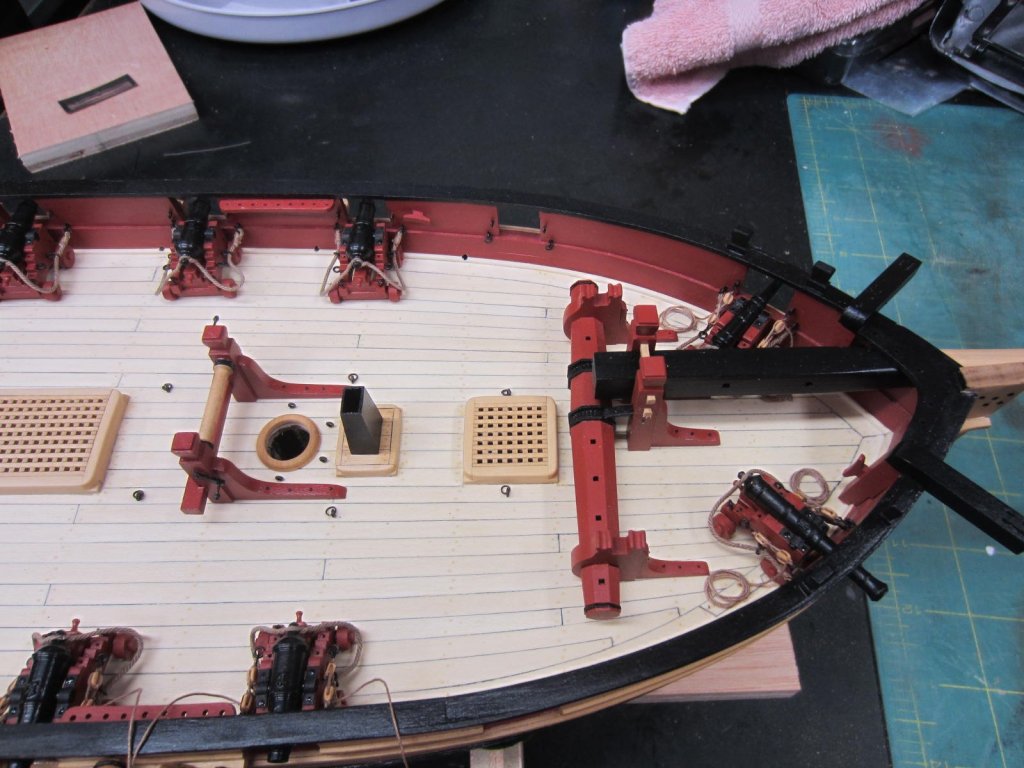
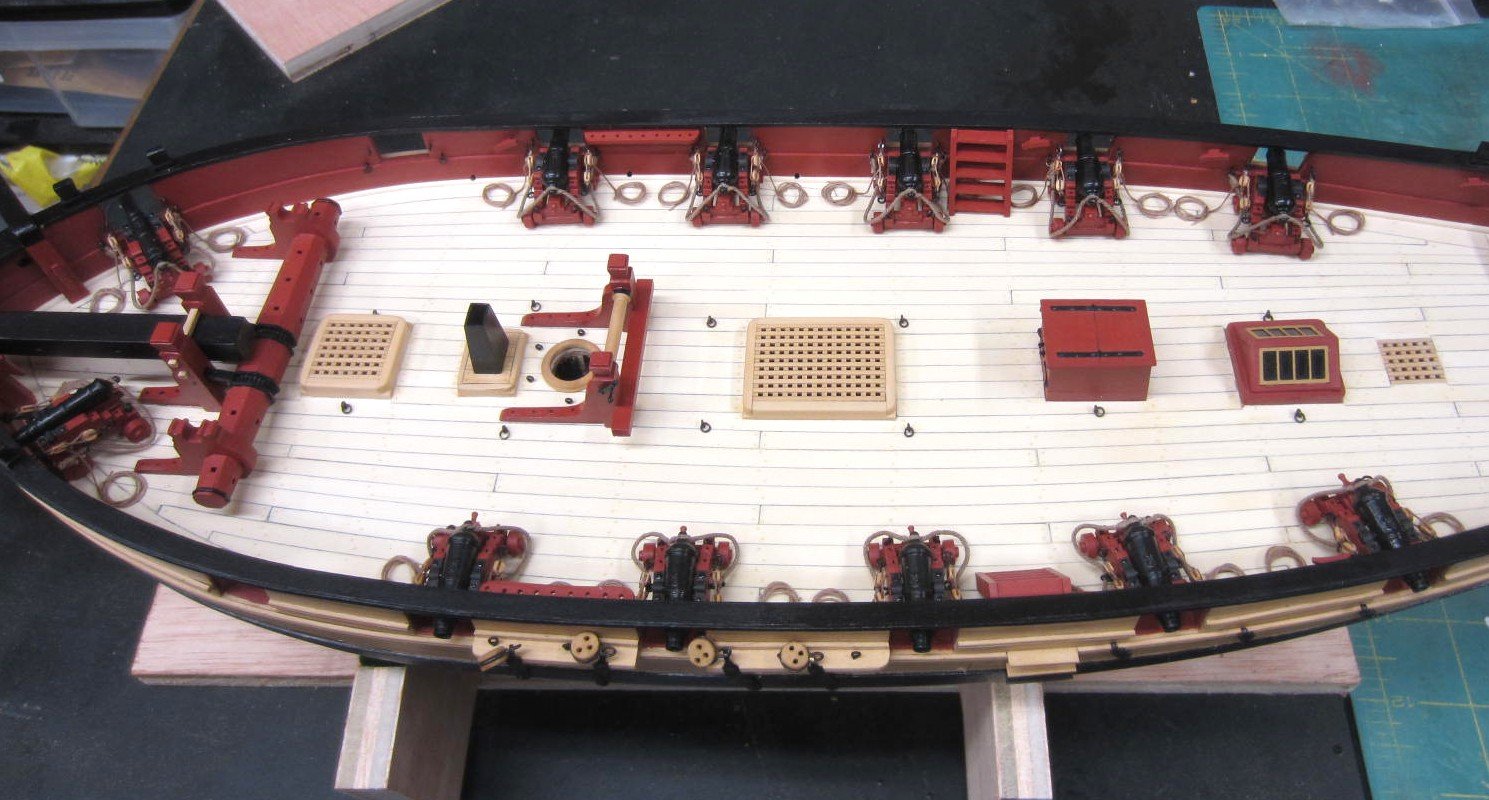
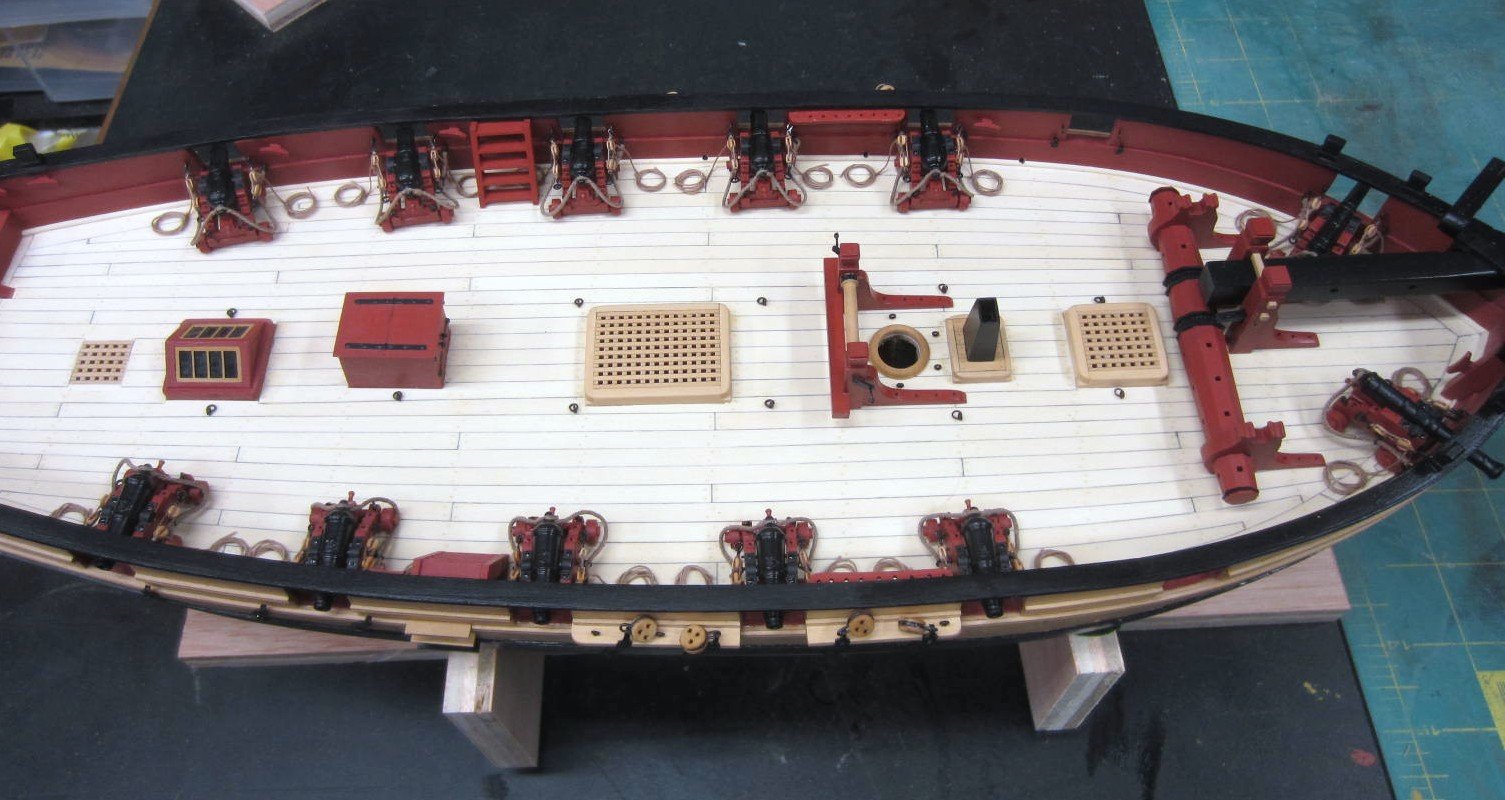
I've completed the breeching ropes and installed the rest of the guns.
Also you can see the chimney has been added too.
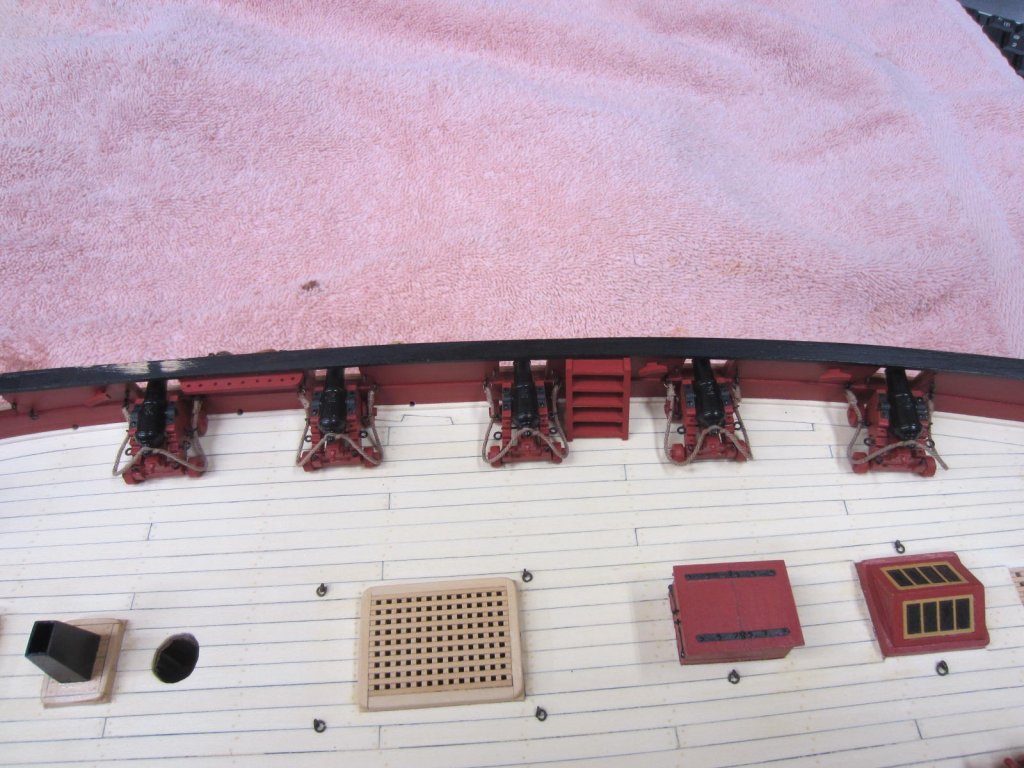
Now I have to do the gun tackles.
You will also notice that there are numerous touch ups needed!
Thanks for stopping by.
- Captain Poison, coxswain, BANYAN and 18 others
-
21
-
That is a truly a first rate planking job. Very well done.
And yes touch ups seem to continue right up to the end!
- JesseLee, mtaylor, Stuntflyer and 5 others
-
8
-
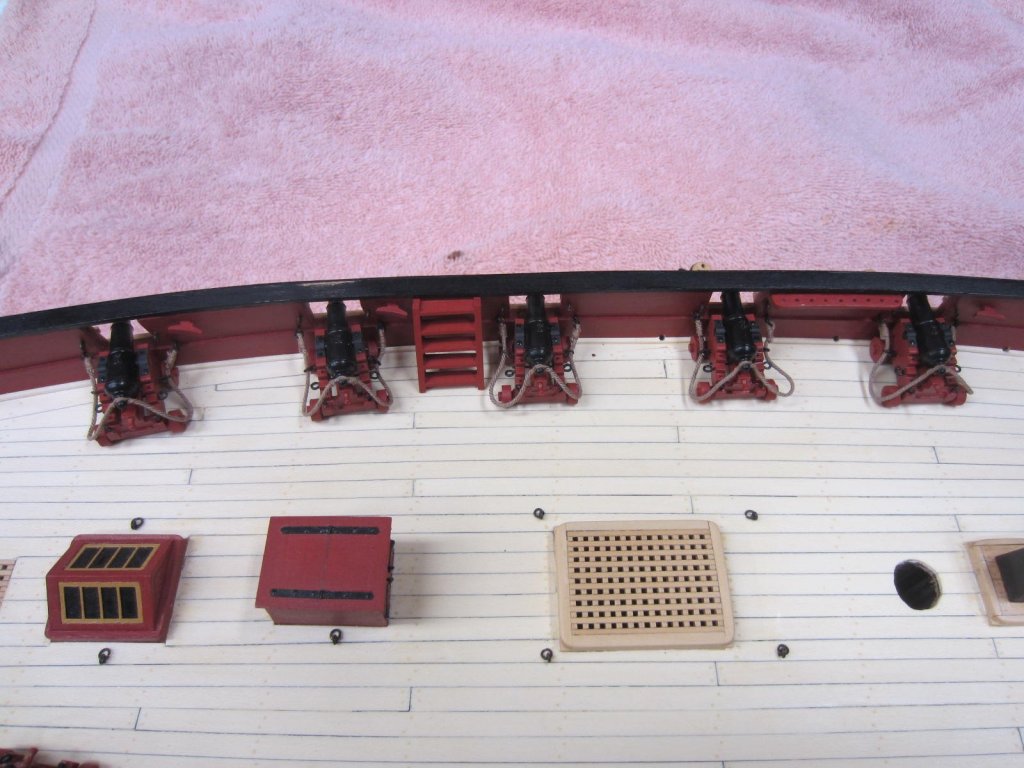
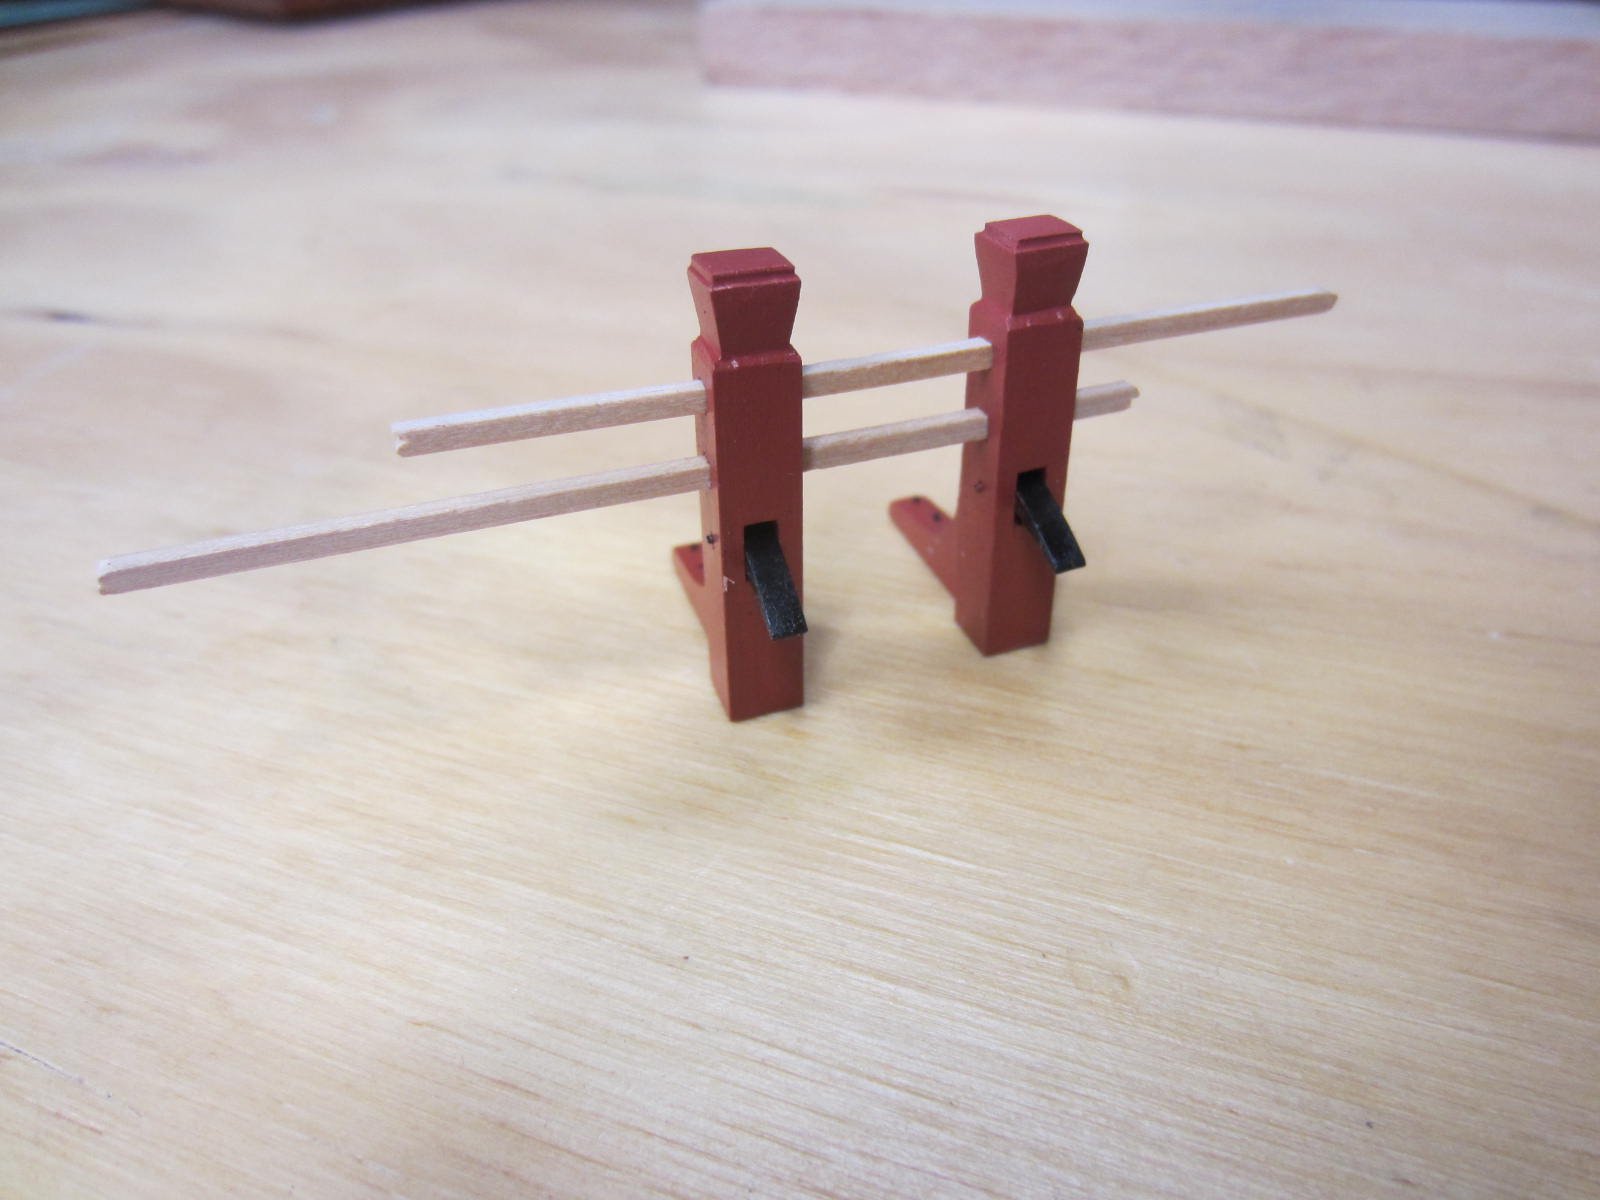
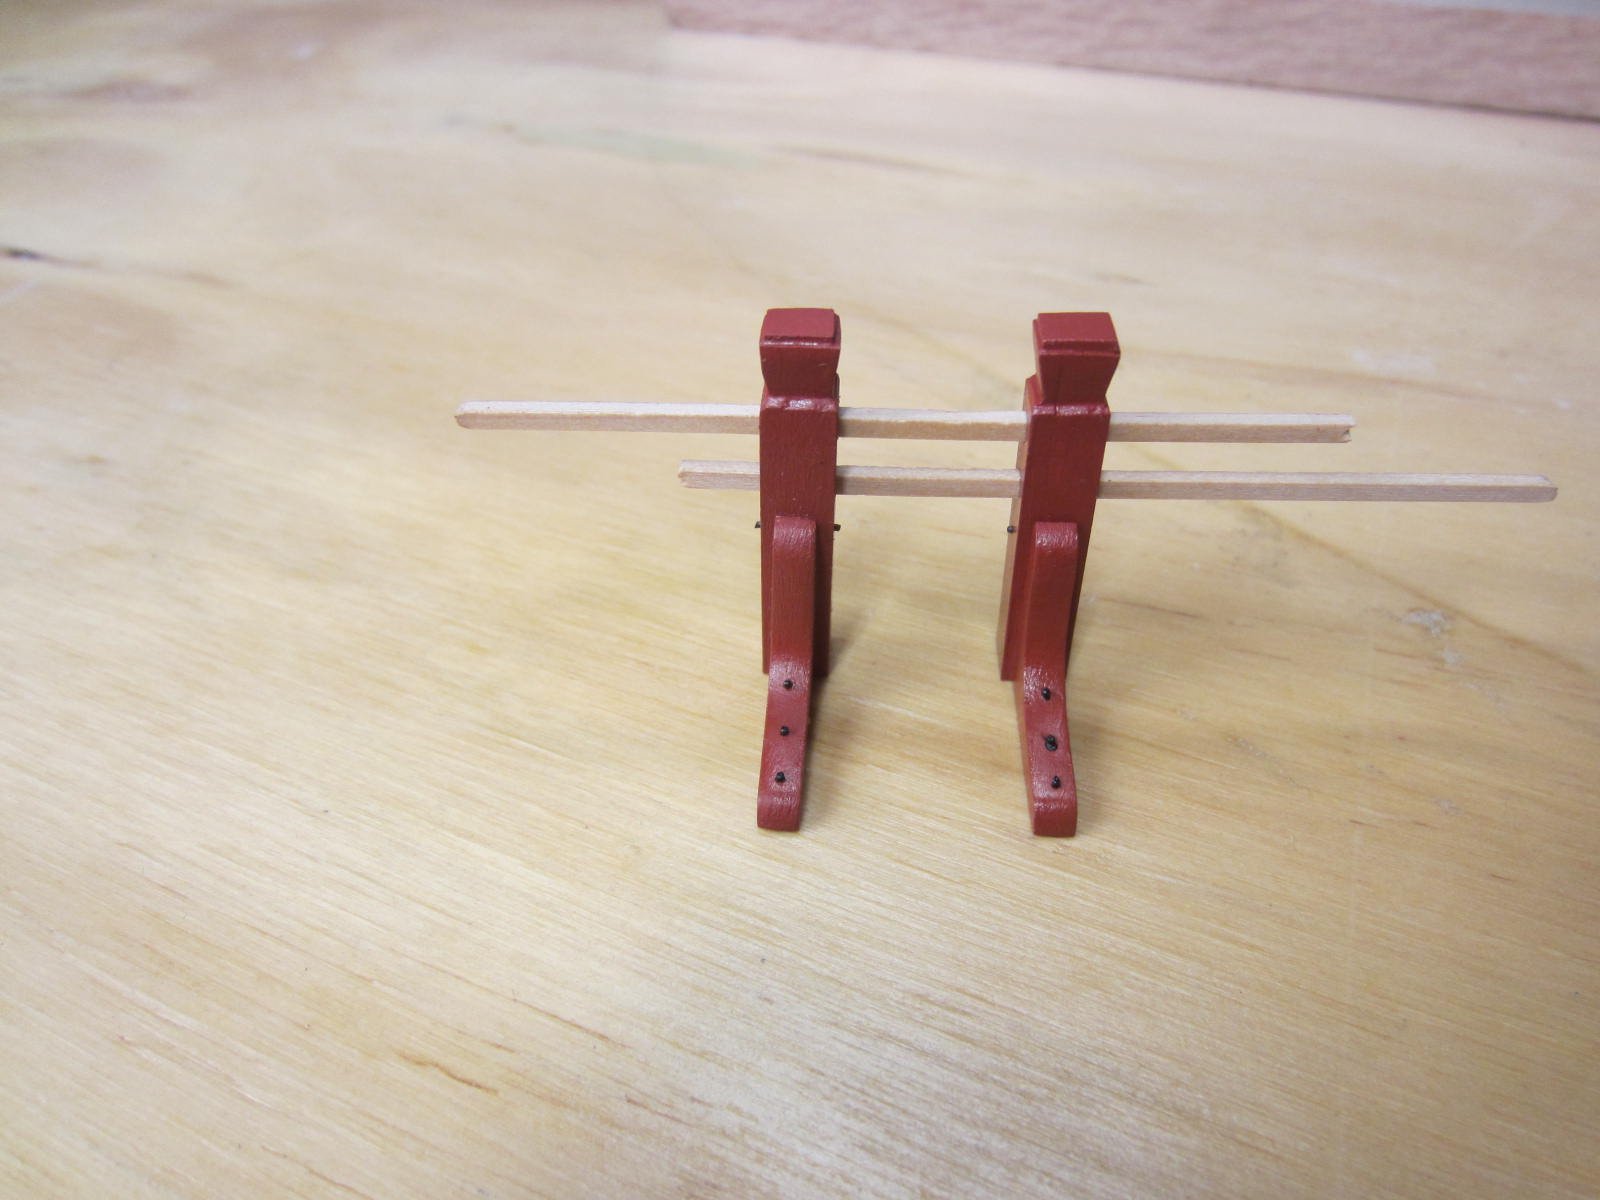
While rigging the breech ropes I’ve also been working on the offending pin rail. And since I was
re-doing that I figured that I needed to make the bowsprit so I could make the proper placement.
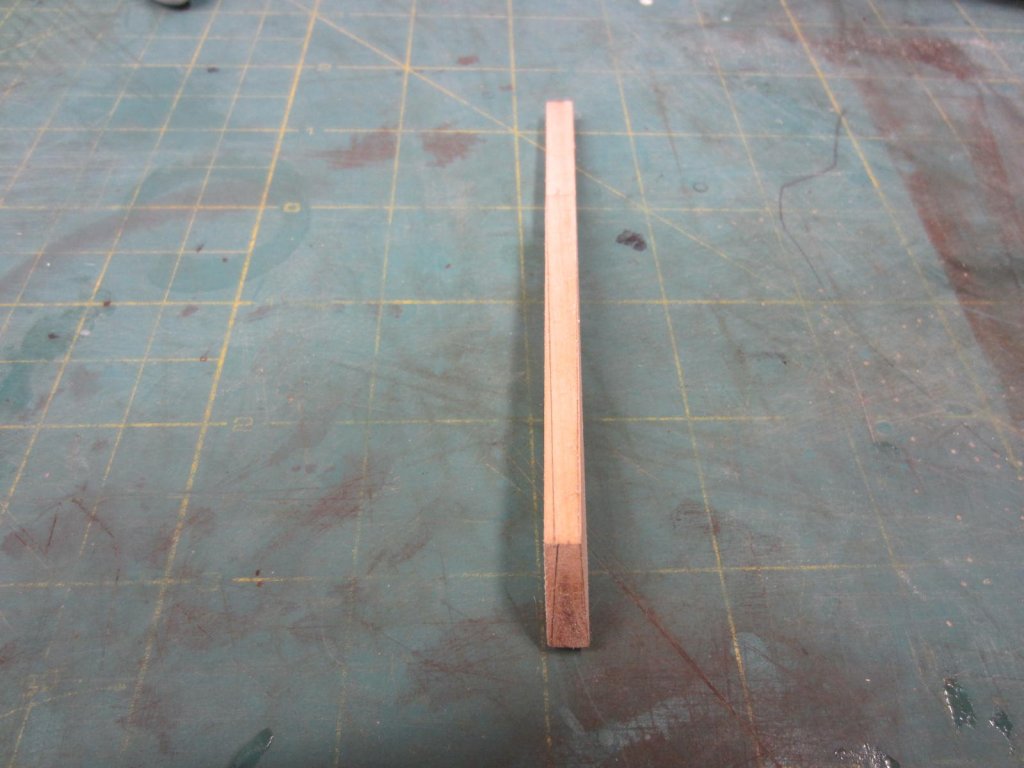
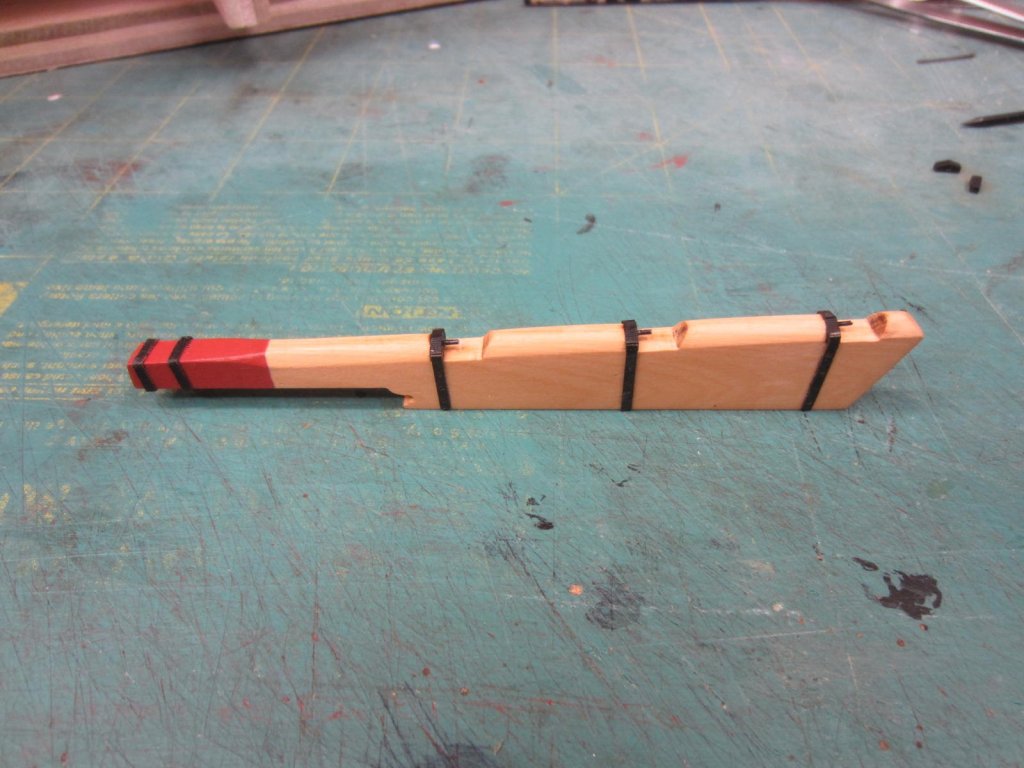
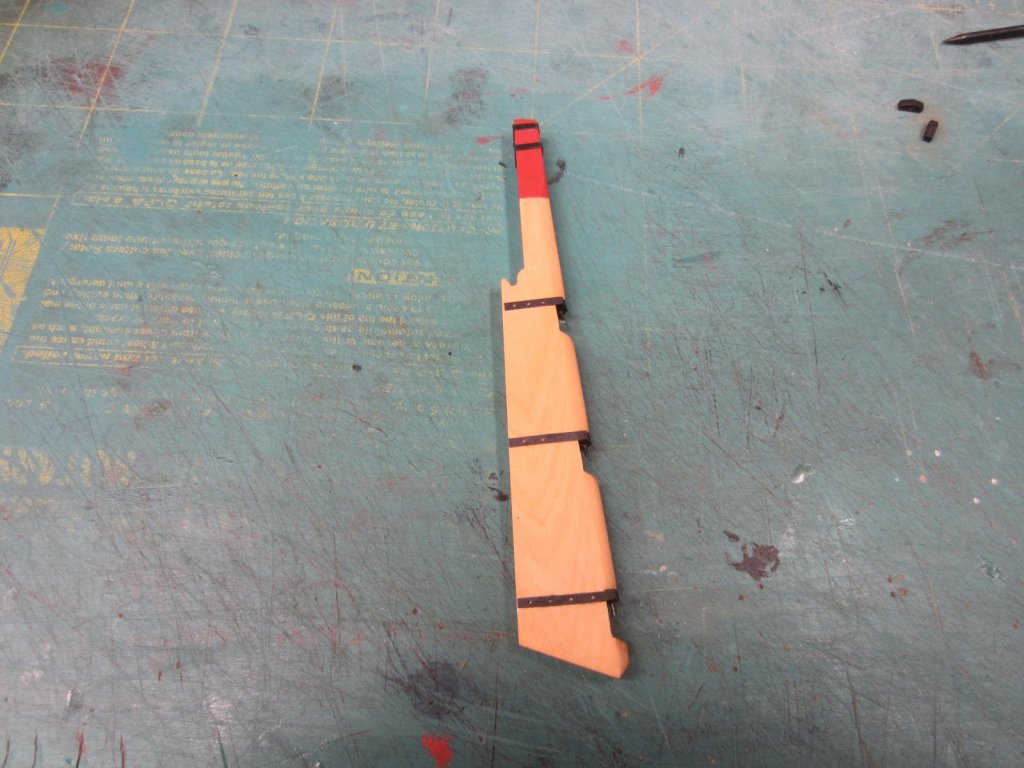
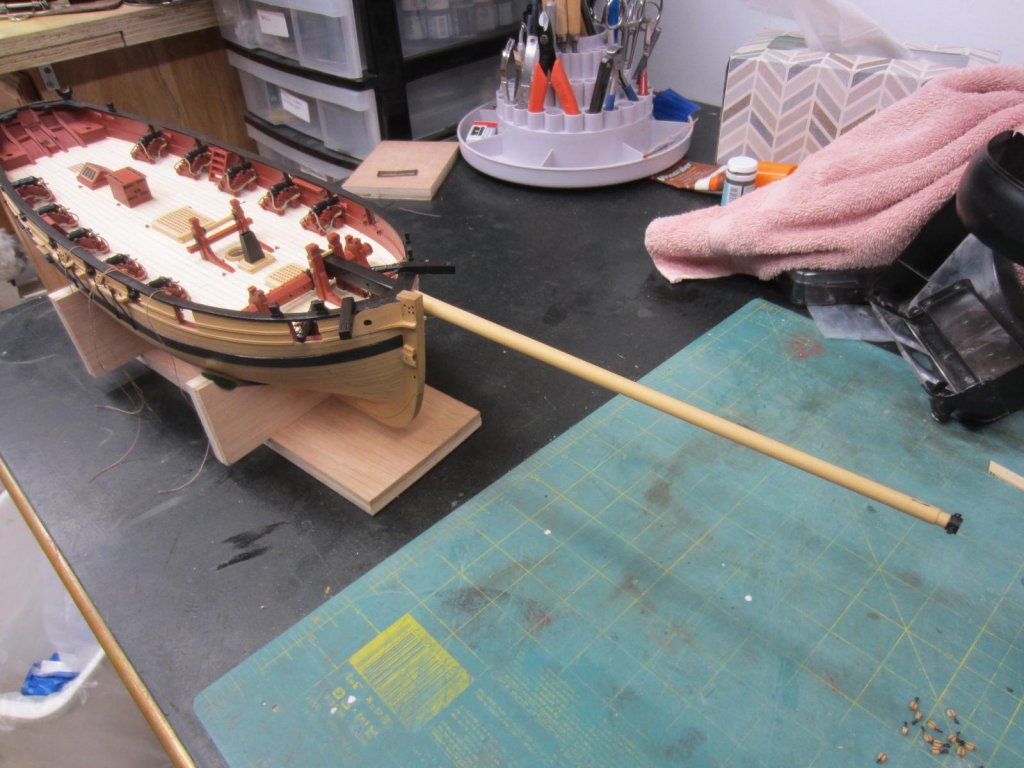
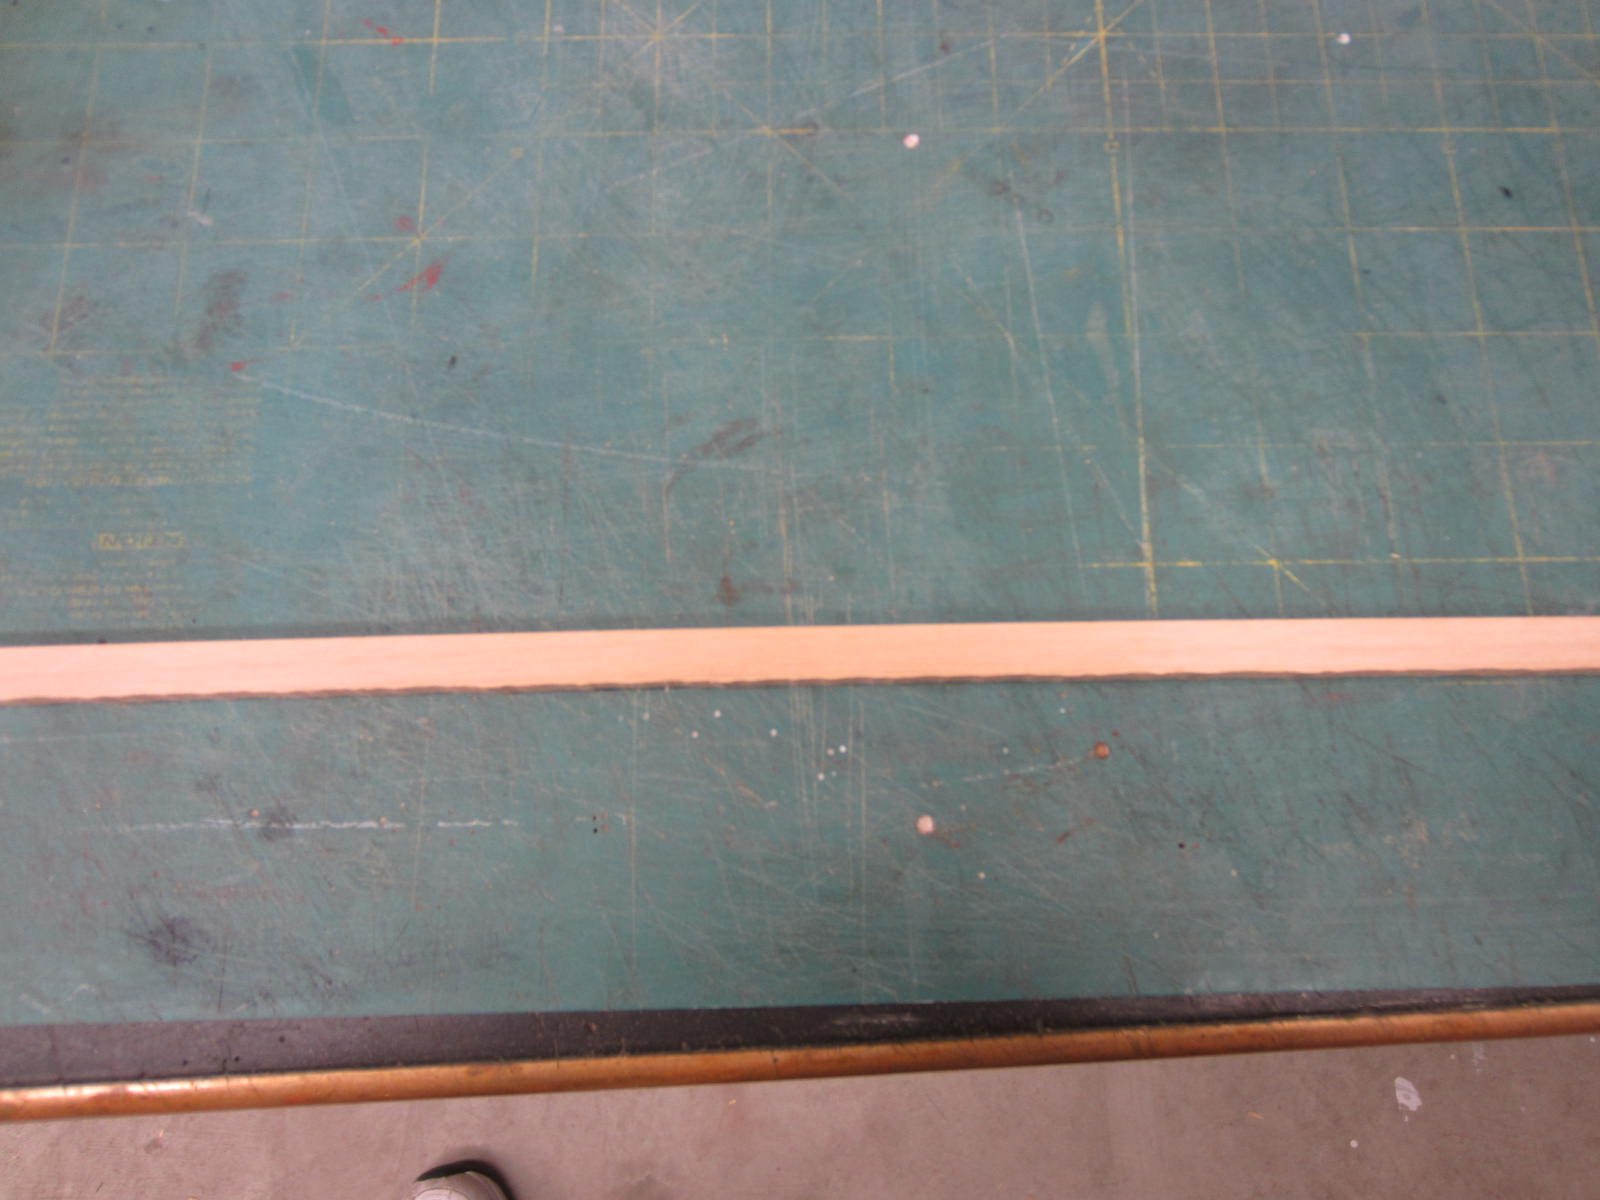
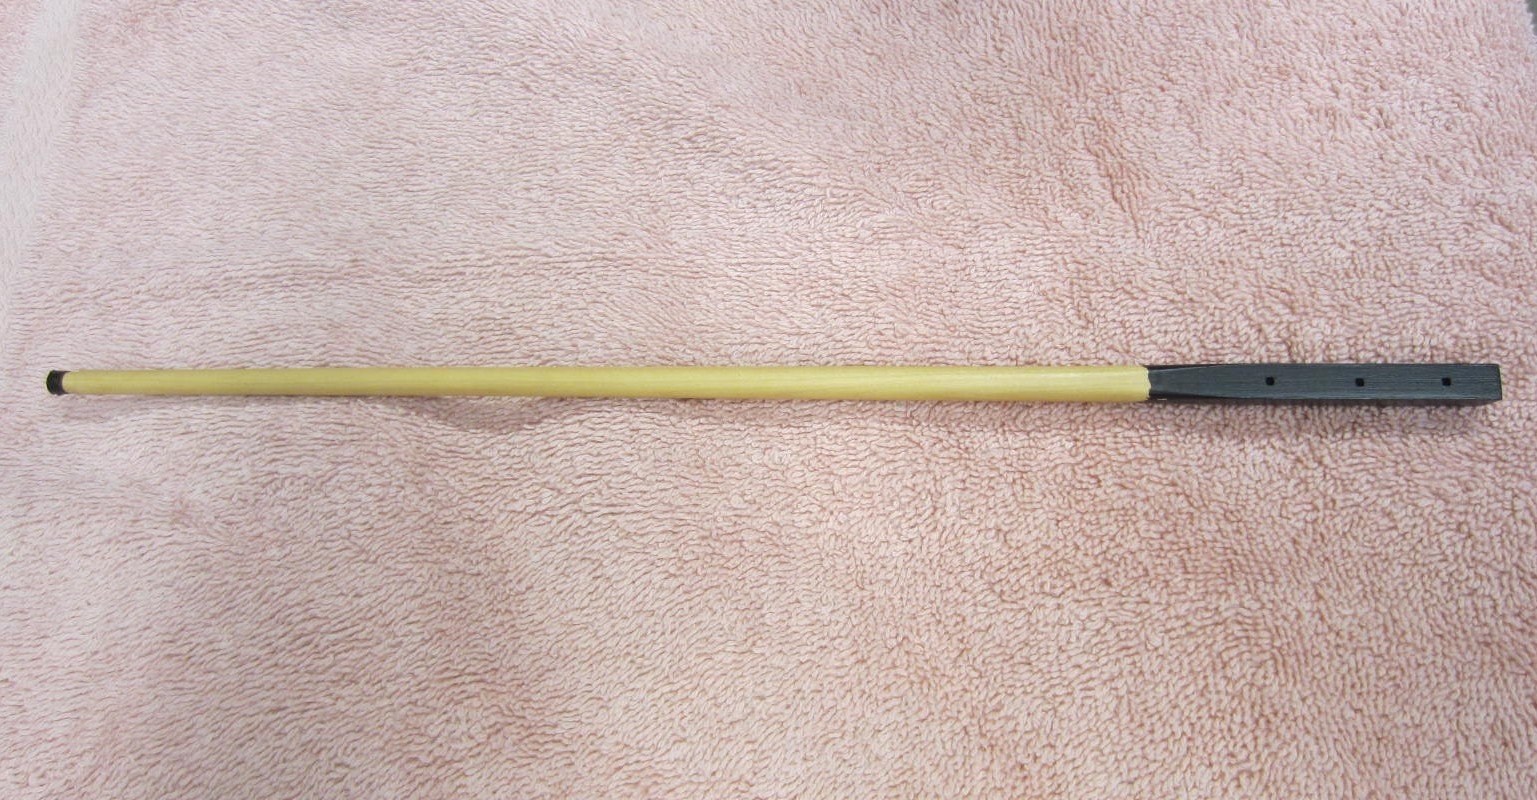
The bowsprit was turned from 5/16” square boxwood.

After I marked off the bowsprit in the 7/10/7 ratio and trimmed it to an octagon. I then chucked it
in the lath and slowly turned it to the desired size. Here it’s painted and ready for the 4 eye bolts.

The bowsprit hole in the bulwarks was enlarged to accept the bowsprit and then I could determine
the correct height of the pin rail.

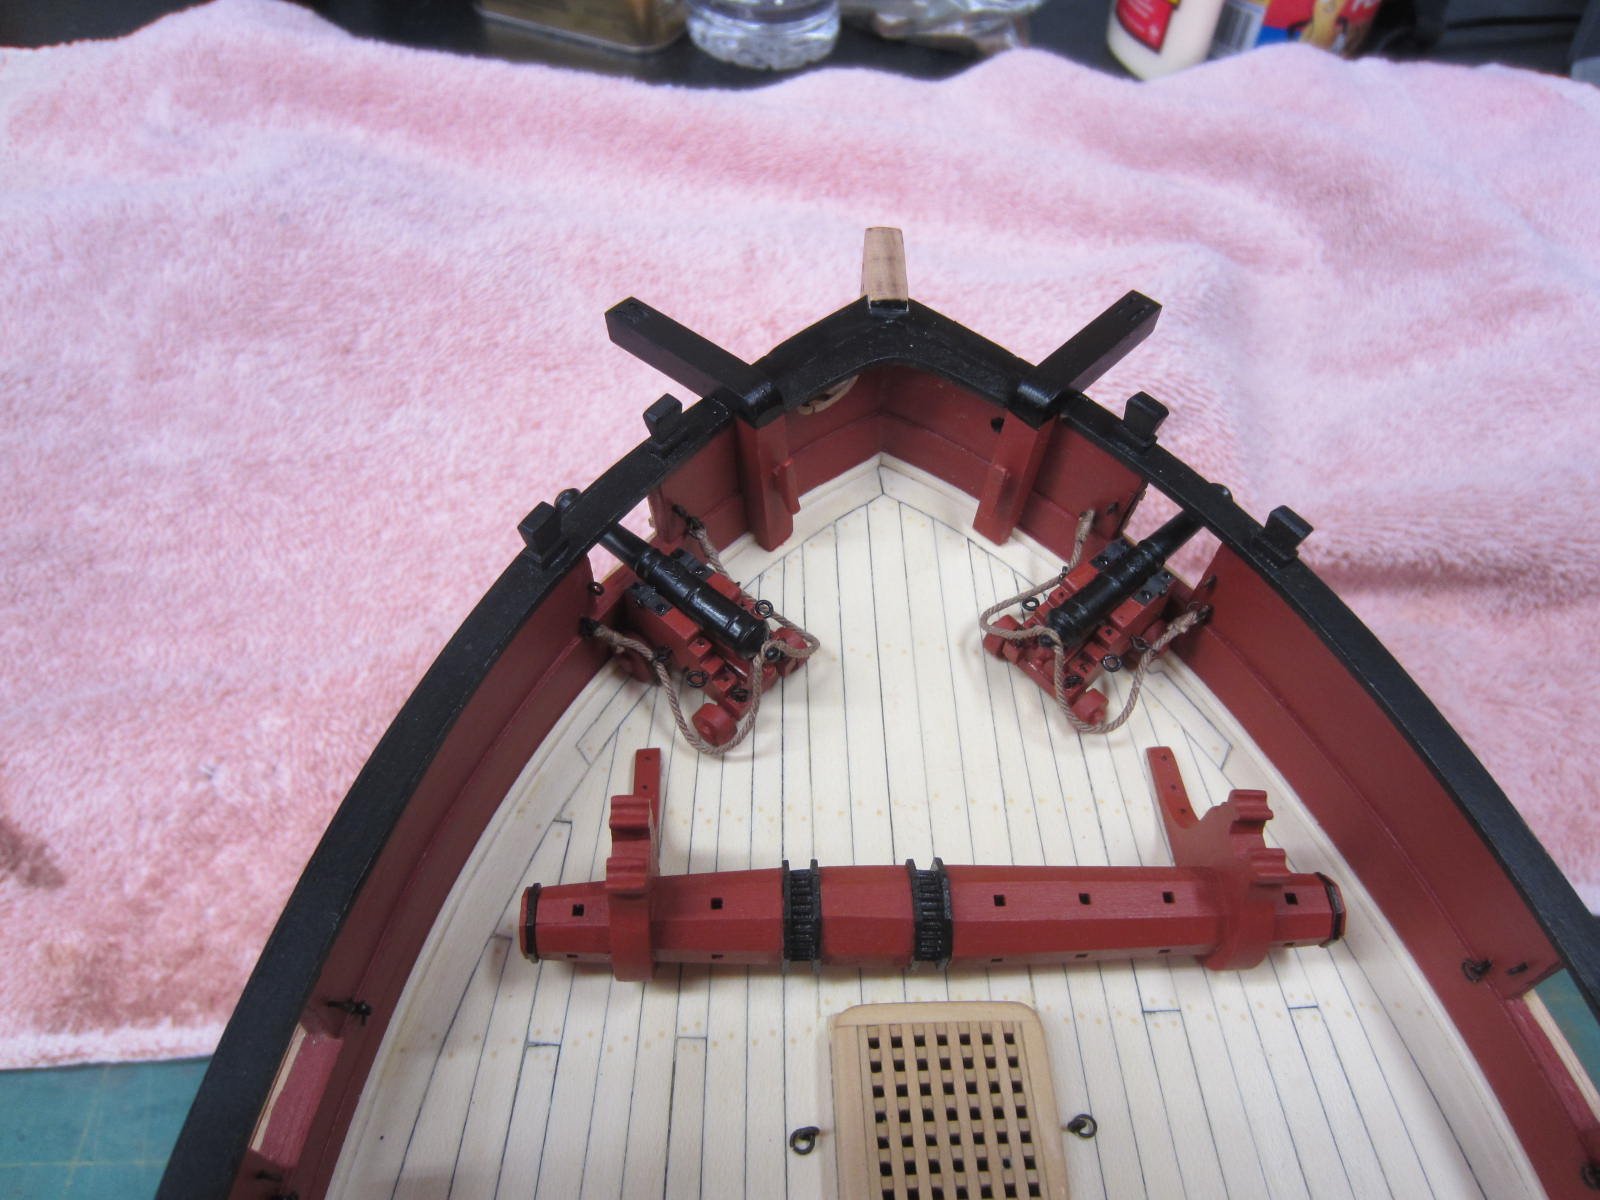
So now the two long guns and pin rail are in place. Once I finish rigging the guns I’ll do the bowsprit
step and install it and the bowsprit.
- michael mott, BANYAN, DORIS and 16 others
-
19
-
Yes l agree that's really nice.
Another great reference when I finally get to that point.
- Ryland Craze, Stuntflyer, Canute and 2 others
-
5
-
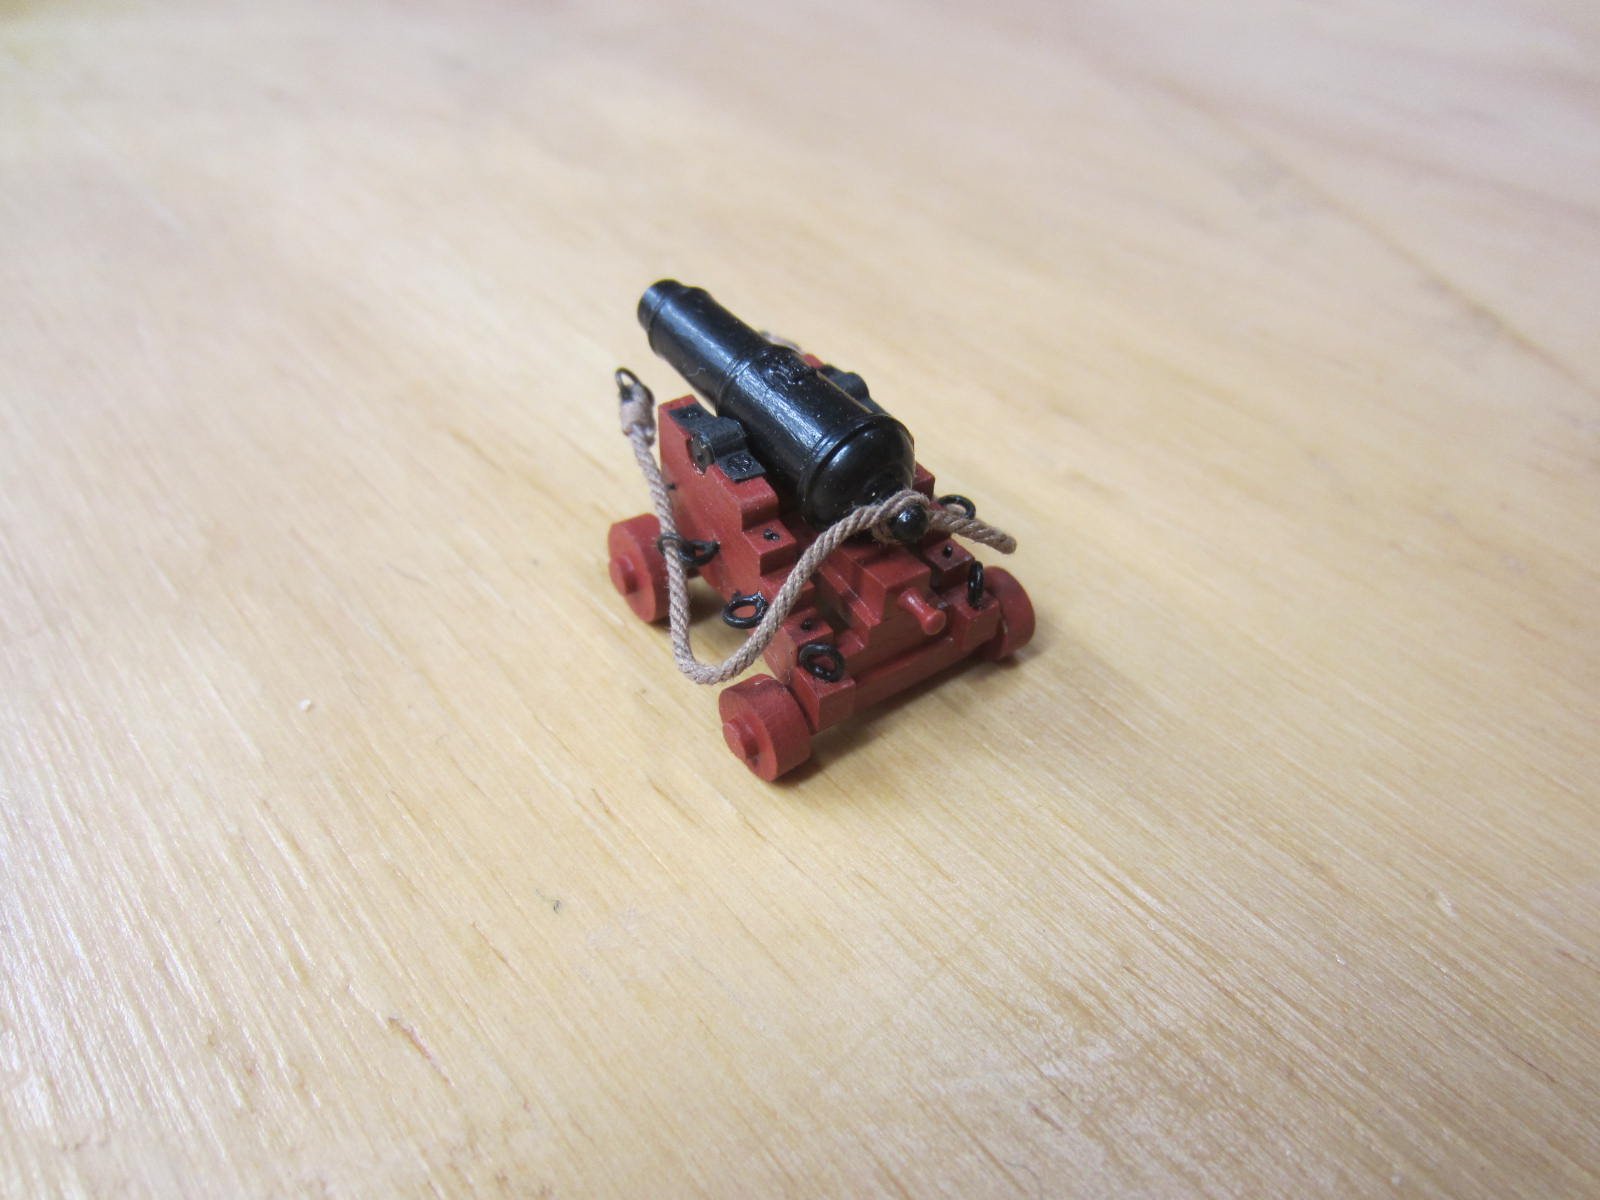
Hi Pat, Thank you and thanks for stopping by.
Just a small update for now.
The Carronades and long guns were sitting collecting dust so I’ve started to add the breeching ropes.

One down and thankfully only 11 more to go!
- russ, Canute, Captain Poison and 11 others
-
14


Queen Anne Style Royal Barge by Chuck - FINISHED - Syren Ship Model Company - 1:24
in - Kit build logs for subjects built from 1501 - 1750
Posted
Looking great Chuck. I can't wait to add it to my " collection".