


yvesvidal
-
Posts
3,488 -
Joined
-
Last visited
Content Type
Profiles
Forums
Gallery
Events
Posts posted by yvesvidal
-
-
Fantastic work as always. I suspect there is more brass than plastic in this model.
Yves
- Canute, popeye the sailor, RGL and 1 other
-
 4
4
-
I would run to my hobby shop and get more wood to finish the planking. Your level of patience is commendable.
Yves
- popeye the sailor, mtaylor and Canute
-
3
-
2 hours ago, popeye the sailor said:
I think he's in it for the long haul.........but I think some "wood envy" is starting to creep in
")
Not sure...I think he may be back to Plastic models...before long.

For certain, doing ships in cards is a form of art which is rare and precious.
Yves
-
-
Danny,
This is incredible. What a work of art. I love the pictures with the plane hanging from the crane. I just cannot believe it is made of paper cards....
I have to say it is a frenzy and feast of Bismarcks between your model and the Trumpeter Build Log from Smorebutts.
Thank you for allowing us to truly appreciate the beauty of card models. I knew the work of Doris and her classic sailboats but your model is outstanding.
Any chance we can have a picture of you holding the ship? I really would appreciate a human reference next to the model.
Thanks
Yves
-
14 hours ago, RGL said:
Whilst waiting for the second primer coat to set, I thought I’d start some PE. The rear stack, around 50 pieces!

This is not a plastic kit anymore....it is a brass model !!!
Yves
- Canute, fnkershner, cog and 5 others
-
8
-
Most likely this picture is the Echo cross section from Admiralty Models. I do not remember exactly, but the picture comes from this forum.
Yves
- aviaamator, mtaylor, Canute and 1 other
-
4
-
I believe there is beauty in all forms of Cross-sections:
1) Just the hull presented as a precious Jewel:
2) The intermediate approach:
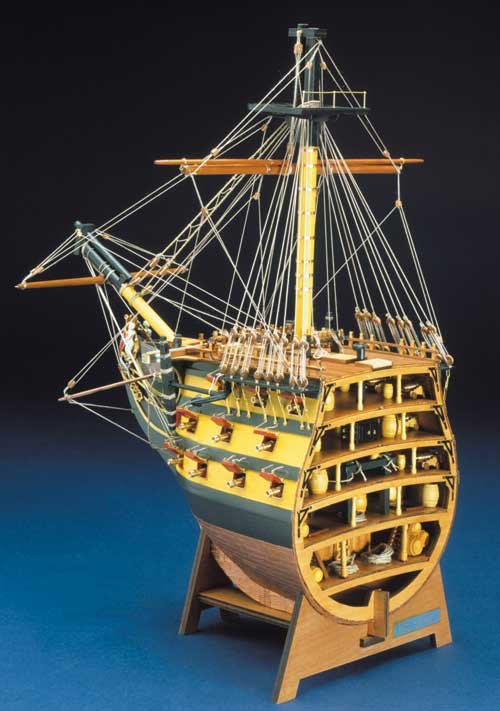
3) The Statement in its full glory:
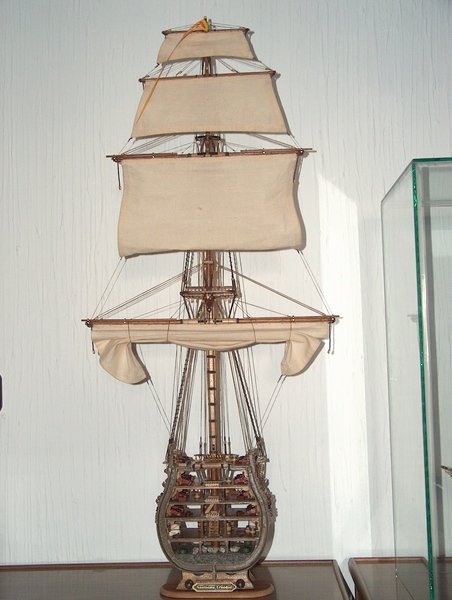
Yves
- aviaamator, Dubz, Canute and 14 others
-
17
-
Chuck,
I agree wholeheartedly with your point of view and opinions. The suggestions for Mast/rigging and Copper plating was just to have it mapped on a piece of paper/plans or offered as supplement kit(s).
Plastic Scale models today are offering a base, although very detailed, model to build. And then people spend fortunes buying the Photo-Etched kits and wooden decks. The cost of these extras is usually twice the cost of the base model.
I, for one, would be very happy with a base kit, laser cut and made of basswood. If you can offer more precious woods for $225-250, I am all game for it and will happily pay the price.
I also agree that a lot of things can be added later as it is done in the world of plastic scale modelling. Canons and extra parts can be procured relatively easily especially at the standard scale of 1/48th.
Please, let's not waste any time in sterile discussion and give us a base kit within the price range indicated. We will all be very happy.
Thanks
Yves
- Captain Poison, Rustyj, Canute and 5 others
-
8
-
-
-
On 1/23/2018 at 9:42 AM, realworkingsailor said:
I can't wait to see how far this collaboration may go. I hope some day for a full ship, as opposed to just a cross section.
Just buy a few kits of the cross-section and glue them together....et voila...a full ship!
Yves
- mtaylor, Heronguy, paulsutcliffe and 2 others
-
5
-
-
-
What a beautiful collection! Congratulations.
I see that the heavy books have been moved somewhere else.... very good idea.
So, what will be the next project? I cannot wait to read your Blog, again.
Yves
- Old Collingwood, cog, mtaylor and 4 others
-
7
-
Beautiful. I love the magazines.
Yves
- John Allen, drobinson02199 and Nirvana
-
3
-
Back to the Scharnhorst.....
For the Stuka and large planes, there is this site: http://www.largescaleplanes.com. These people do marvels, too.
Yves
- Canute, mtaylor and popeye the sailor
-
3
-
Would it be time to start painting that middle deck structure, before gluing the decks? Or are you still waiting for parts to be glued against the walls?
Yves
- popeye the sailor, Canute and mtaylor
-
3
-
Maybe you need to read the Spanish version to get all the details.....
")
Yves
-
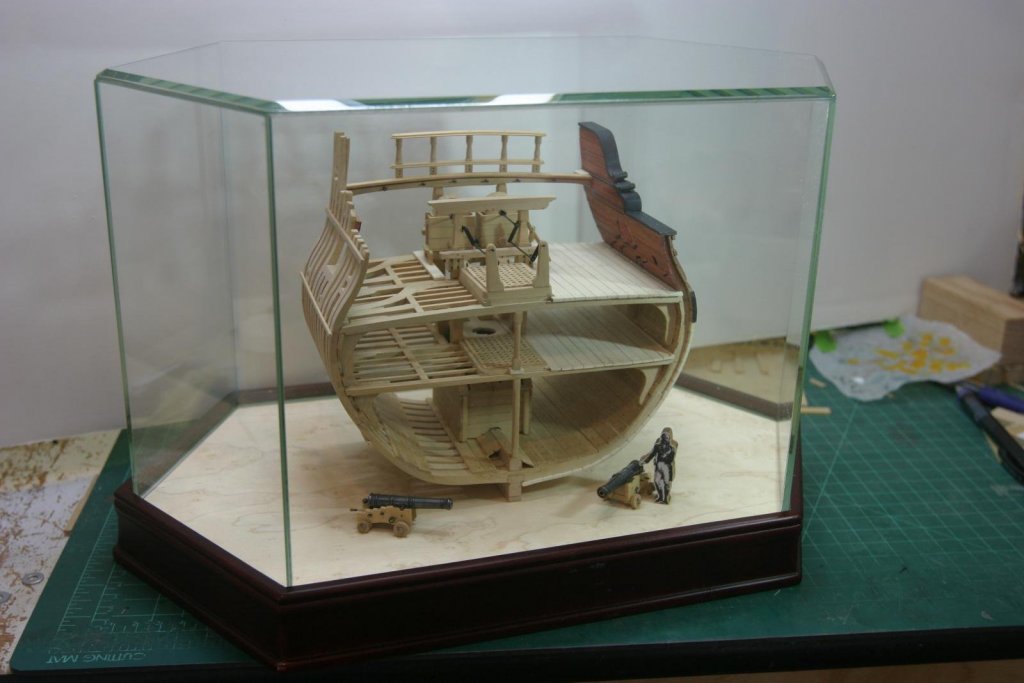
A MASTERPIECE !!!! Absolutely stunning in its glass box.
Definitely, the highlight of your collection.
Yves
- mtaylor, popeye the sailor and Canute
-
3
-
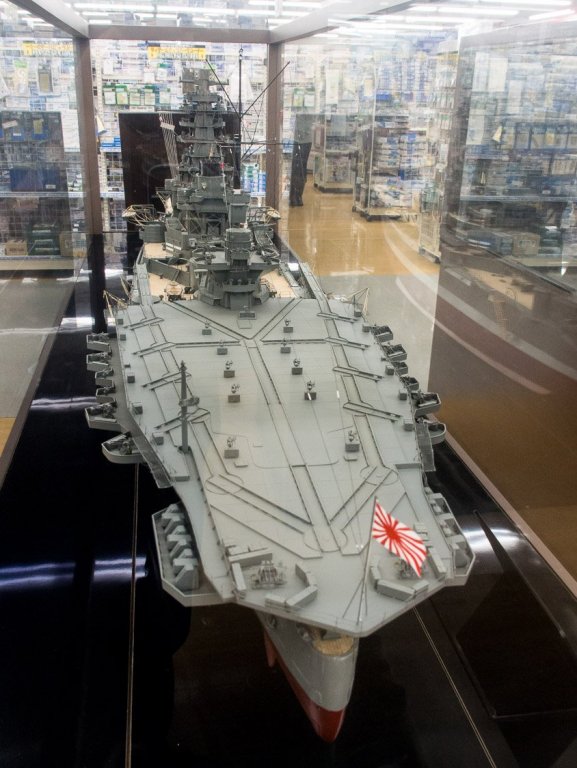
I found that picture of a model of the Ise done in 1/100 scale. Obviously, this must be in a Japanese Models shop, somewhere in Japan.
The picture was found on Pinterest.
Yves
-
-
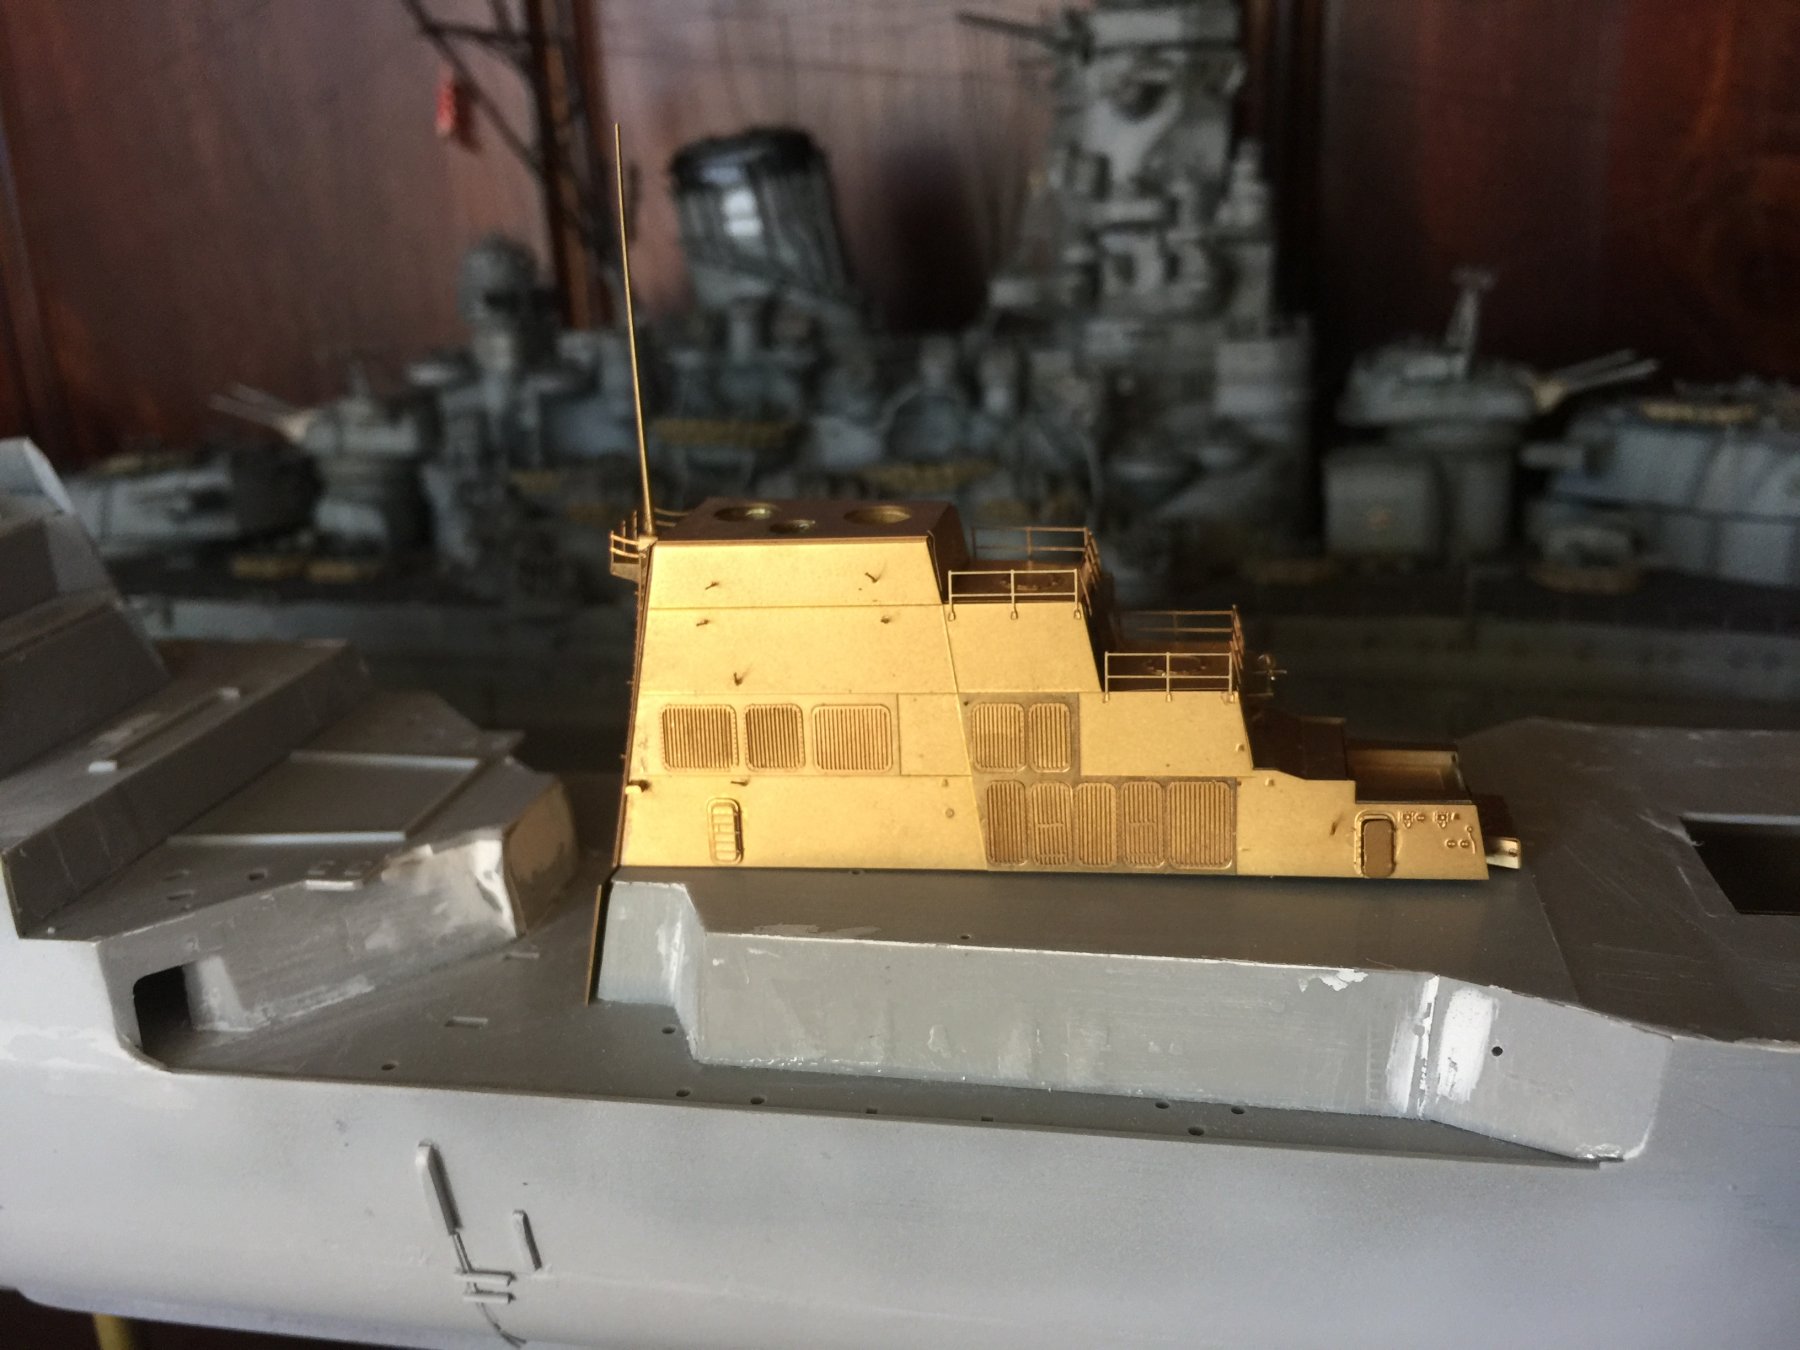
7 hours ago, greyhawk said:
Scharnhorst 27

The brass extends beyond the wooden parts by ca a tenth of a millimeter which will provide a natural anchoring point for the railings we will be fitting soon.
How soon... ?
I am glad you are building many ships at the same time..... I could not cope with the way they distribute the parts....and I am very patient.
Yves
- popeye the sailor, mtaylor, Canute and 1 other
-
4
-
What is that black surface you use to present your assemblies? Is it black glass? Marble?
Thanks
Yves
- popeye the sailor, robdurant, Canute and 1 other
-
4


Pegasus 1776 by Chuck - 1:48 - Swan-class sloop cross-section
in - Build logs for subjects built 1751 - 1800
Posted
Hello Chuck,
I was wondering if you have had any time, in your busy schedule, to make some progress on that future kit?
I am sure there are a lot of people like me, hoping to read you soon.
Sincerely,
Yves