yvesvidal
-
Posts
3,641 -
Joined
-
Last visited
Content Type
Profiles
Forums
Gallery
Events
Everything posted by yvesvidal
-
 The magazine SAIL (Jan/Feb 2024) issue has some fantastic pictures of Pride of Baltimore 2 in action and an excellent story from a week on board the vessel. Yves
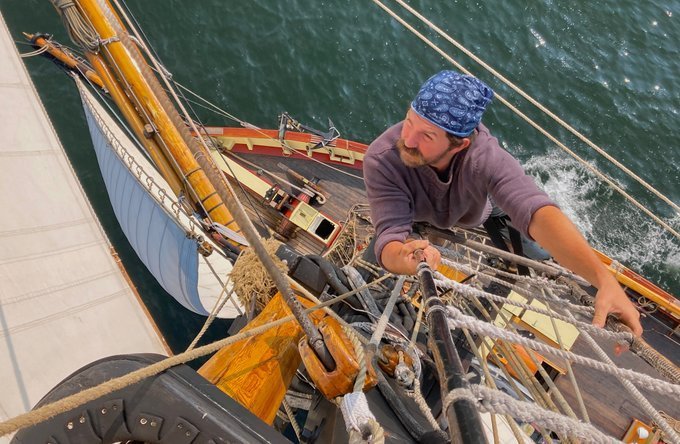
-
Your work is fantastic. Building a case is my weak point.... I do not have the equipment, tools and skills to do that. Yves
- 166 replies
-
- 2
-

-
- Maine
- BlueJacket Shipcrafters
- (and 1 more)
-
Craig, yes you summarized it pretty well. I may add a DCC controller in the process, to allow remote control of the engine. Finding spare parts is not easy but fortunately, we still have one company in the USA, casting brass parts mostly in O-scale. They do carry a lot of spare parts for these engines and many others. Yves
-
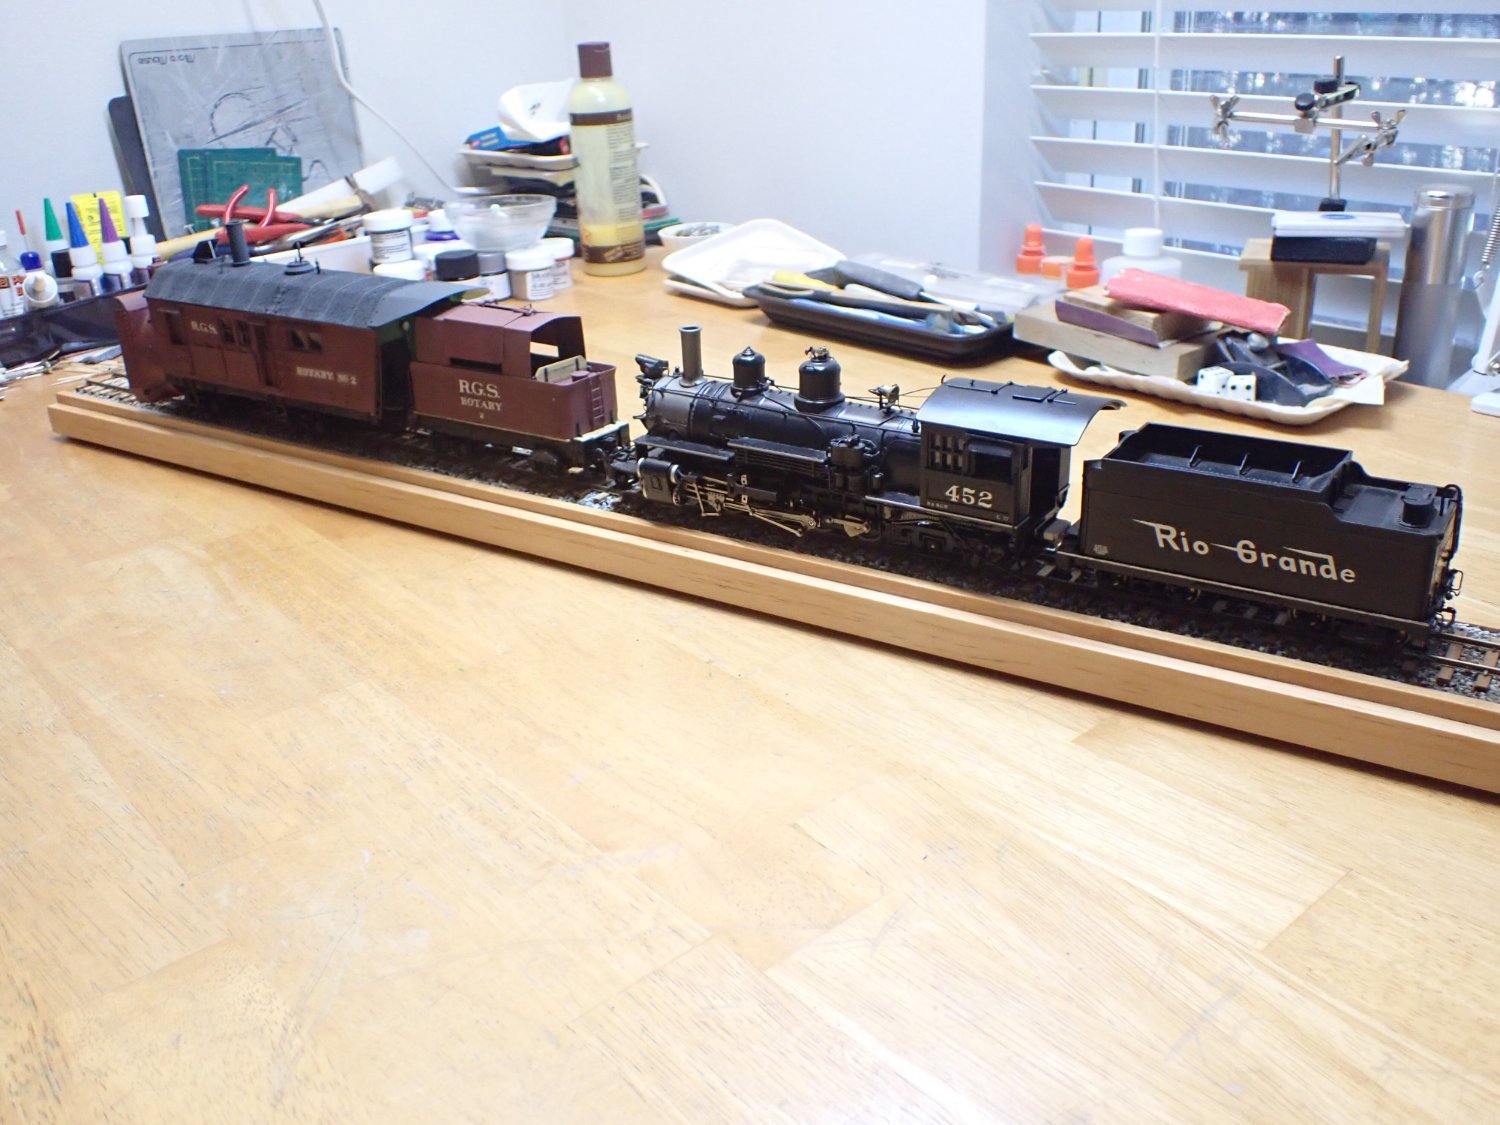
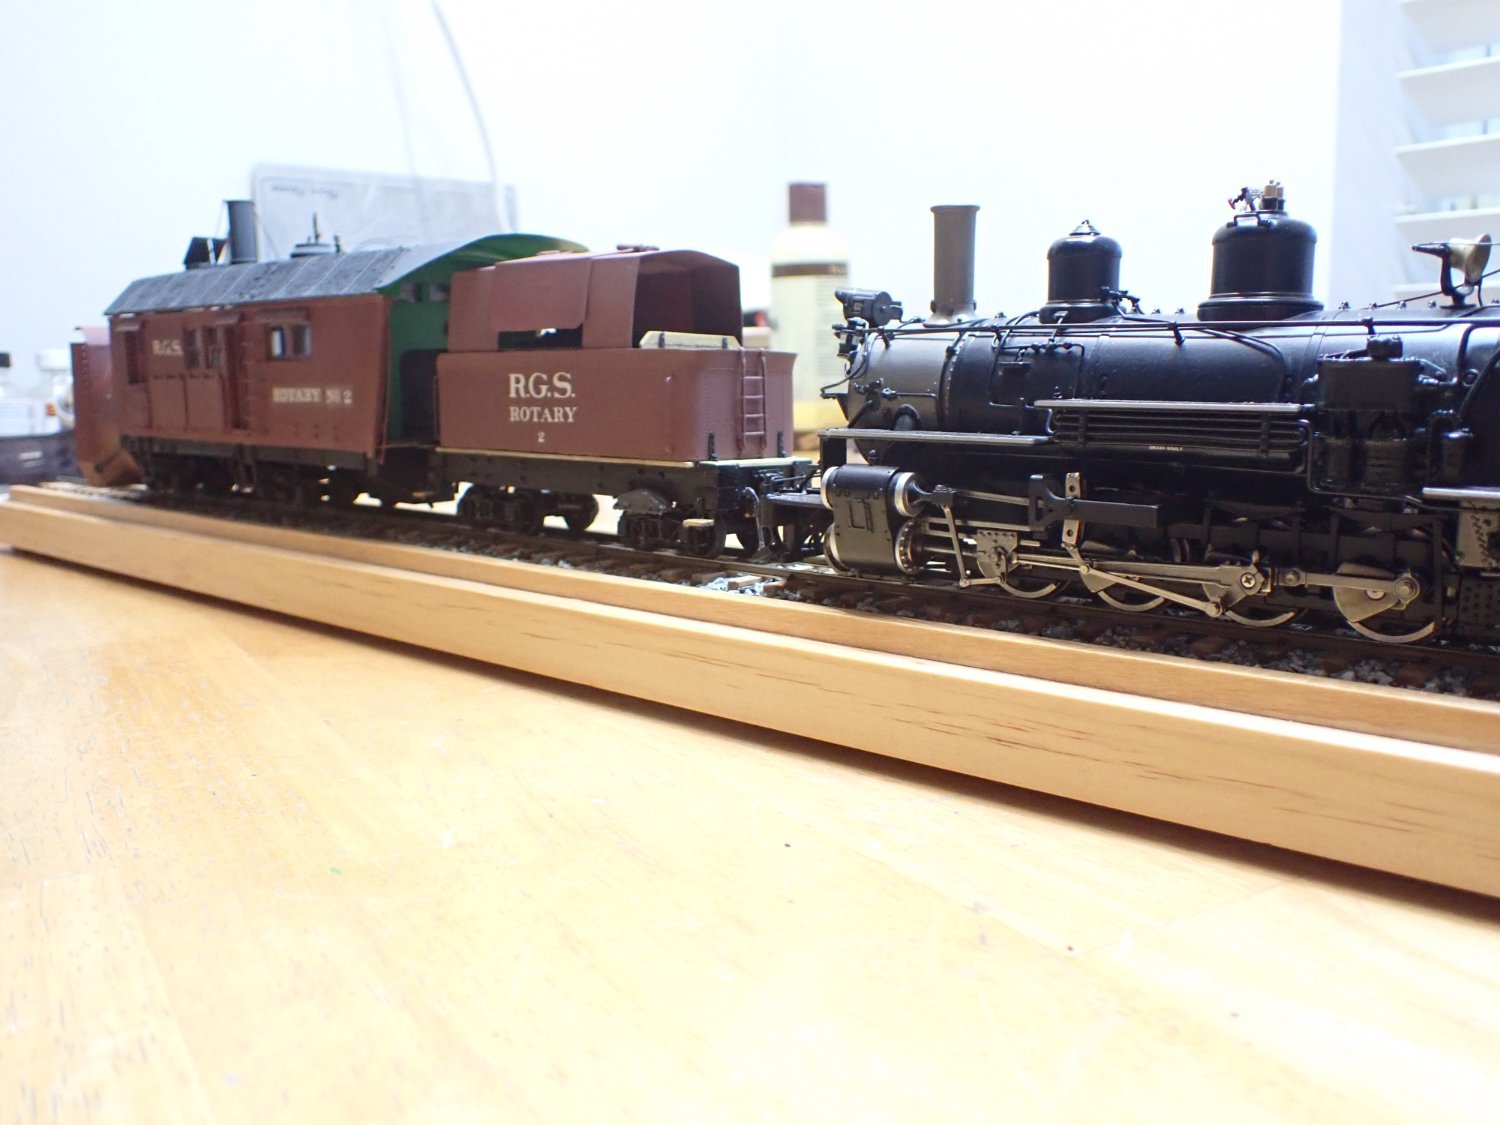
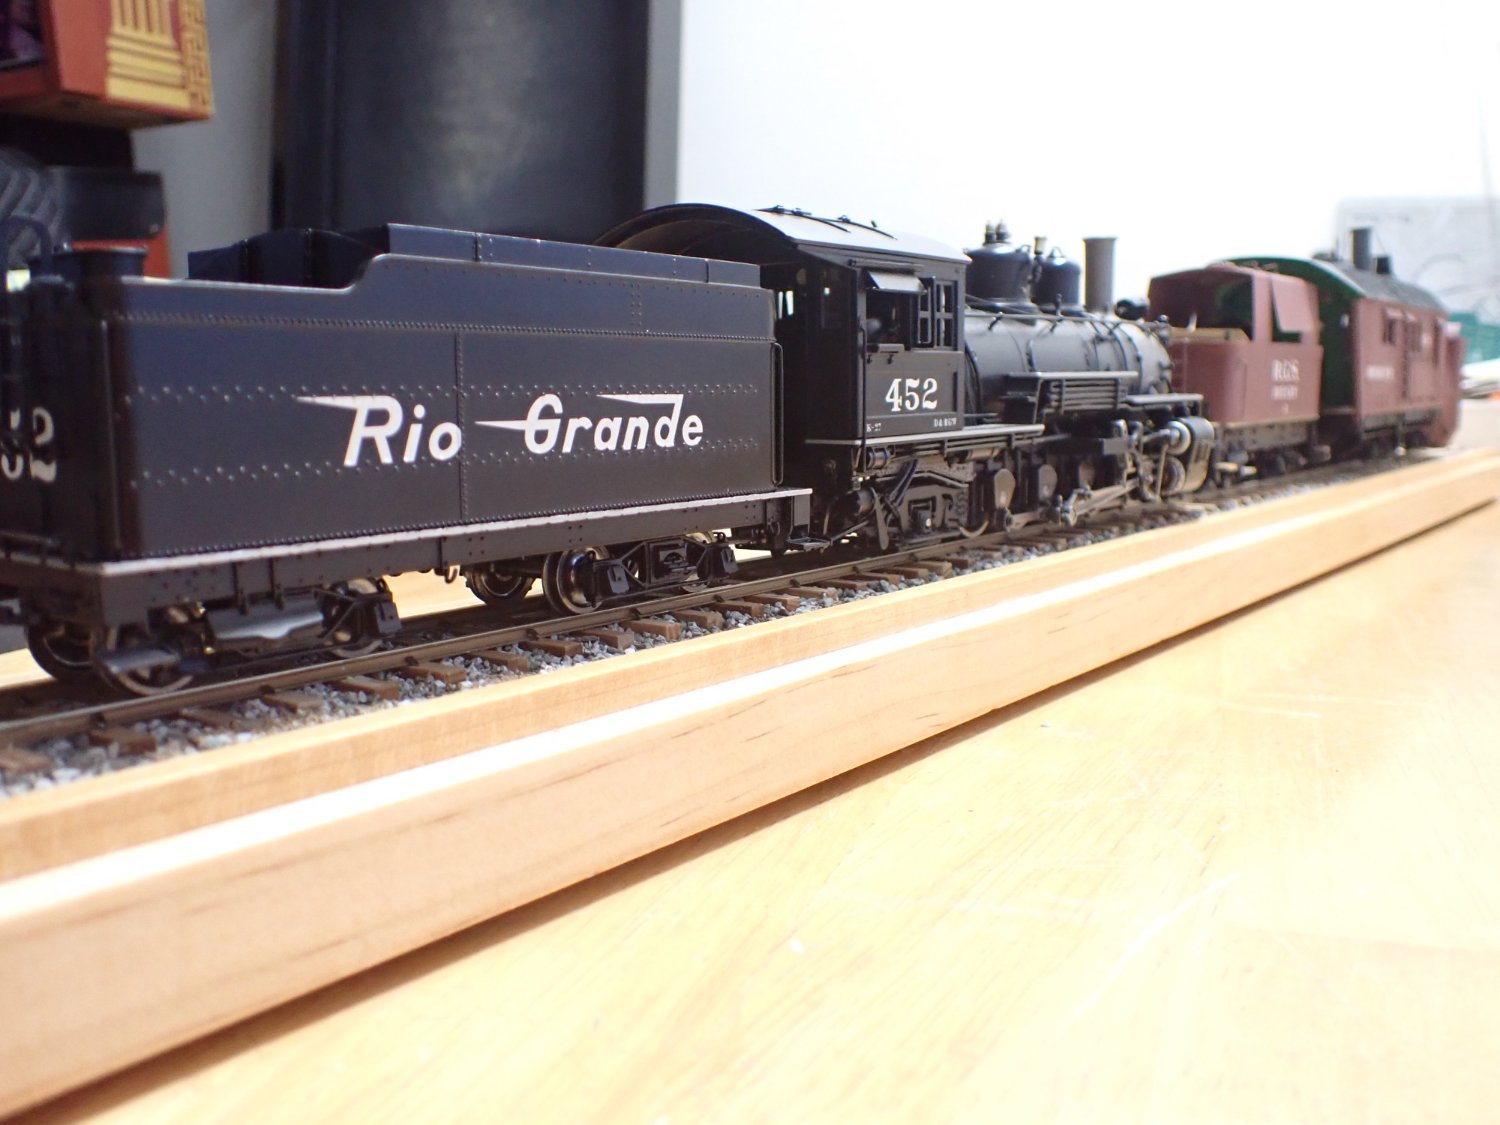
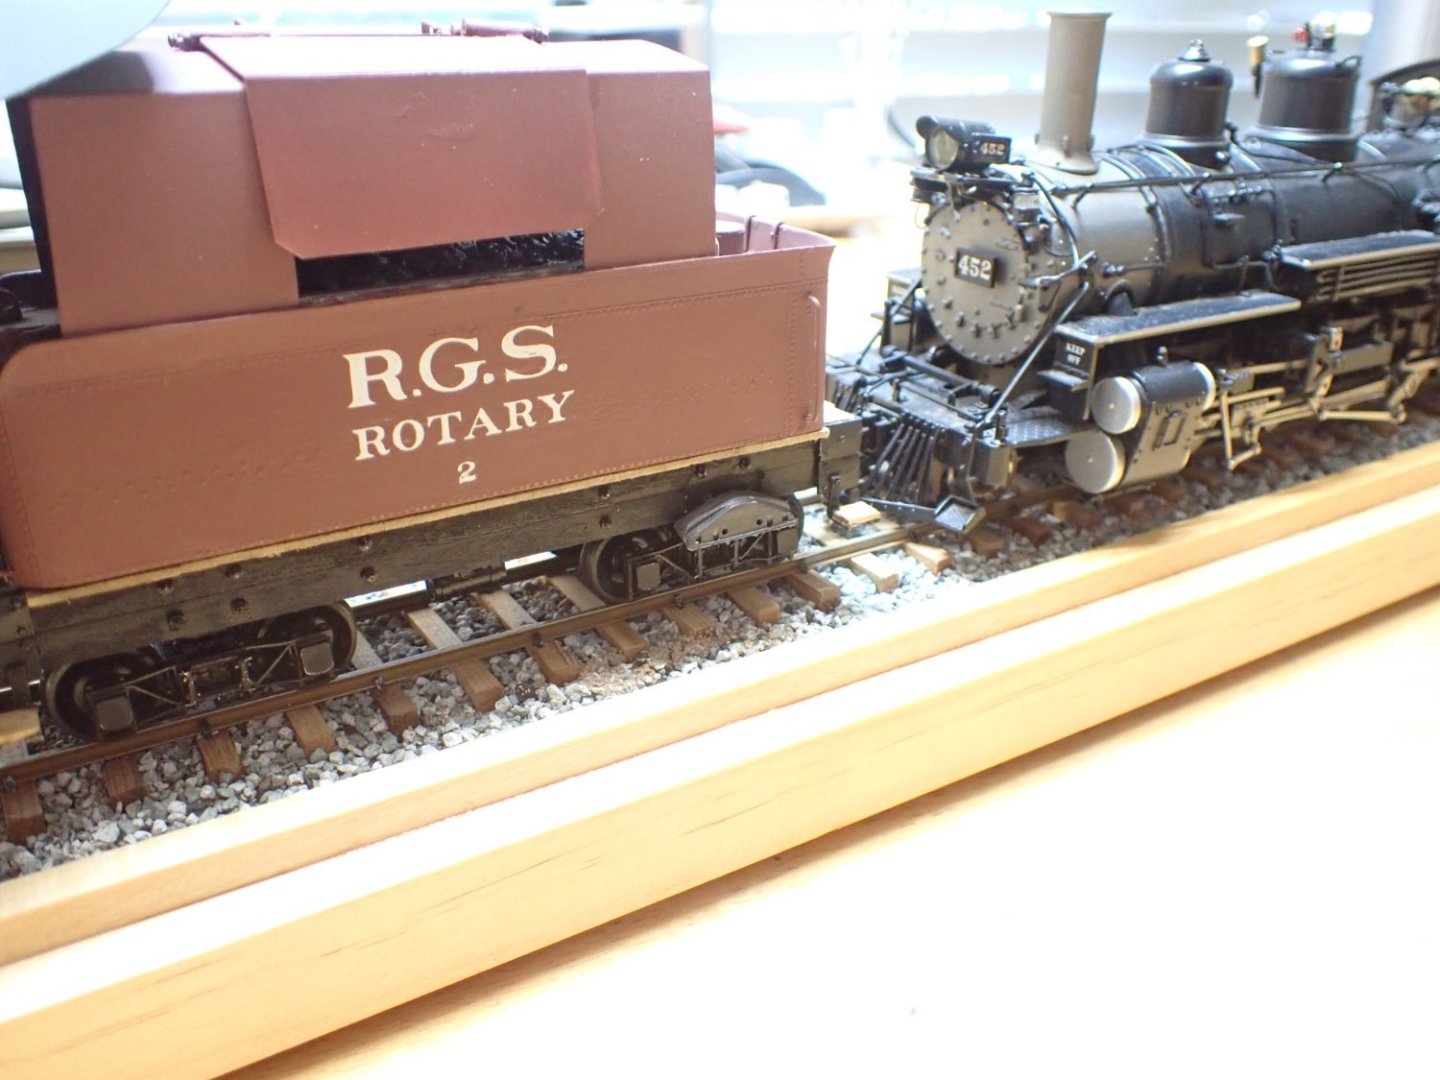
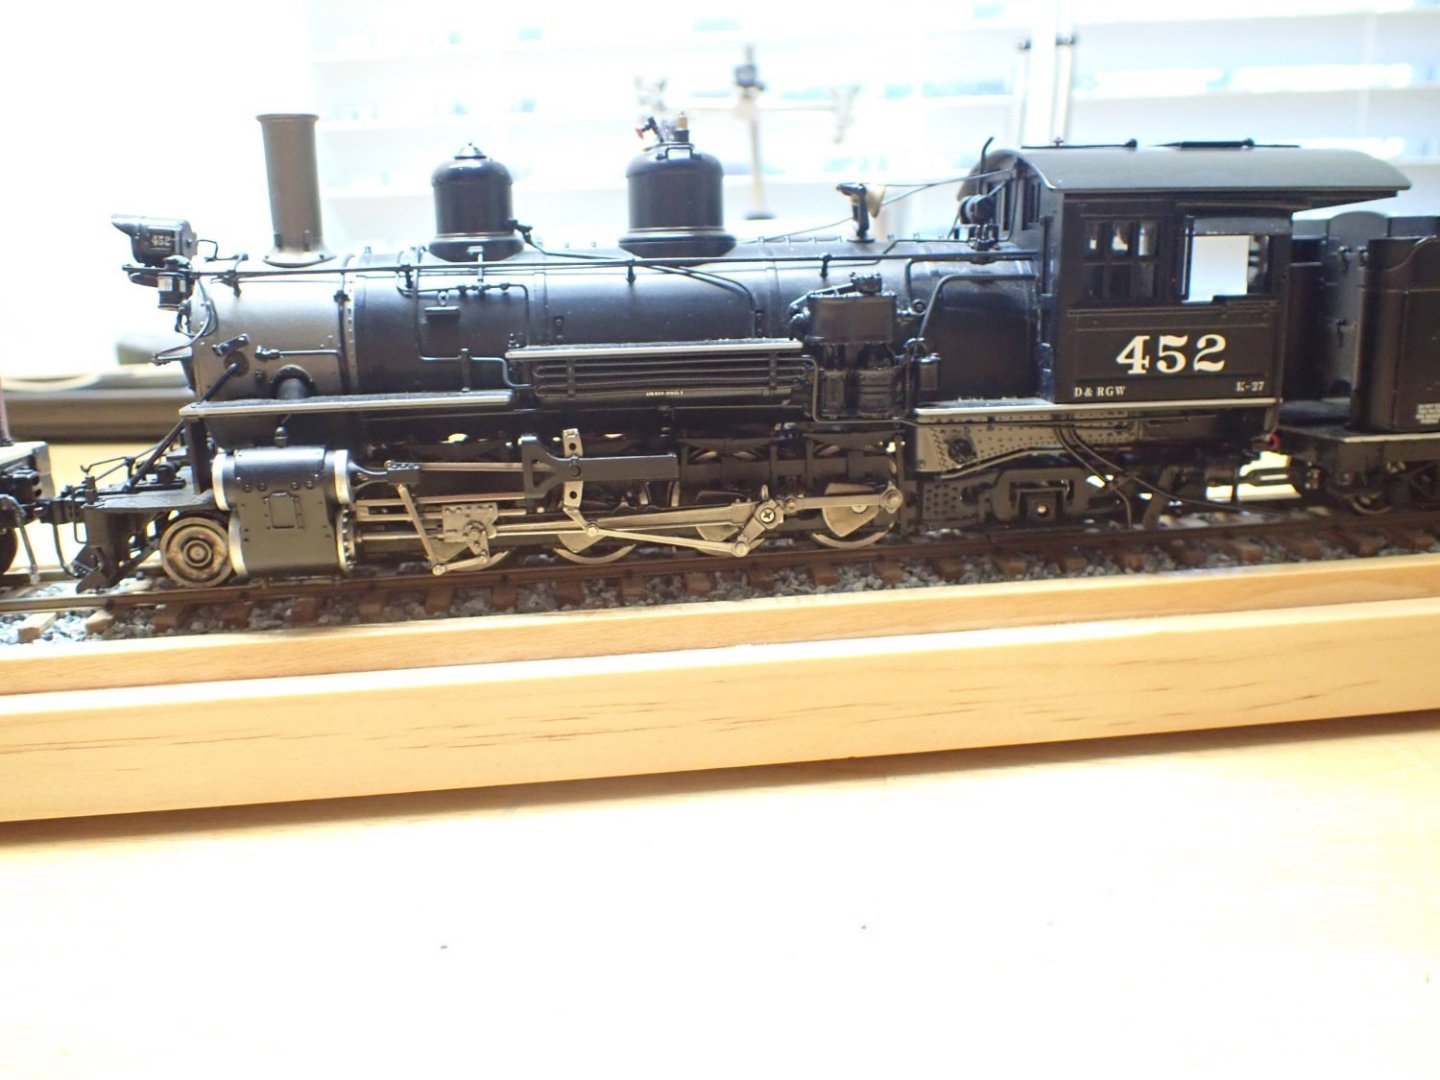
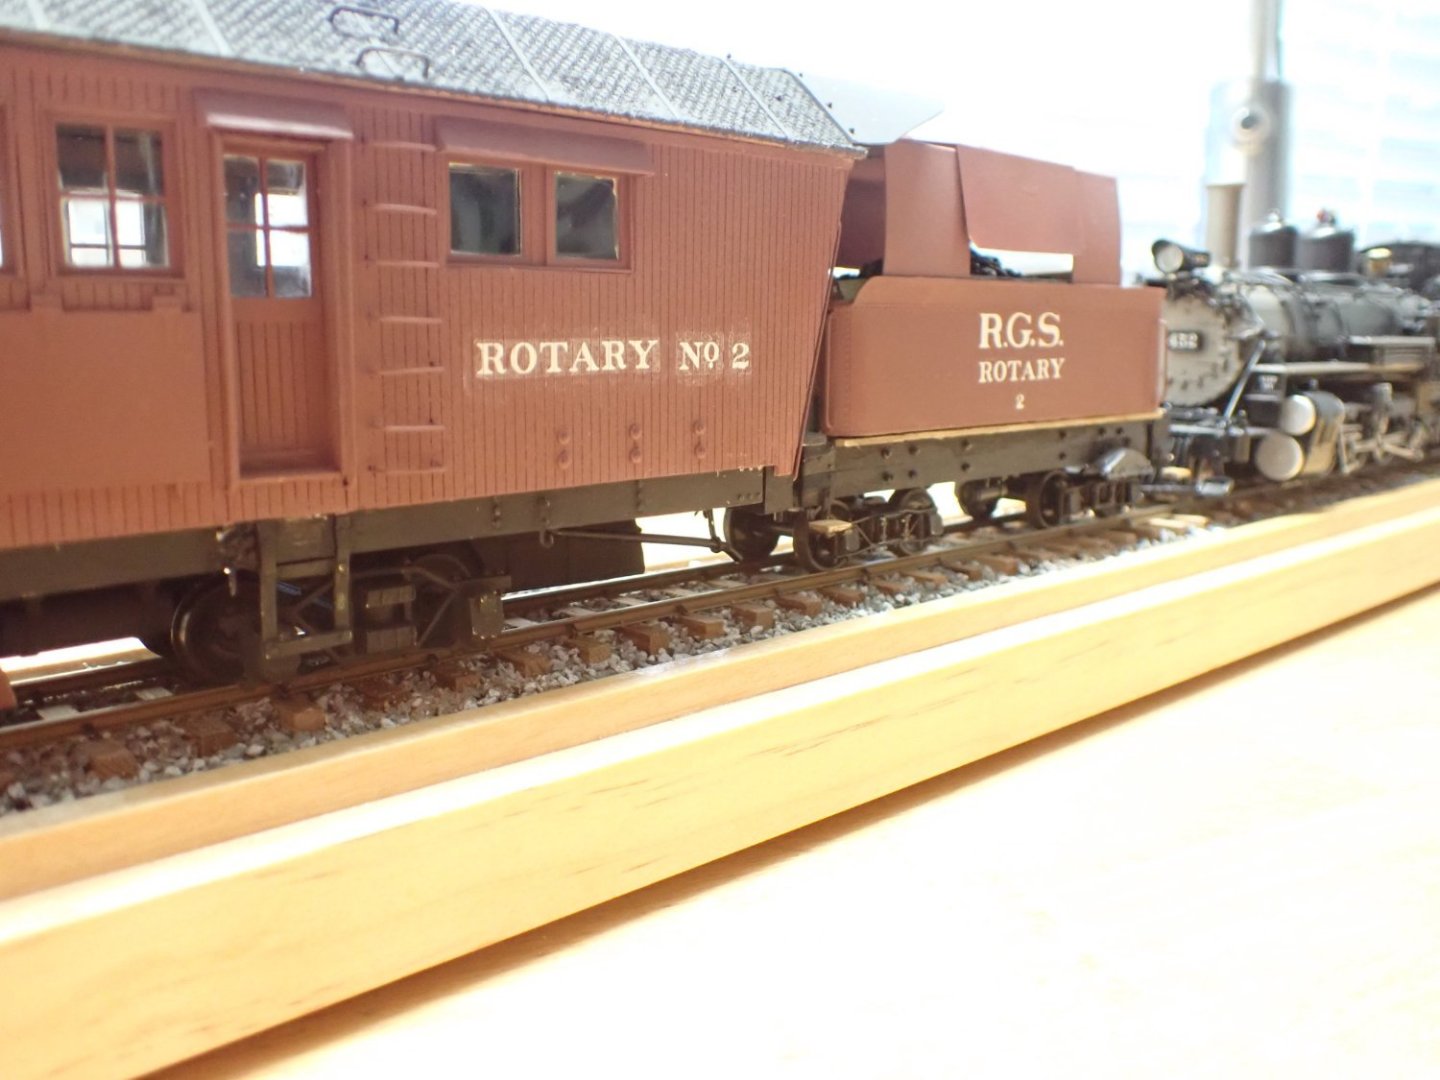
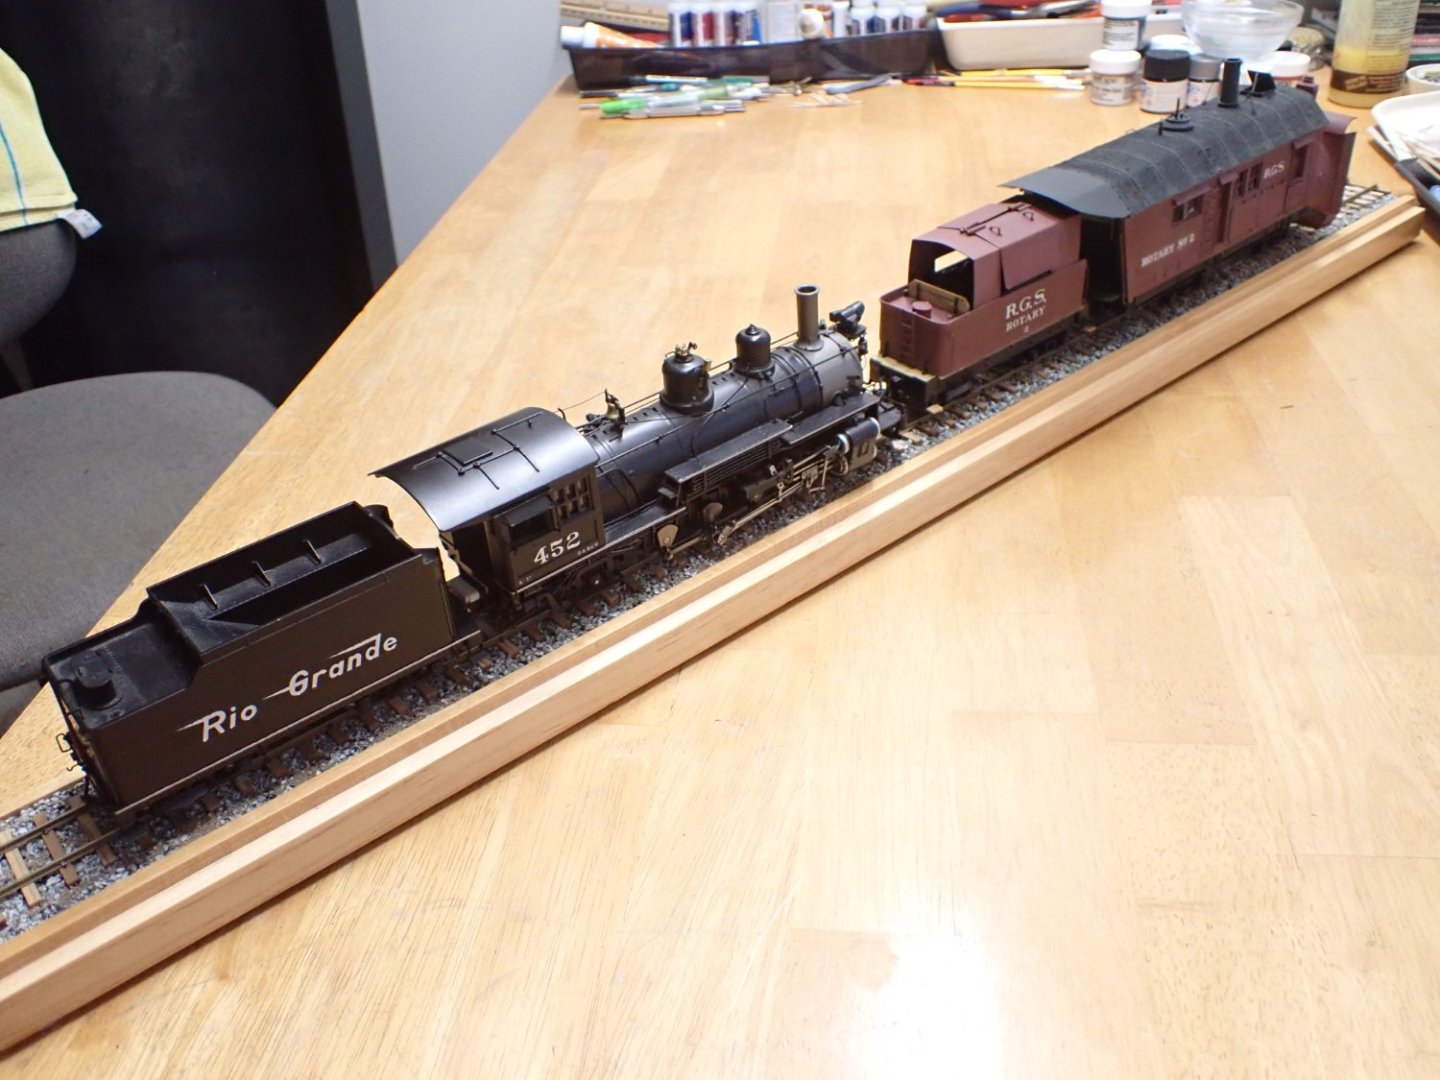
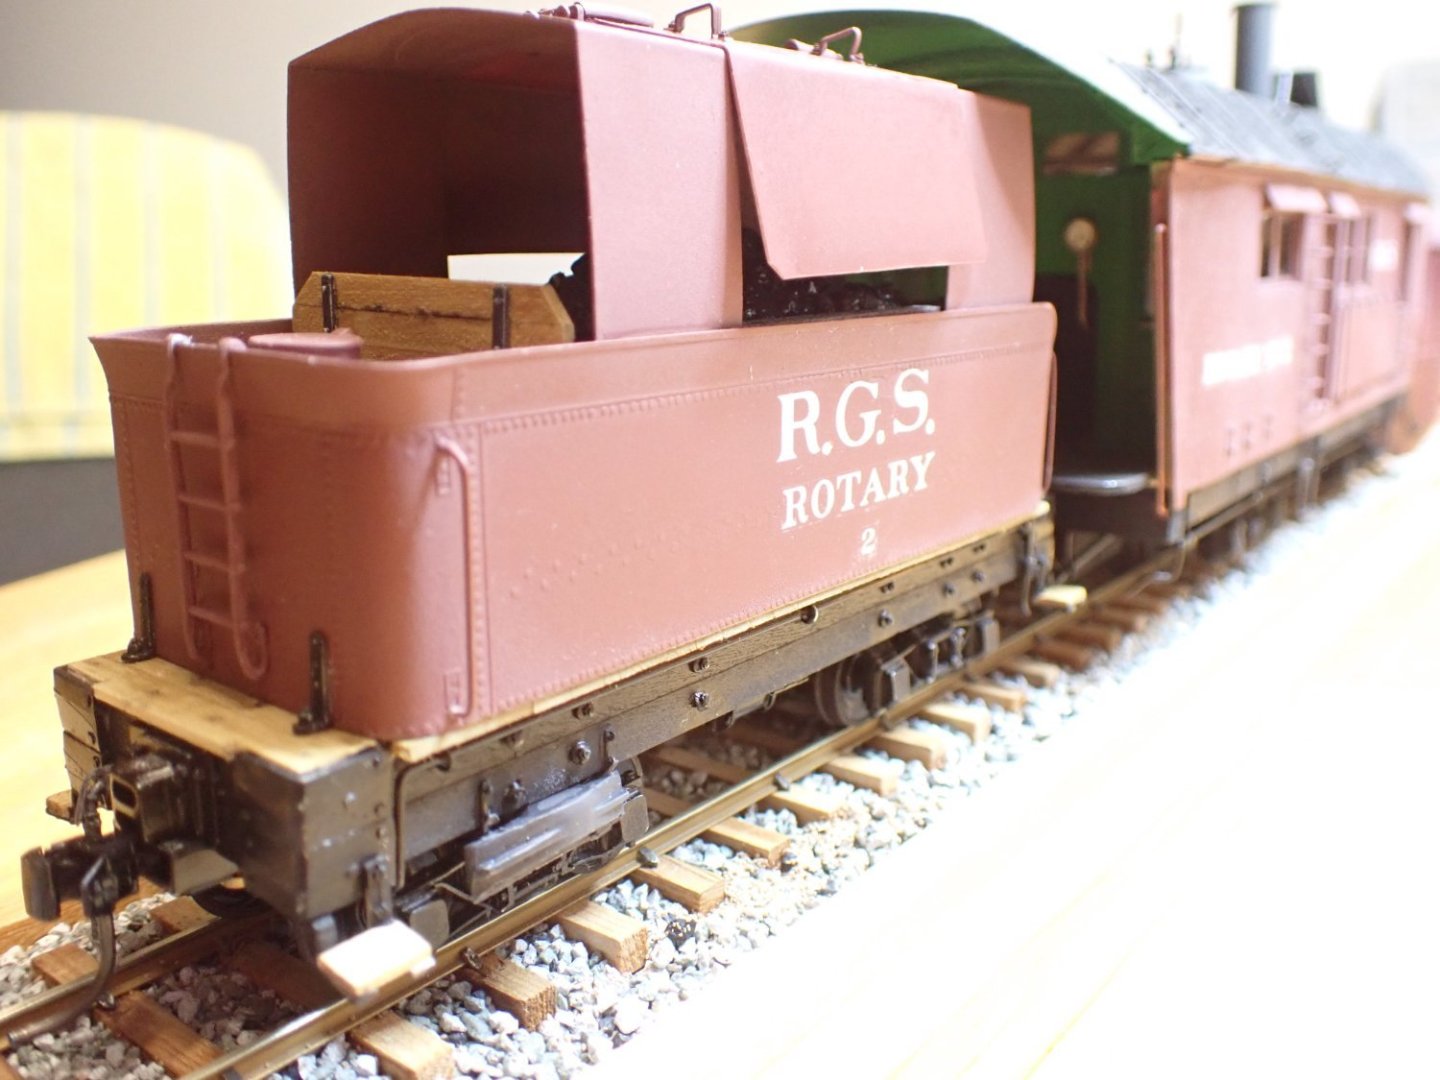
Project is almost completed. I just acquired an On3 engine to push the snowplow. The 2-8-2 engine will need KADEE couplers and a complete overhaul as it does not run yet smoothly. However, the price was right and it is in excellent condition. It is now time to go back and finish the HMS Bellona. Yves


- 102 replies
-
- 18
-
-

-
Very interesting kit. I have seen a few examples of these on Pinterest. Yves
-
Superb little boat. I am looking forward to see your next project. Yves
-
Nissan Fairlady 240Z by kpnuts - Tamiya - 1/12 - PLASTIC
yvesvidal replied to kpnuts's topic in Completed non-ship models
Absolutely amazing KPNUTS, as always. You are the master of large scale car models. Yves -
WOW. Incredible results that you obtained Valeriy. However, I am not sure I would trust the automotive putty (even painted) in such small thickness. Most definitely, the hull will require a lot of care when manipulated. Yves
-
Fantastic view, but it definitely needs more weight to be realistically poised on the water. Take full weight of the real ship divided by the cube of the scale (100x100x100) and you should have the exact value of the model weight. Yves
-
It is just amazing all the stuff we can find nowadays. That engine is superb and I am sure you will do it justice, when the time to paint comes around. Yves
-
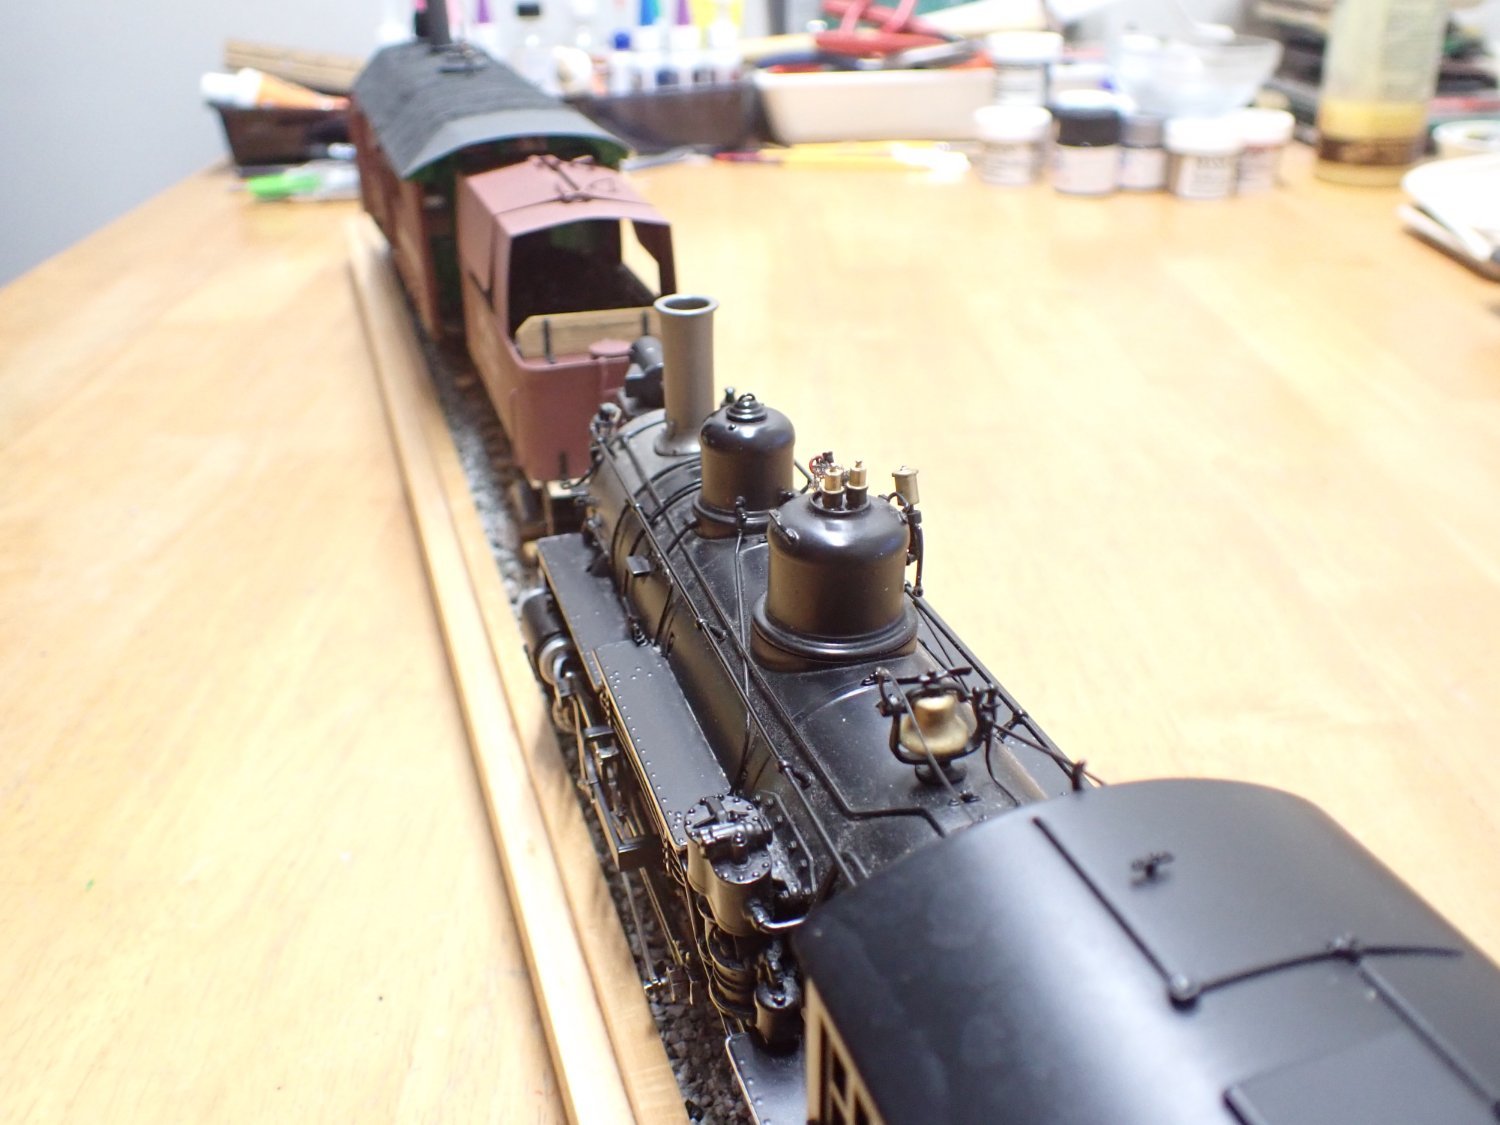
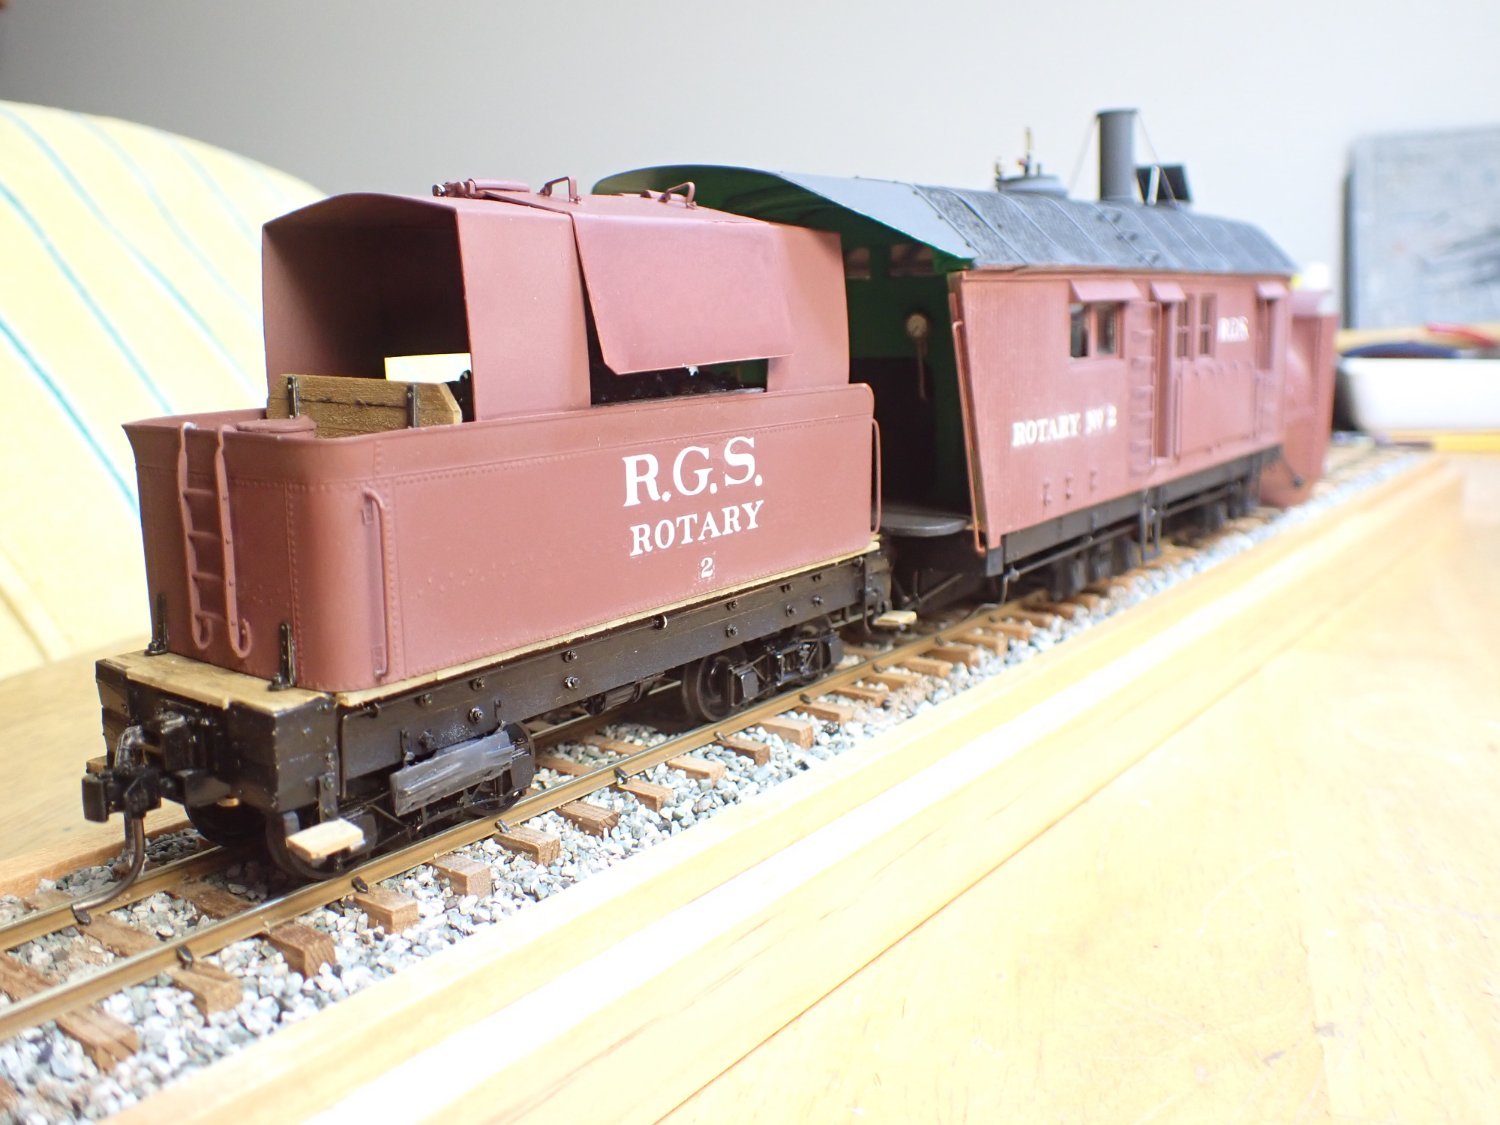
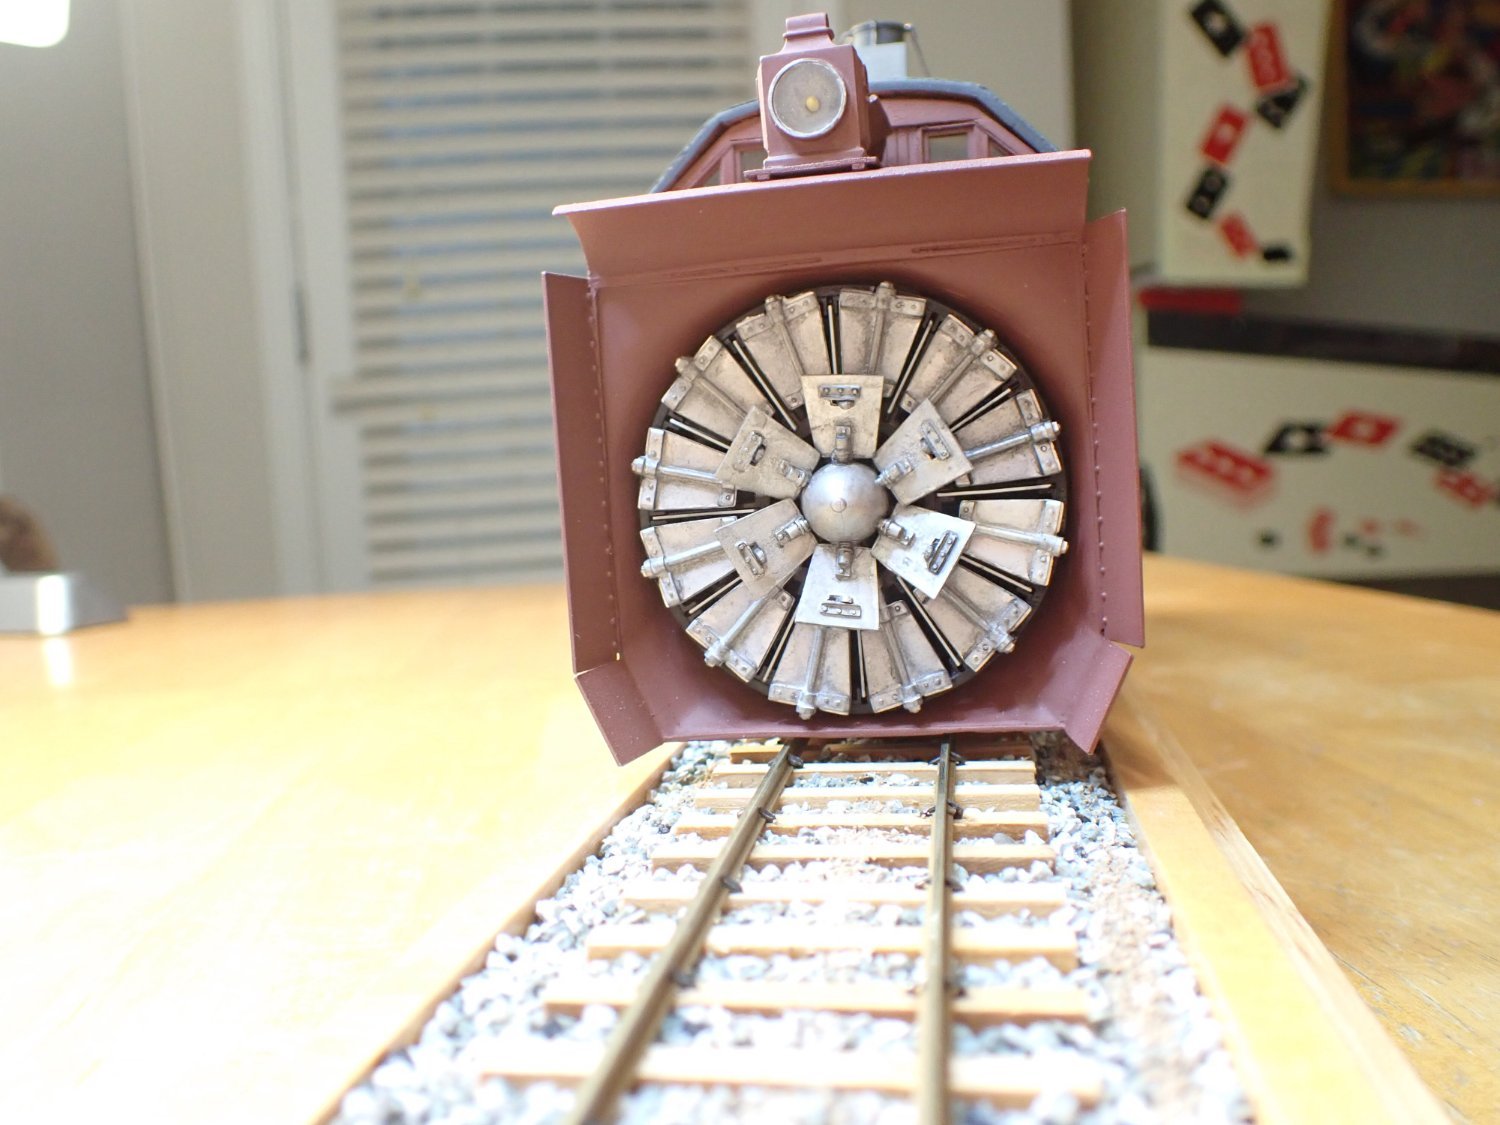
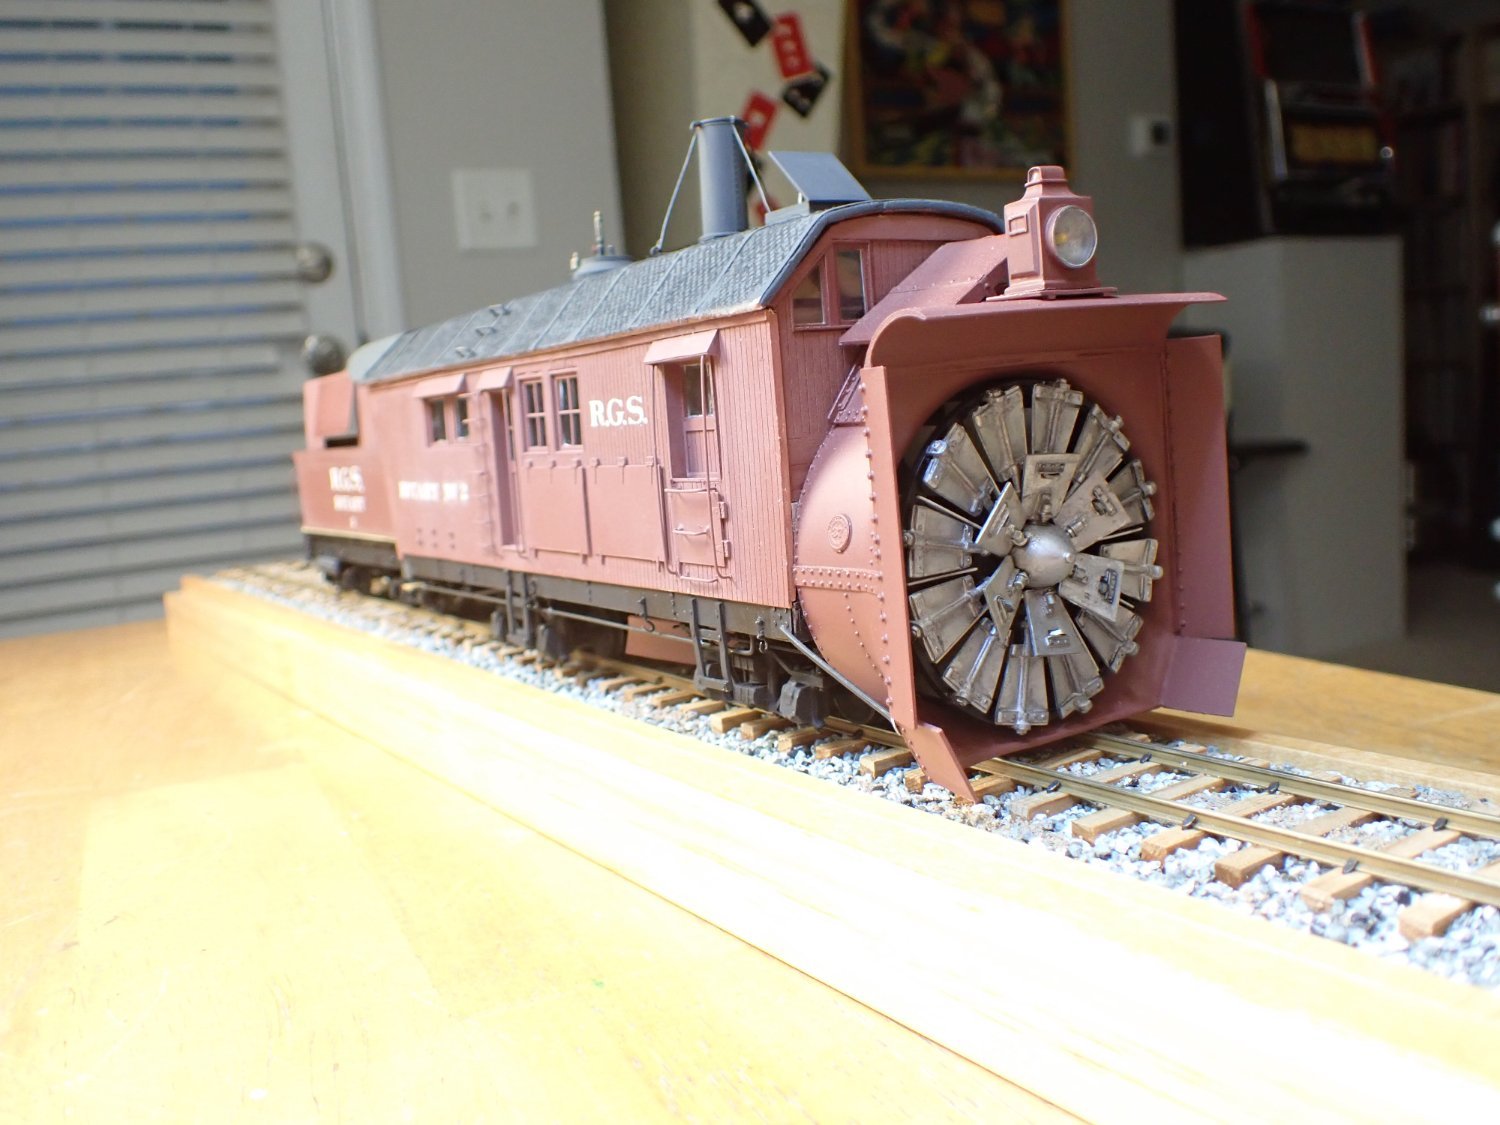
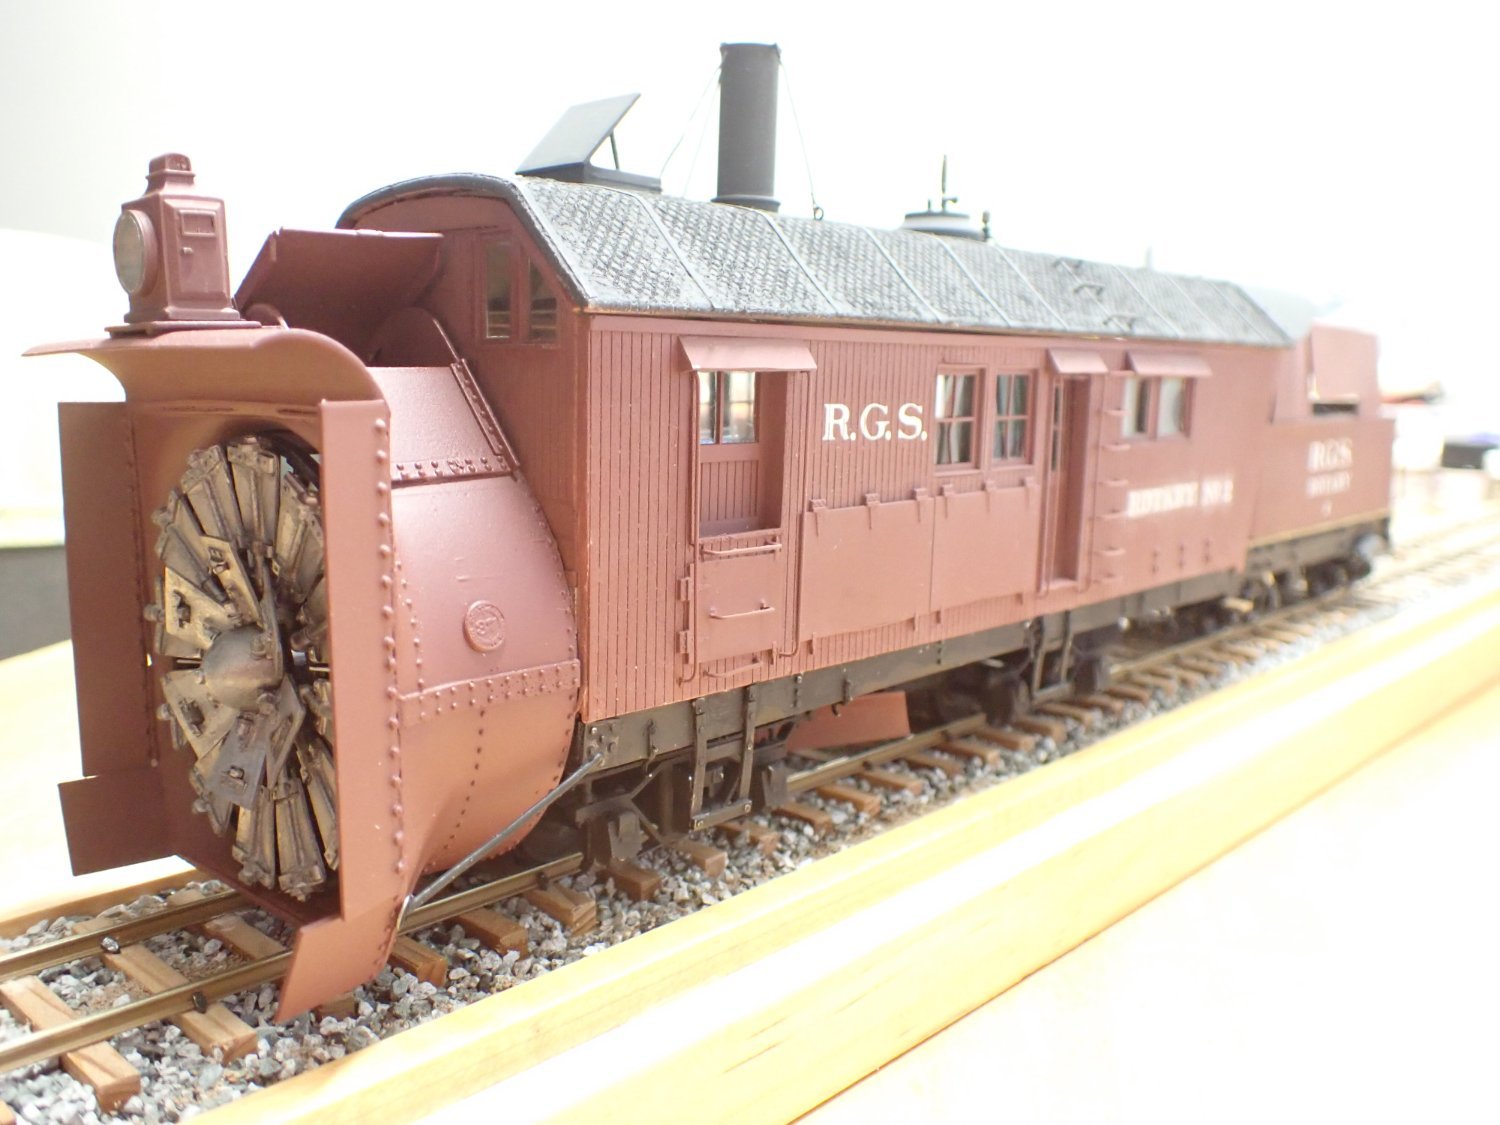
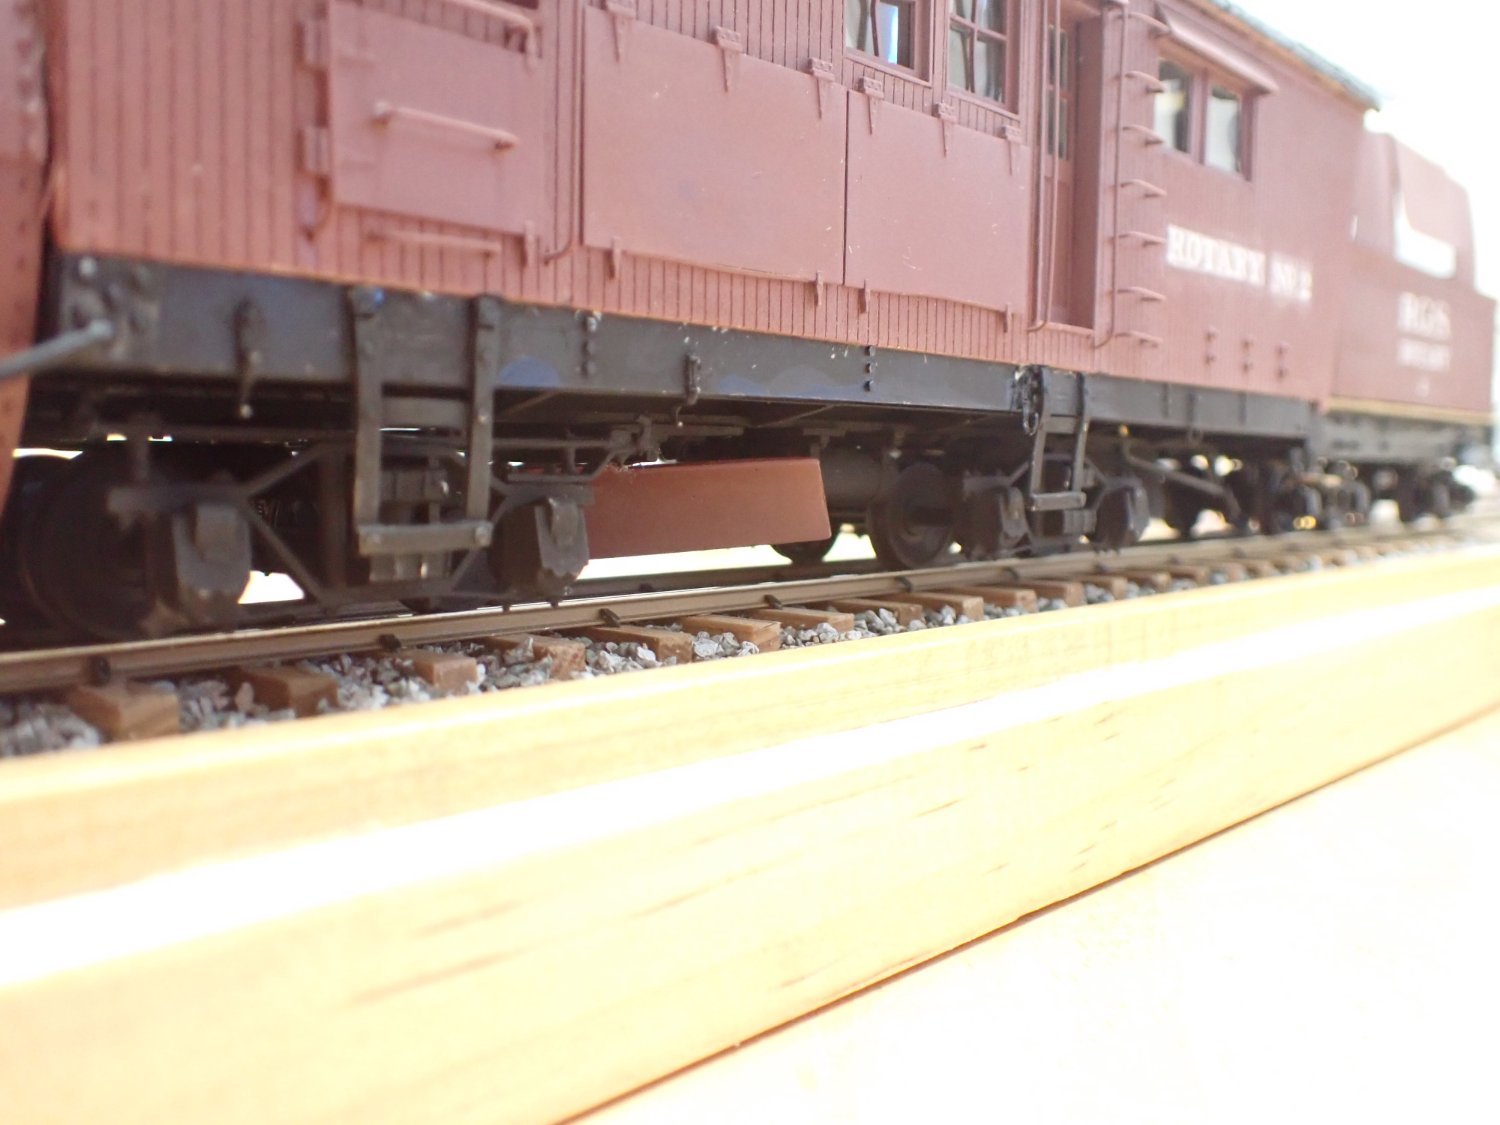
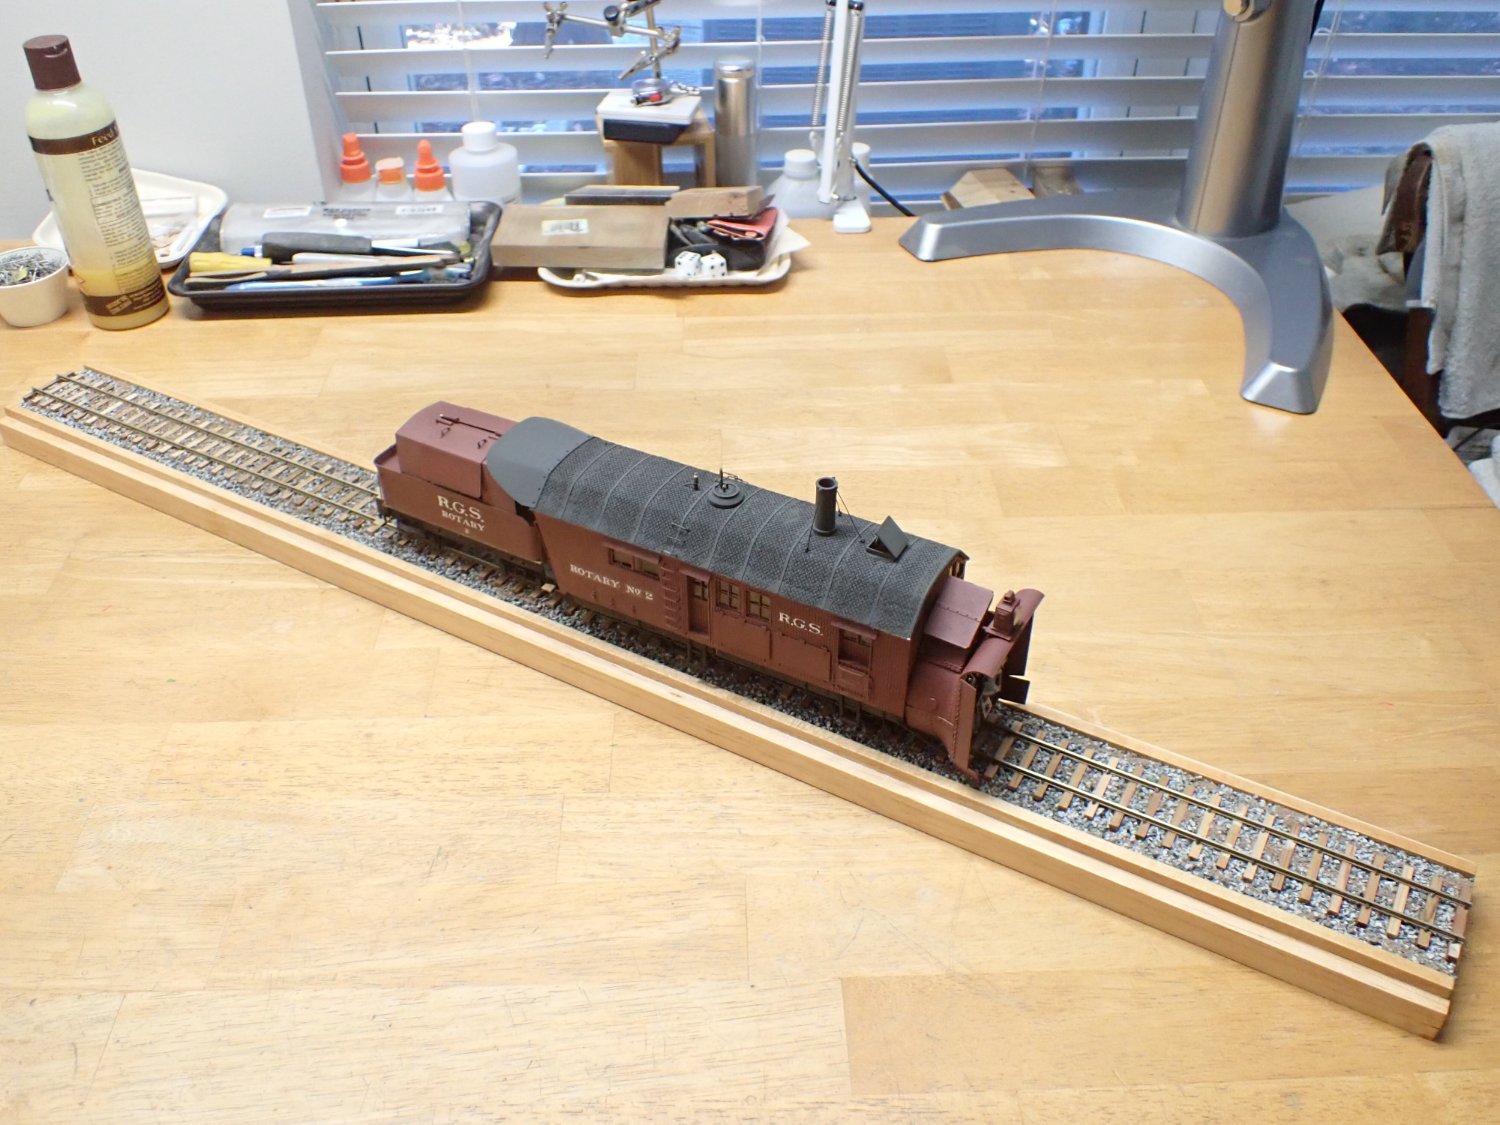
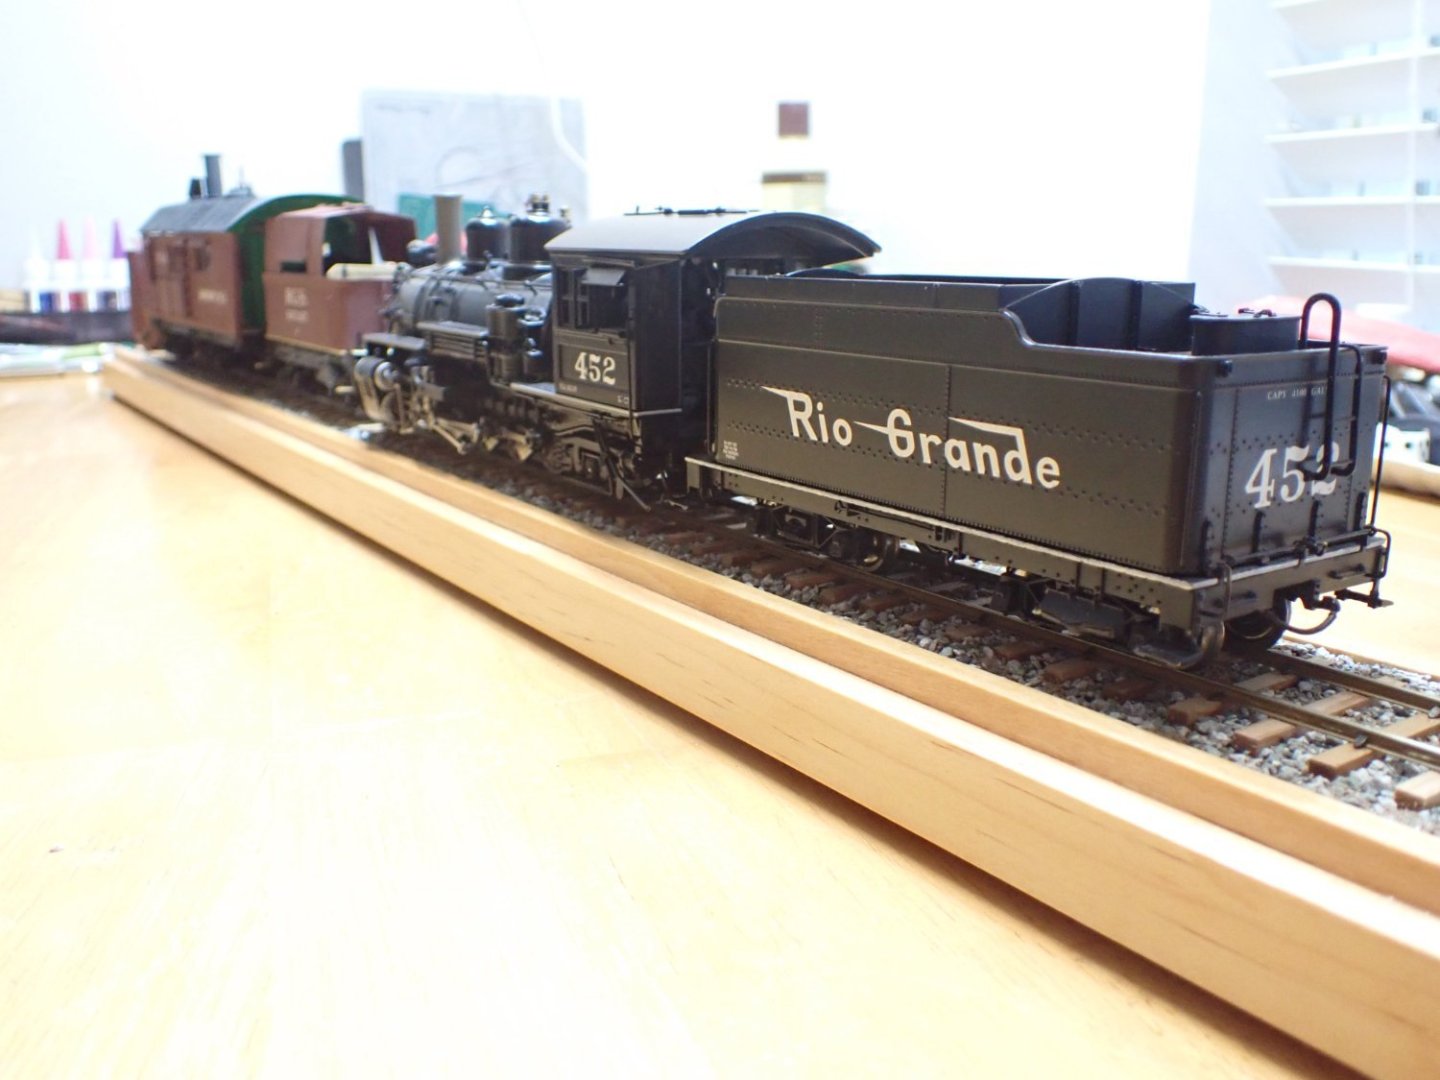
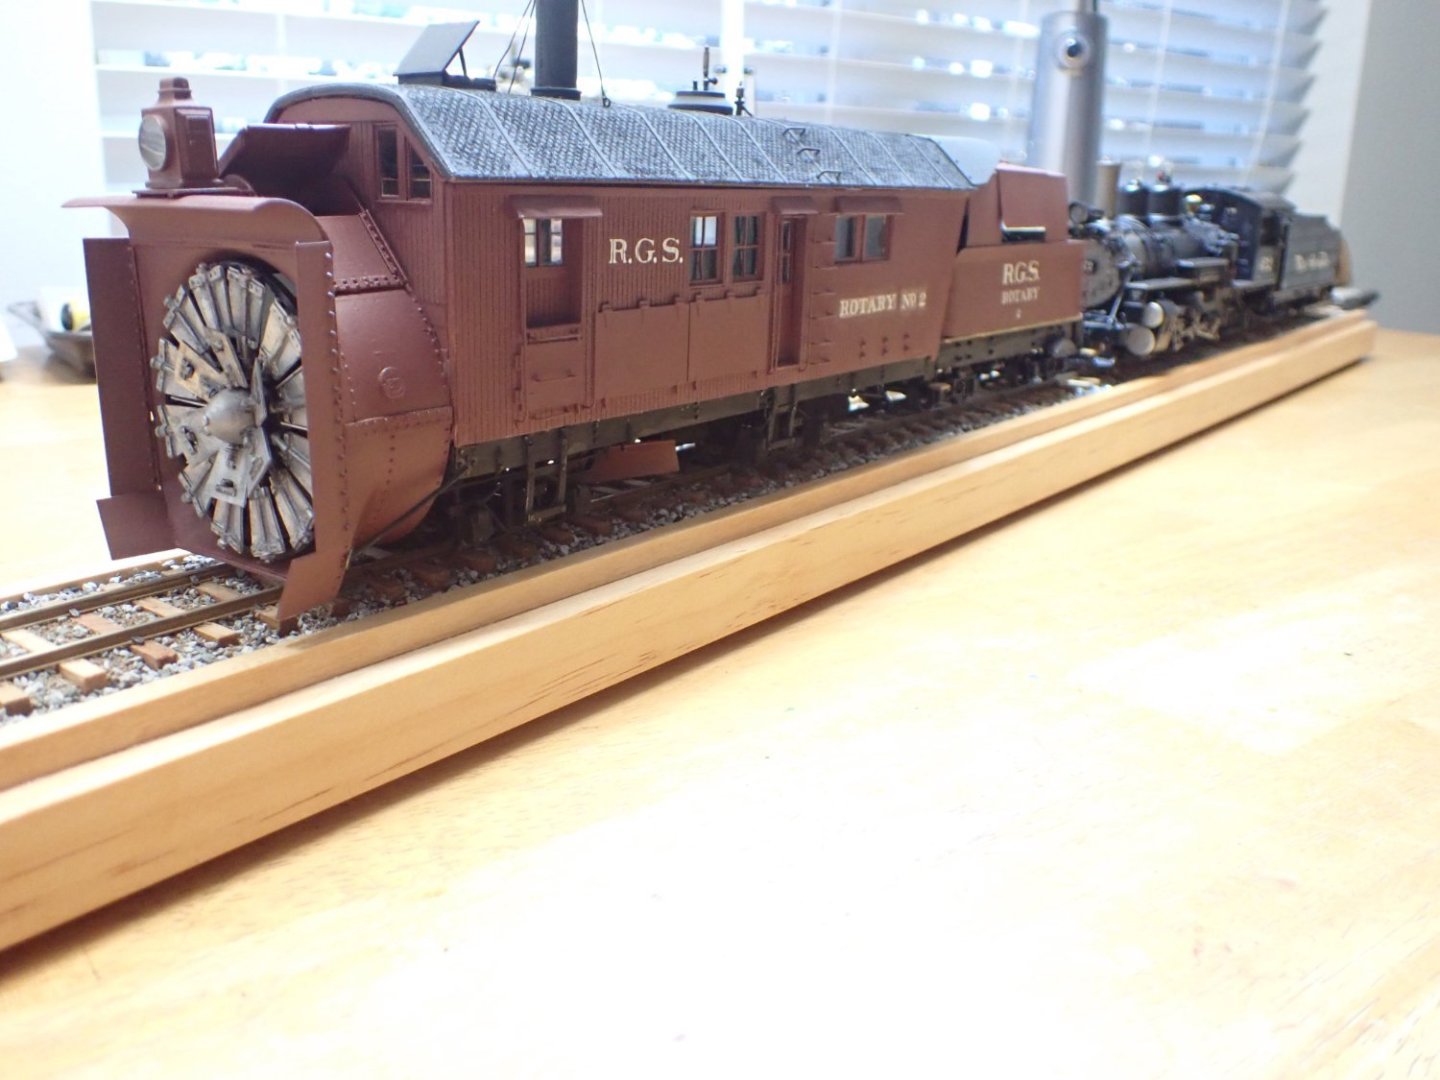
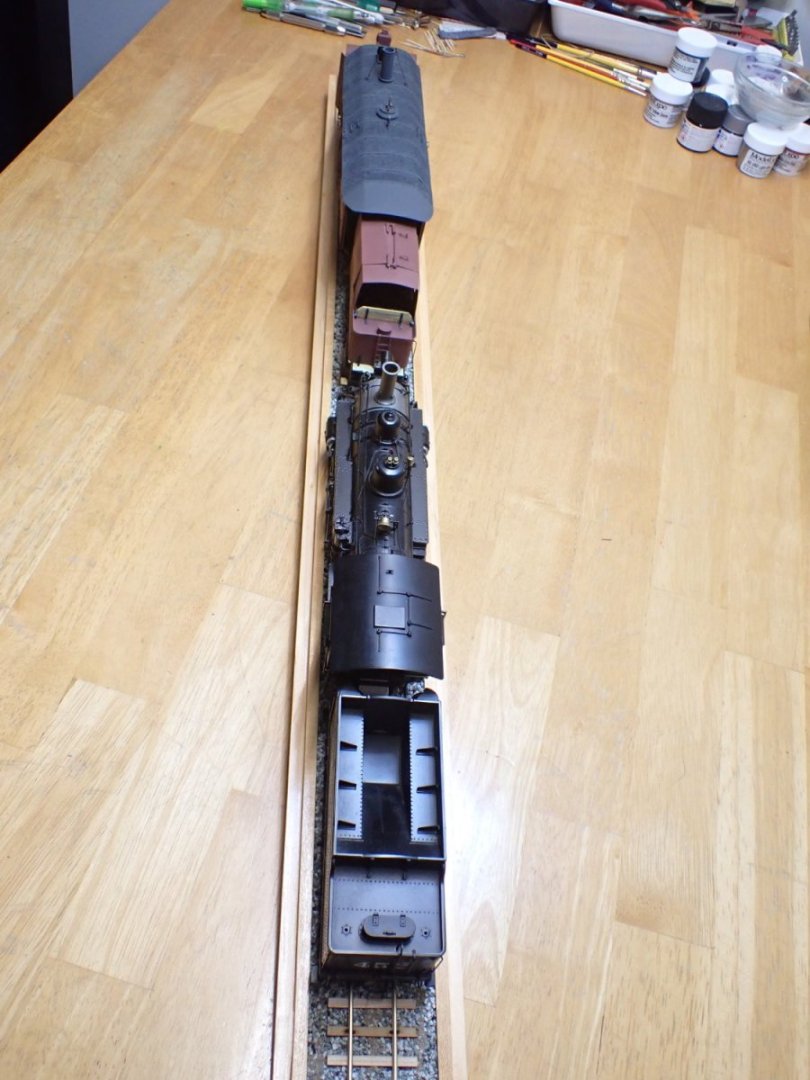
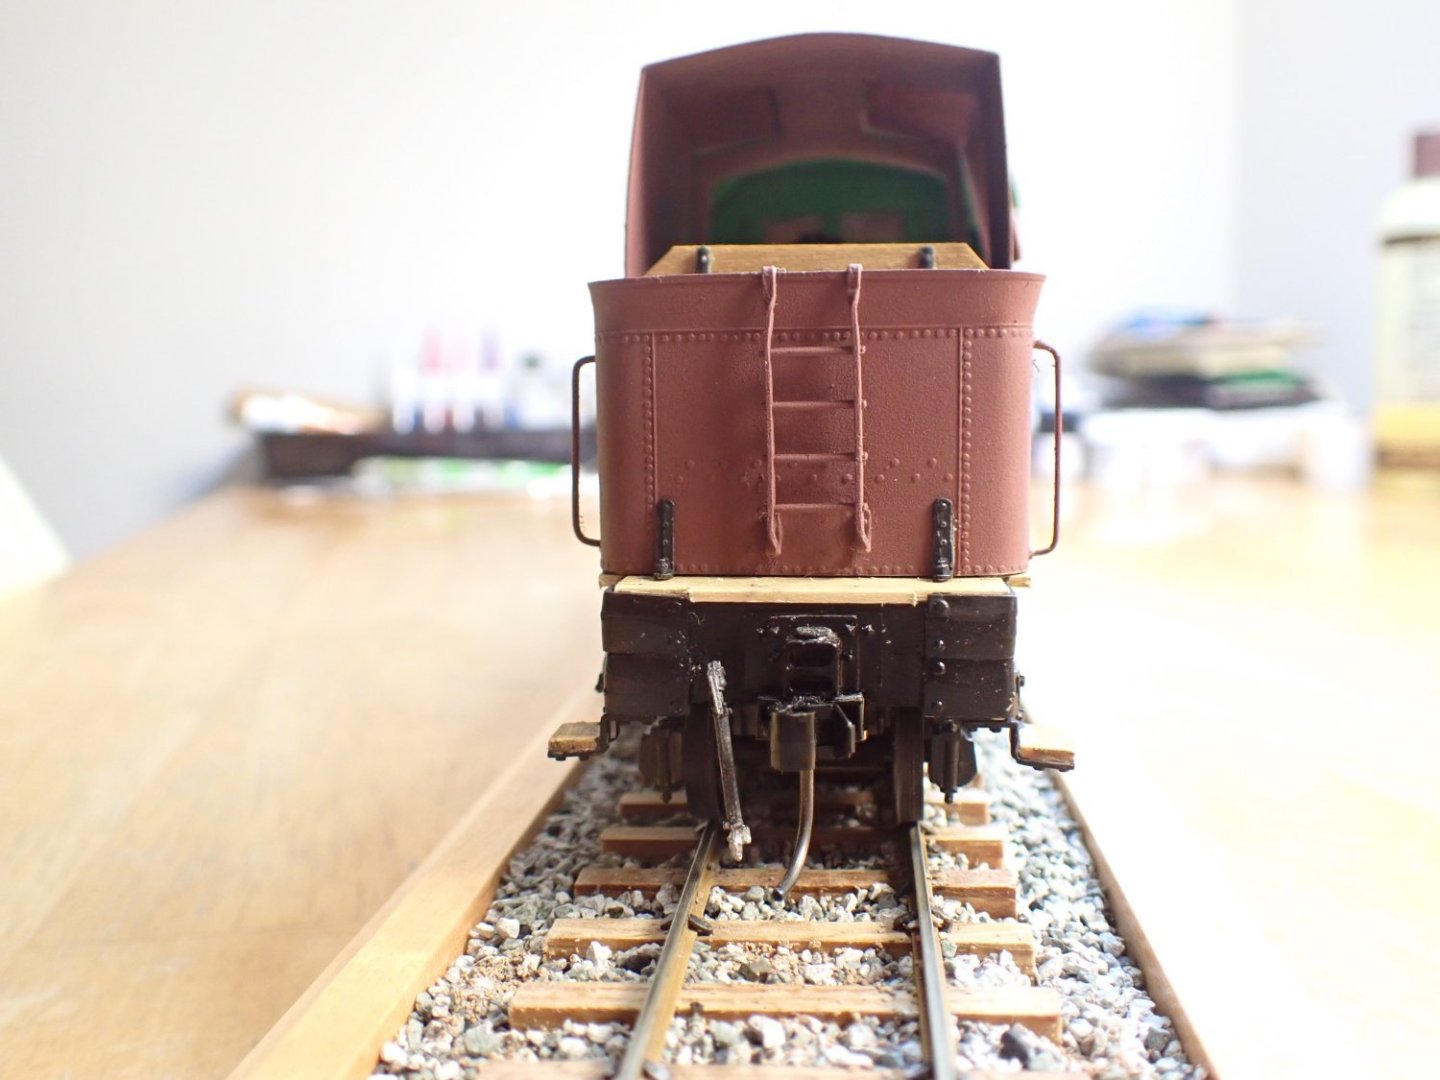
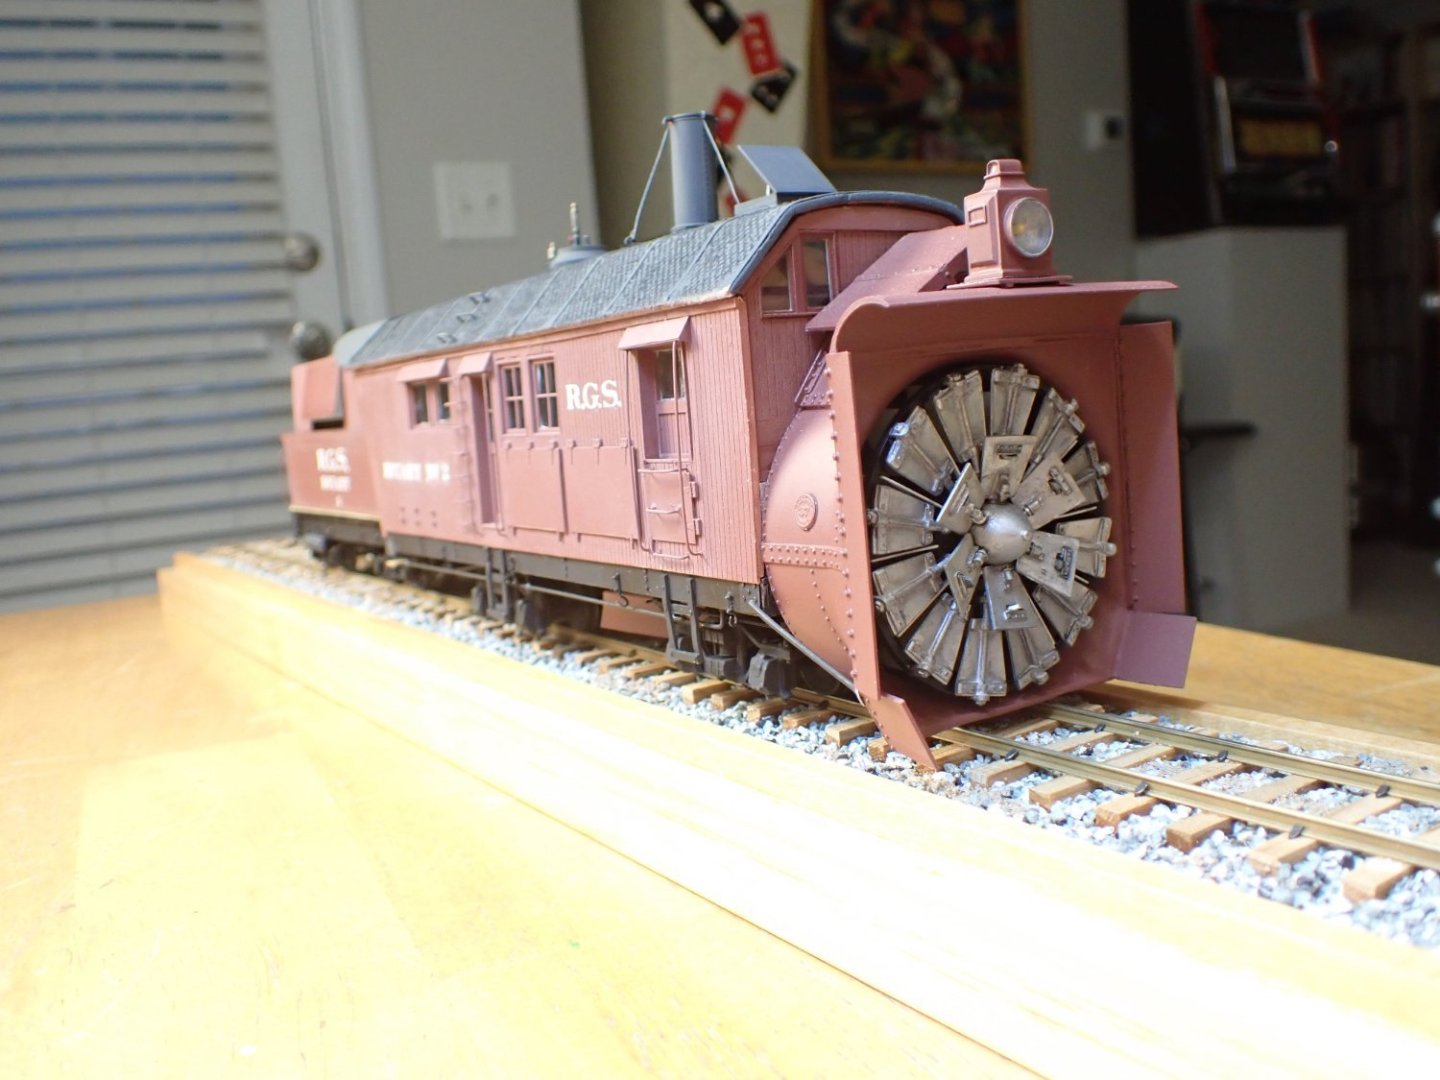
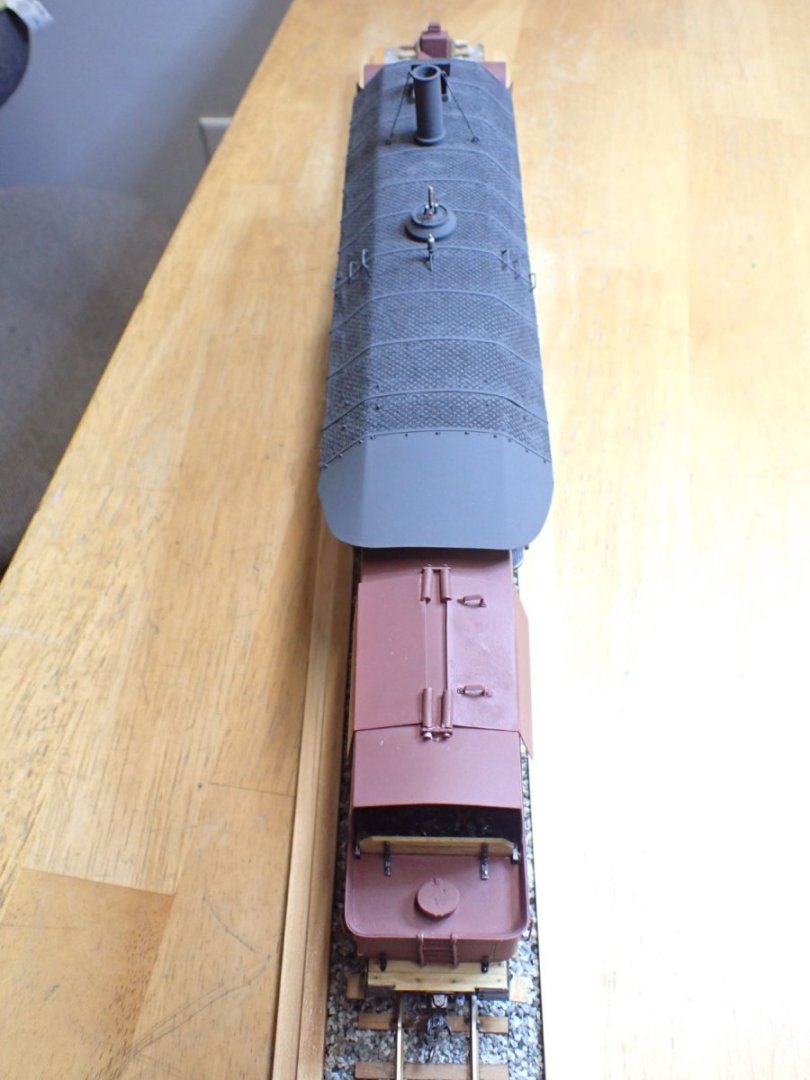
With the track completed (more or less - I thought about replicating some snow but quickly dropped the idea), the snowplow can be installed: In the picture above, you can clearly see that the snowplow was designed for a regular gauge track. An aerial view to complete this phase of the project. Yves


- 102 replies
-
- 15
-
-
-
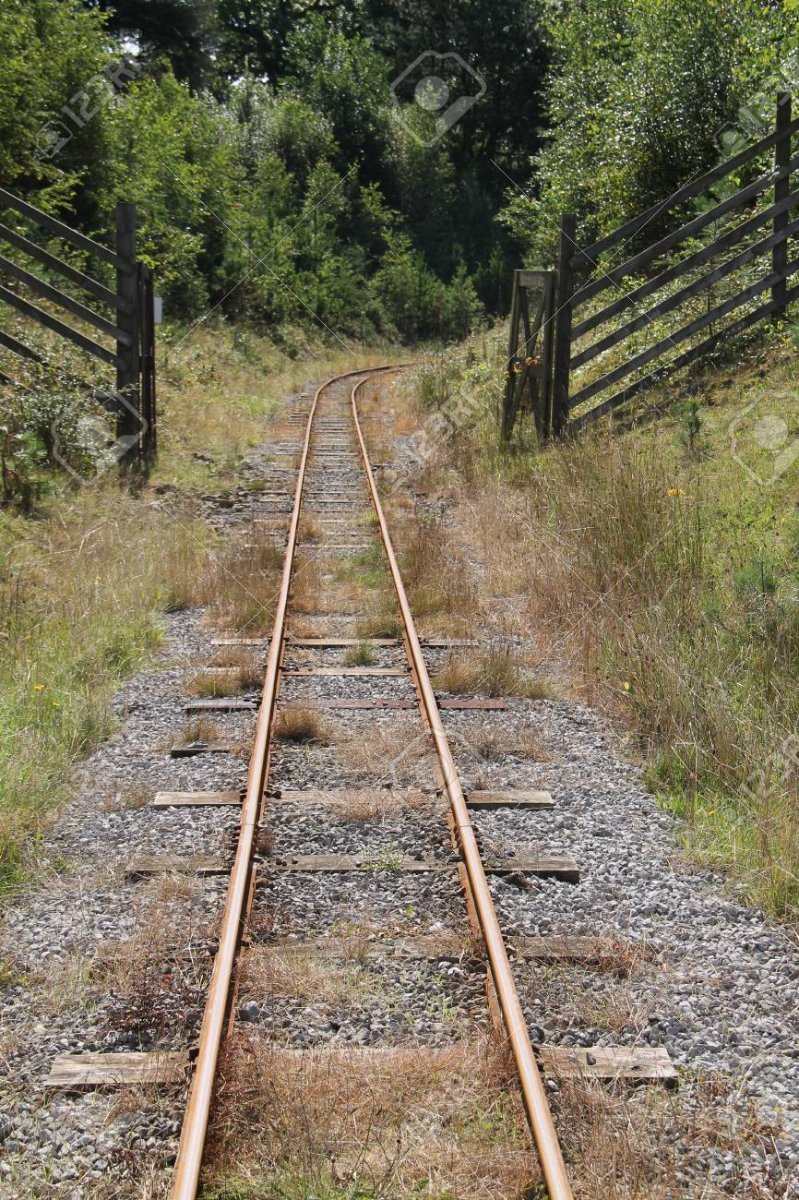
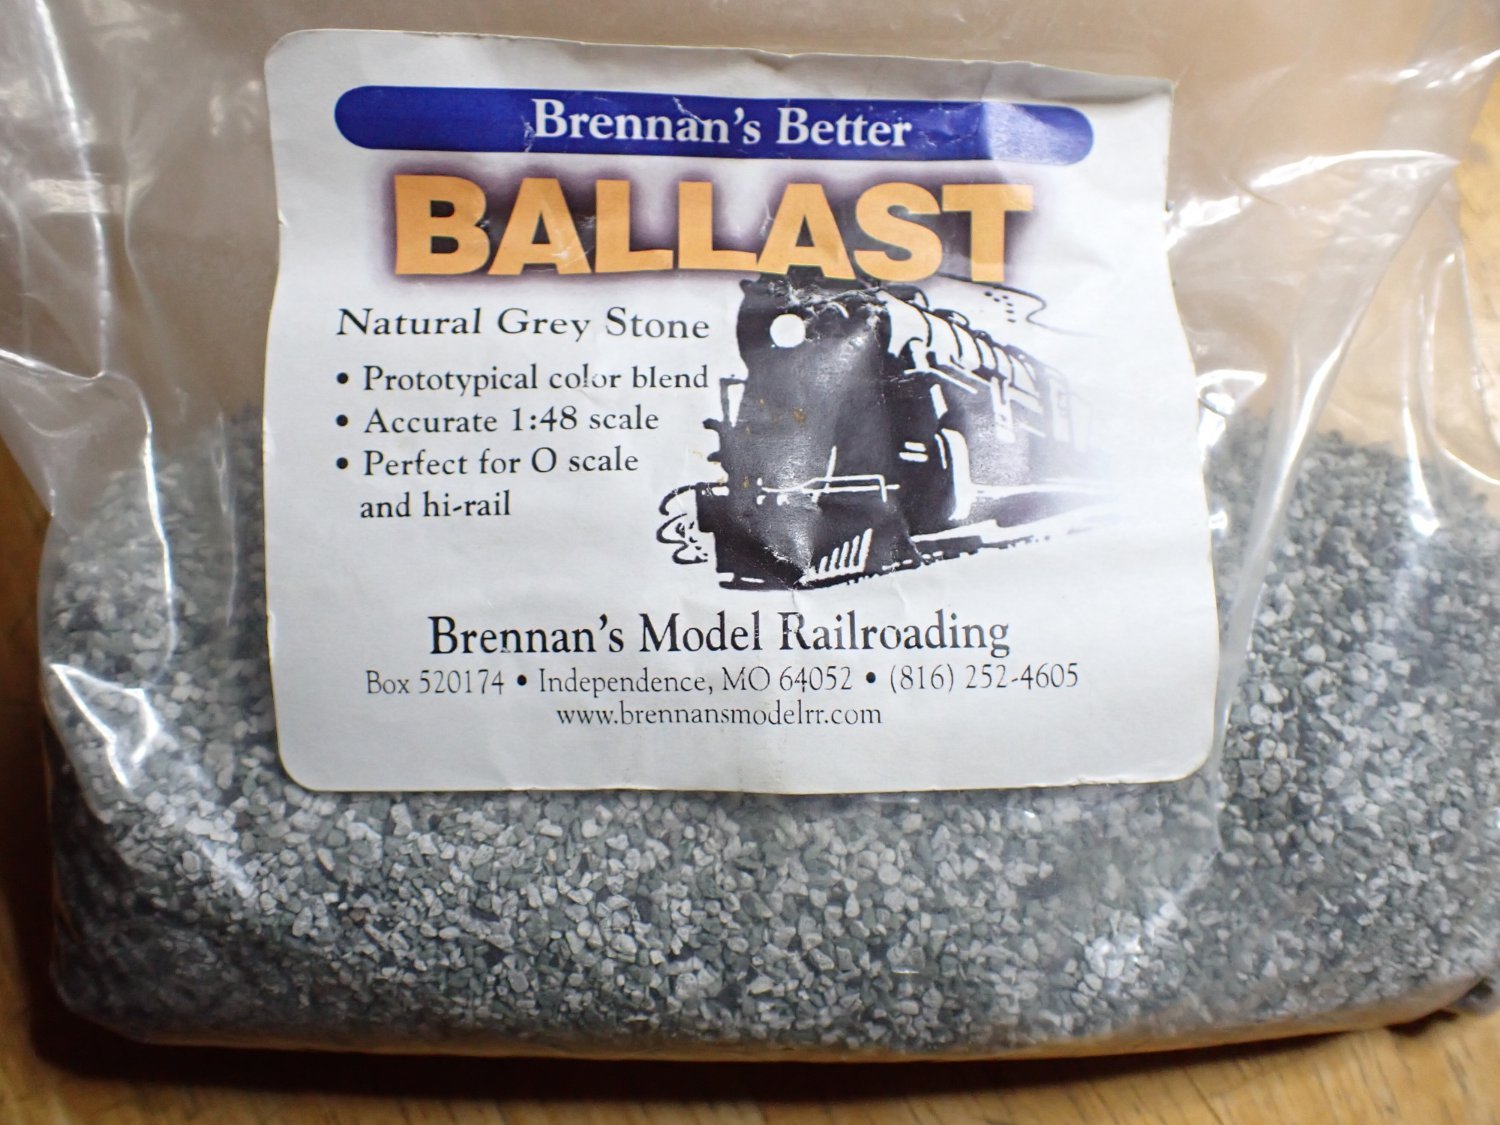
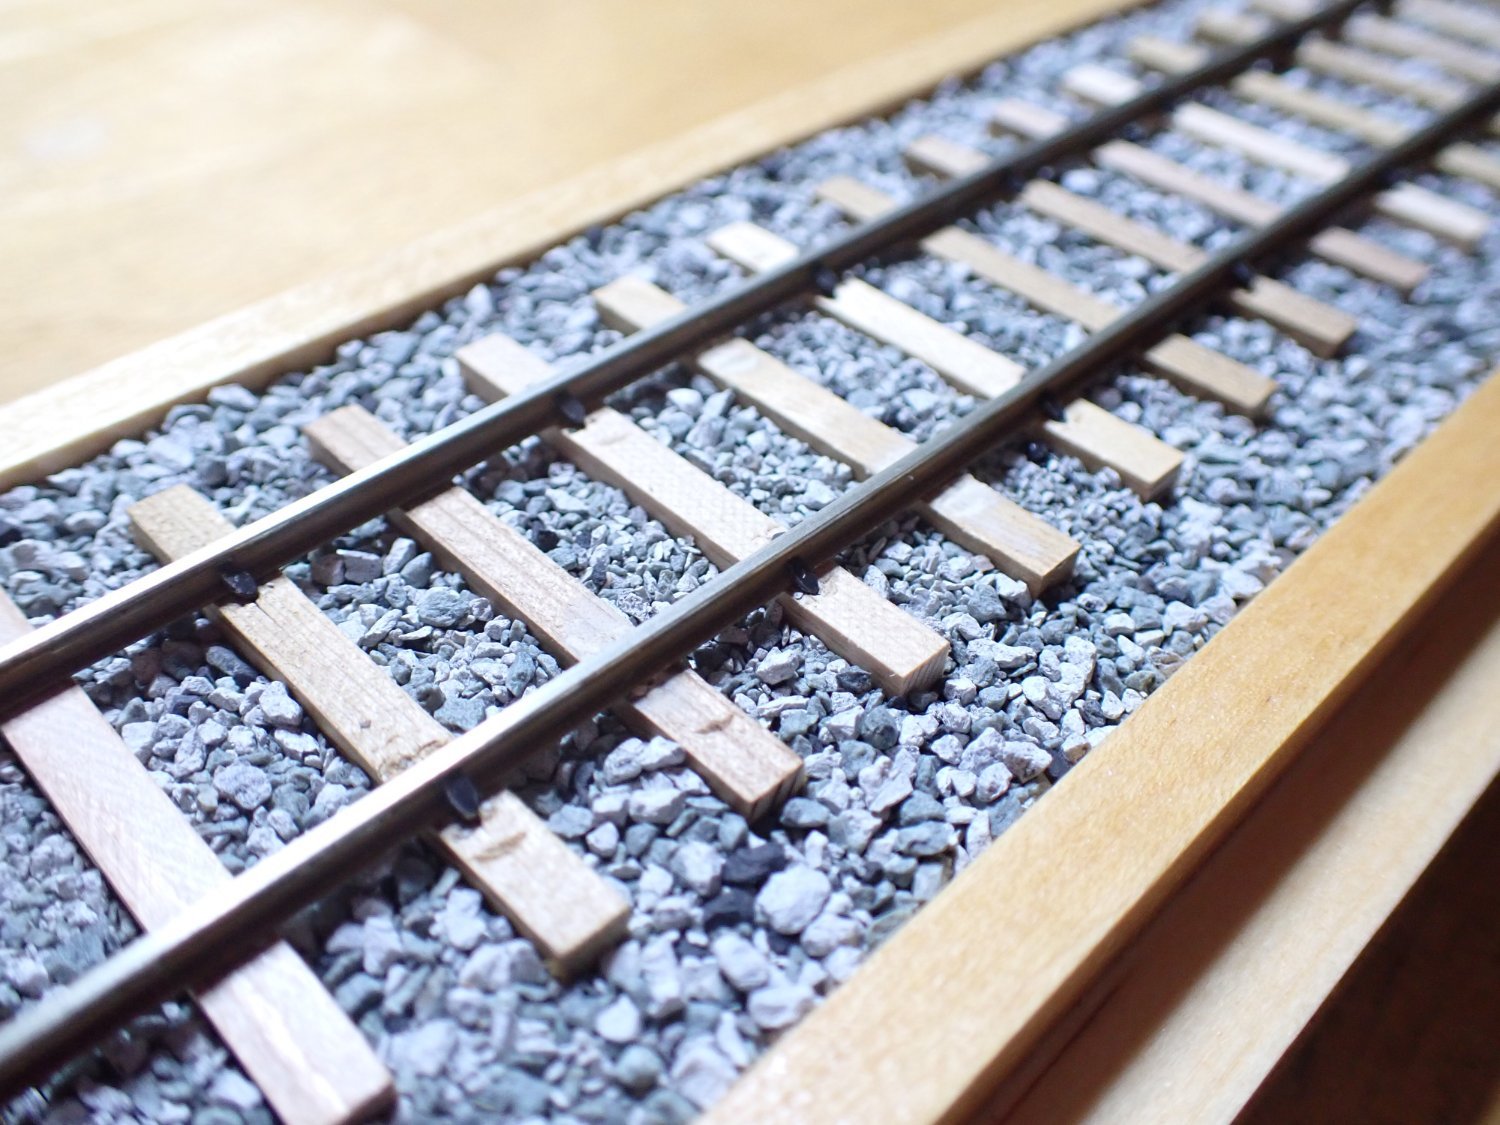
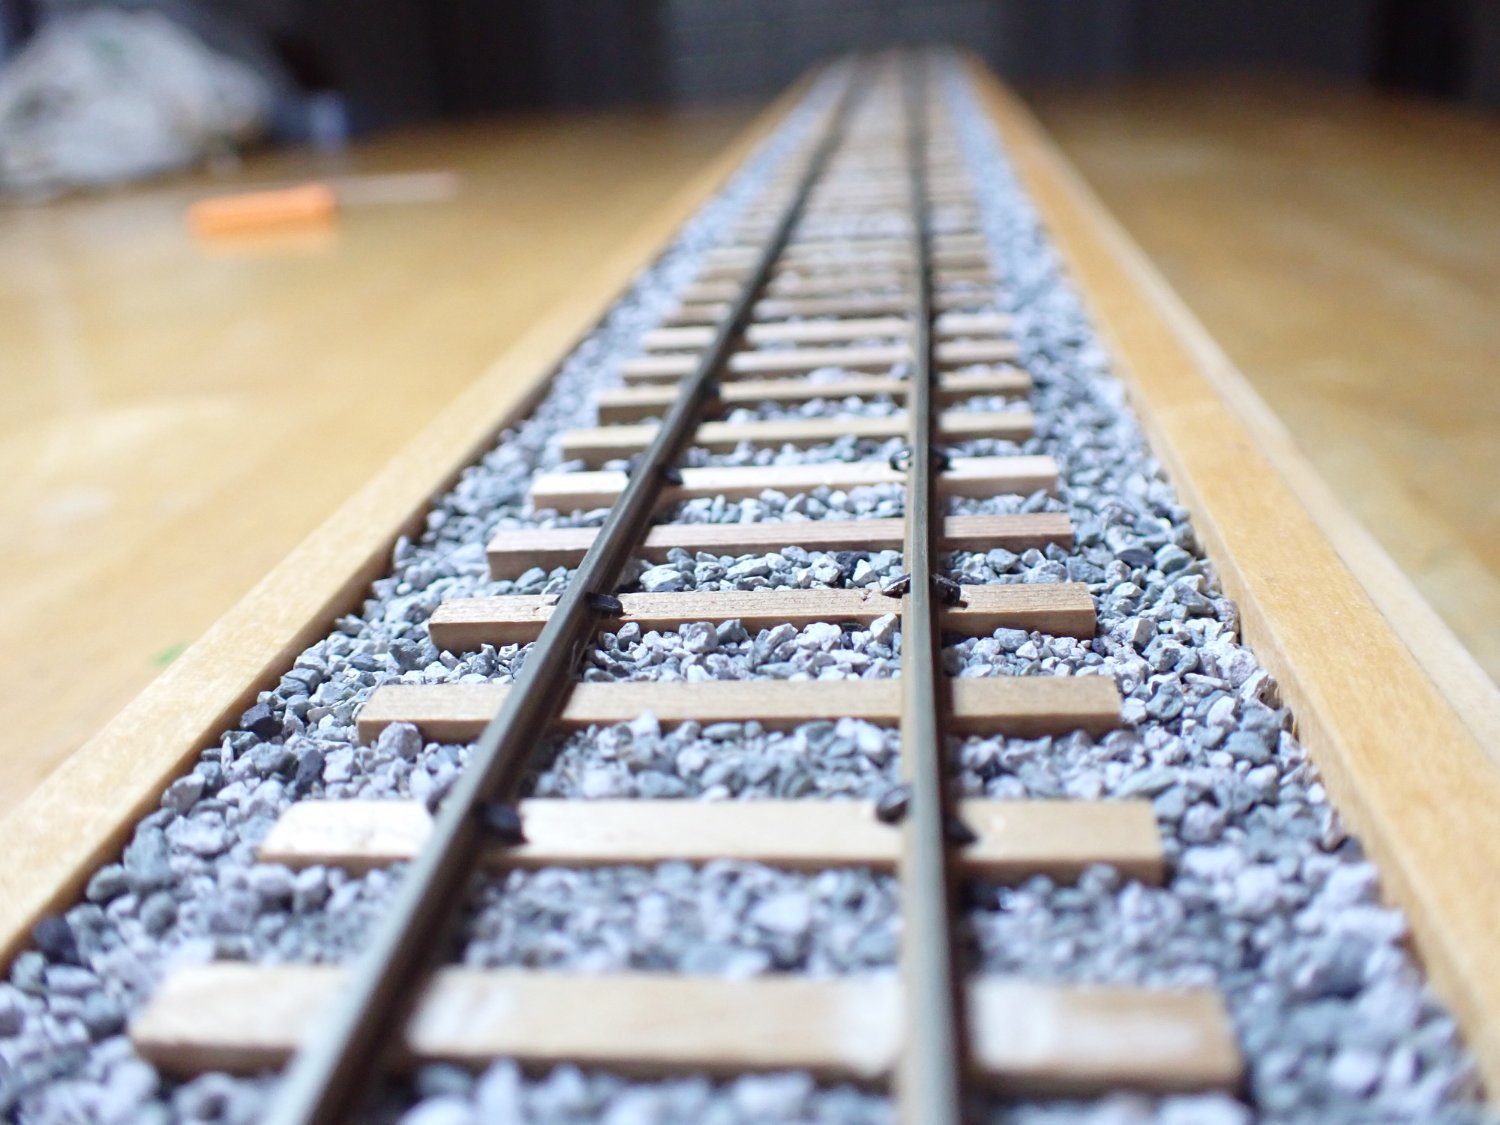
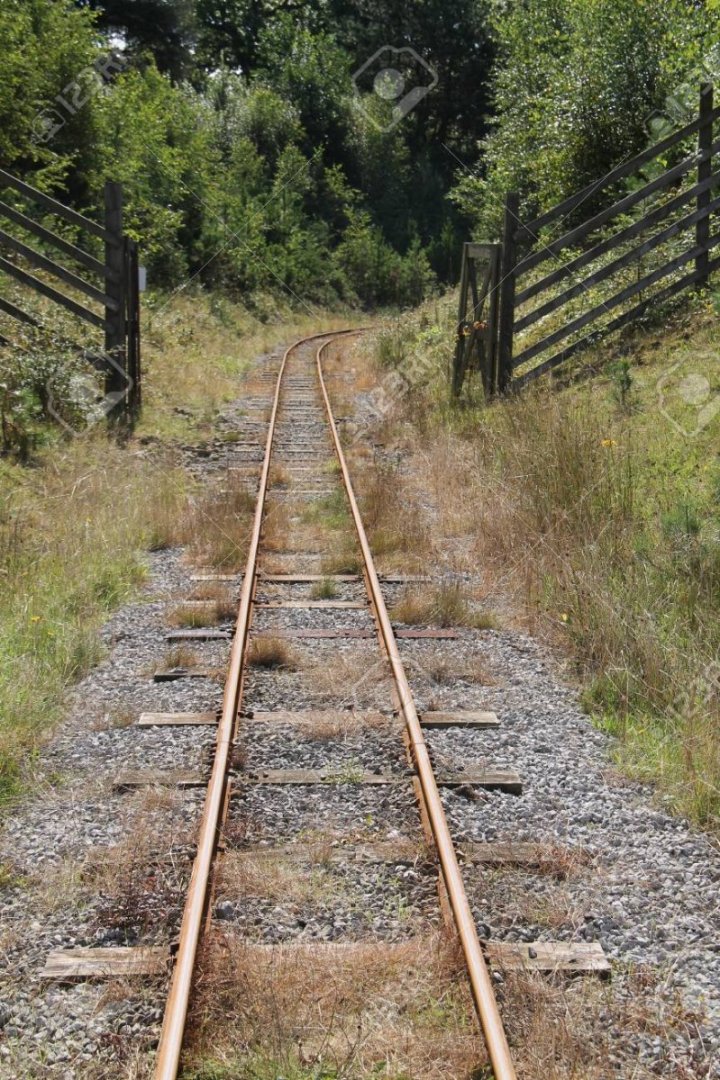
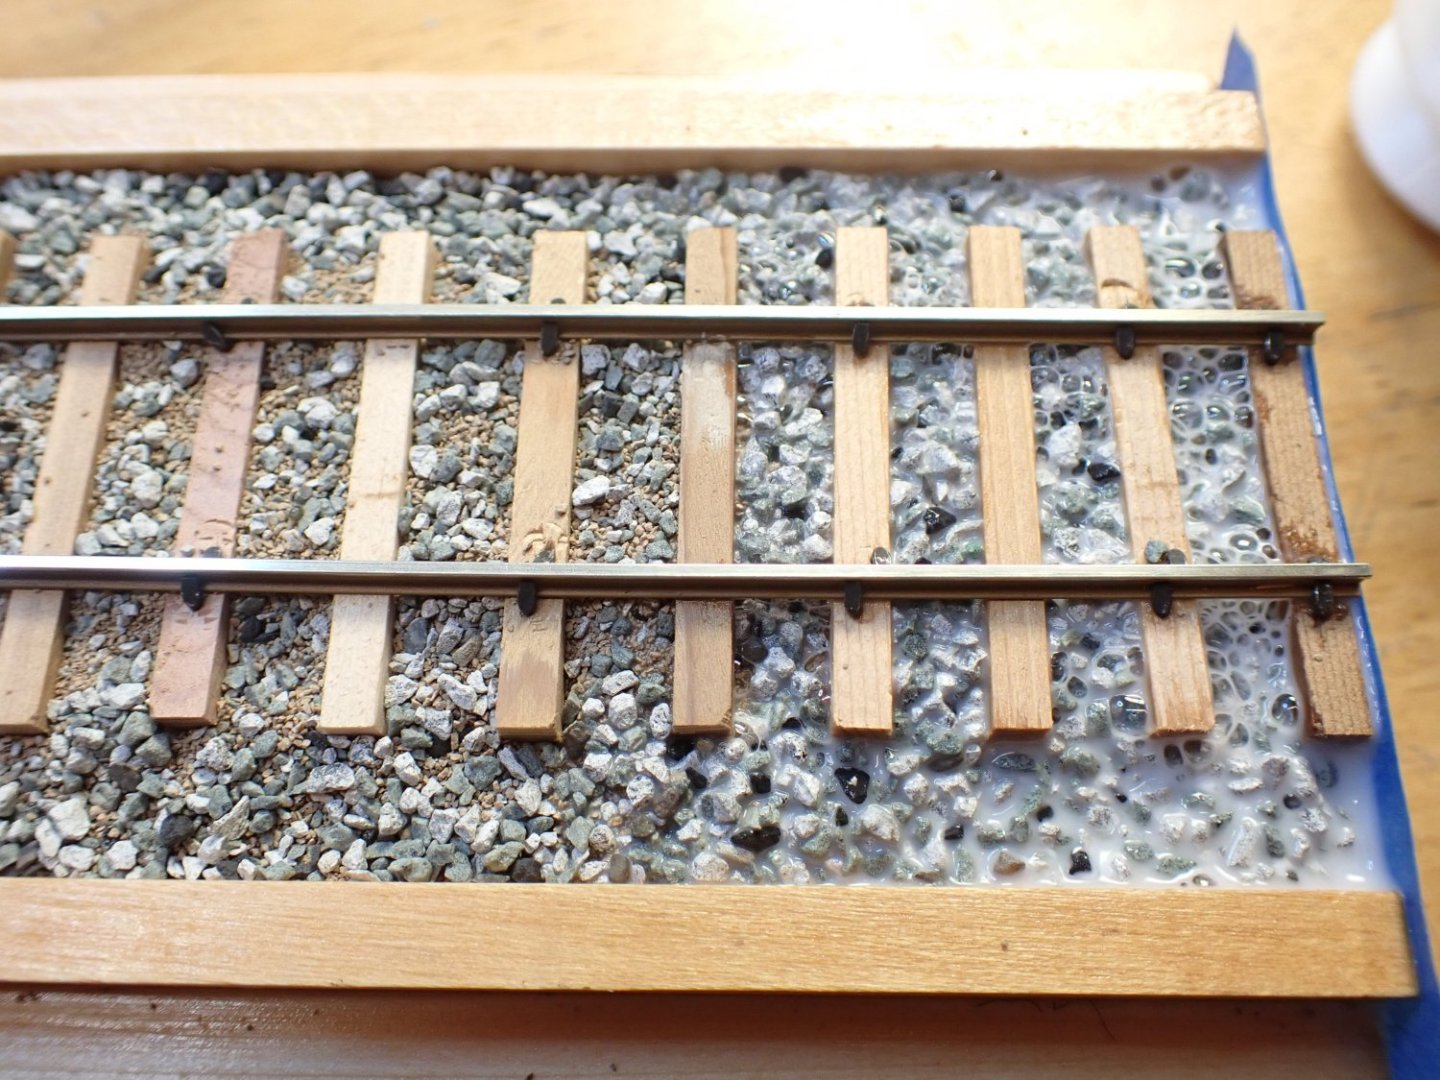
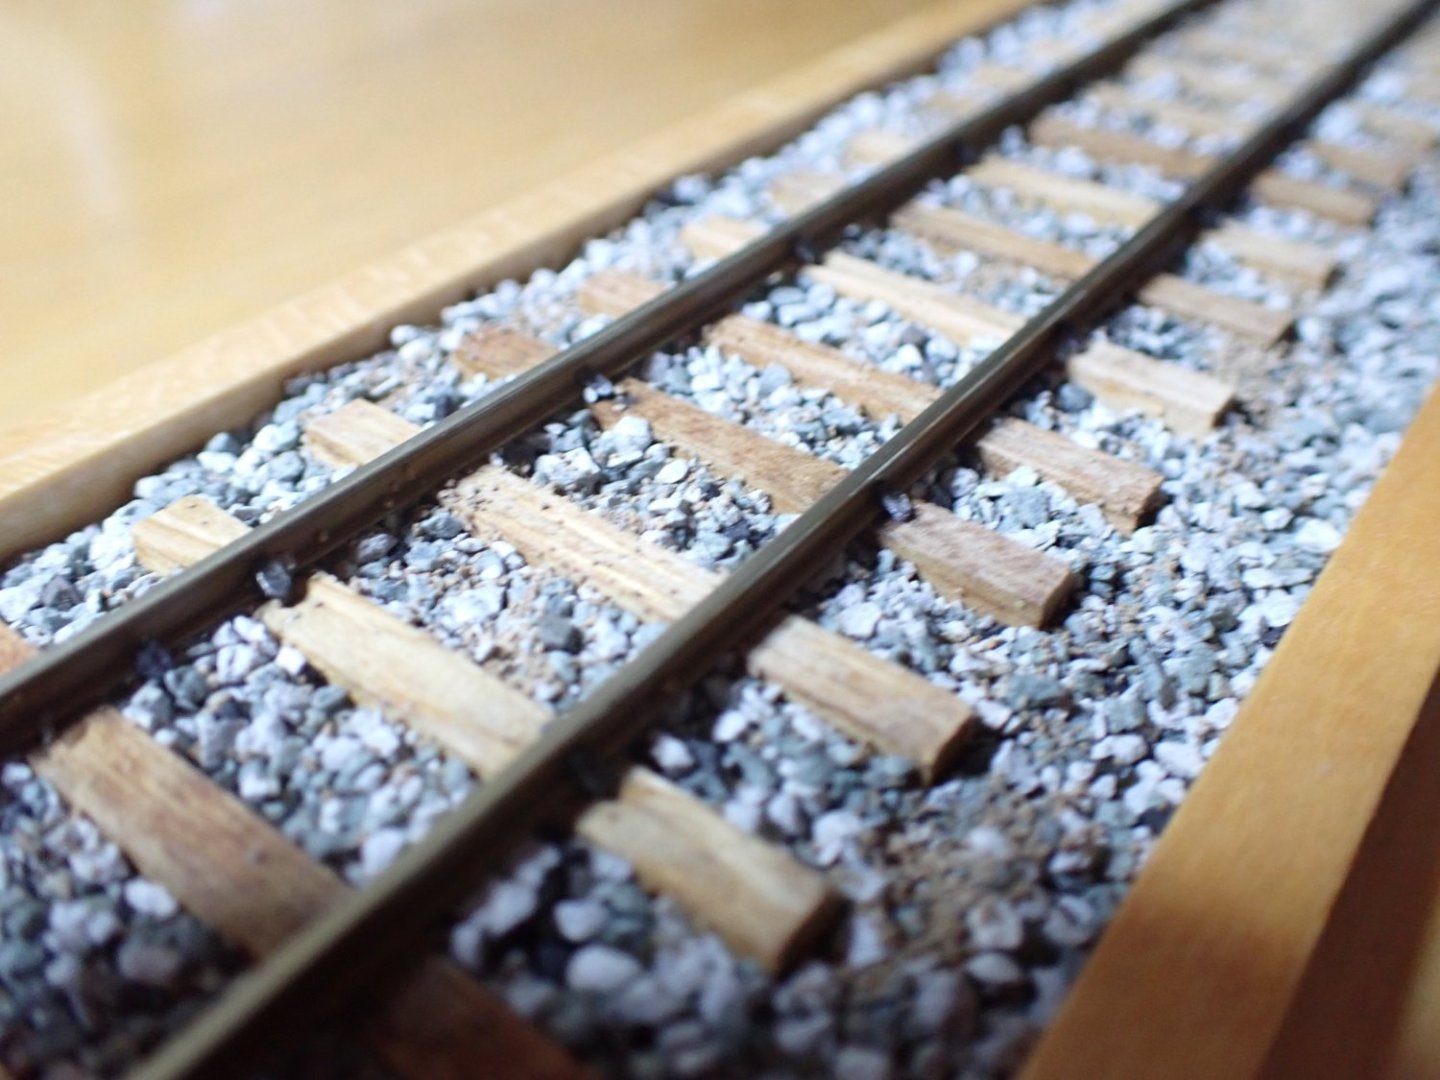
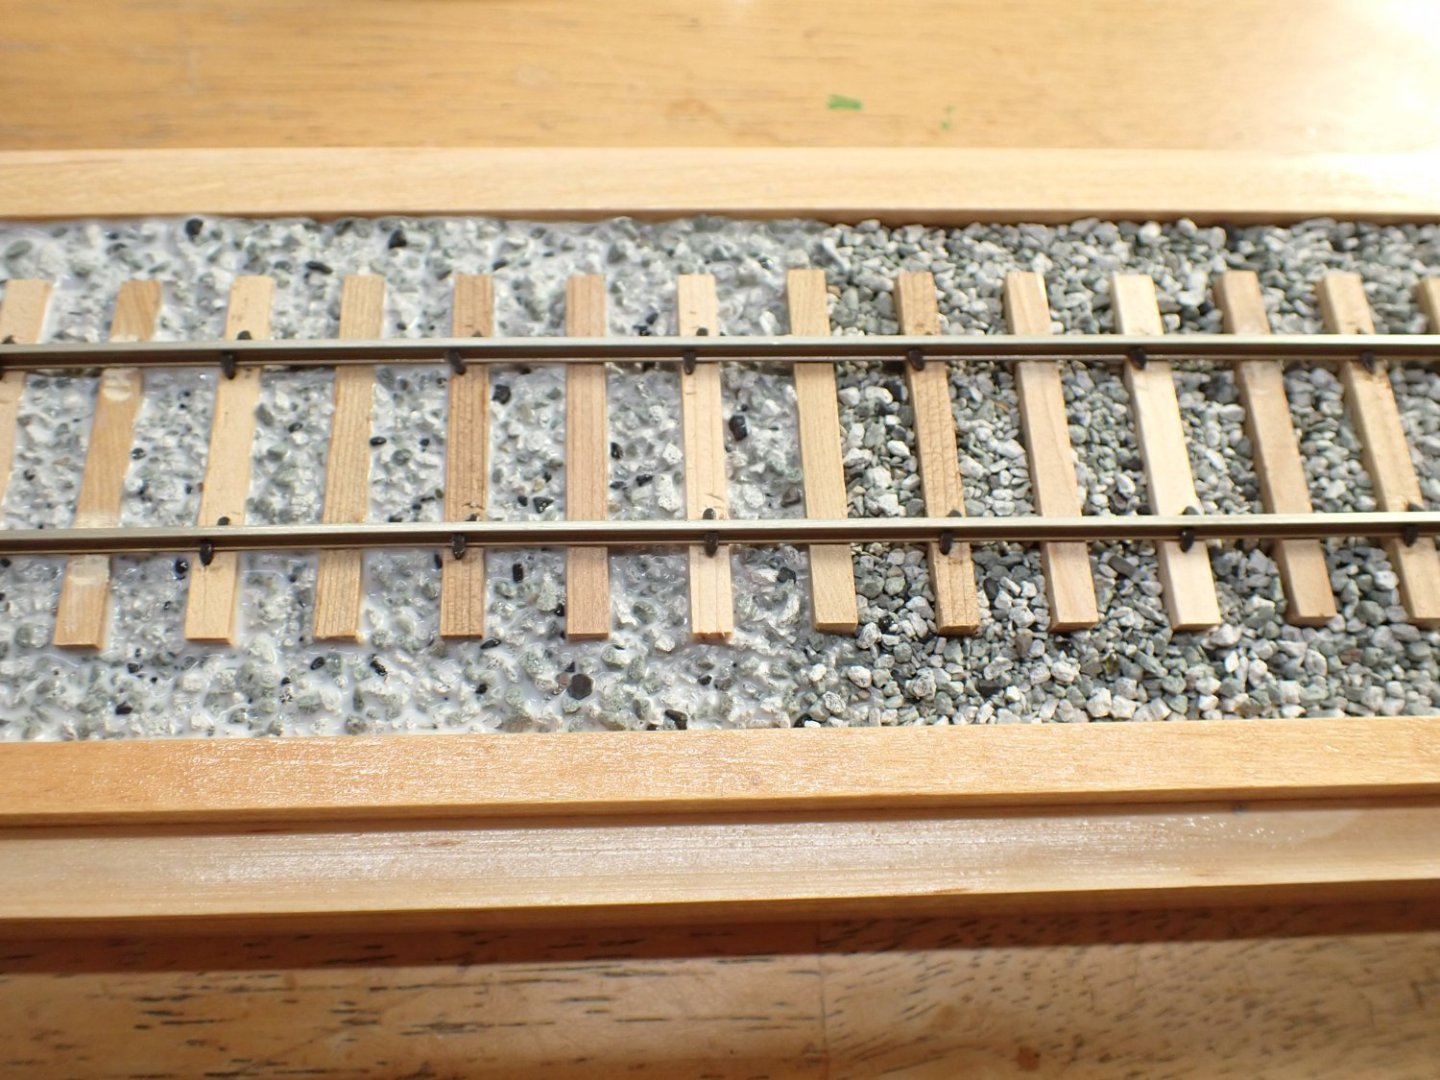
Installation of the rails is now terminated and it is time to pass to the ballasting phase. Below is a picture showing a vintage and seldomly used narrow gauge track. Ballast ispresent but not in the same quantity and thickness as on a main track, with heavy code rails. To ballast the rails, you need the ballast and a special syringe to apply the glue. The bag of ballast is made of real granite crushed to 1/48th scale by Brennan. Brennan has made for himself a name and his ballast and coal (used in the tender) have become the reference in the O scale 2 rails world. The syringe can be found with Micro-Mark and is very useful to apply precisely and delicately the mixture of 50% PVA glue, 45% water and 5% isopropyl alcohol to make the water ever wetter. First step is to apply the ballast, using a soft brush: The glue mixture is then spread delicately between the ties. Once dry, the track is a lot more realistic: Some dirt, grass (Woodland Scenic) is also added to show the reduced lack of maintenance of that track: Yves


-
Moonbus from 2001: A Space Odyssey by catopower
yvesvidal replied to catopower's topic in Non-ship/categorised builds
It would be nice to see a Build log of this model. Yves -
You are pushing the perfection to use the same materials as on the prototype ship. Yves
-
Not yet. Too many other projects.... Yves
-
Probably HO scale. There is a tremendous choice of figures in that scale. Yves
-
Great work on the rear tires (and everything else, of course). They look very realistic. Yves
-
Incredible project. You are very brave to build such an enormous structure around the vessel. I am sure that the Movies Studio will hire you for their next Star Wars Sequels.... Yves
-
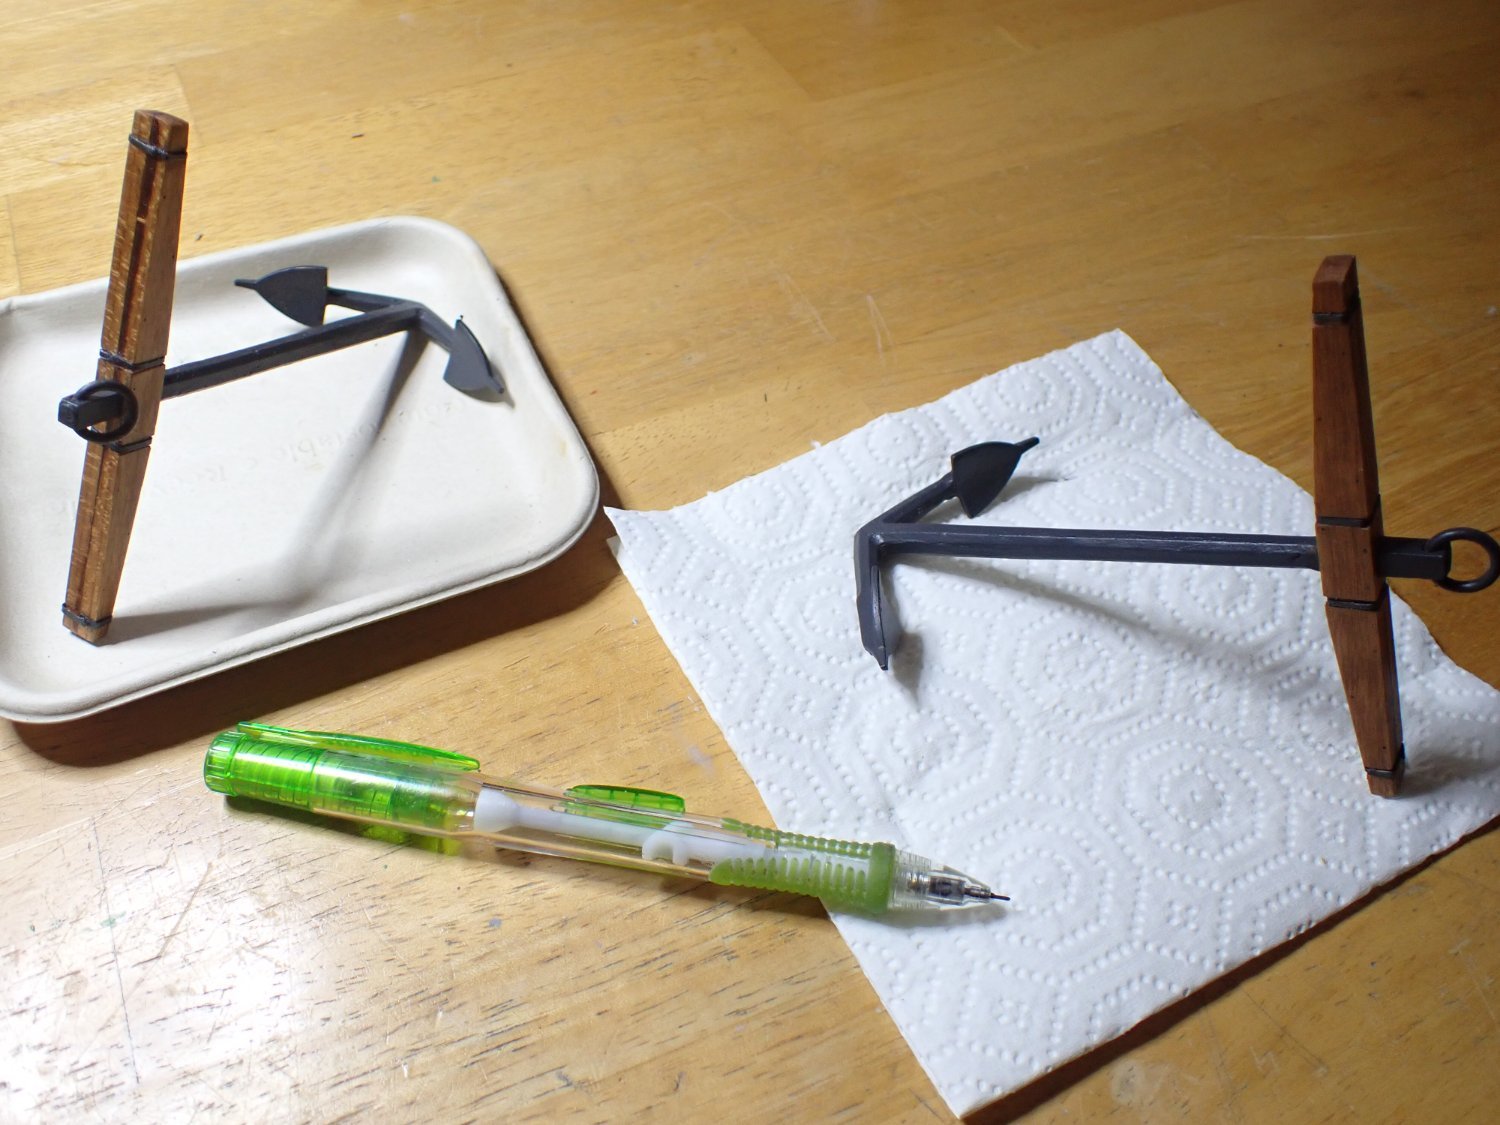
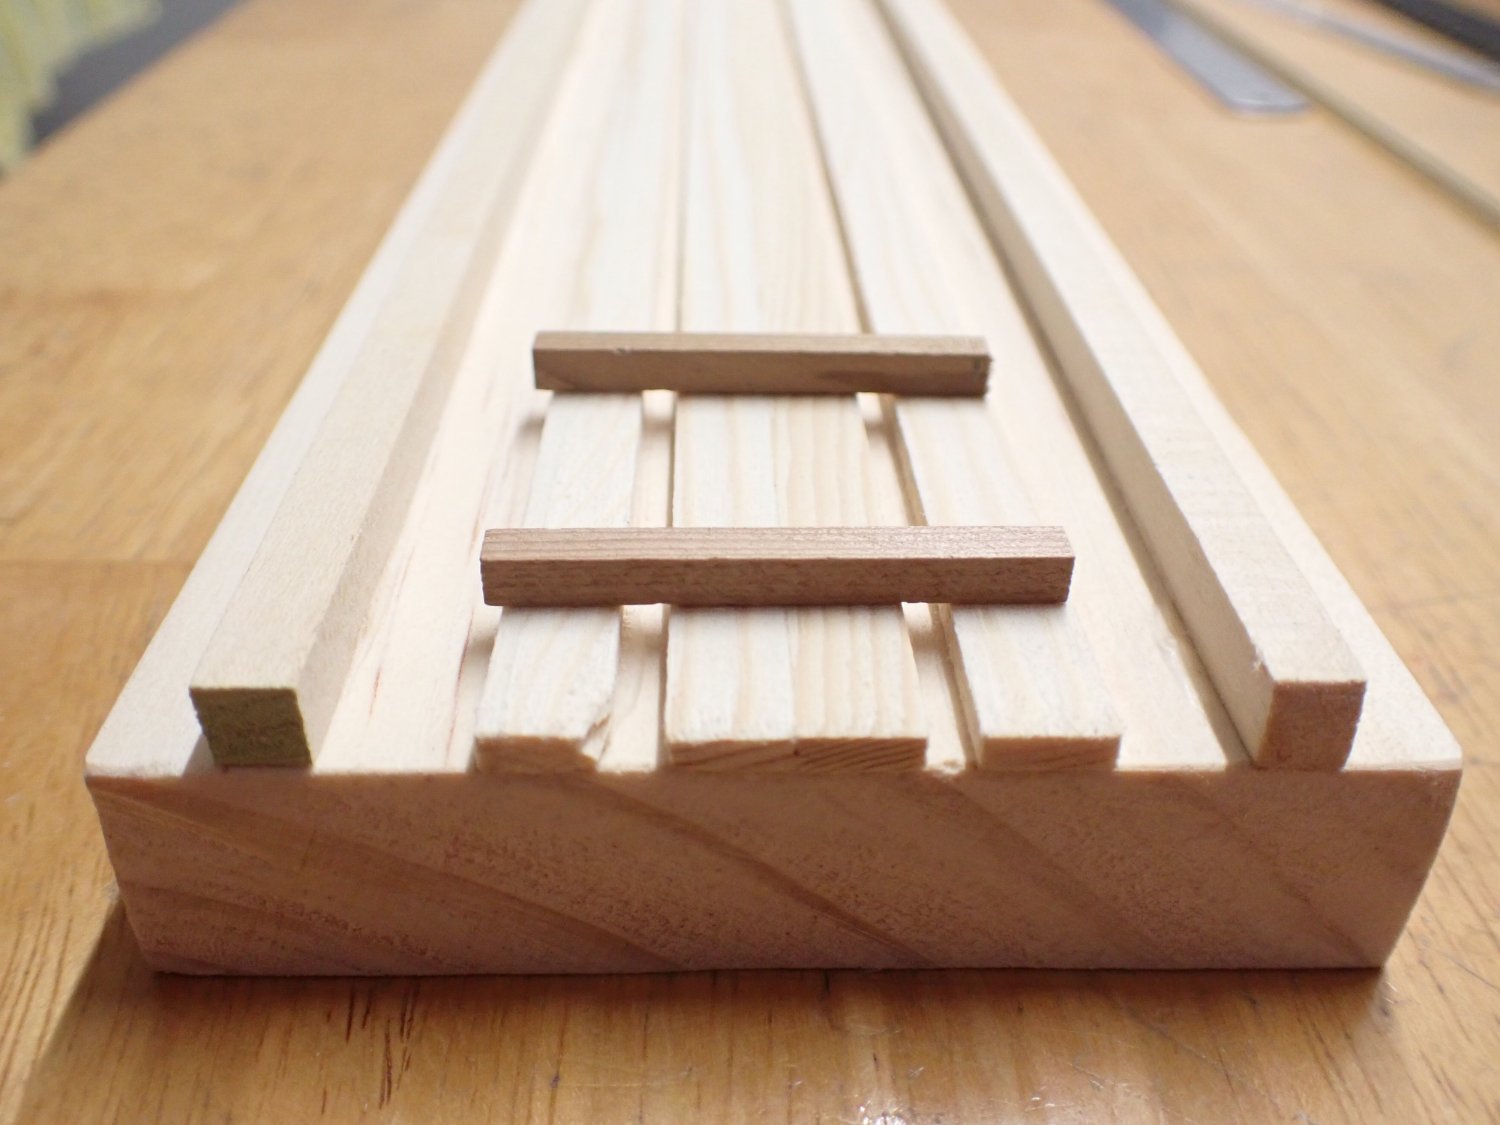
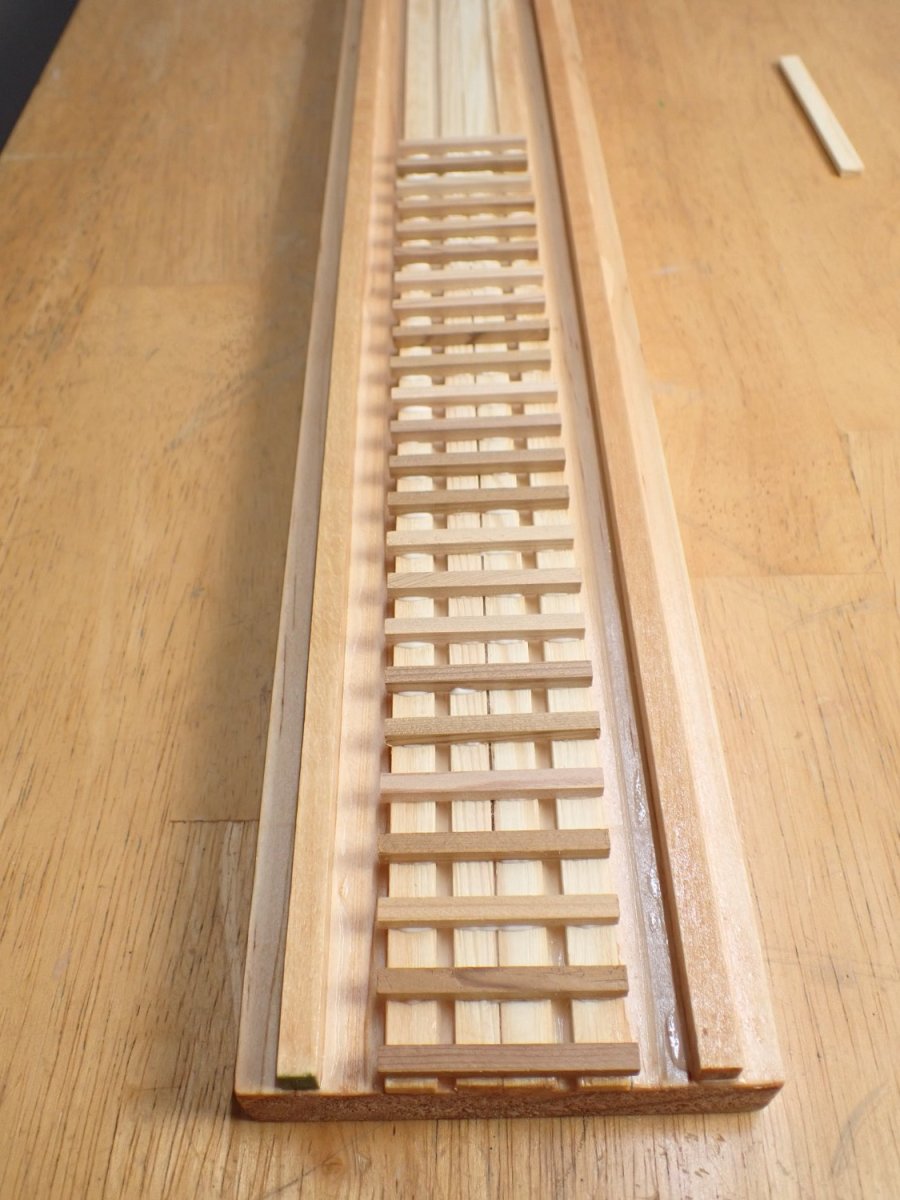
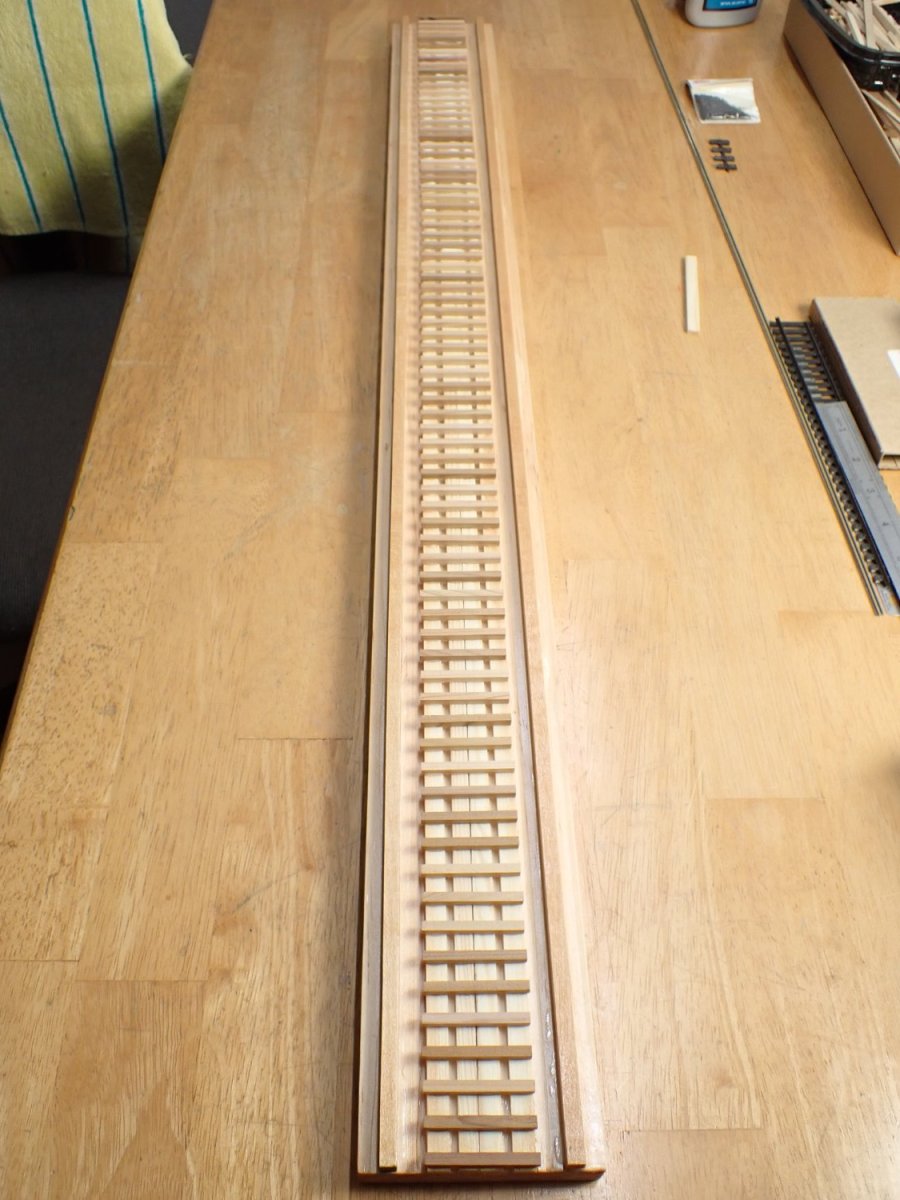
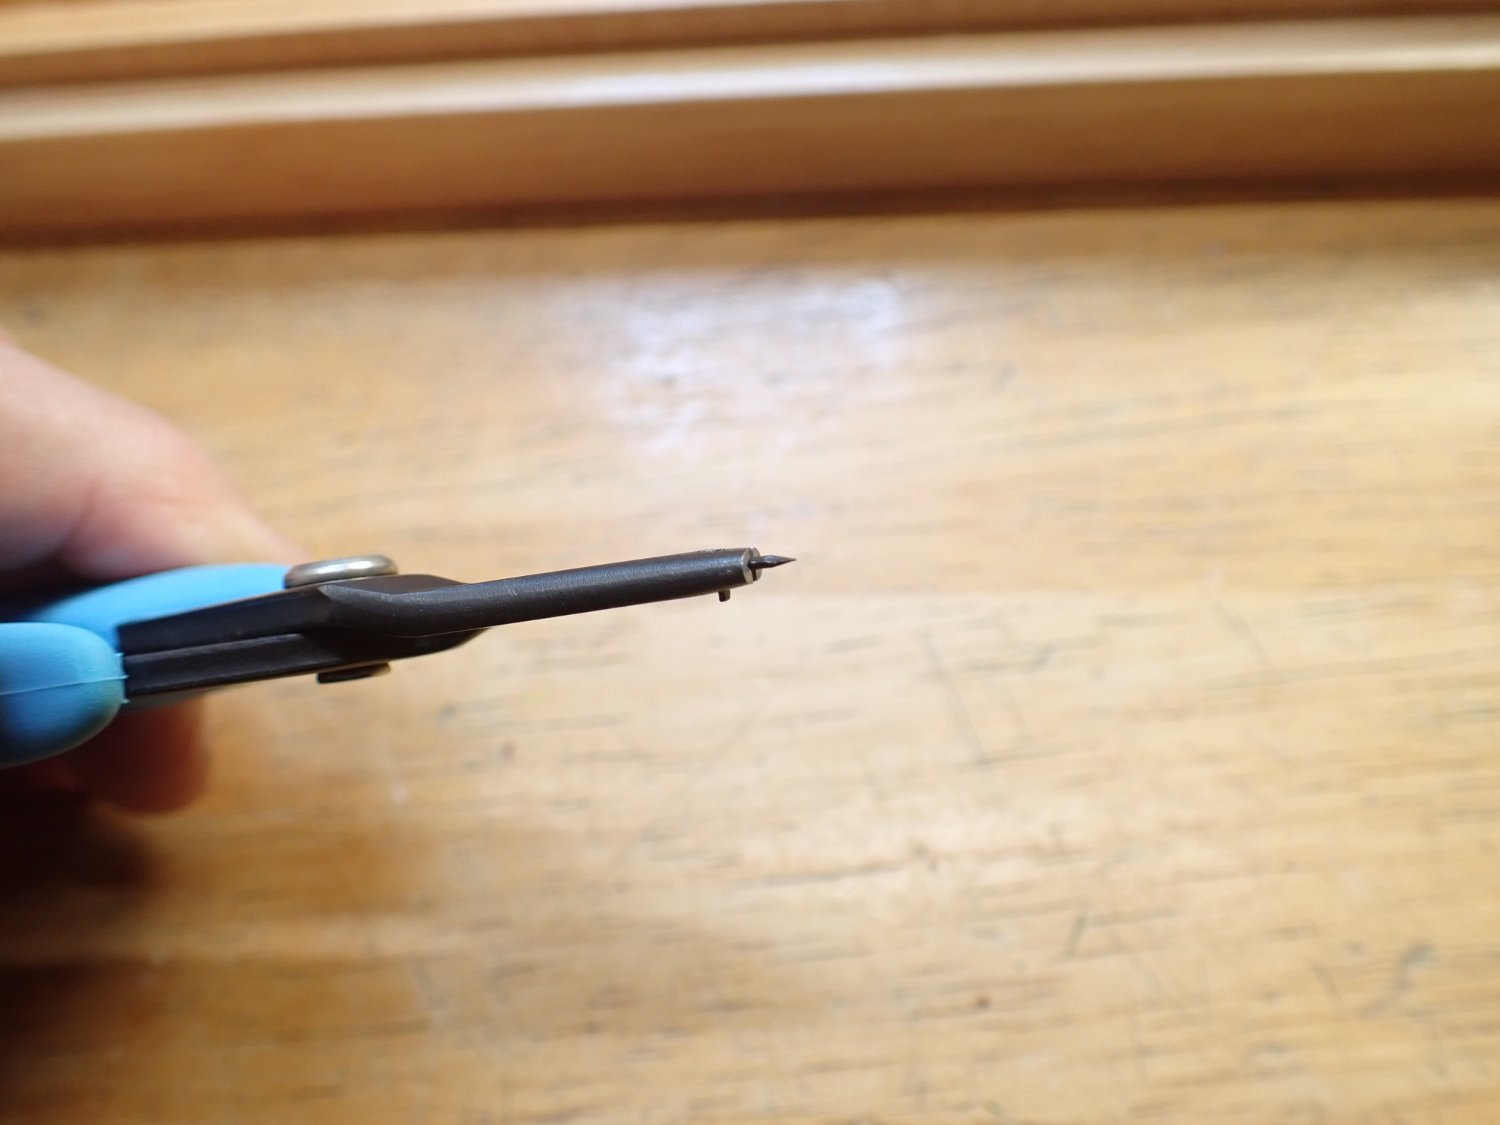
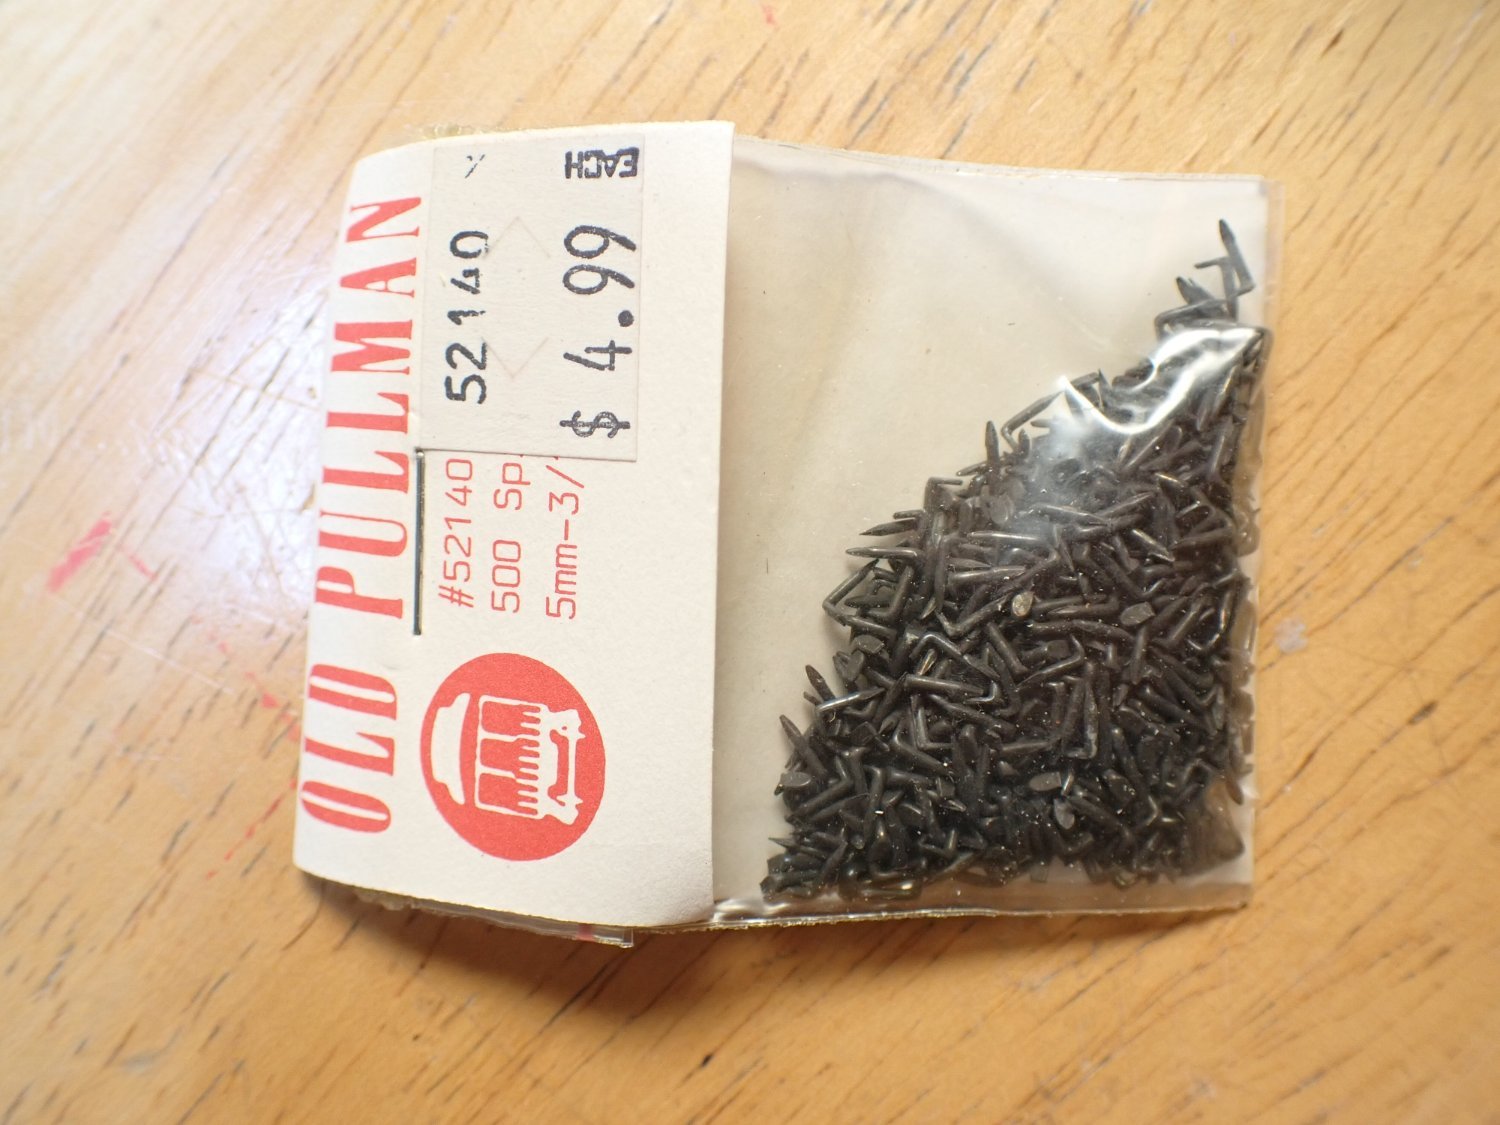
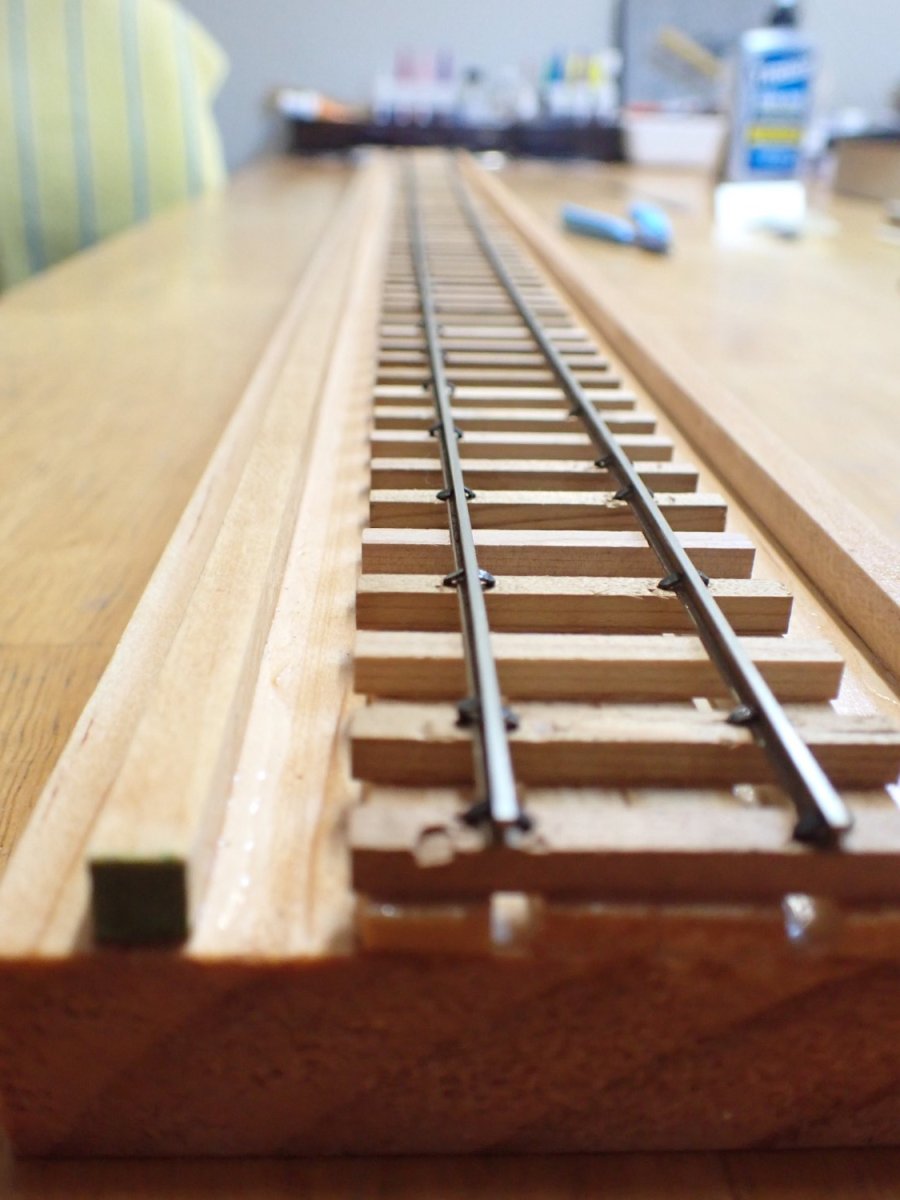
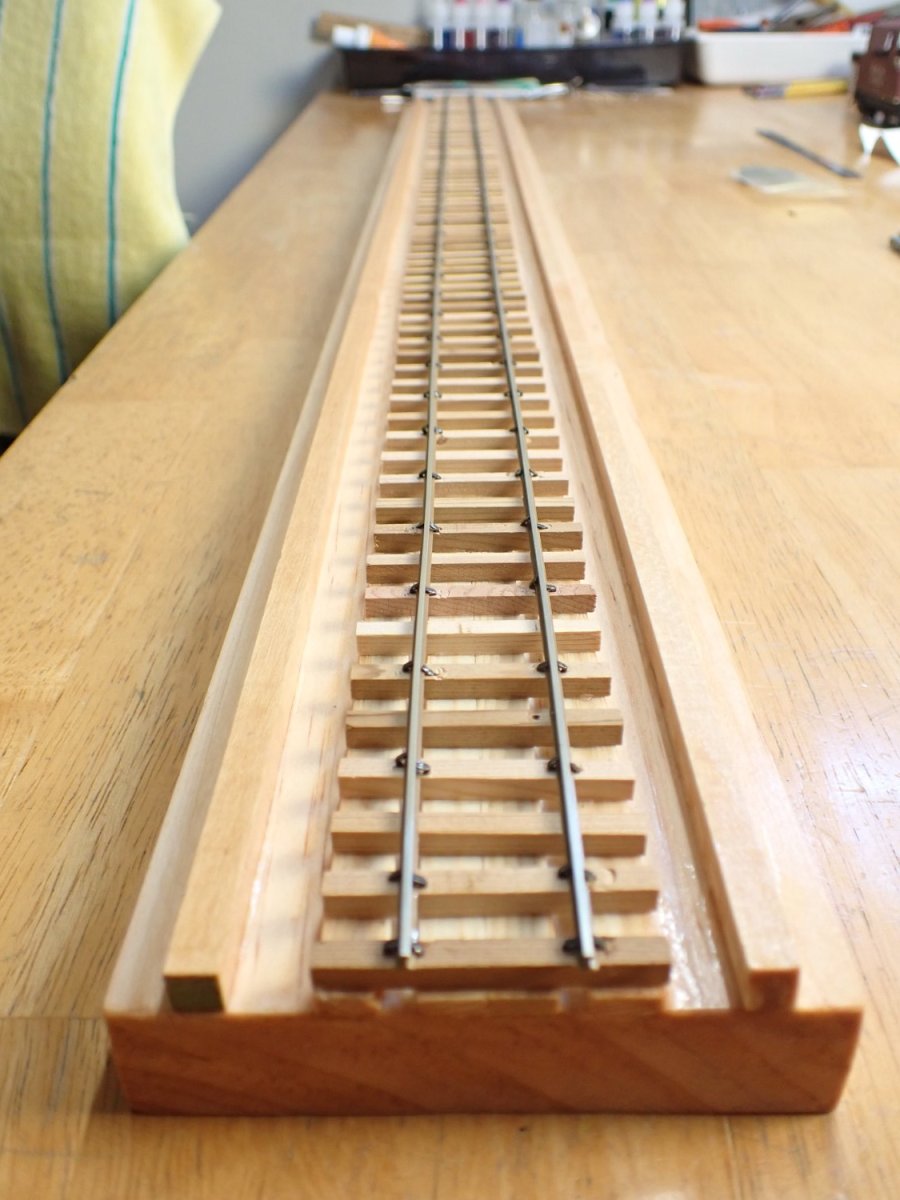
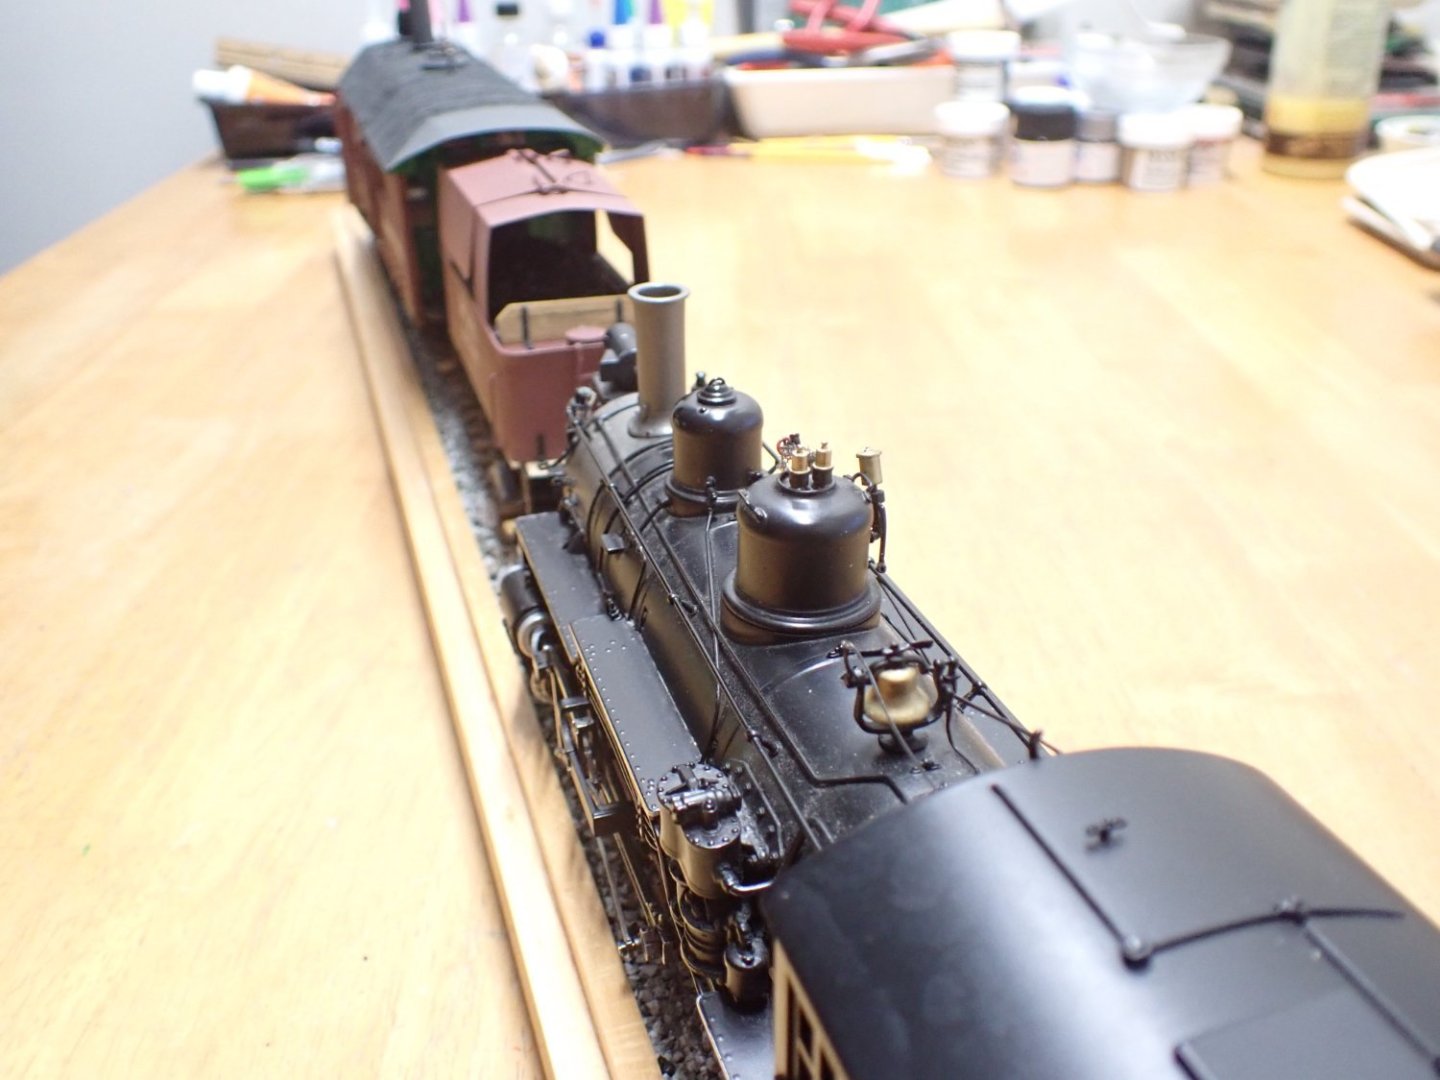
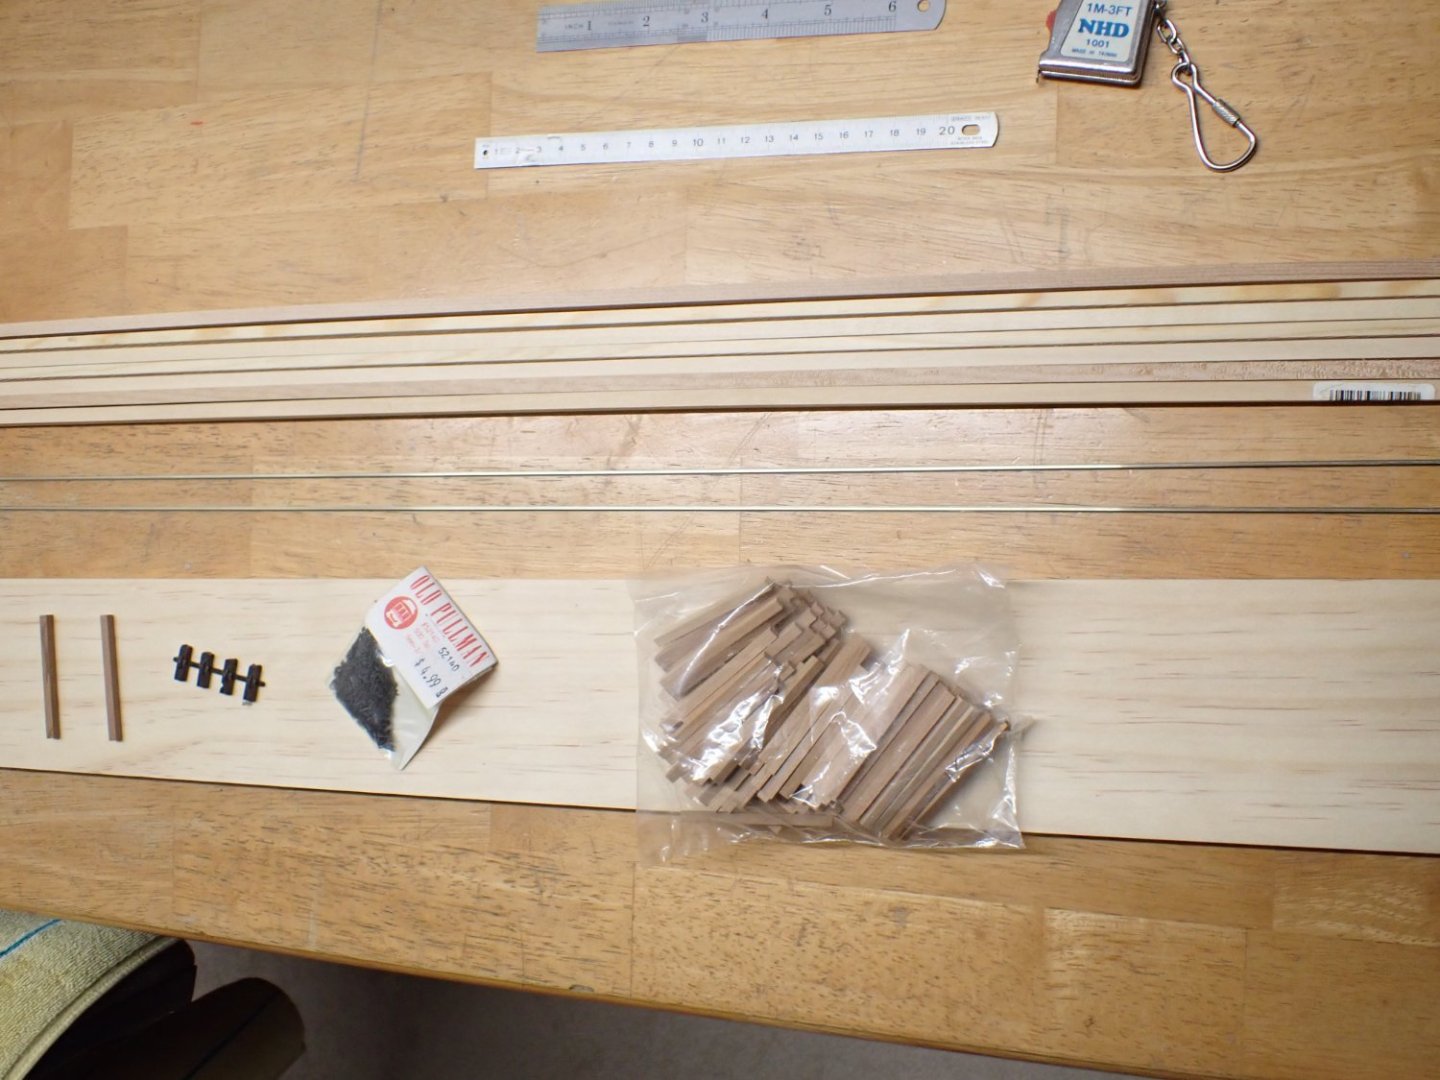
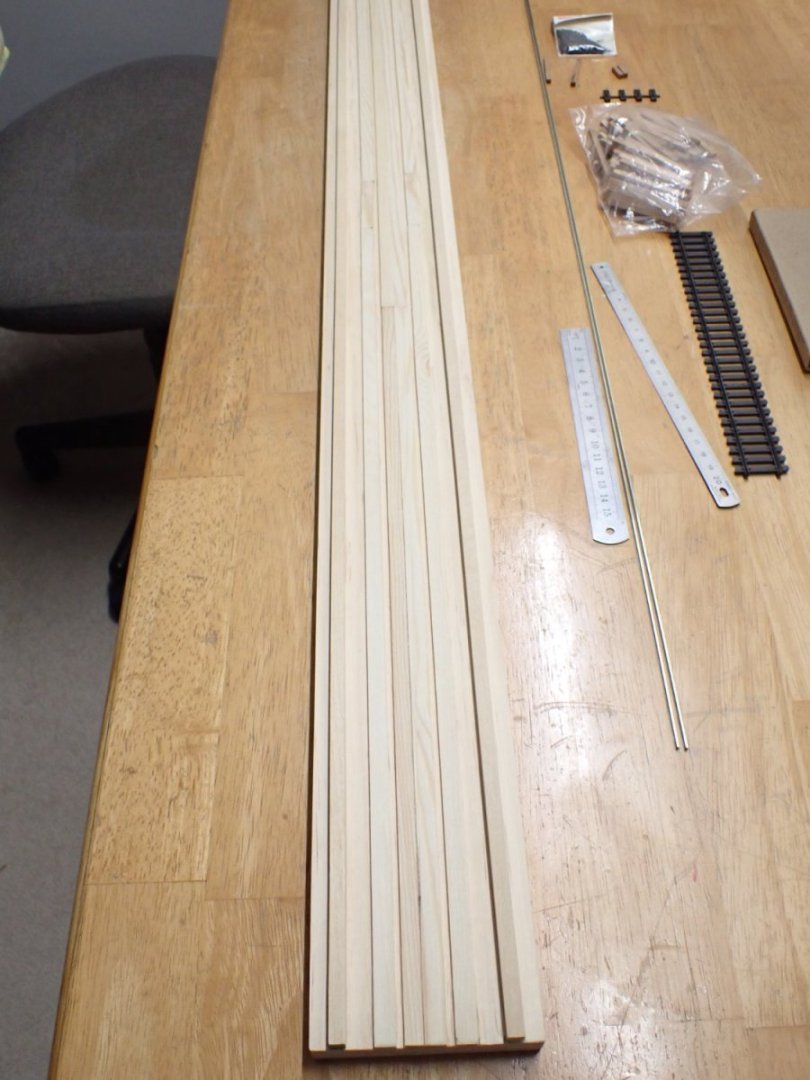
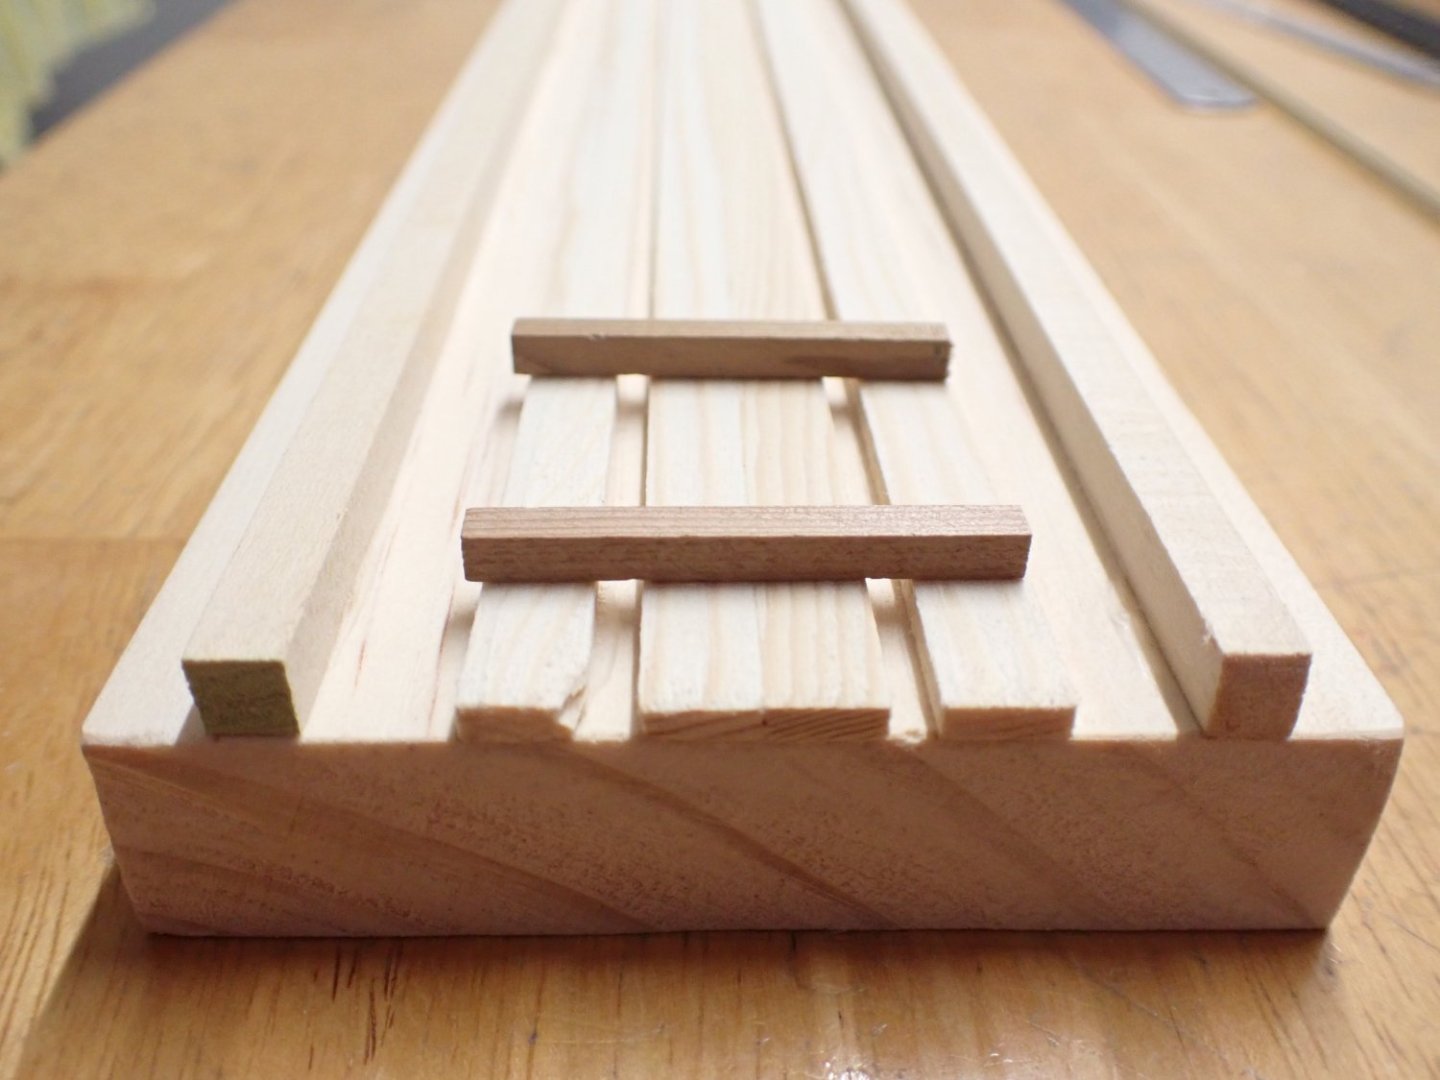
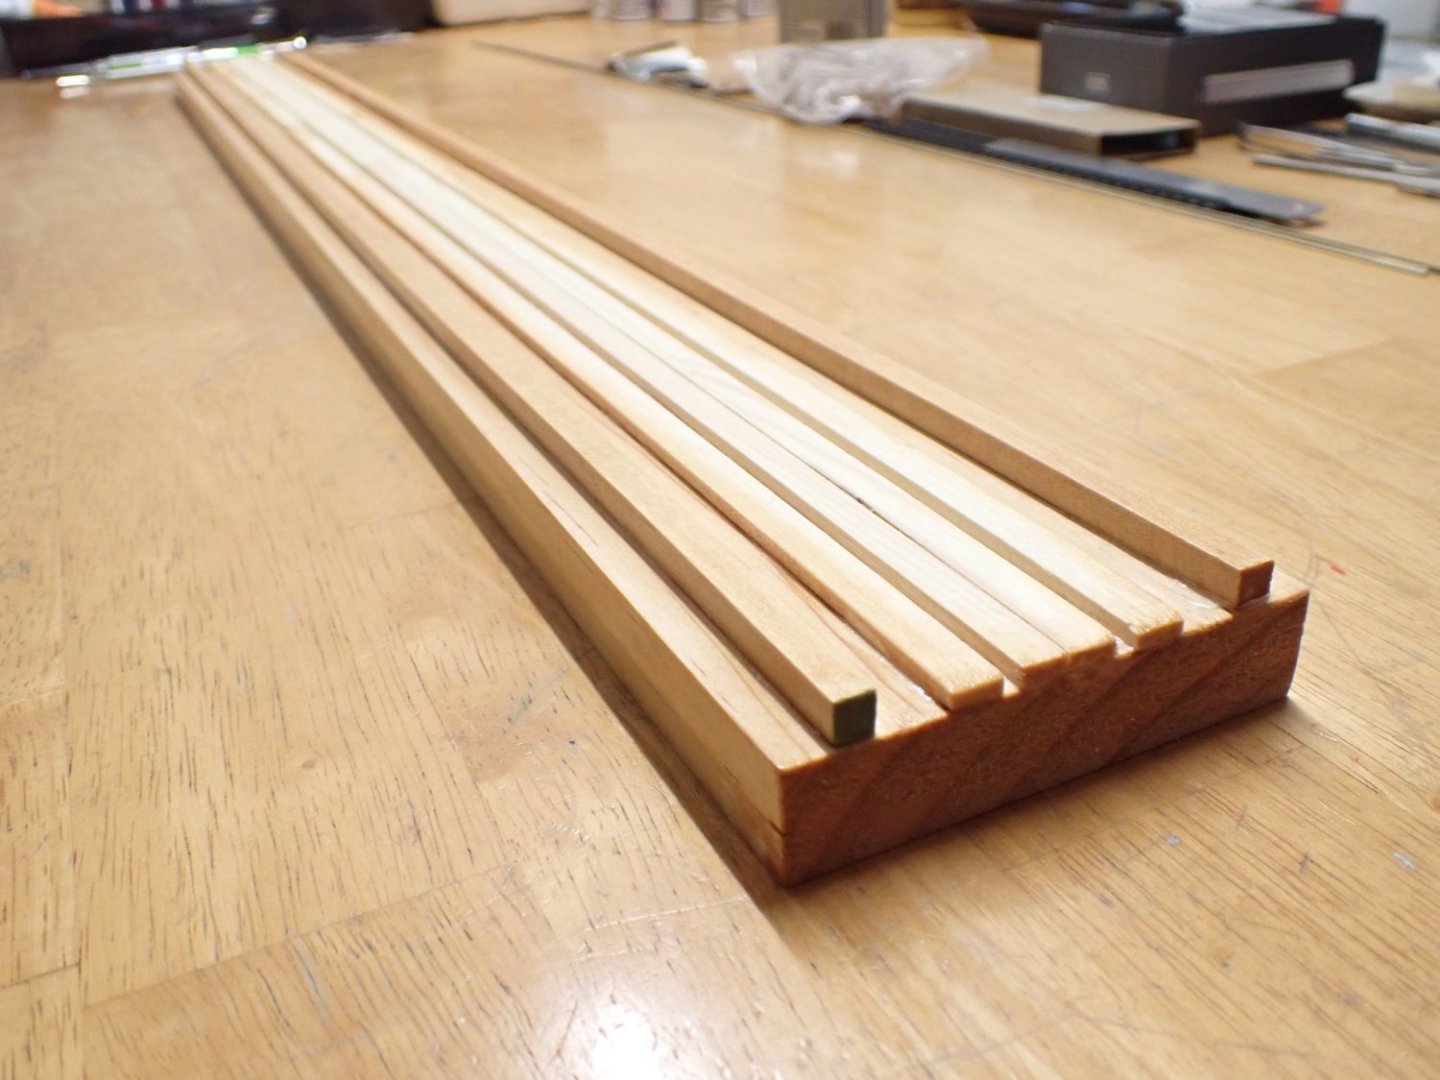
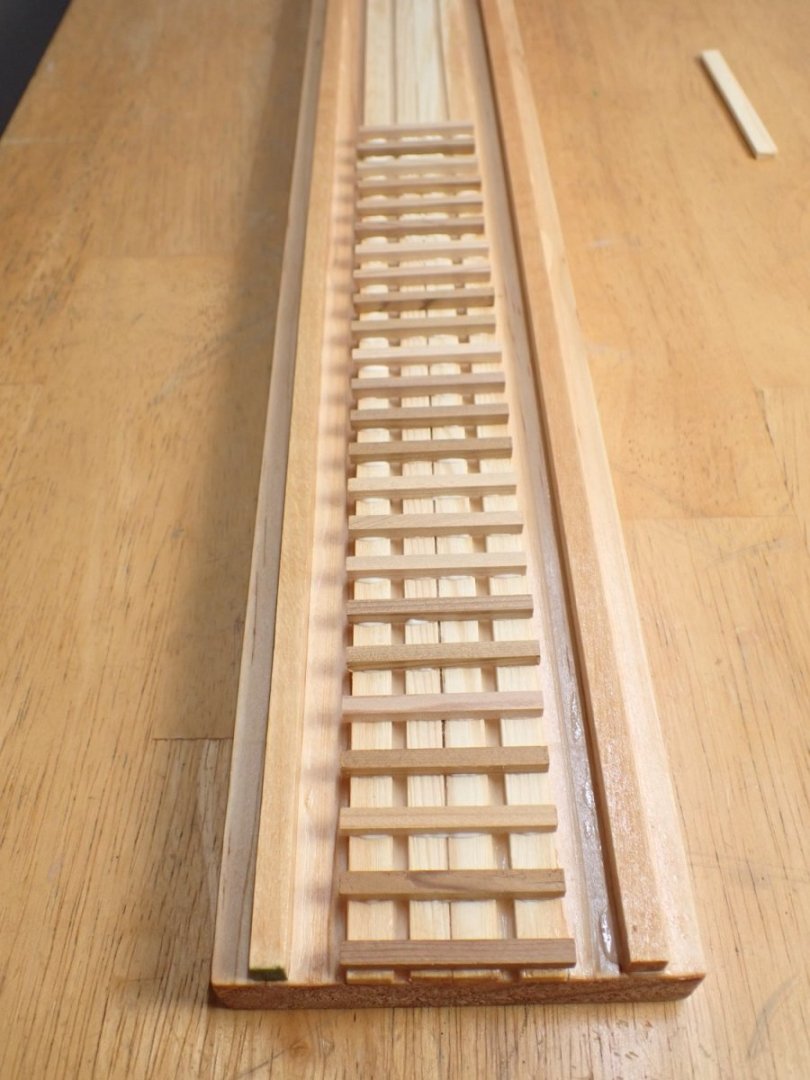
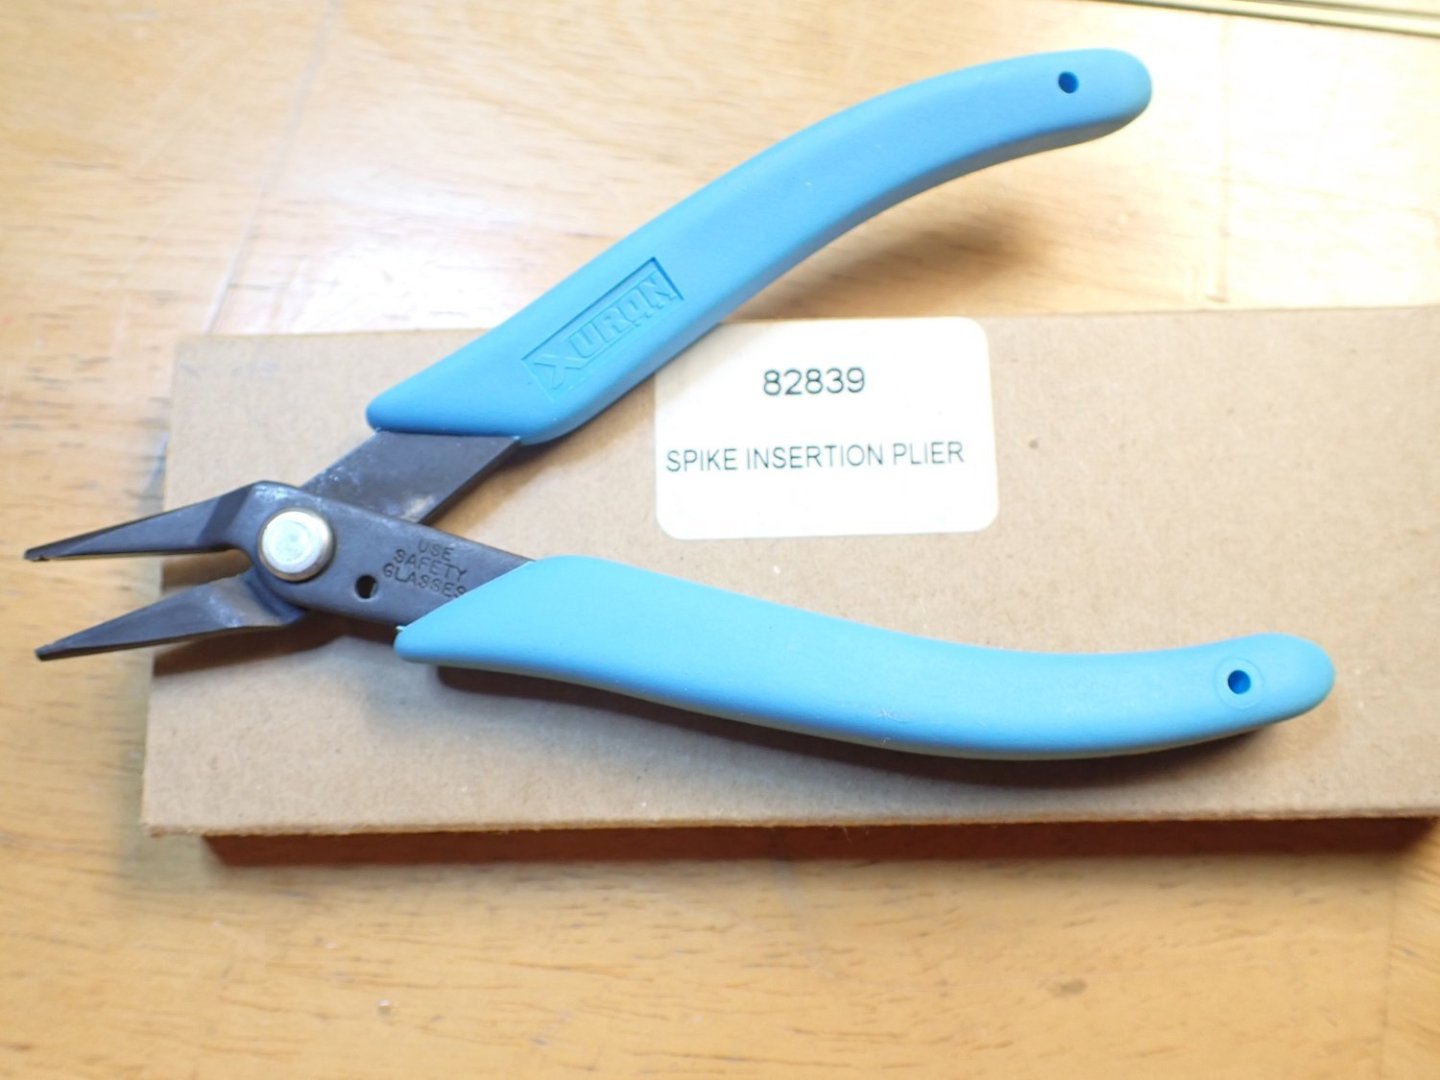
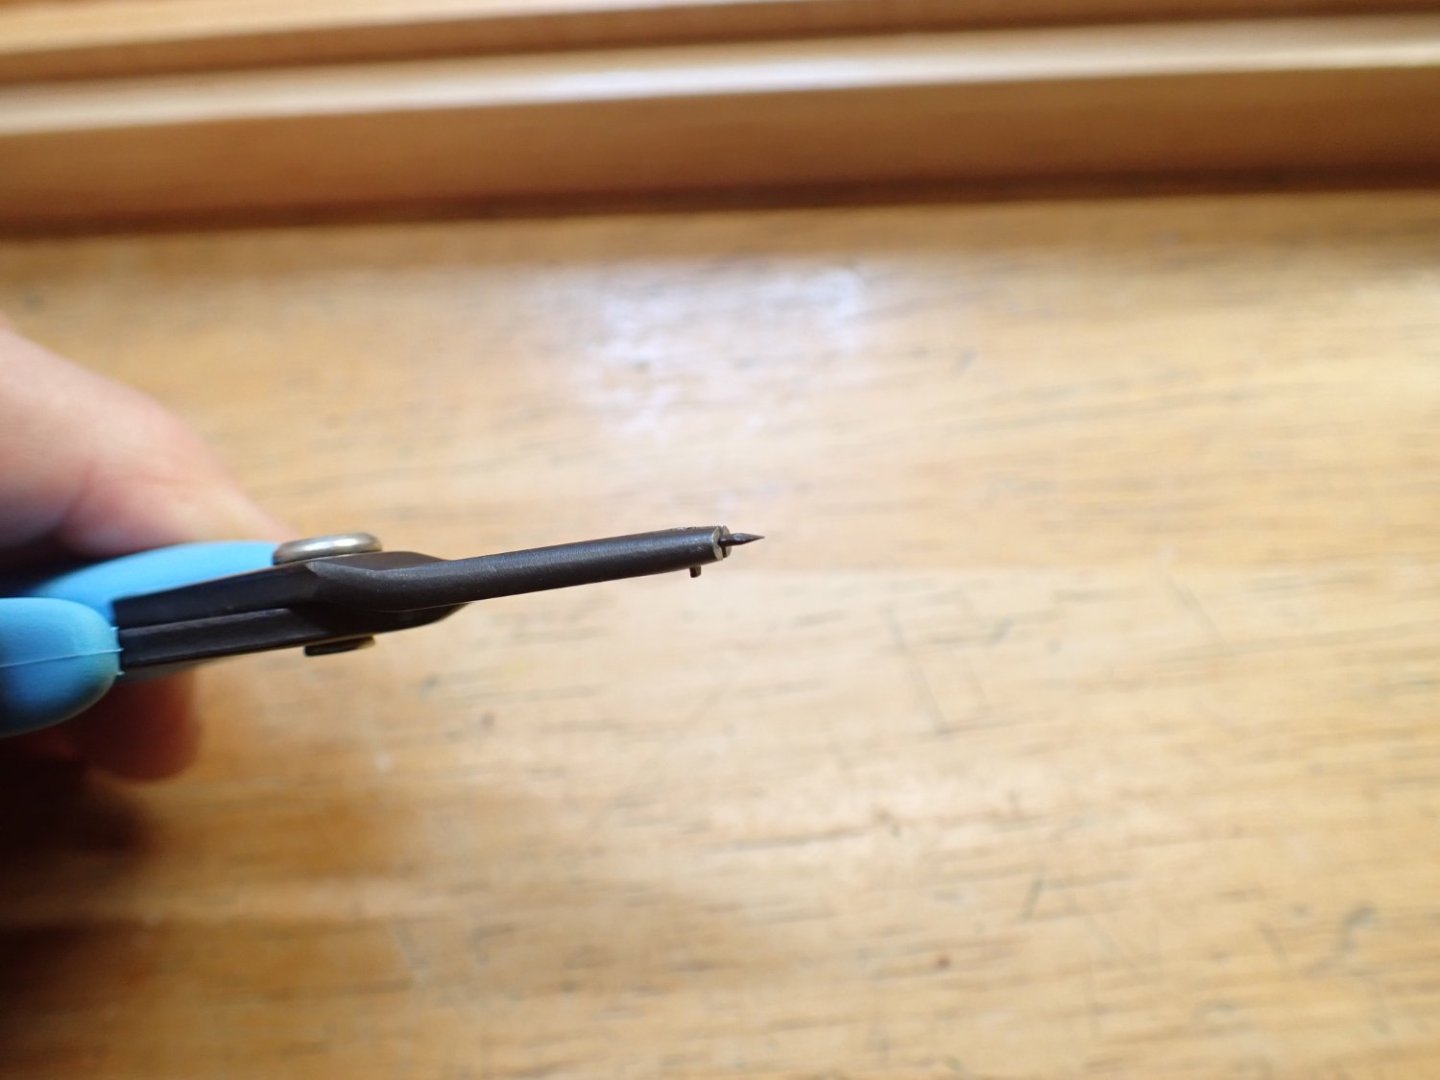
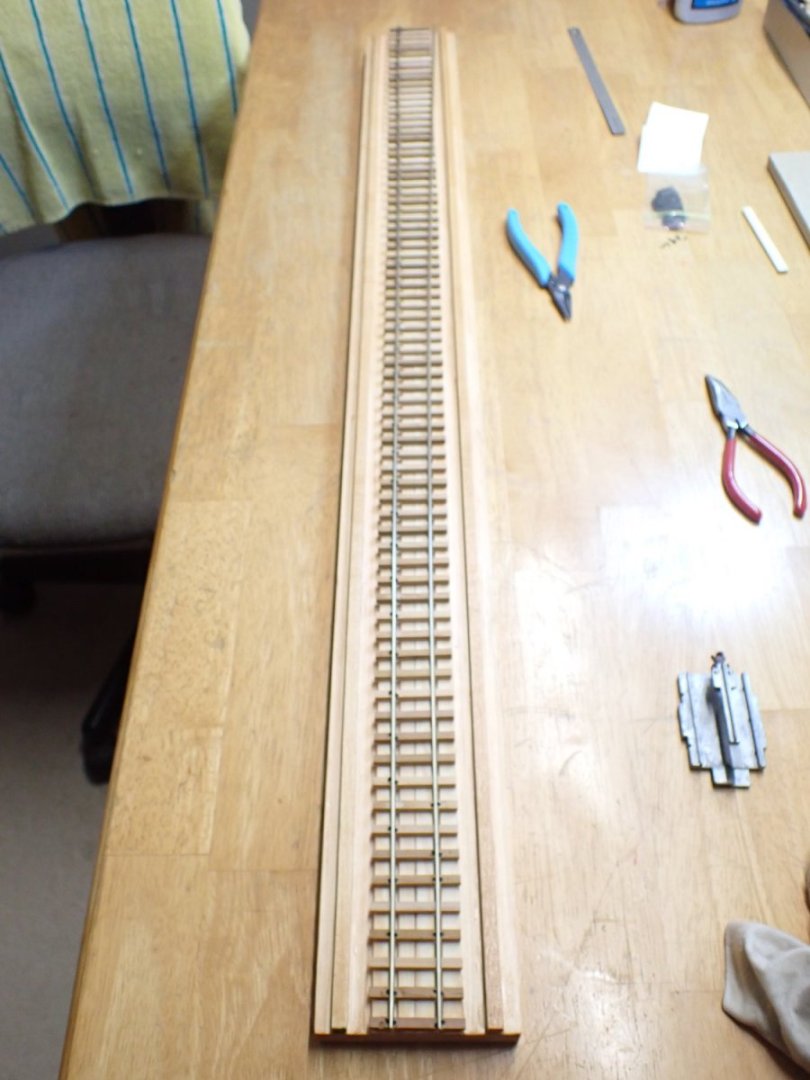
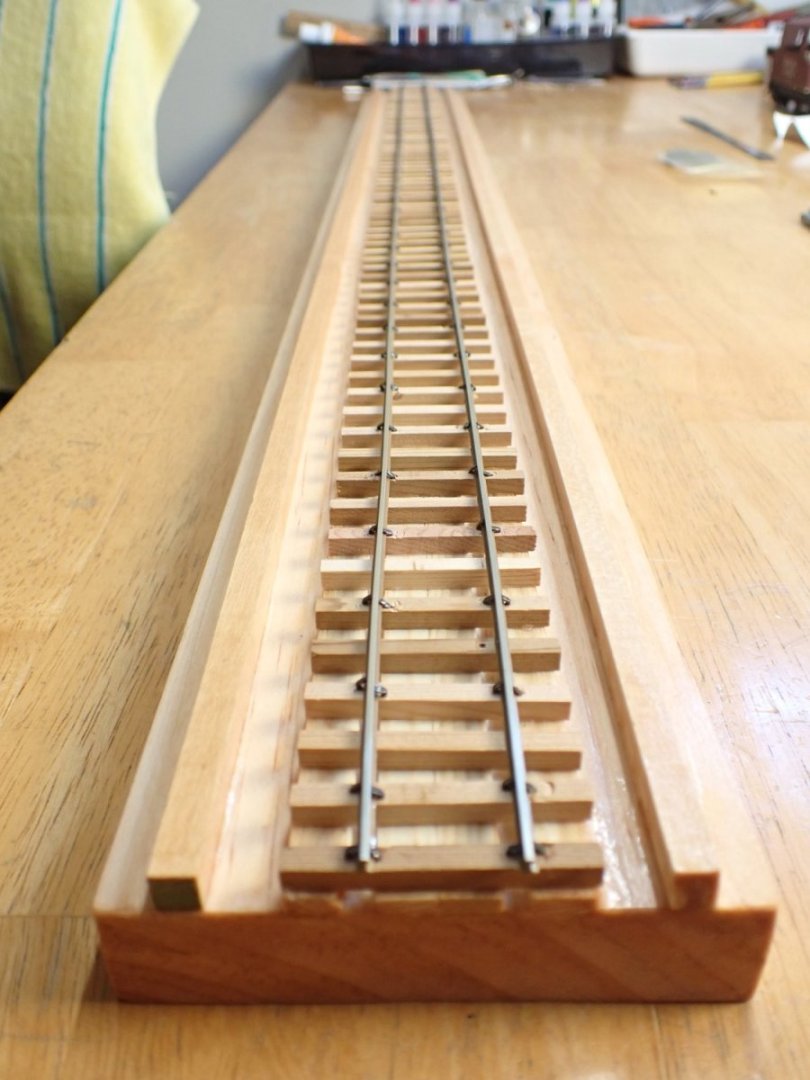
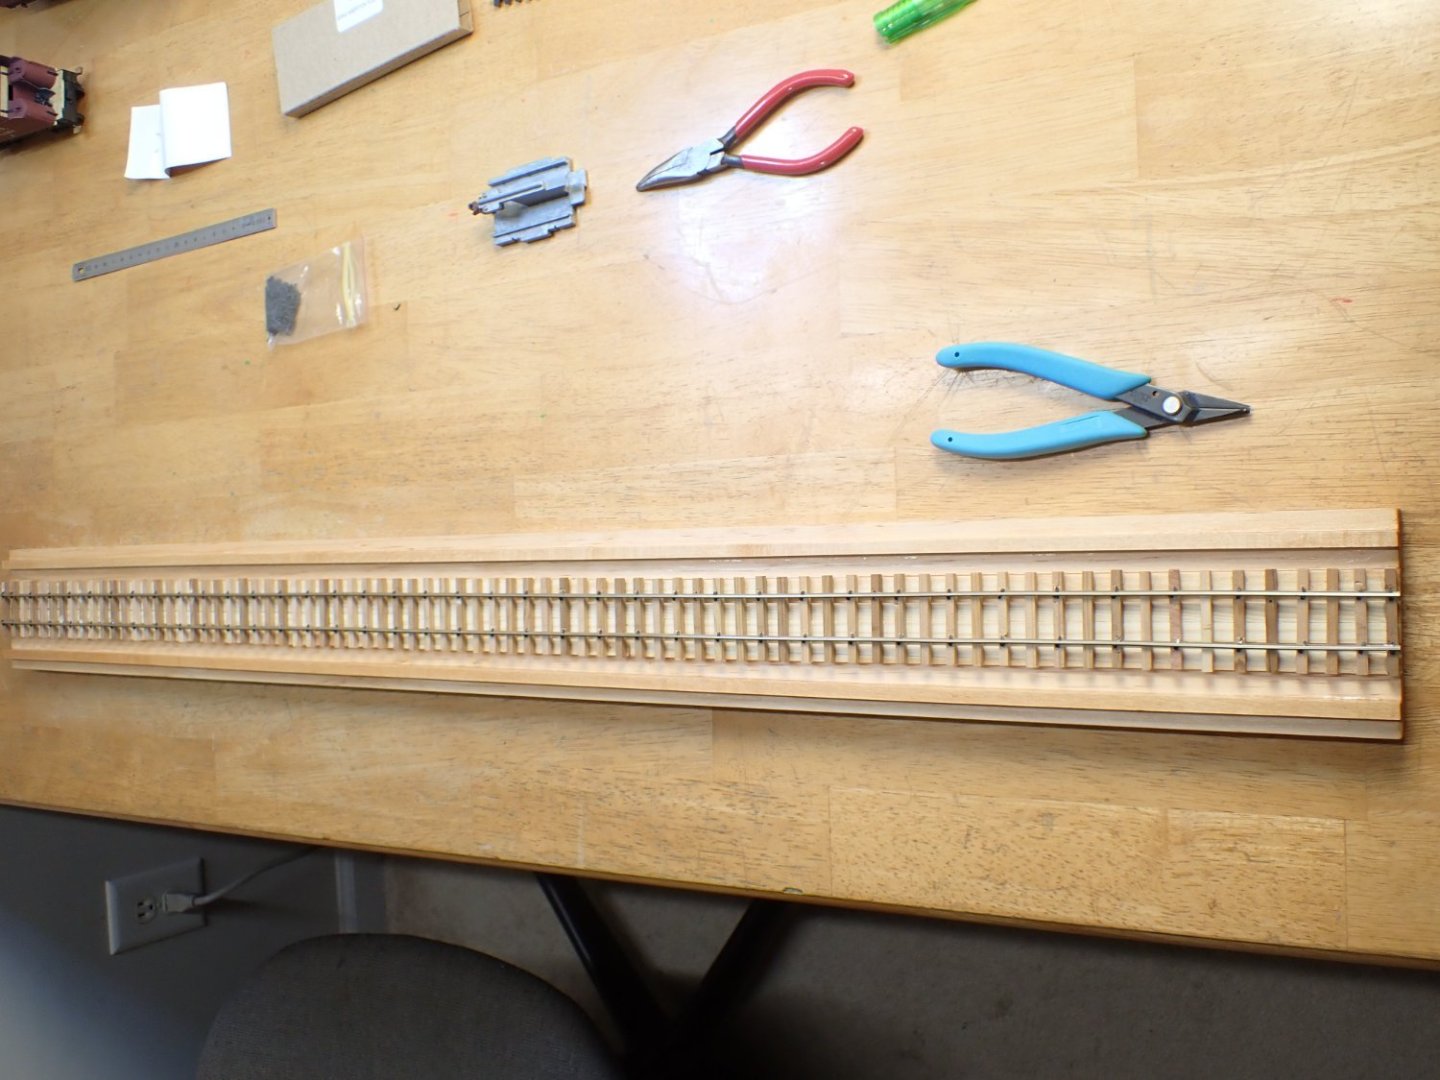
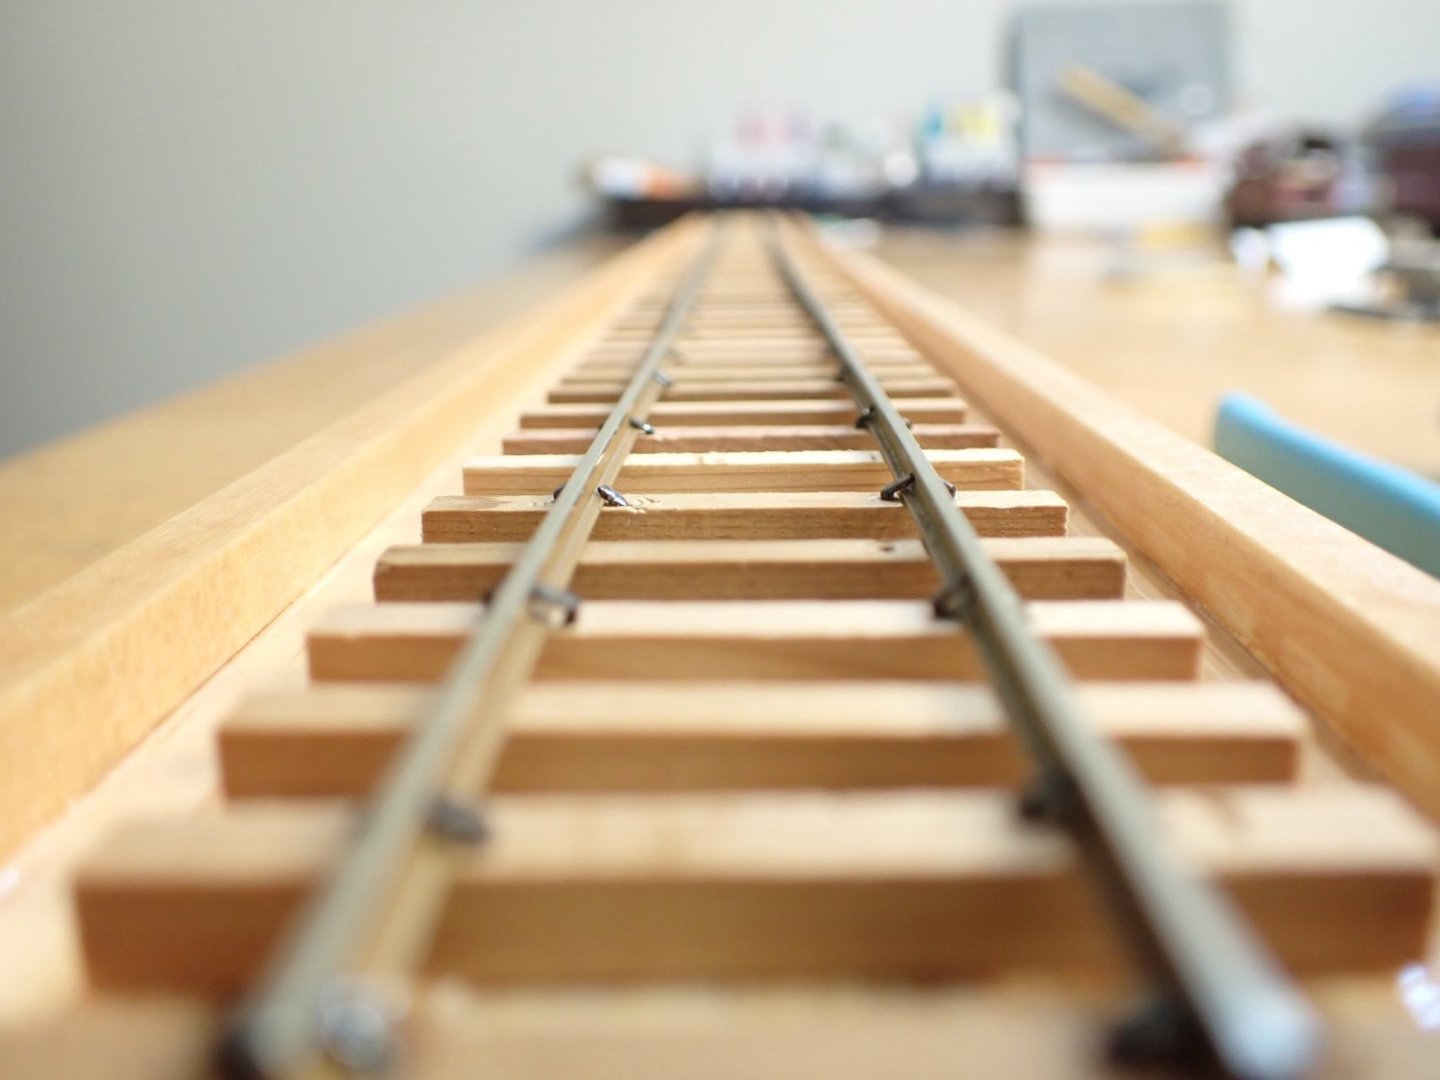
The next step of this project is to build a piece of track to display the snowplow. As I have mentioned, there is no commercial On3 tracks available. Everything has to be hand built, with ties, rail extrusions and spikes. I usually build 3 feet long display tracks for my O scale models. The same will be done for this small On3 project. I have "spiked" quite a few length of O scale tracks, using Code 148 extrusions, plates, pre-stained ties and O scale spikes. This On3 Code 100 rails are a new challenge, as their dimension are close to an HO scale track, which means real small. I know that there are people who lays their N-scale tracks, but I am not masochistic enough. The plates help tremendously when putting together the track, but on metric gauge tracks, plates are skipped most of the times. I usually start with a piece of flat and straight pine plank: On each side, I will glue 1/4 inch square strips to delineate and retain the ballast and dirt. Ties and spikes are coming from a company called Old Pullman which used to be located in Vero Beach, Florida. Unfortunately, Old Pullman closed a few years ago and all their fantastic supplies disappeared from the market place. They had, rail extrusions in various codes, flexible and finished tracks in O scale, pre-stained ties, spikes, turnouts, gauges and many other things to satisfy the O scale enthusiasts. All of these are gone, causing a void which is really hurting the O scale community. Recently, Micro-Engineering stopped producing O scale rails, adding to the despair of O scale enthusiasts. Today, only Atlas offers commercial 2 rails O scale tracks and another company offers the extrusions and other parts to lay your track by hand. I then build a bed to raise the track and create that typical crowning seen on most railroad tracks. The ties (originally for O scale) are cut shorter at about 40 mm long. They will be glued with Titebond Quick and Thick. The whole piece is varnished with Golden Oak. We can now lay the ties: Then comes the tedious and delicate work of spiking the rails. If you have never done this job before, I would recommend very strongly the use of a special XURON tool: the Spiker, available at Micro Mark. Trying to spike a track without that tool is almost impossible, in my humble opinion. Each On3 sized spike is inserted into the tool like this: And then the tedious task starts.... after painting the rail extrusion with Floquil Rail Brown. With tie plates, the painting can take place later on by masking the ties and the wood around them. With the absence of plates, rails must be painted before hand. Their top surface is then cleaned with a rag soaked with solvent and some low abrasion sand paper. Because of the absence of the tie plates, it is difficult to avoid marring the wooden ties. This will be corrected with a little dab of wood paste and some stain. Finally, it is over. I have only spiked every other tie. Most O scale modelers spike one tie out of four for long straight track stretch. Once the ballast is in place, it will look a lot more realistic. I have spiked O scale tracks with plates, requiring 8 spikes per tie !!! That is a recipe for self inflicted pain. Et voila. I tried the tender and snowplow and everybody is rolling very smoothly on that little stretch: Yves


- 102 replies
-
- 13
-
-
-
This is going to be one solid model. I love how you are approaching the construction of the deck. Yves
-
There is a similar issue in the USA. Usually, the limit is at $800. Under that amount, they will not tax you or bother you. Fortunately, CAF Model sells some of their kit in "Sessions", allowing each session to stay well under the limit of $800 and not arise Customs attention. That is what I did with the Bellona, purchasing each session independently. In Europe and UK in general, officials and custom services are a lot greedier and therefore, it is difficult to procure these kits. Yves
- 322 replies
-
- 3
-
-
- enterprise
- caf
- (and 1 more)