yvesvidal
-
Posts
3,636 -
Joined
-
Last visited
Content Type
Profiles
Forums
Gallery
Events
Everything posted by yvesvidal
-
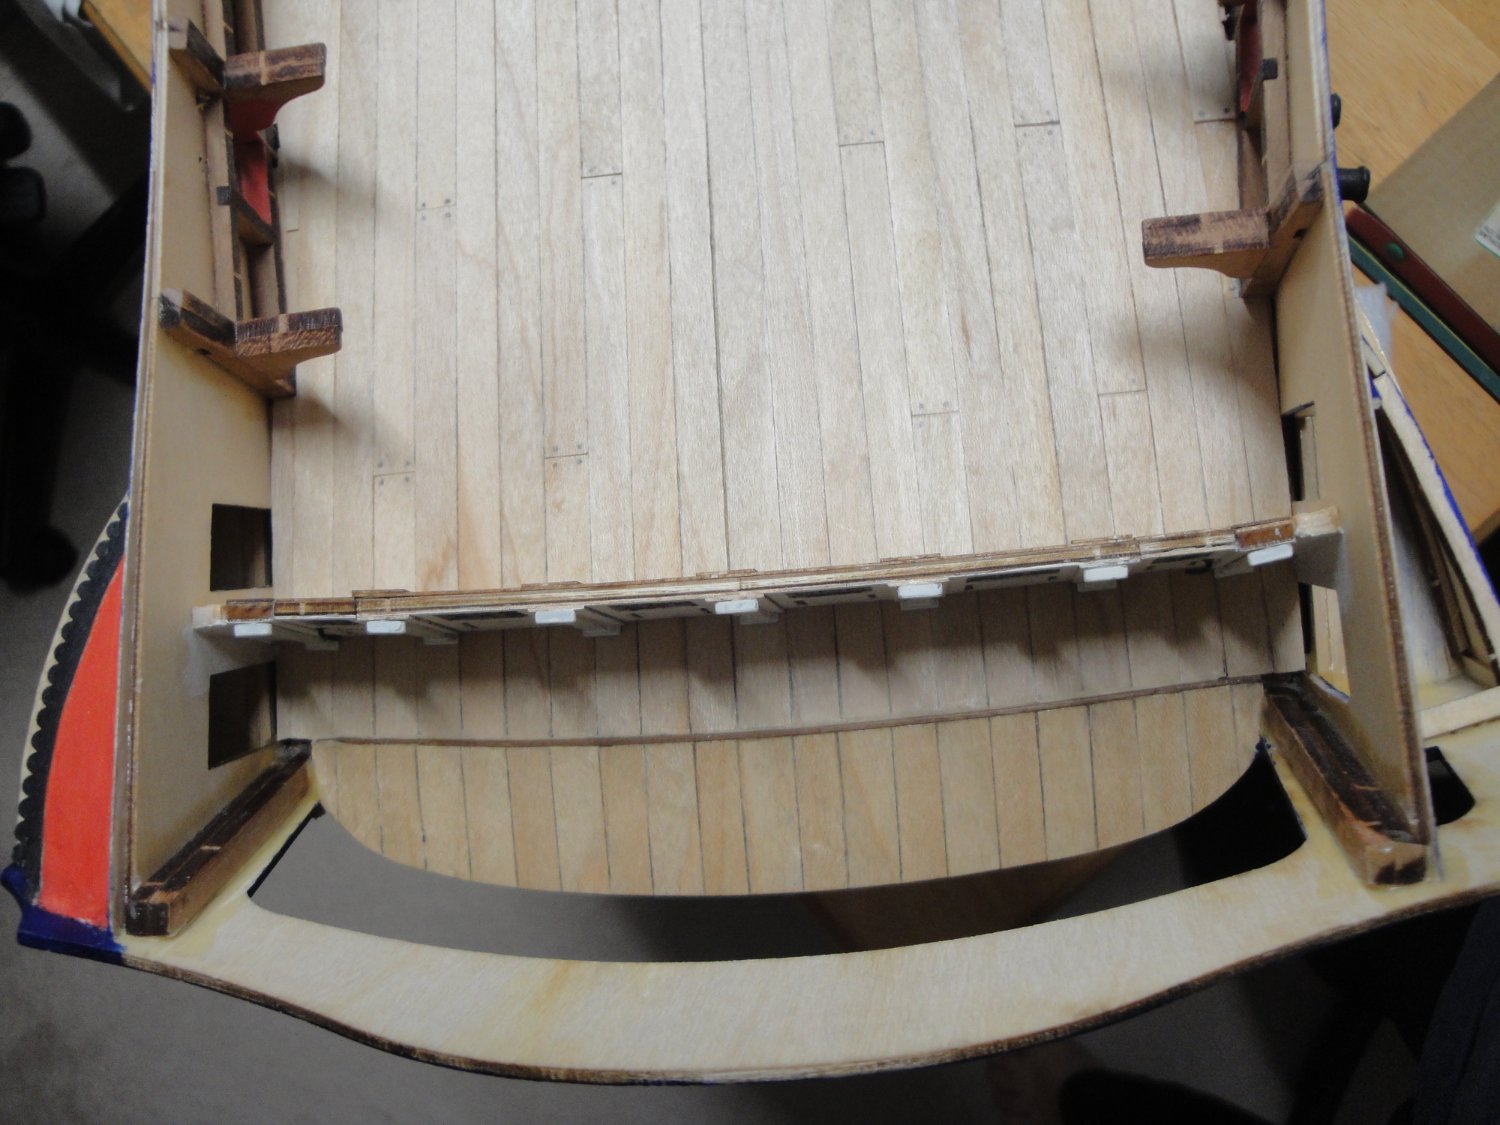
 A quick update on the Quarterdeck, with a small improvement and modification of the original kit: The National Maritime Museum model presents a nice molding above the rear bulkhead. That molding is not present in the CAF Model kit and I wanted to add it: I used one of the 2 x 2 mm strips in the Session #4 box and after scrapping it with the correct shape, came up with this sandwich. Instead of the sub-floor going directly against the balusters/columns, I think it offers a little bit more realism for the stern of that ship. You can see (above) how the molding is placed: a 2 x 2 strip sitting on top of the bulkhead and a 2 x 2 strip scrapped and glued to it. It does not cover entirely the top of the balusters, but once the top deck is in place, it will be impossible to see that. Because of the introduction of that decorative molding, the top deck is raised by another 2 mm. At that point, the beams supporting the top deck must be raised to accommodate the change: This is easily done by placing a 2 mm thick piece of wood on top of the elbows, supporting the beams: Once everything is sanded smooth and cleaned, the poop deck fits nicely with just a slight curvature to eliminate the standing water: Note that the installation of these beams is part of the last Session #5. Overall view of the rear section and quarterdeck: Time to move back to the Gallery and the bow. Thank you all for your comments and encouragements, as they are very much appreciated. Yves

- 507 replies
-
- 22
-

-

-
What a beautiful construction. Chaperon is one of my favorite kits.... Yves
- 158 replies
-
- 1
-
-
- chaperon
- Model Shipways
- (and 1 more)
-
With so many life boats, they seem to have learned their lessons, after the Titanic fiasco. Yves
-
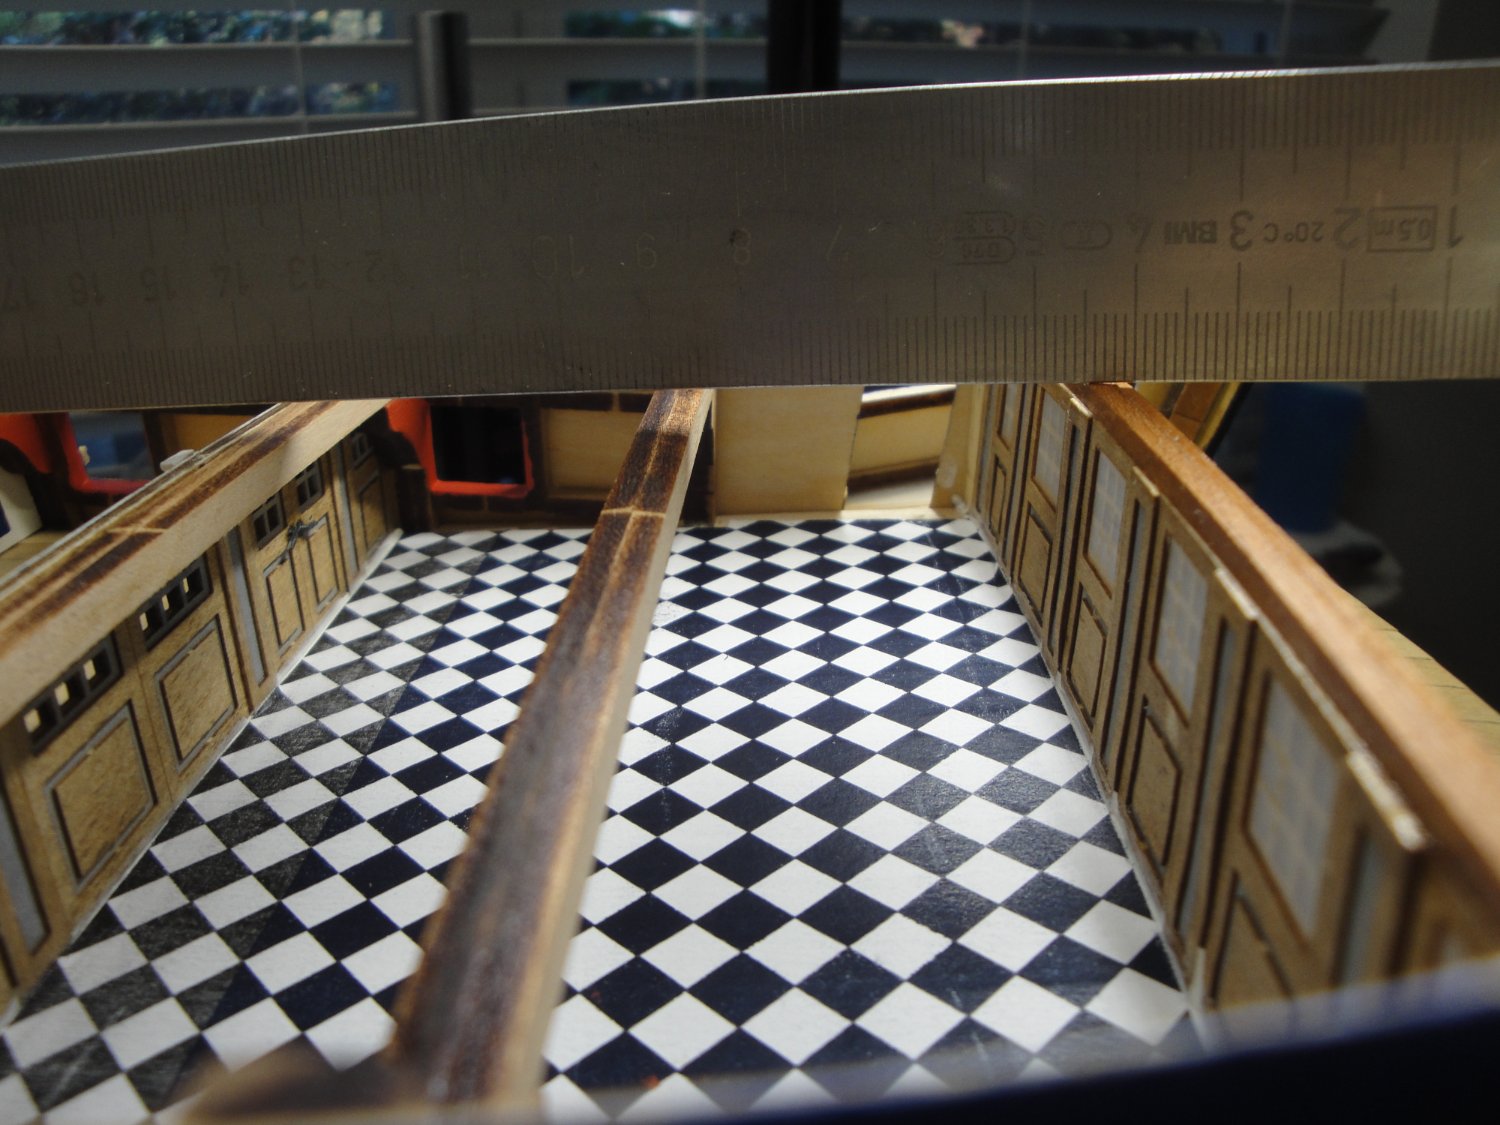
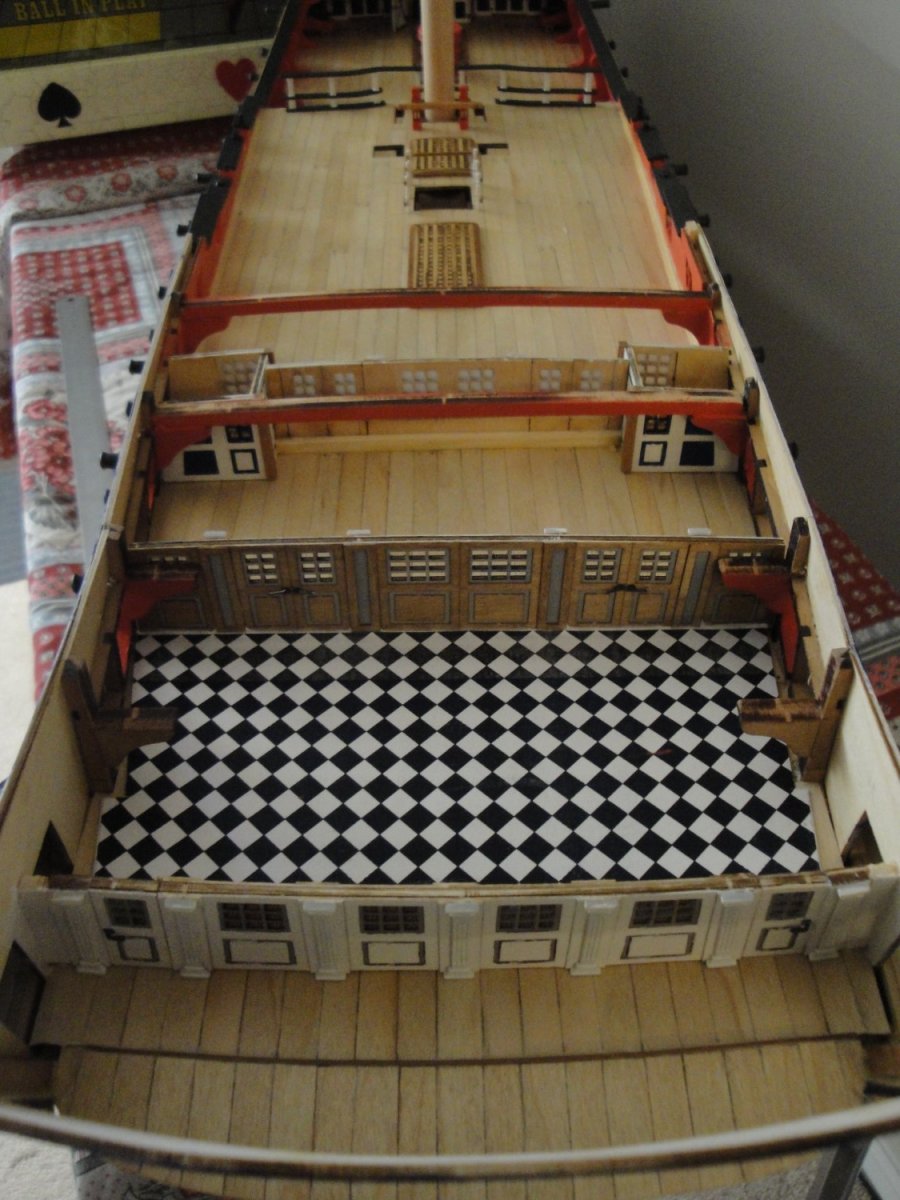
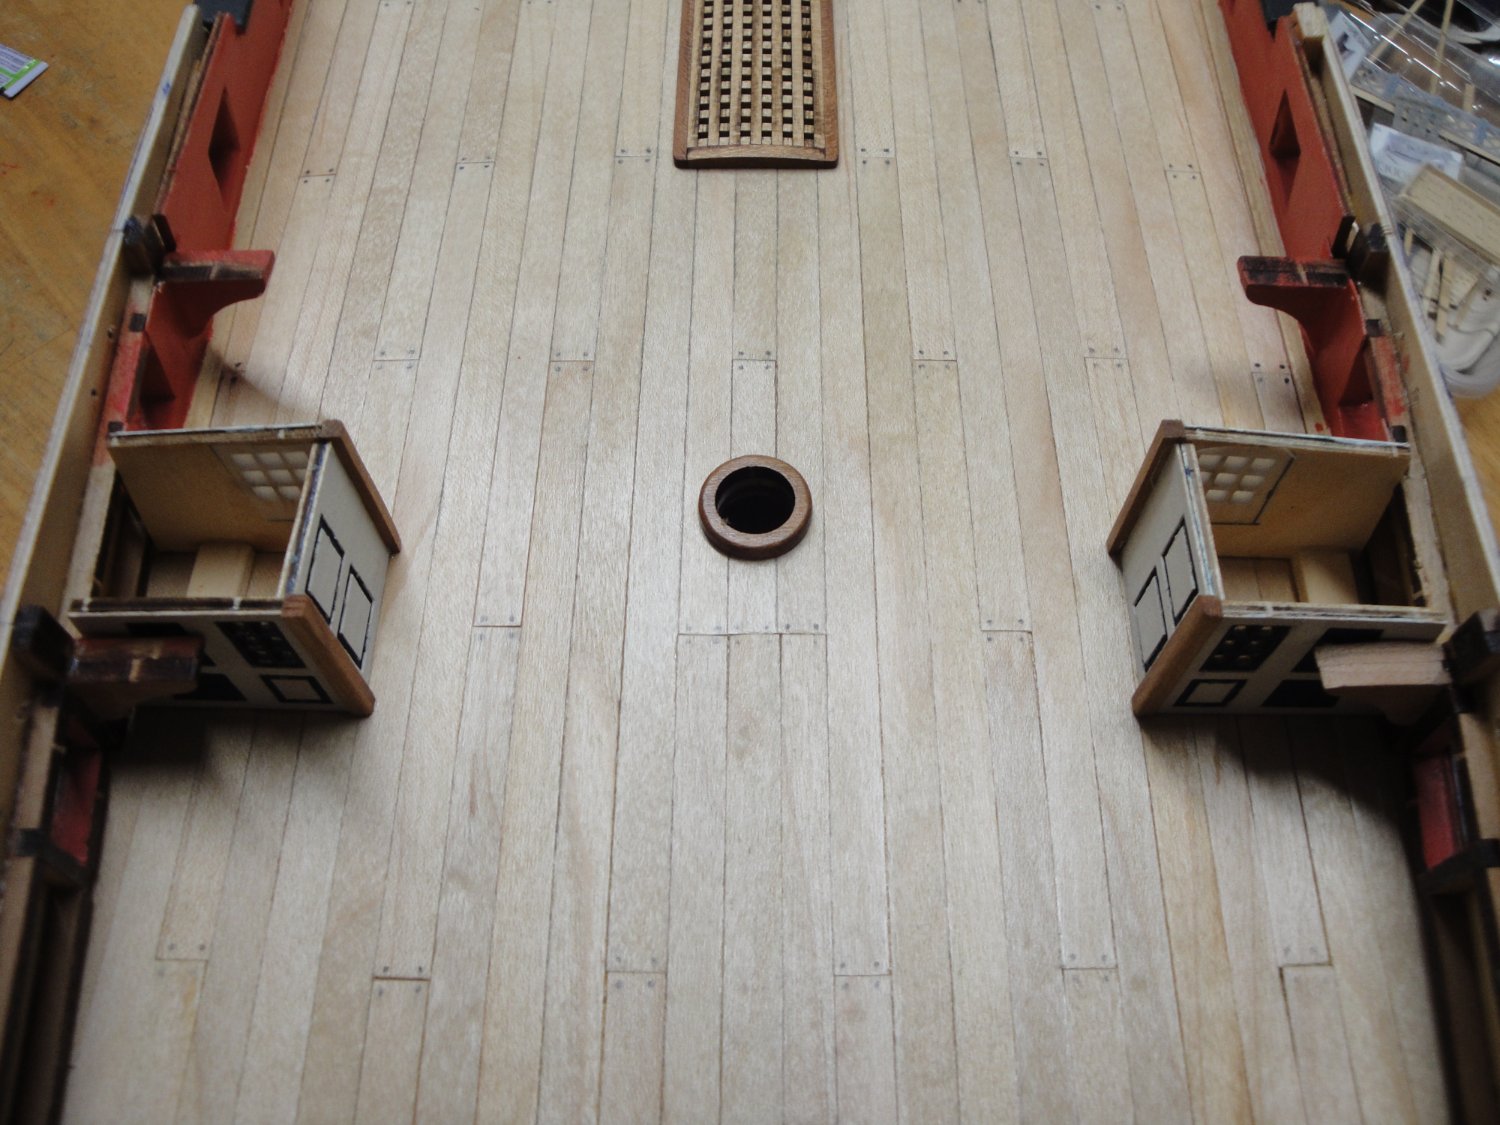
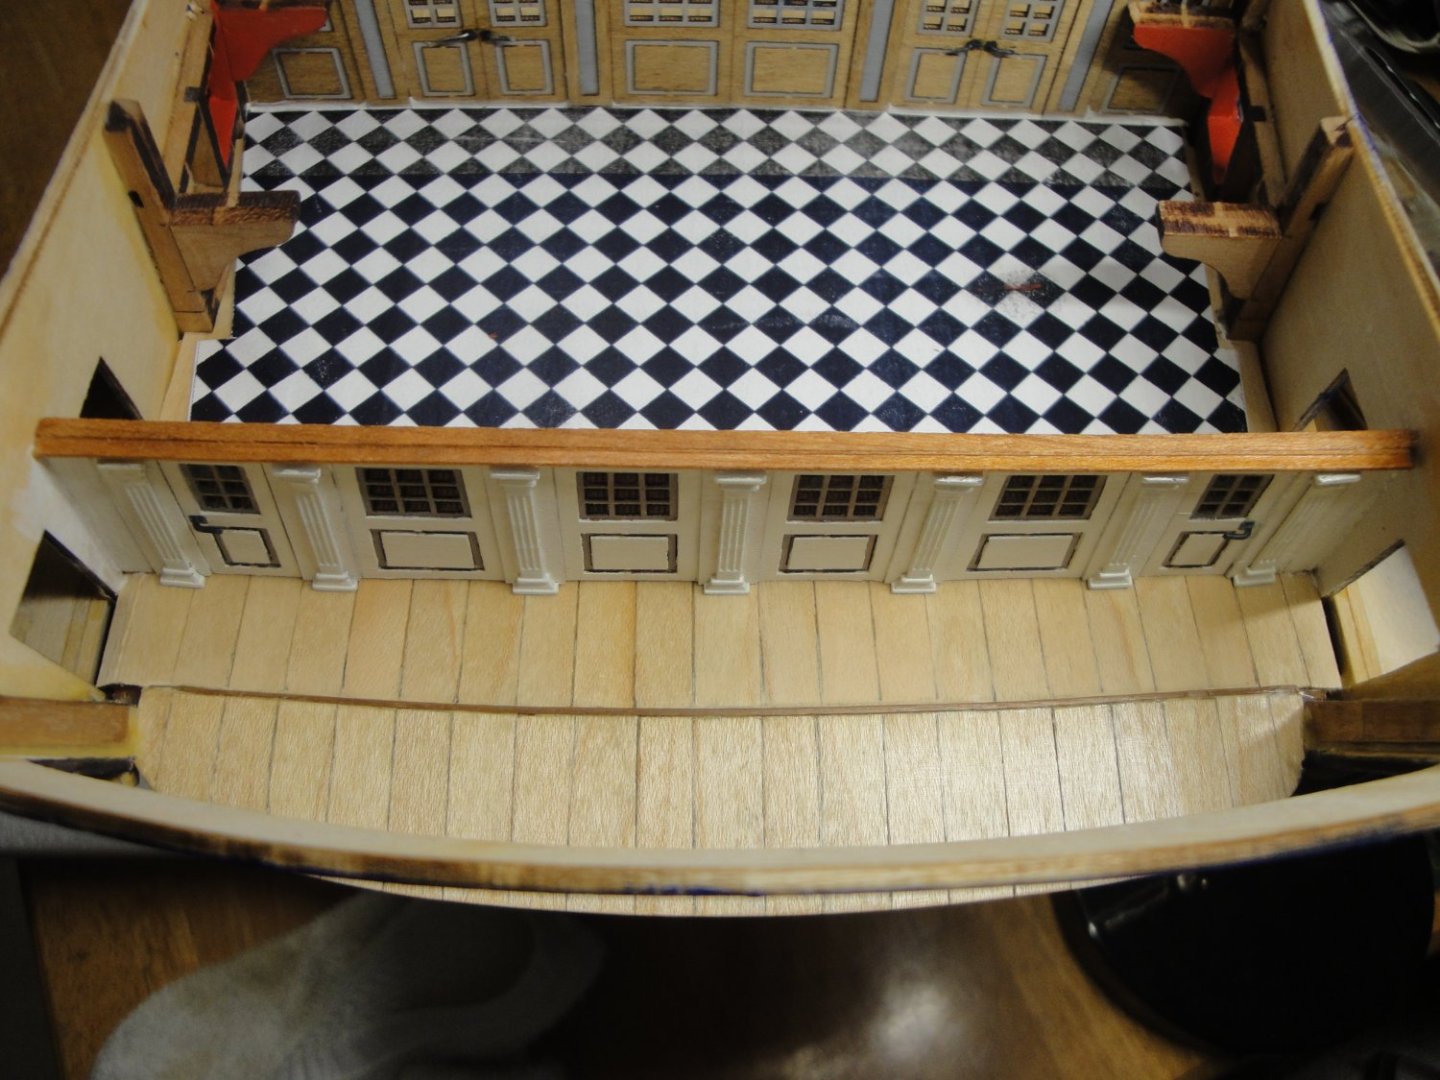
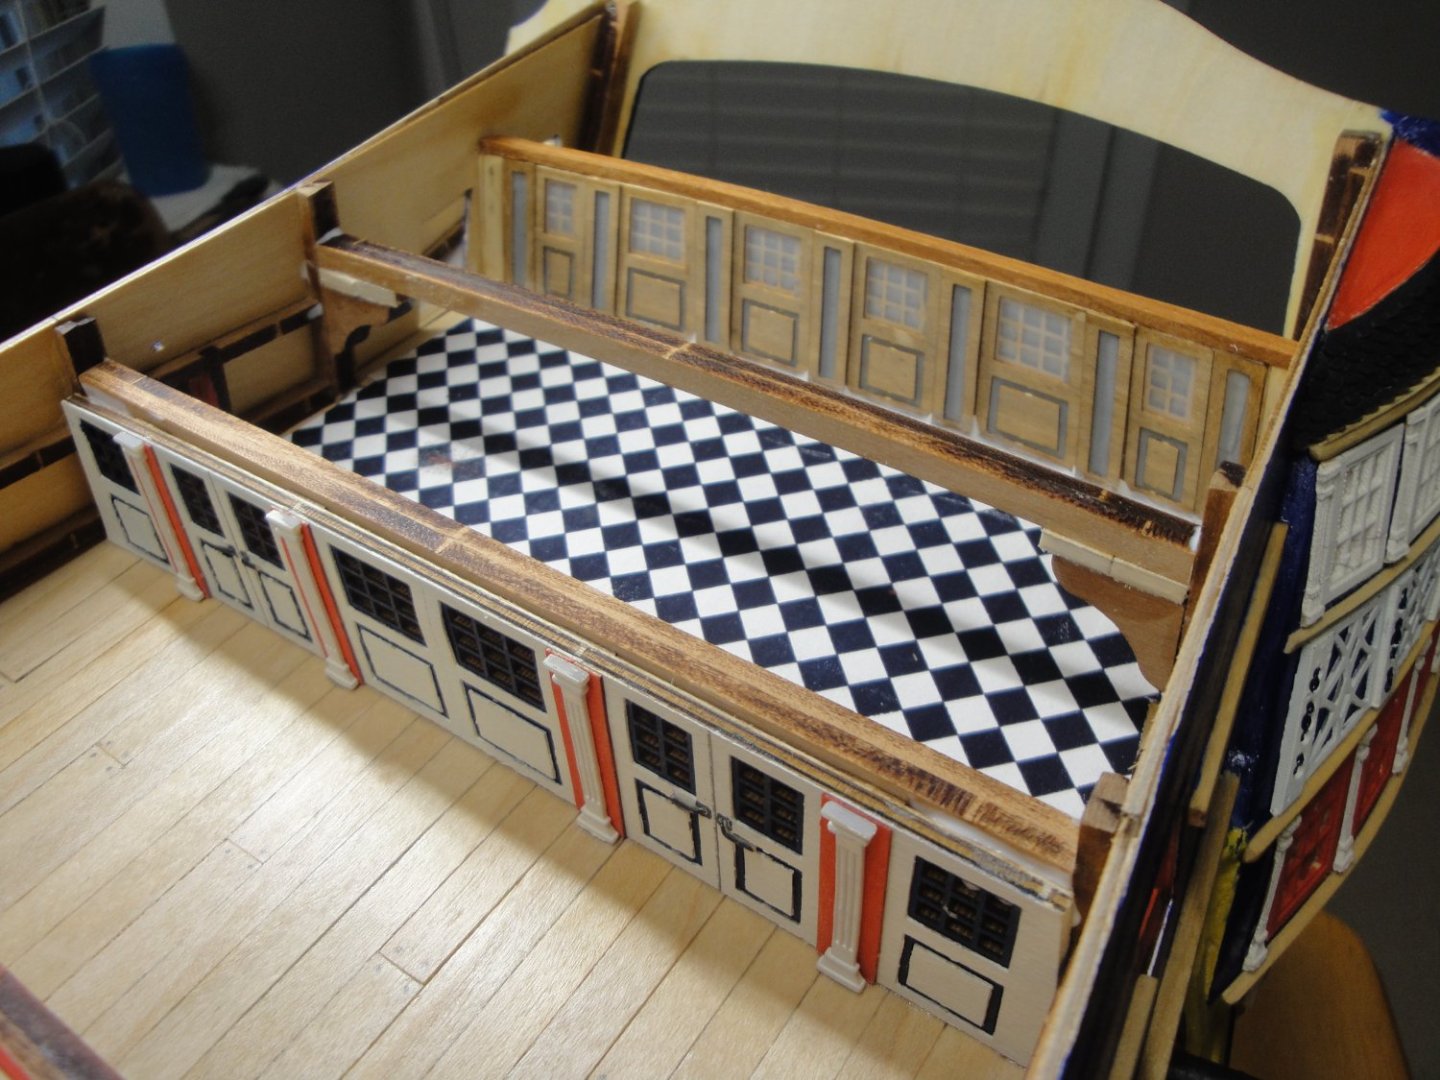
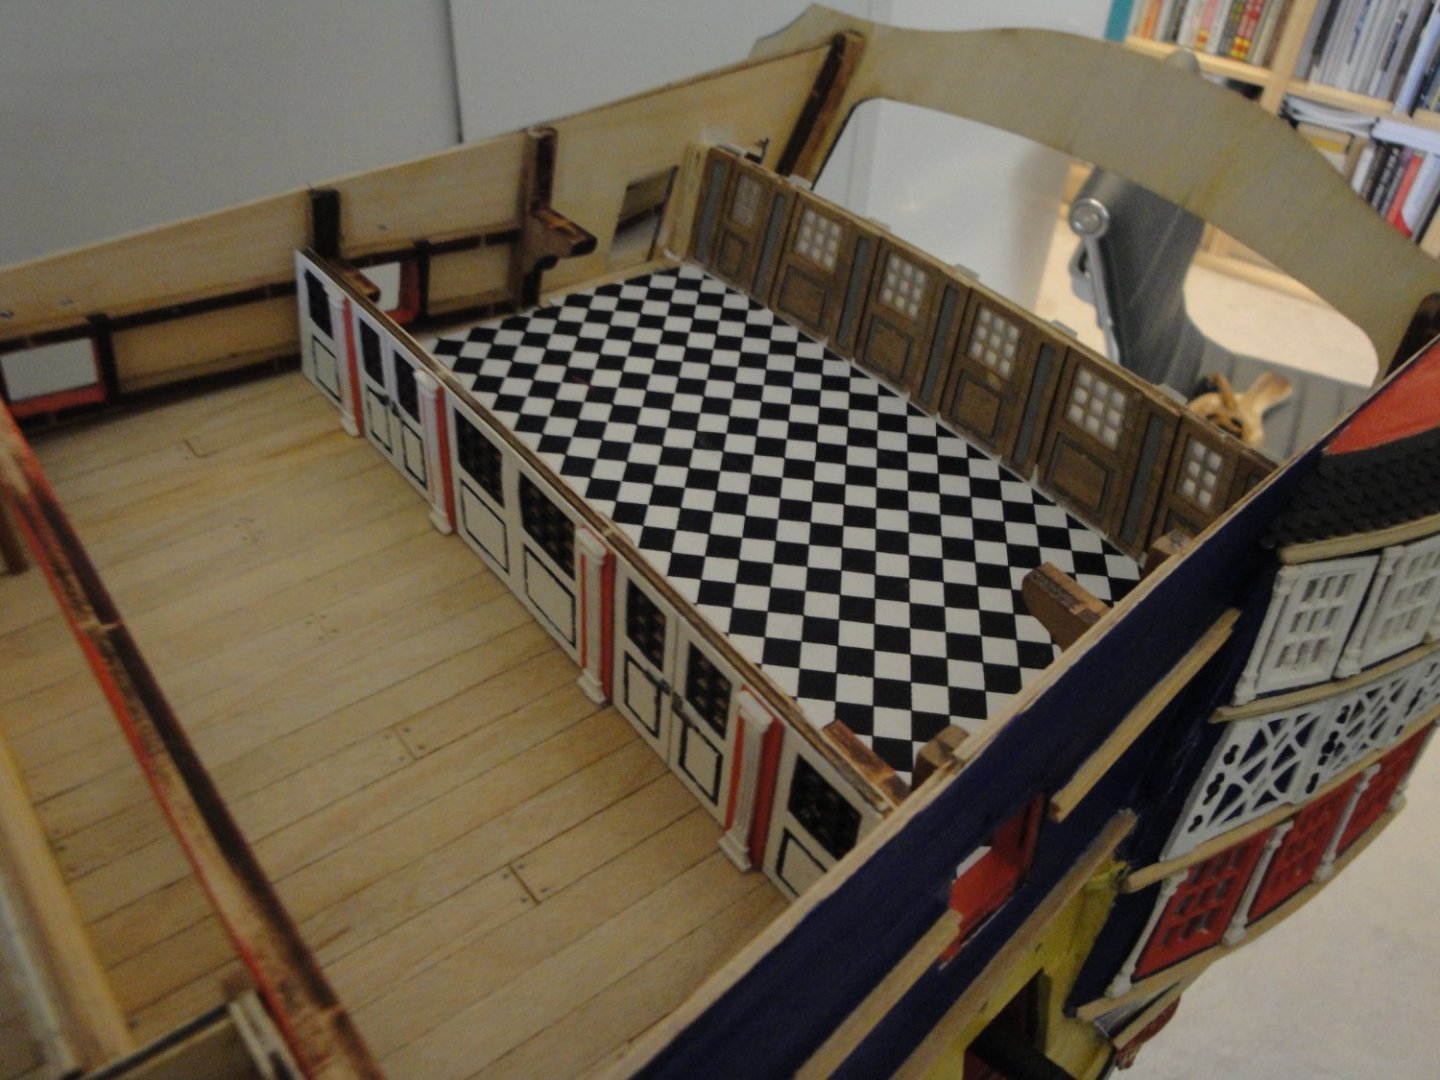
Finally, the building of the bulkhead separating the main cabins: Overall, it is pretty much the same way of building that partition. It is finally glued in place: Not much to see, once the poop deck will be in place: Time to install the diamond floor: That's it, for the quarterdeck. I still have the doors leading to the "Johns/Galleries" to build and a few details and we will be able to close the lid on all this :-( Yves


- 507 replies
-
- 21
-
-
-
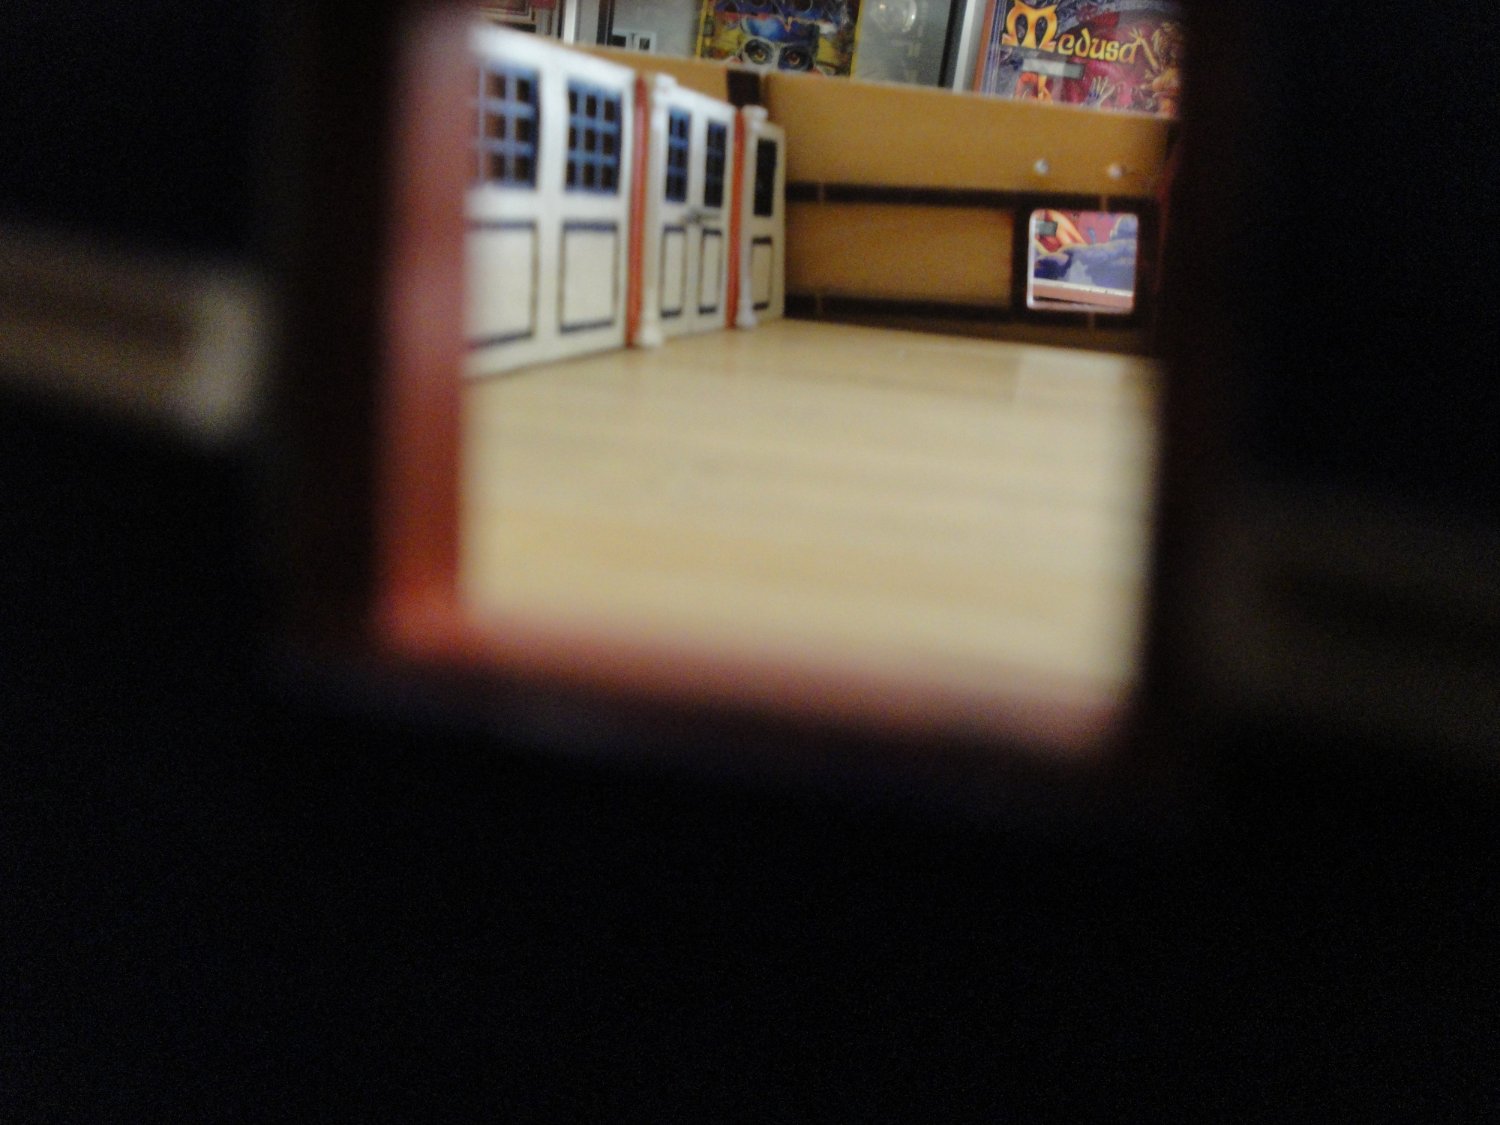
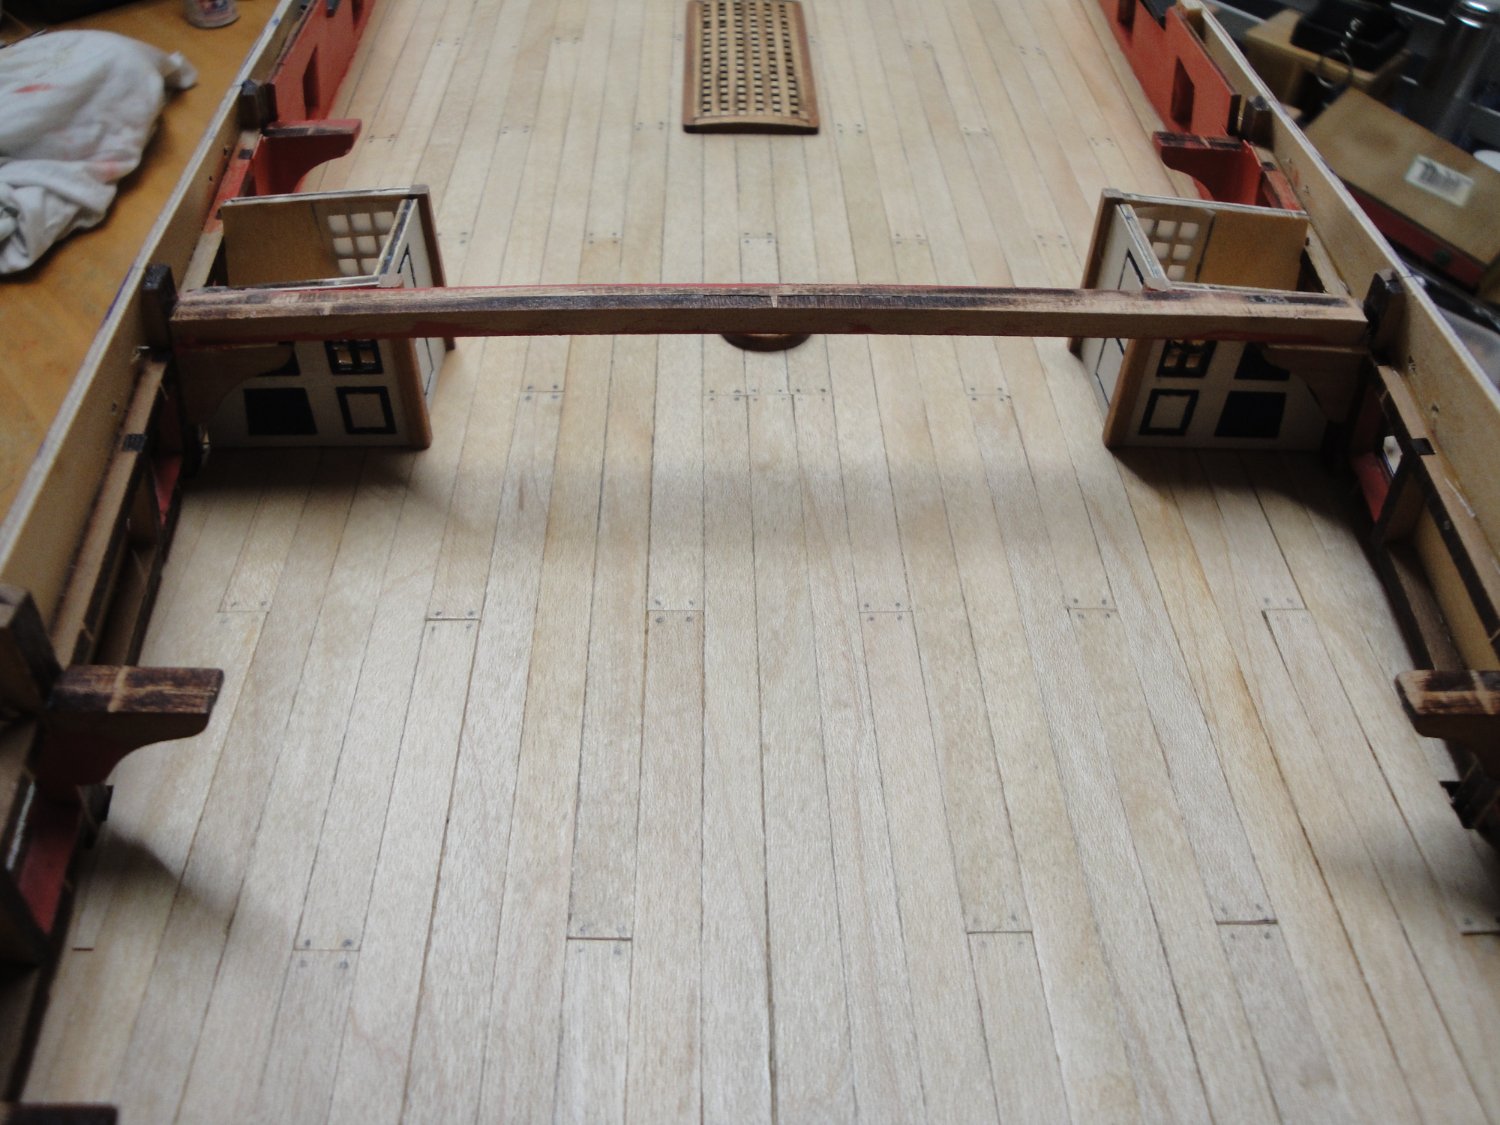
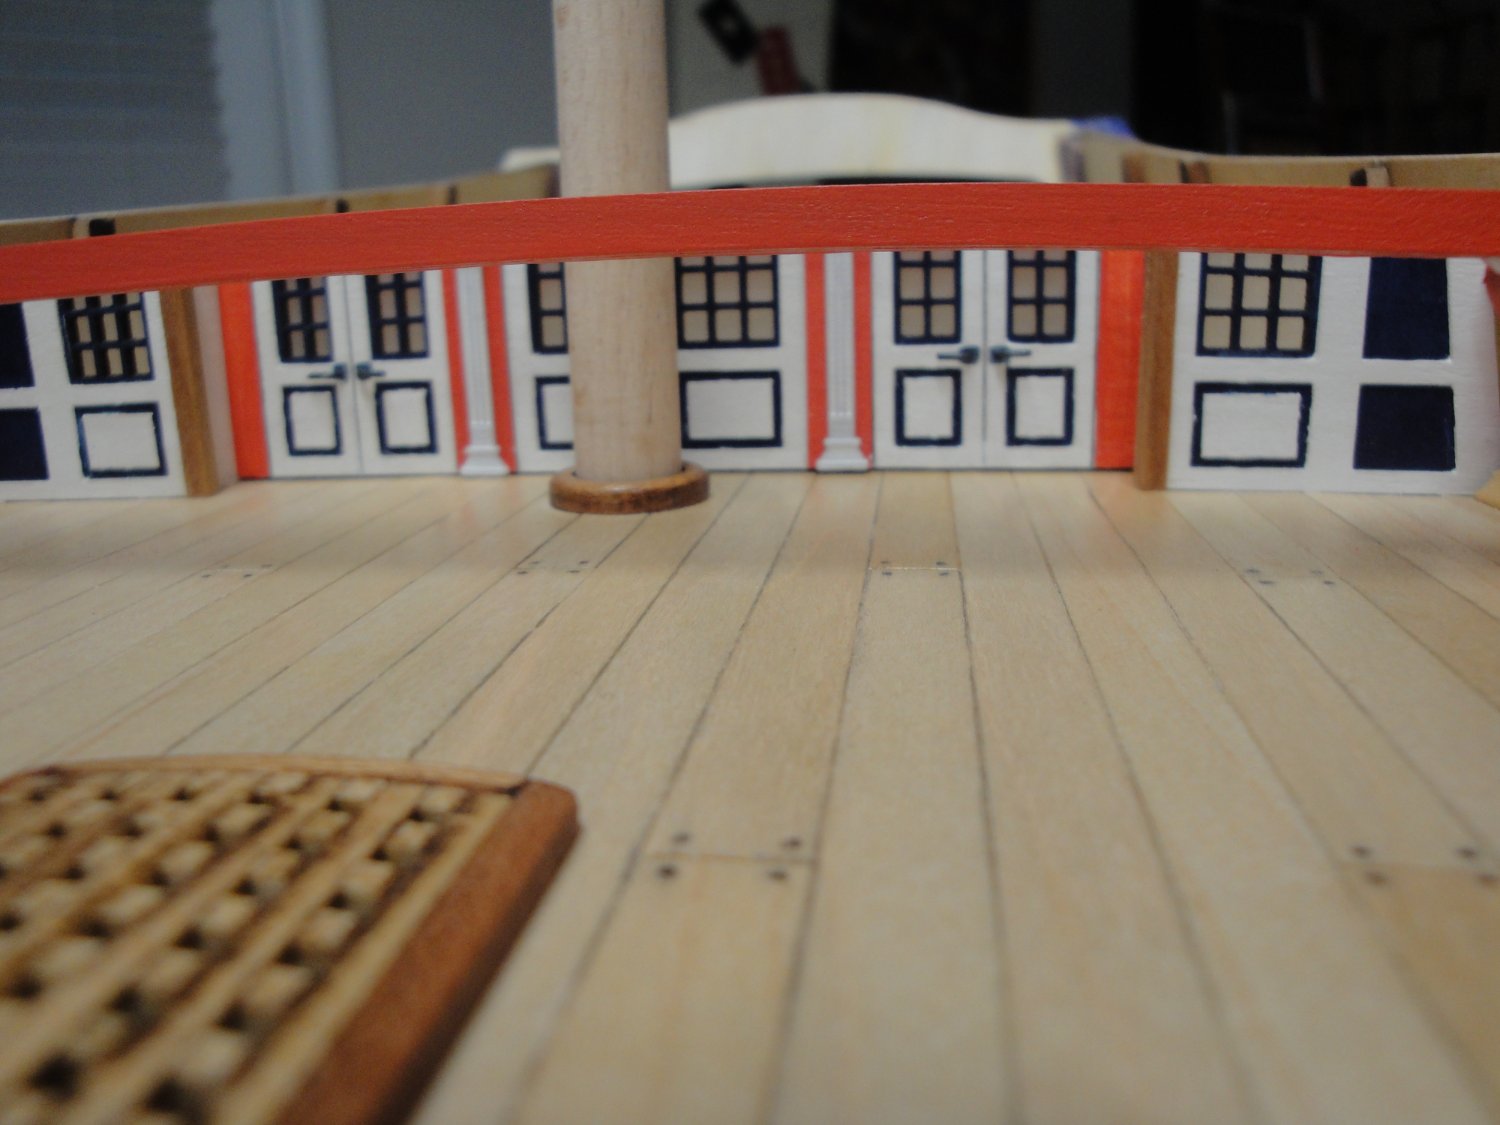
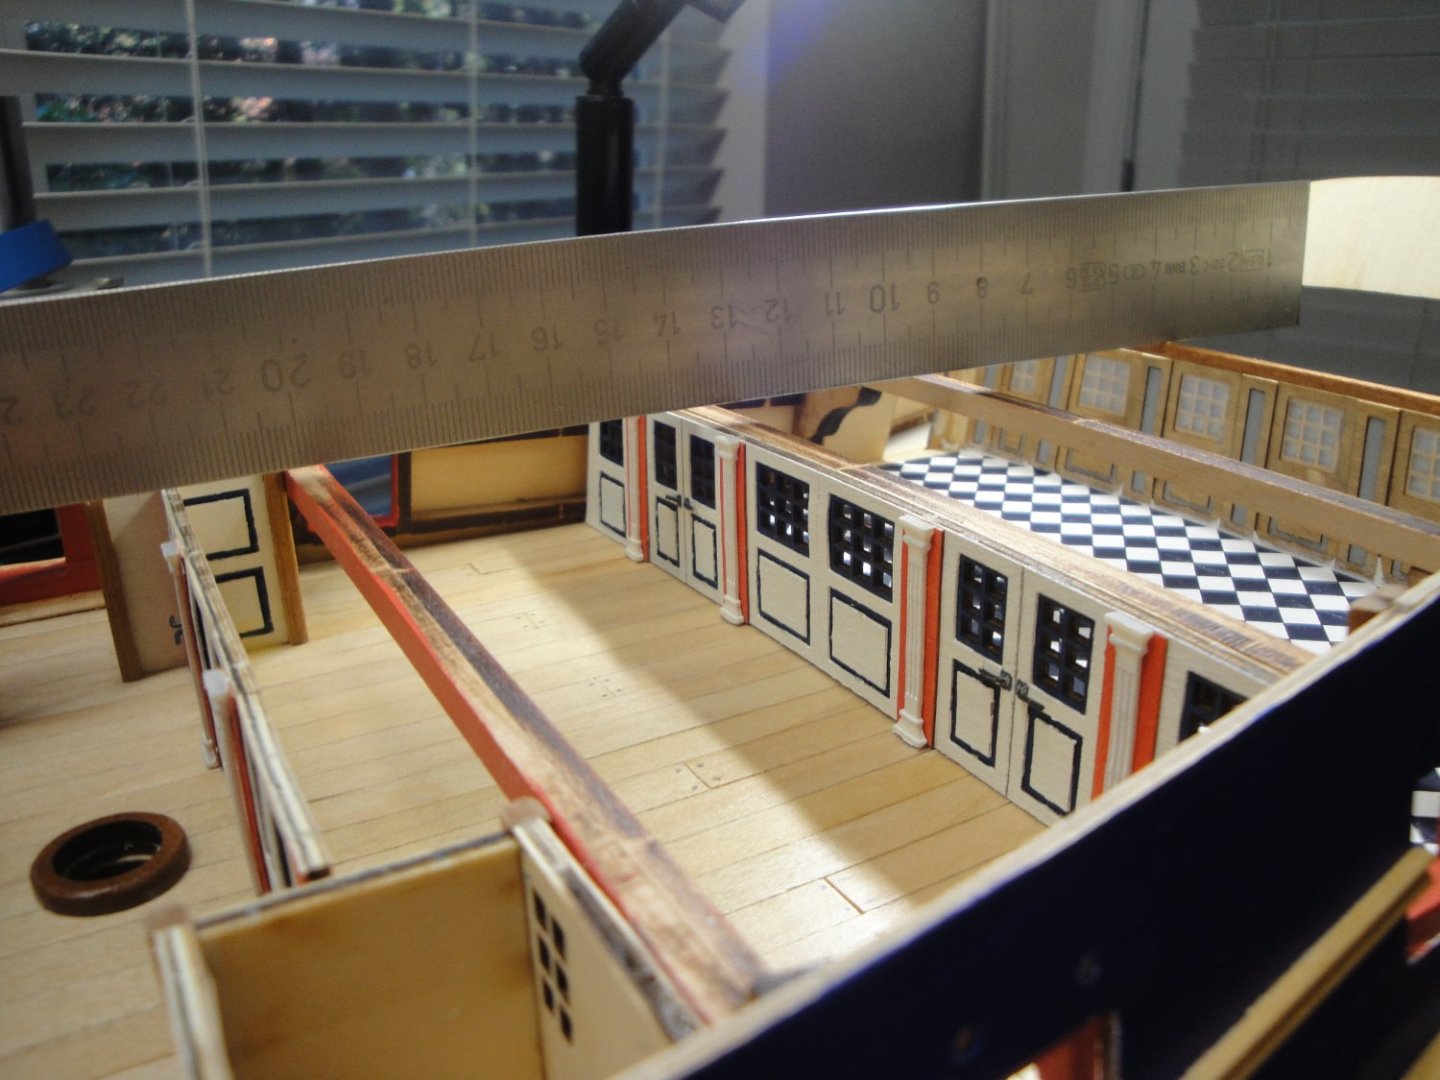
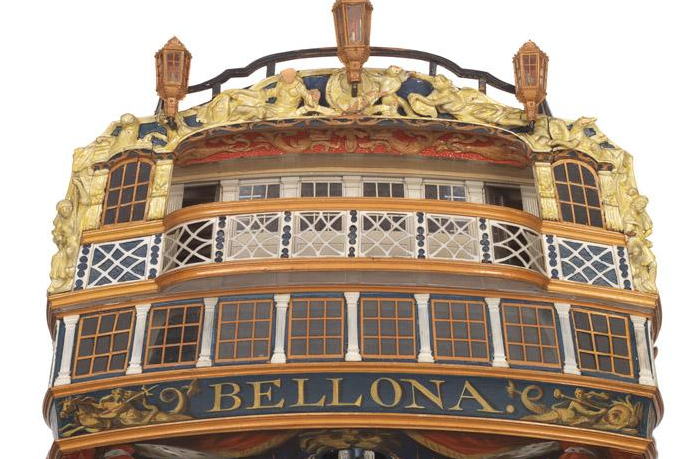
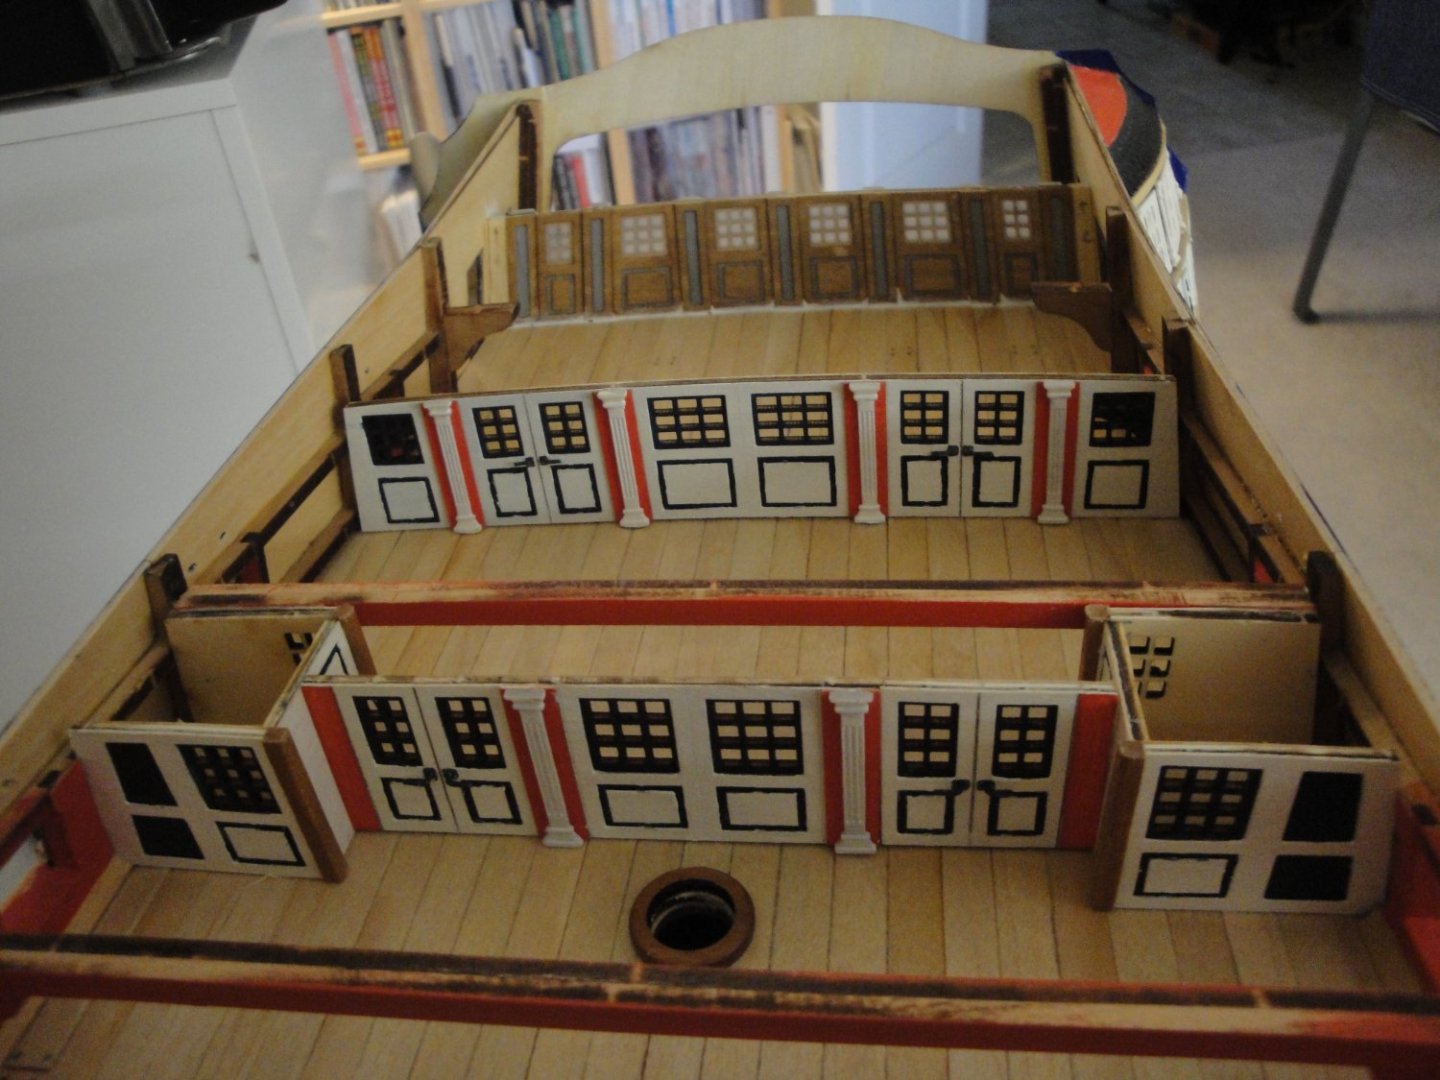
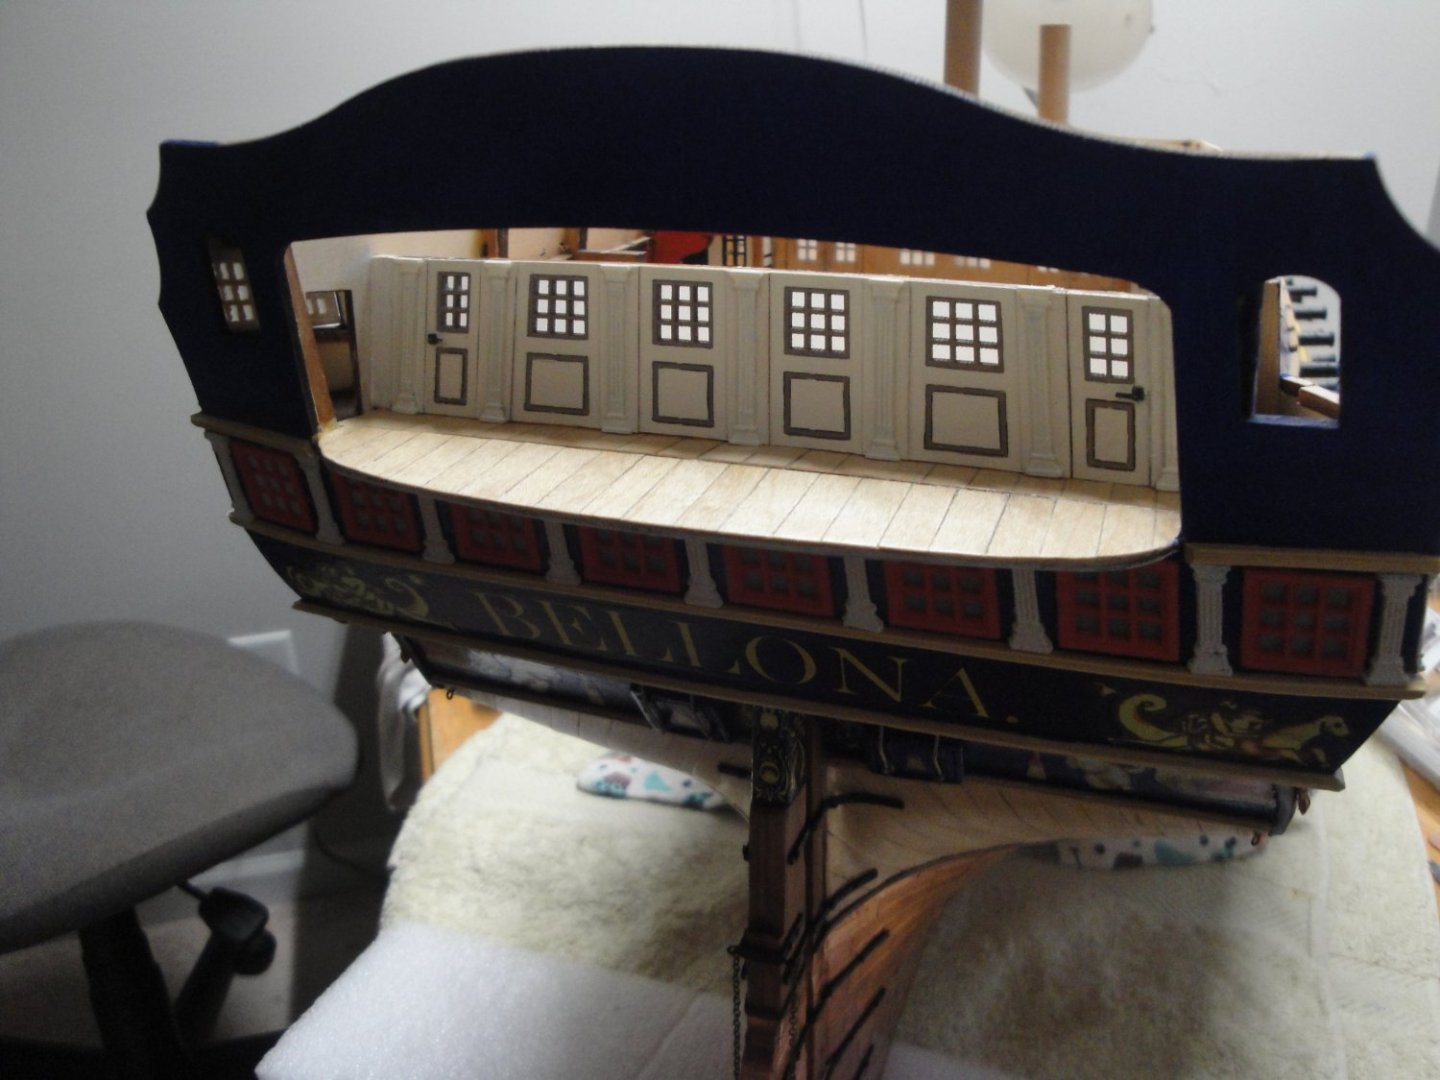
The next phase is the building of the screen bulkhead. Here I wanted to depict it as close as possible to the National Maritime Museum model, which is basically painted in white. I only used some light gray for the windows and the wainscoting of the panels. Inside. the wood is just stained, lightly: The white putty is used to provide a very tight seal between the bulkhead and the planking. This prevents the light to go through. The rear screen bulkhead is slightly convex in shape. Yves


- 507 replies
-
- 12
-
-
-
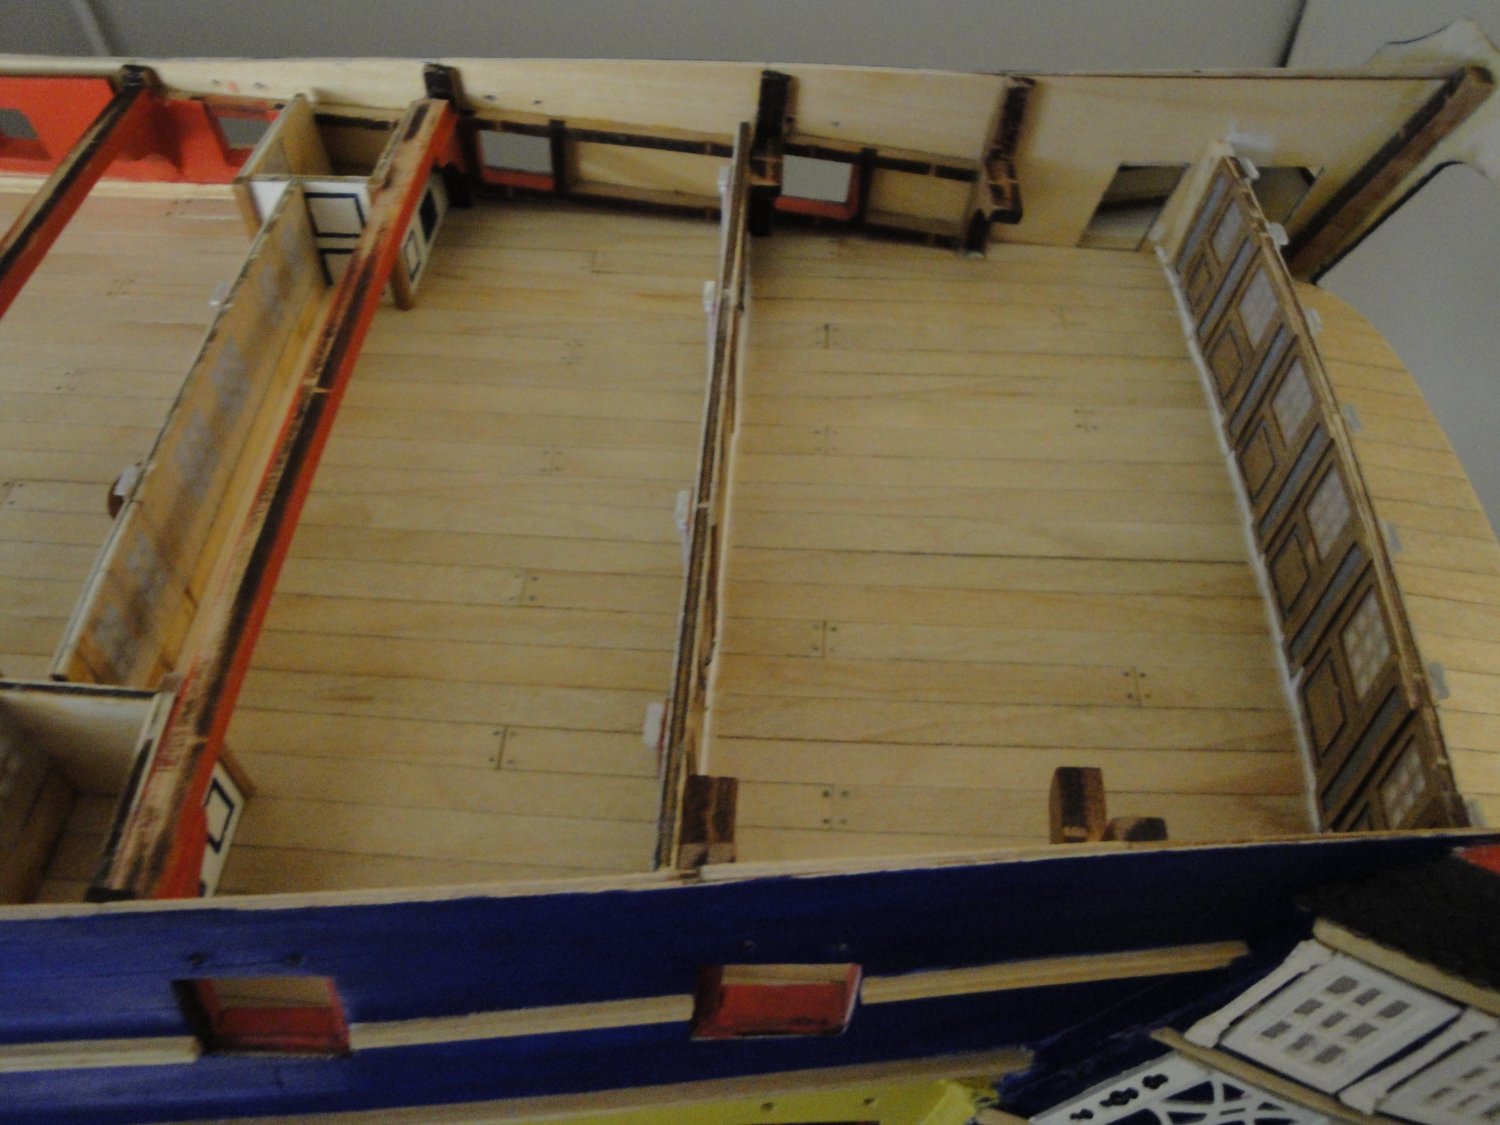
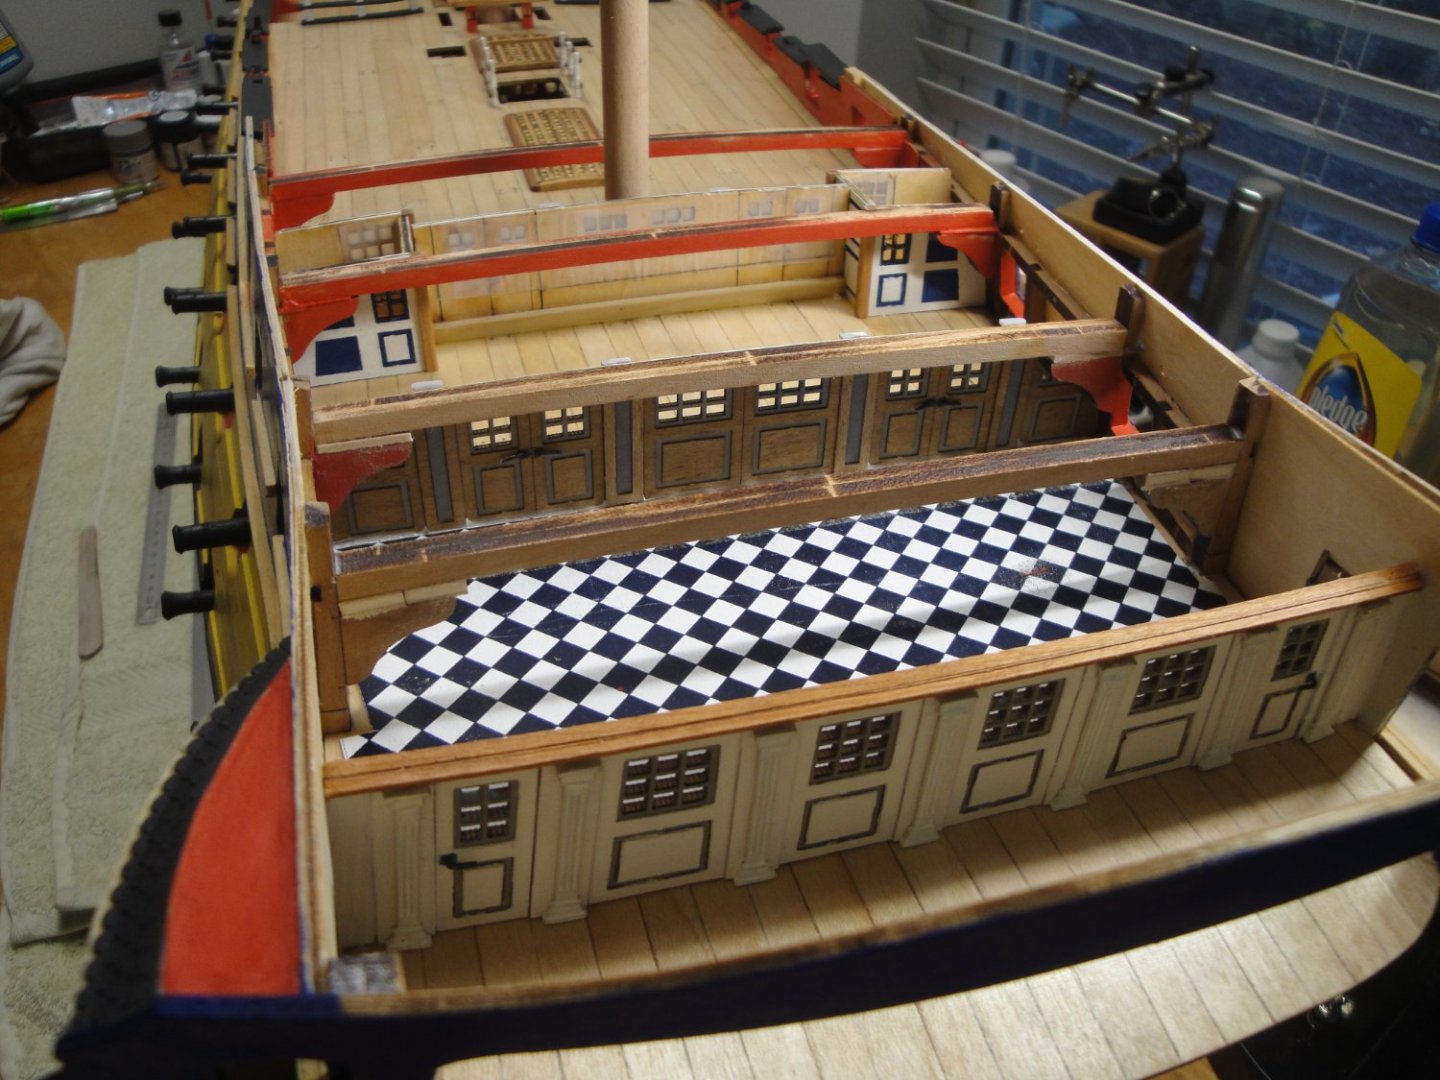
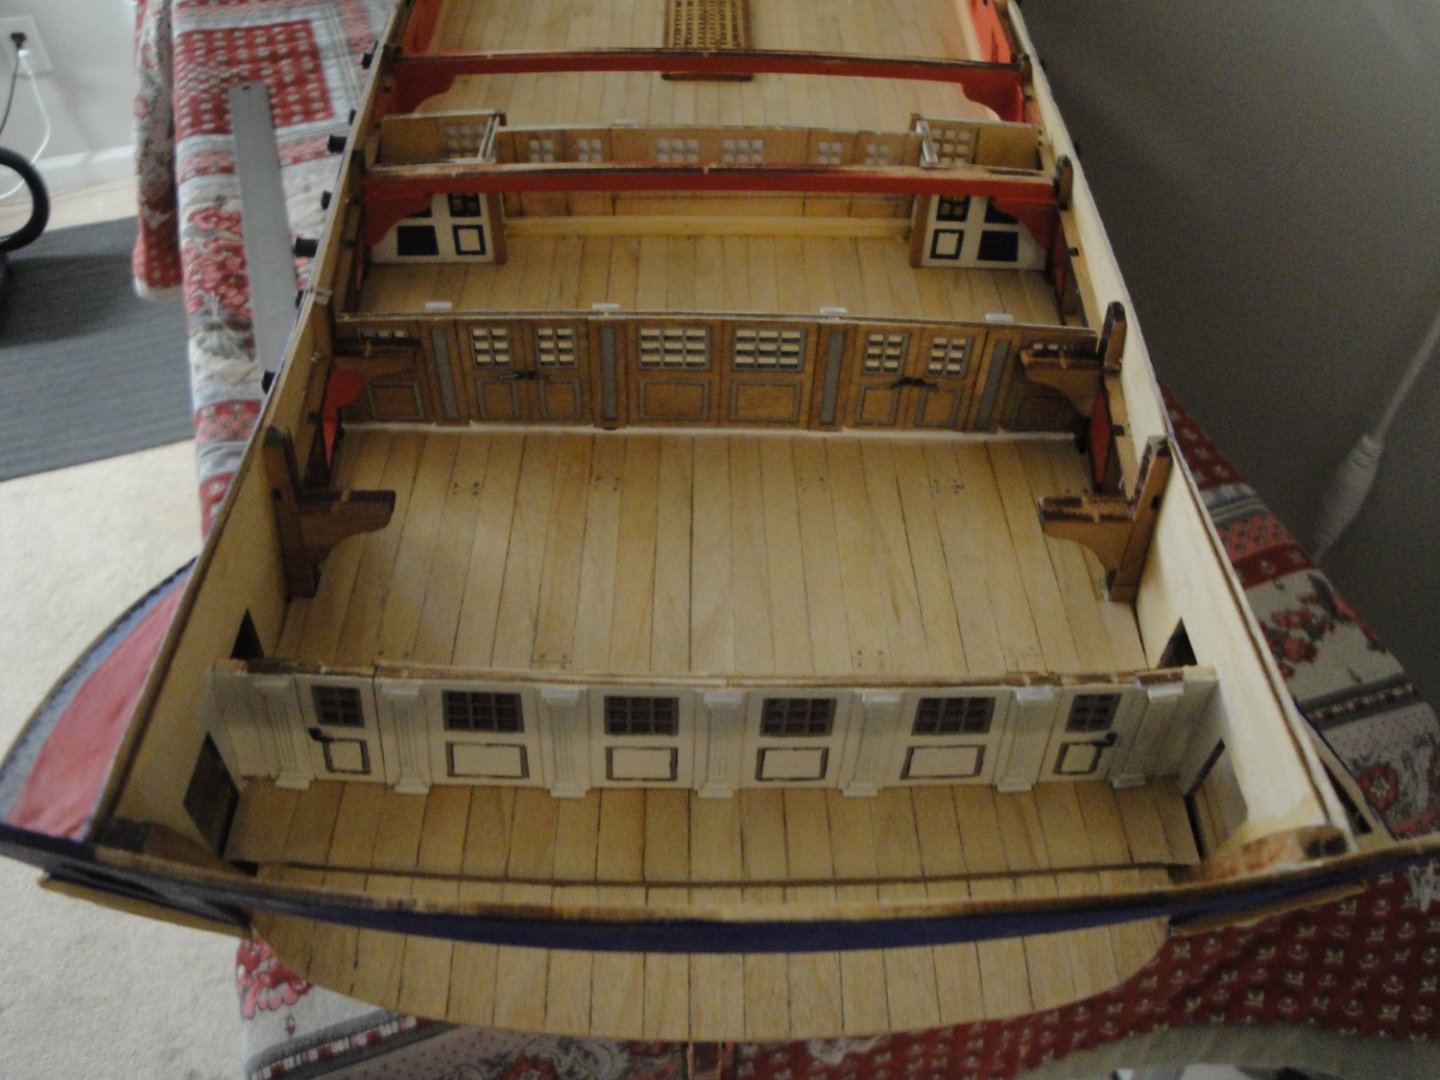
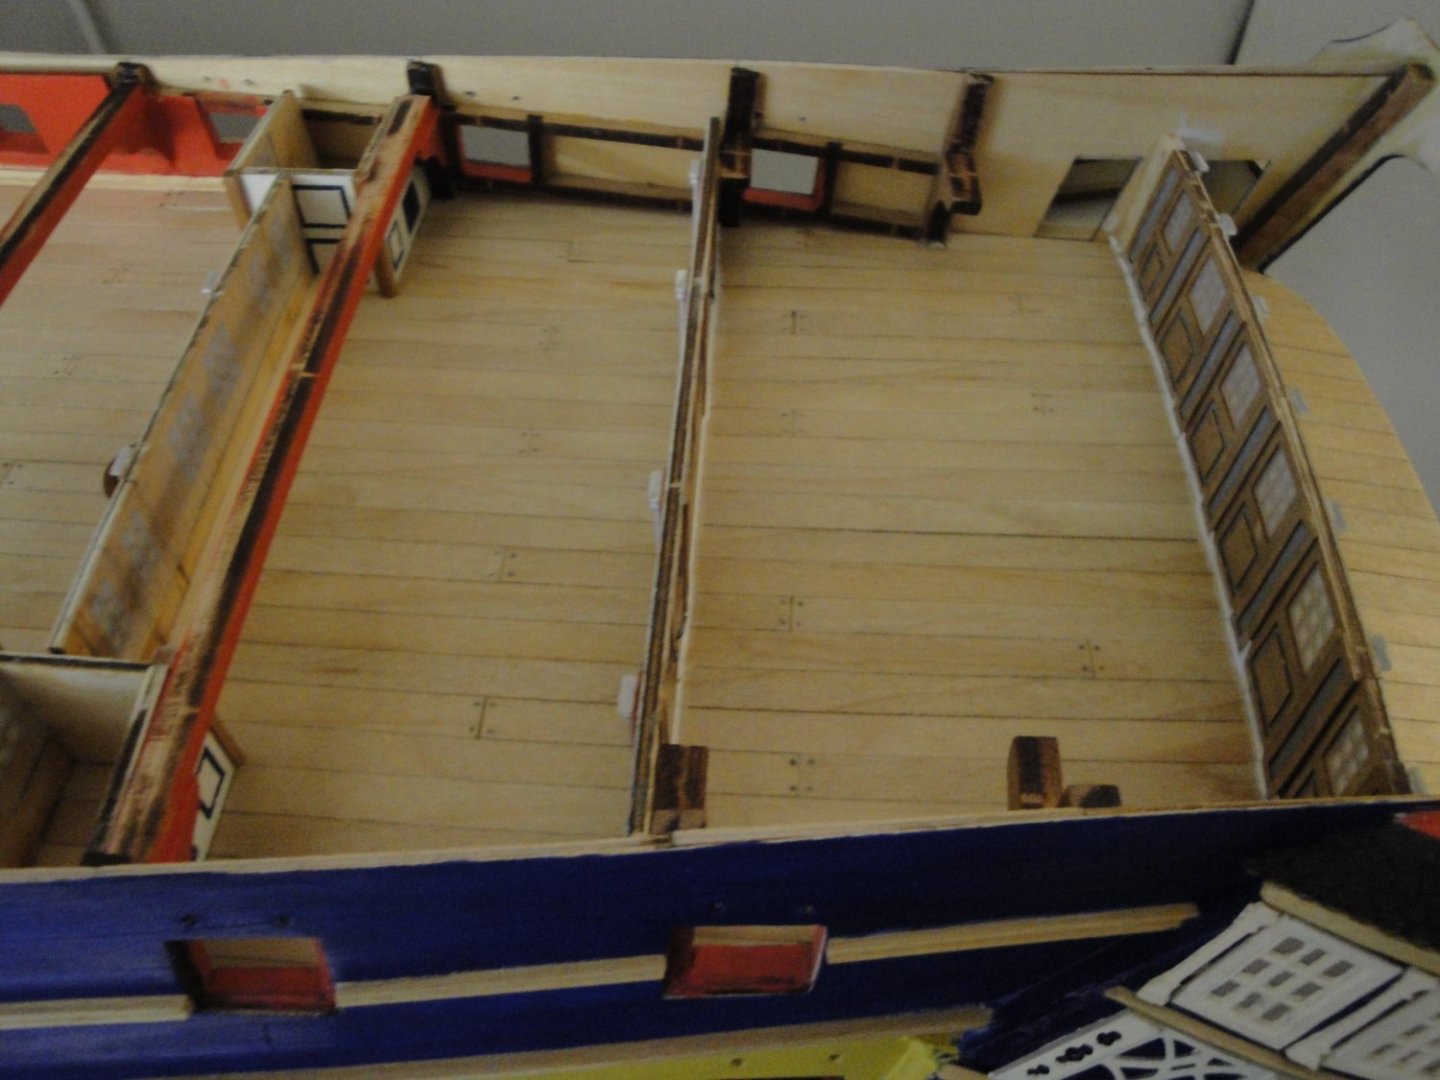
With such a large quarterdeck, it was necessary to build the various partitions and walls, offered by the kit. Once again, all of the things you are seeing will be occulted by a bare poop deck. It is kind of sad in a way. The bulkhead located right behind the wheels and mizzen mast: All the assemblies are part of Session #4. The balusters/columns are 3D resin printed. I have replaced the printed corners with 3x3 mm cherry wood pieces, as the corner balusters provided in the kit were not matching at all. The resin parts were way too large and did not fit the limited space between the two sides. Below, an overall view: Yves


- 507 replies
-
- 10
-
-
-
ZOUKEI-MURA....the ultimate kit. Yves
-
I like the contrast between the main stove and the polished copper lids. Yves
-
Is that a John Stobart fine print? It reminds me of his style. What a great picture !!! Yves
- 238 replies
-
- 1
-
-
- Robert E Lee
- steamboat
- (and 3 more)
-
The difference in size between Bismarck and Yamato is quite obvious on your picture. Yves
-
Big difference! It was worth redoing them with the U shaped strips and the brass wire. Yves
-
Fantastic. What a great model.... I wish you could also model a section of the Mississippi river.... to go with it. Yves
- 238 replies
-
- 2
-
-
- Robert E Lee
- steamboat
- (and 3 more)
-
Hmmm.... I want to see some grease spilled on the deck.... 🙂 Yves
- 27 replies
-
- 2
-
-

-
- galley stove
- Syren Ship Model Company
- (and 1 more)
-
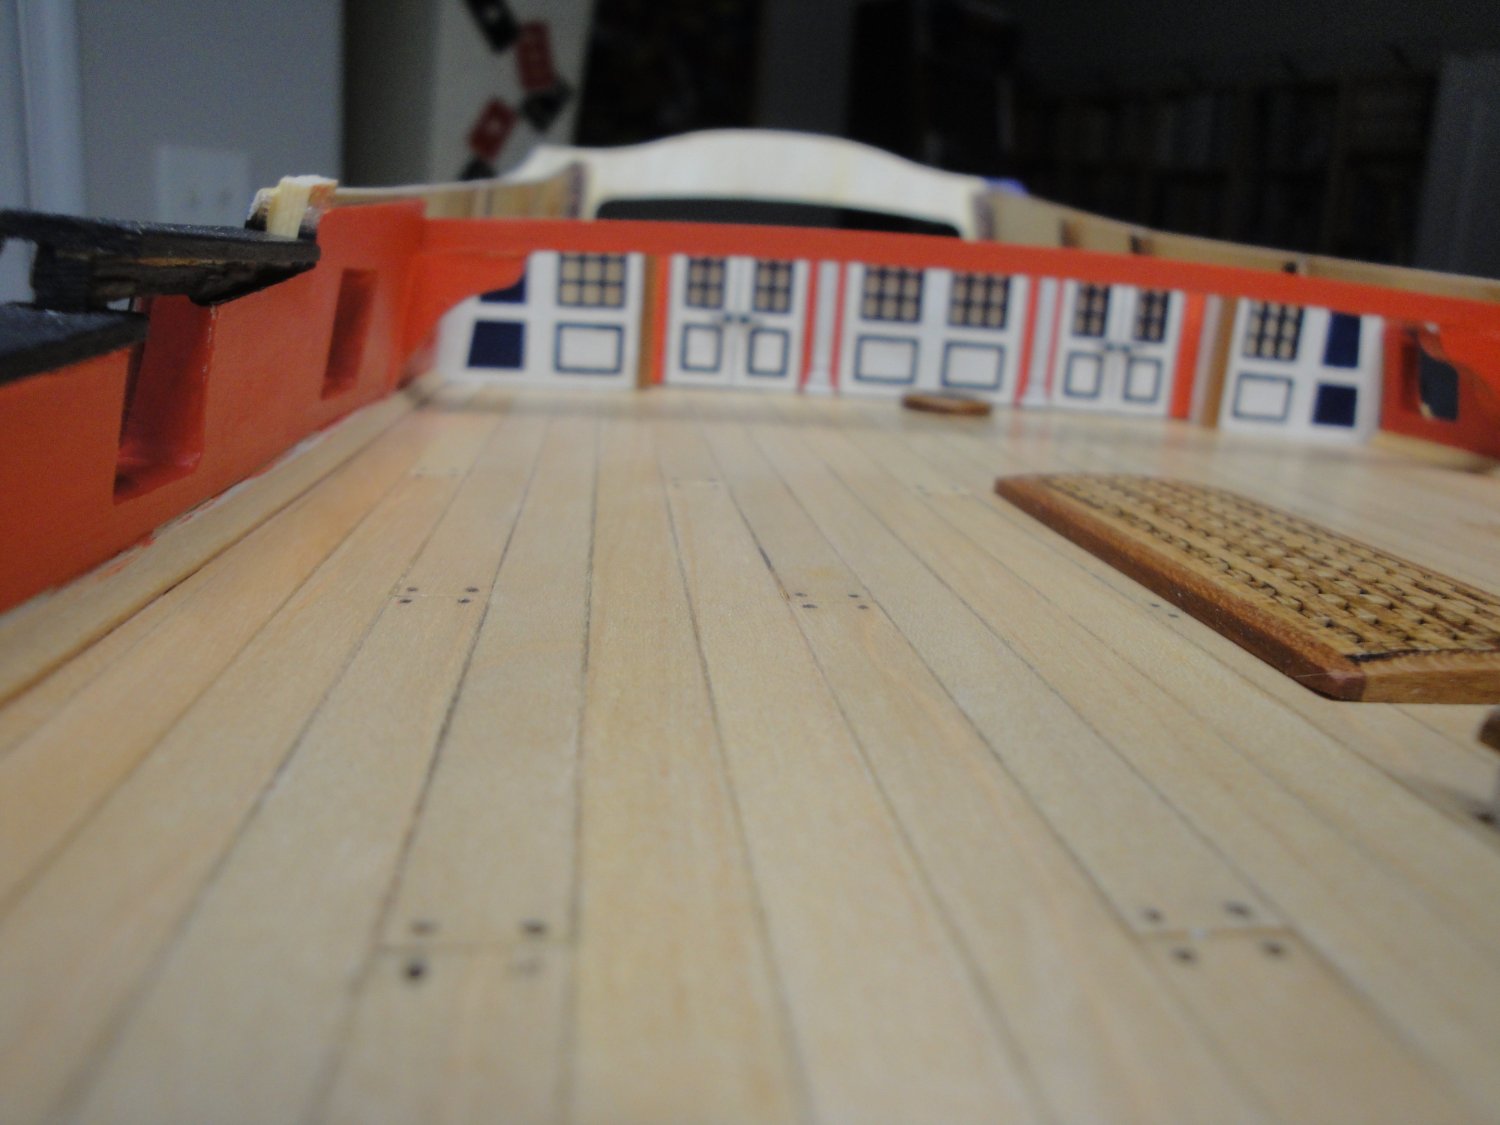
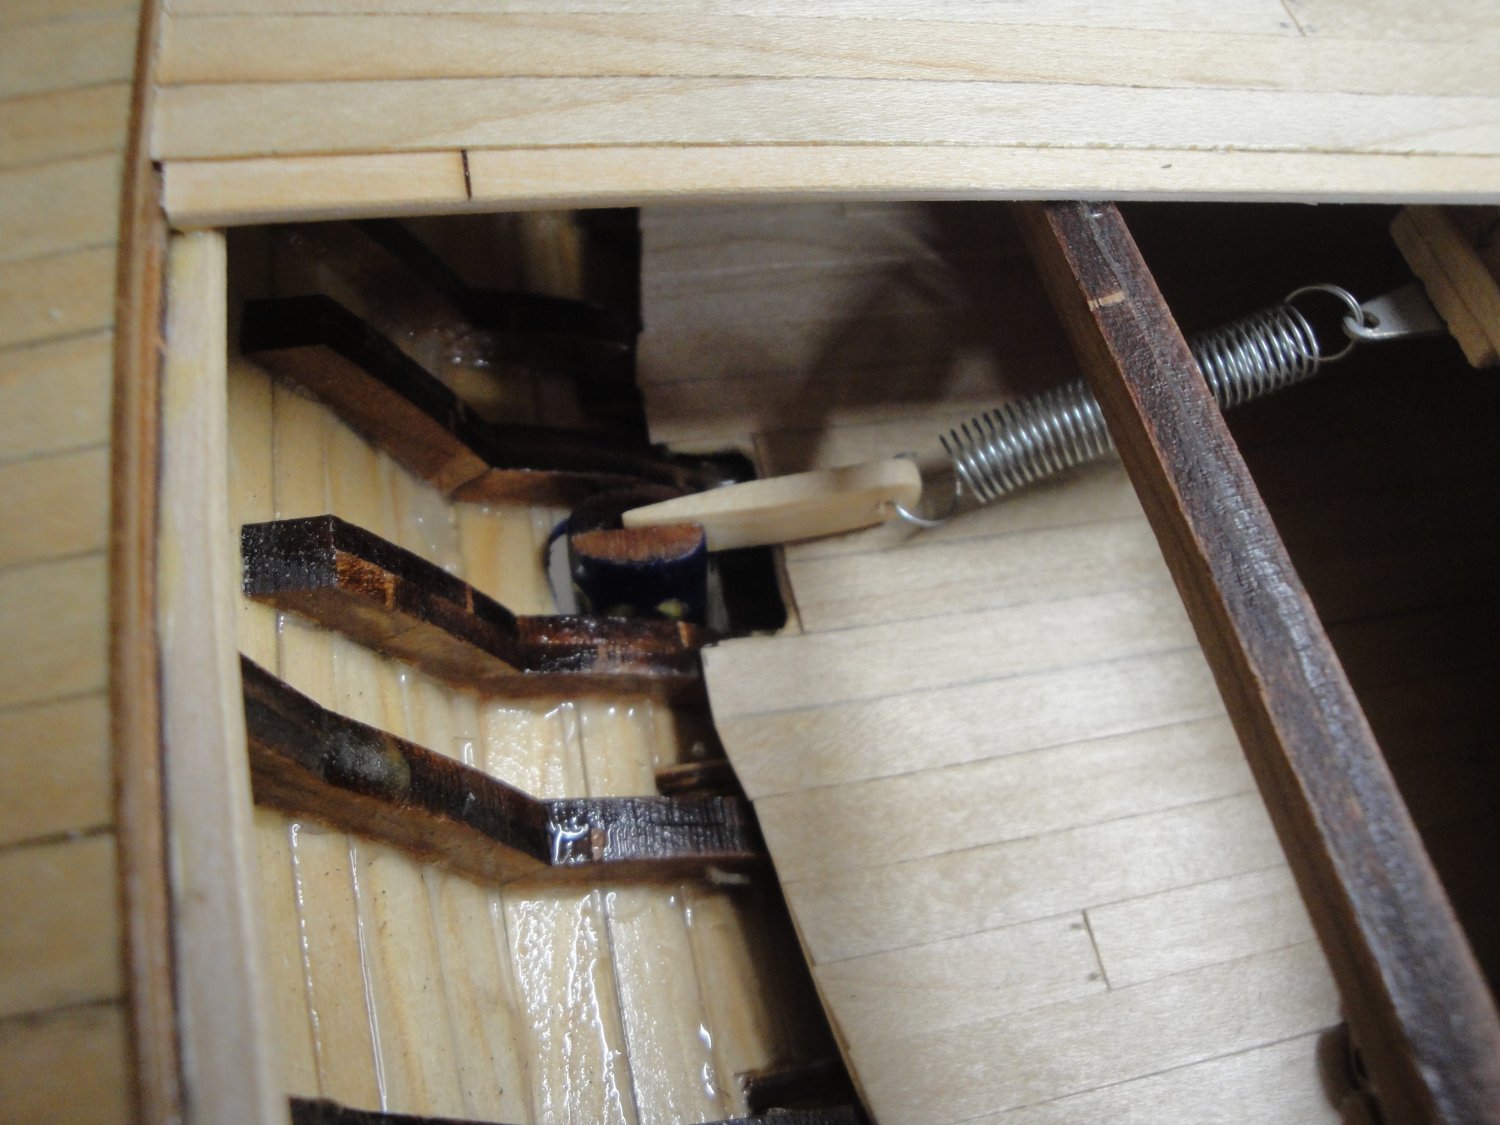
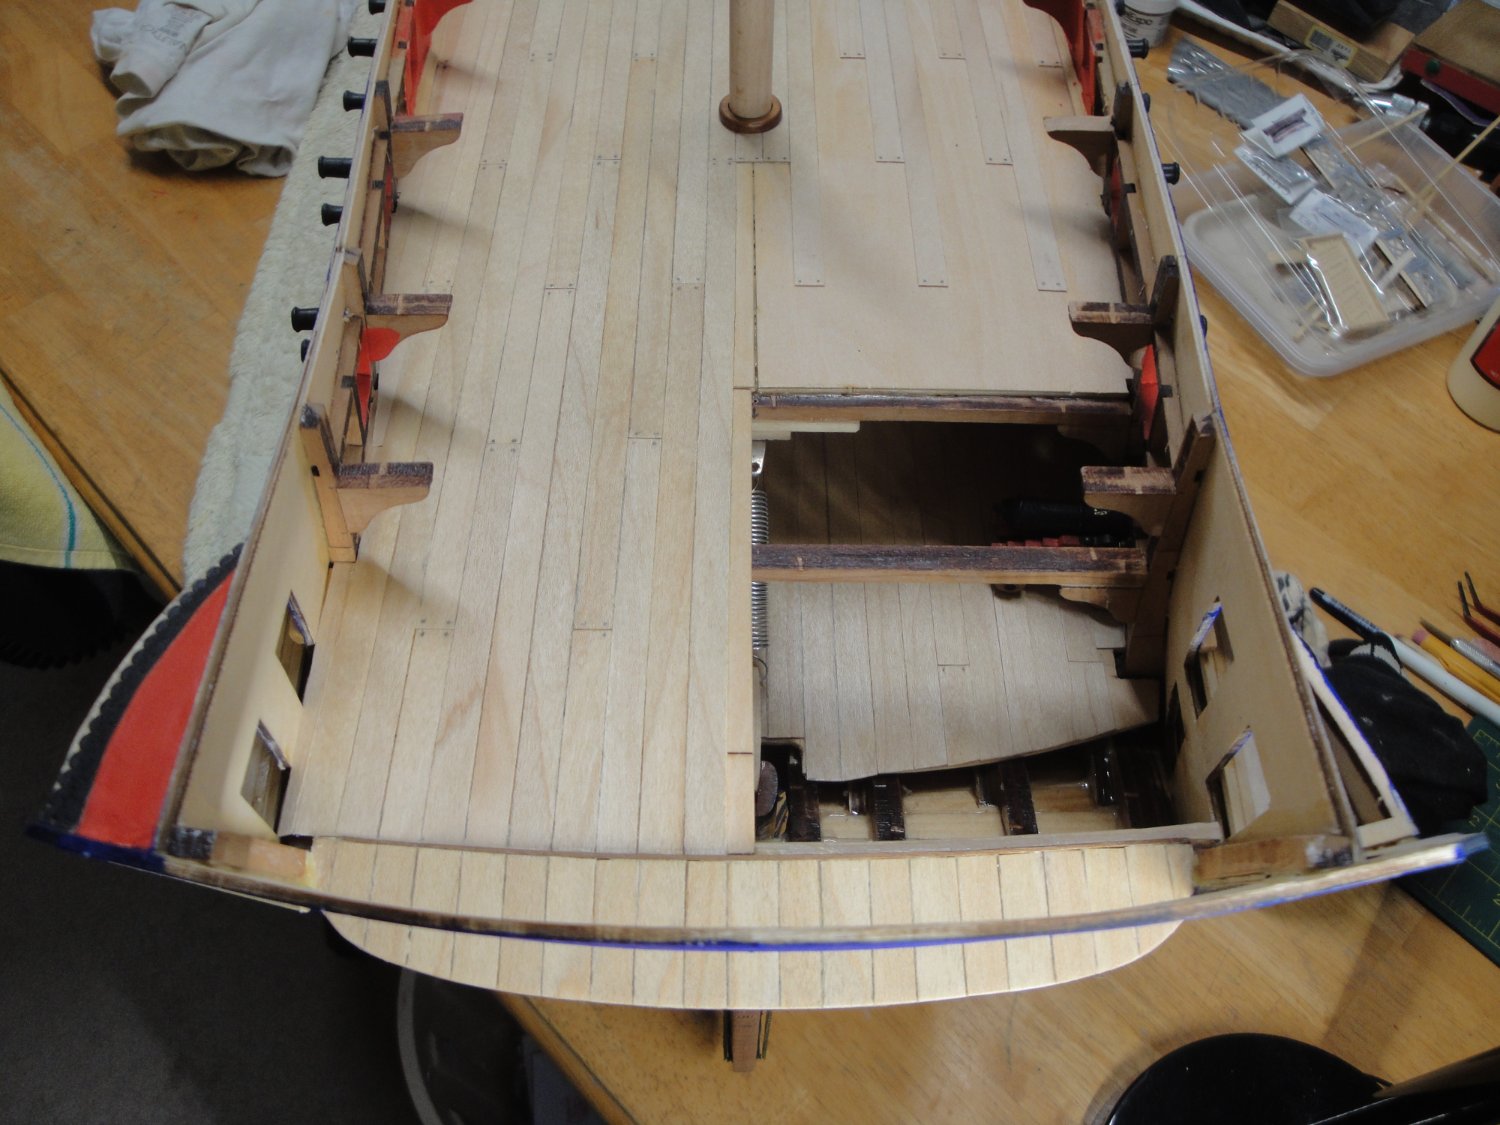
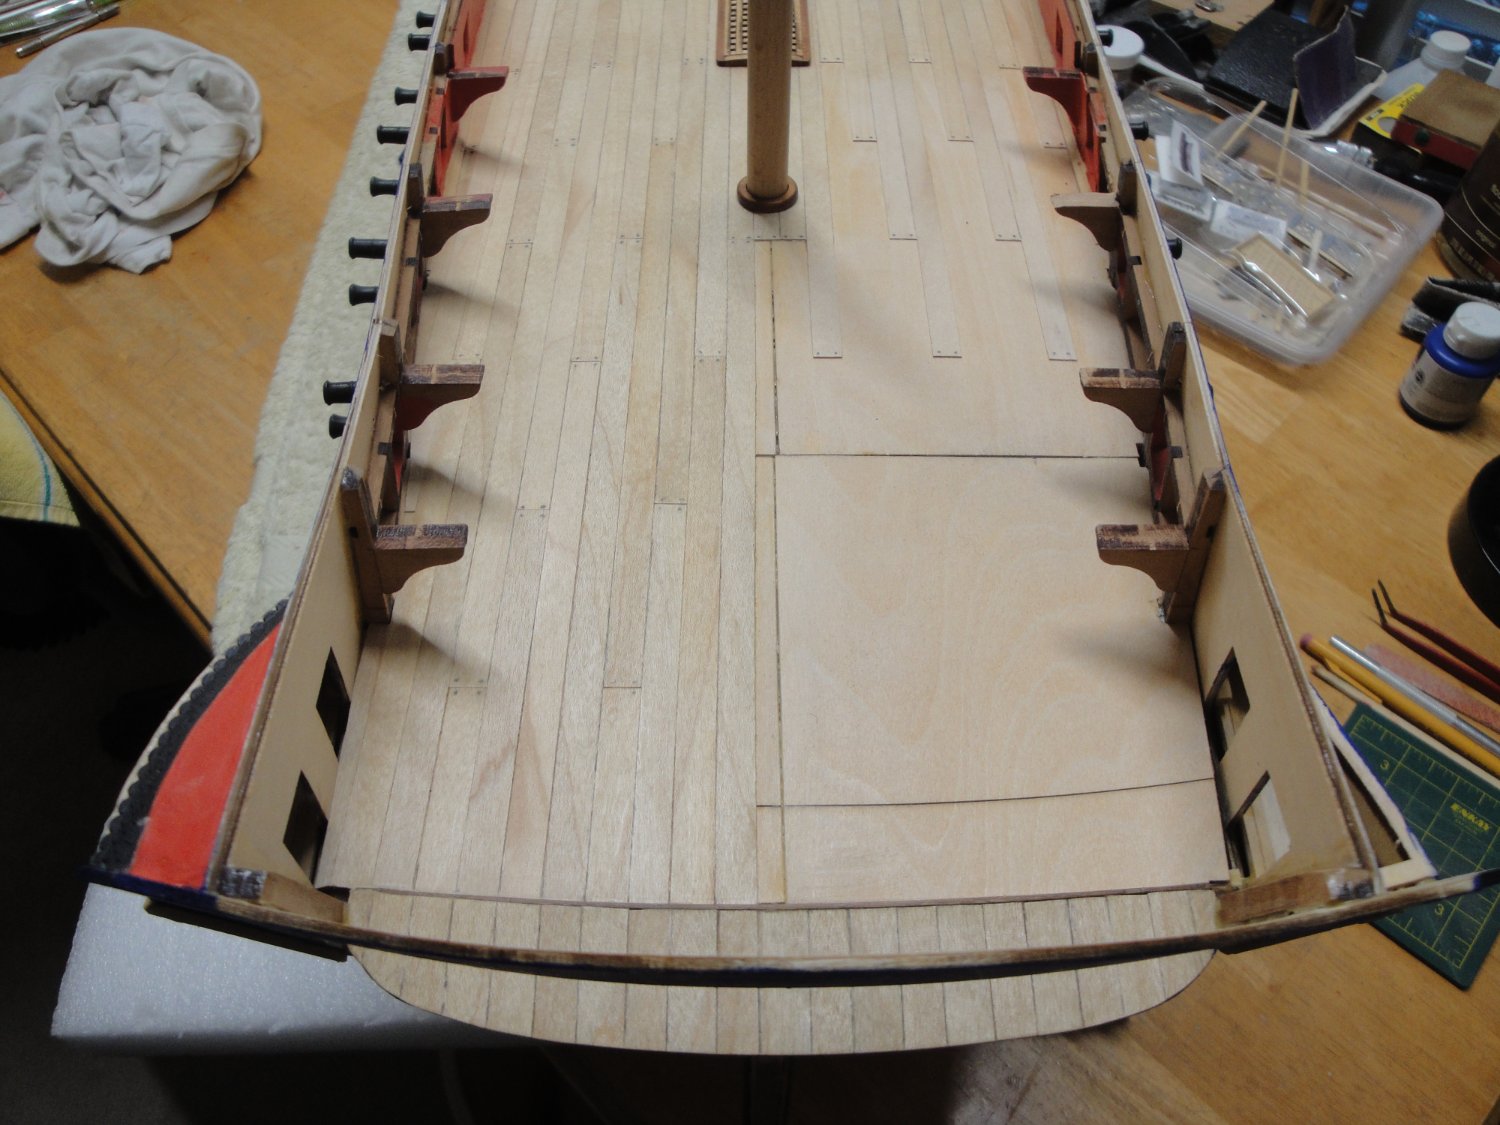
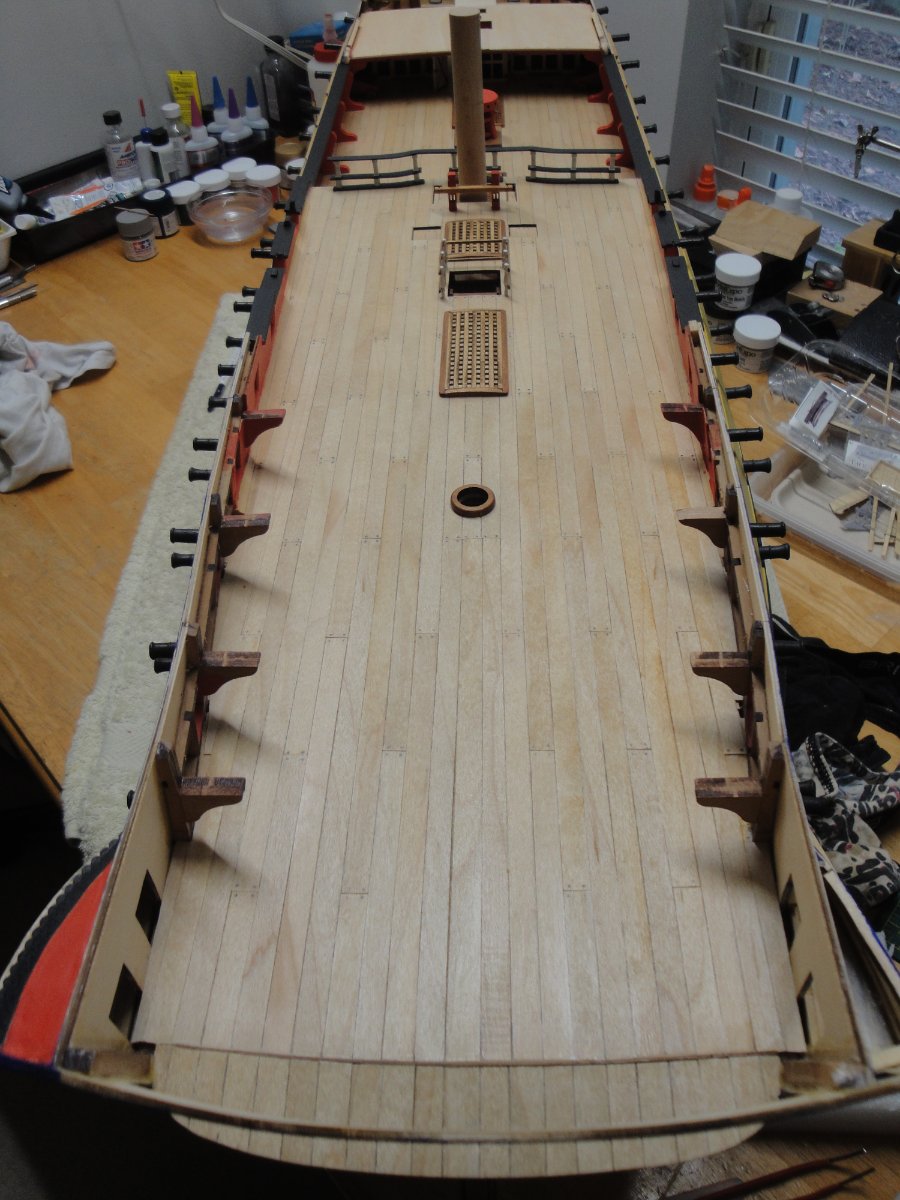
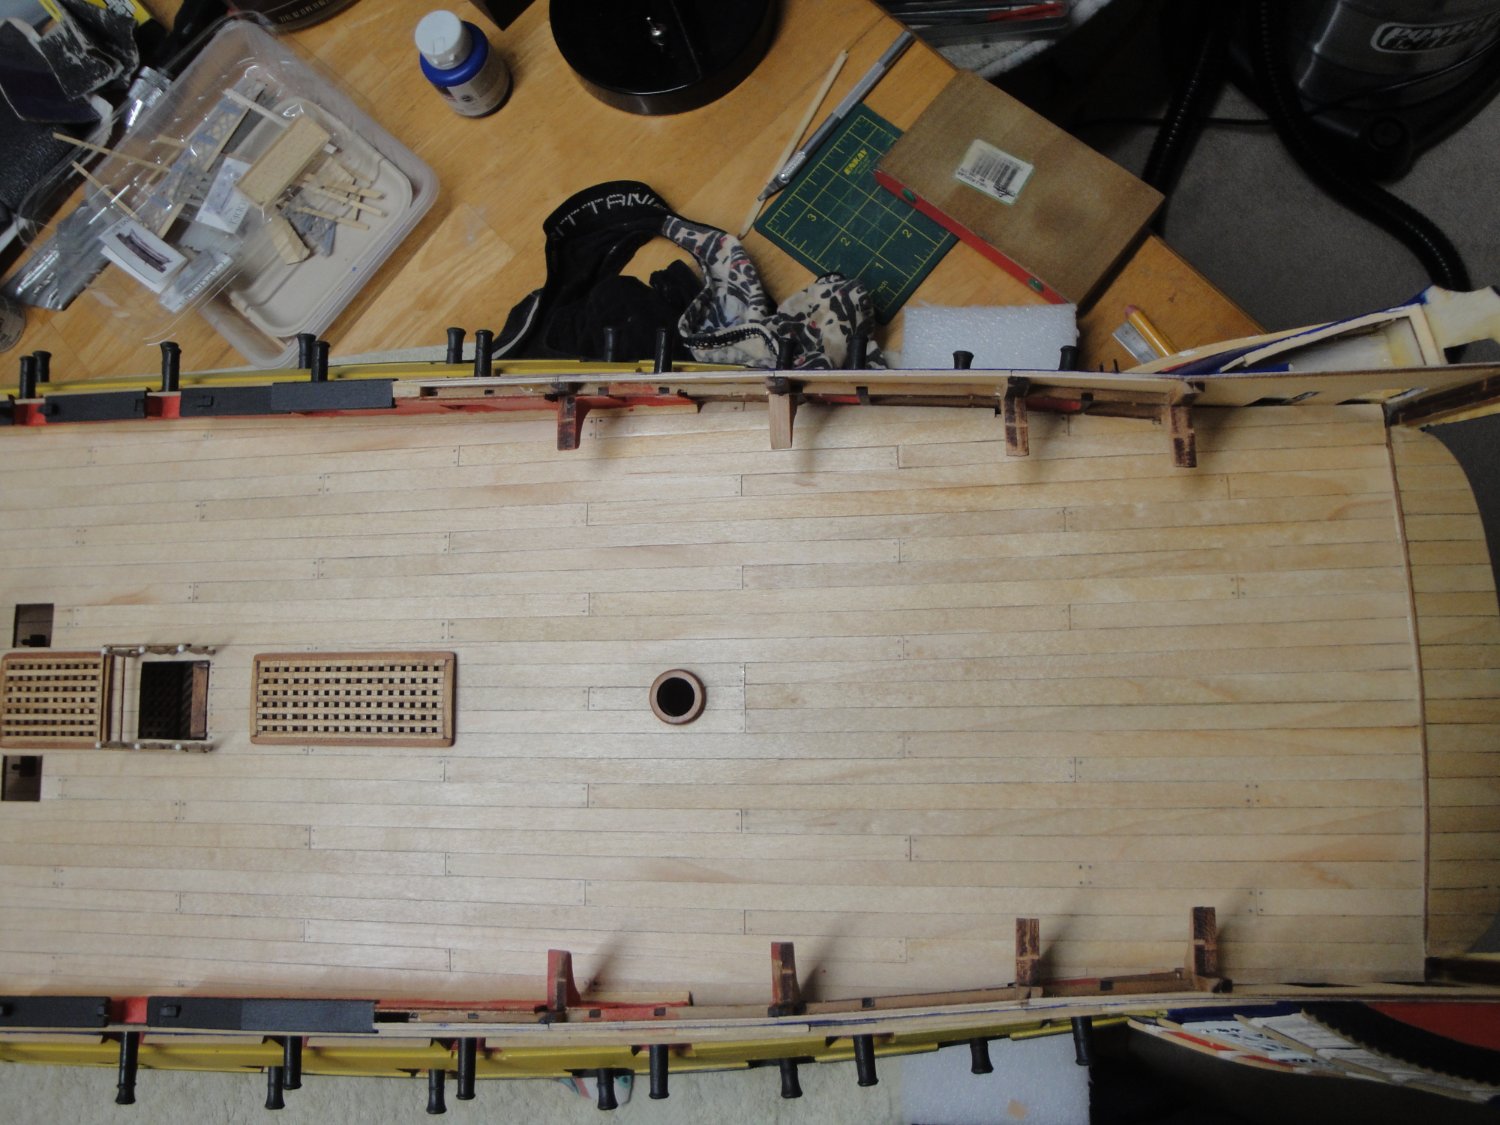
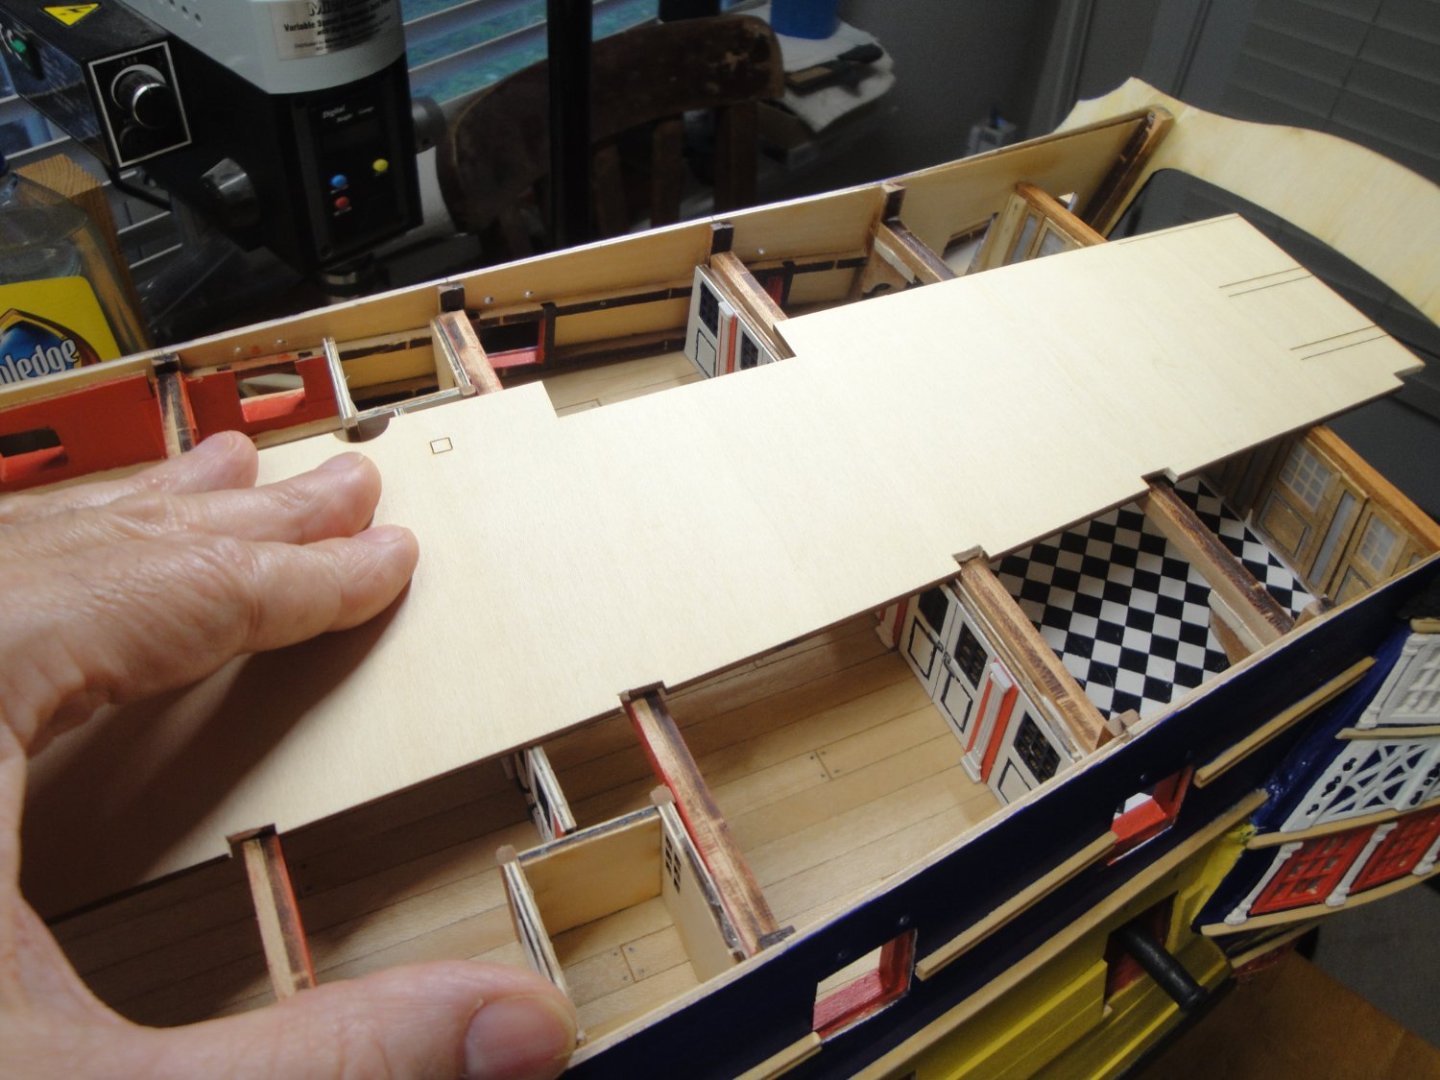
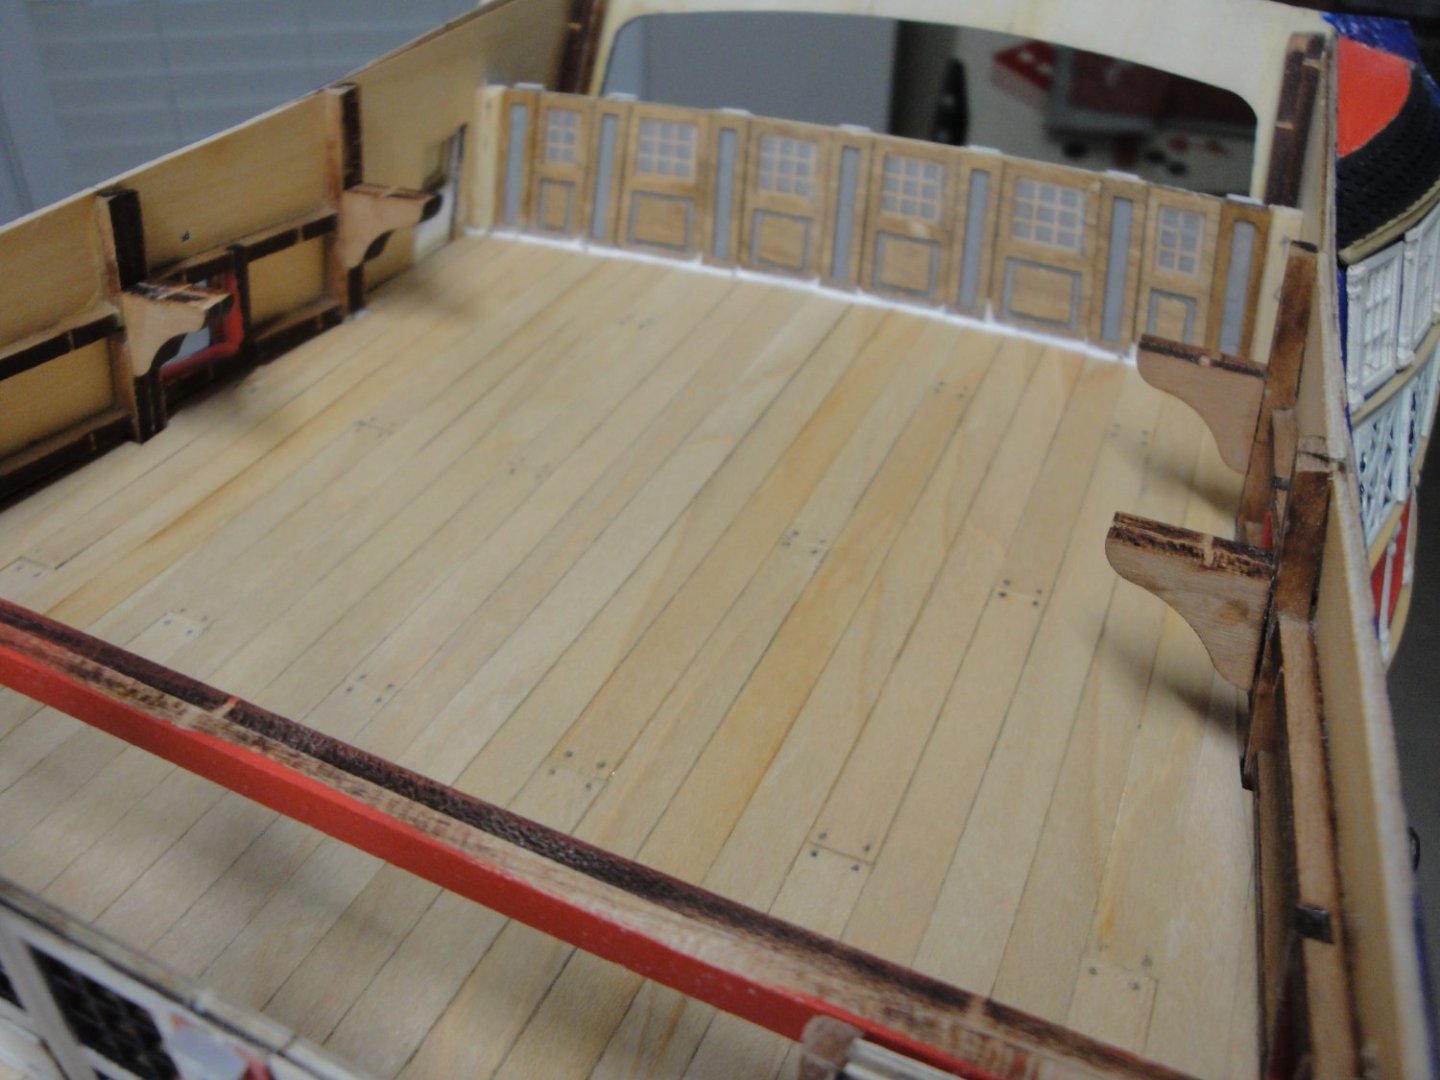
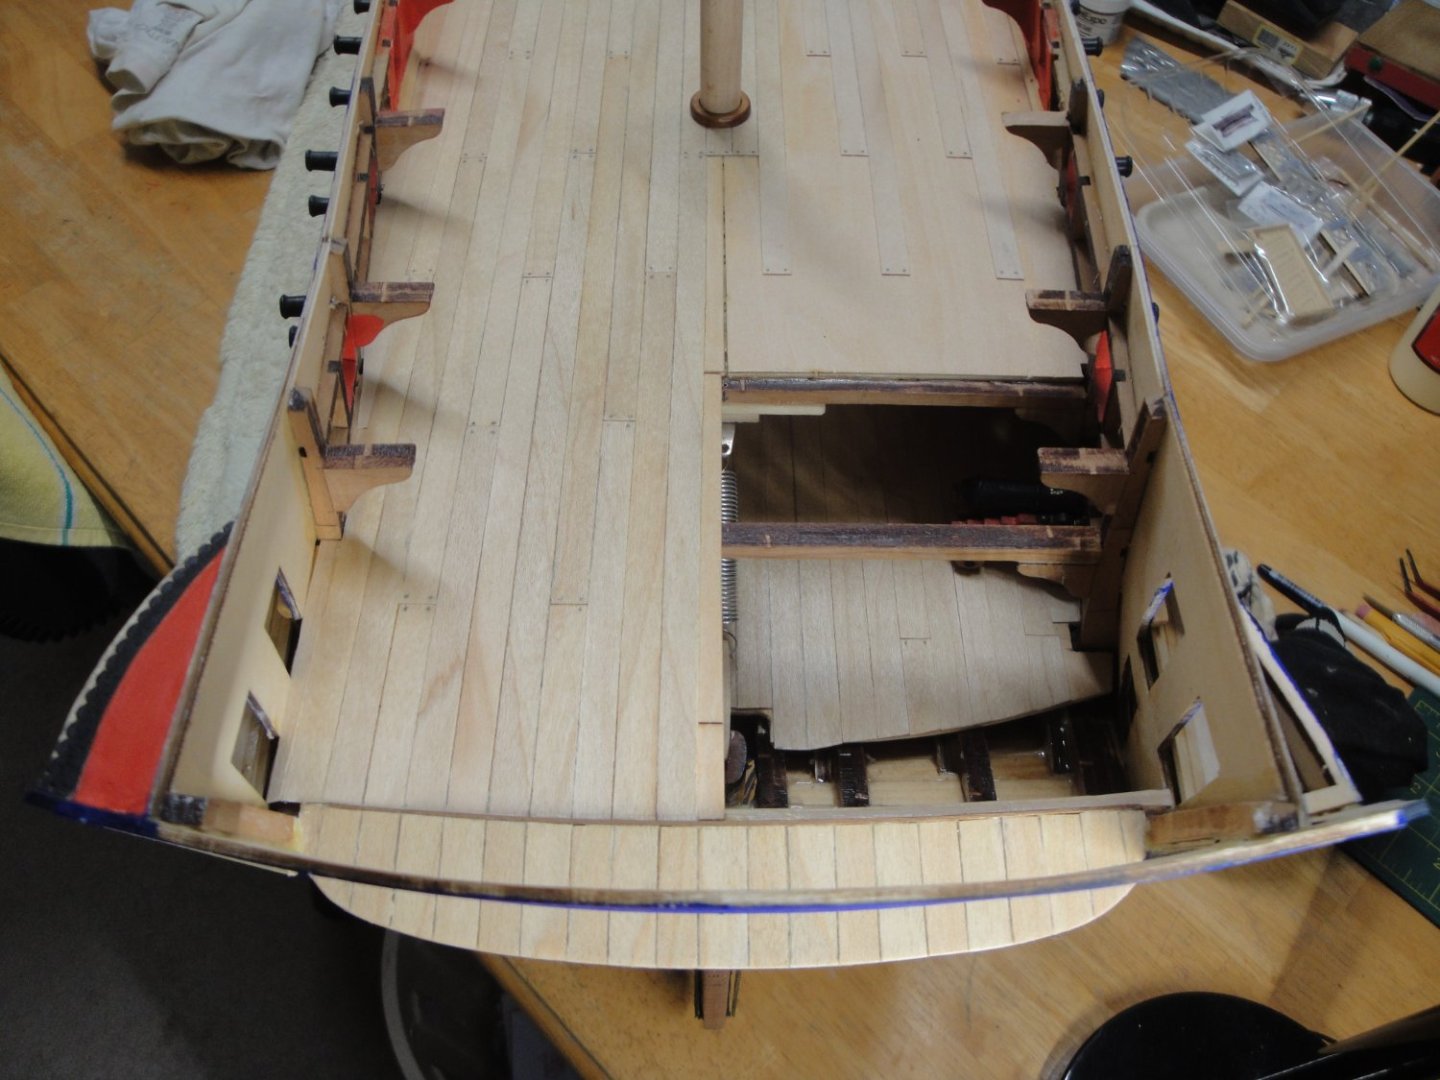
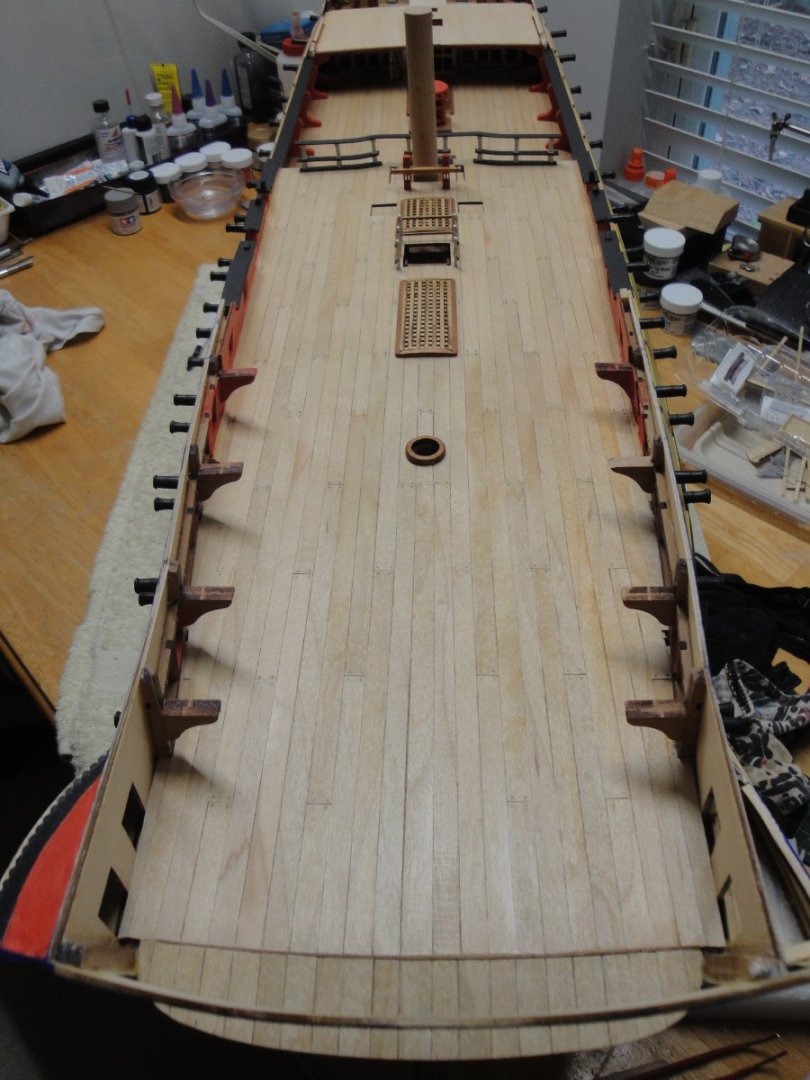
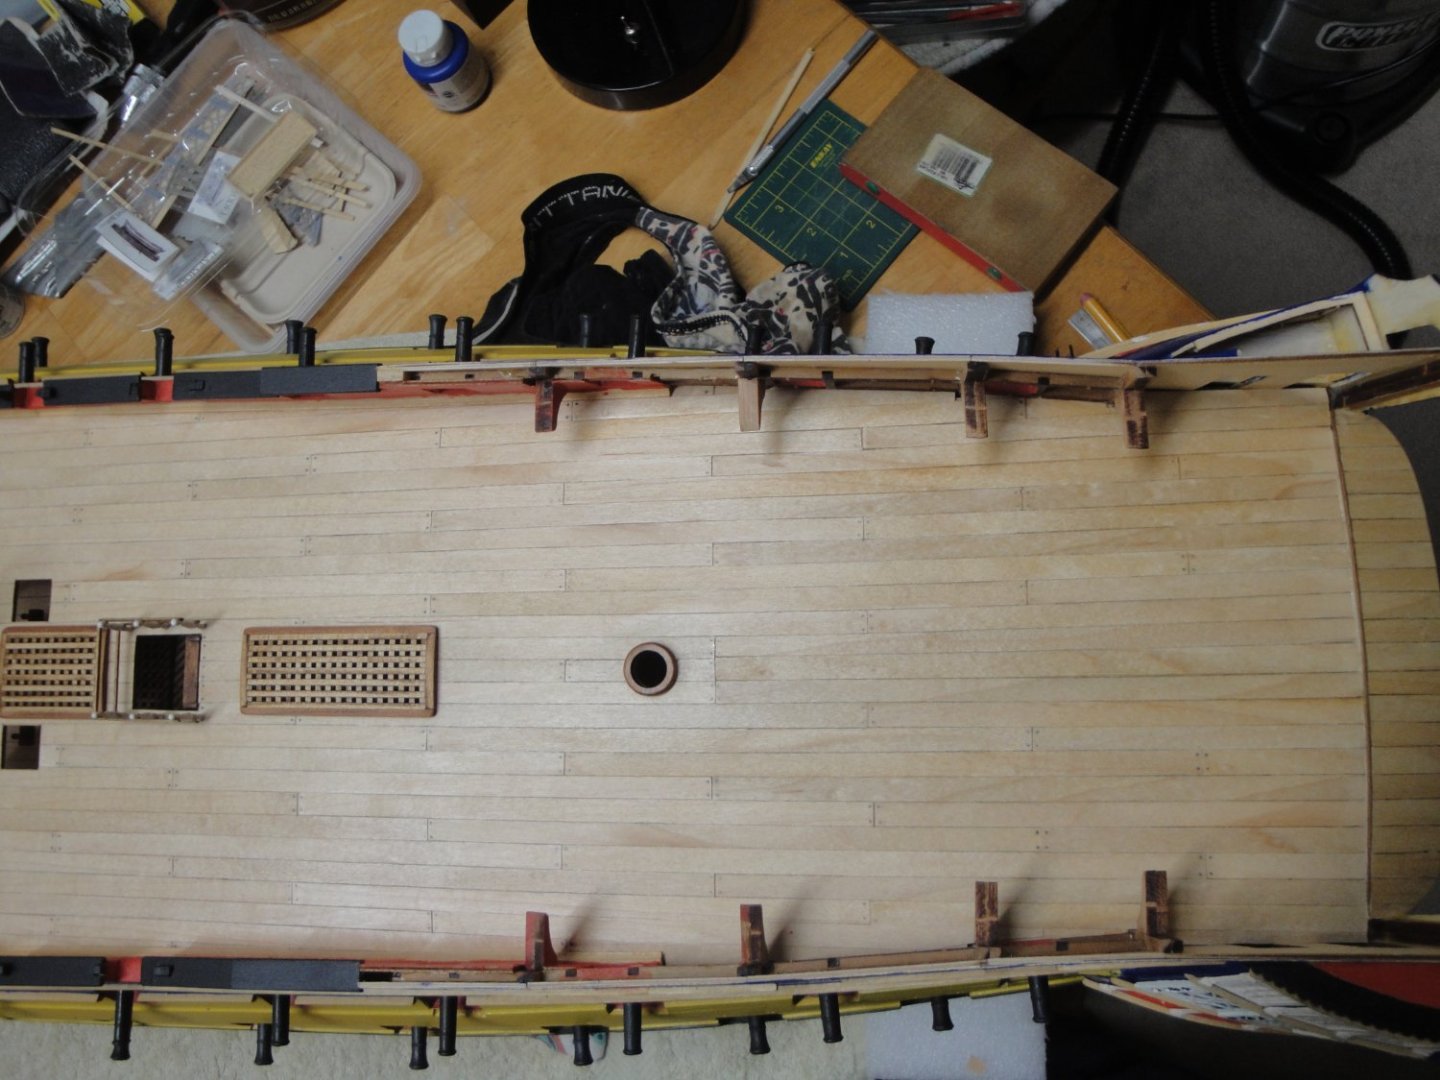
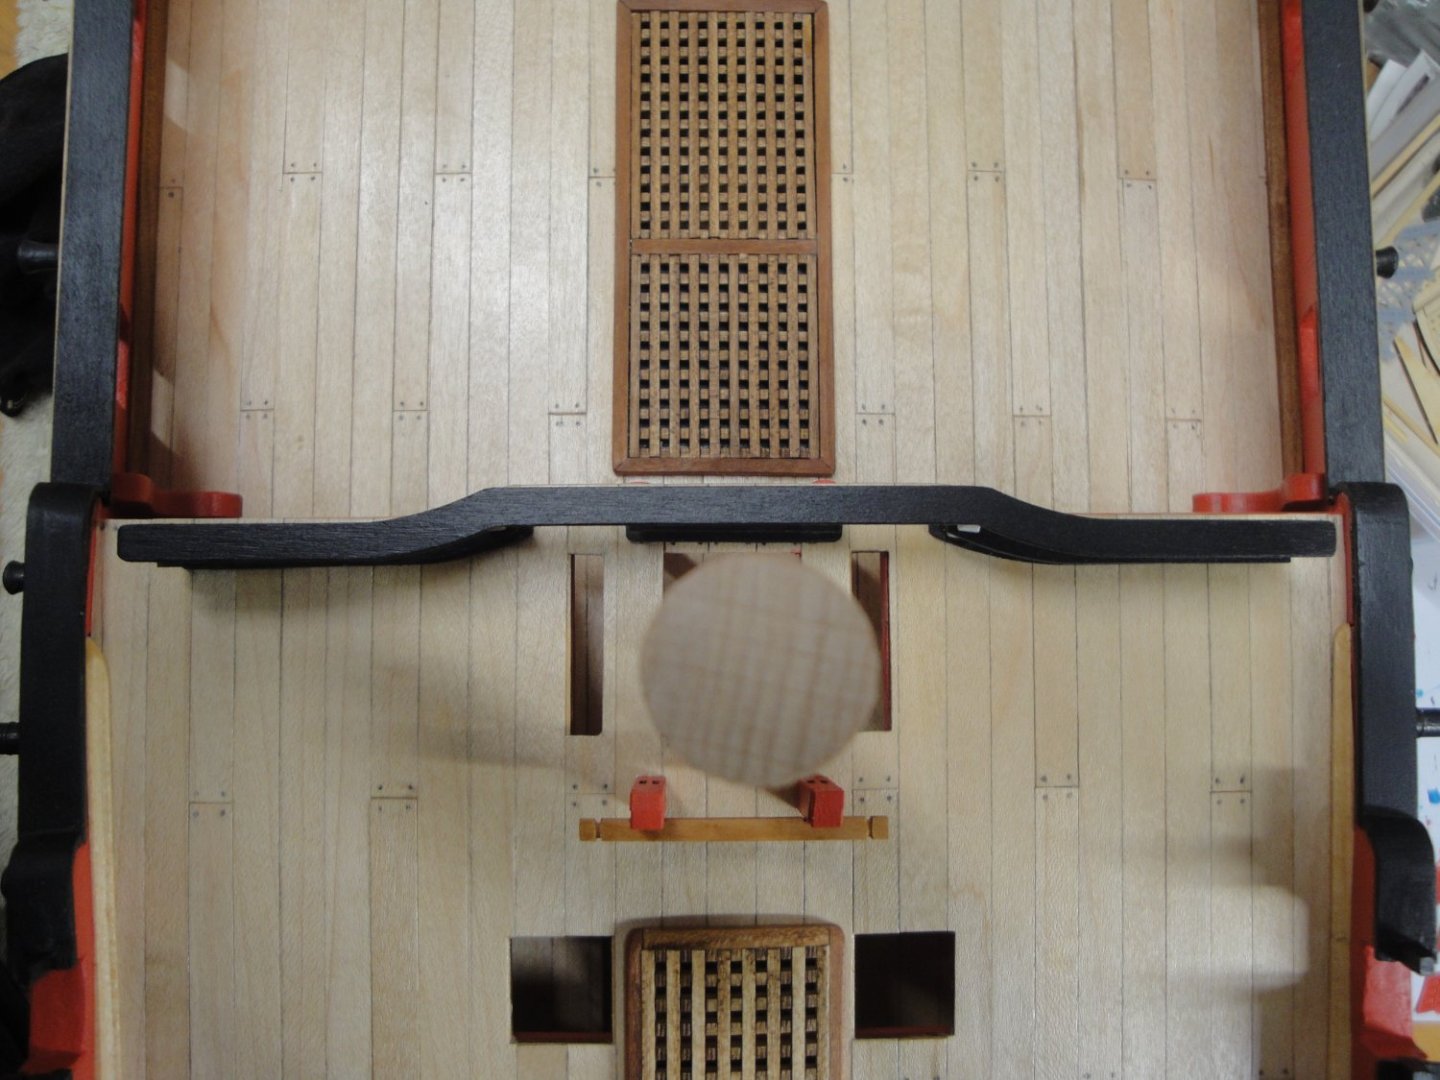
At this stage, I can finally finish sub-floor and planking of the rear quarterdeck. But before we install the sub-floor, the rudder must be set in place and connected to the spring for an automatic neutral positioning: A little bit of vacuum cleaner to get rid of the dust and the sub-floor can be installed: Planking can be completed at this point: As usual, 0.5 mm maple planks, glued individually, sanded with 400 grit and treated with three coats of Wipe On Poly for depth of color and protection. Yves


- 507 replies
-
- 18
-
-
-
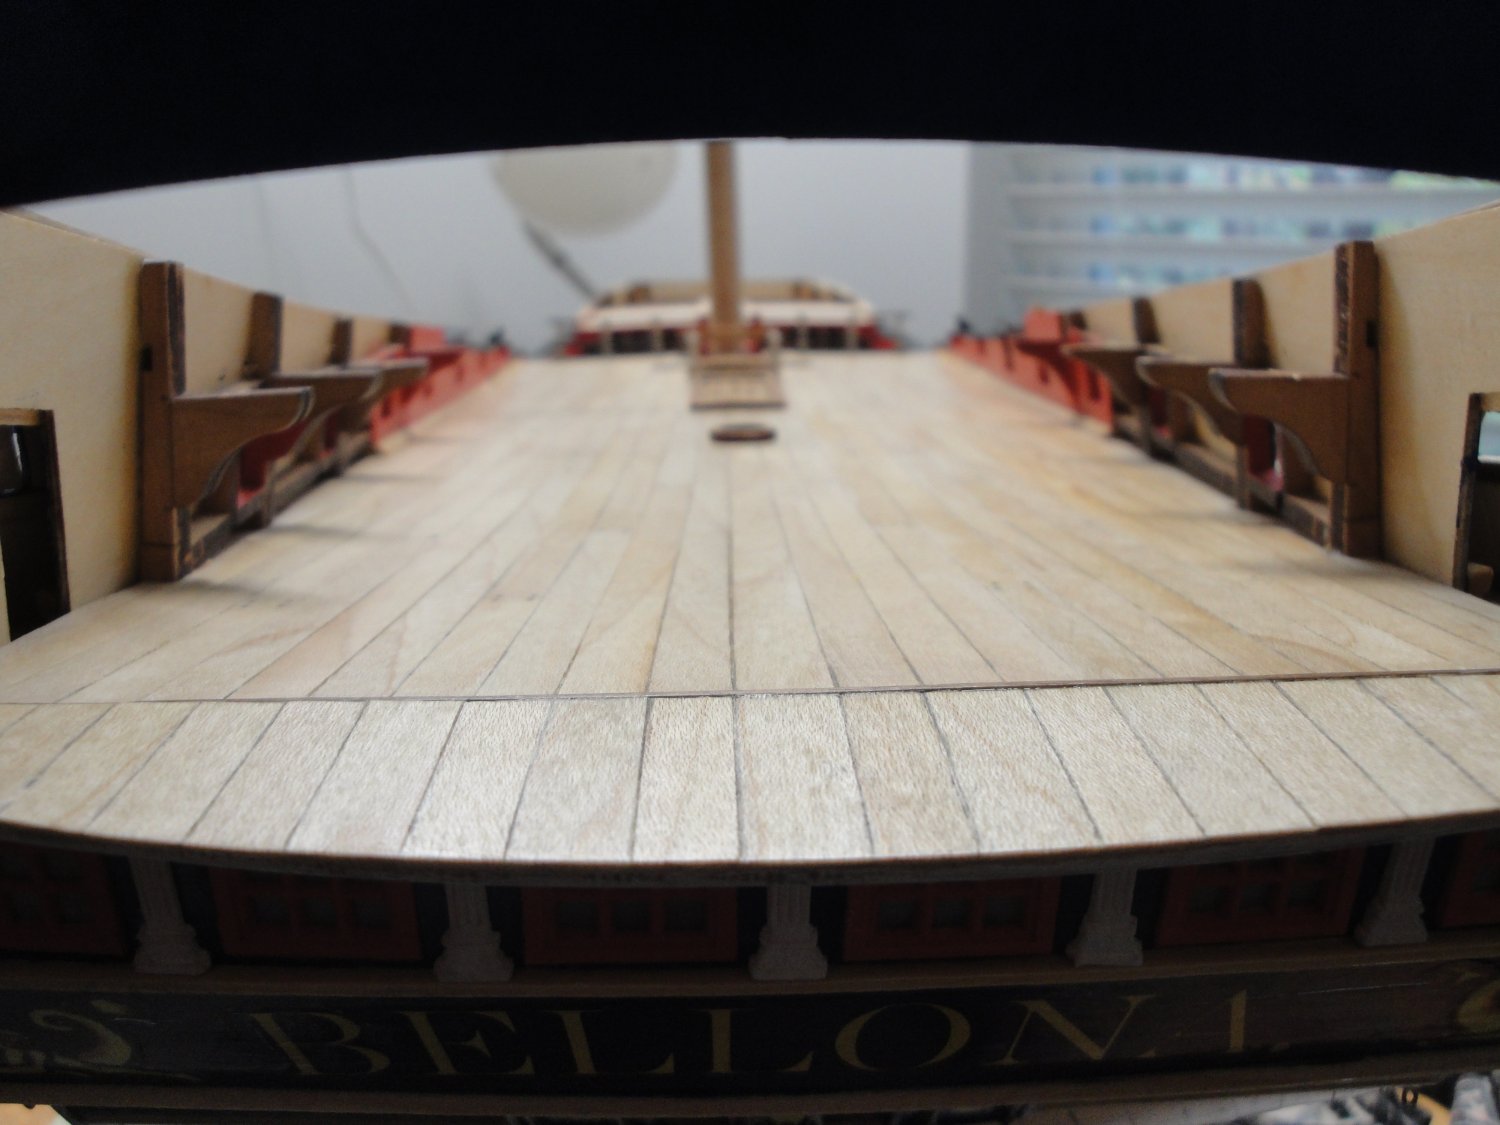
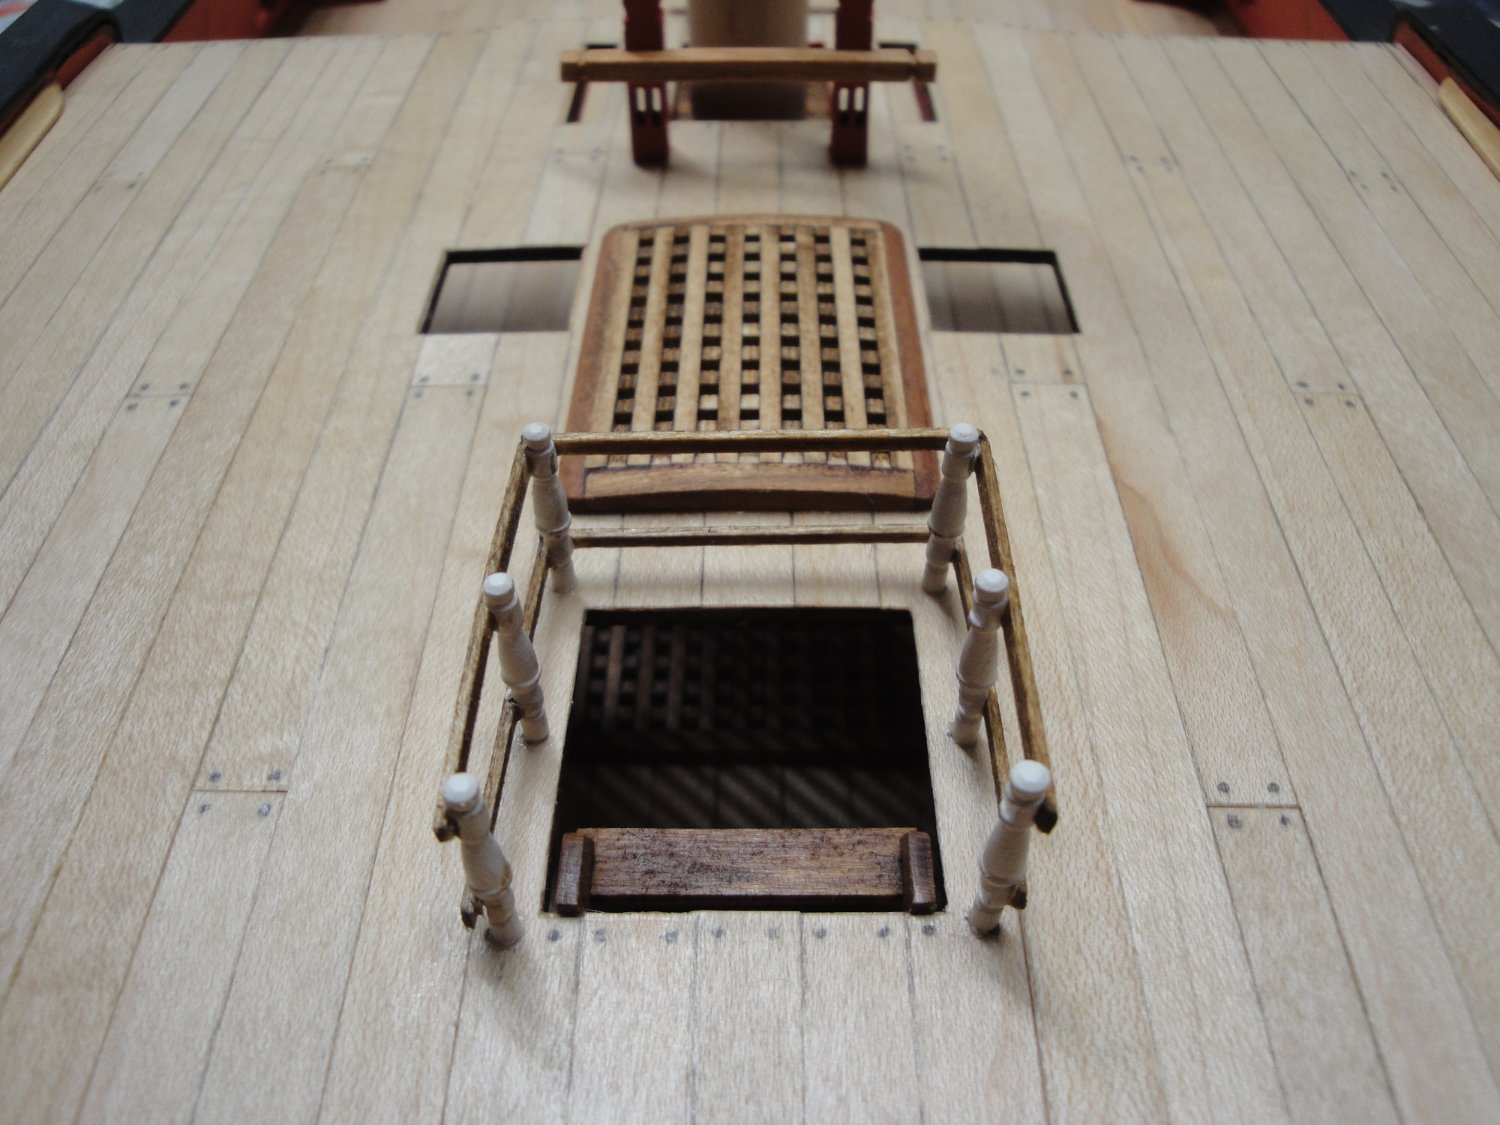
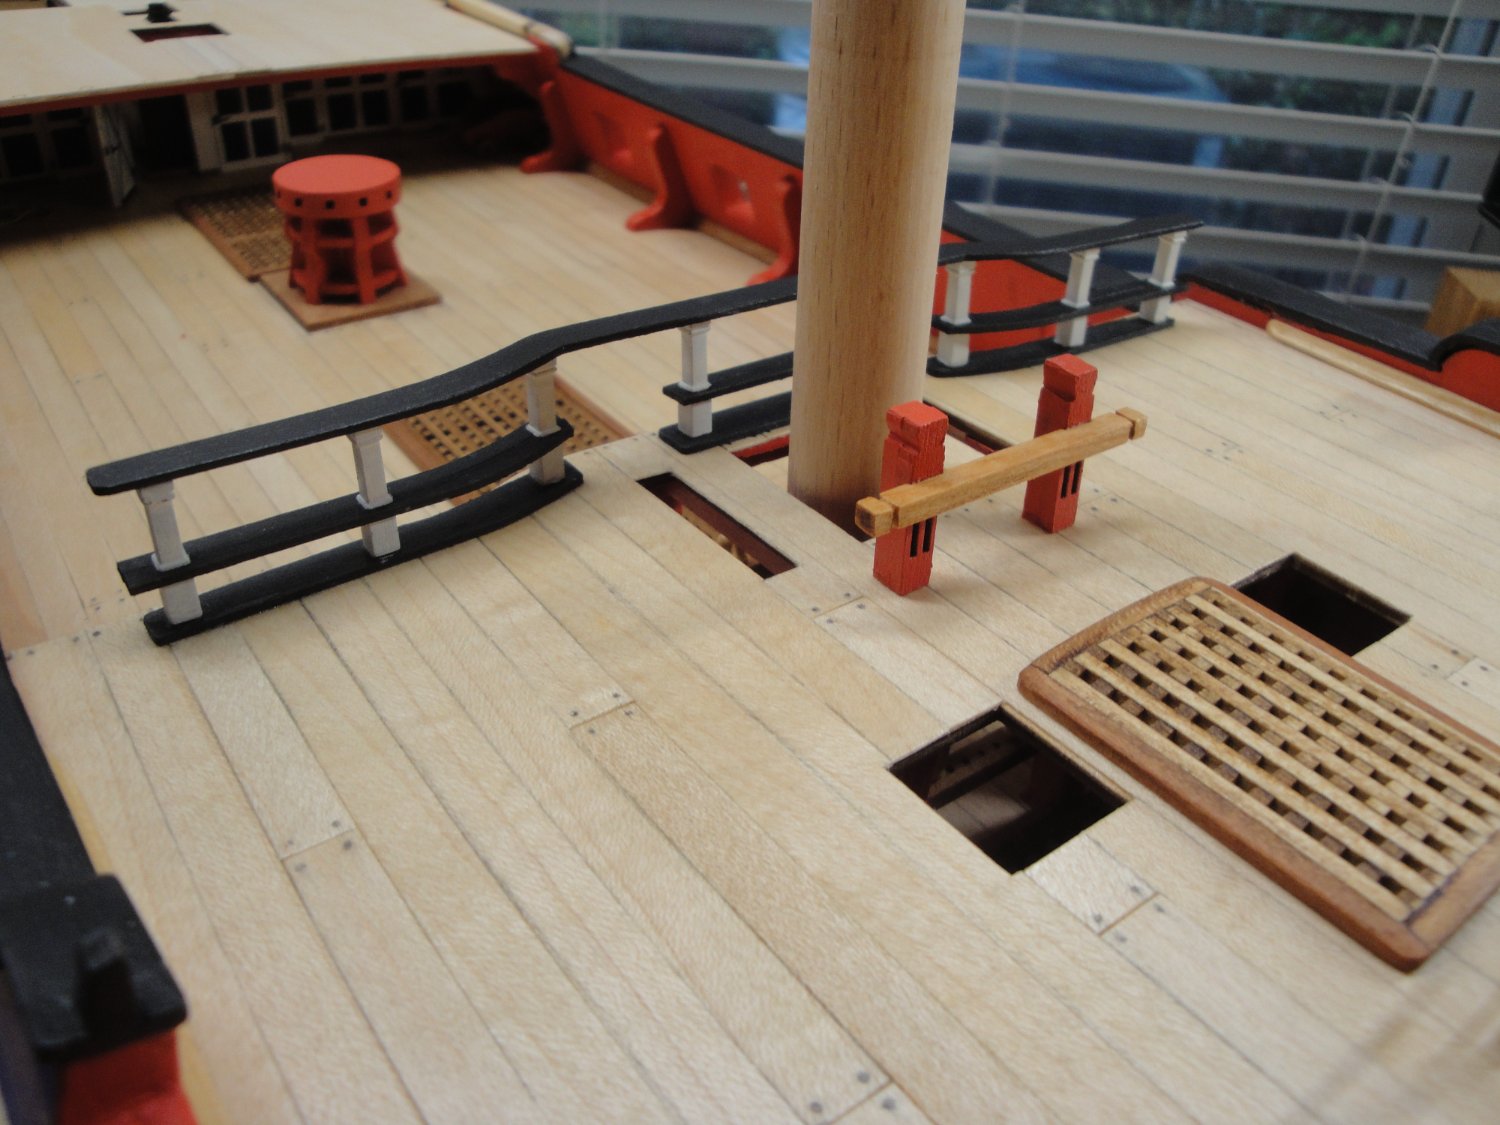
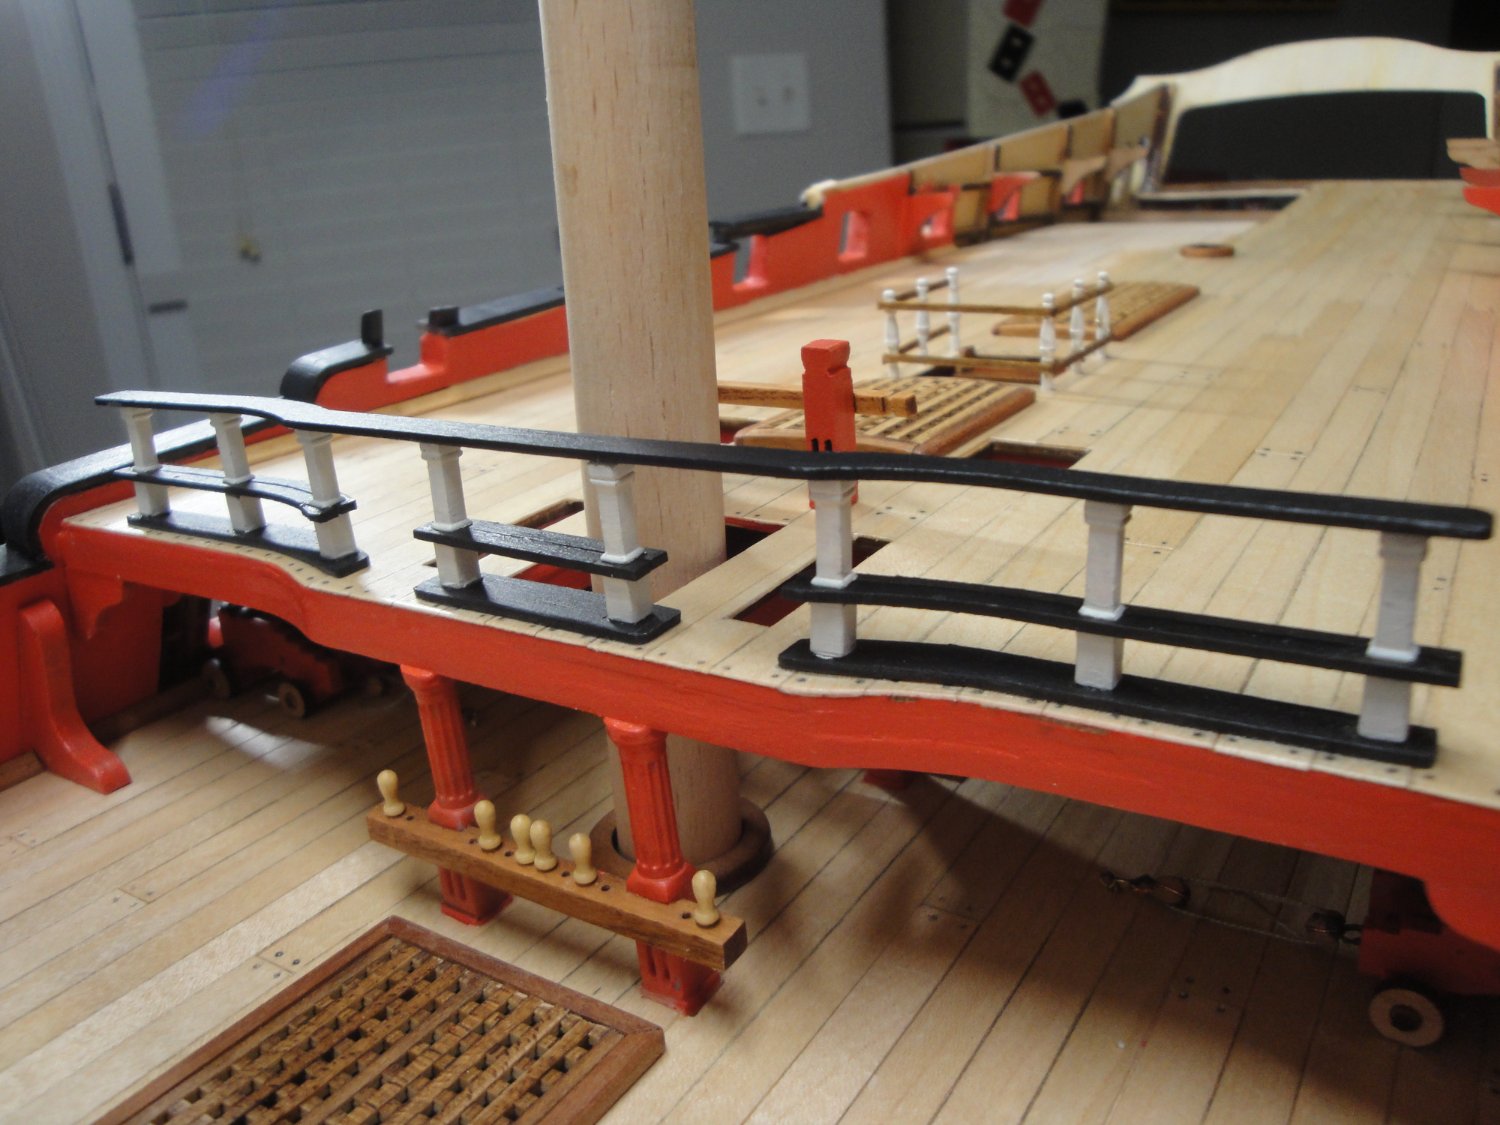
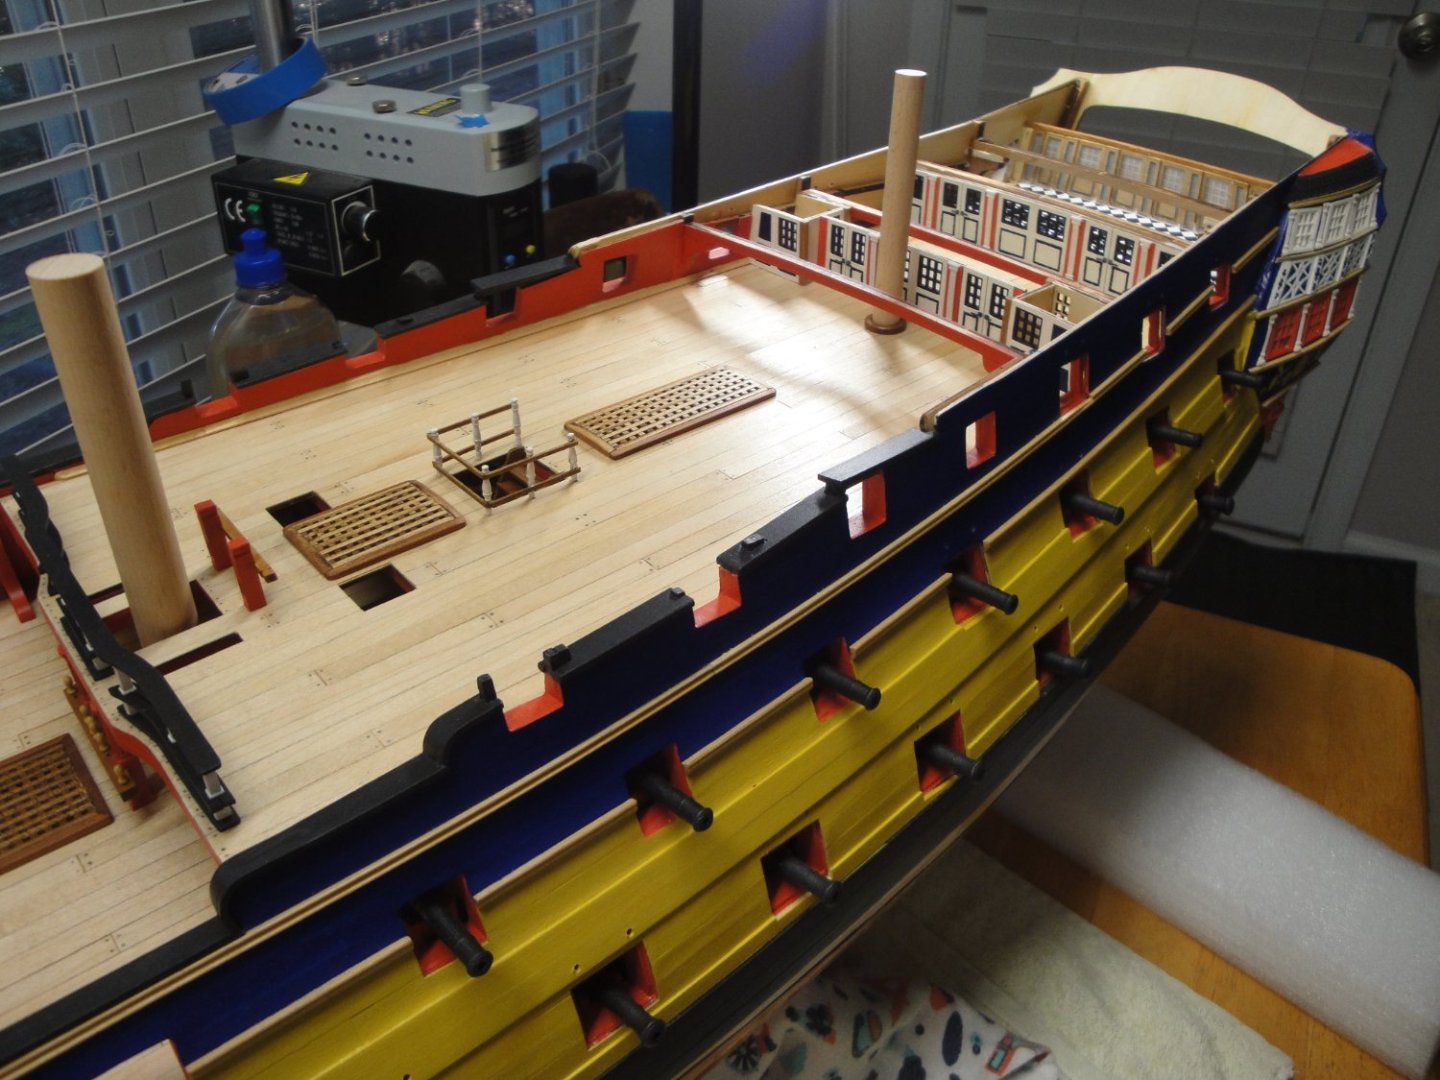
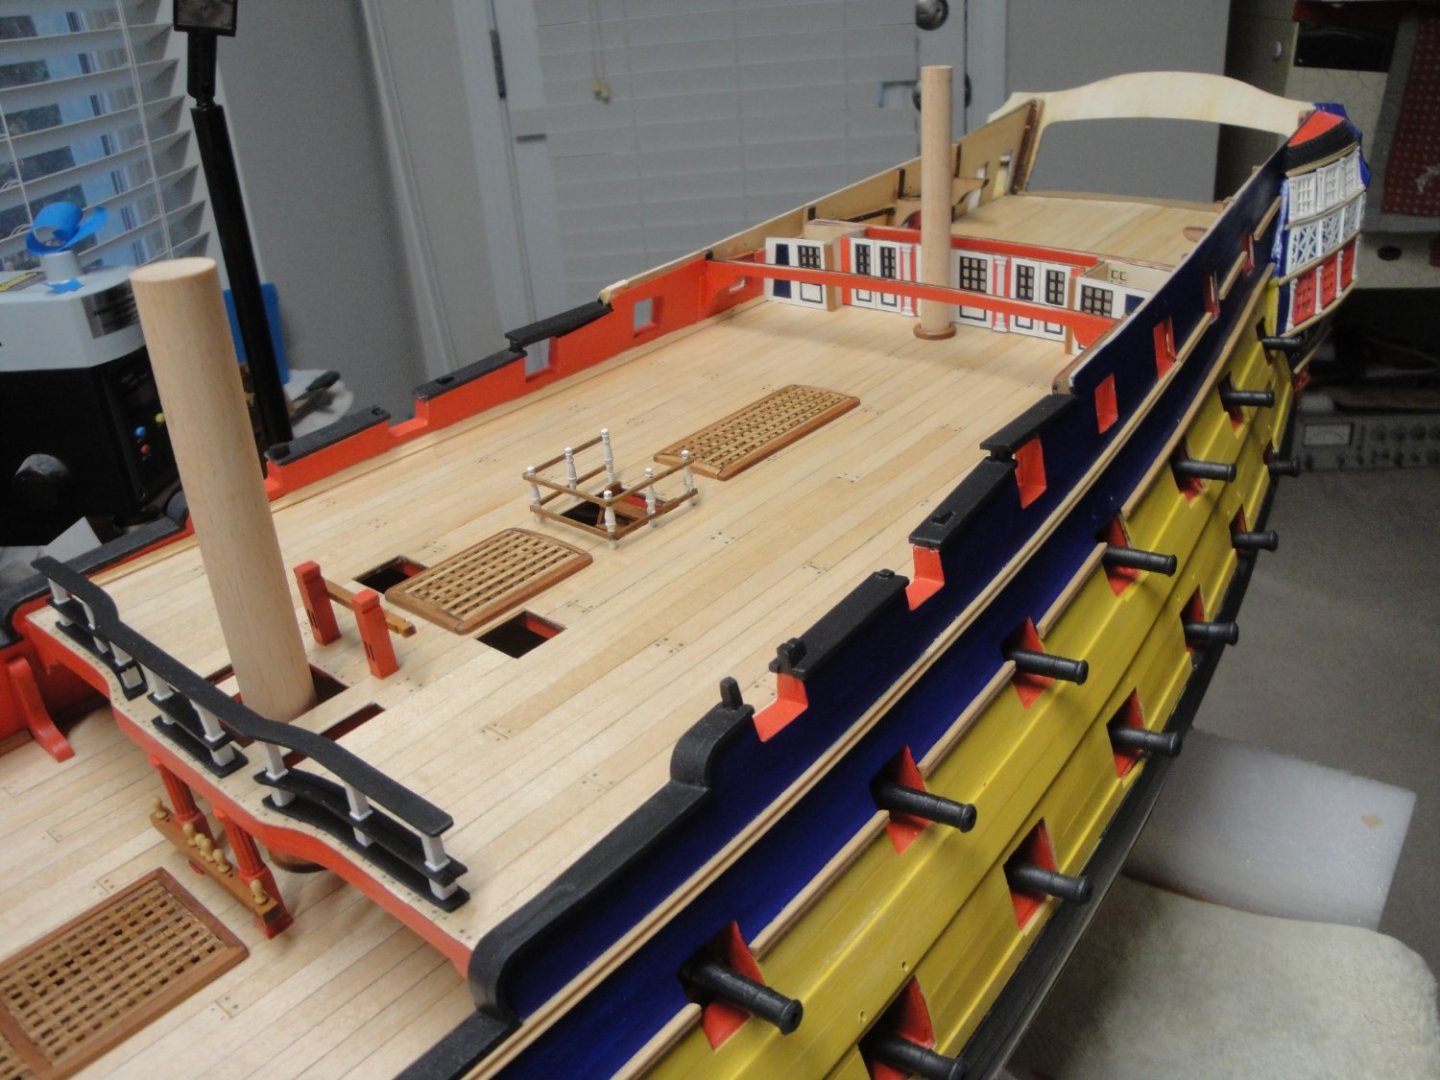
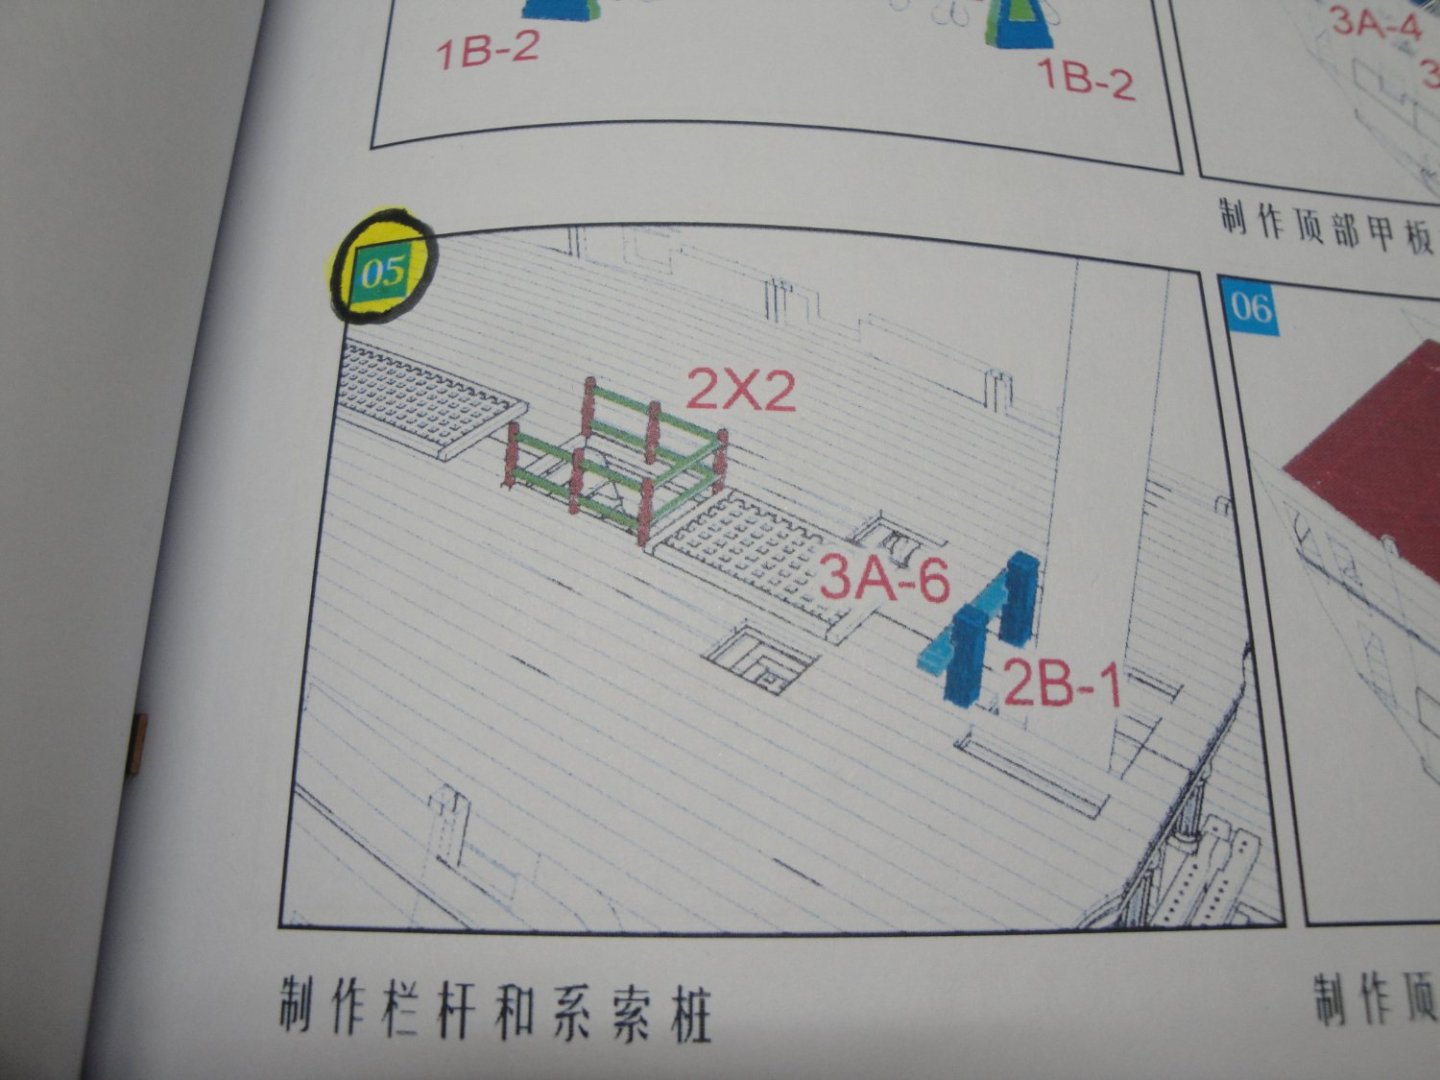
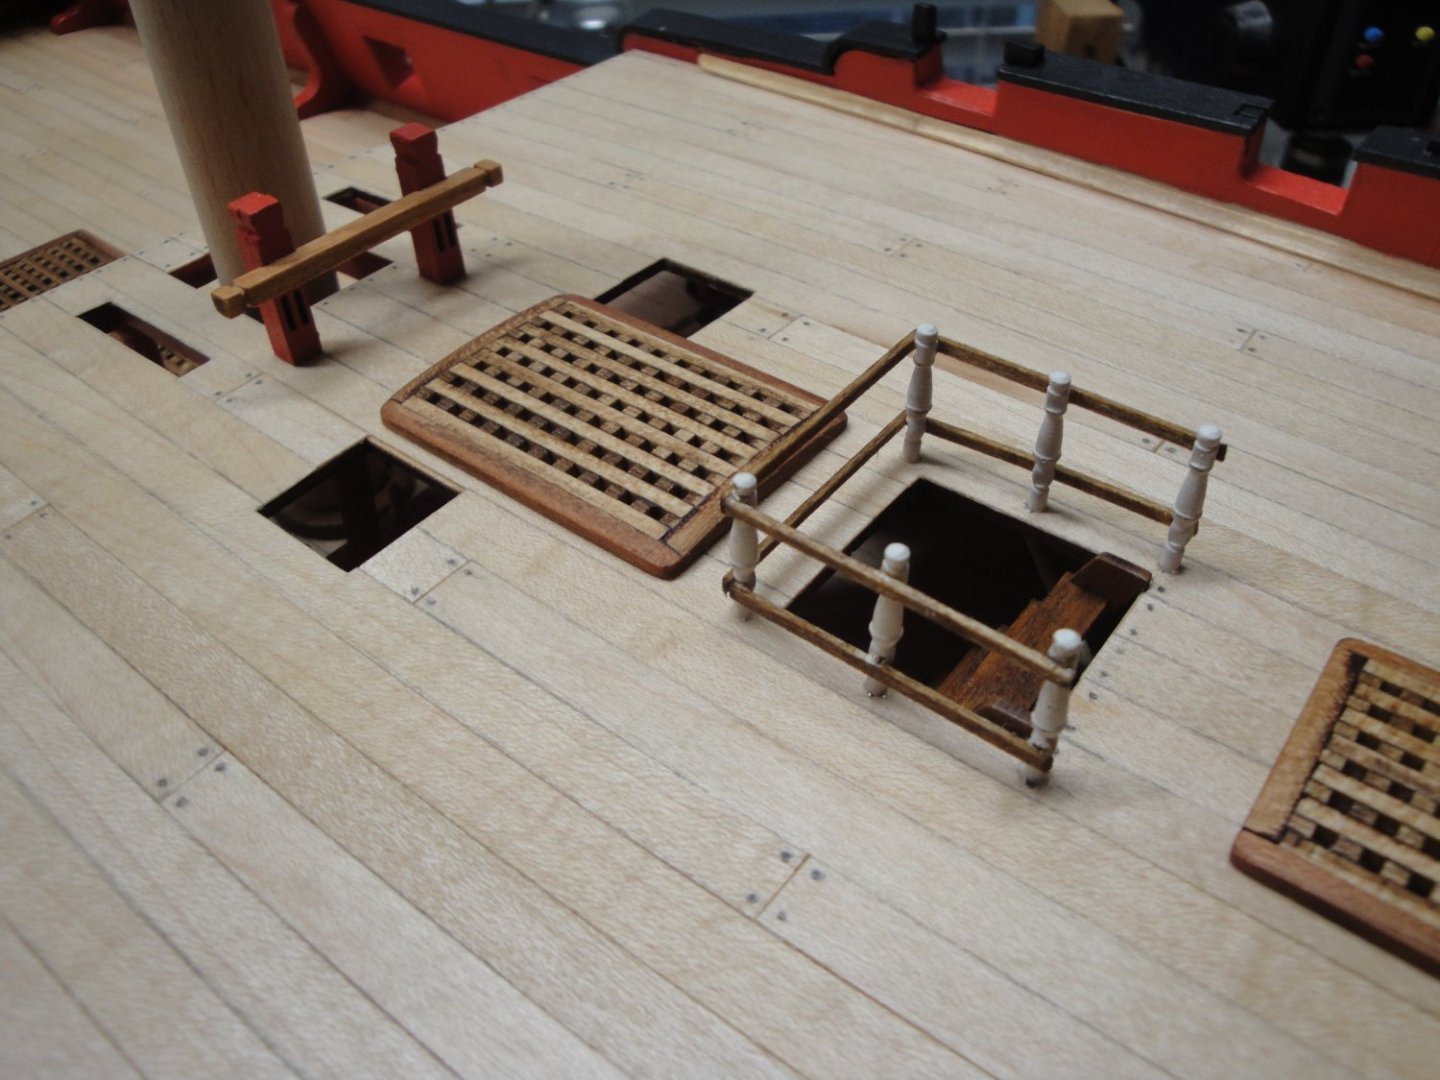
Time to populate the quarterdeck with a few features: The CAF Model kit does not provide the base plates to the deck. I took the inspiration from the superb 1/72nd Bellona built by Chris Watton and figured that if Chris had built these, he probably knew better than the CAF folks. It also makes for a much sturdier railing overall. Yves


- 507 replies
-
- 10
-
-
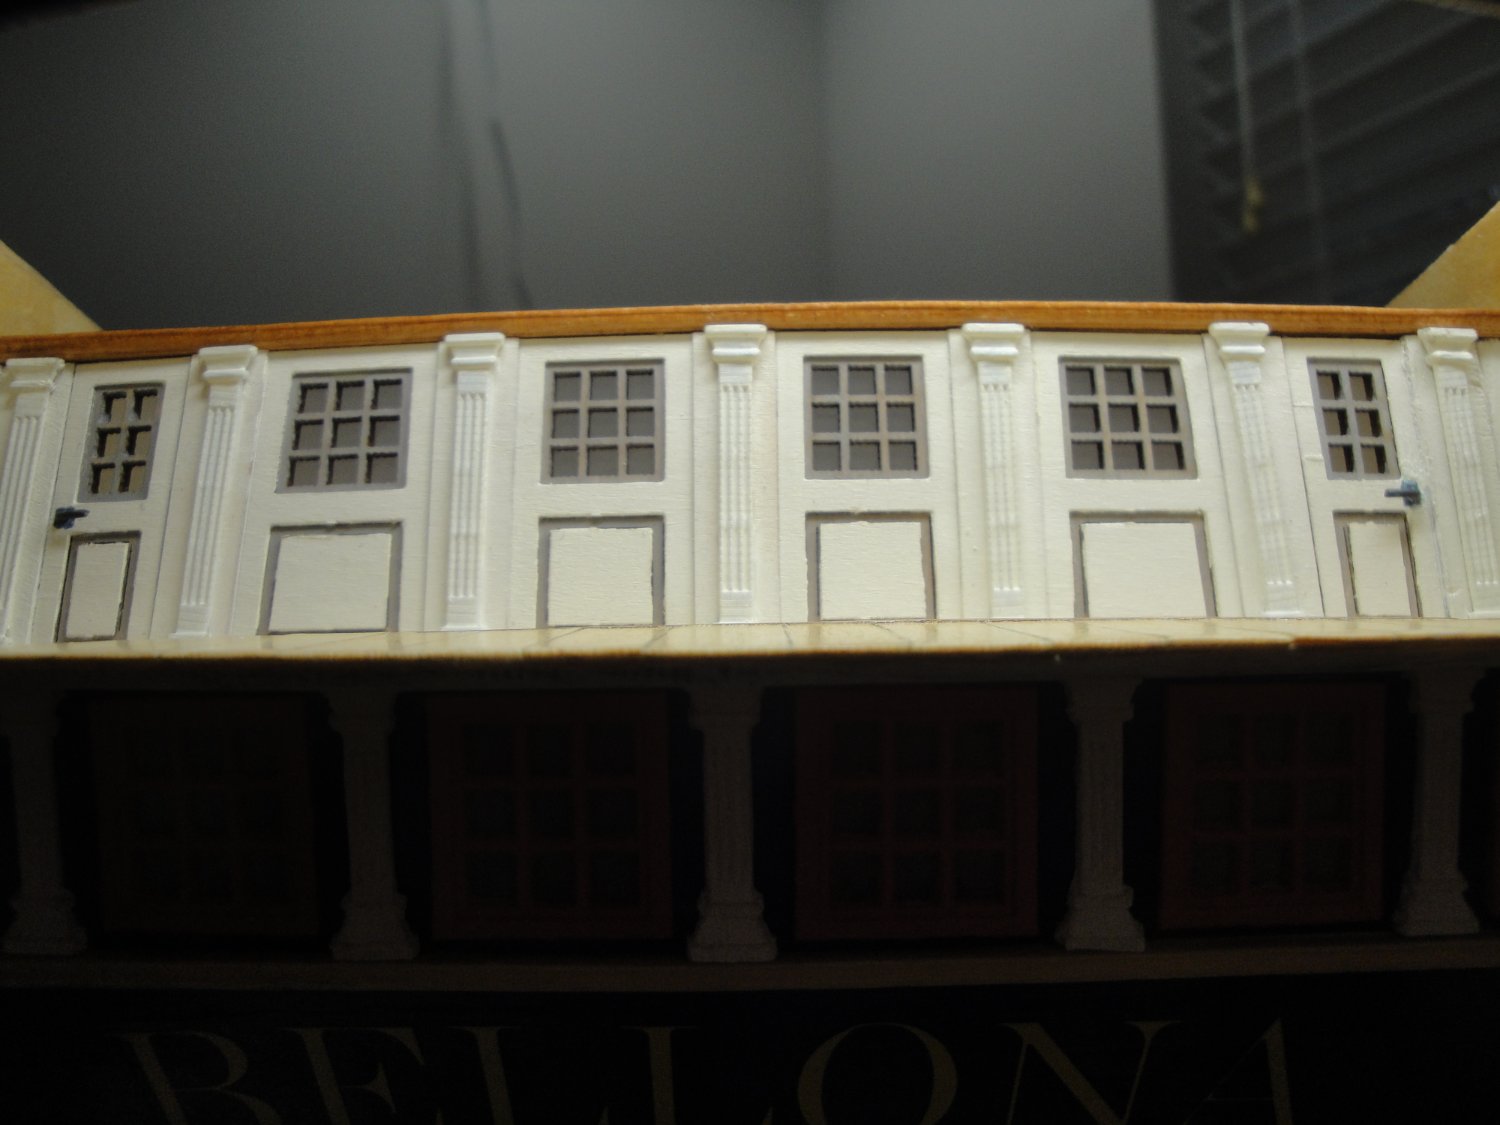
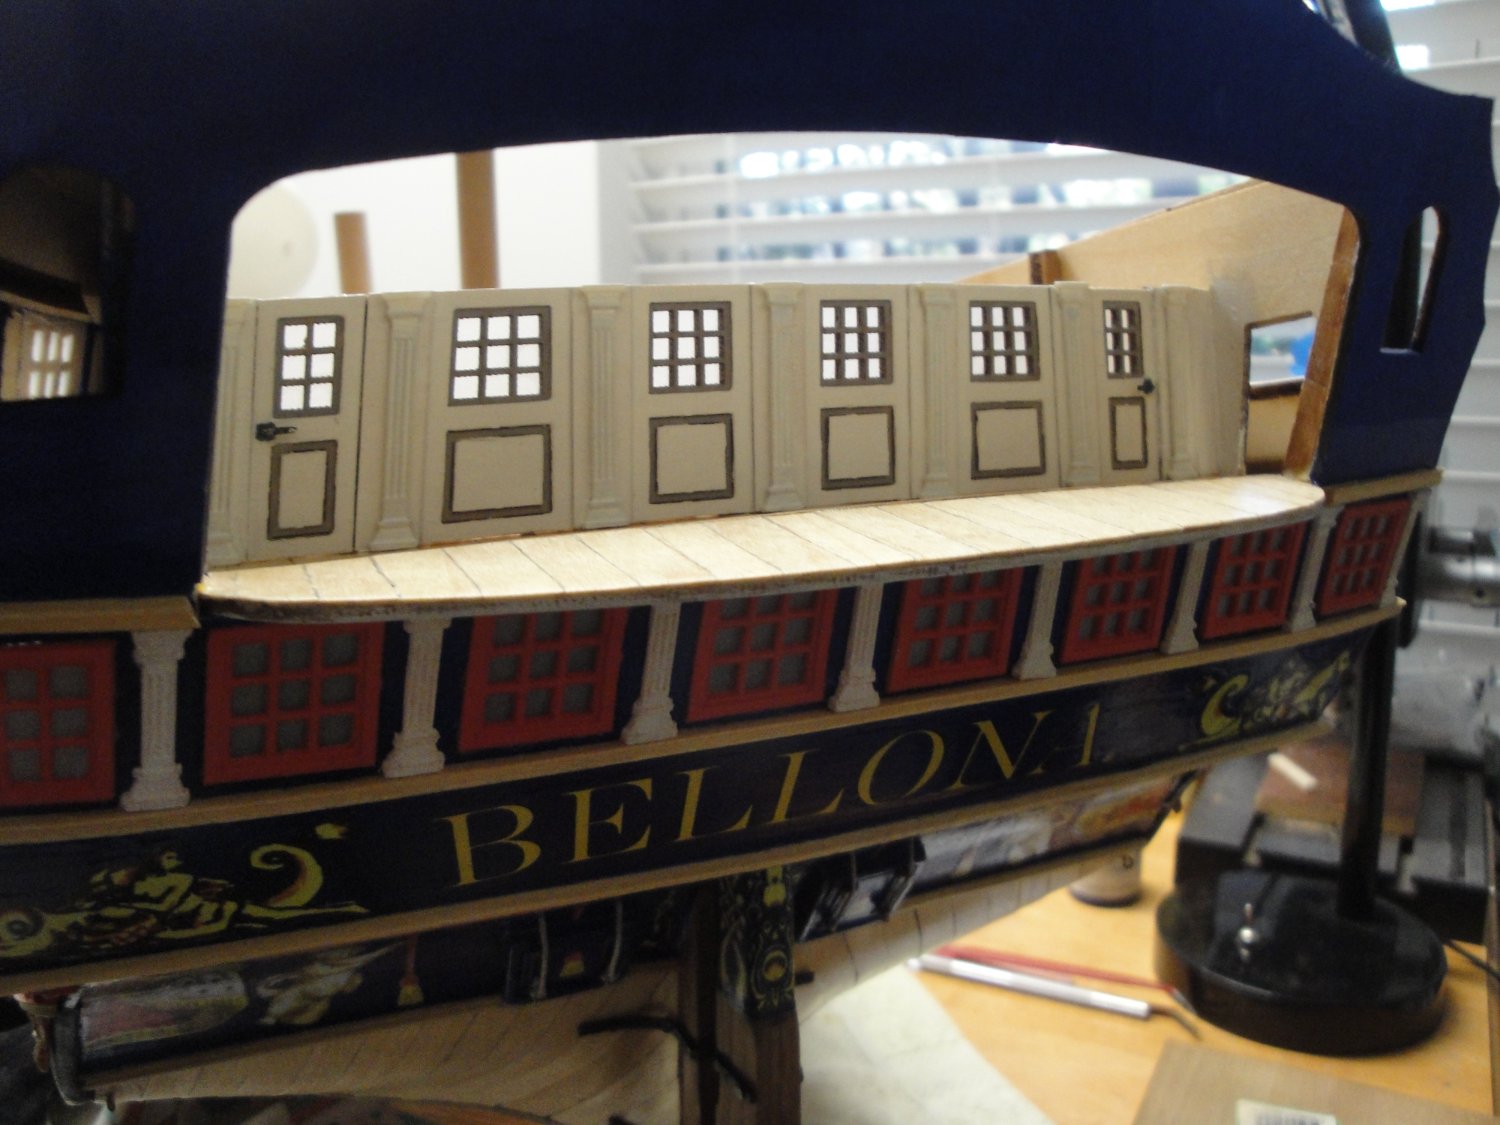
After installing the red window frames on the gallery, you can finish the poop windows: Those will cut very easily as the glass is paper thin and very easy to remove. Tracing paper is glued behind, sandwiched between two heavy plates for drying and the panes can be glued in place, as long as you can access them from behind, for optimal placement. Yves


- 507 replies
-
- 12
-
-
-
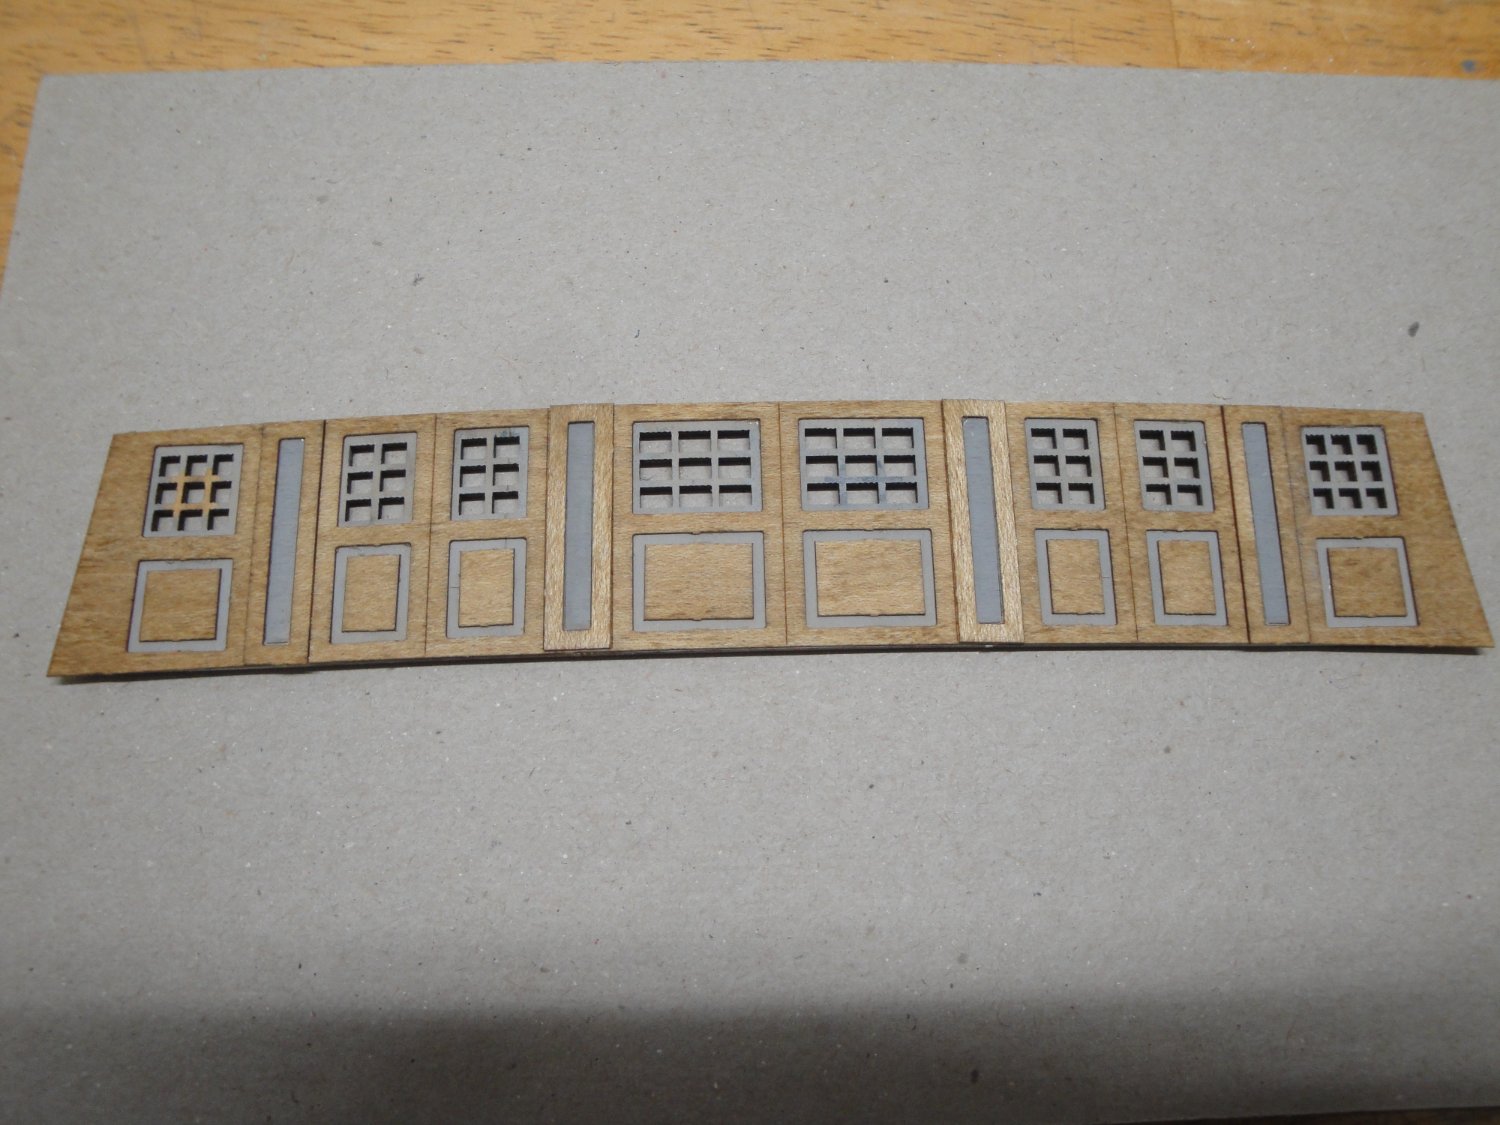
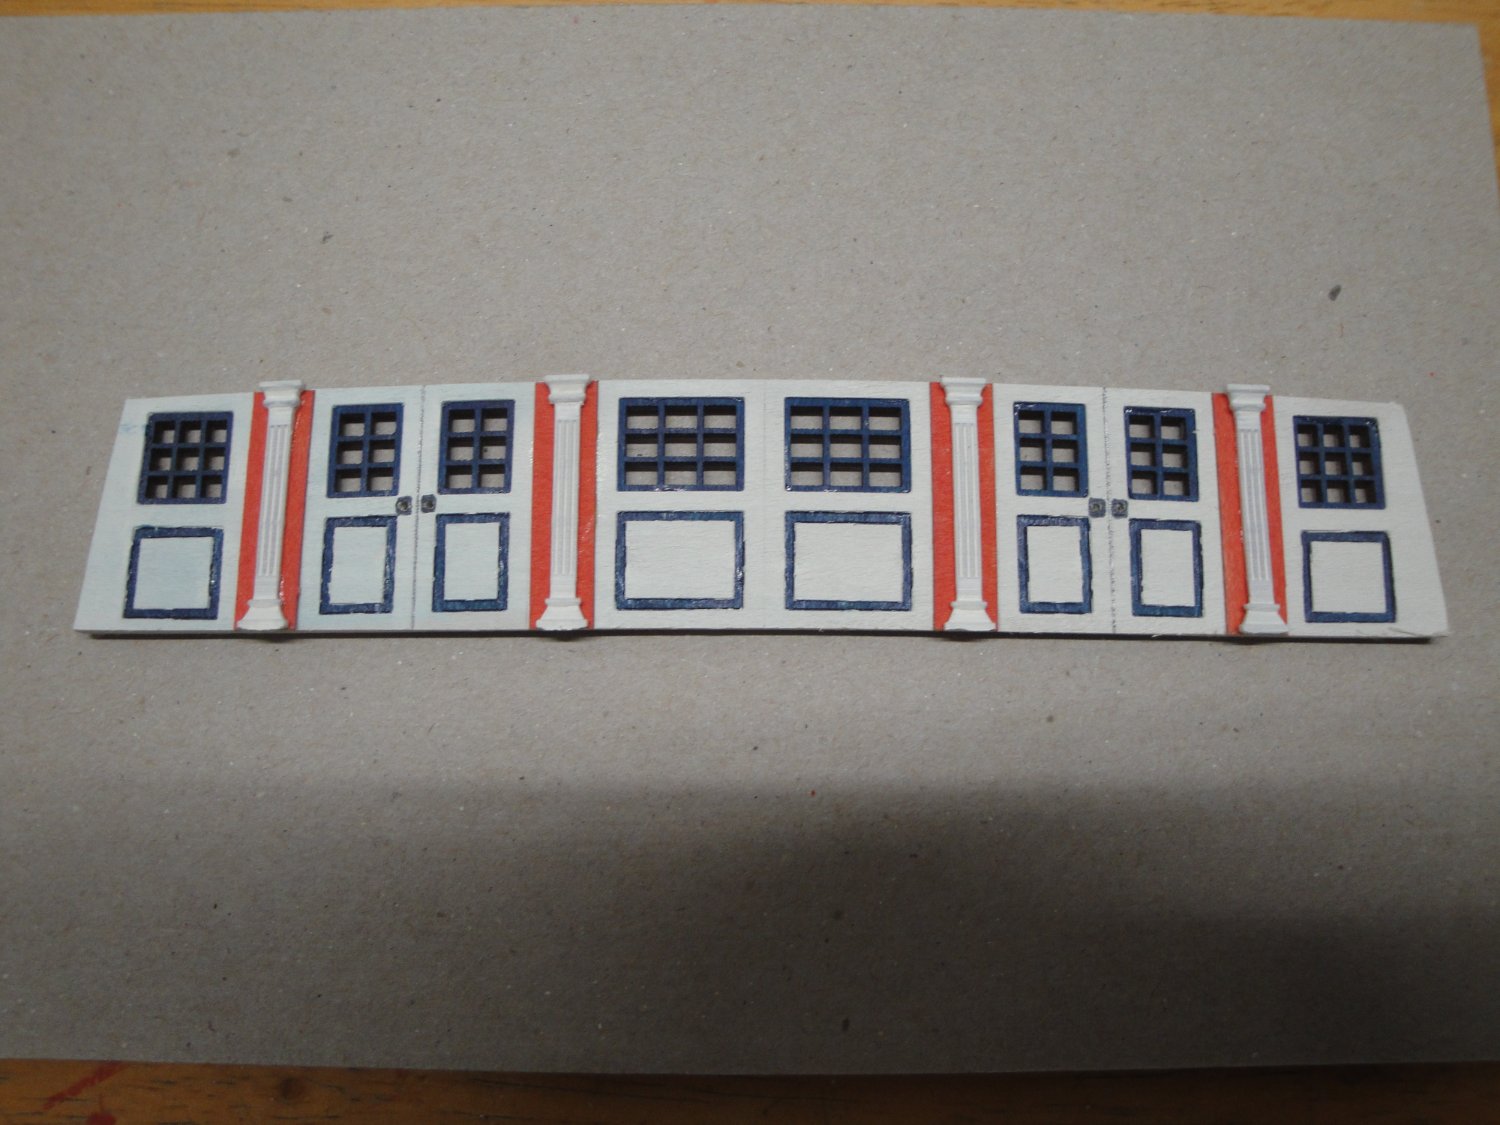
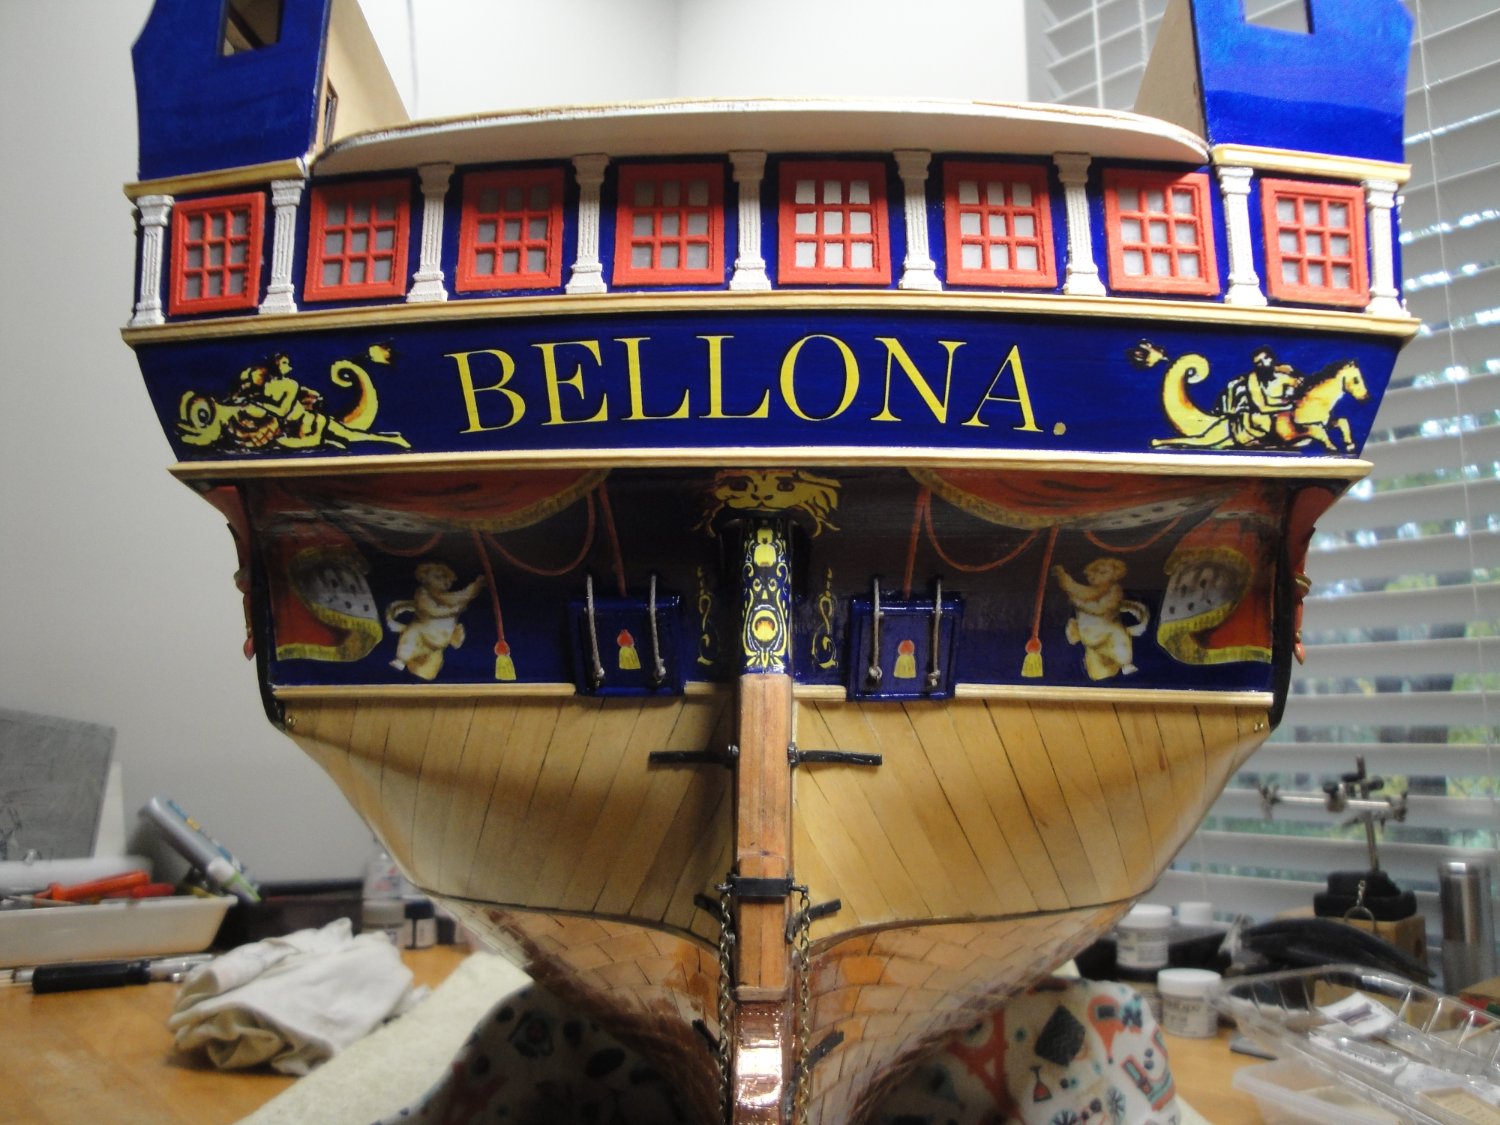
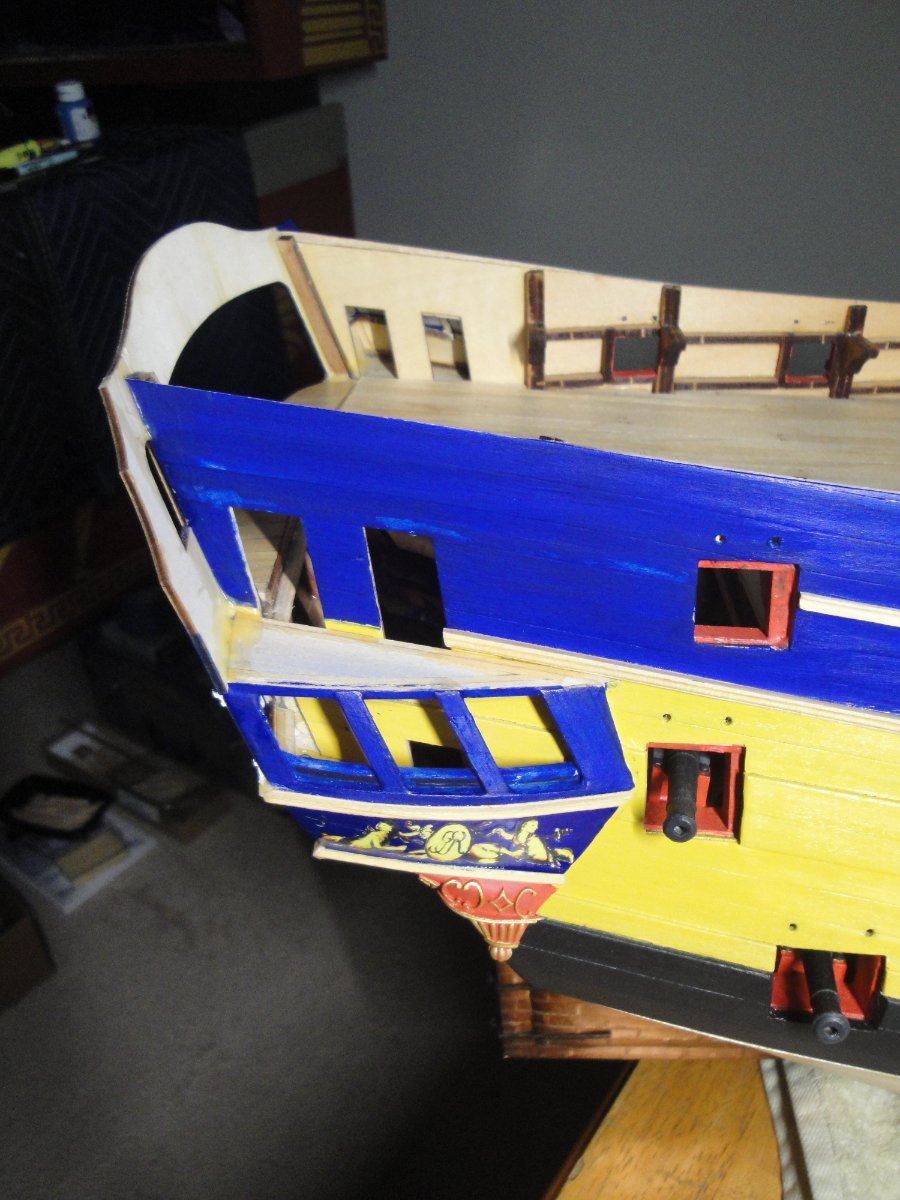
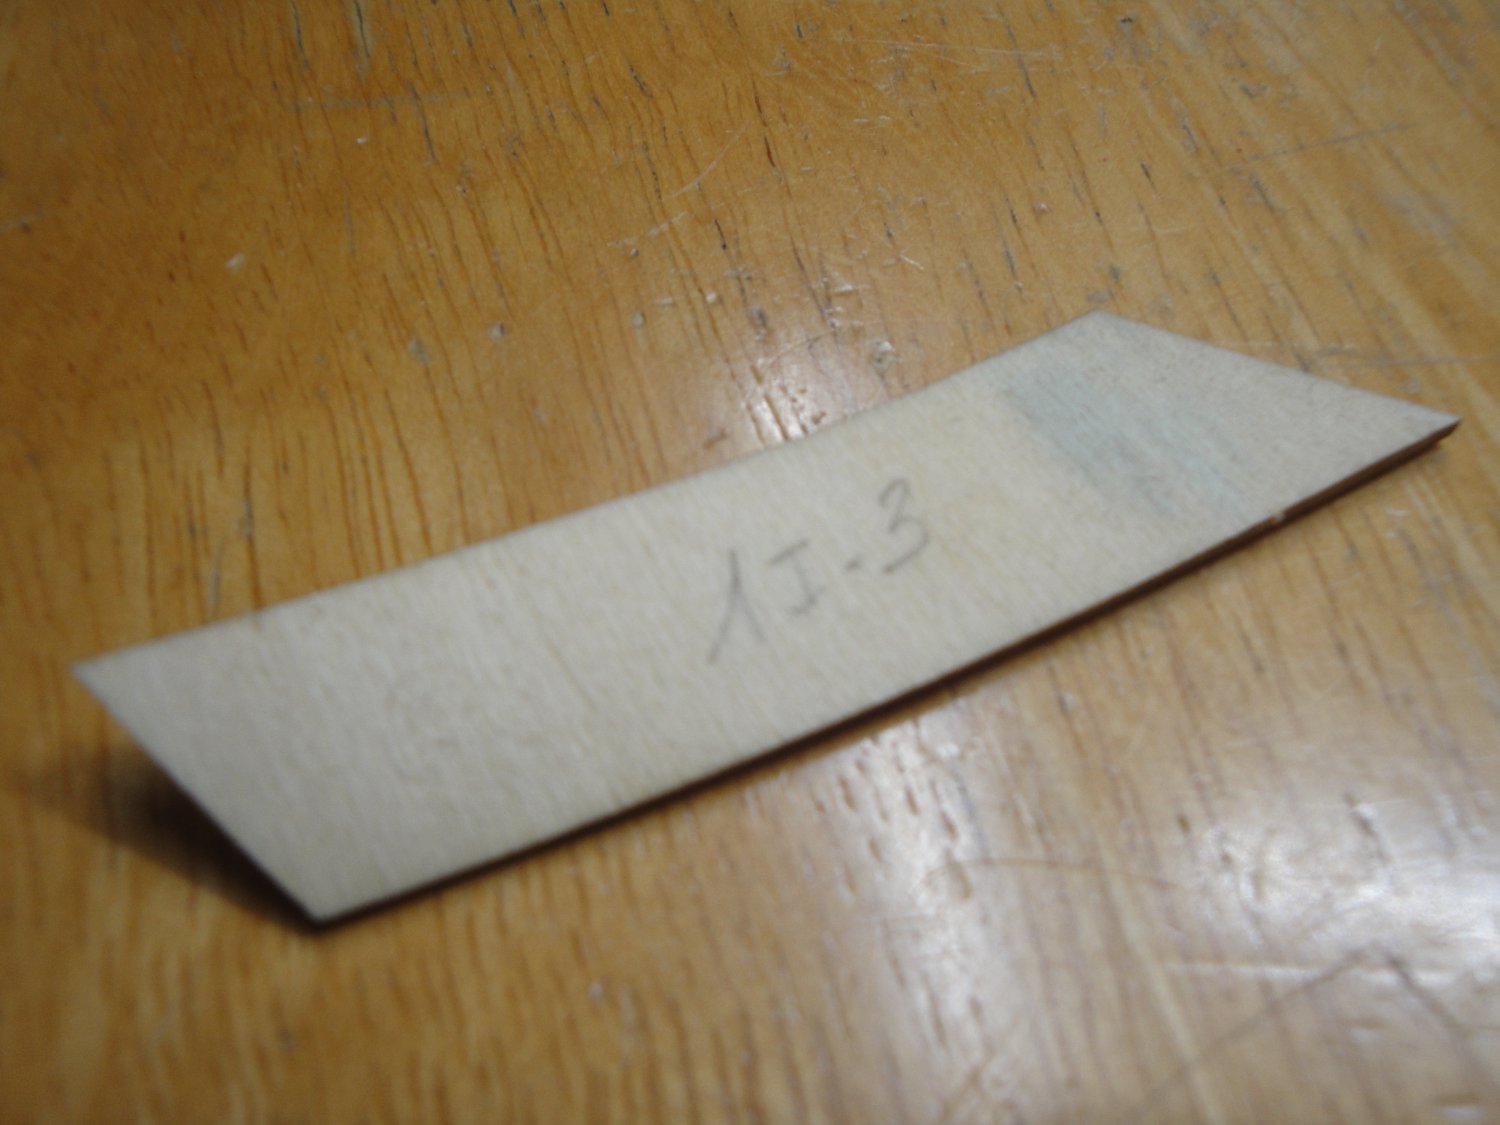
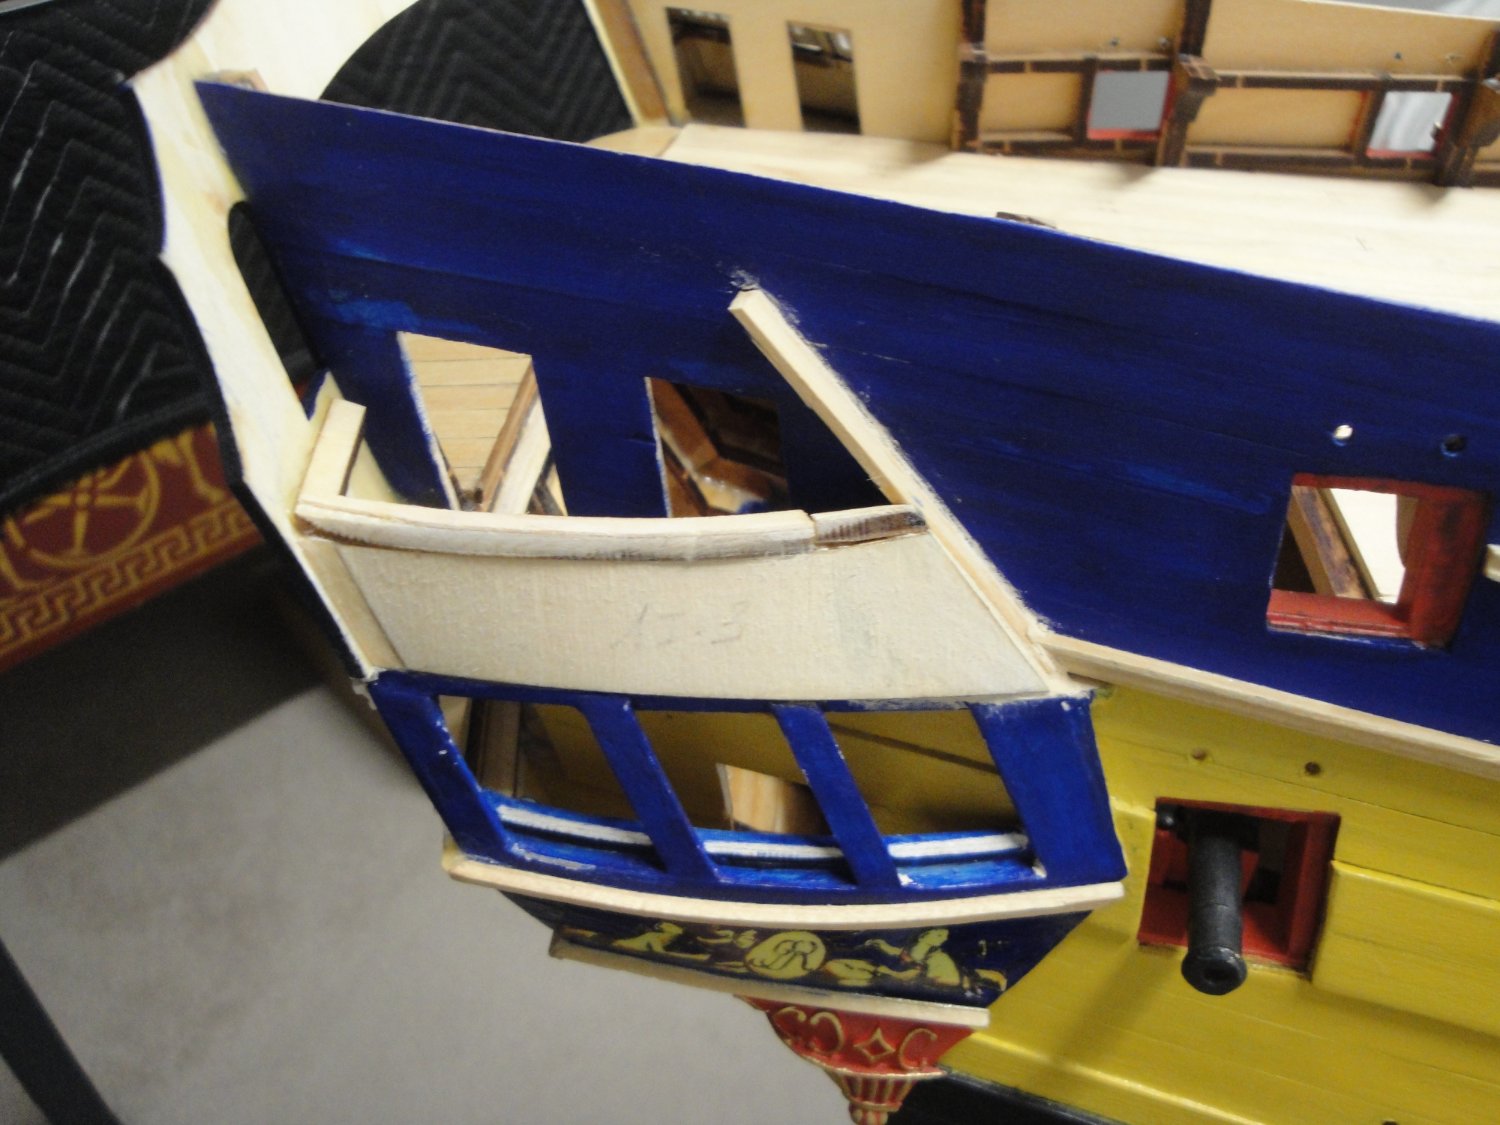
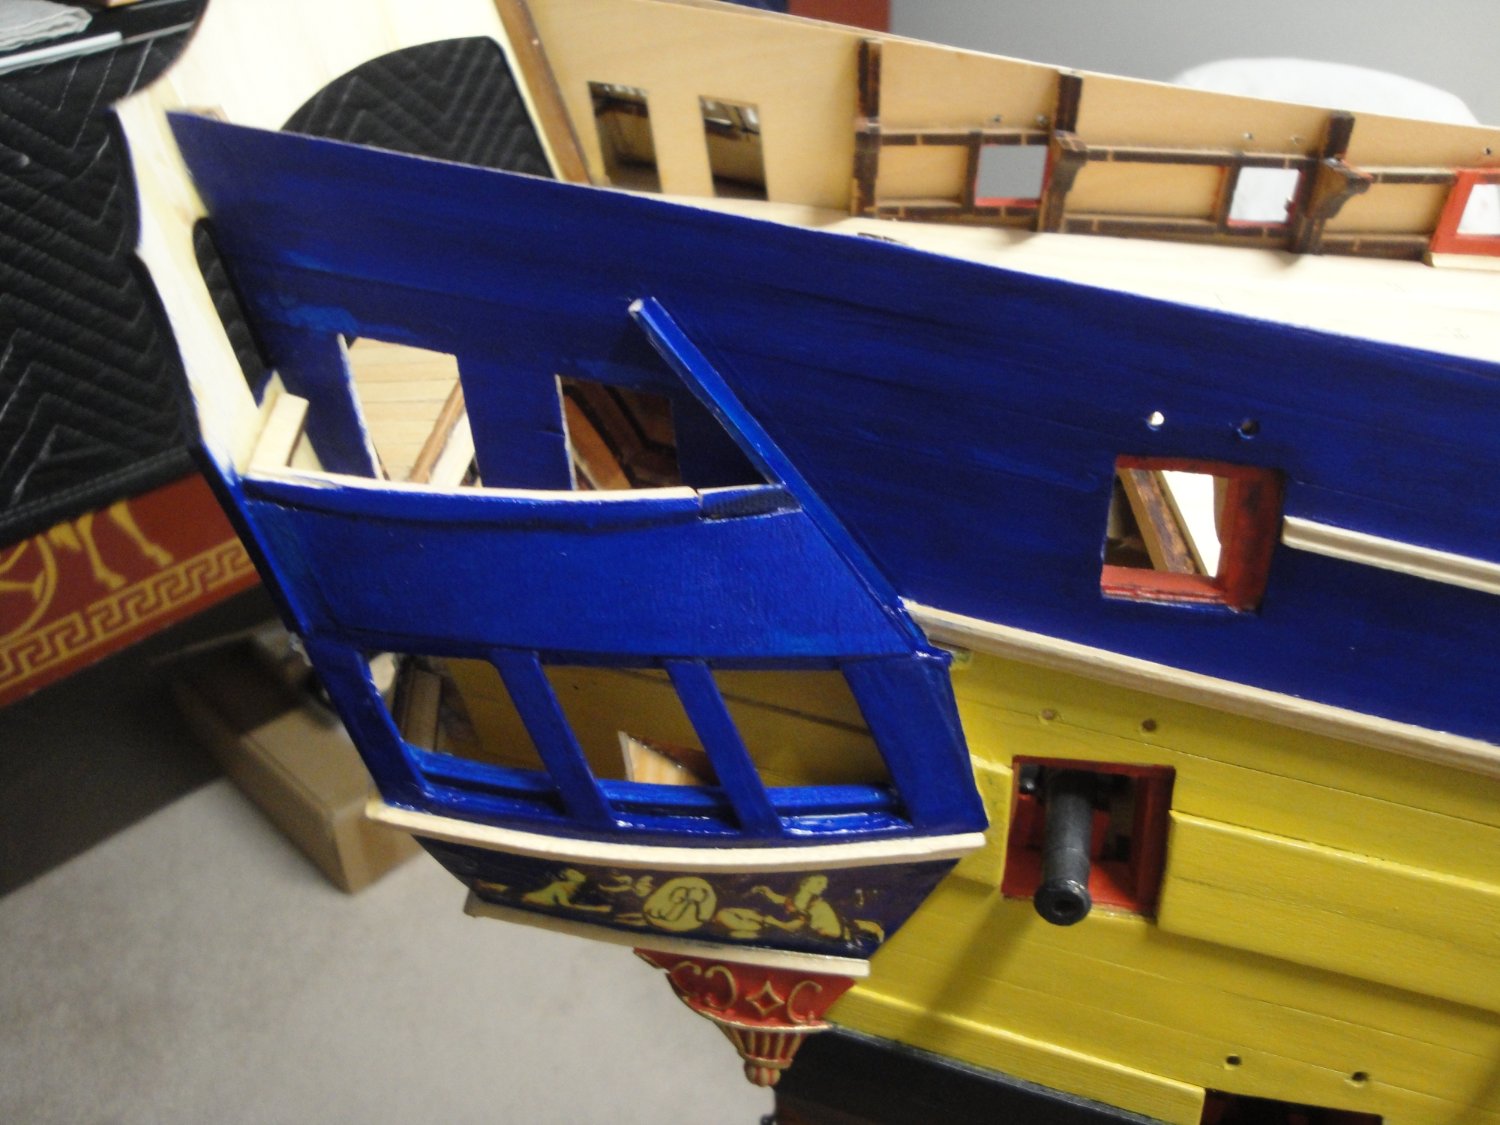
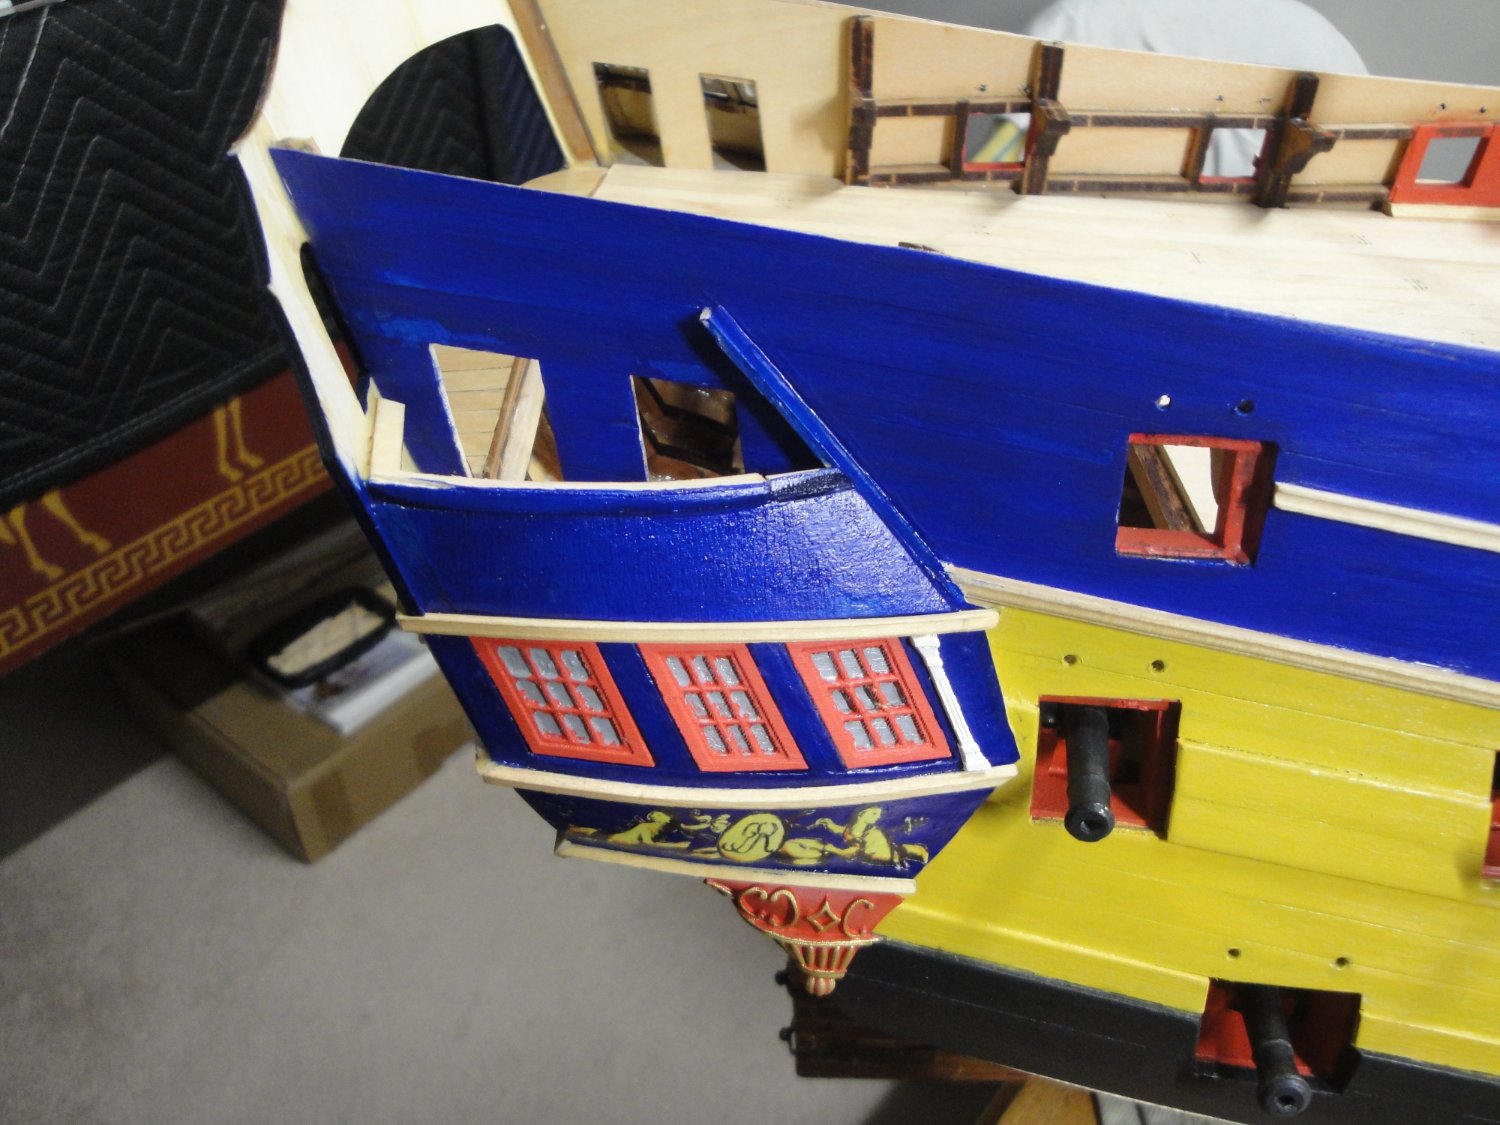
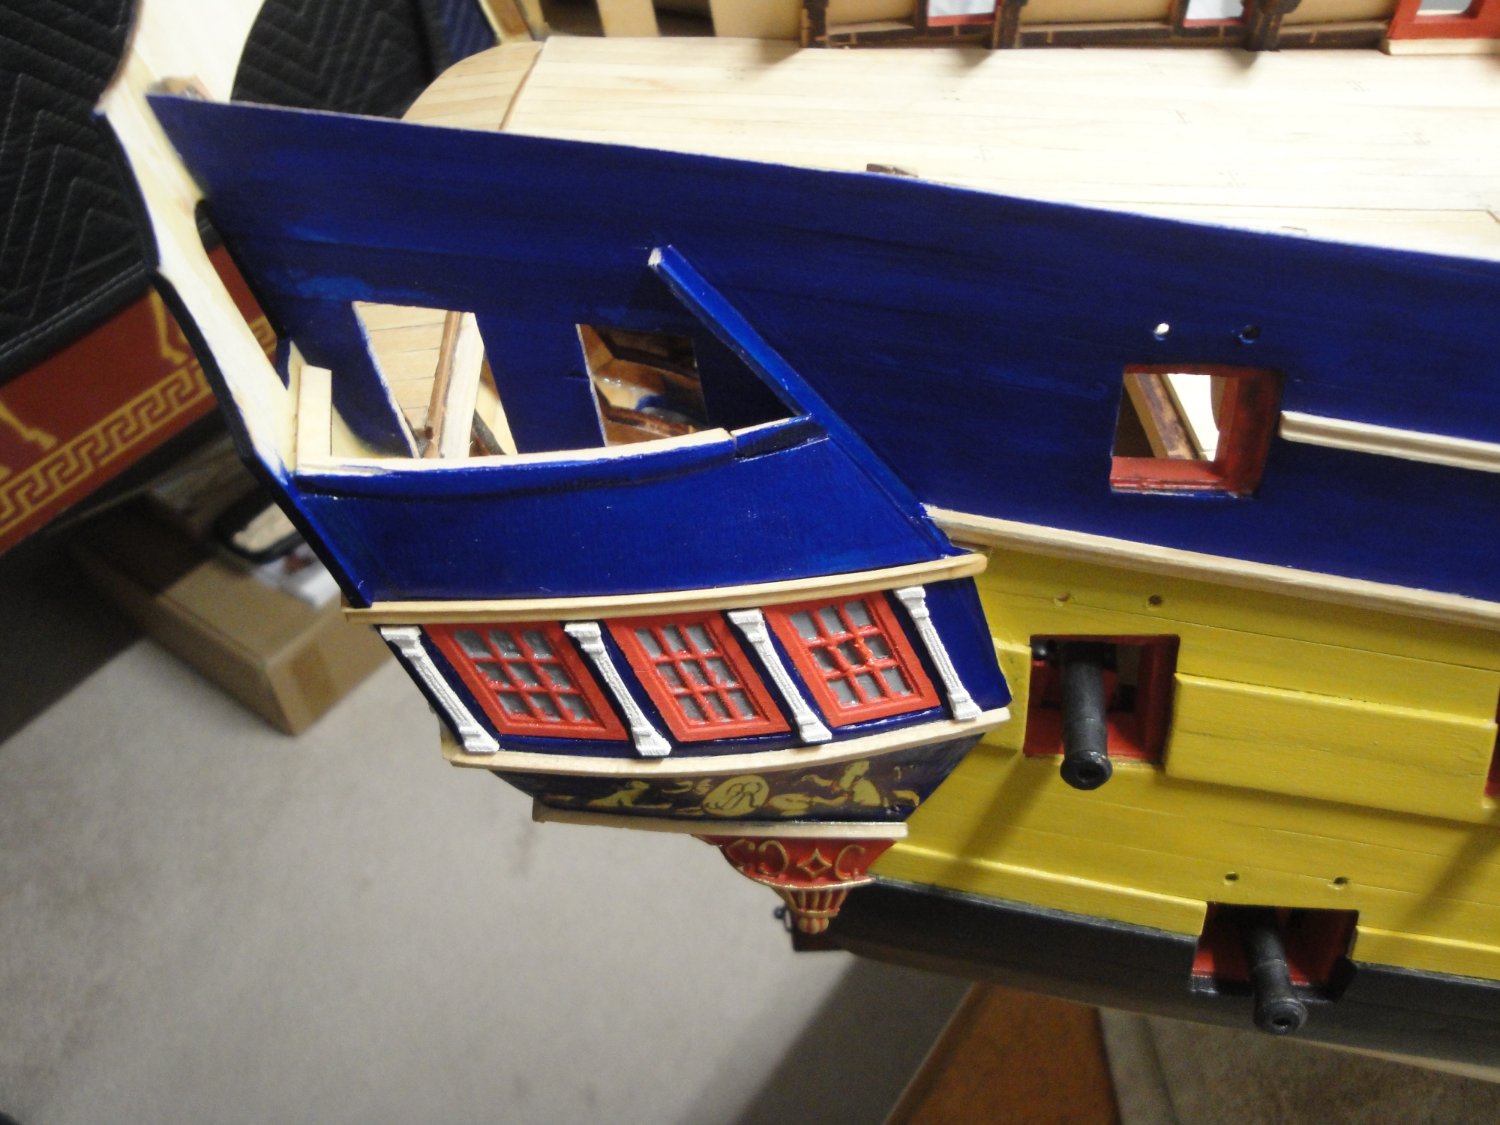
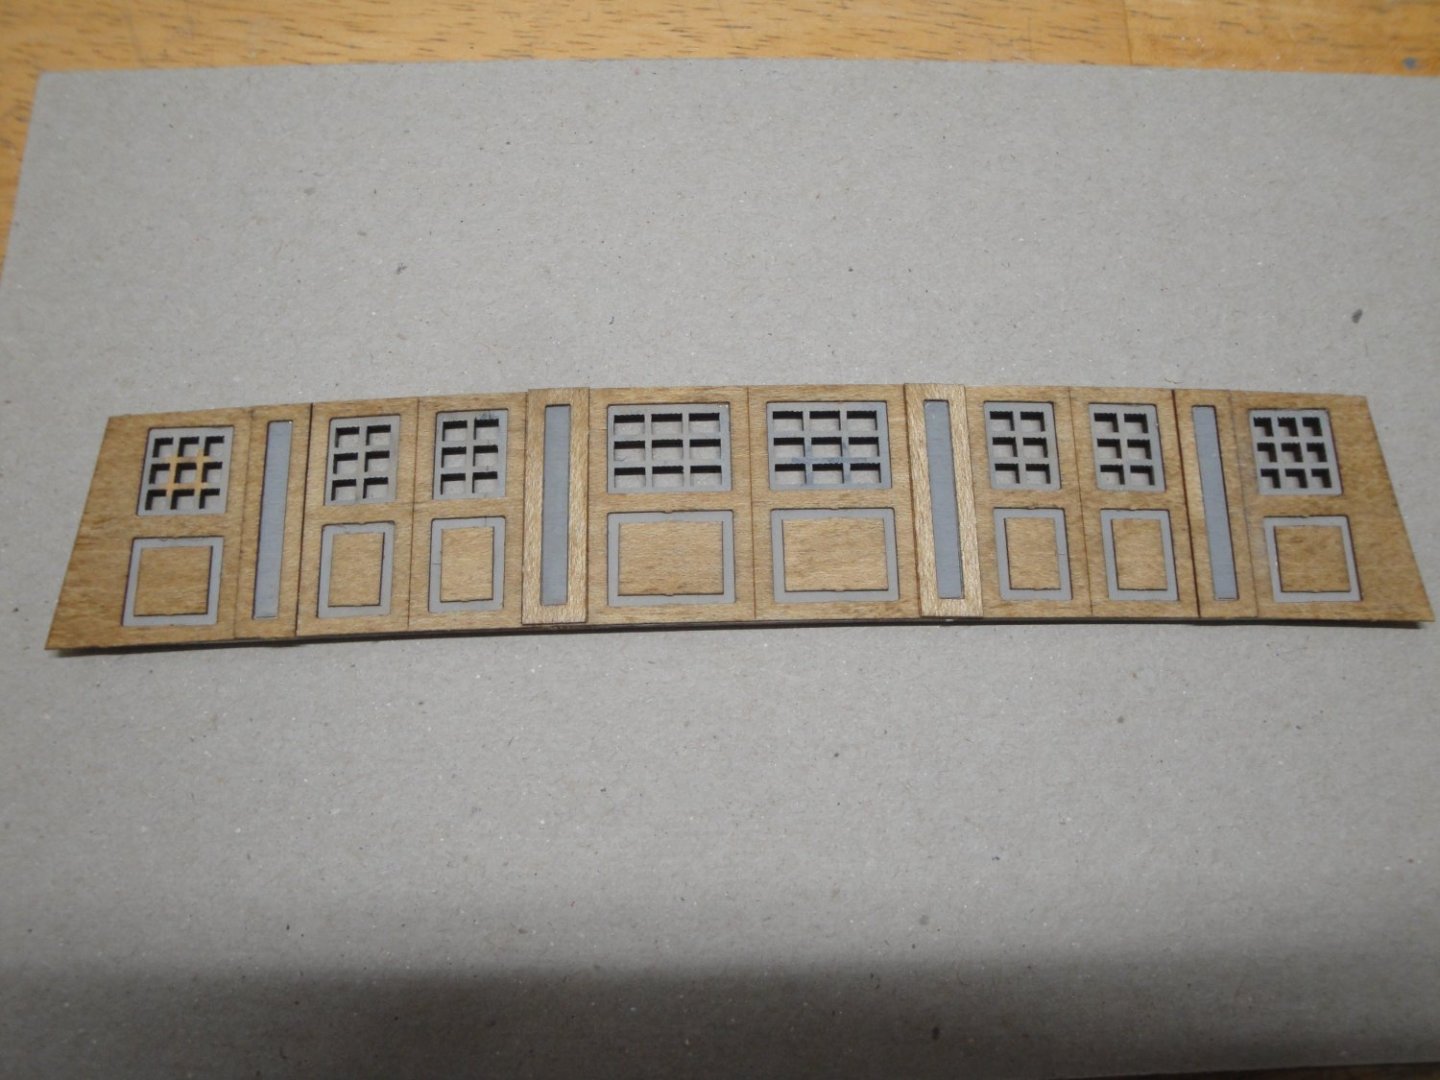
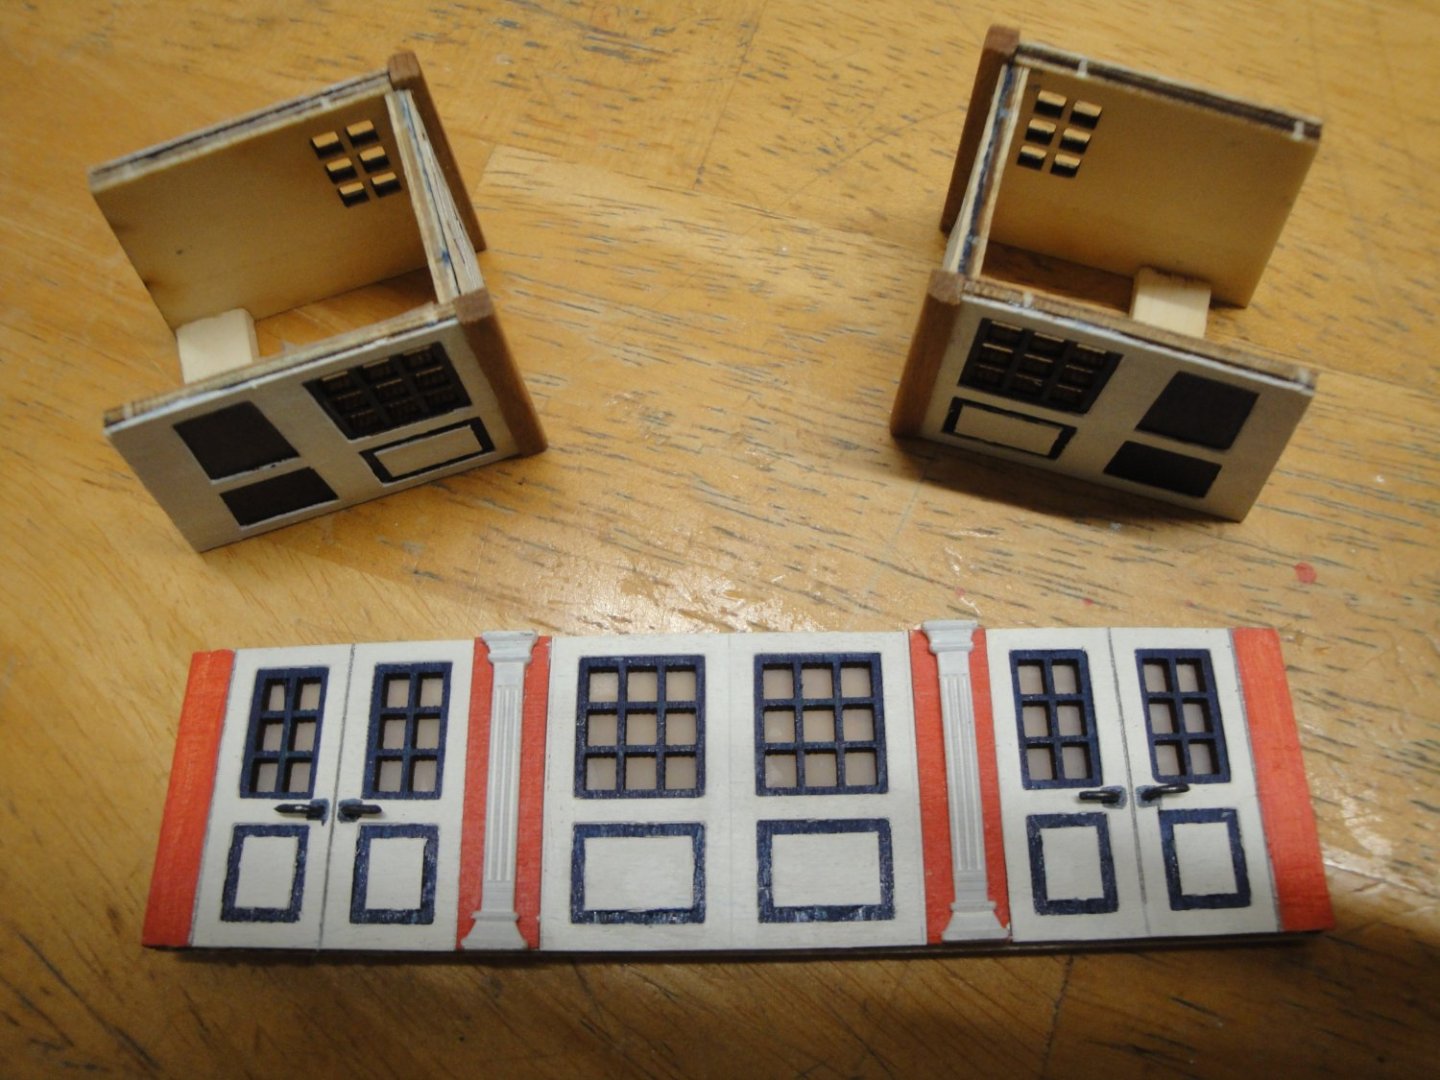
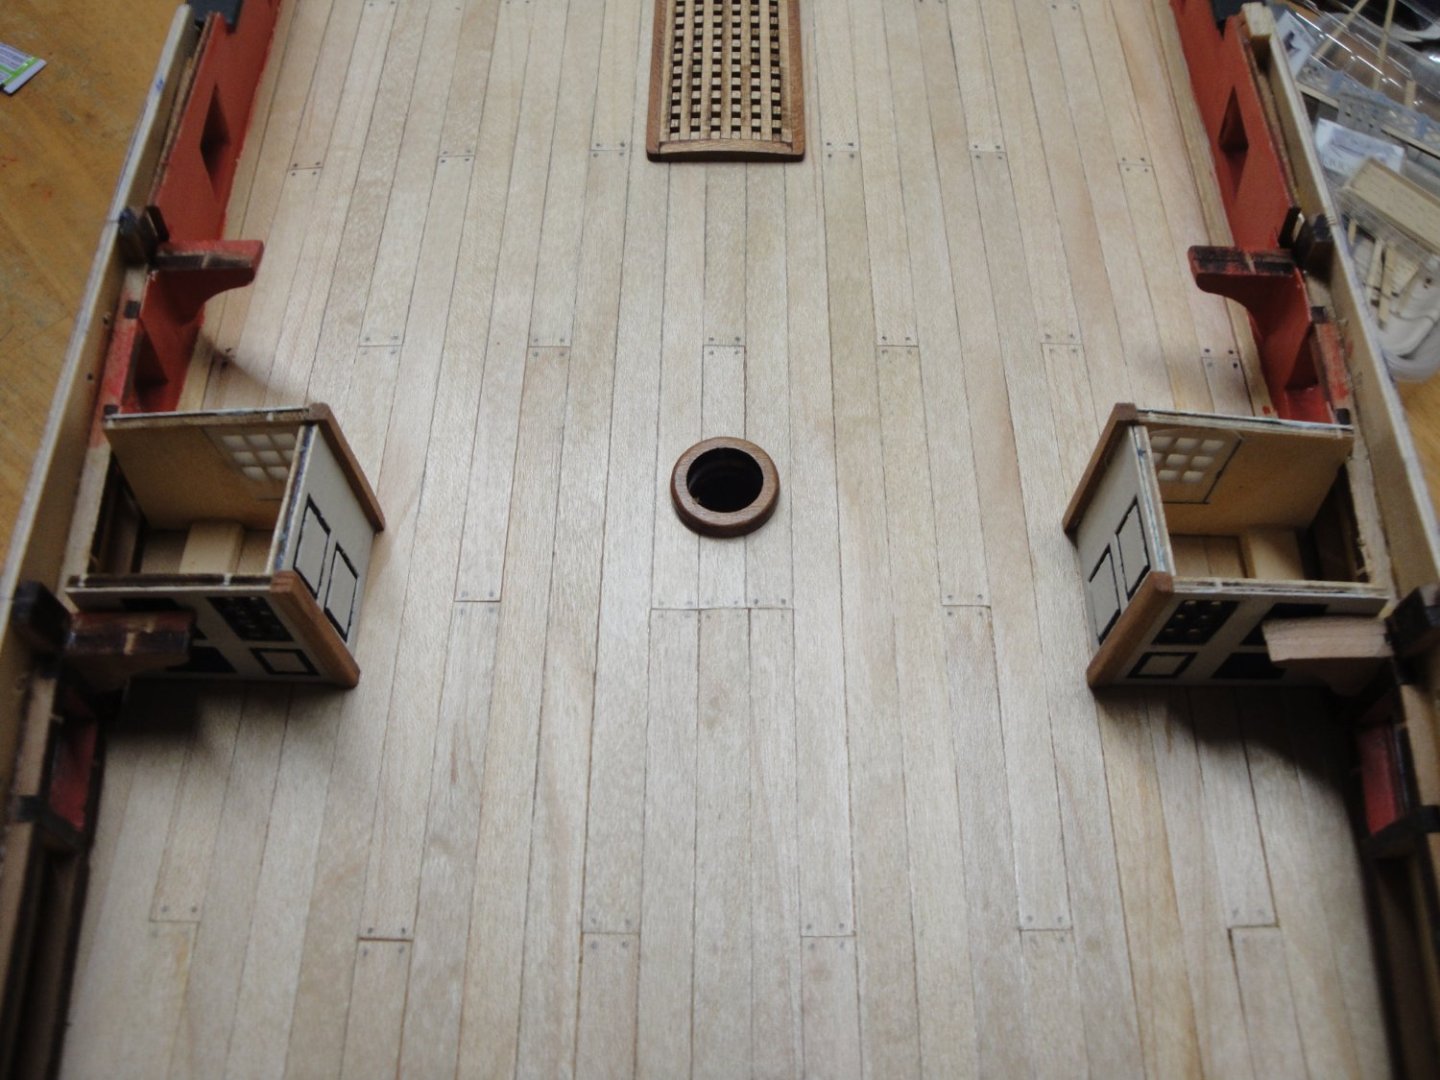
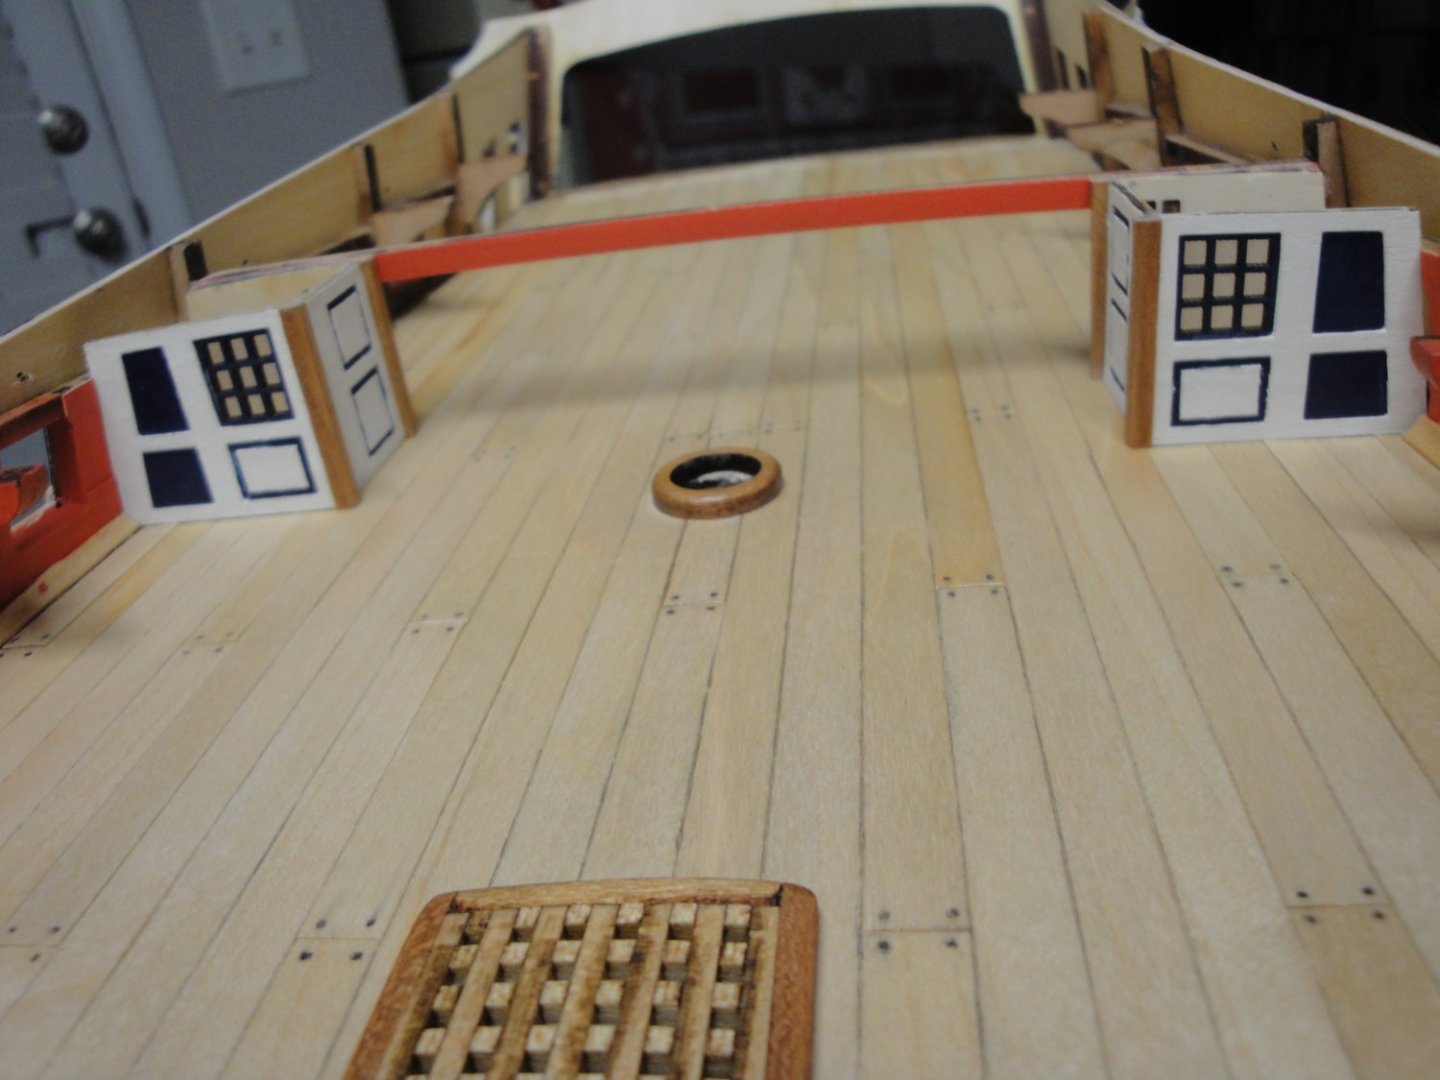
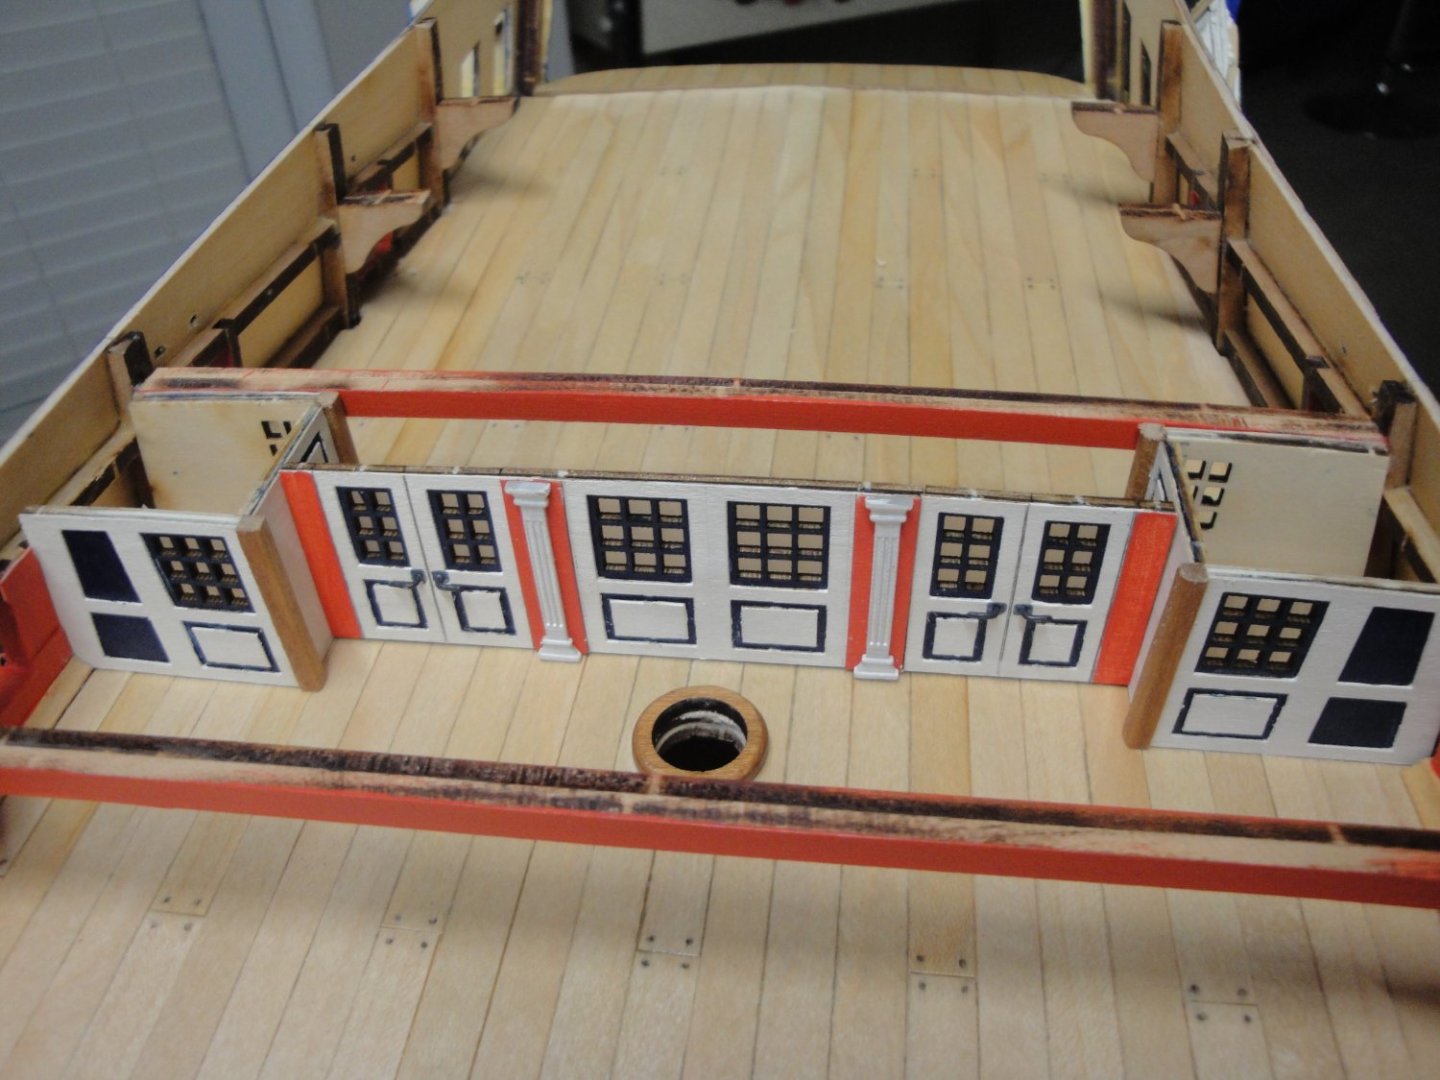
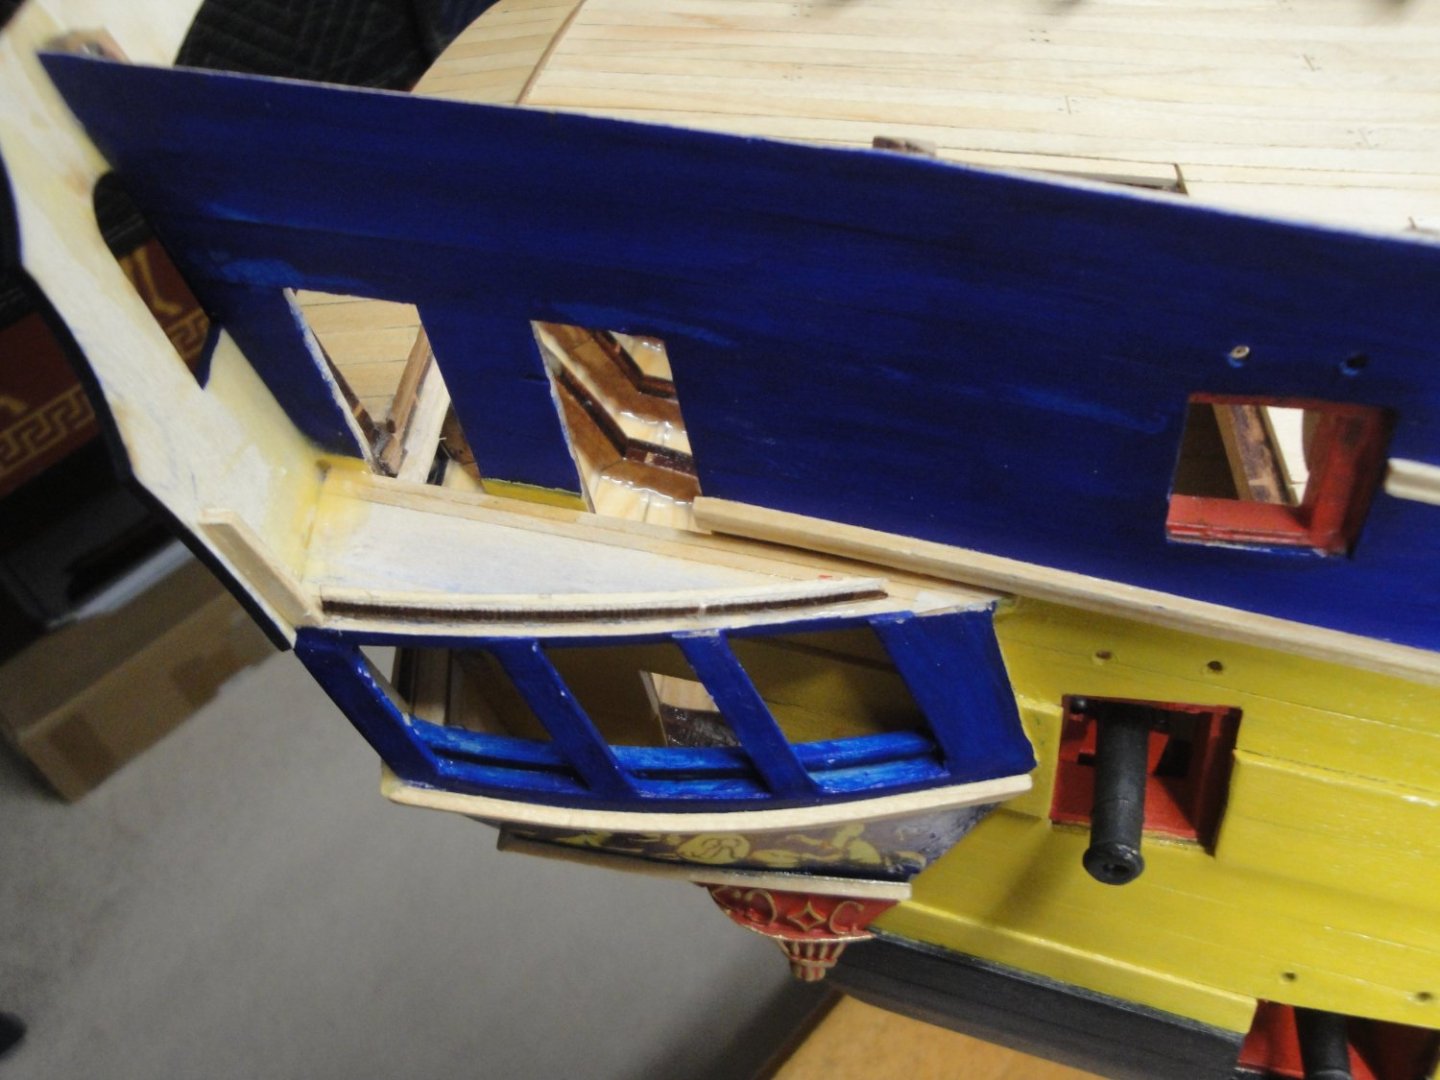
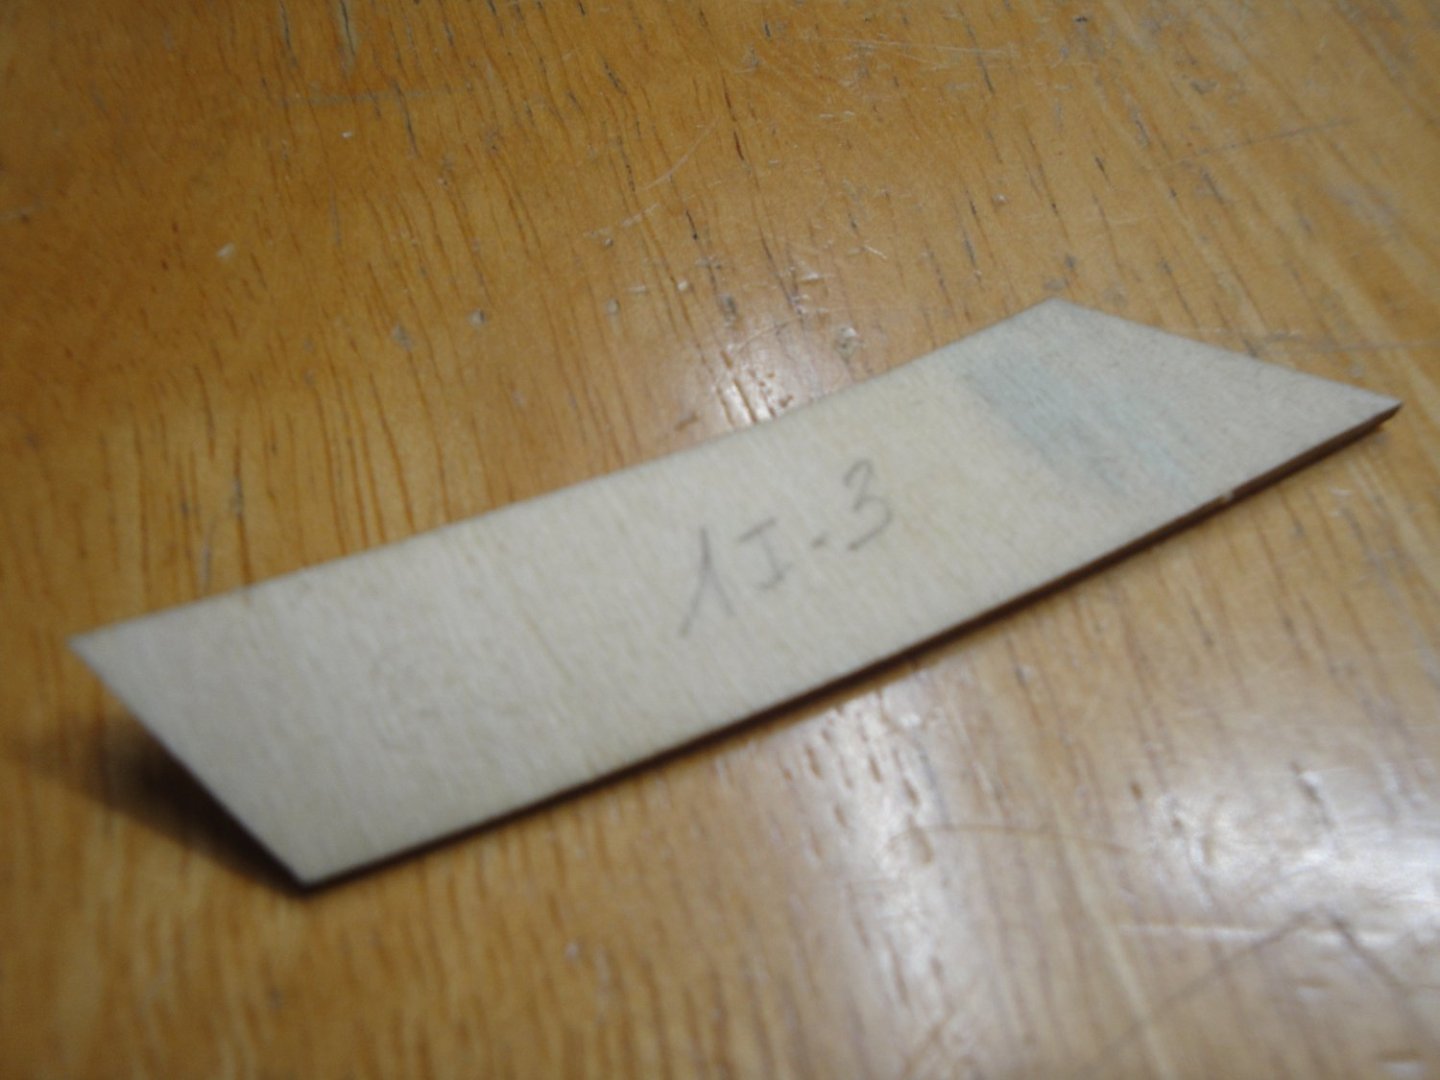
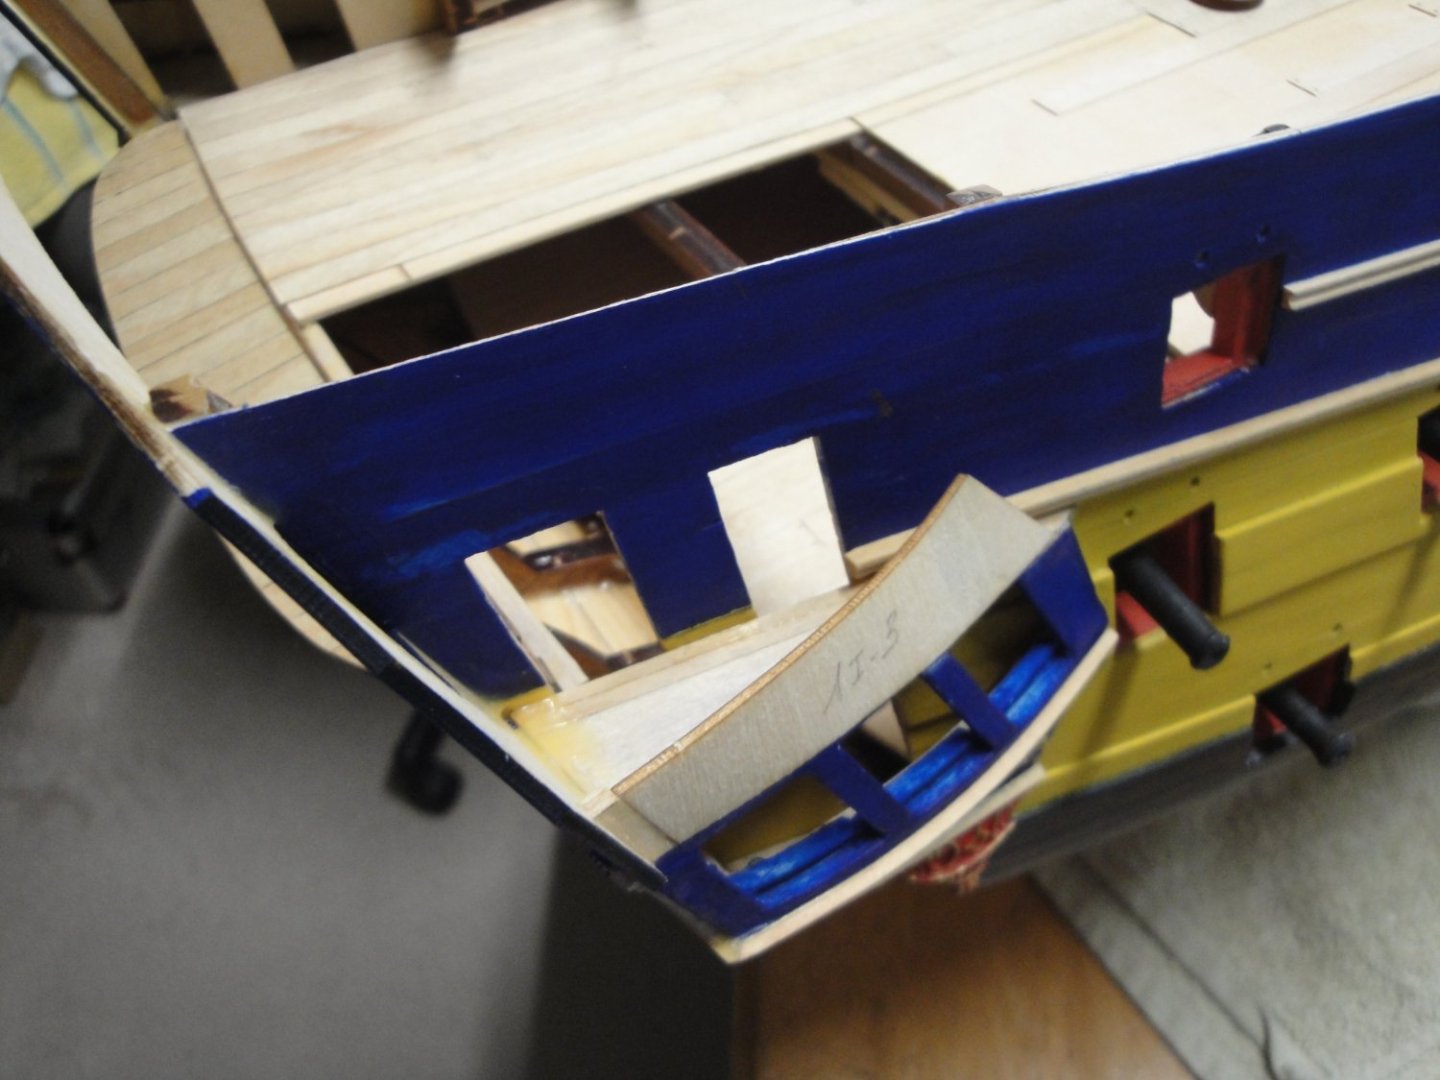
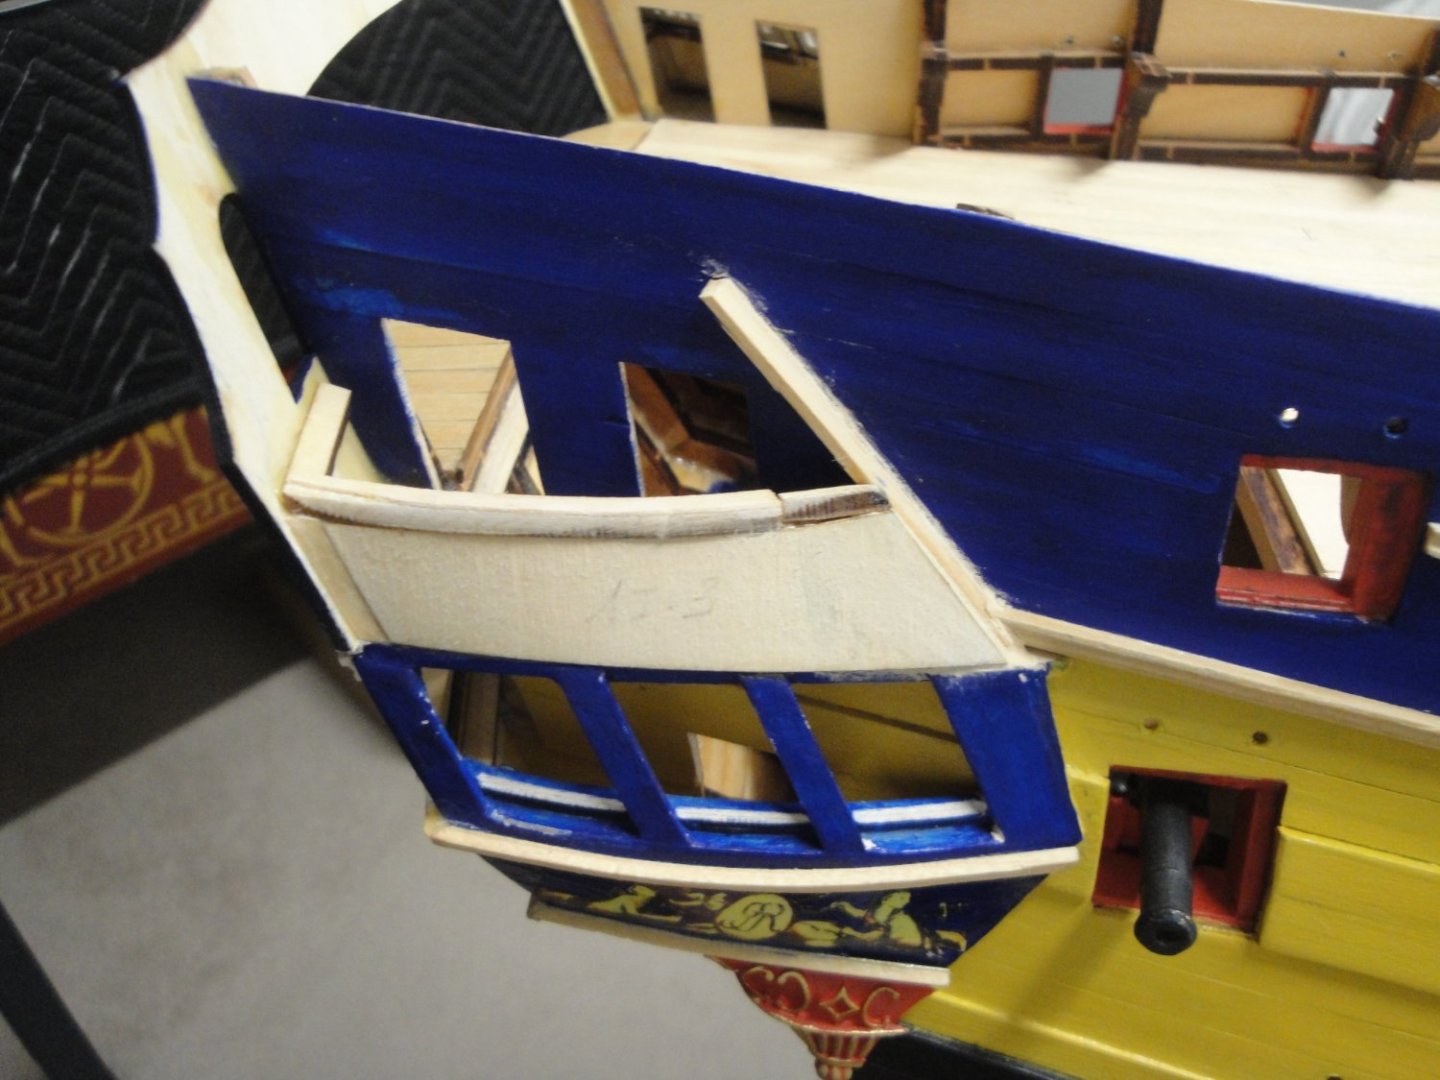
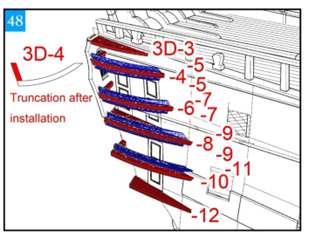
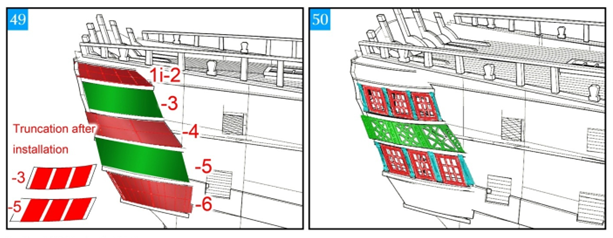
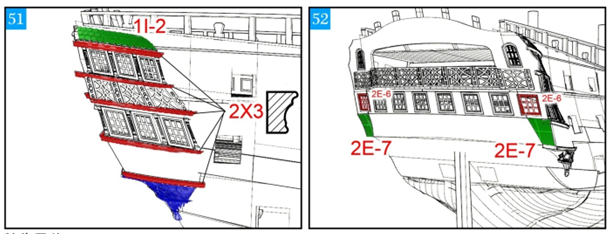
I have not published an update in a little while and thus, here are some progress. I am still working on the second gallery, trying to make it as similar as the first one, which is not exactly easy. But first, let me present how these are built, according to CAF, in their Session #5: If you manage to get anything out of these instructions, on a finished hull, you are really gifted !!! That is probably why the Internet abounds with pictures of the finished CAF Bellona.... (sarcastic grin). Below is my way of doing it, probably not the best but it works: This is the starting point. As you will see, I am not following the CAF Model instructions and have modified the parts (slightly) to fit my hull and simply because their way of doing it, does NOT work. The following part is soaked in alcohol and bent/pre-shaped to accommodate the multiple curves: It is then glued in place. As you can see, I have added a little strip to increase the length of that partition (1I-3): Then a couple more parts are glued on top as well as a strip in the front of the gallery: After a little bit of painting, things are looking much better. Here, Liquitex UltraMarine blue is used with a coat of Future Floor on top: We can now install the windows, which in turns will allow us to finish the sub-floor and planking of the rear quarterdeck: I started trying to cut the openings and after breaking two rungs, quickly decided to change strategy. Instead, I used Tamiya Sky Gray to paint the window glasses with a drop of Future Floor to bring some reflections to the window glass. You can see on the front window, the two rungs that snapped immediately. The reason these rungs break is that the CNC machine that built these frames did not go deep enough and left too much material between the rungs. The problem does not exist with the main rear window but only with the galleries windows. I may have to ask CAF to send me a replacement set for that specific window pane. Finally, the balusters/columns are installed. Painting the panes (versus cutting the openings) is a big time saver and actually the only viable option for these window frames. Yves


- 507 replies
-
- 10
-
-
1/200 Trumpeter IJN YAMATO - issued by MRC/Gallery Models
yvesvidal replied to yvesvidal's topic in REVIEWS: Model kits
I am not sure that 1/350 would be easier than 1/200 kits. It is about the same amount of work and probably more tedious and delicate work with the smaller scale. The final result will be so much more impressive at 1/200 scale, if you have the room to display these mastodons. Yes, I agree that displaying a Bismarck, a Yamato and a Missouri all in 1/200 scale would be a major statement in a household. Yves- 104 replies
-
- 3
-
-
- MRC/Gallery
- Yamato
- (and 1 more)
-
Ted, this link did a much better review of the kit. You may find the answers to your questions: http://www.modelwarships.com/reviews/ships/ijn/bb/Yamato-200-gal/200Yamato.htm Yves
-
Beautiful and timeless design. The perfect daysailer. Yves
- 23 replies
-
- 1
-
-
- Herreshoff 12 1/2
- BlueJacket Shipcrafters
- (and 1 more)
-
Impressive work. I like the U shaped piece of metal to protect the hull and guns. Yves
-
The irony is that the MRC/Trumpeter kit is (was) way cheaper than any Nichimo kit available on Da-Bay for a long time. Now that the Nichimo speculation has ended, the MRC/Trumpeter kit is suddenly "expensive" by comparison. Yves