yvesvidal
-
Posts
3,644 -
Joined
-
Last visited
Content Type
Profiles
Forums
Gallery
Events
Everything posted by yvesvidal
-
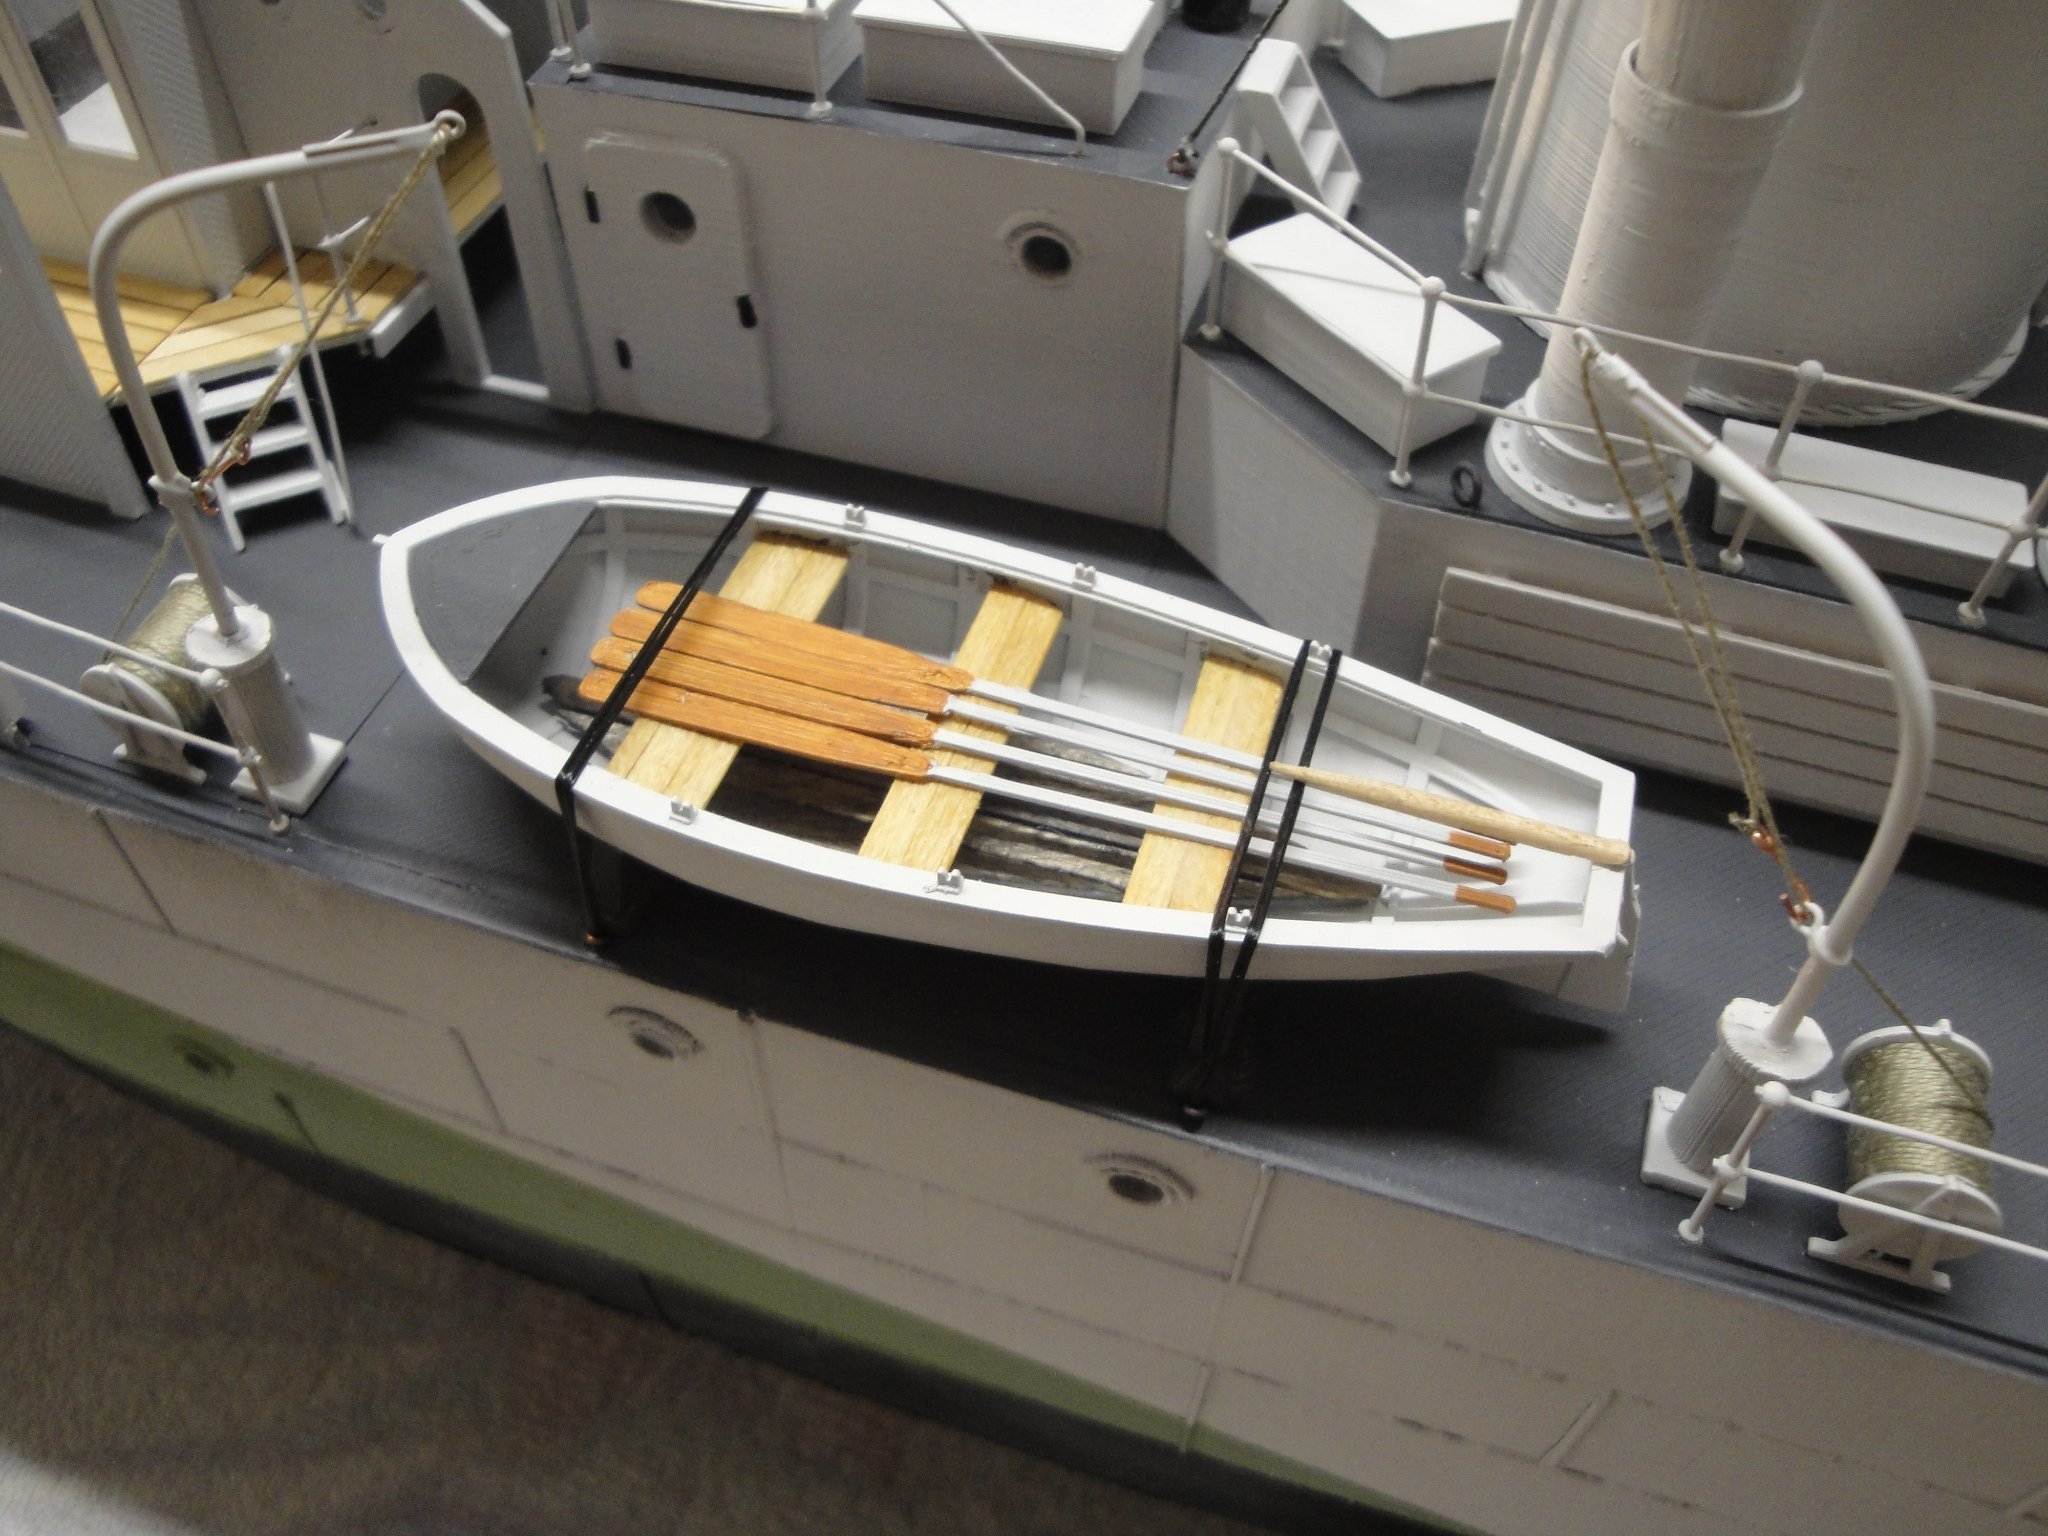
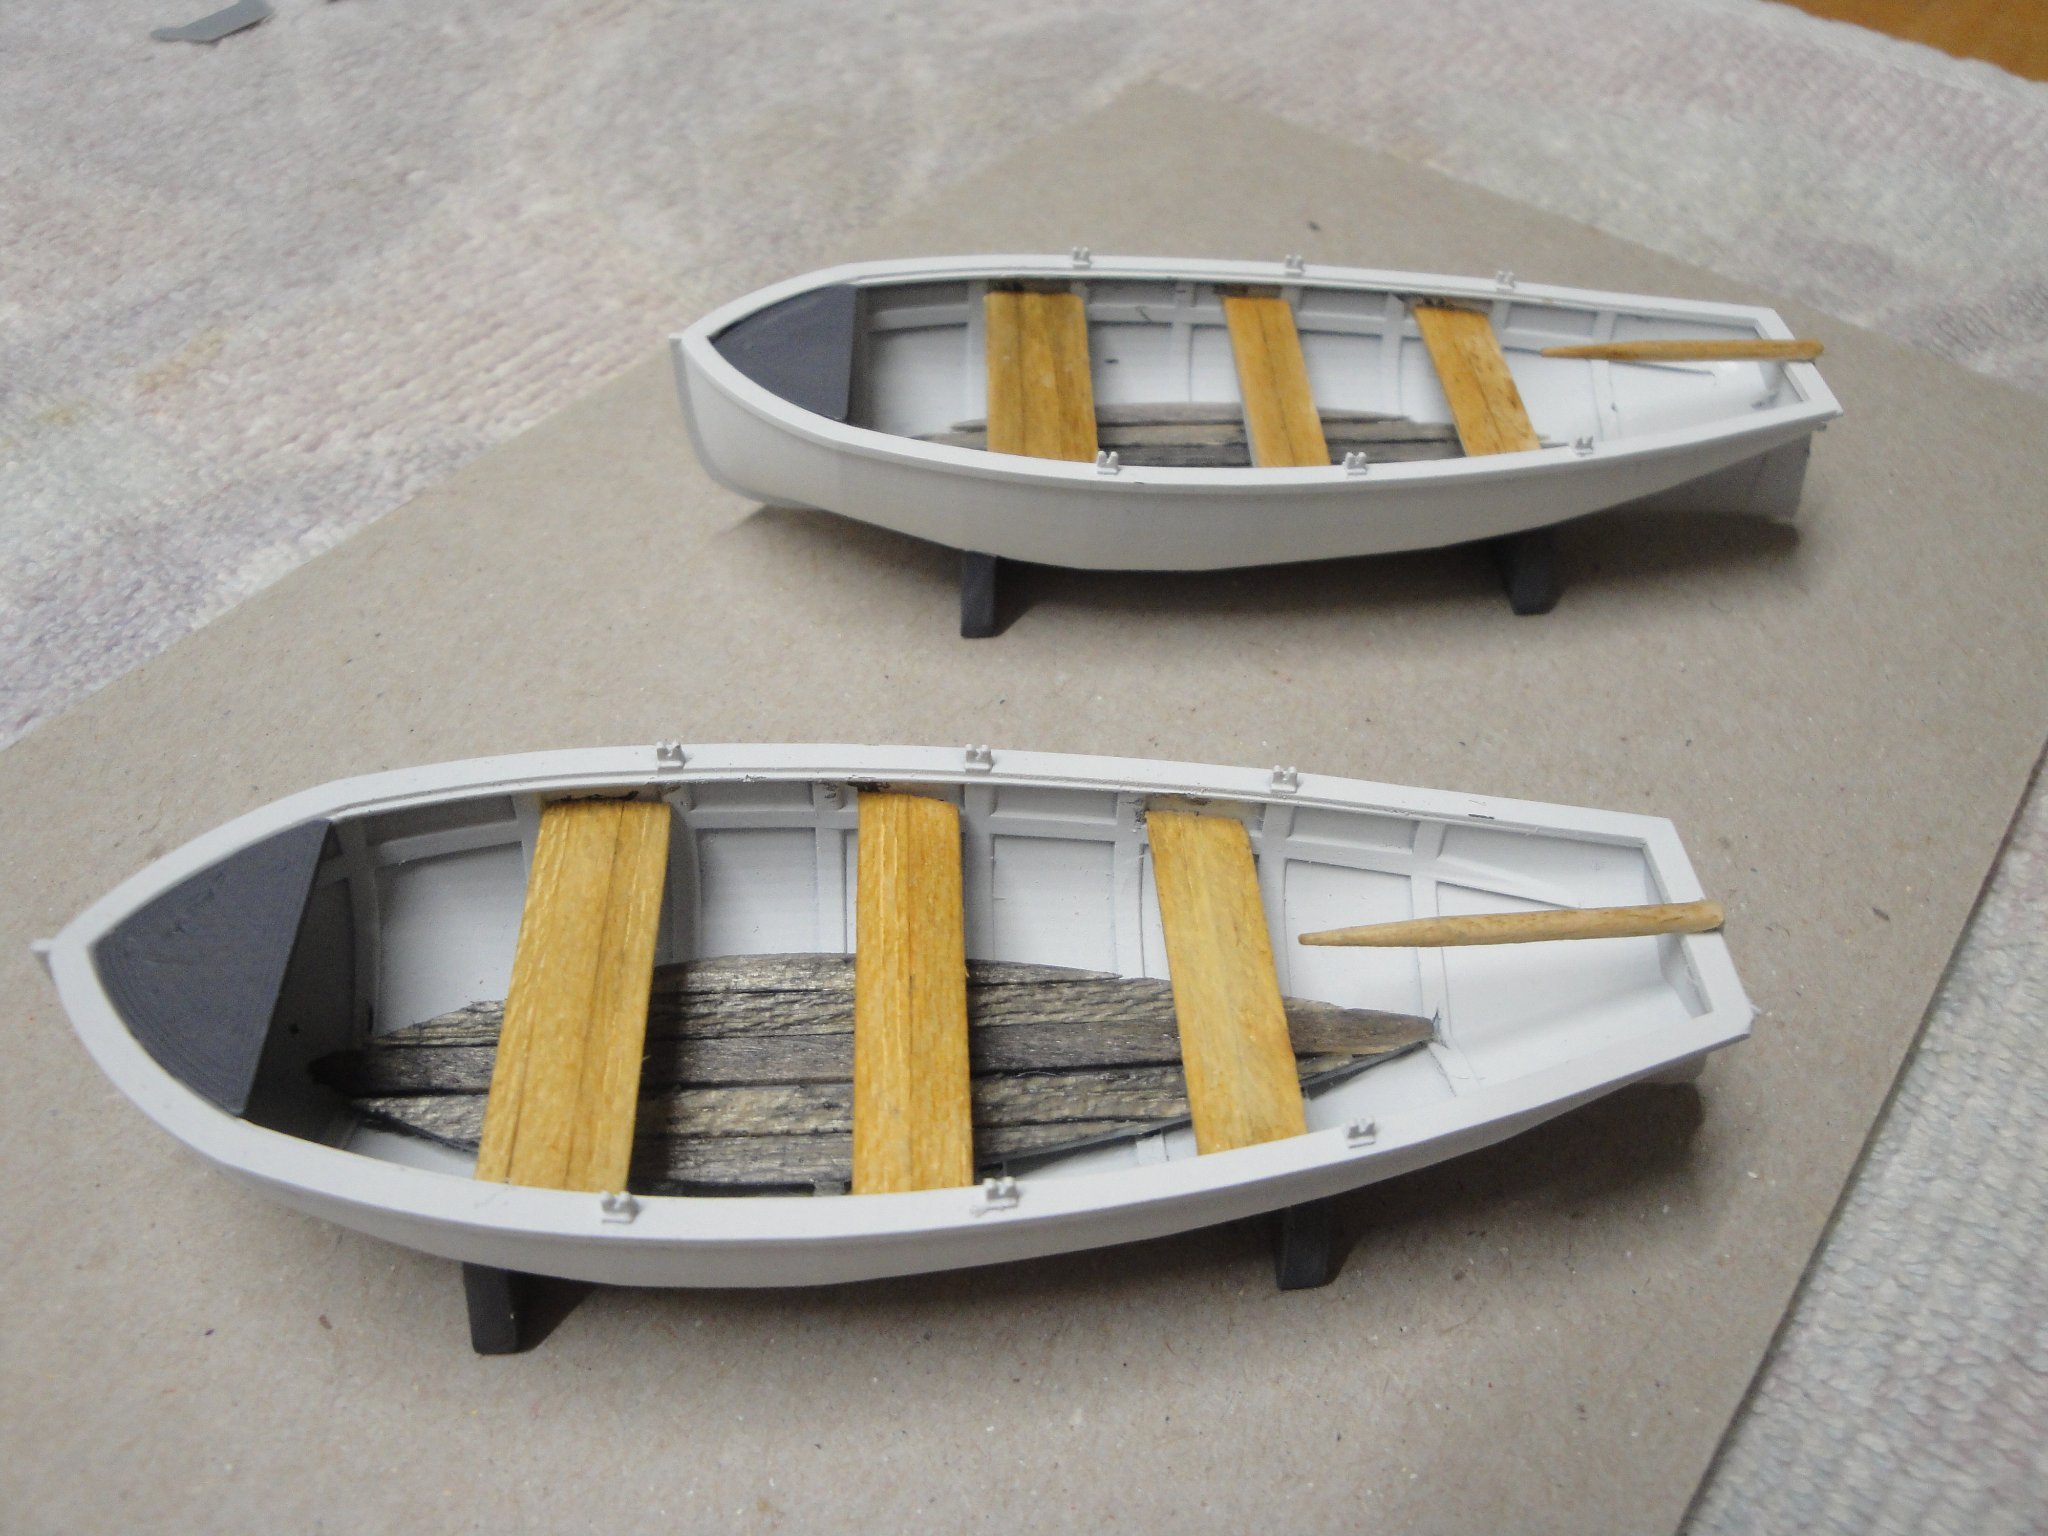
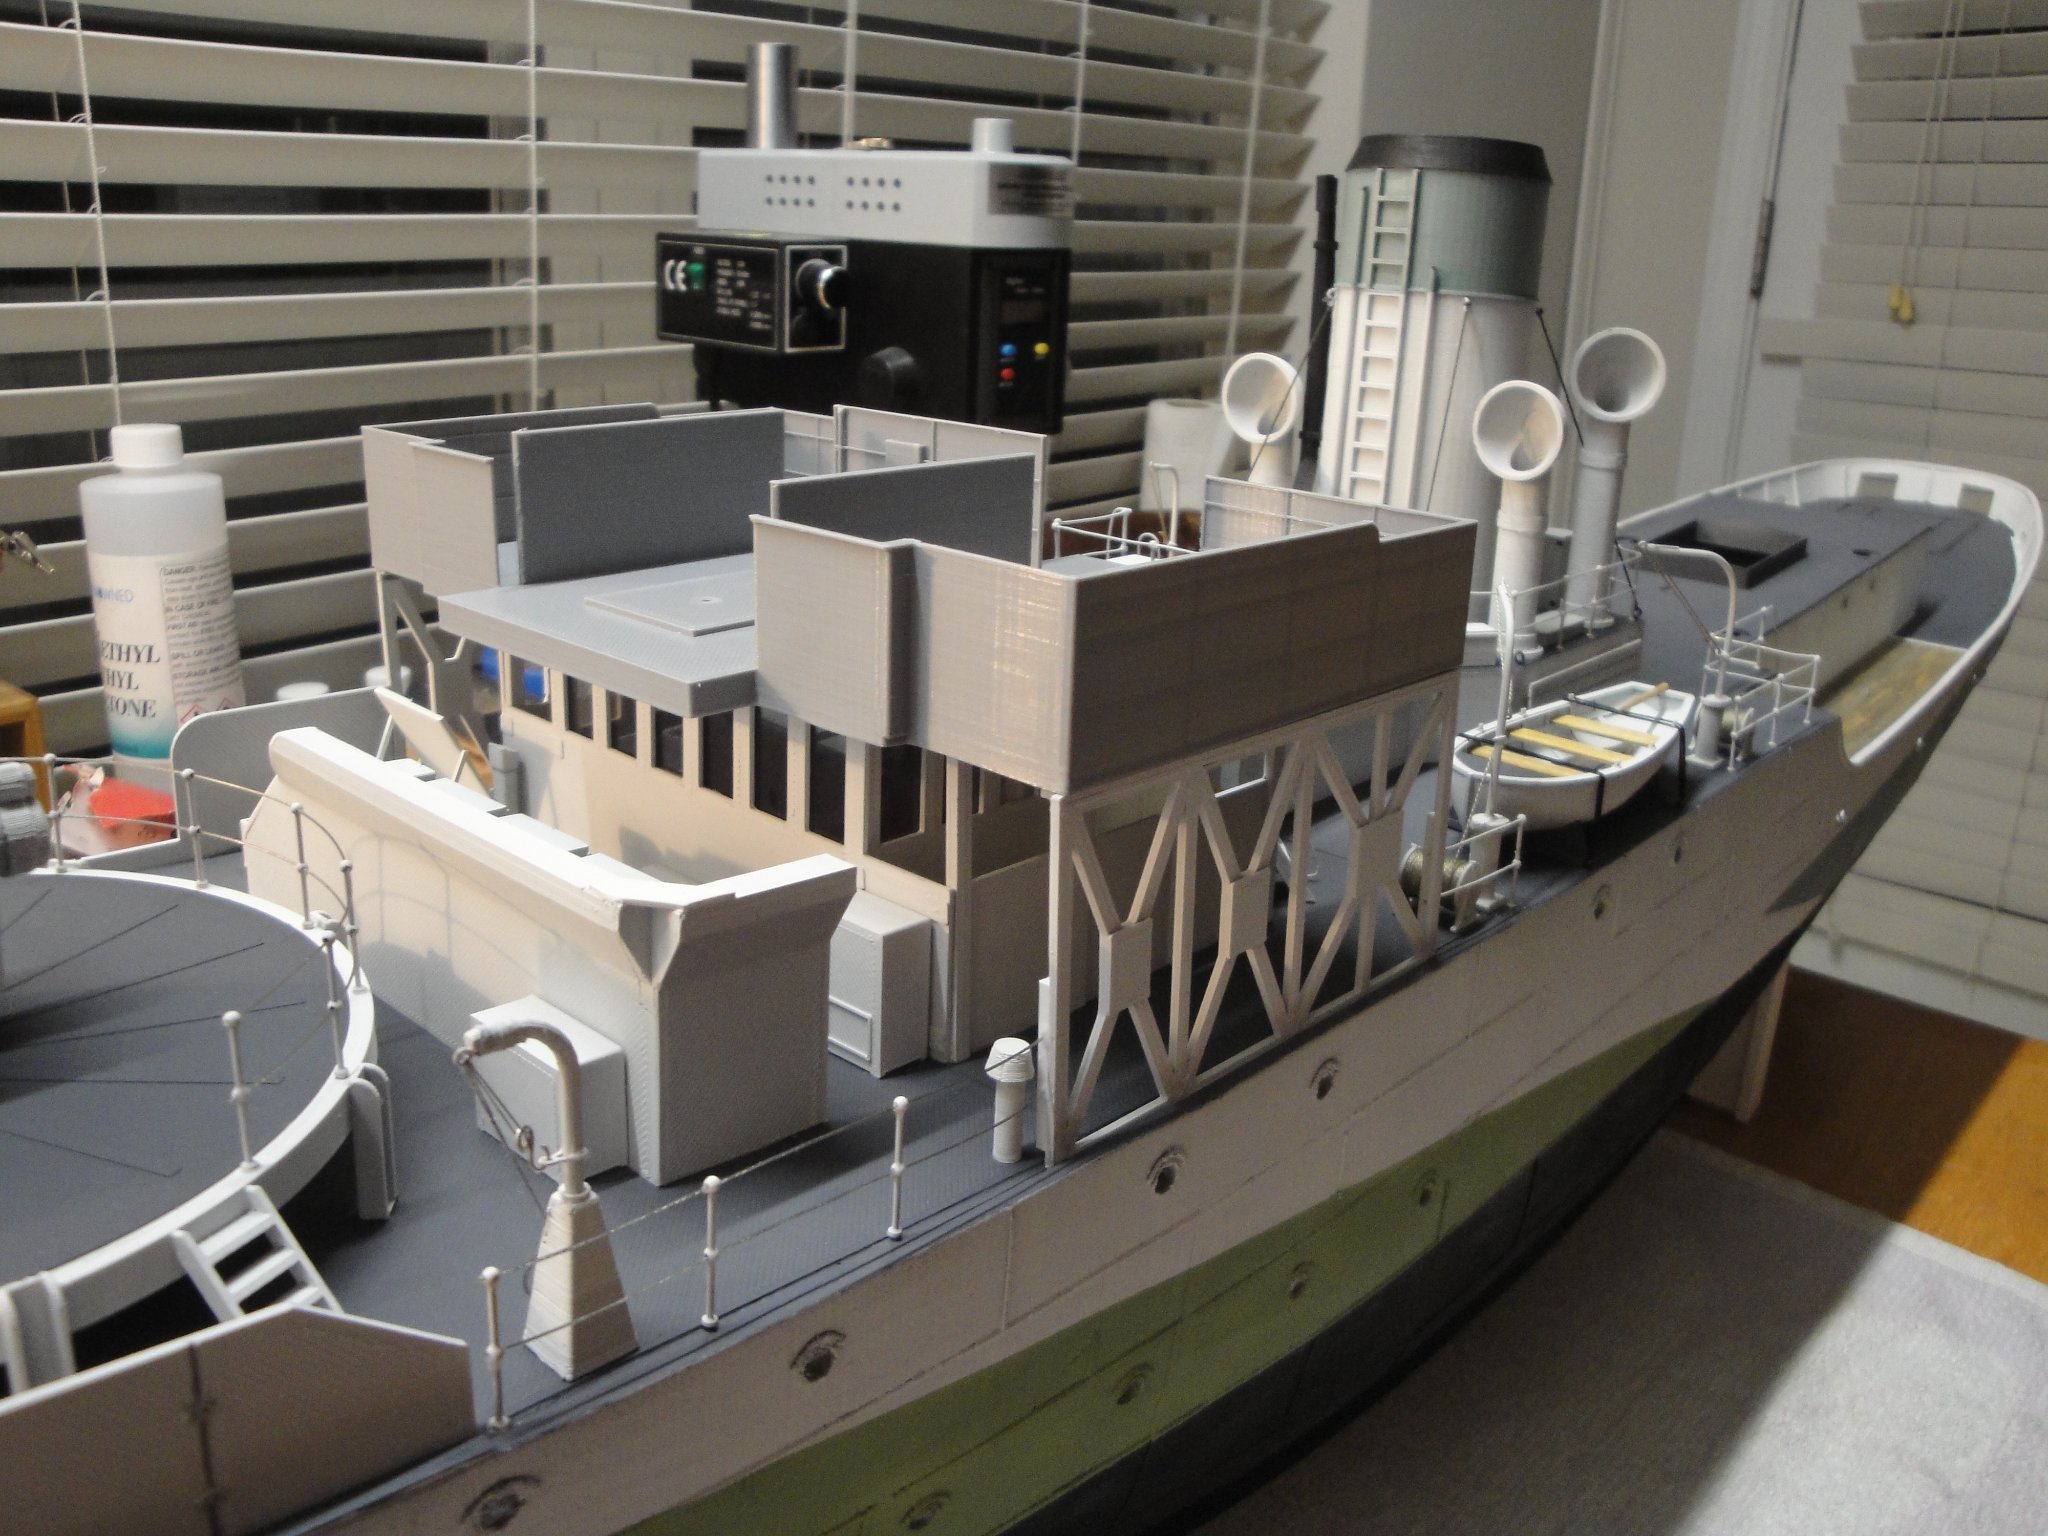
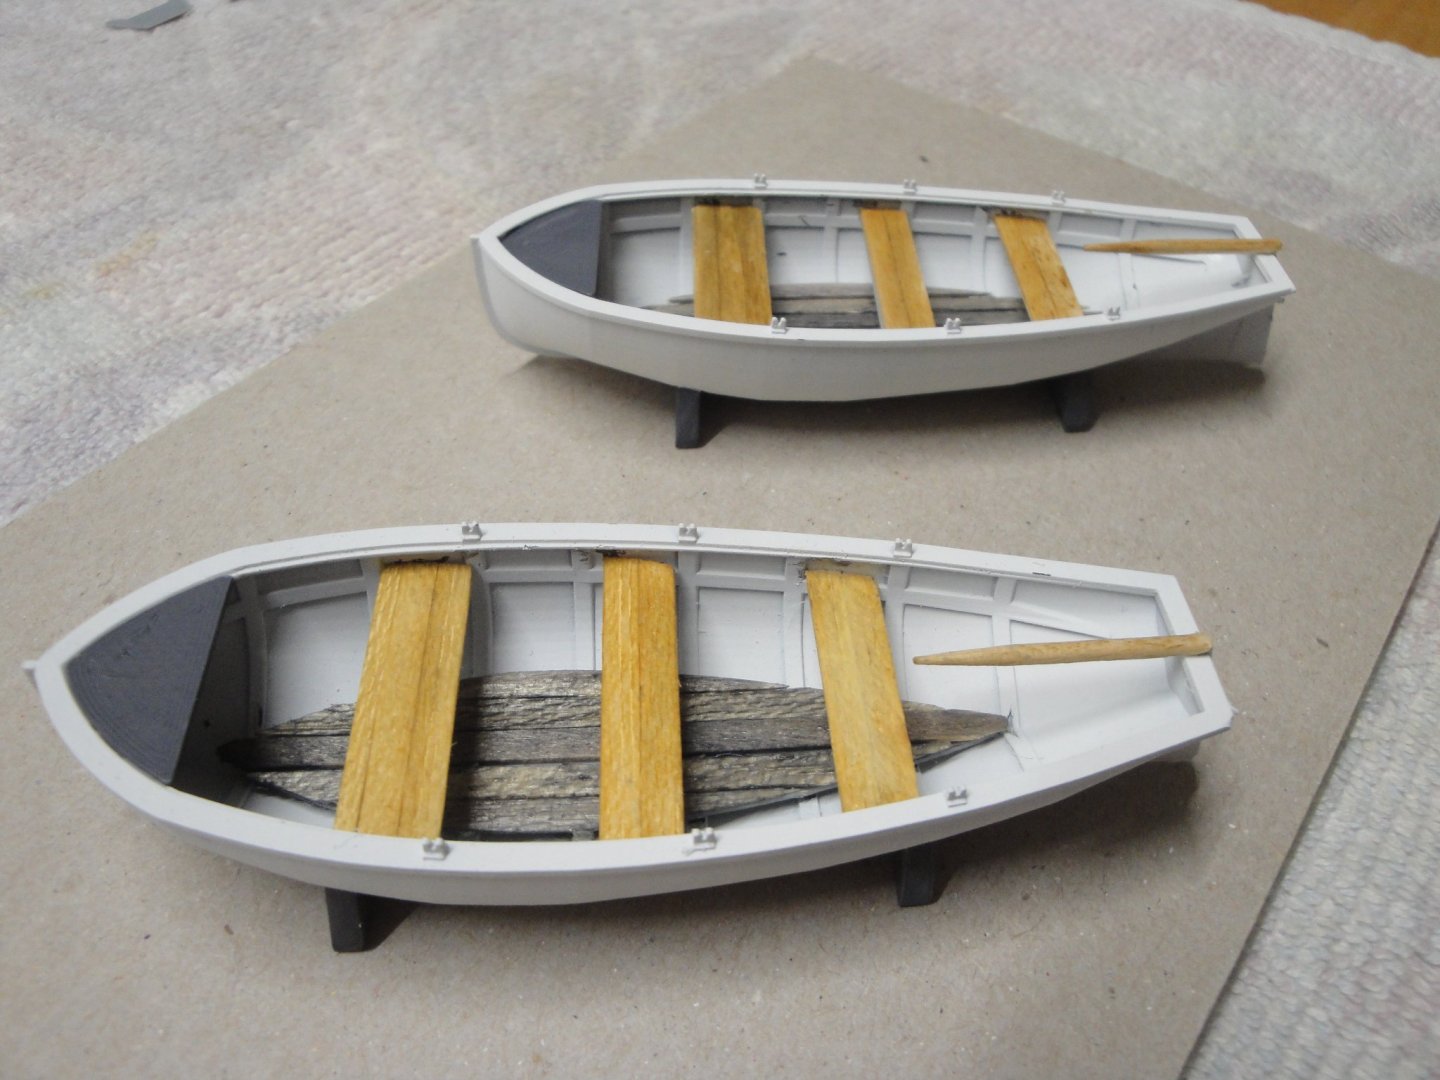
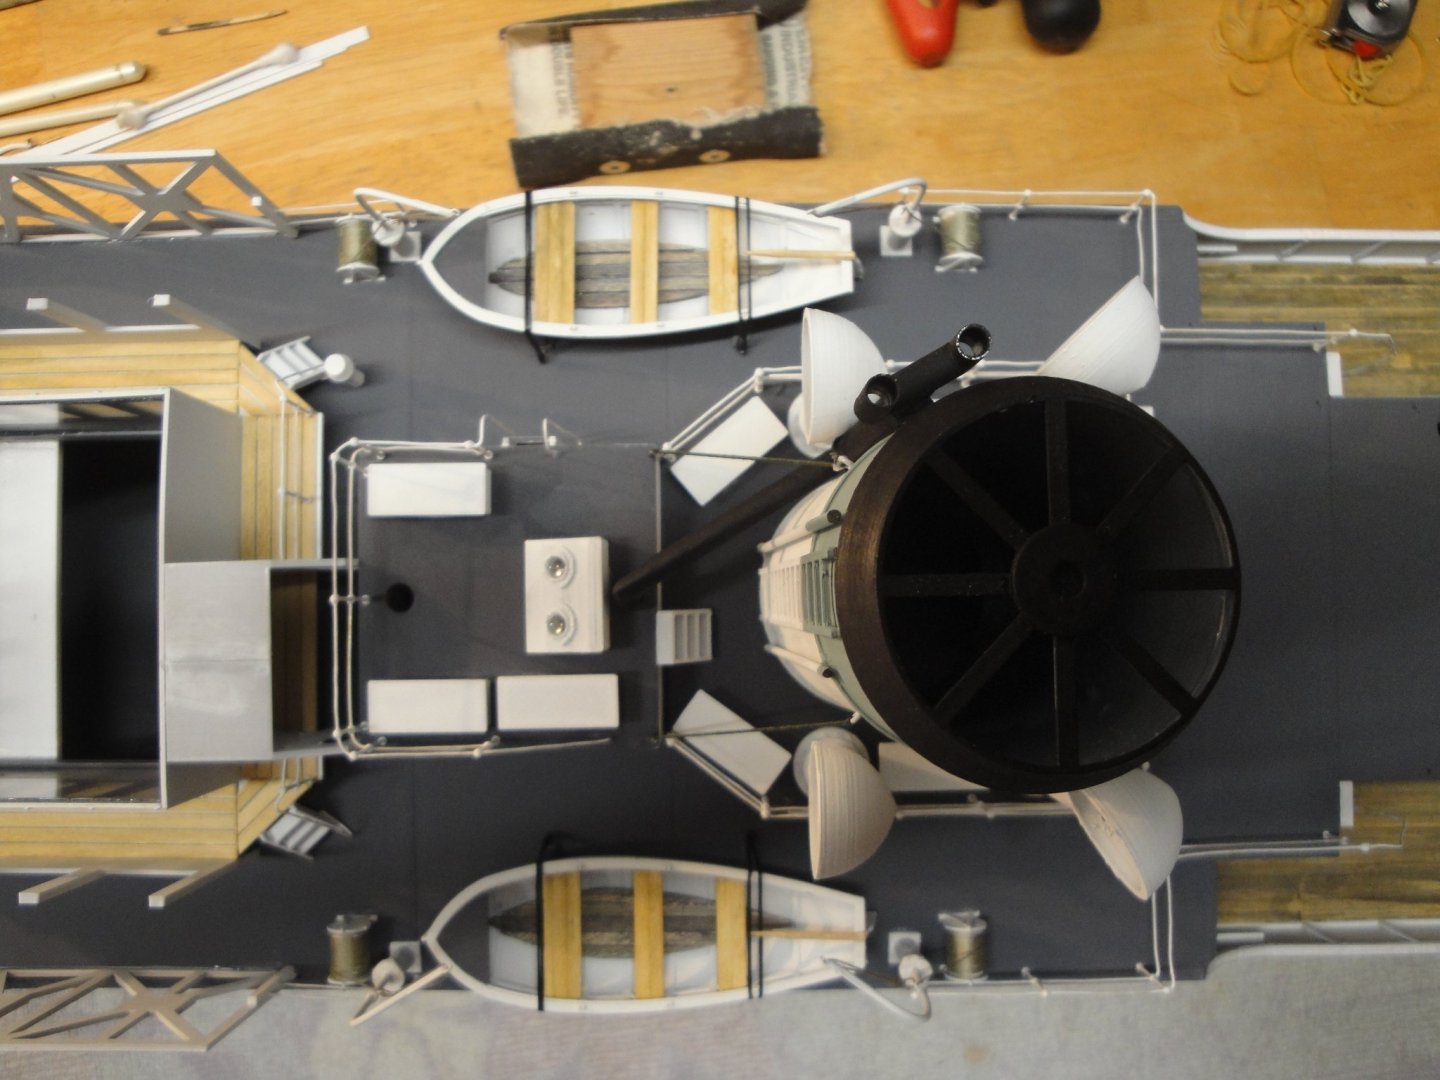
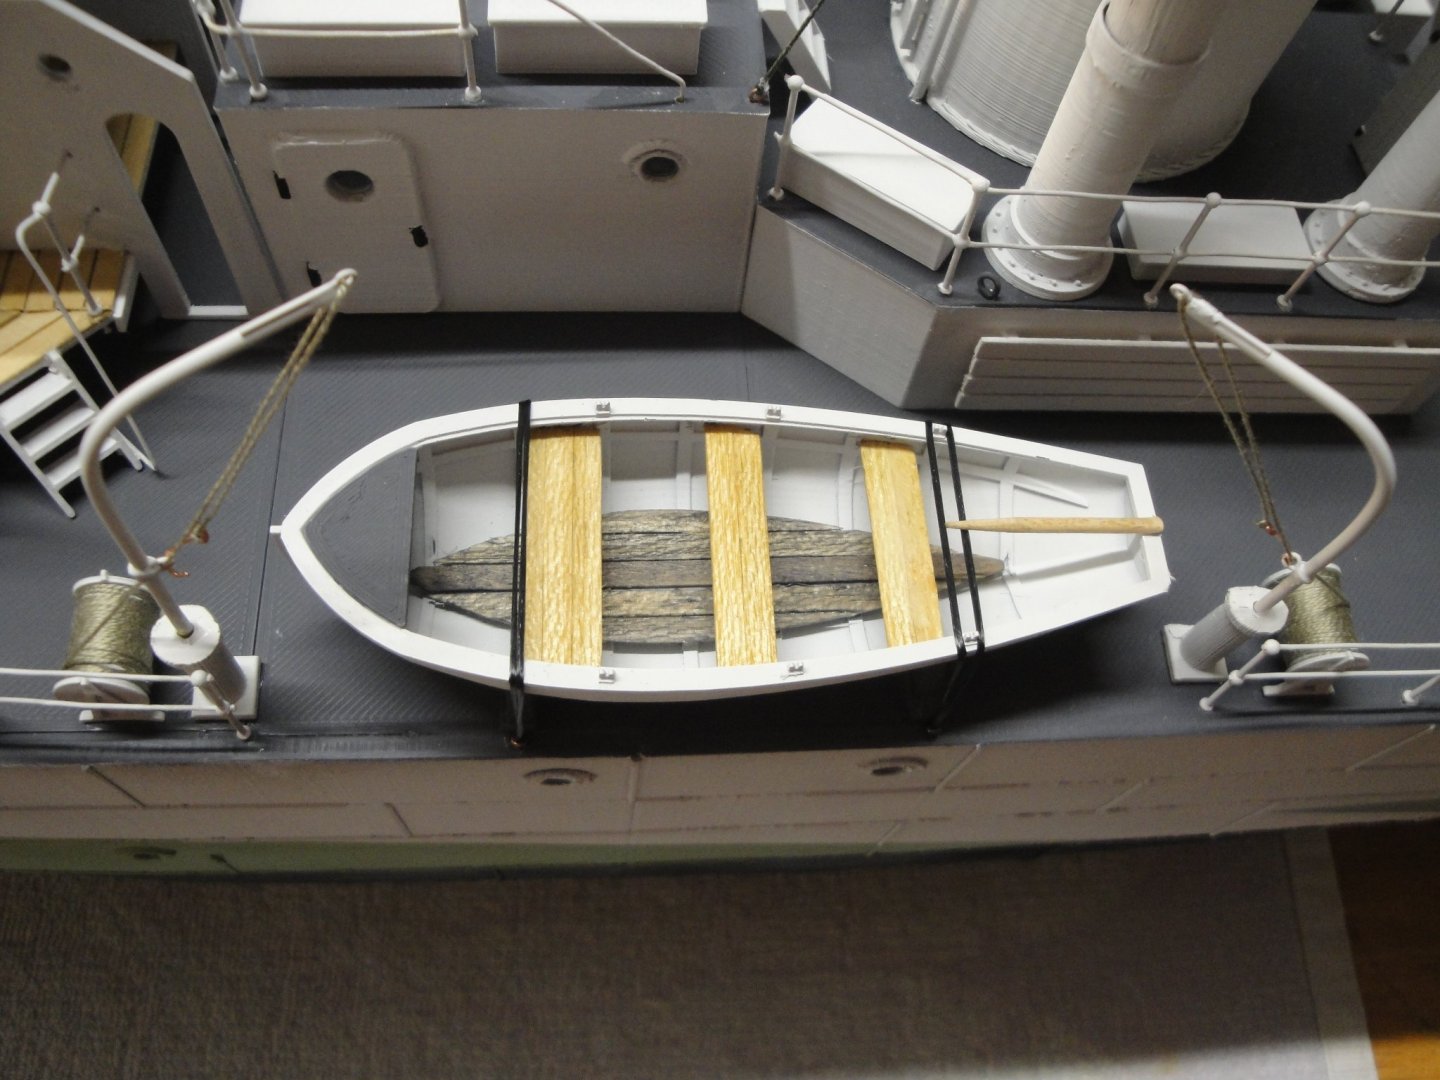
 To conclude on Module #4, I owed you a picture of the finished dinghies, with their set of oars. Again, these are 3D printed, painted white and dry brushed with some acrylic raw Sienna paint. Next is Module #5, the top of the engine room. Yves
- 321 replies
-
- 10
-

-
- Finished
- Flower-class
- (and 1 more)
-
Absolutely superb and well in the Caldercraft tradition. Lovely model. Yves
- 50 replies
-
- 4
-
-
- Marie Felling
- tug
- (and 3 more)
-
WOW Kevin, this is looking glorious. You are turning that kit into a Museum model. Yves
- 273 replies
-
- 4
-
-
- panart
- amerigo vespucci
- (and 1 more)
-
Very good start. Yves
-
Jan, yes the model is from CAF and has nothing to do with ZHL. ZHL may have been reselling CAF models at one point or another and that is when the video was done. In the video (now deleted by Chuck...), ZHL insists in showing that the model is made by CAF. They point to it, at every opportunity possible. So far, I have had a couple of issues with the plan/blueprint versus the parts, not matching. However, from a part perspective, everything fits very well and I have concluded that it is the plan which is erroneous. The interesting part and rarely documented thing, is that there was some Chinese knock-offs made out of the Bellona kit (and perhaps others....) in 2017-18. The pirated kit apparently only covered Session #1, did not offer any plan or instructions (but a CD) and did not provide the nice cherry wood found in the original and genuine CAF Model kits. Yves
-
Very nice sails. You are an expert with a sewing machine. Yves
- 127 replies
-
- 1
-

-
- Bowdoin
- Arctic Exploration
- (and 3 more)
-
Very cute tools and sawhorses. Yves
-
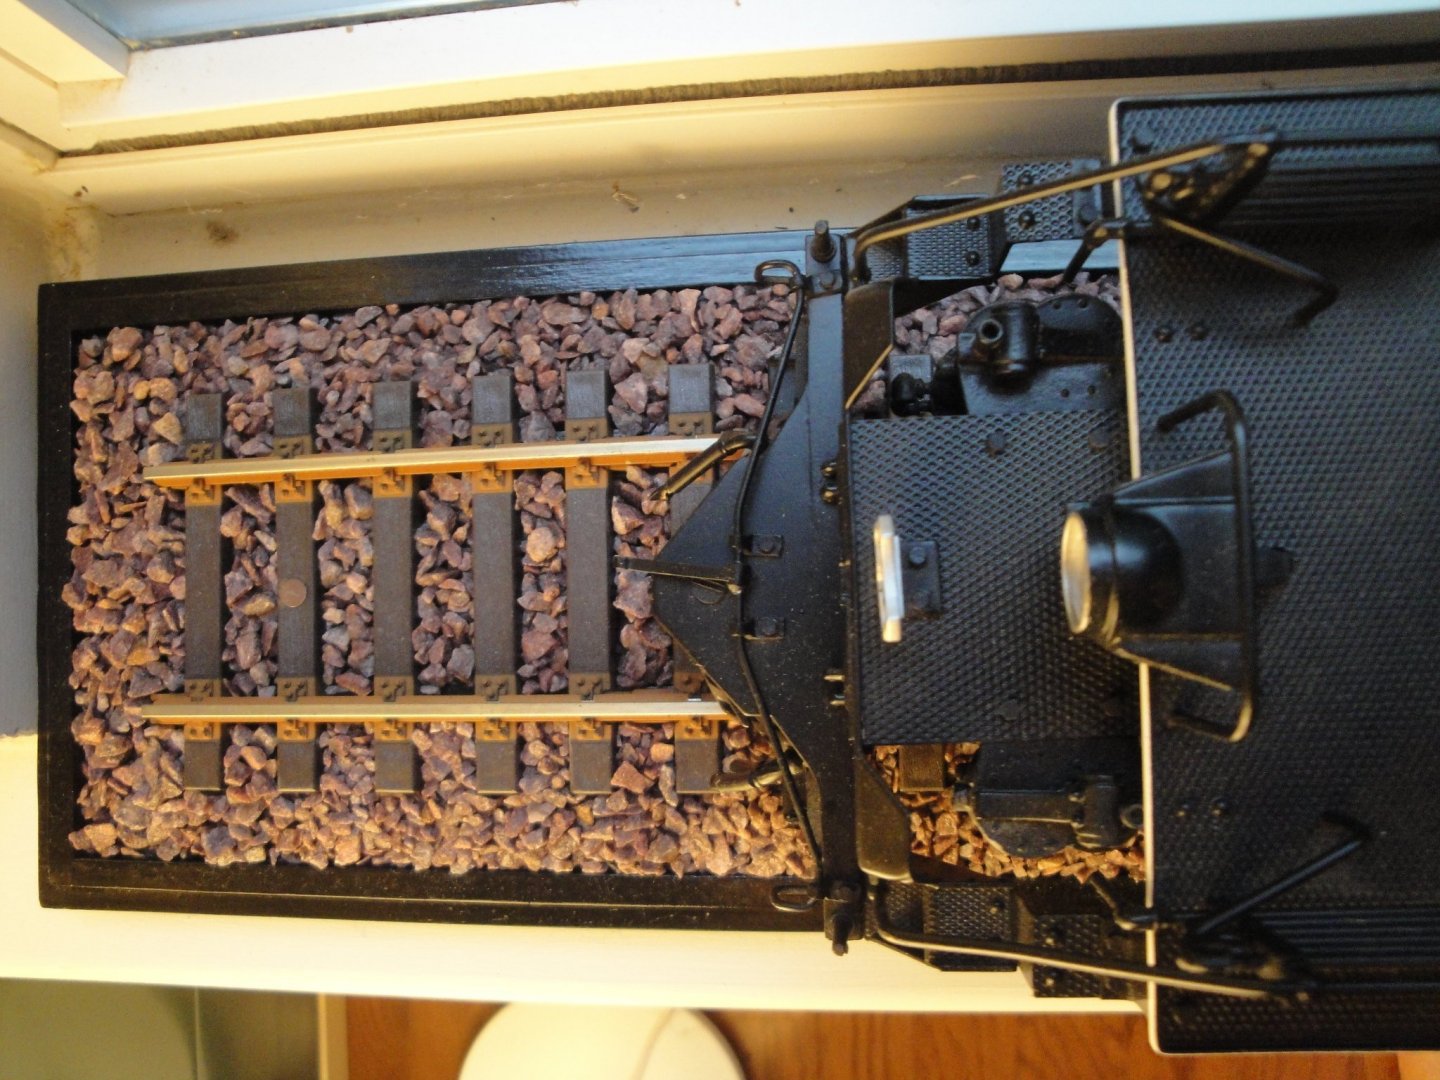
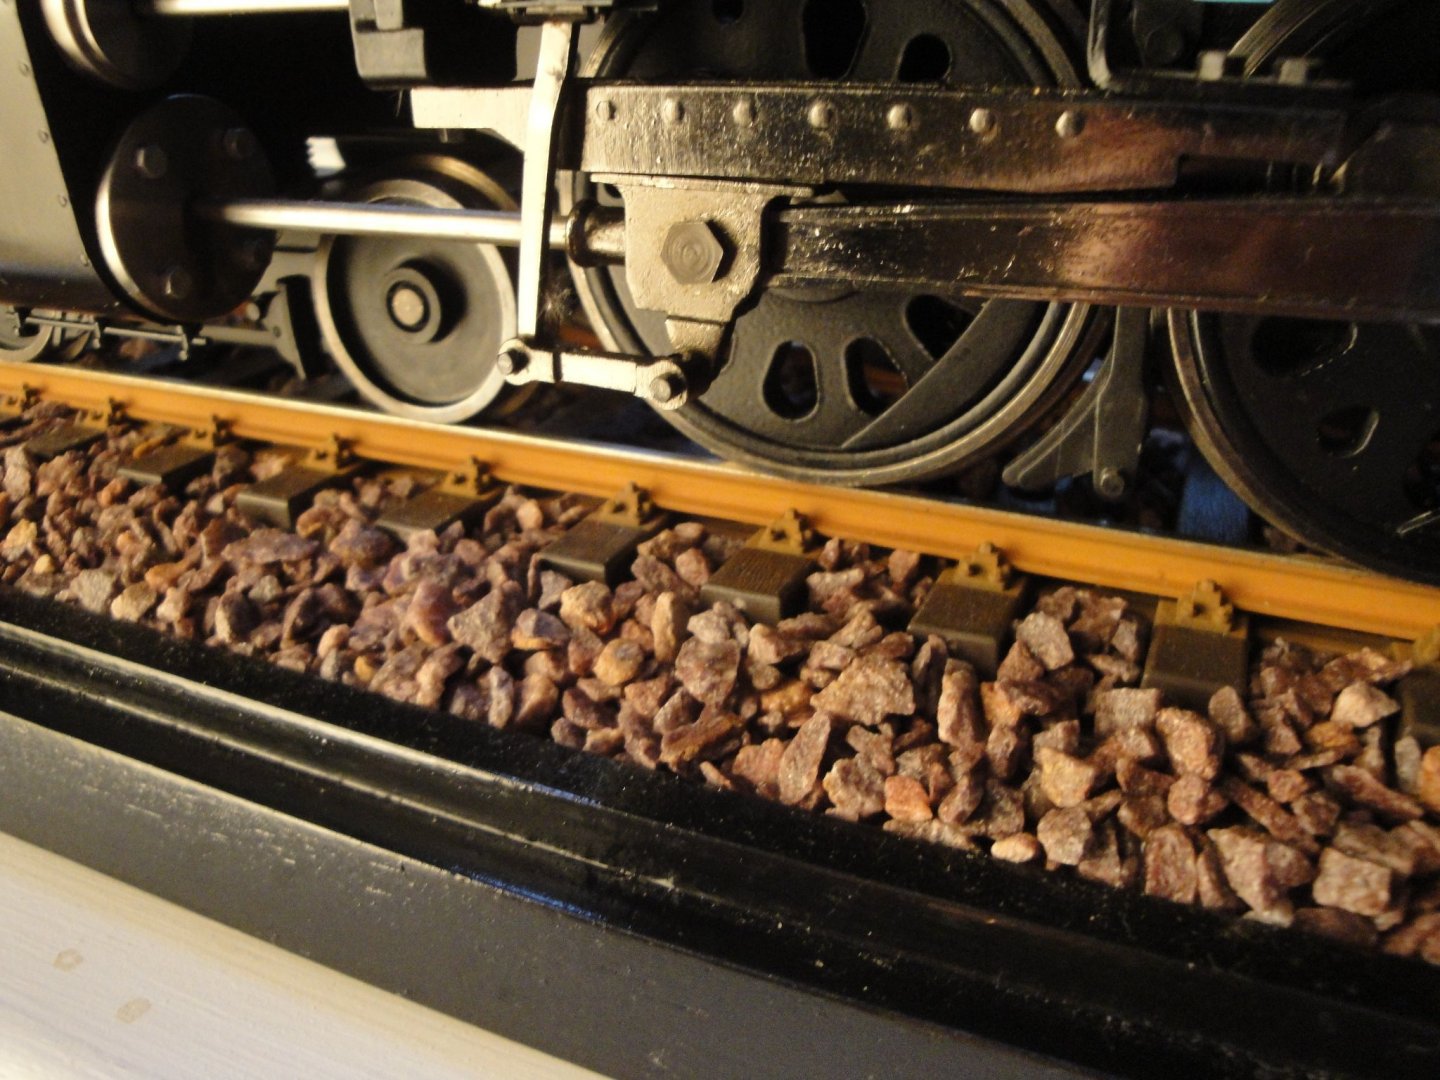
I know that you have spent some time working on the track, and I would like to suggest another solution, more realistic in my opinion. Since you live in Europe, you have easy access to Marklin 1:32nd scale tracks. I recently used multiple flexible pieces to build a display for my BigBoy: The track is raised on two pieces of wood to create the crown typical of railroad tracks. The plates are then painted in Rail Brown (Rusty) and the ballast is made of chicken grits #2, glued with diluted white glue. The gluing is the most delicate task since you do not want to put any glue on the sleepers or on the rail itself. The dilution is done with water and alcohol. Chicken grits is a small granite pebbles given to the hens so they can grind their food. You should be able to find that in any farm supplies store. Gluing is done with an eye dropper and a lot of patience. The Marklin track is very European and will in my humble opinion be more realistic than whatever Amati has provided in the kit. Yves
-
Another great kit to follow. I am in. Yves
-
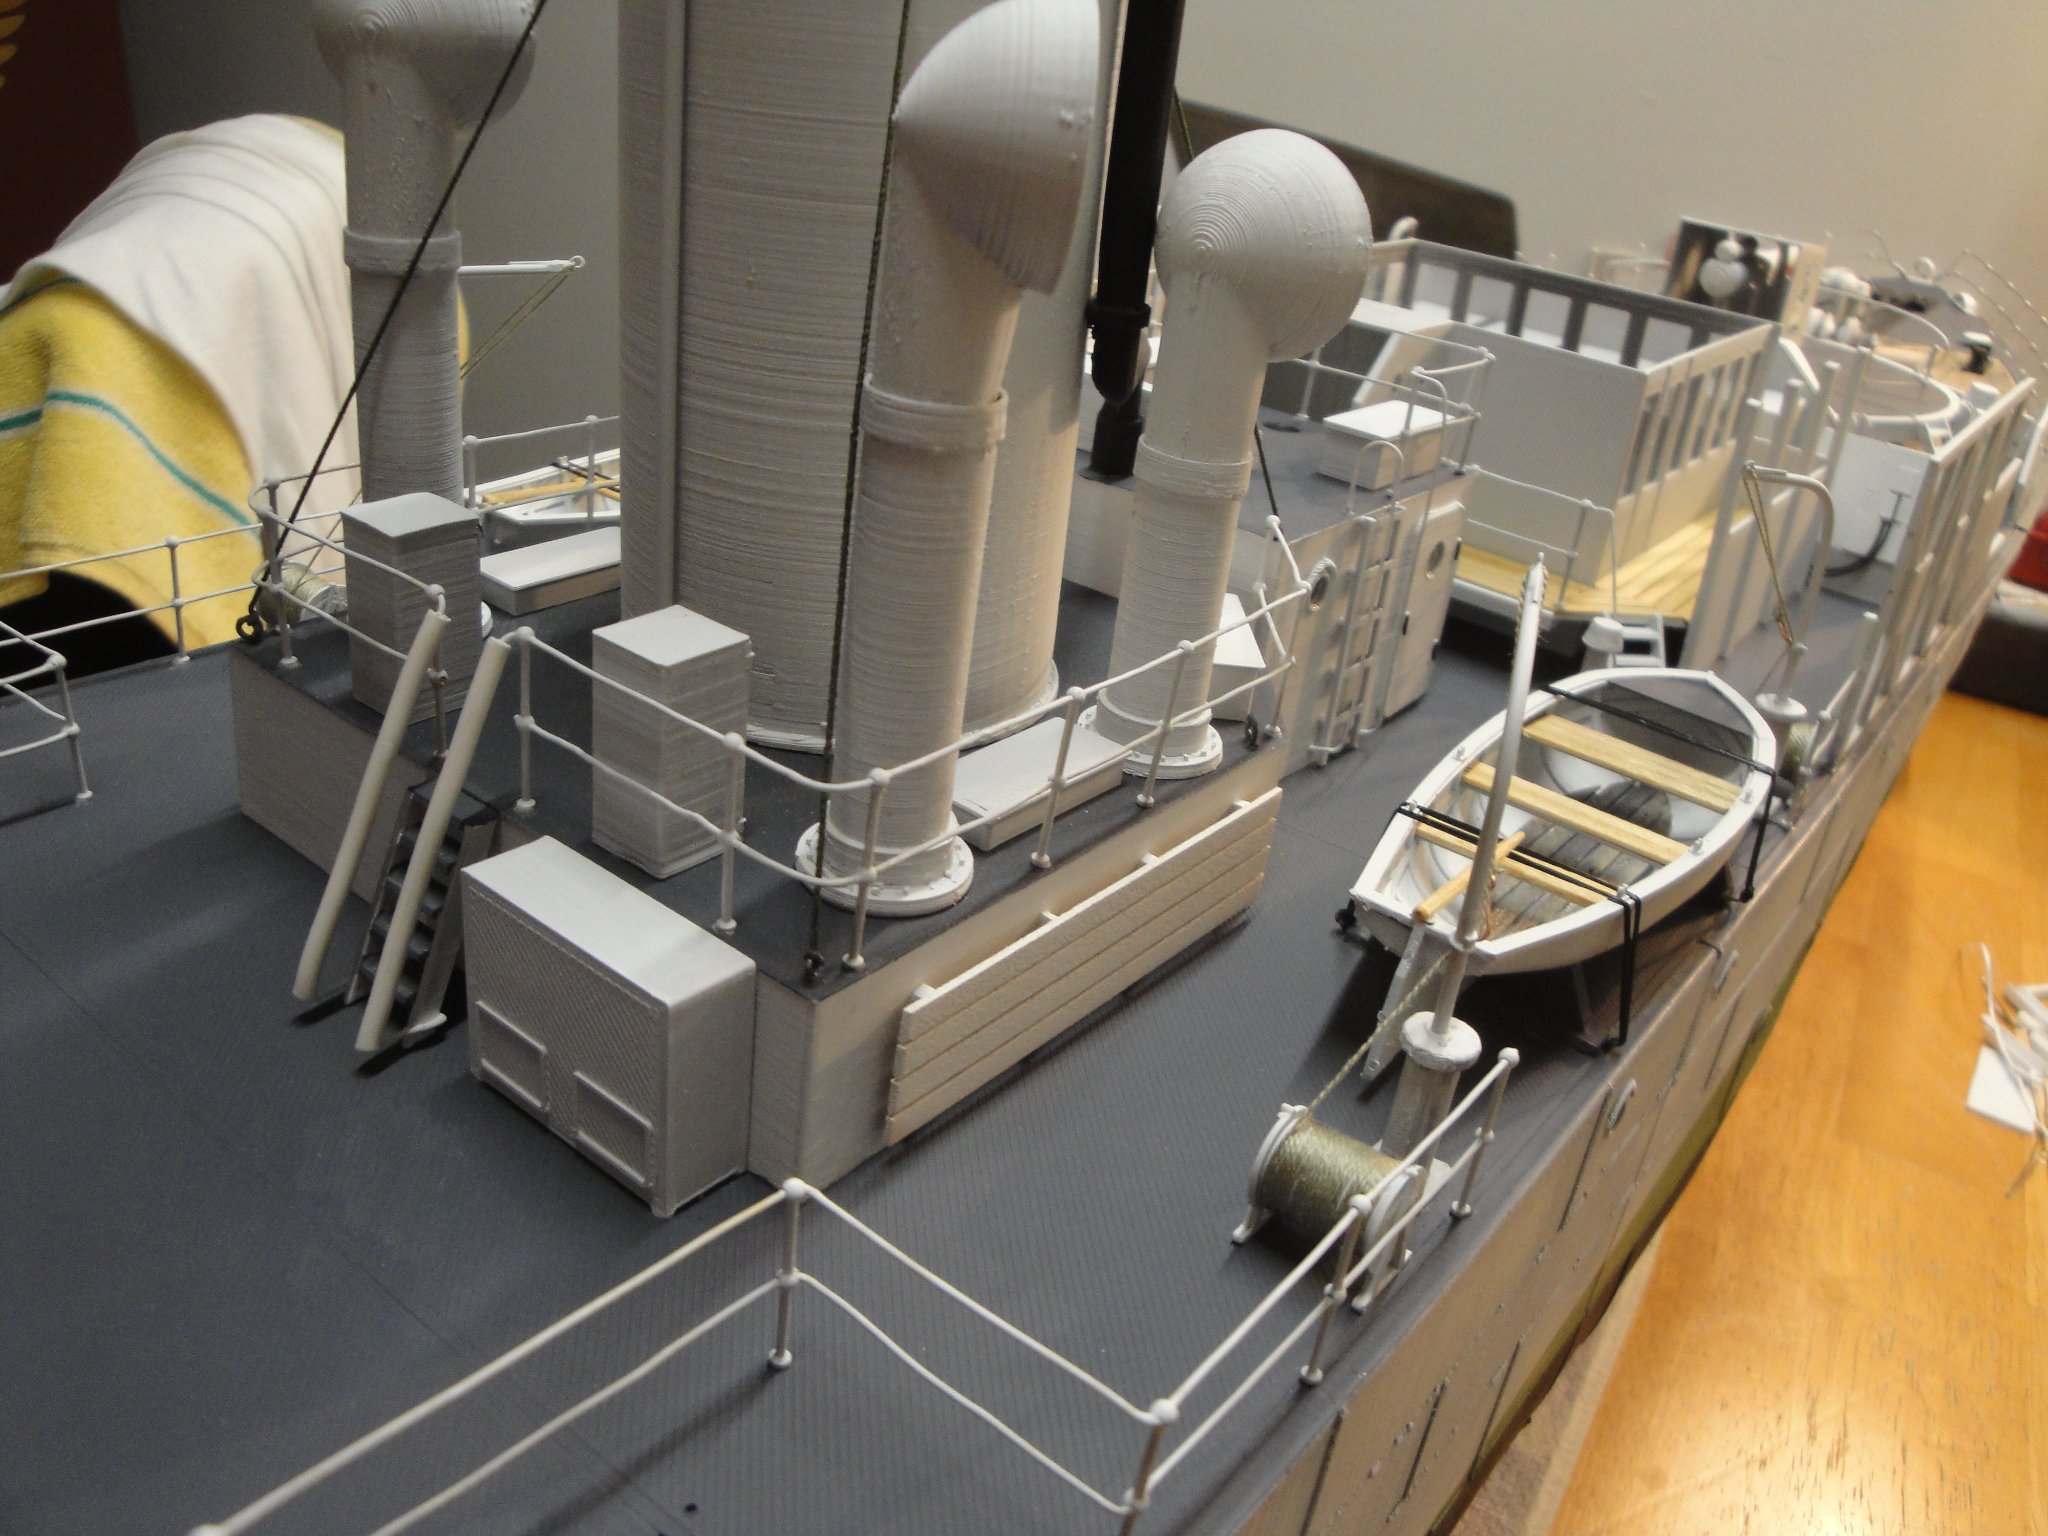
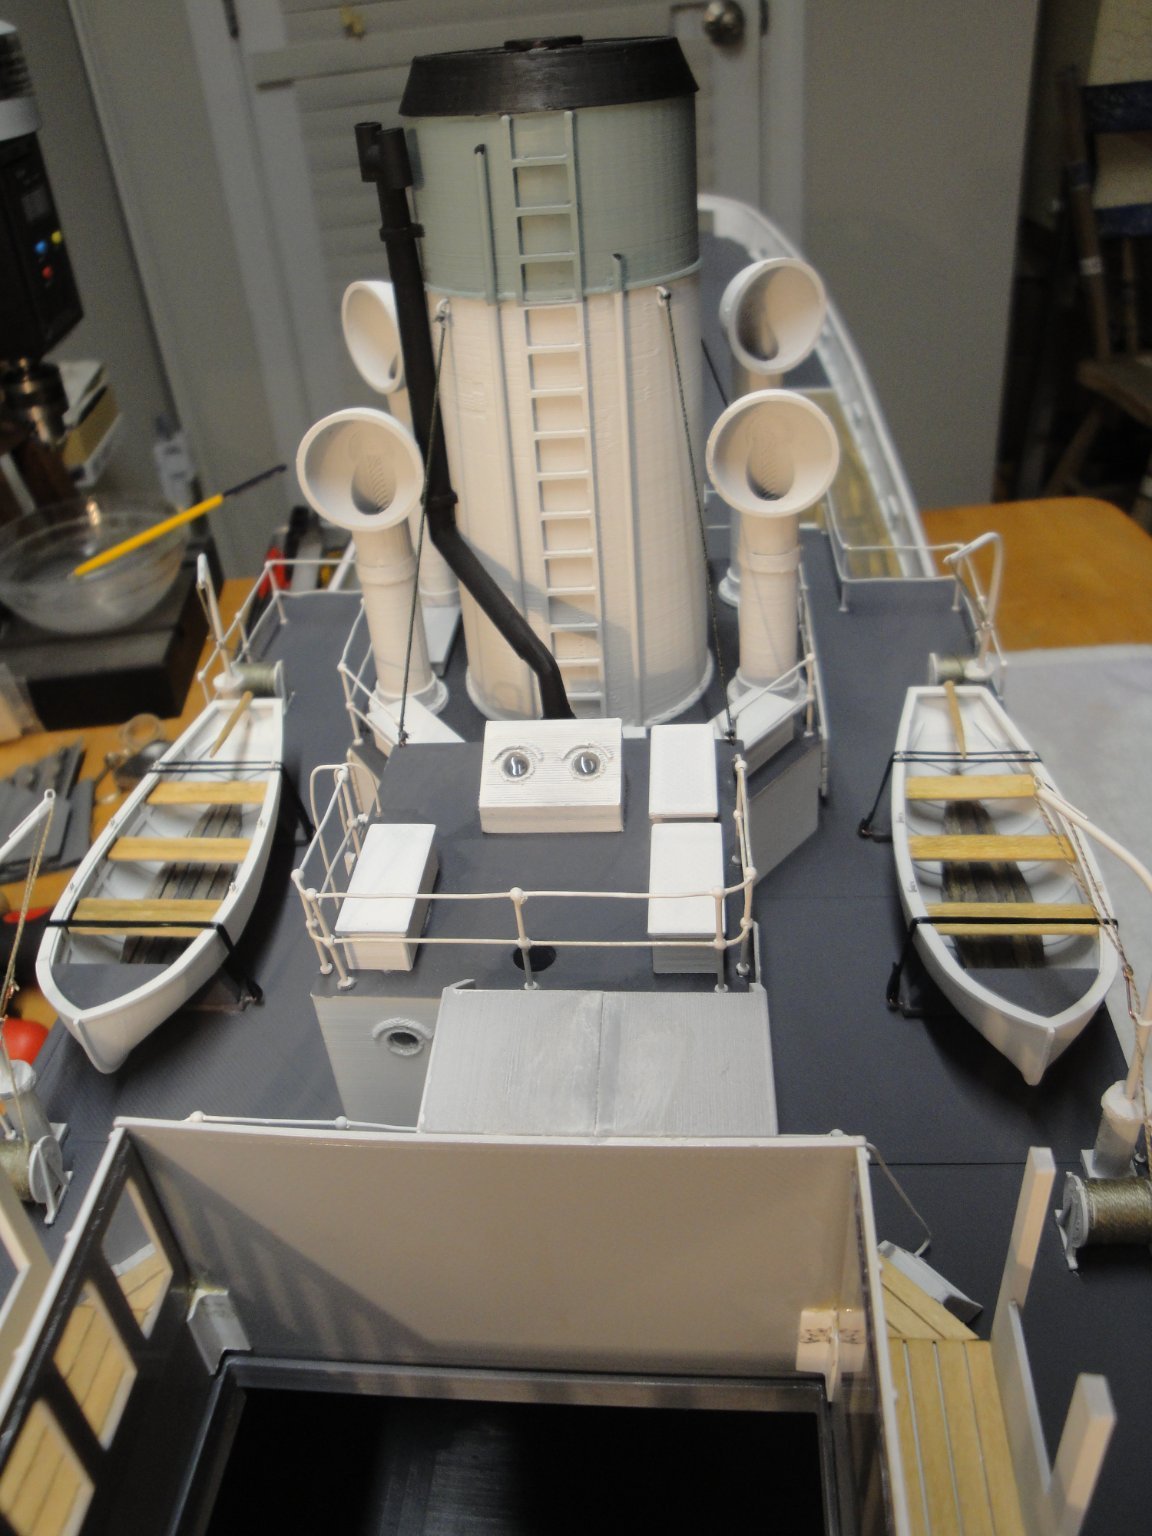
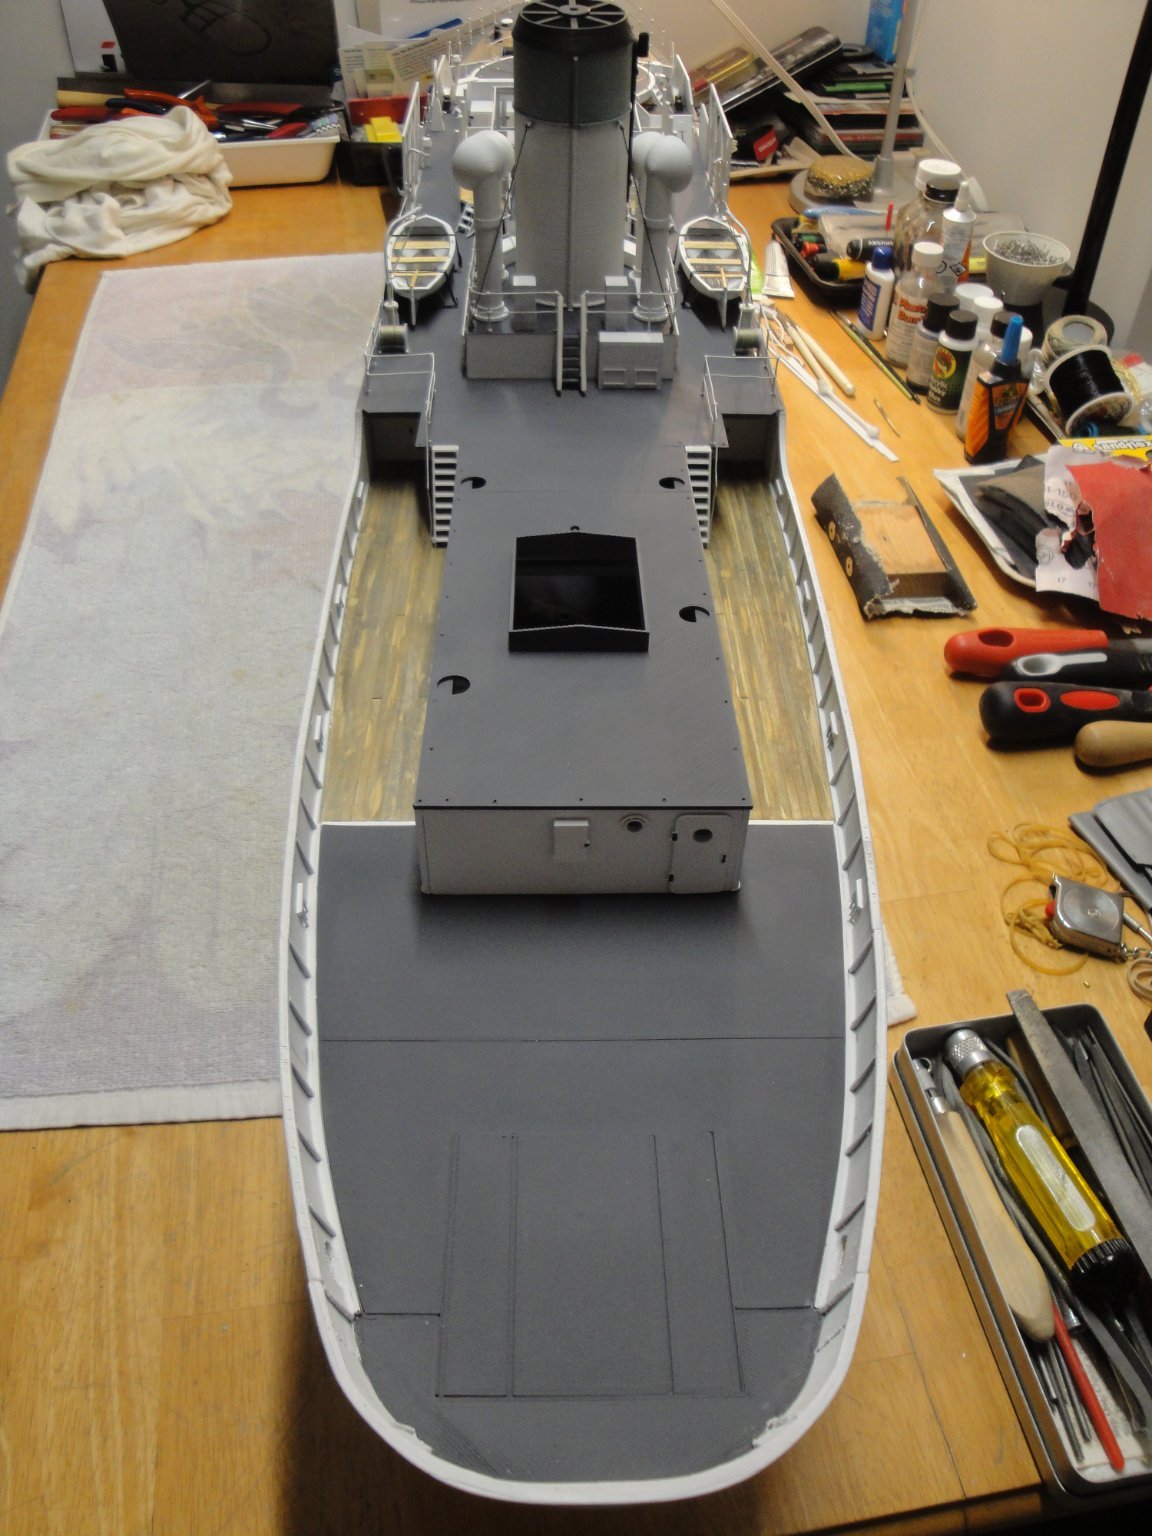
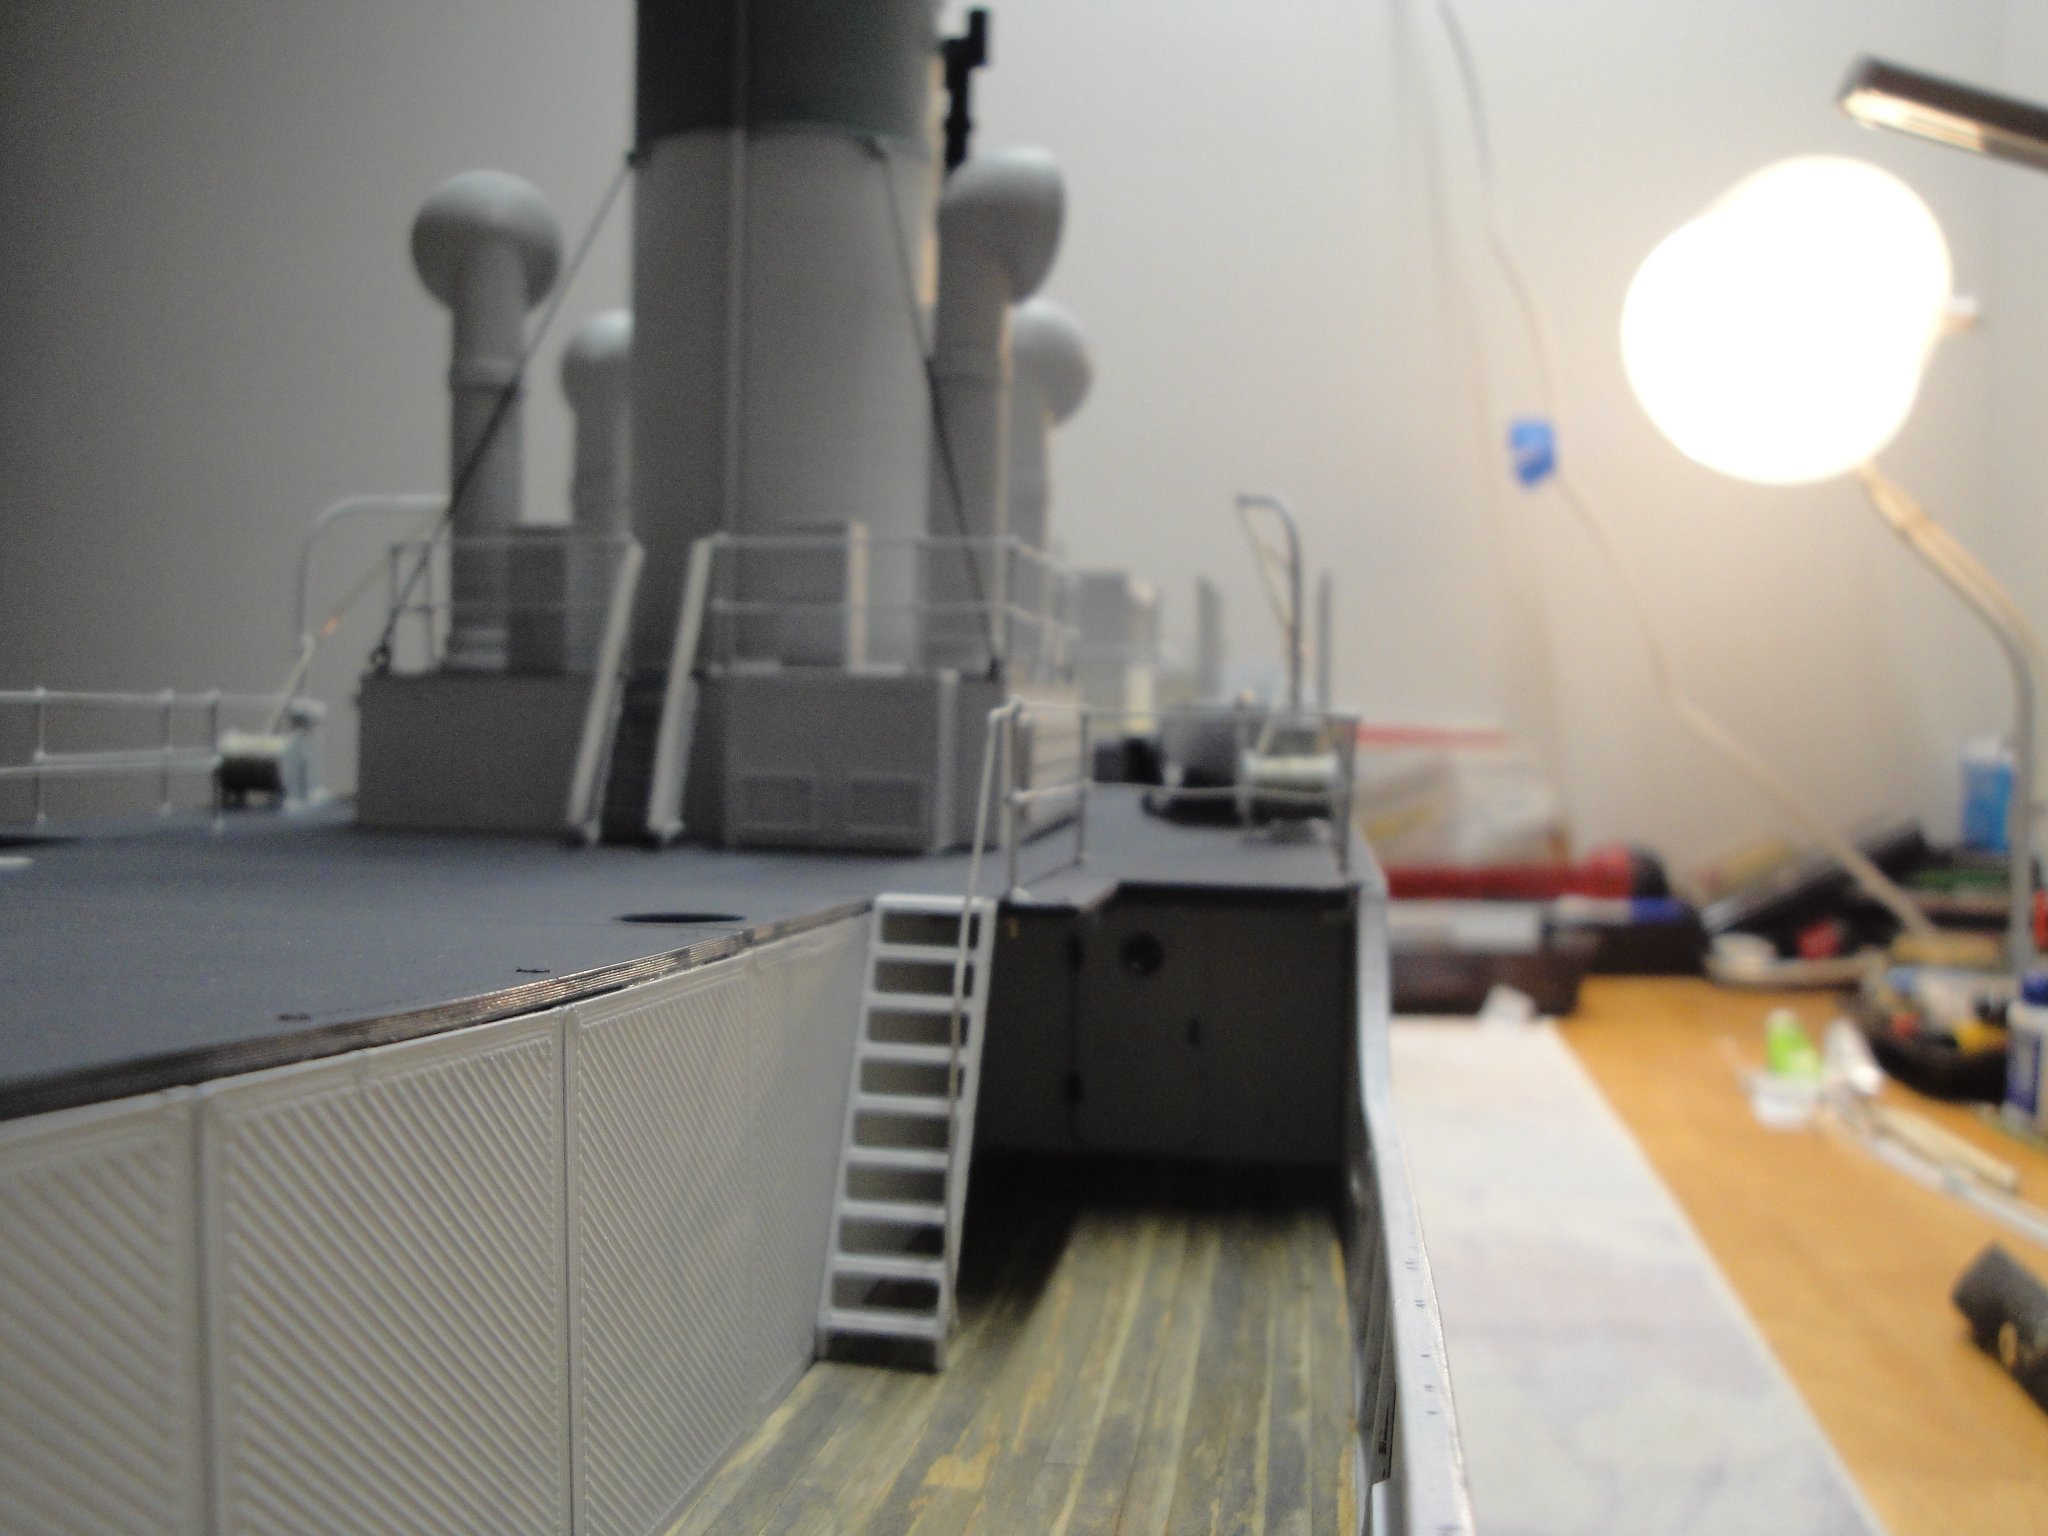
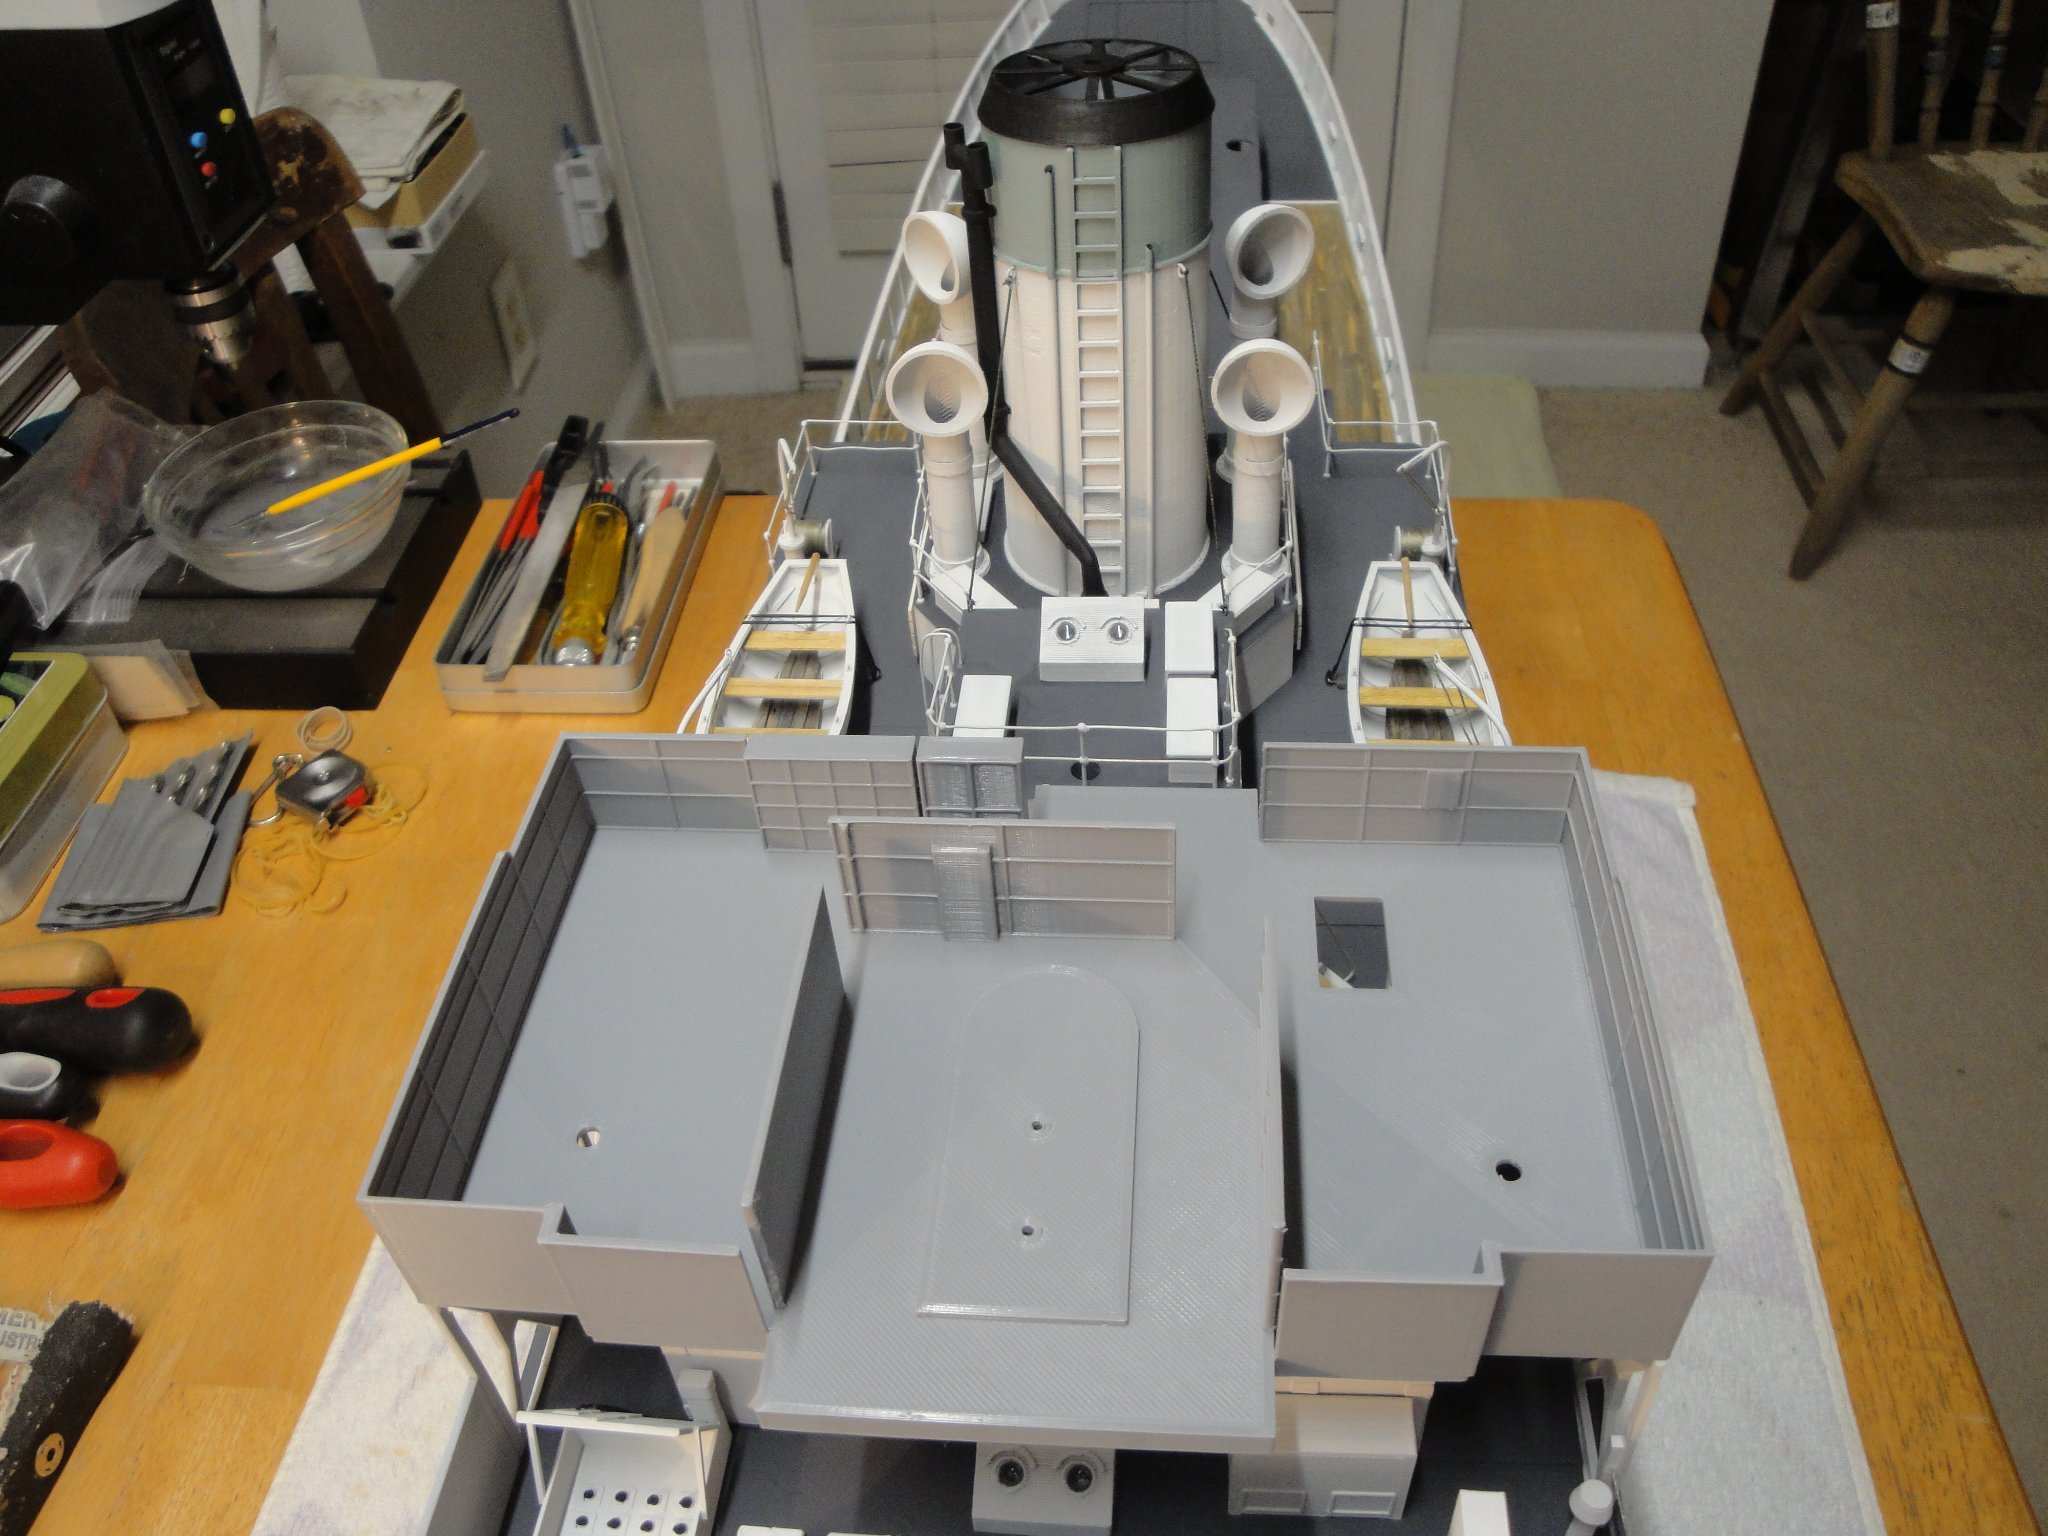
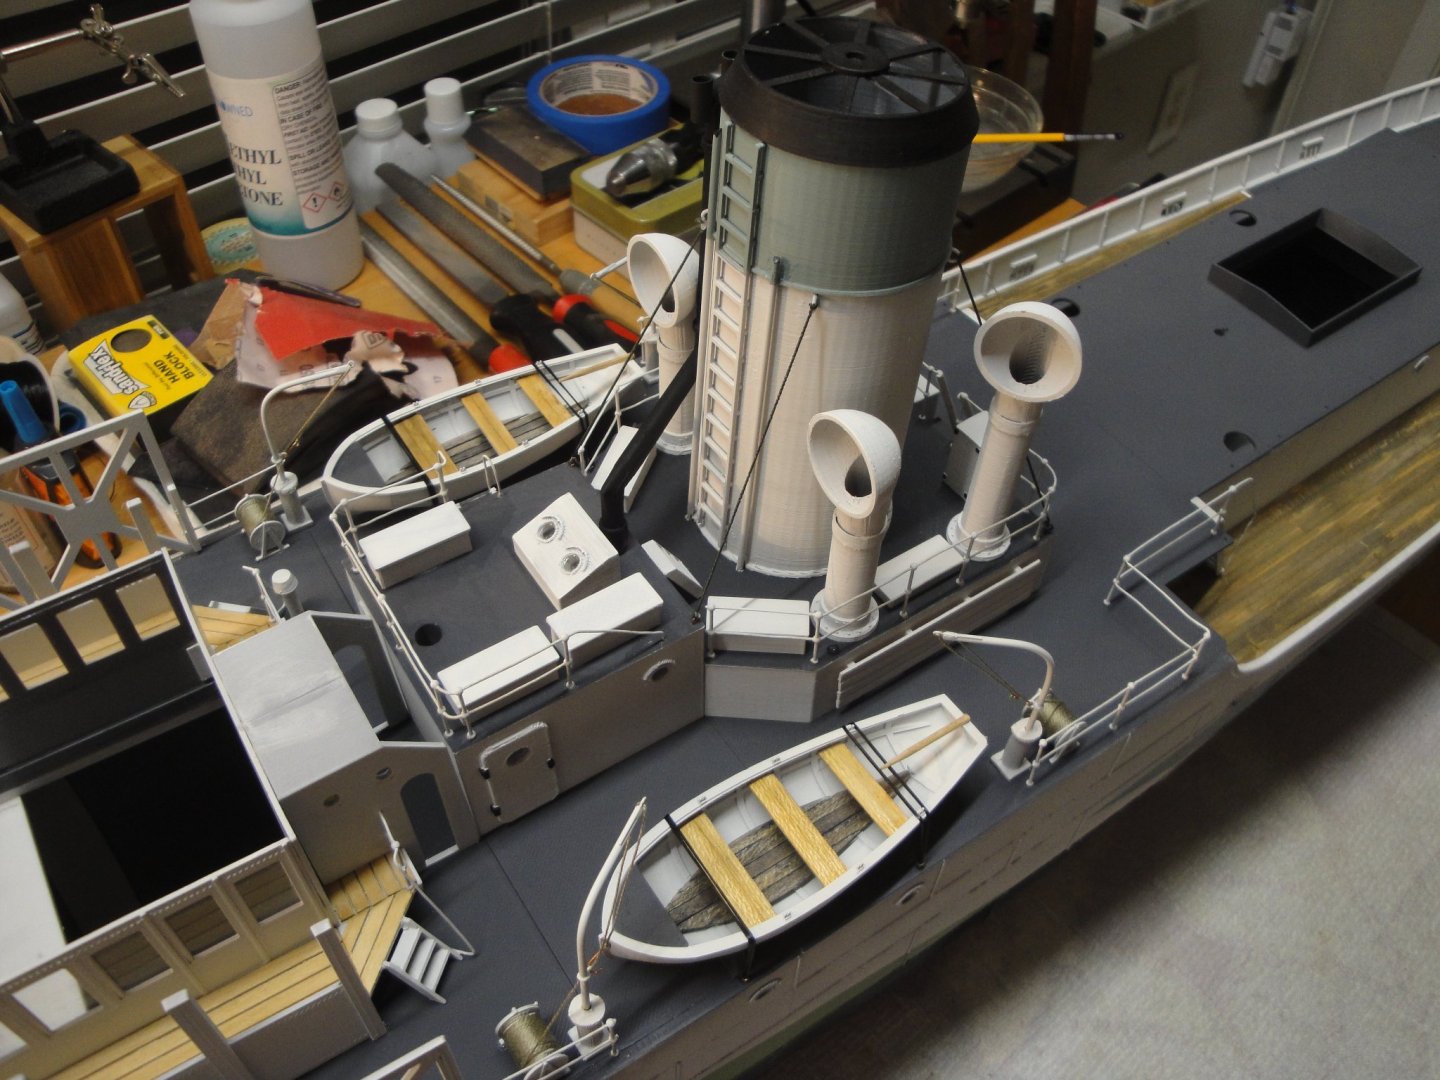
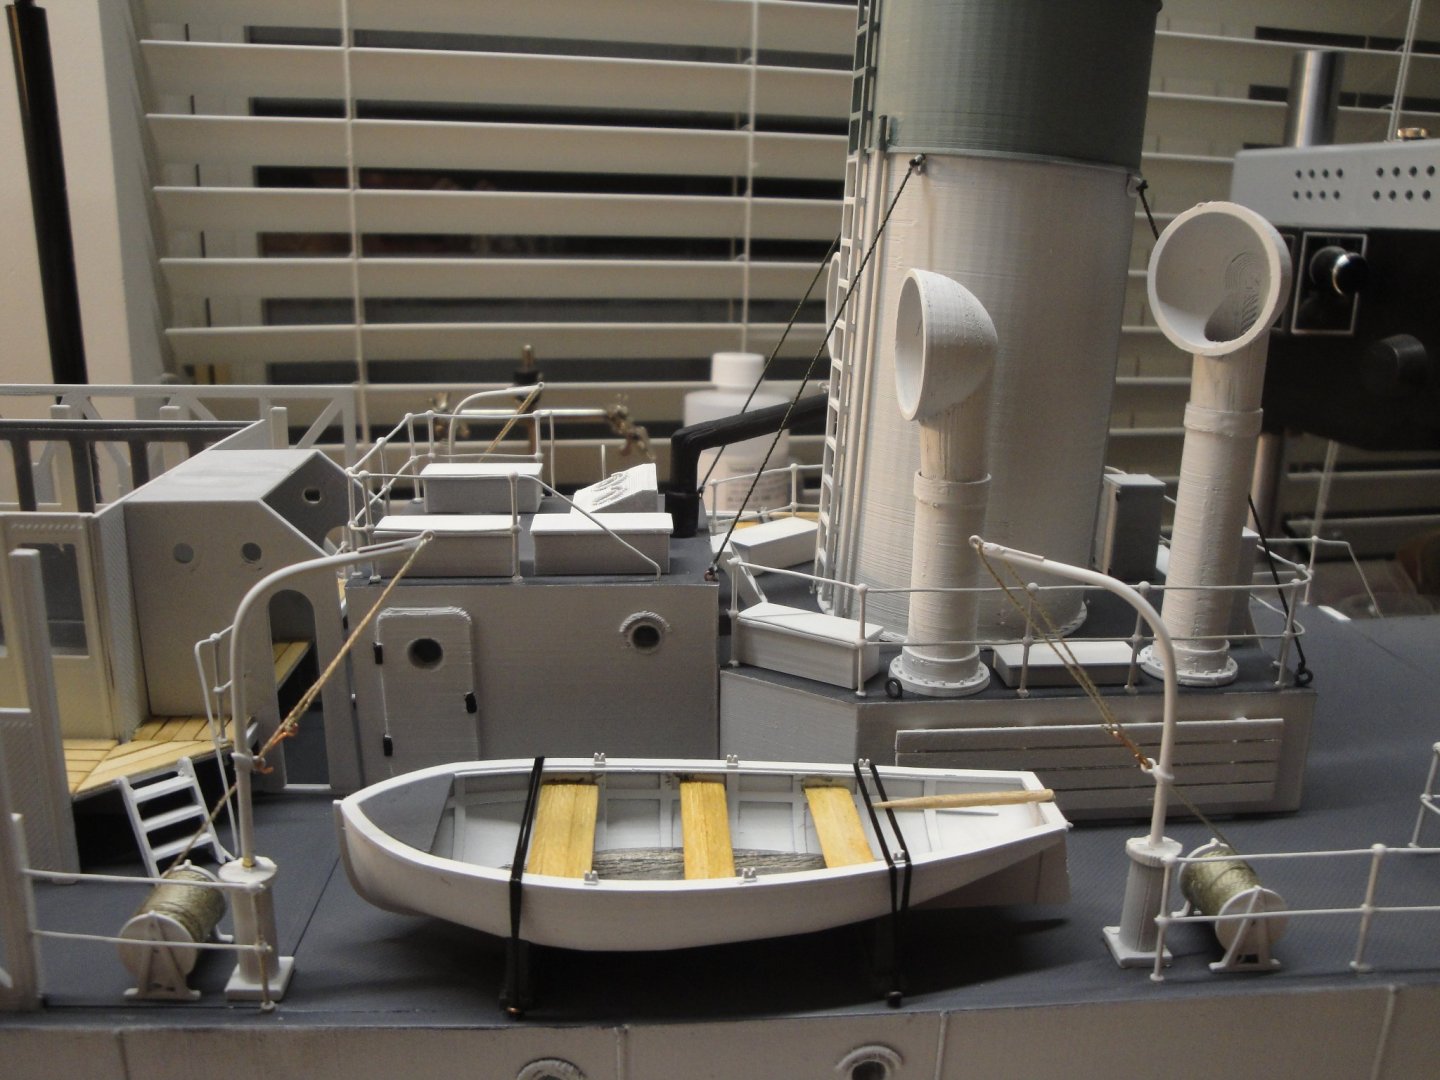
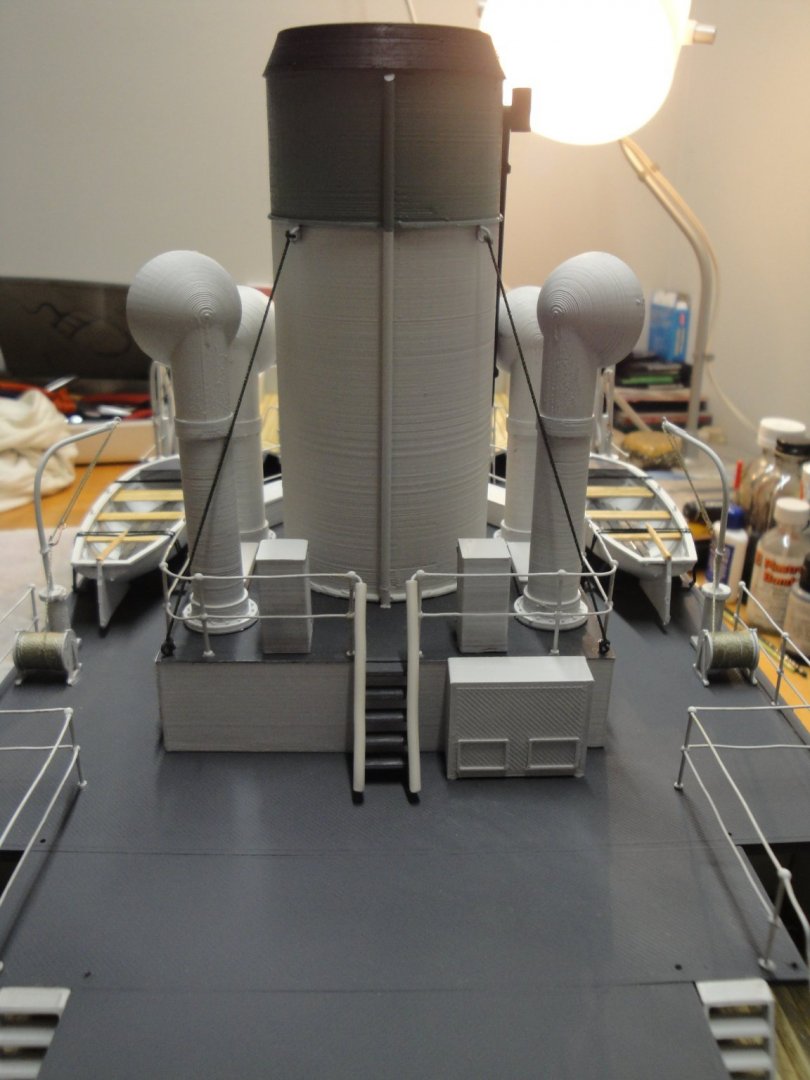
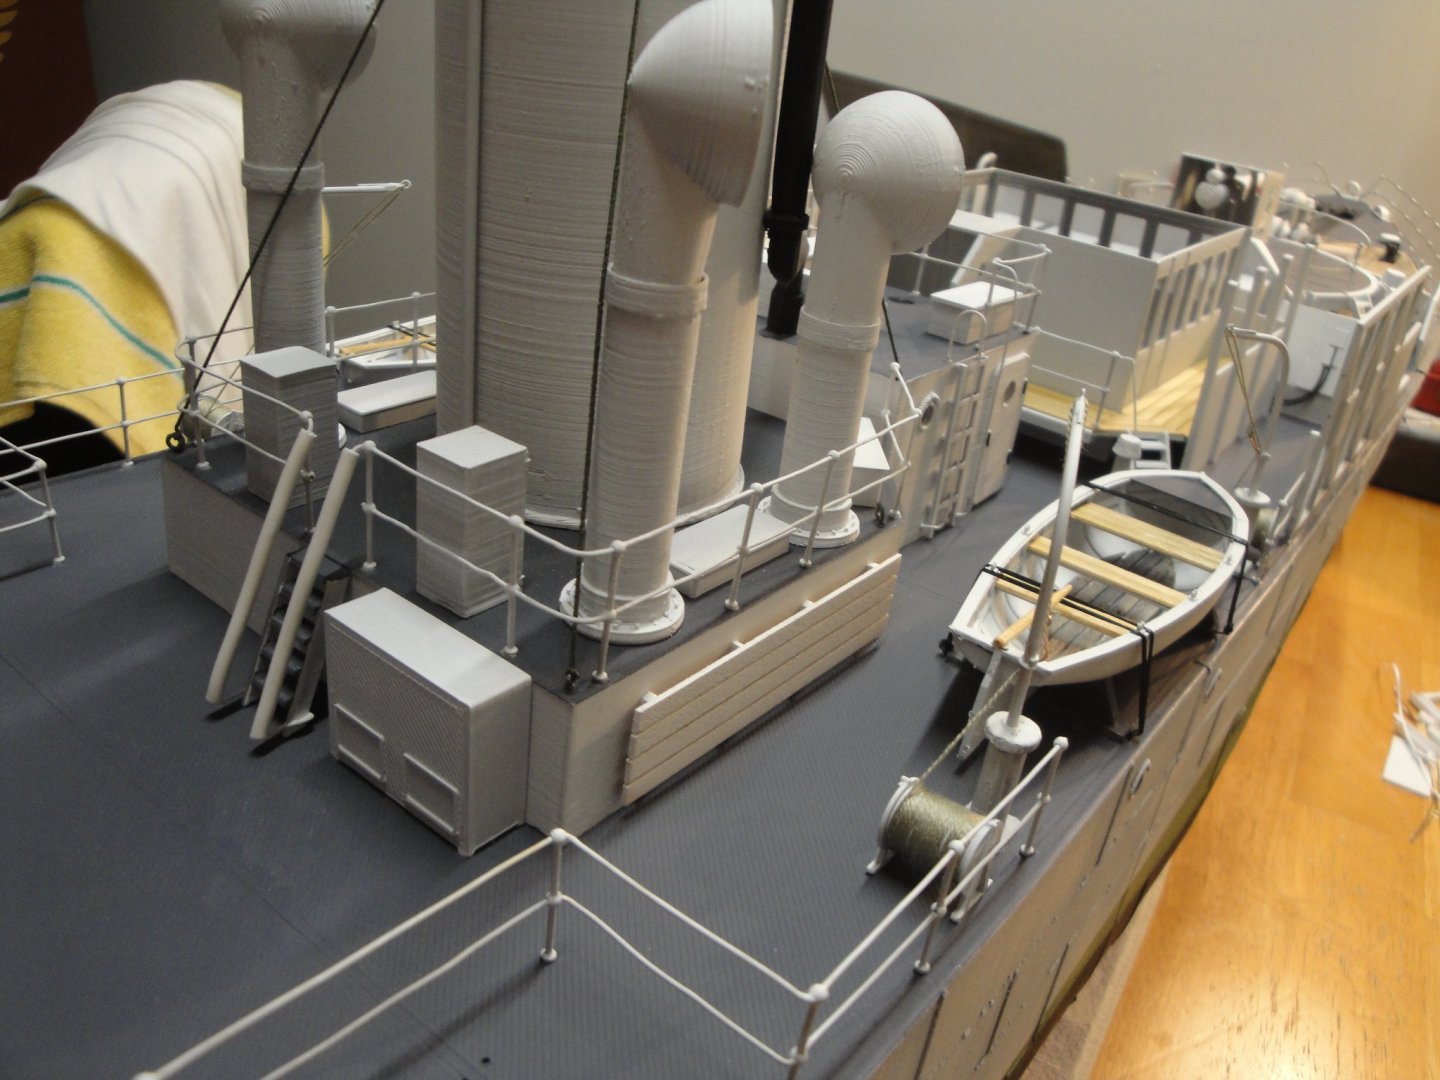
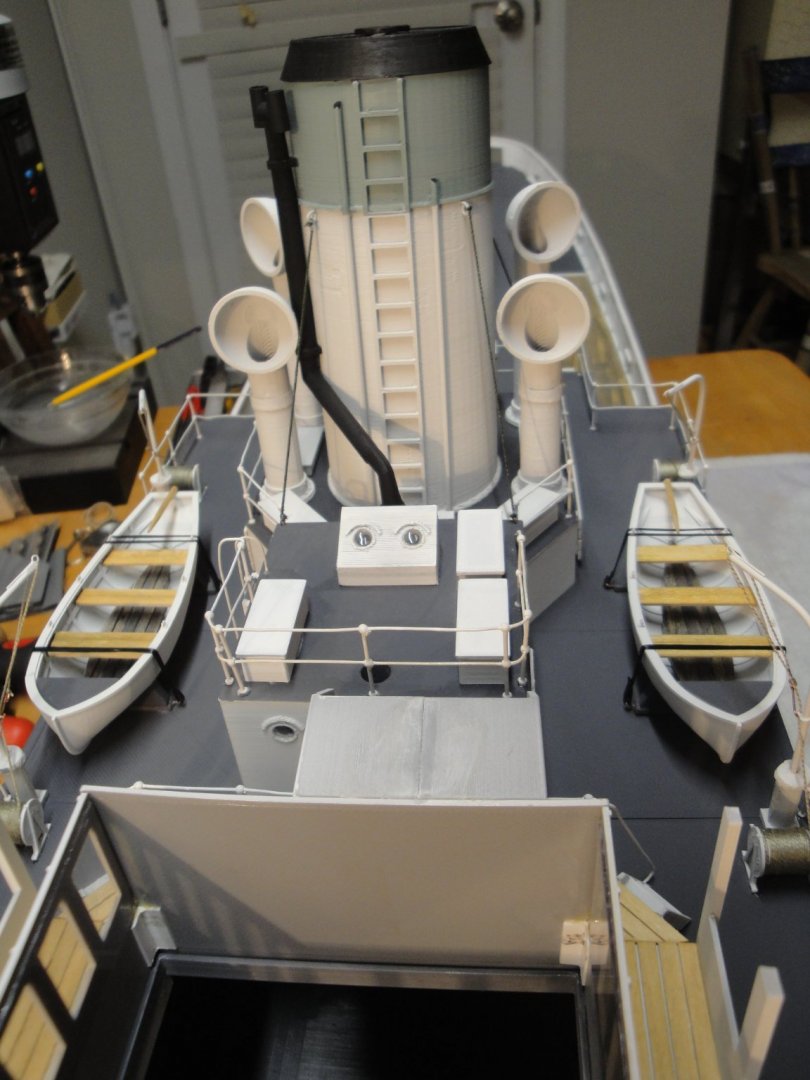
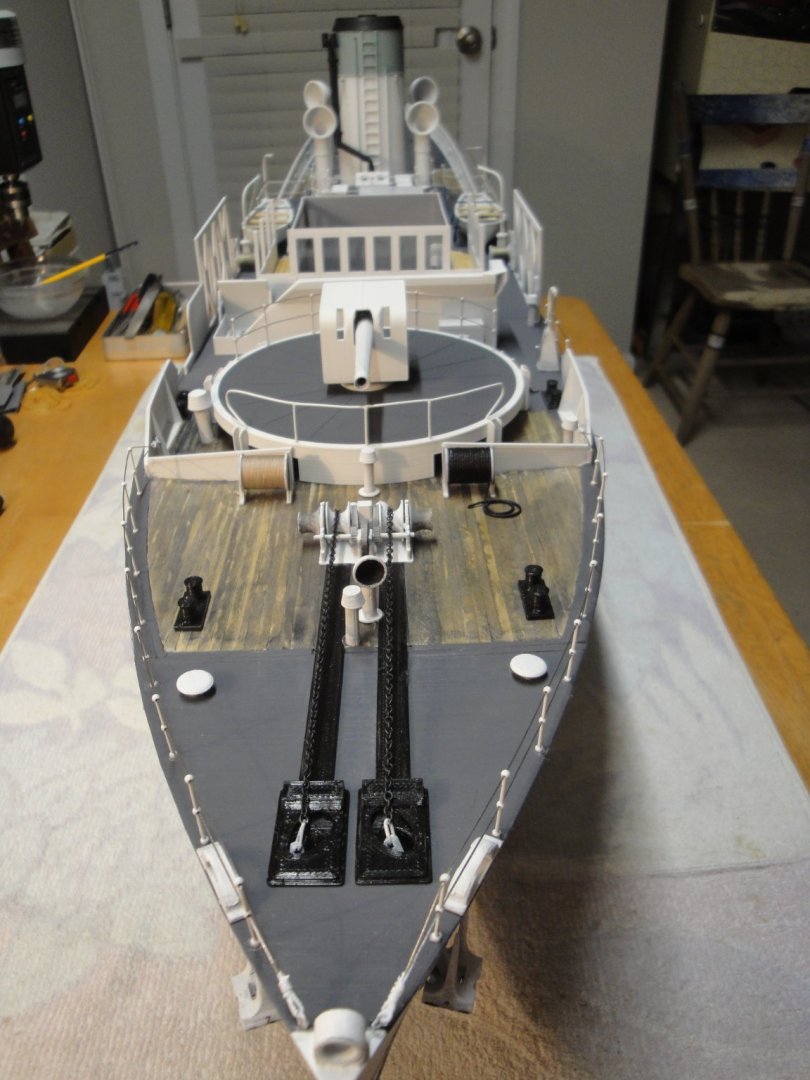
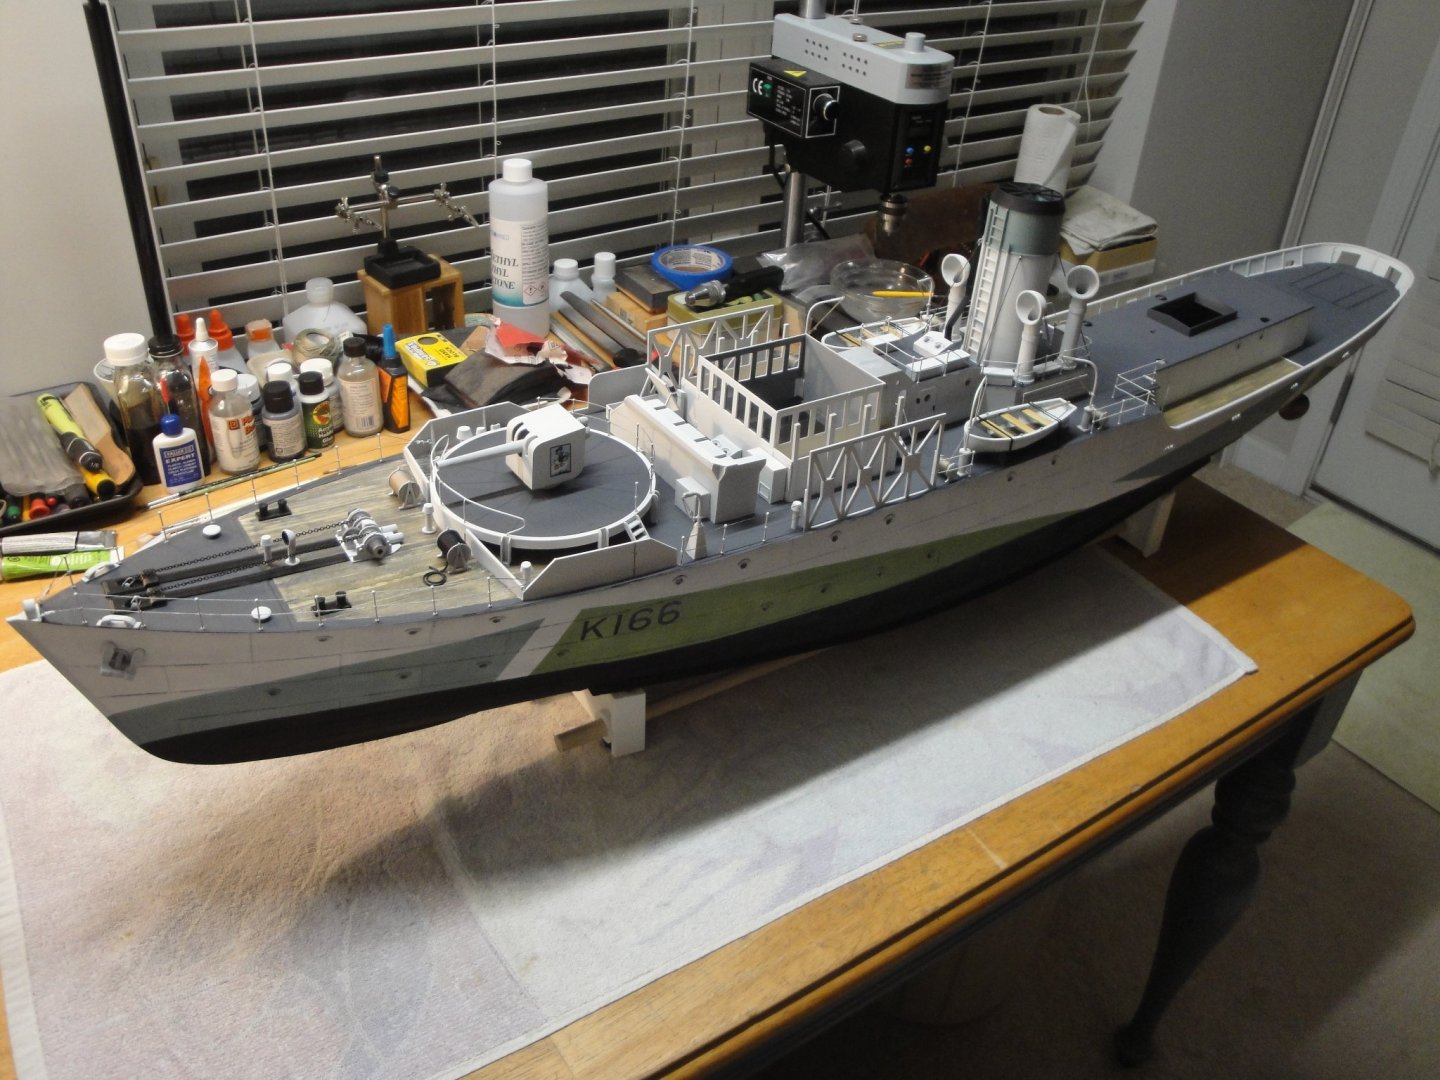
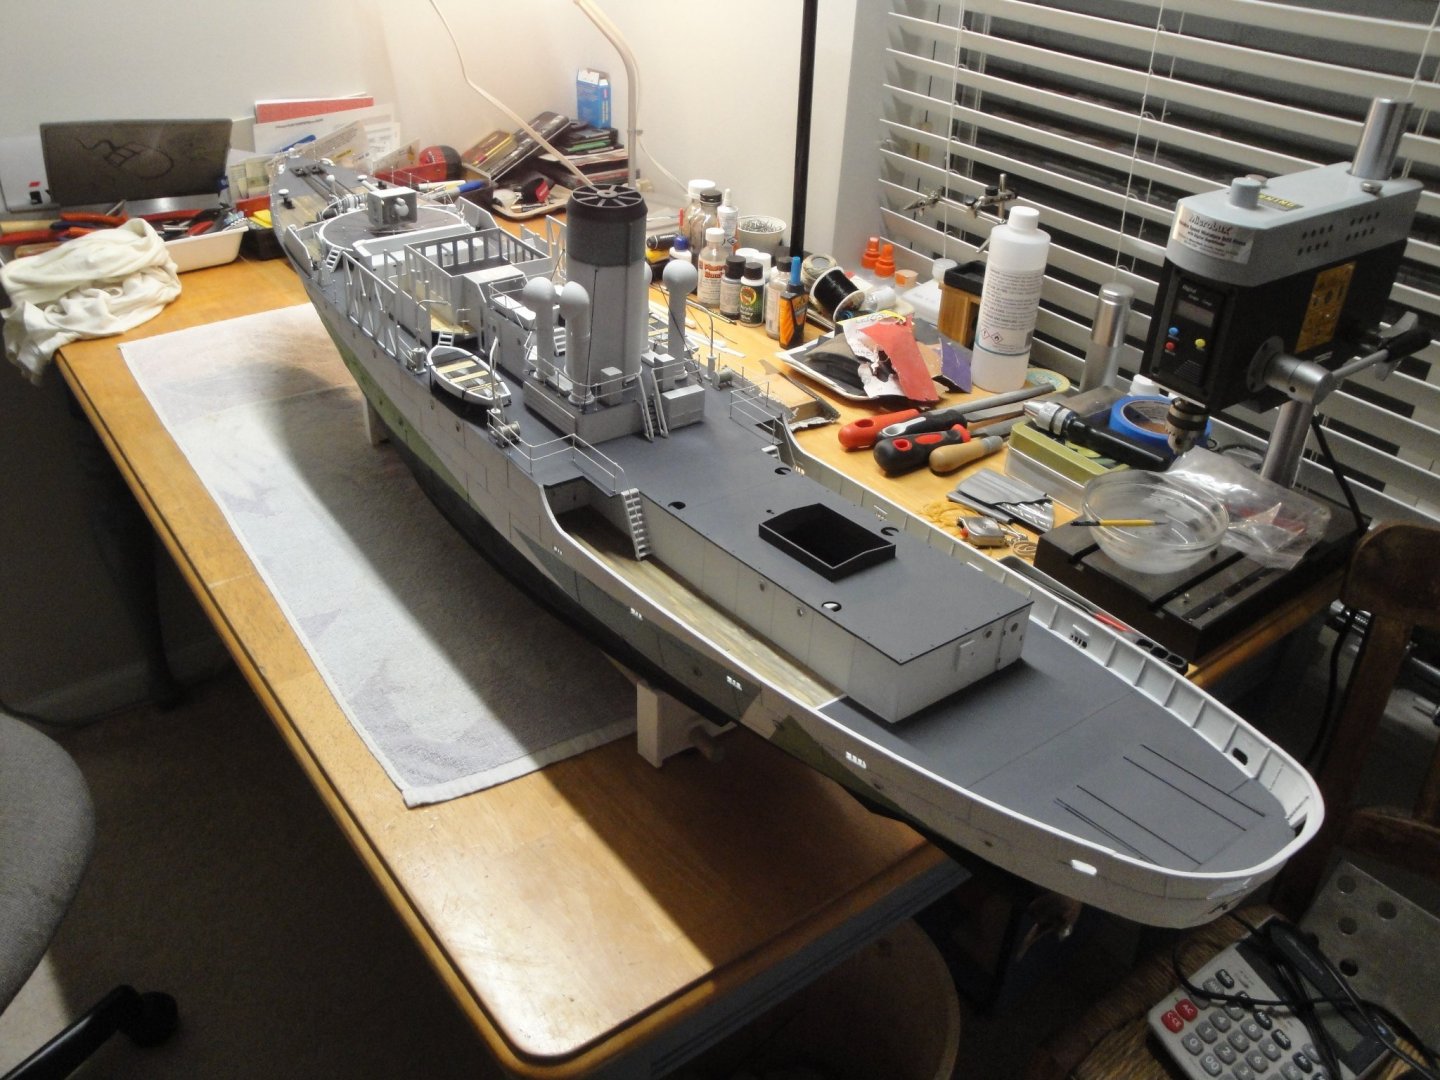
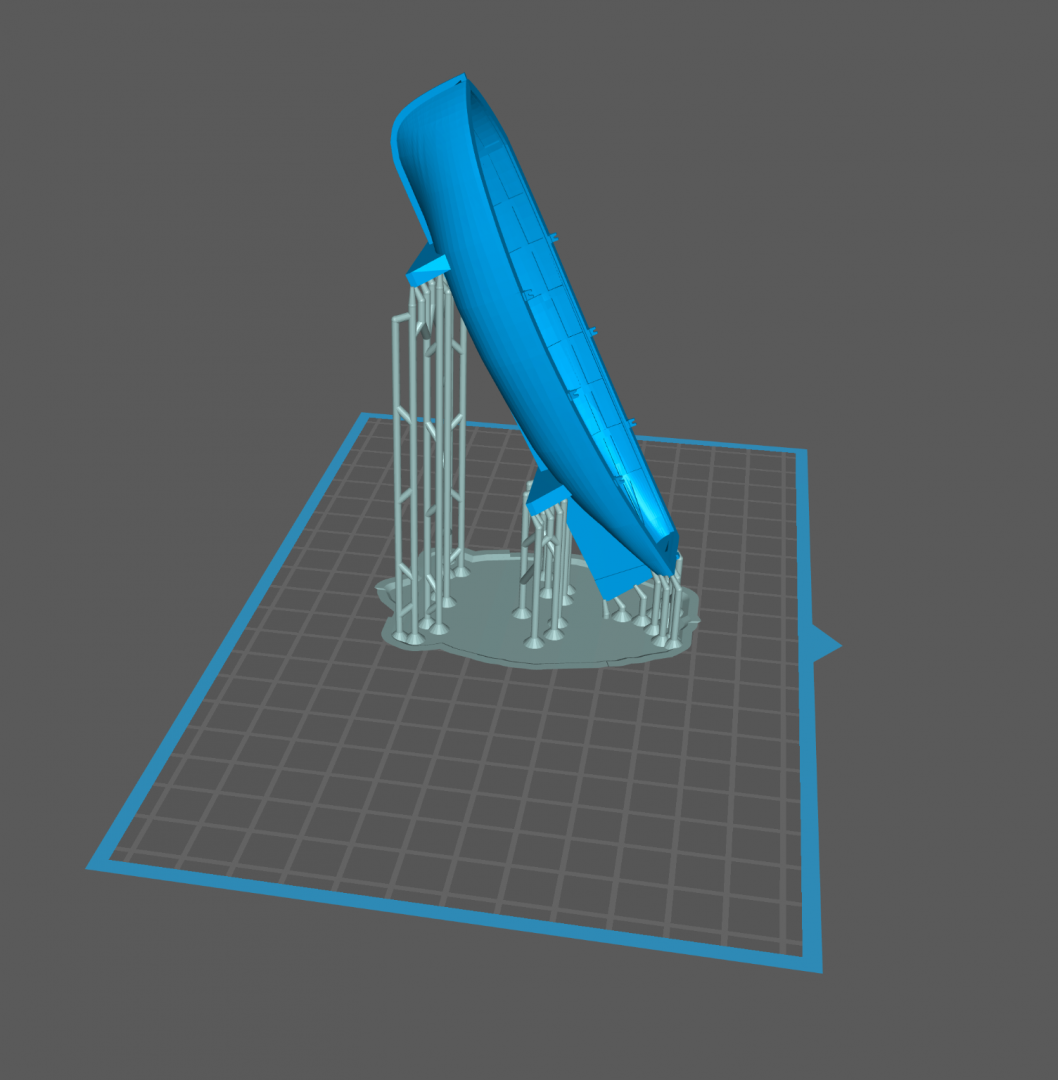
Completion of the Module #4: Galley and Smoke house + Dinghies: The dinghies were printed by a friend who is an expert with Resin 3D printers. I tried to print them with my PLA printer and the results were mediocre at best. With the resin printing, they came out really nice and smooth. Printing these dinghies required tilting the design, to allow for a smooth result as shown on the picture below: All the benches and floors are from the BENSWORX kit and have been covered with some 1/32 inch planking. The tillers are simply a tooth pick.... More pictures of the finished module: The davits again, gave a very poor result on the PLA 3D printer. I decided to just keep the bases, drill them and use a brass rod of 1.5 mm to build the upper part of the davits. They look a hundred times better.... The rope drums are the drums from the kit, but simply reduced at 75% during the printing process. These smaller units are more in line with the davits. The dinghies are still missing the oars, being painted.... Notice on the above picture the two ladders (can we call these stairs?) going from the forecastle deck to the lower deck. Ladders are from the kit but the piece of upper deck was described in a previous post and is not part of the kit. Trying to get as much resemblance to Snowberry as possible... A couple of overall views of the beast: With the deck in place, it is now really looking like a Corvette: Next will be Module #5, the engine room. The next module is a significant amount of work due to the numerous parts going on top of the engine room. I will be describing it in a little while. Yves


- 321 replies
-
- 19
-
-
- Finished
- Flower-class
- (and 1 more)
-
Fantastic. Yves
-
Great topic and beautiful kit. I hope you will give us a complete assembly review and not stop like James H did, with the kit that Amati sent him for review. I collect trains at the scale of 1/48 and 1/32nd and thus have a special interest for that Build. In addition, this kit depicts what used to be the most luxurious and romantic train in Europe. The Orient Express no longer runs between Paris and Istambul, Turkey unfortunately. I met an old colleague from IBM in the late 80's who used to be a sales representative for IBM. He and his wife as well as the entire French Sales team were taken by the Sales department of IBM for a trip between Paris and Venice in the Orient Express. The entire train was rented by IBM. He told me that nothing in his life had been more luxurious and lavish than this trip. Yves
- 293 replies
-
- 10
-
-

-
Very clean and sharp. Yves
-
Beautifully done. I love the details. Yves
-
Trumpeter just announced the Scharnhorst in 1/700 scale. Yves
- 174 replies
-
- 9
-
-
- prinz eugen
- trumpeter
- (and 2 more)
-
I am amazed by the complexity of the rigging of these tall and training ships..... You are doing a fantastic job on this one, Kevin. Yves
- 273 replies
-
- 2
-
-
- panart
- amerigo vespucci
- (and 1 more)
-
Derek, You have no rights to paint that hull !!! 🙂 It is magnificent and should remain oiled and displayed as such. Yves
- 345 replies
-
- 3
-
-
- Duchess Of Kingston
- Vanguard Models
- (and 1 more)
-
That is amazing work, Greg. What a beauty. It would deserve a diorama, but then the shape of the hull would disappear under the water. Just amazing !!!! Yves
-
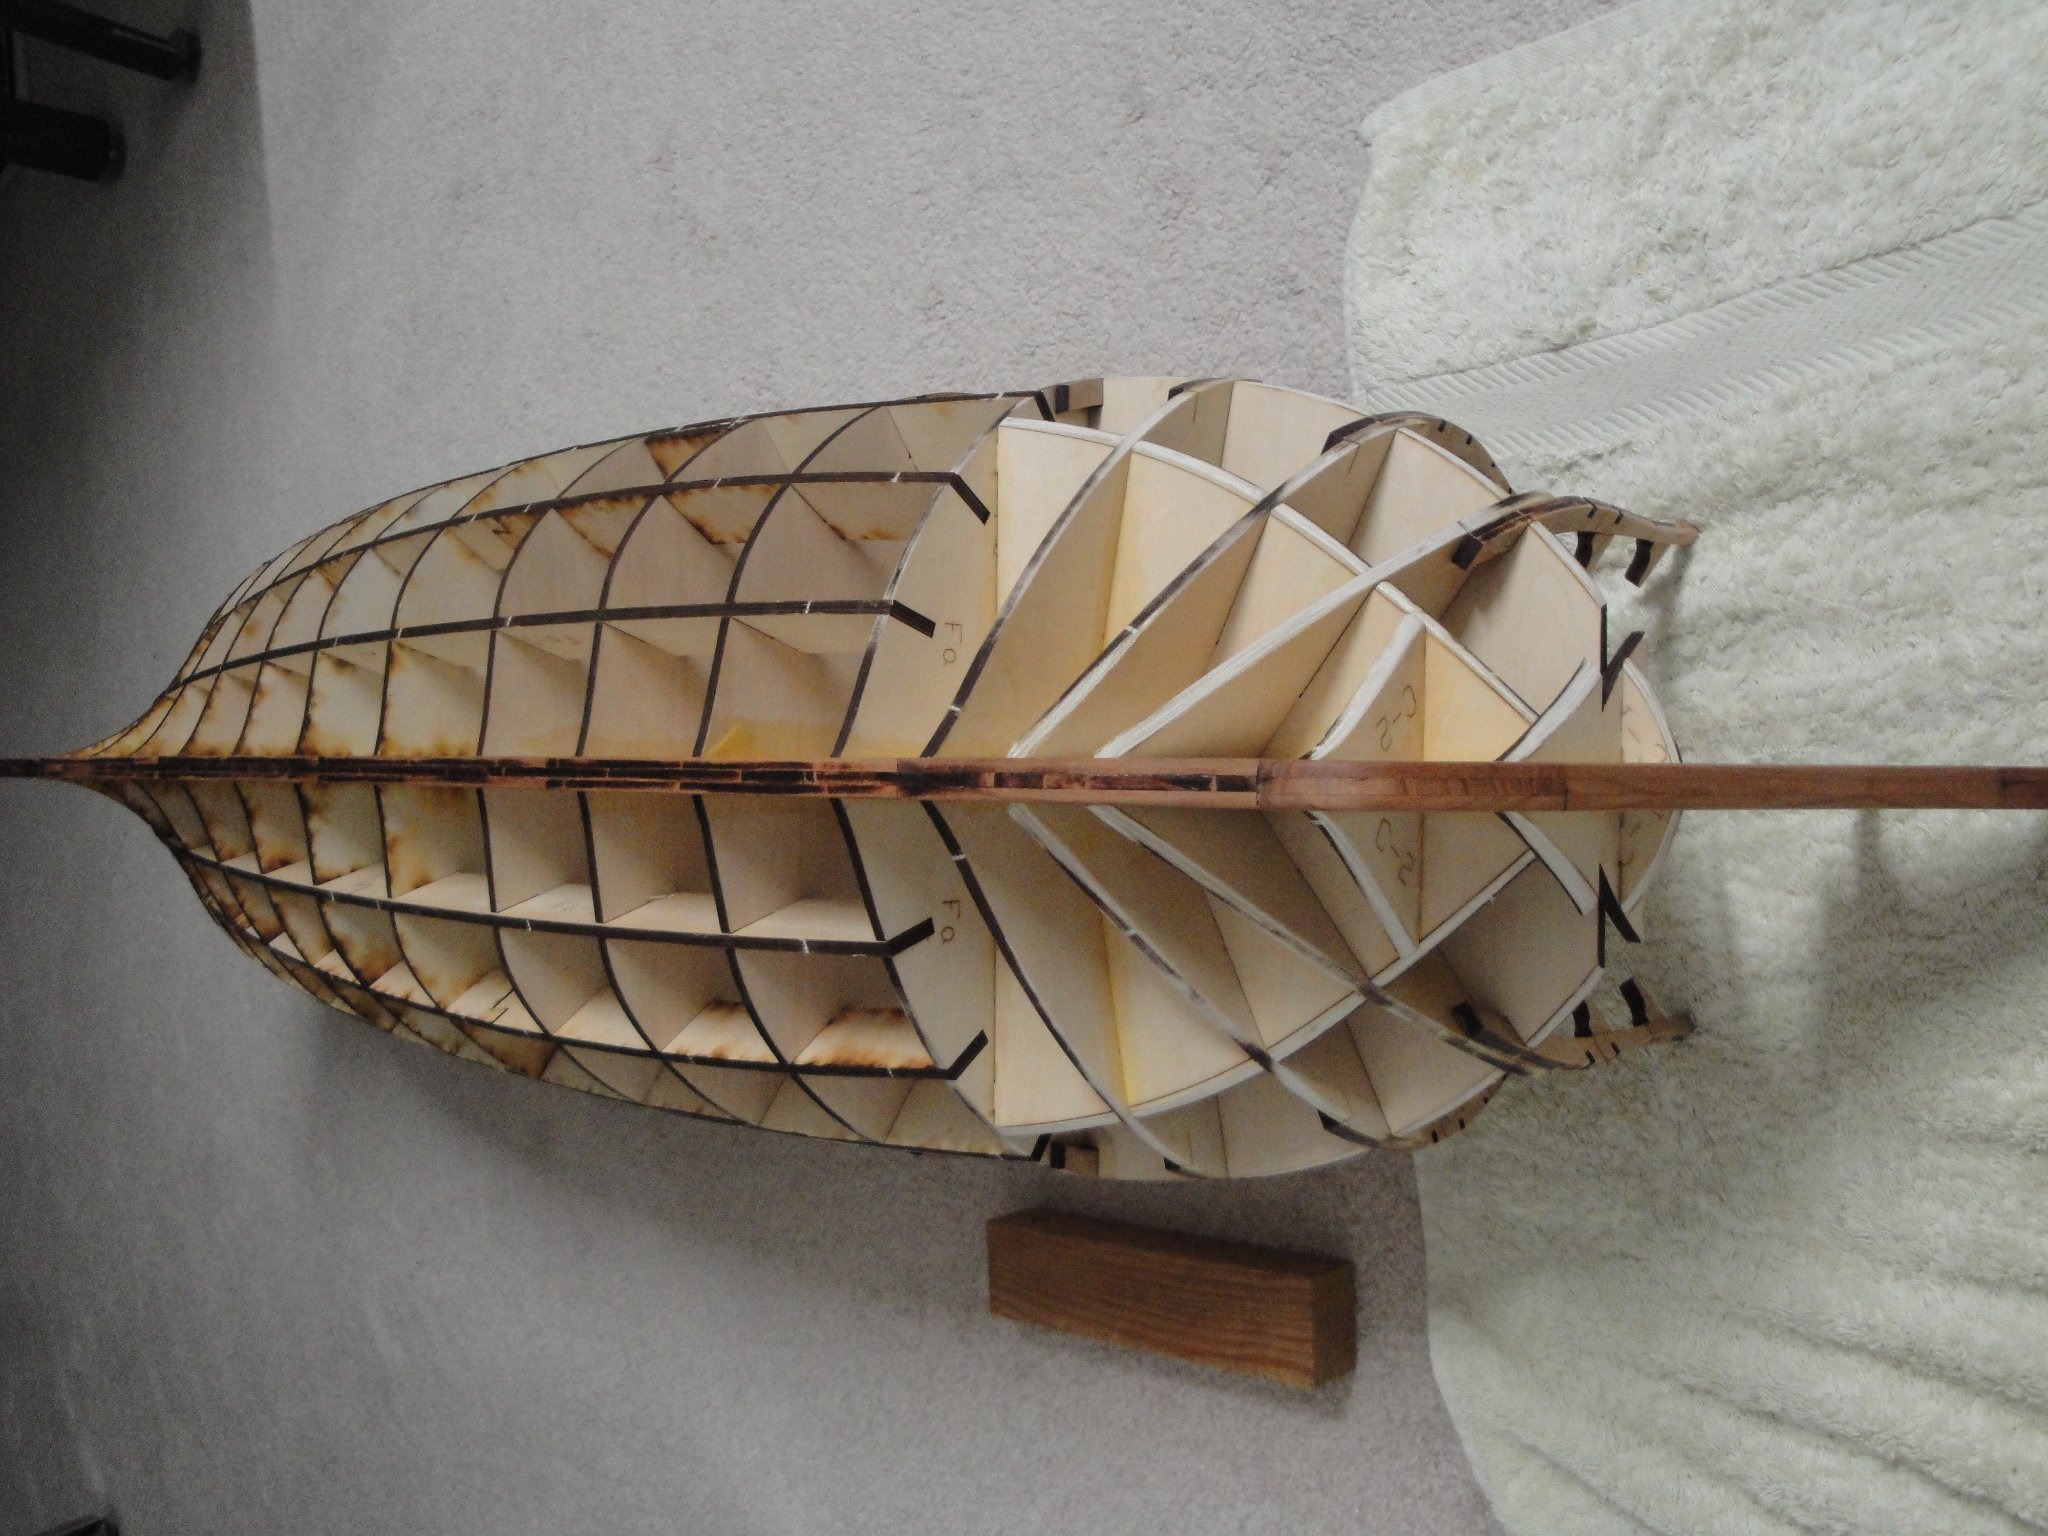
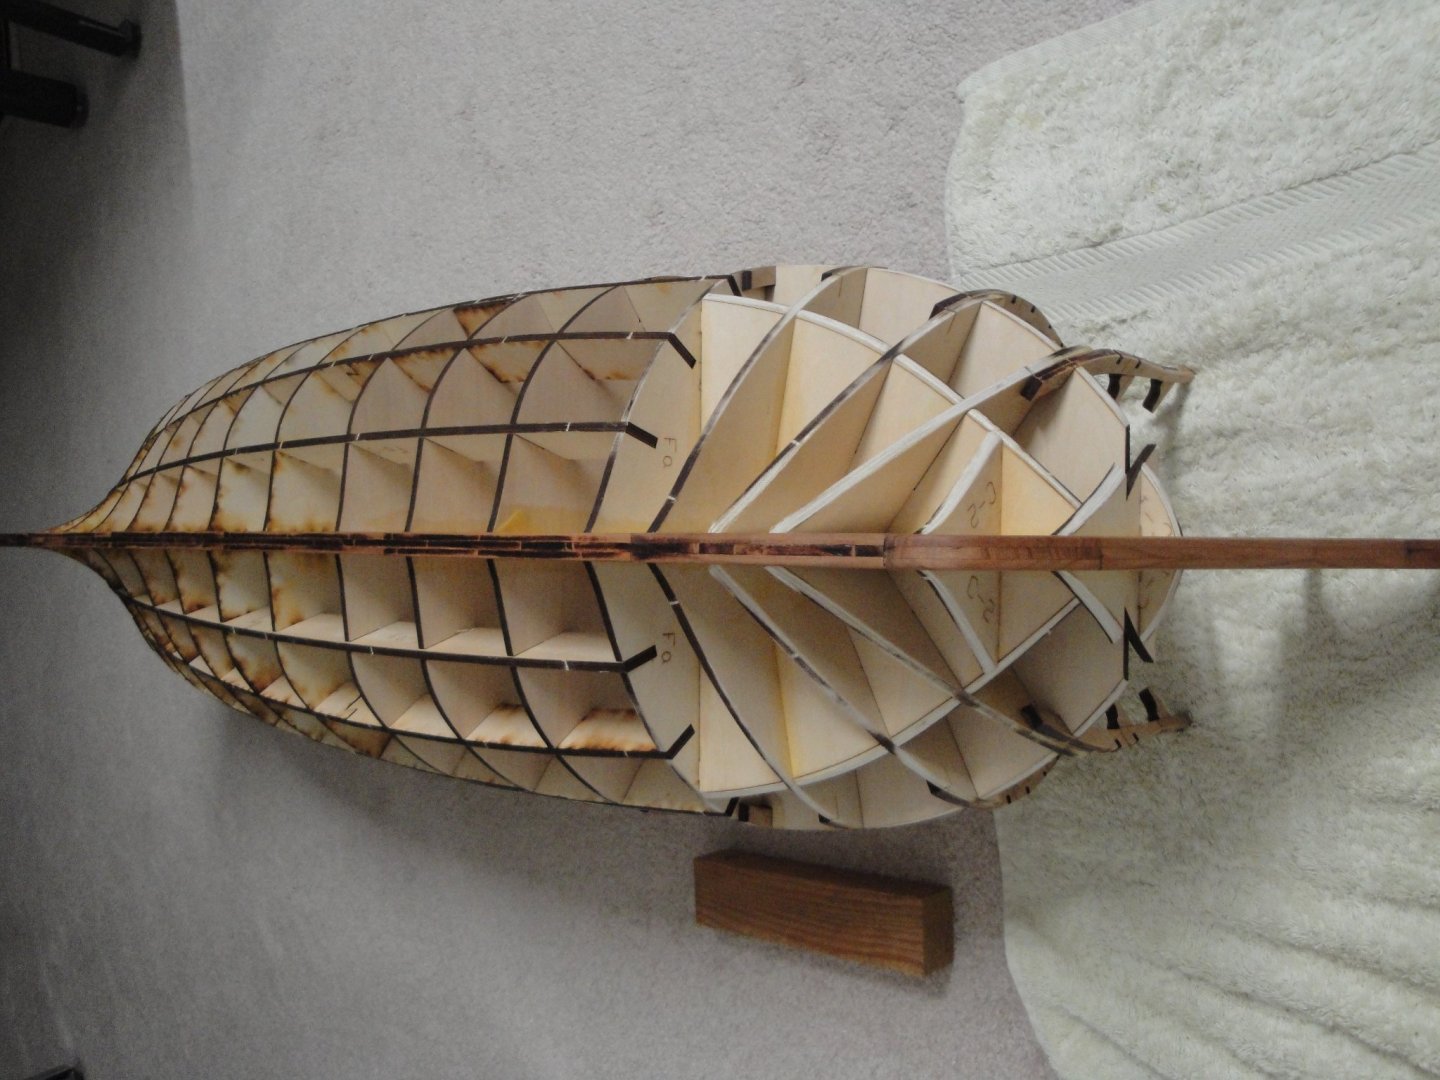
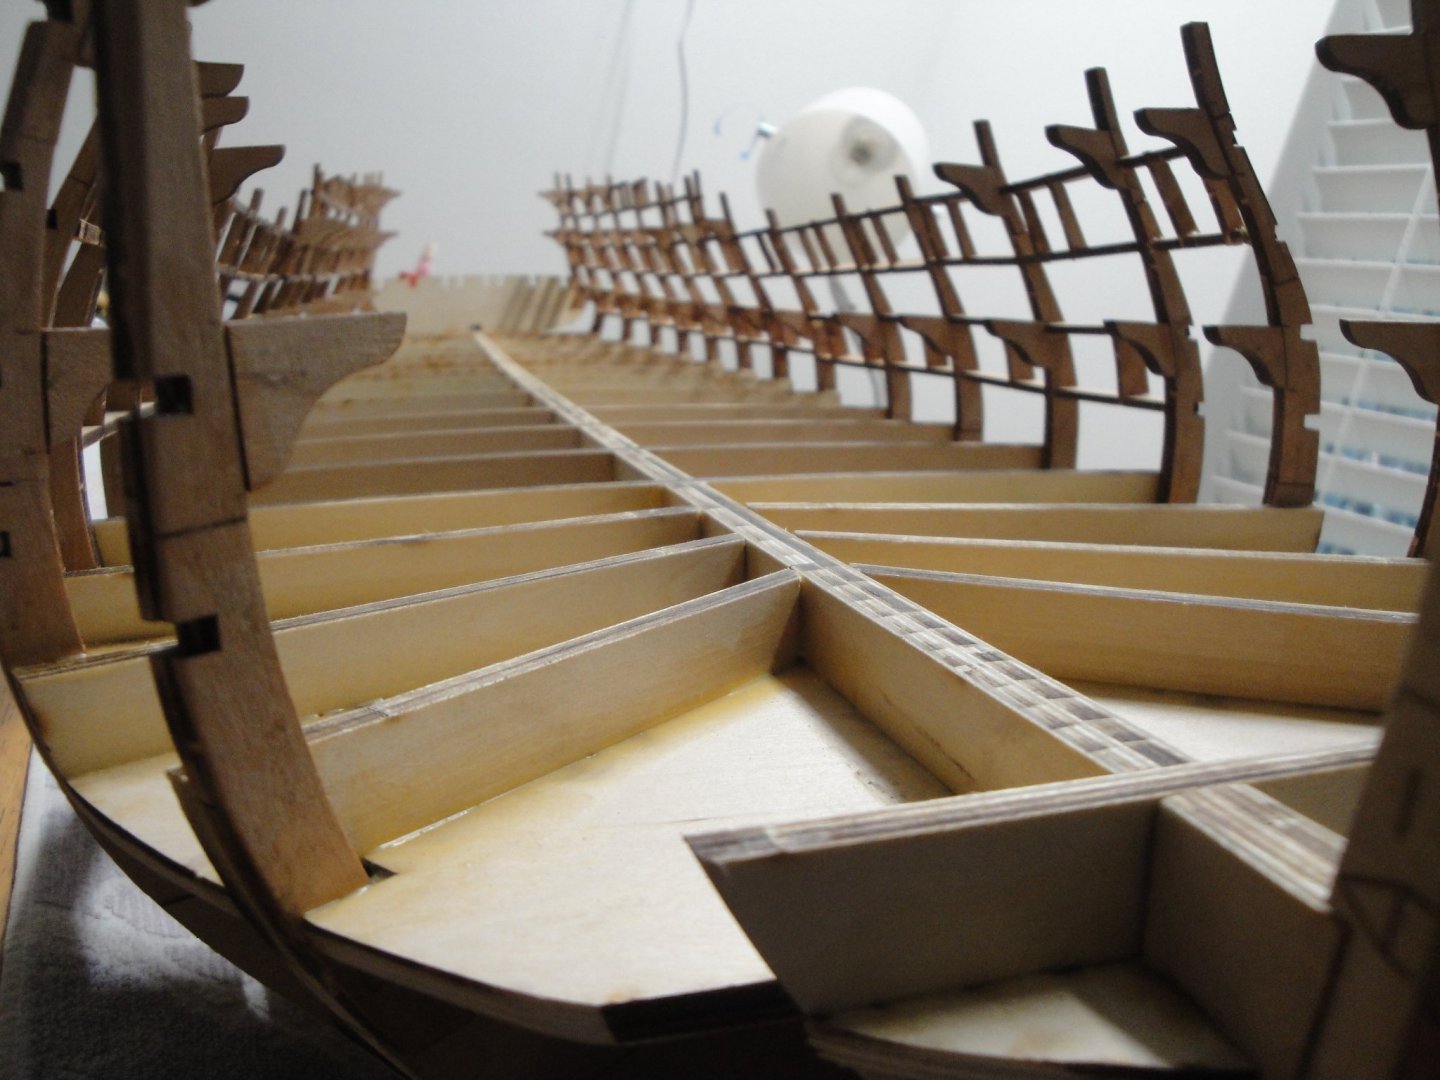
All the stringers have been inserted. Some persuasion was necessary at times.... Yes, the wood block was used to persuade..... Yves
- 507 replies
-
- 12
-
-
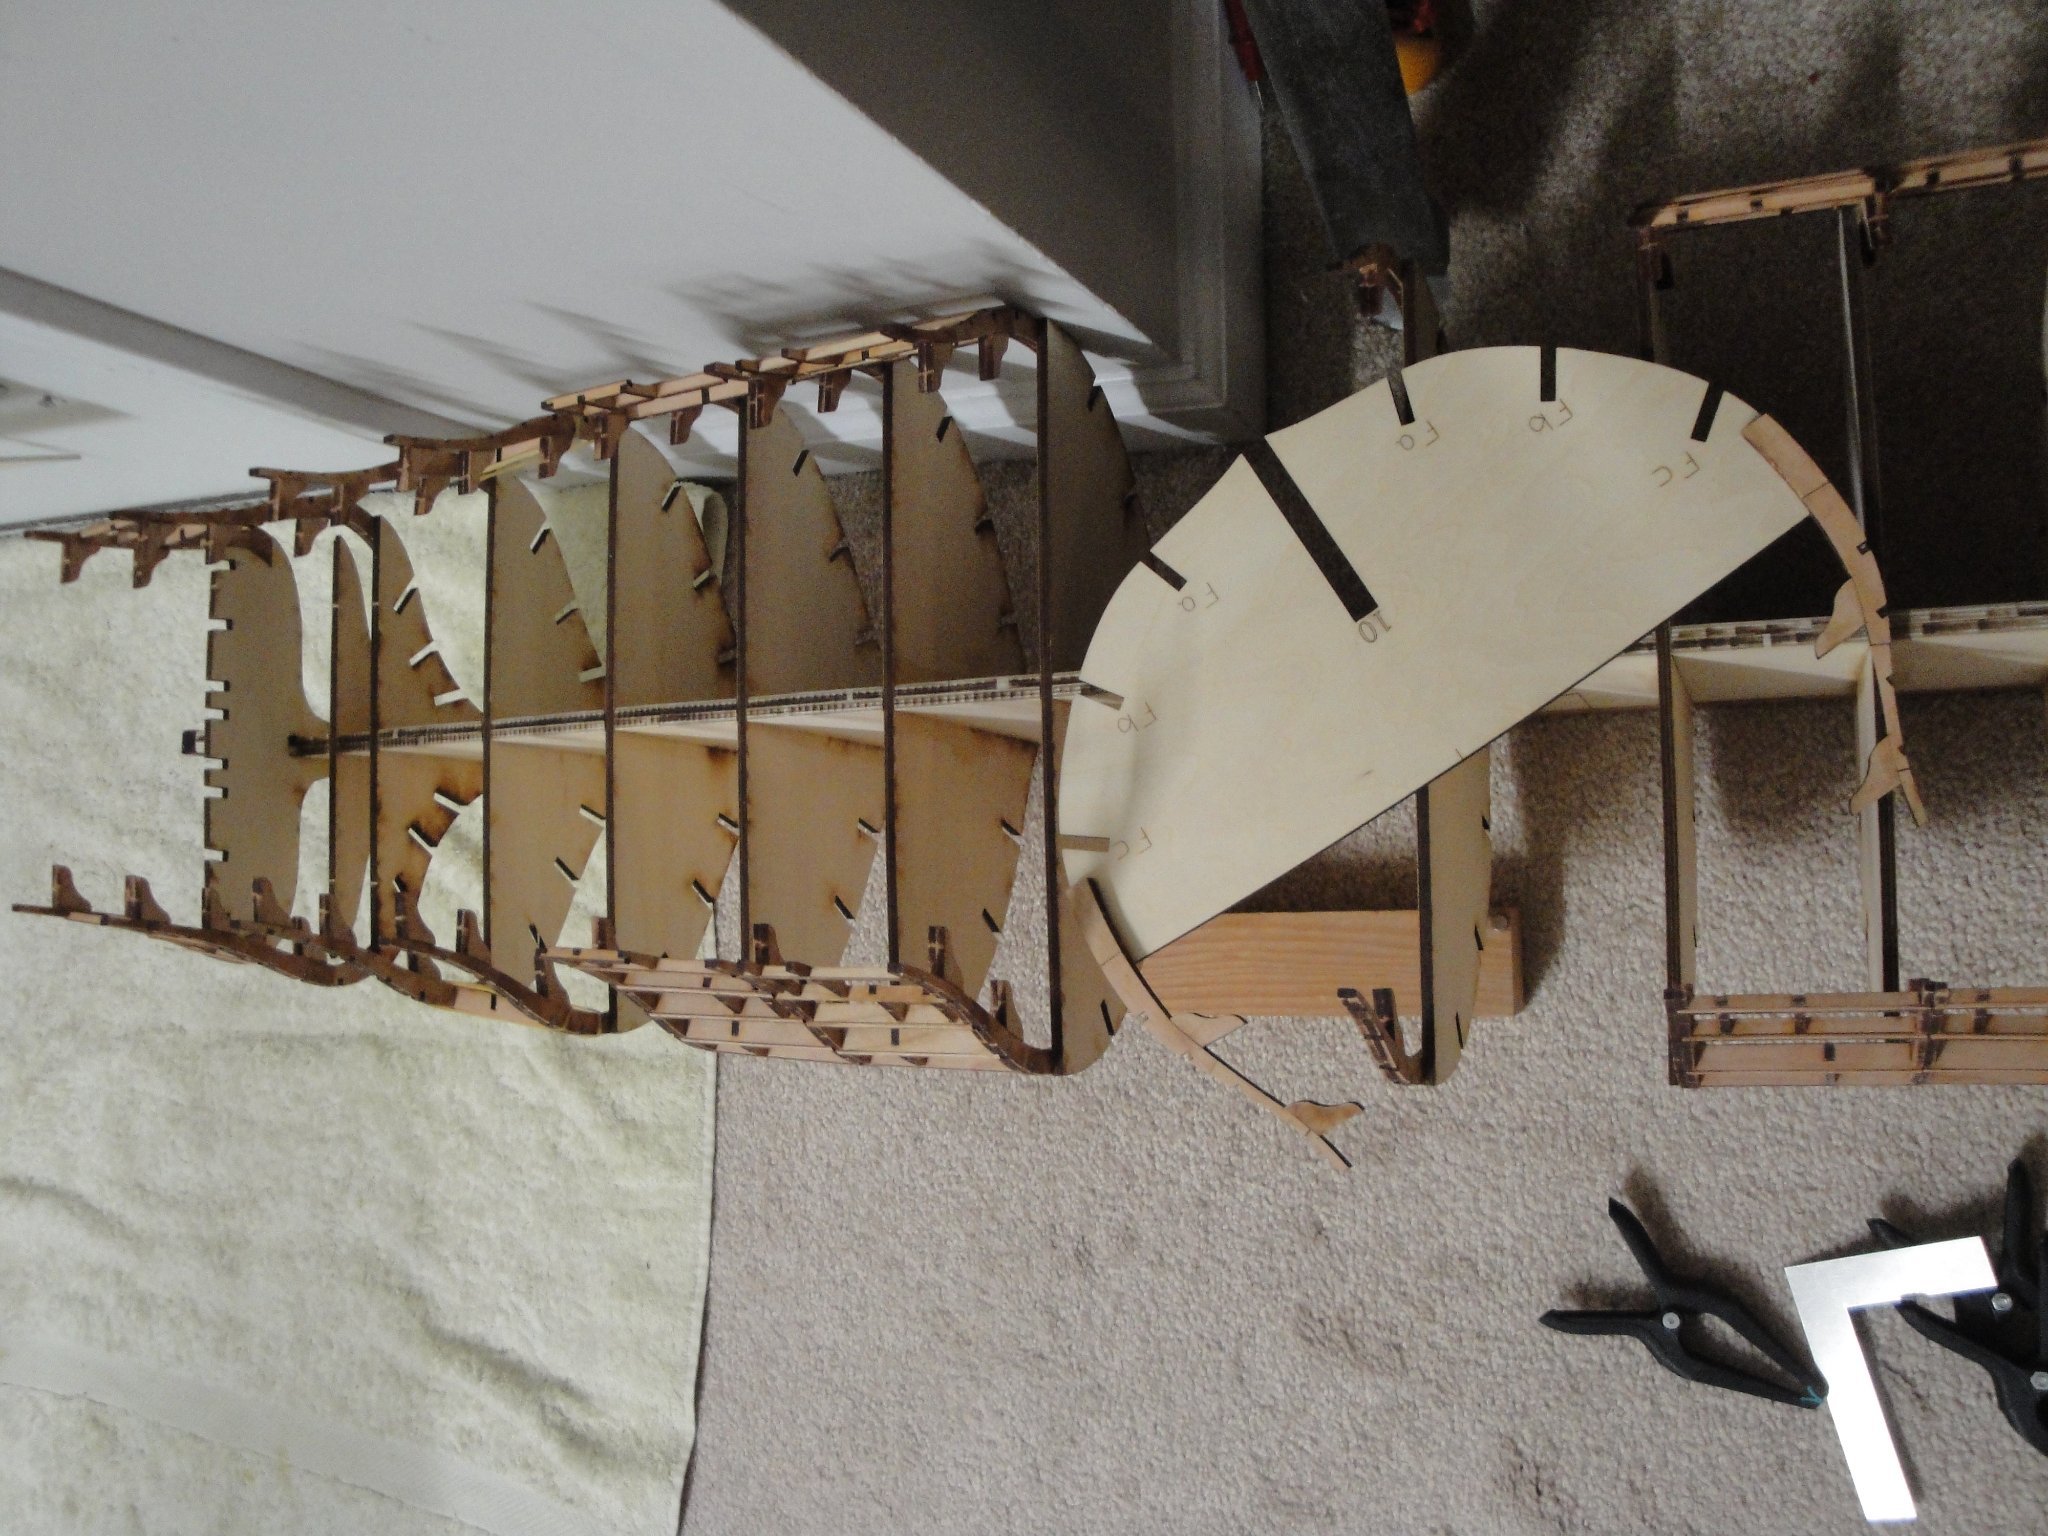
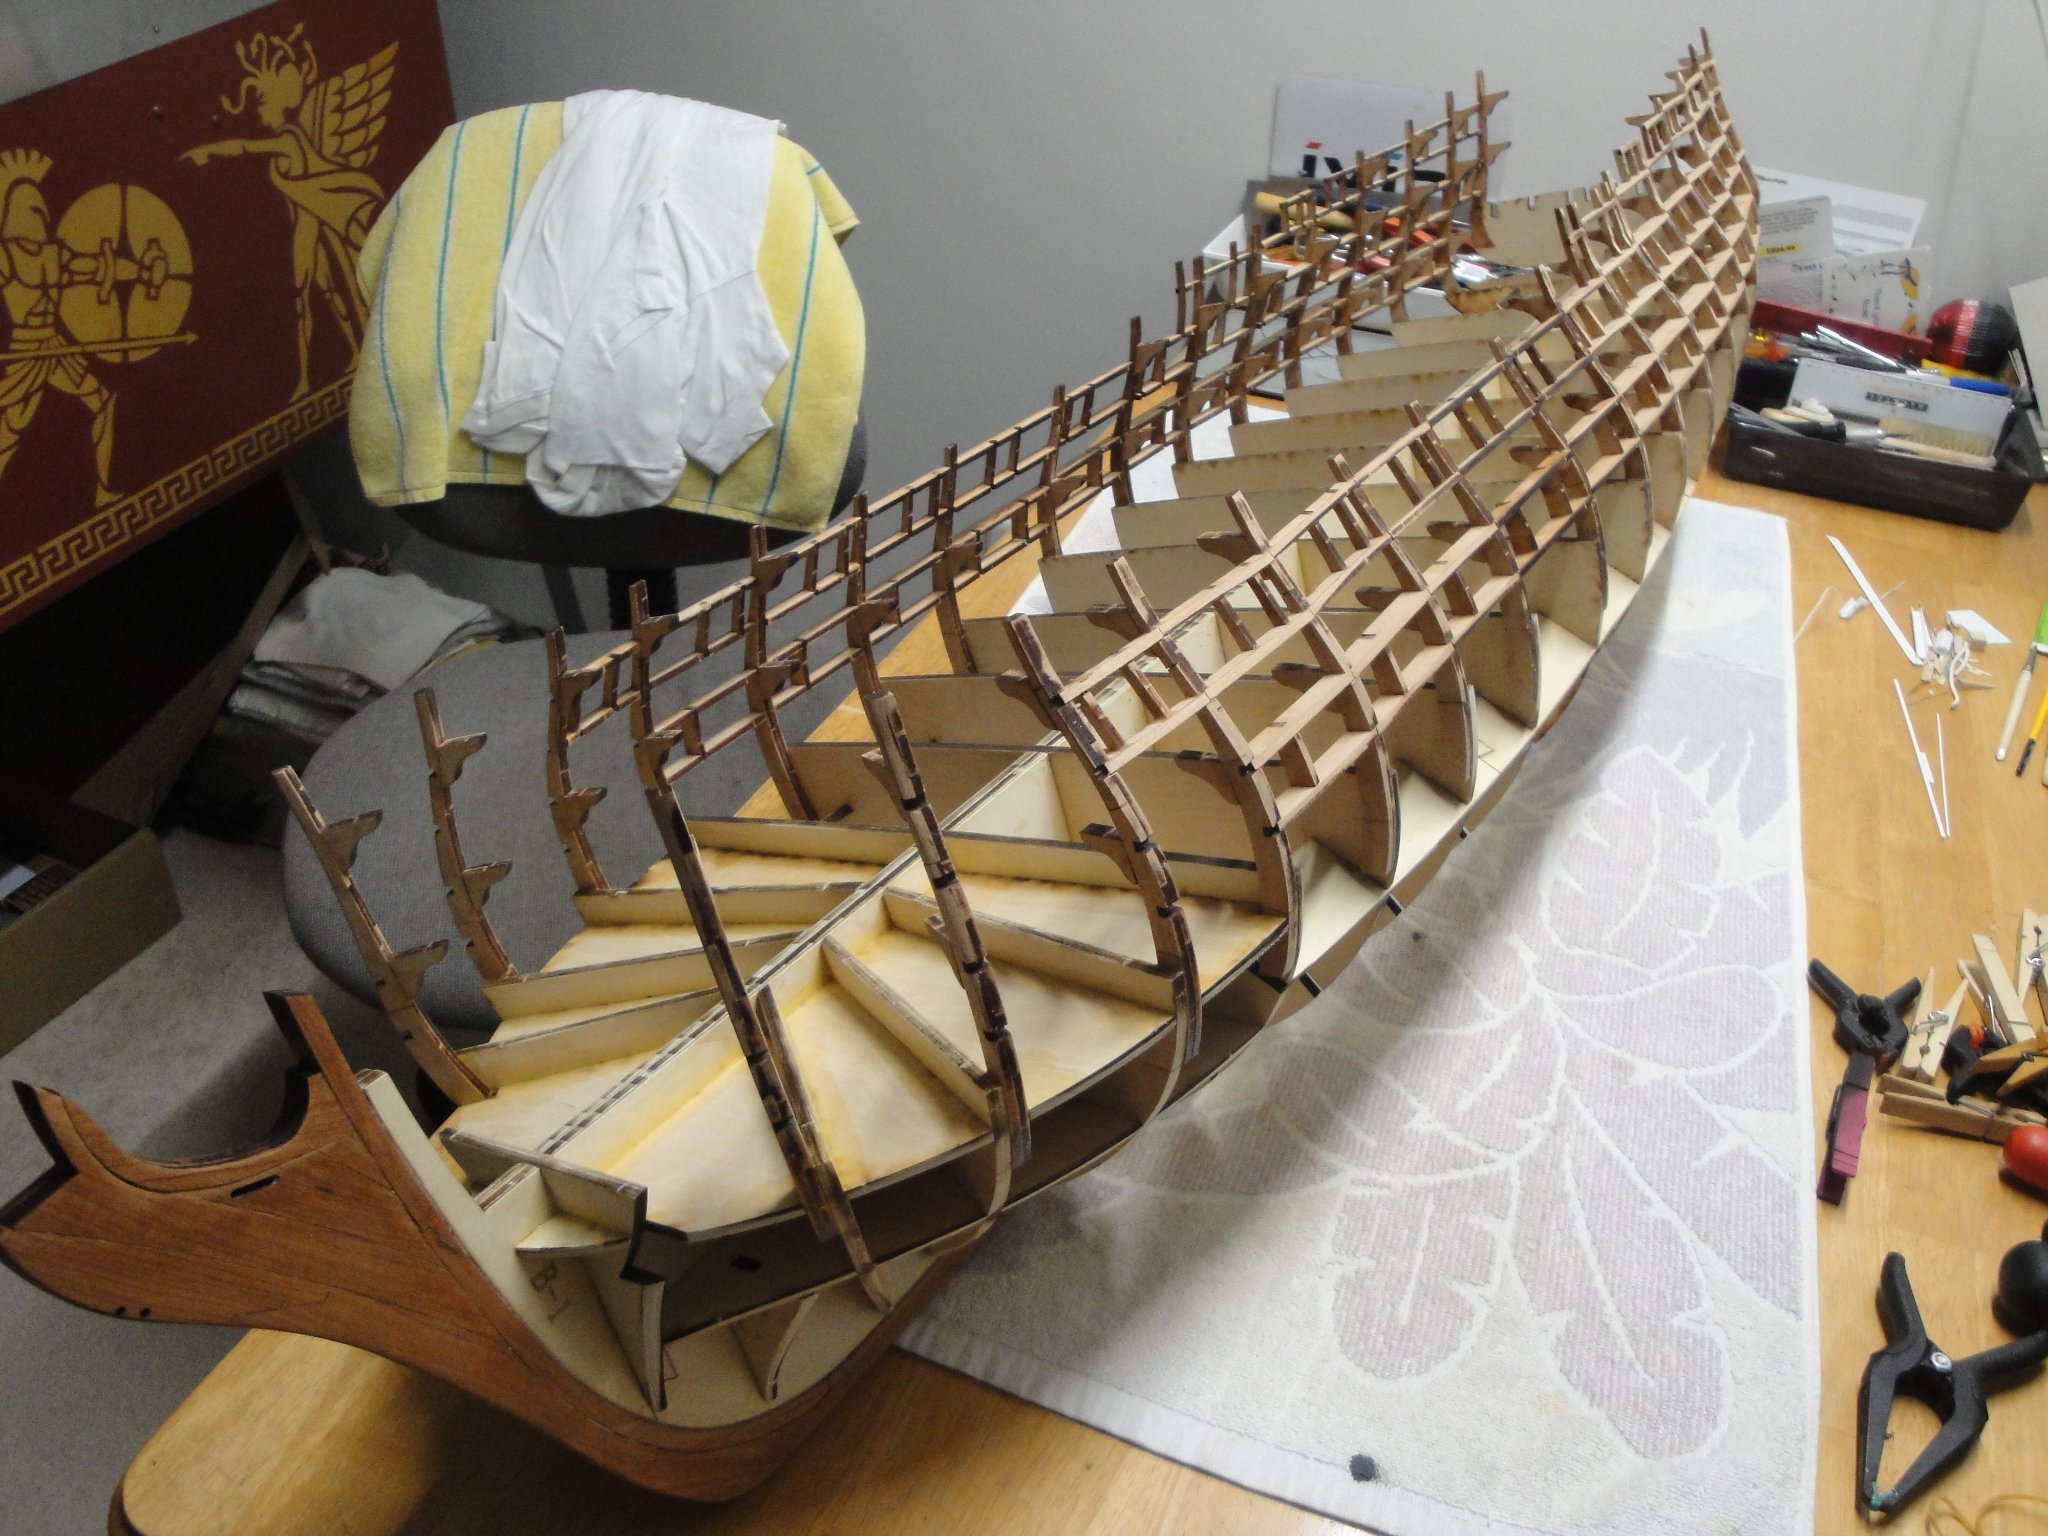
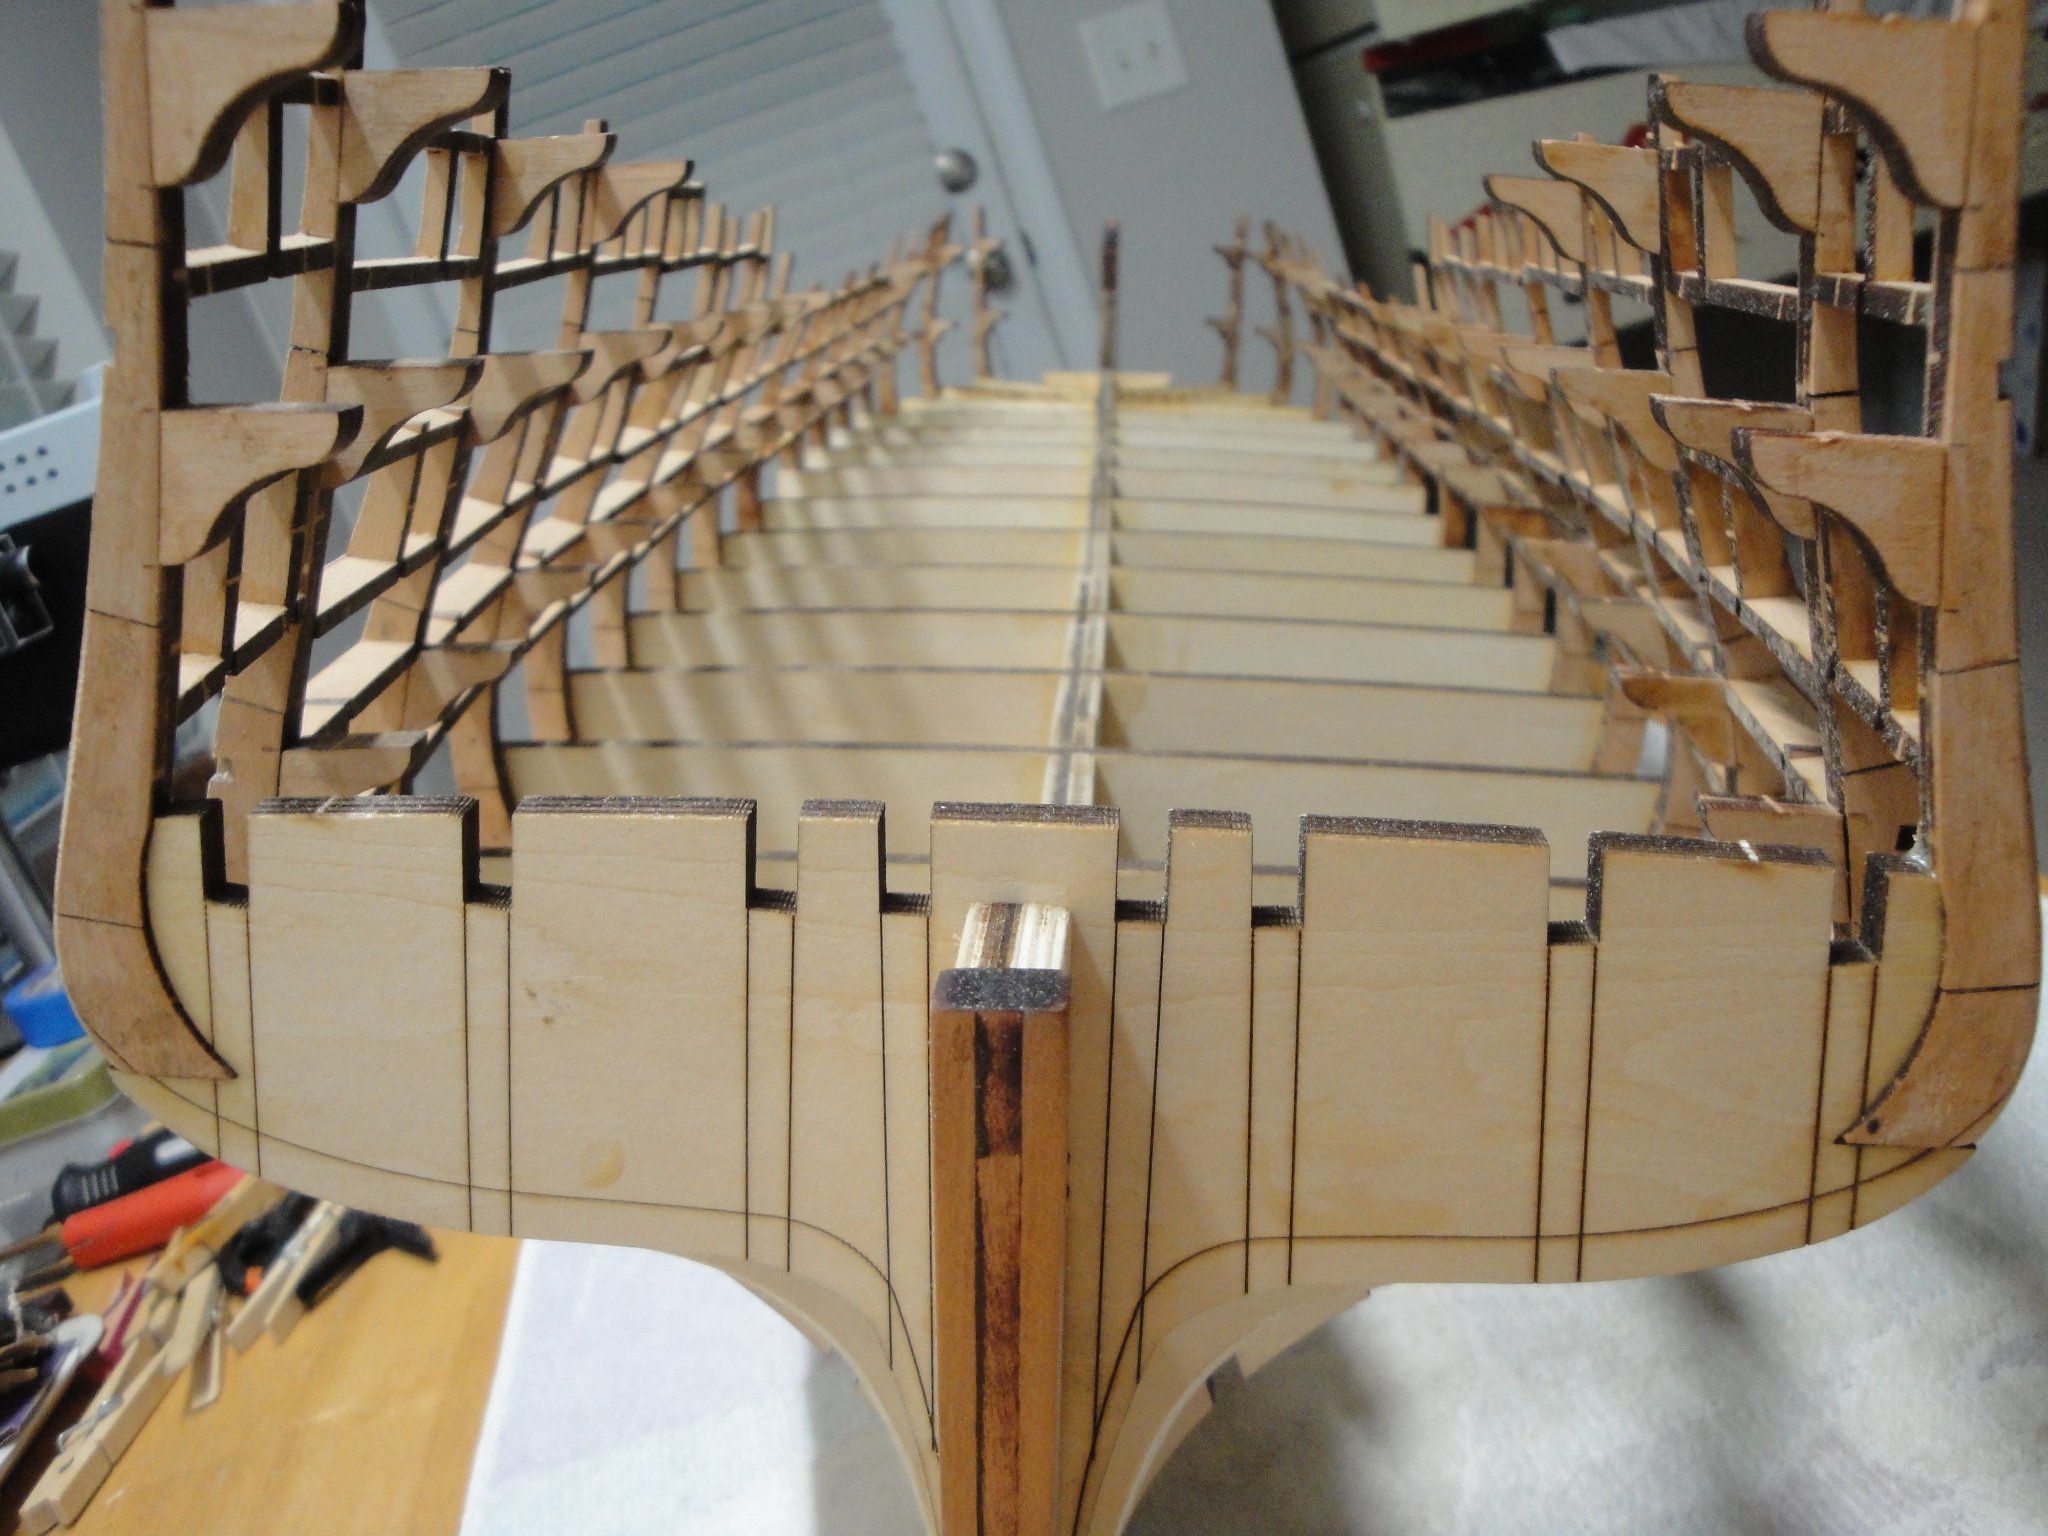
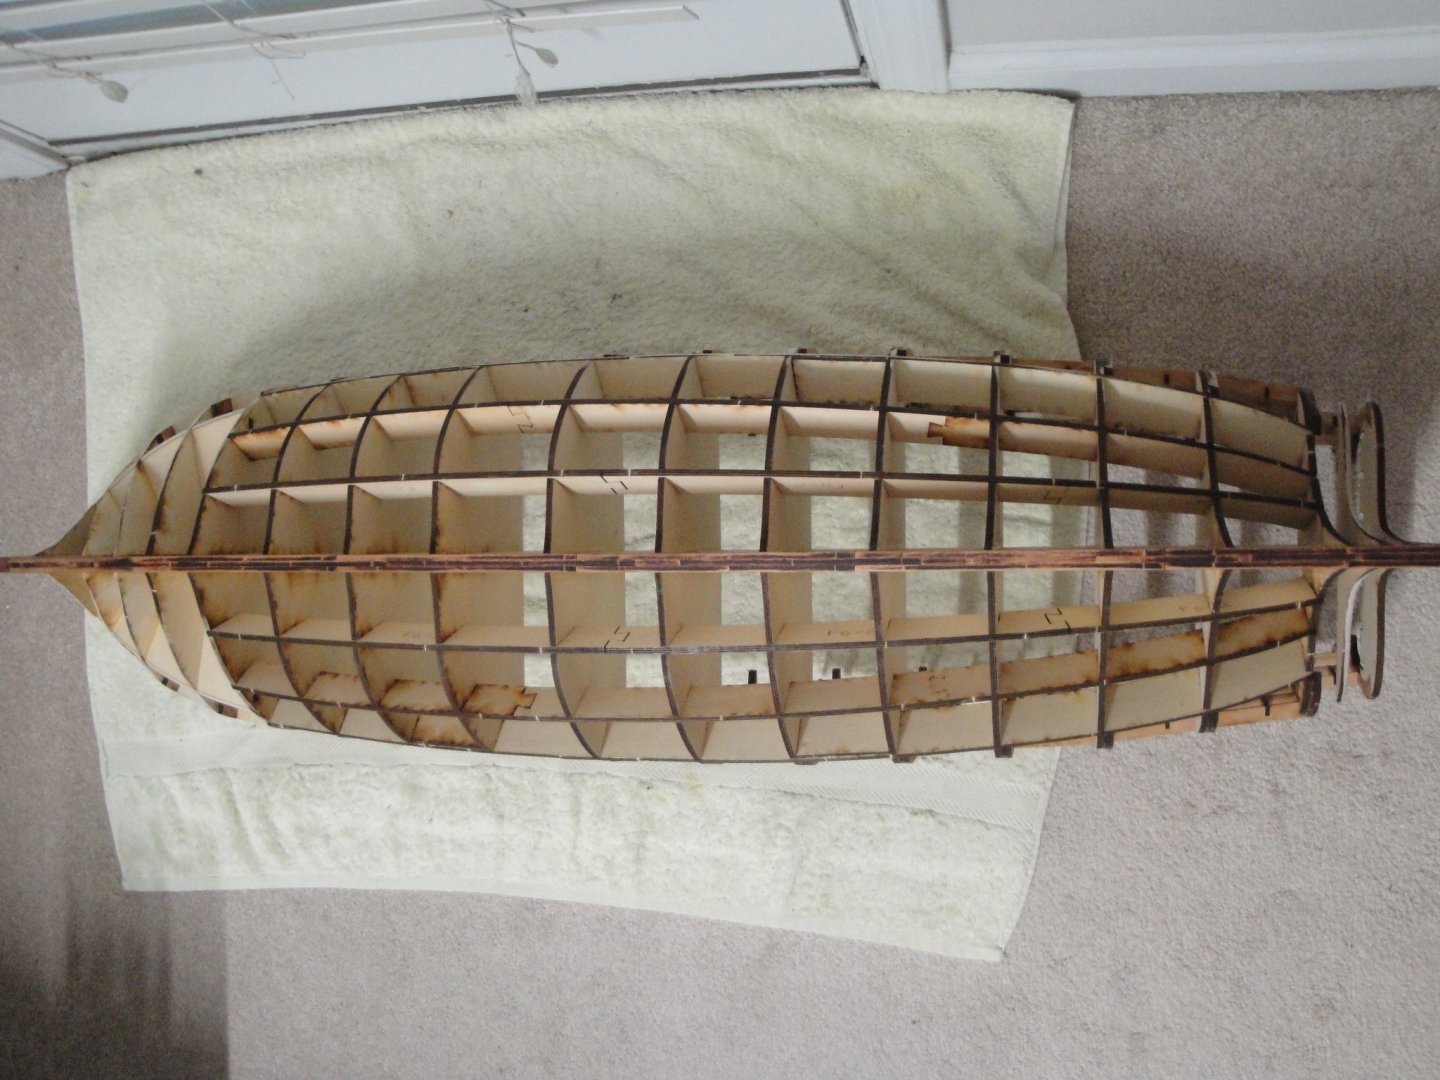
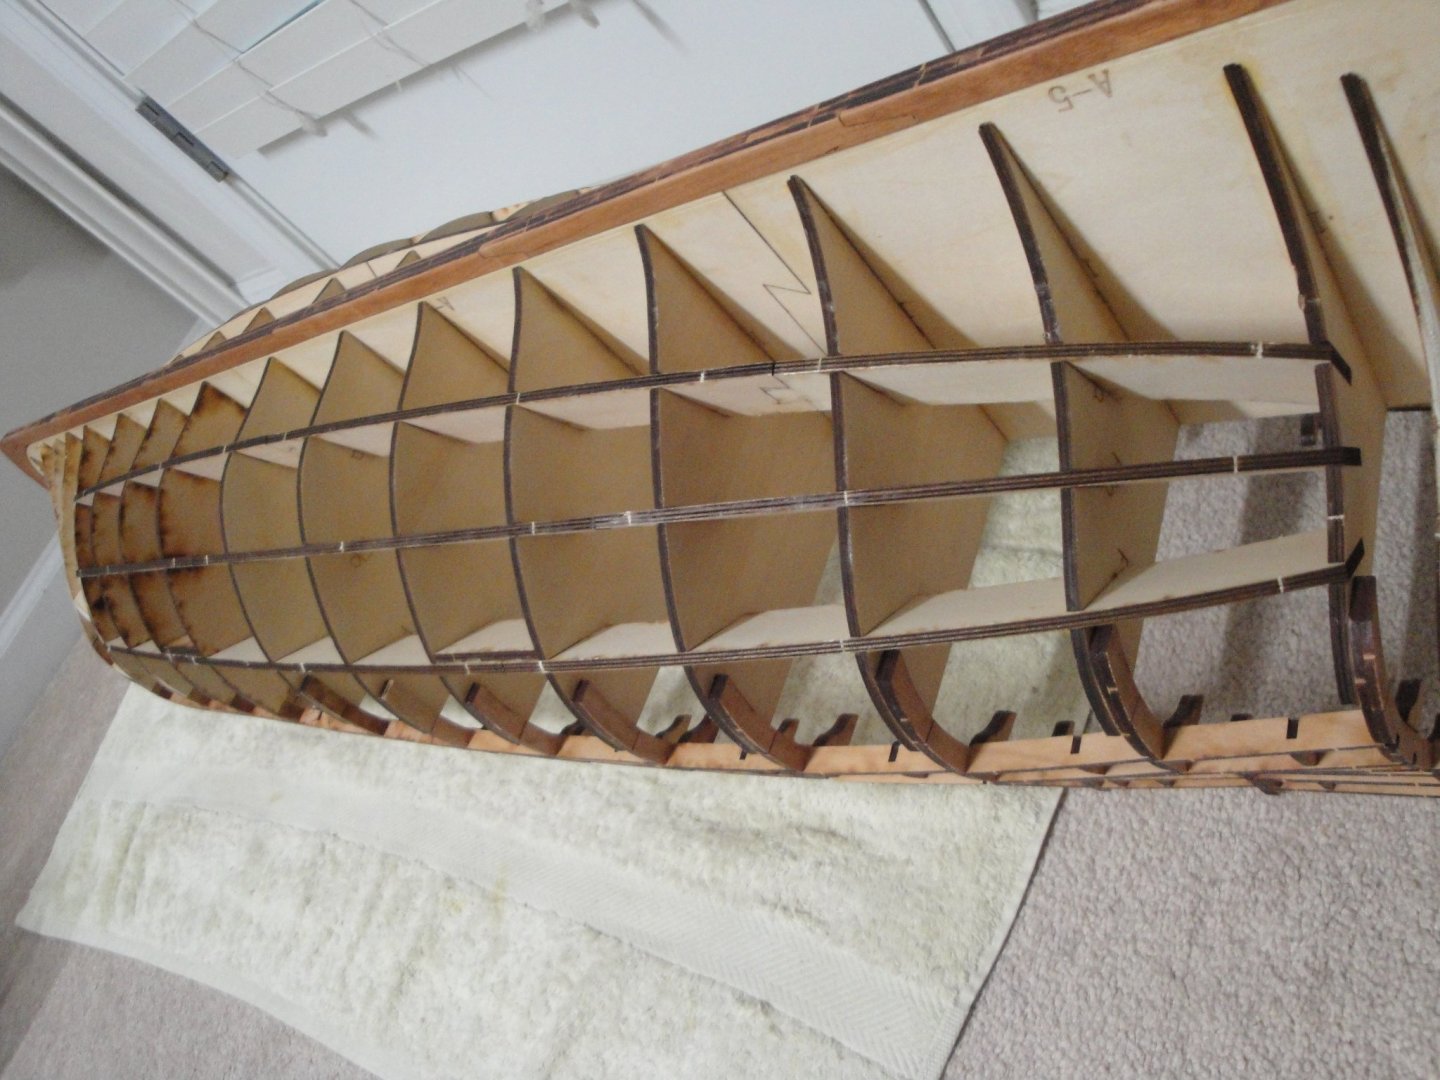
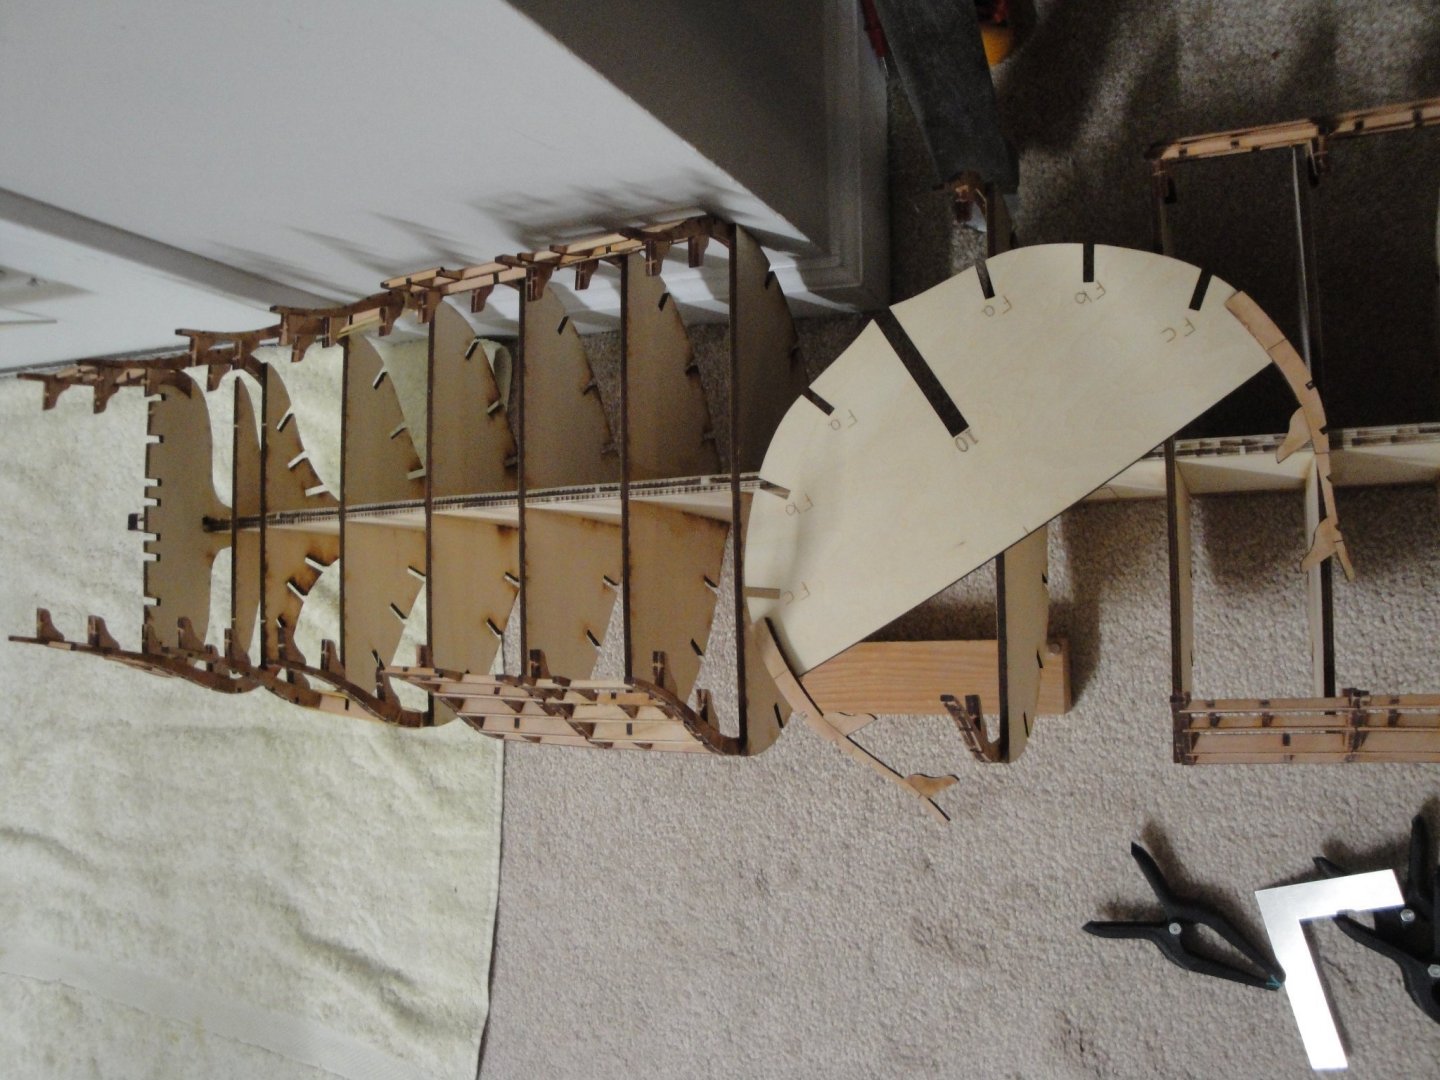
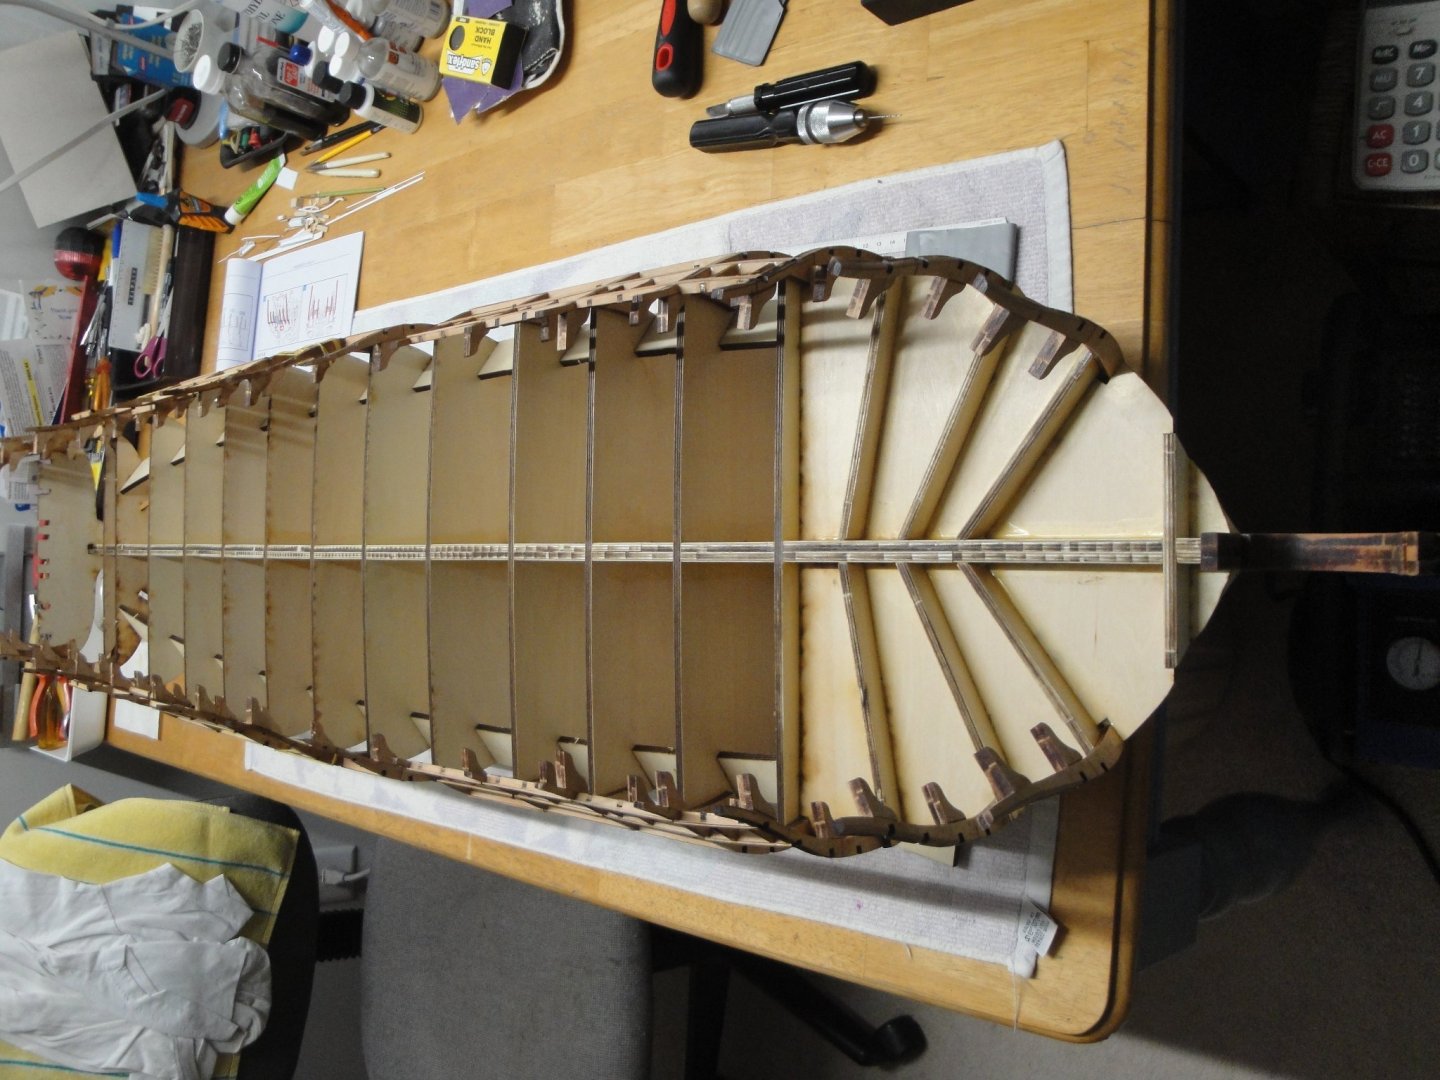
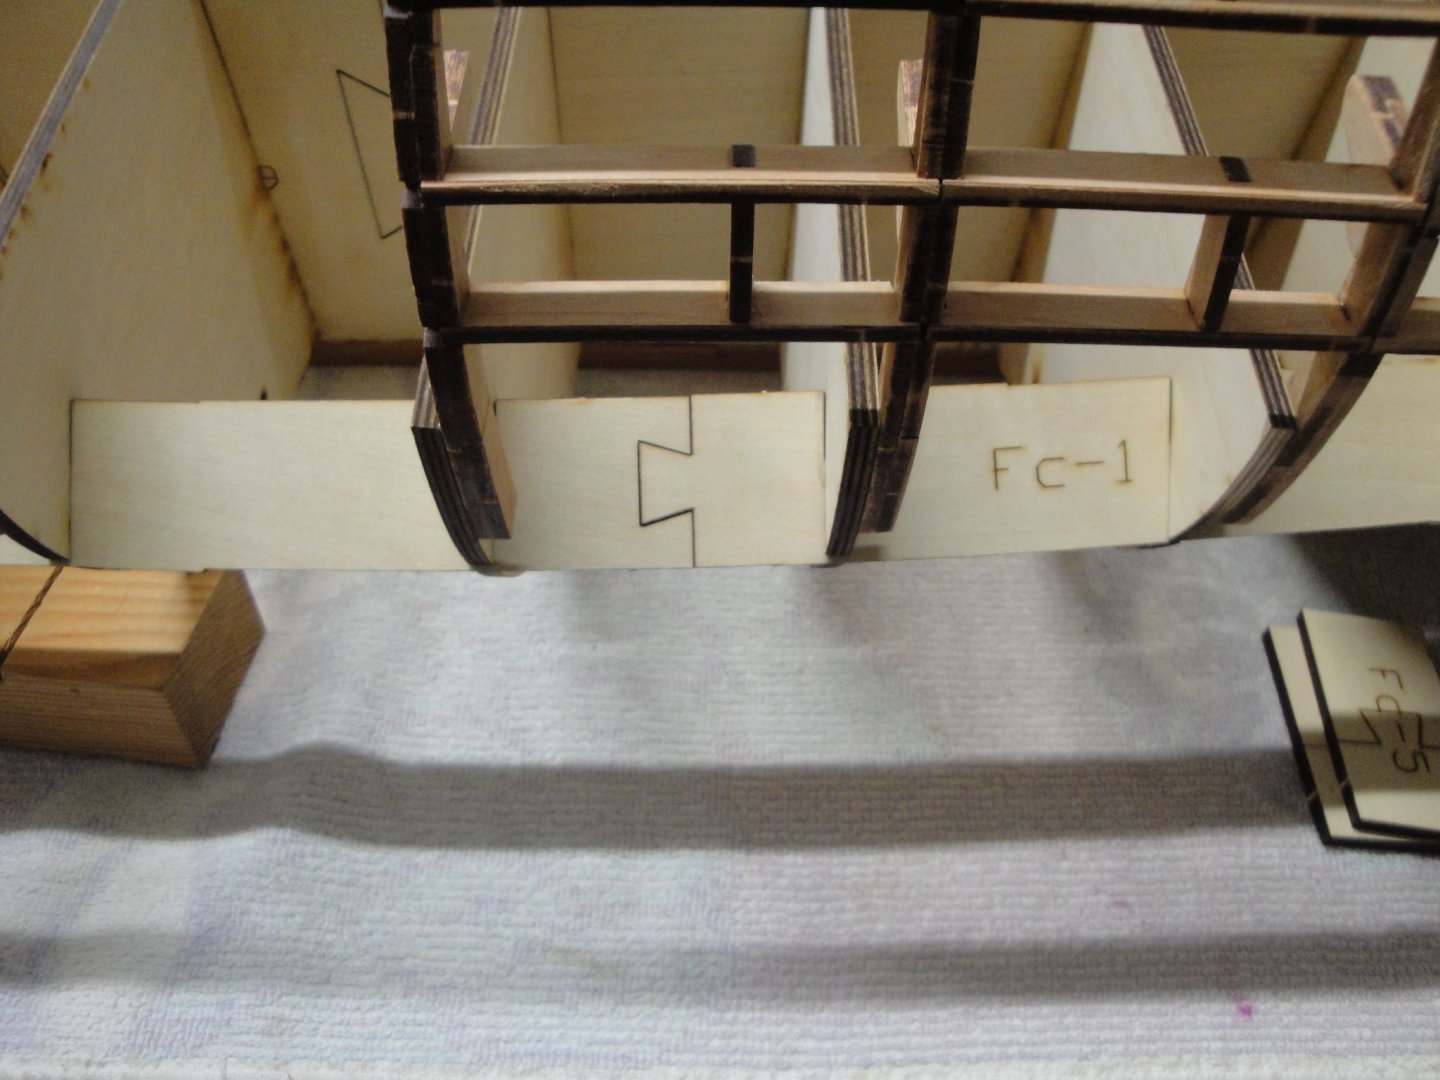
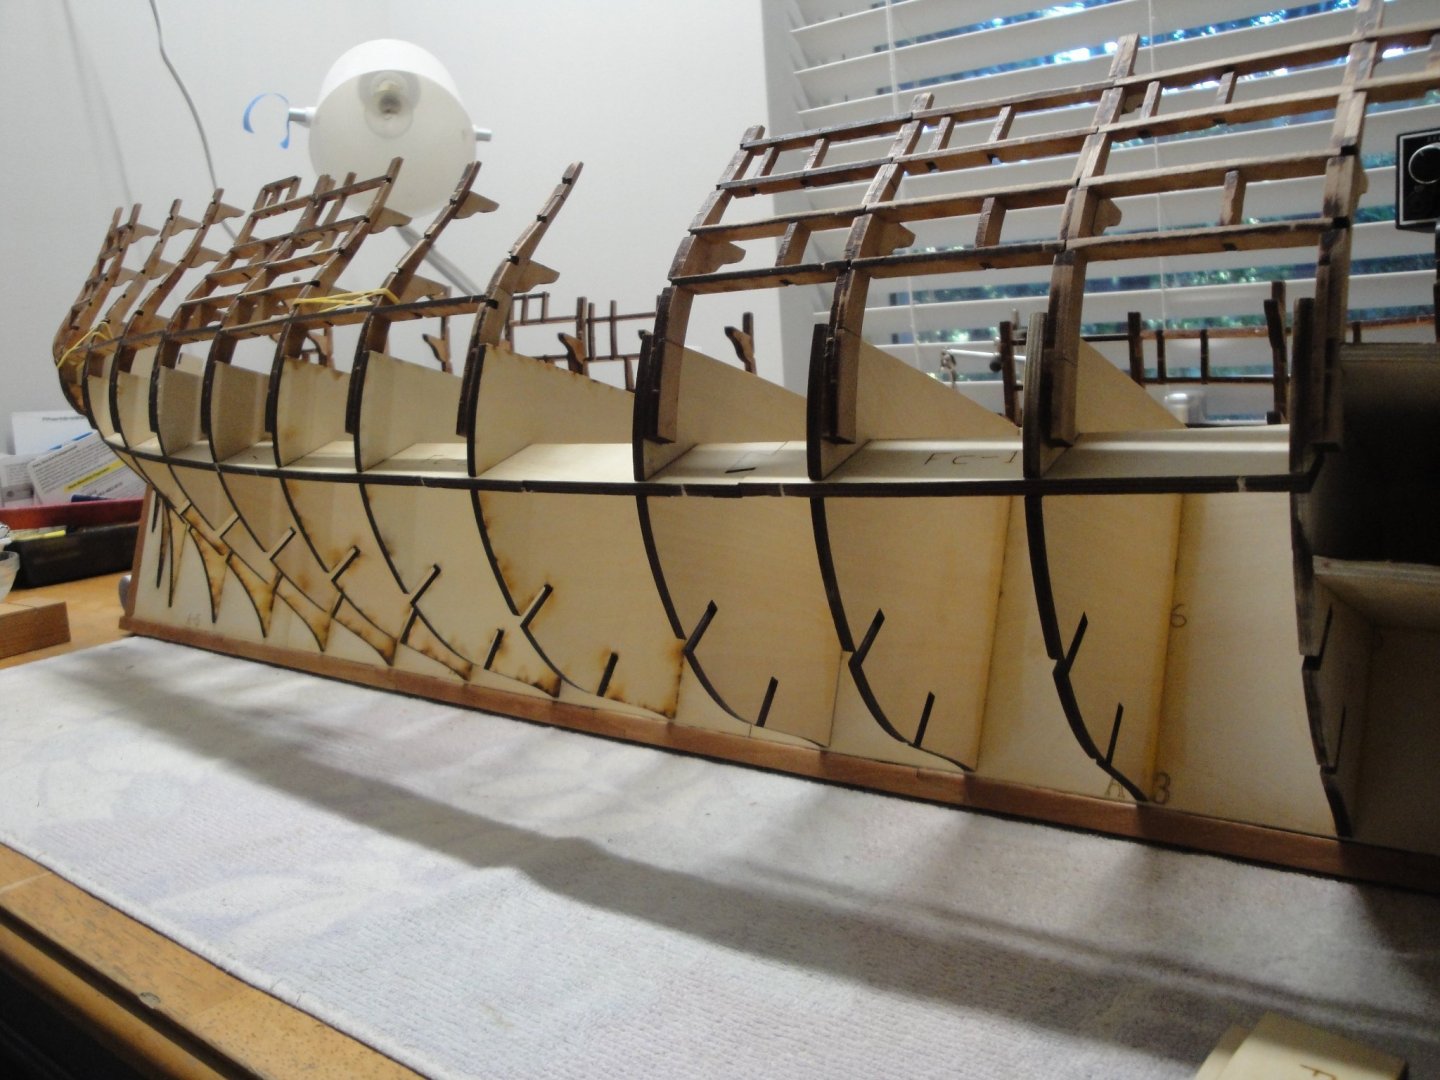
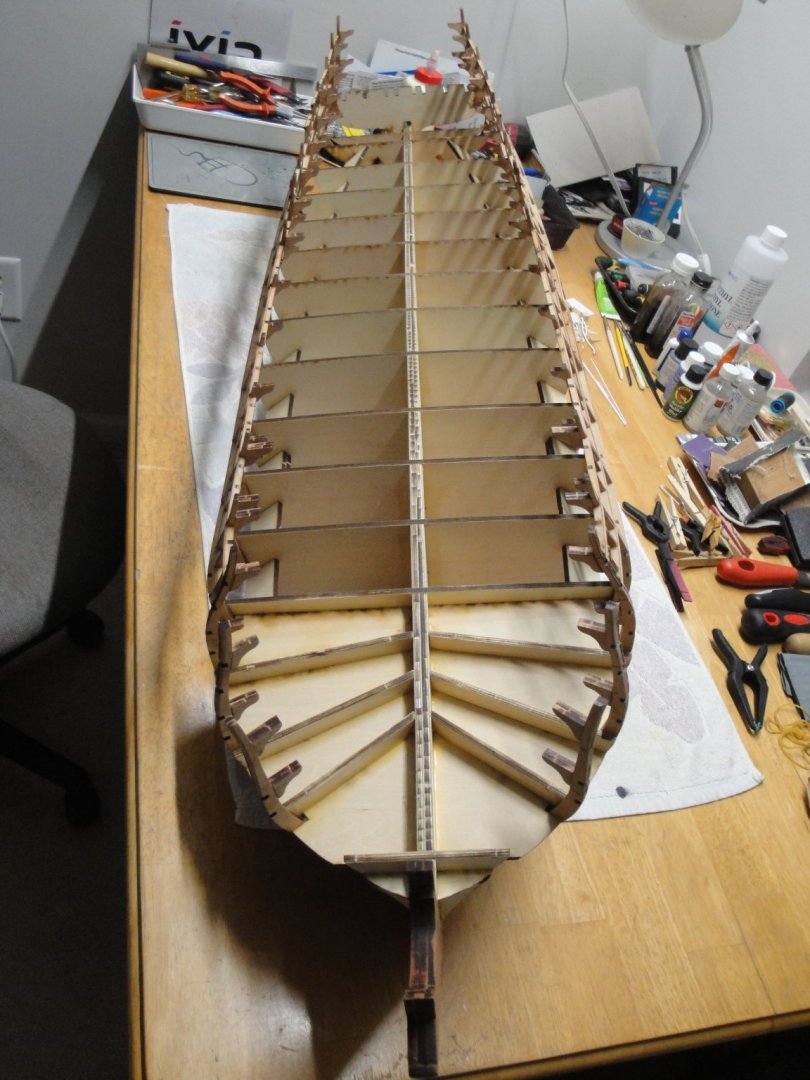
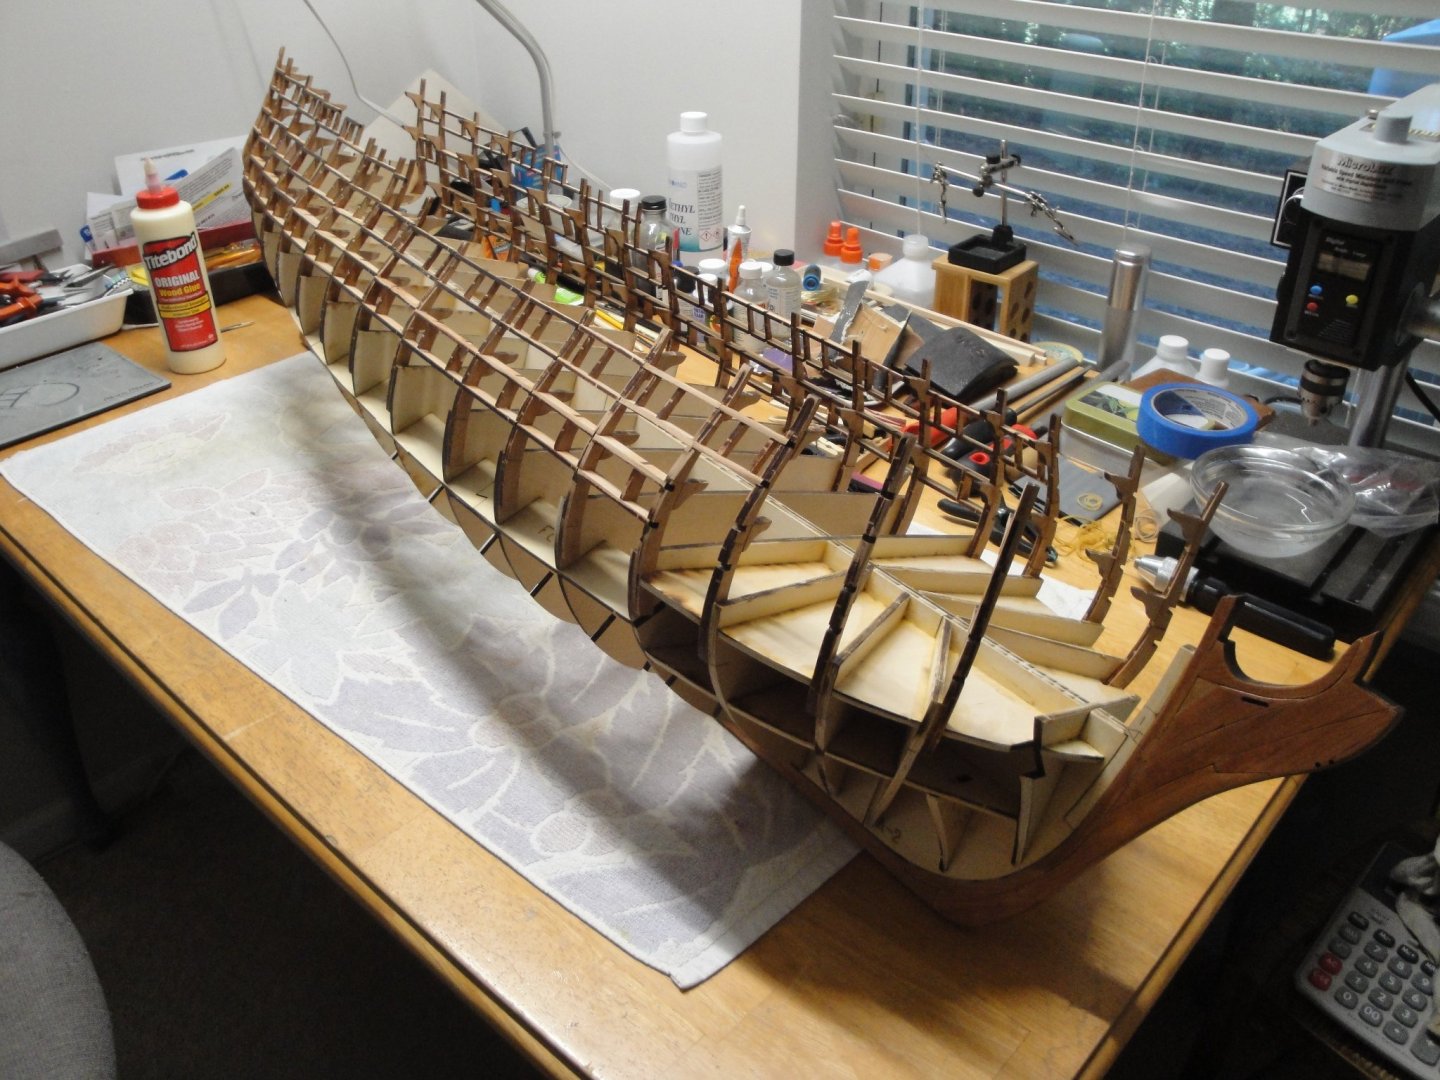
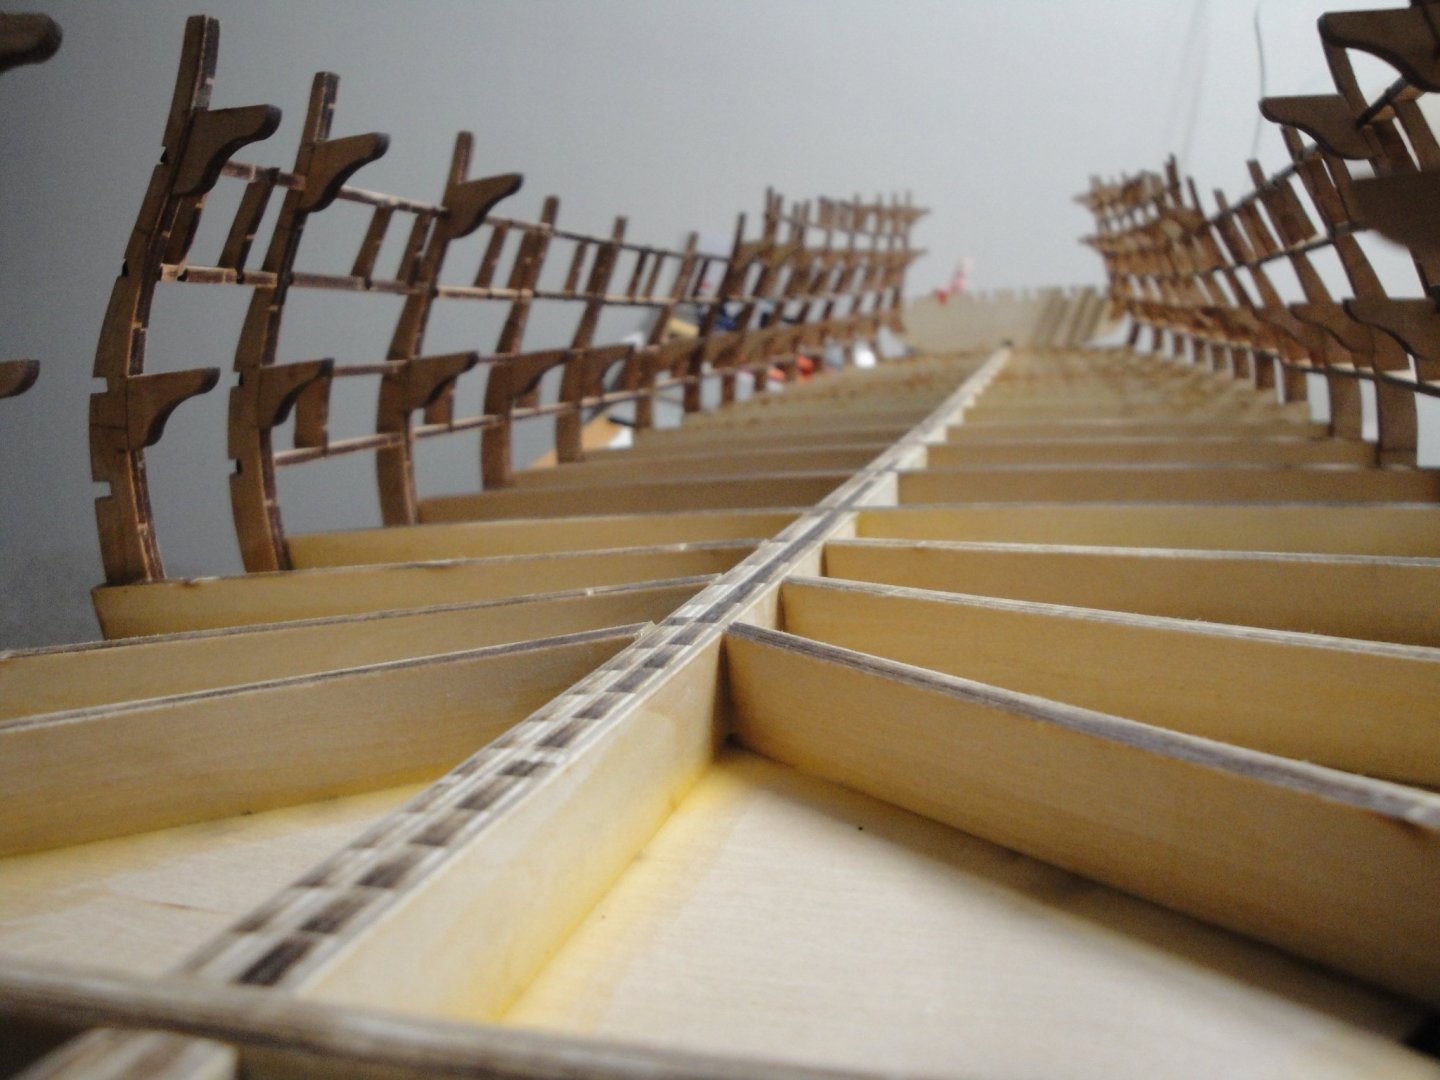
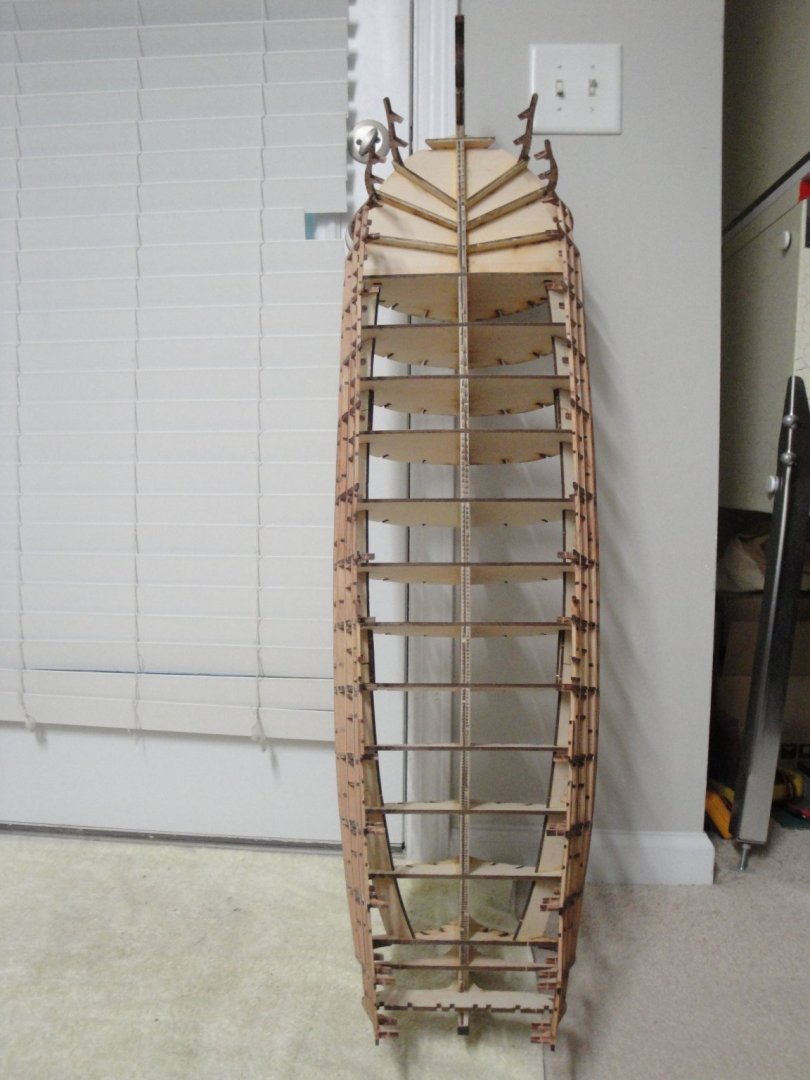
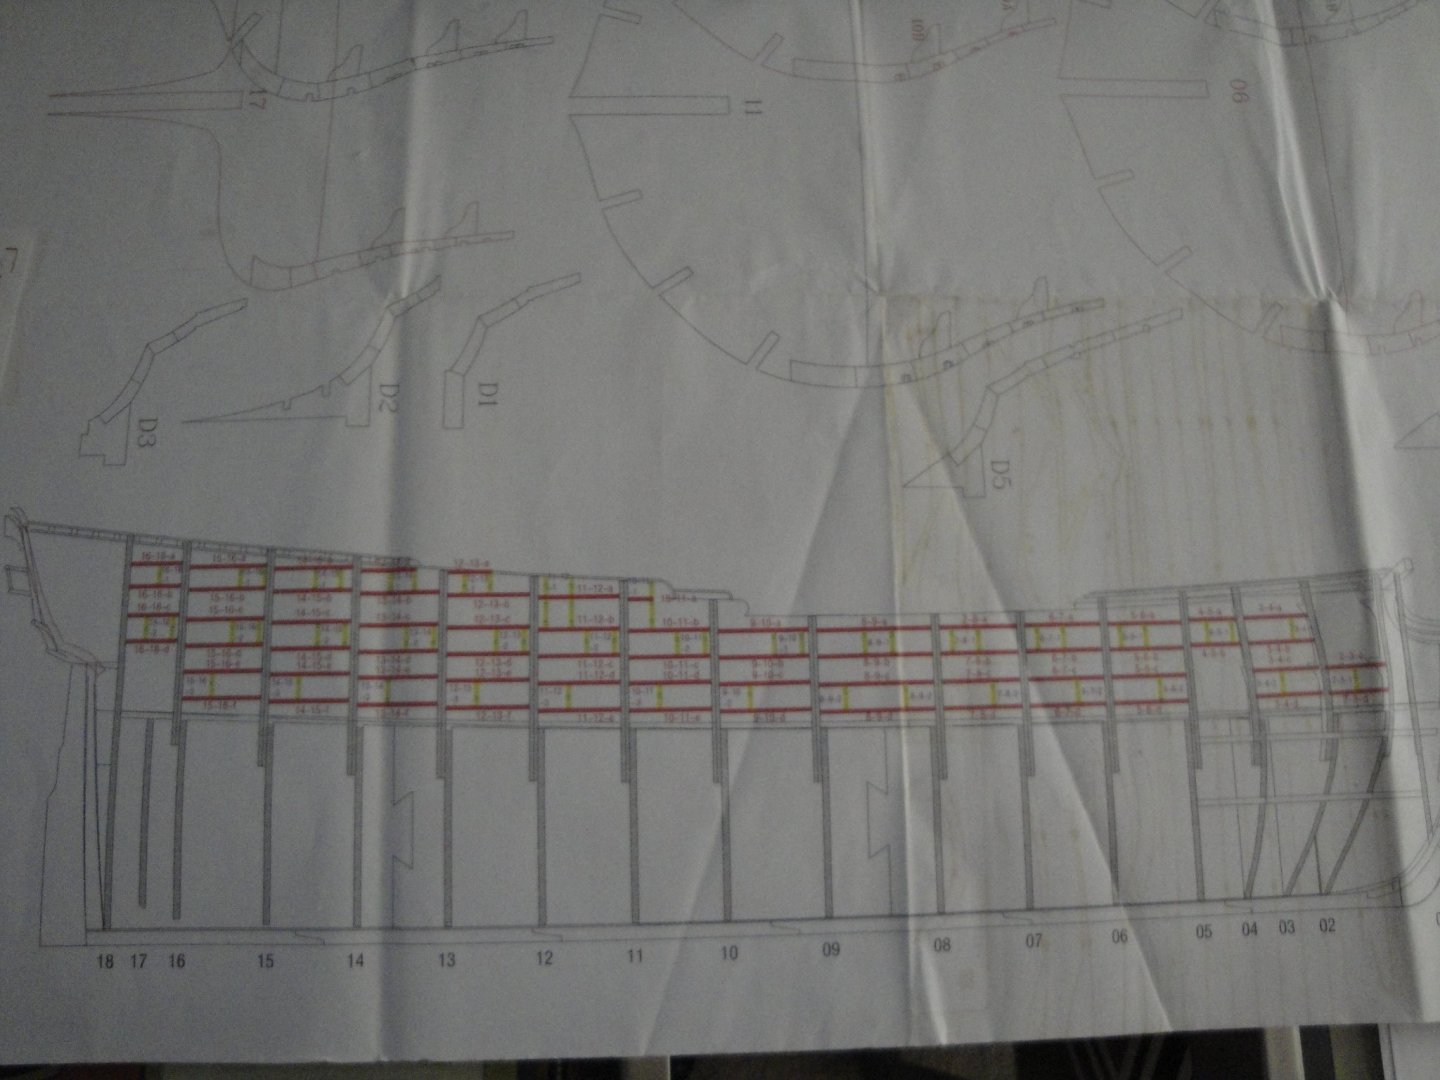
A quick update on the Session #1: I have finally built Bulkhead #10, which was giving me some headaches, because of its discrepancy with the plan. All Bulkheads are in place. I started installing the stringers. There are three sets of them: The hull is very stiff and solid without them, but now it seems indestructible. All the futtocks and cross-members parts have been installed: I started sanding the PORT side (above). The pictures above give you a sense of what it could have been during the construction of these massive vessels. Below, you can see how large the hull is, even though the stern has not been built yet. Most likely I will build it when I am done sanding the hull. It is far too fragile to withstand that heavy hull and I need to keep it vertical for sanding it. The pictures may give you a feeling that the hull is not straight, but it is just an optical illusion. Between the Spine and Stringers, that hull is not going anywhere. Finally, a view of the plan showing the intricacies of the futtocks and cross-parts, defining the gun ports. I still have to build the stem and the stern. That will be done after some rough sanding to smooth the hull. Session #2 introduces a "shell" technique that will cover the futtocks and smooth the overall upper section of the hull. The shell parts are pre-cut with all the gun ports in place. On top of the overall shell, very fine planking is being installed. The bottom part of the hull is still planked in the traditional way. Yves


- 507 replies
-
- 17
-
-
-
Rod, I think they are a very solid company and I am in constant contact with Tom (CAF Model) who is very responsive. They had some issues with ANCRE regarding one specific model (le Chebec) but overall, their kits are great. I have ordered Session #2, as I am closing on Session #1. Once I feel more confident about the hull (and Session #2 should help tremendously), I will purchase Session #3, #4, Copper tiles and #5 in one swoop. Yves