dvm27
-
Posts
2,468 -
Joined
-
Last visited
Content Type
Profiles
Forums
Gallery
Events
Everything posted by dvm27
-
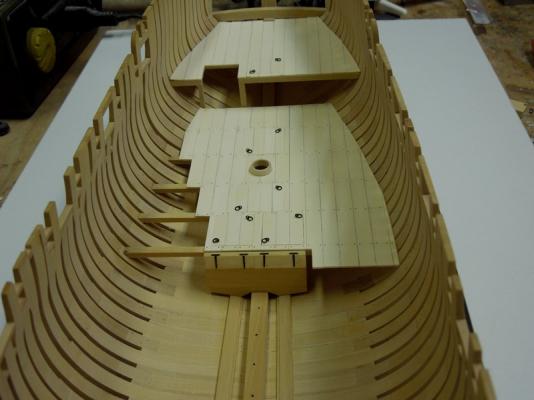
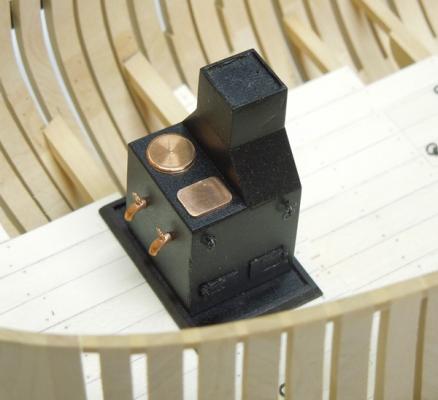
 It's been a few months since I've posted an update to my build log of Speedwell. All four platforms are now in place, as are the shot locker and galley stove. Besides the wales, there will be very little external planking in order not to cover those wacky, fun to make shifted and cast toptimbers. The single wale was made of holly and stained with Fiebings black leather dye (off the model). The two completed fore platforms The very small shot lockers accommodate the three pound cannon balls The very small shot lockers accommodate the three pound cannon balls The galley stove was made of brass over a holly plug
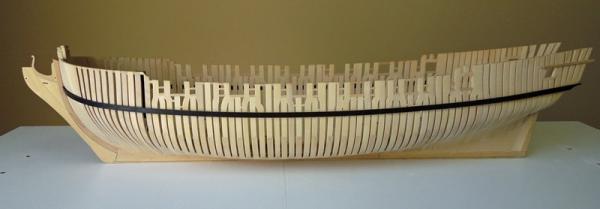

- 345 replies
-
- 39
-

-
Splendid work, Ed. There's even a precision to the bolting pattern. Is it possible to take higher resolution photos? In many logs, when clicking on the photo a much larger version pops up. Yours is essentially 1:1.
- 3,618 replies
-
- 1
-
-
- young america
- clipper
- (and 1 more)
-
A fantastic little detail, Remco! I had forgotten I had done this on my main deck gratings and sure enough, they were there. I believe I'm the only person who ever noticed this detail on my model...and promptly forgot about it. I also notice how perfect your gratings and battens fit the coamings and head ledges. Coincidence, or did you build them around the finished gratings?
- 1,215 replies
-
- 1
-
-
- sloop
- kingfisher
- (and 1 more)
-
Well done, Toni. I cut those mortises on my table saw but your results with a no.11 blade look equally good.
-
I do so admire your commitmant to accuracy Ed. I've only seen one other model with the scores mortised in and, of course, you can't tell once the cants are installed. http://nautarch.tamu.edu/model/report3/inprogress.htm
- 3,618 replies
-
- 1
-
-
- young america
- clipper
- (and 1 more)
-
I read somewhere that you can just wash the residue off but I'm sure someone has tried that. Perhaps the implication was just wash off as much residue as possible before gluing. The other problem with laser cutting is that the cut is not always perpendicular. The thicker the piece, the more exagerated this is. Did you note a larger gap on one side vs the other Jay? Dave Stevens, of the LumberYard, addresses these issues on his website http://www.dlumberyard.com/oneida-laser.html
-
Brilliant milling work, Mark. The Starrett wiggler would have saved me hours of fine tuning on my last project and I shall now get one. Love those perfect carling mortises also.
-
It's such a pleasure to watch a craftsman challenge himself and then see the results. You're in rarefied air Mr. Mott!
-
Great job on a nerve wracking process, Ed. Failure is definitely not an option here!
-
HMS Sussex by mij - Scale 1:48
dvm27 replied to mij's topic in - Build logs for subjects built 1501 - 1750
I commiserate with you Mij. I decided to discard my first fully framed Swan model after one year because I was not happy with the quality of my earlier work. I rebuilt it in less than half the time and the results were definitely worth it. For some people the finished model is the destination, for others it's the journey that matters most. -
So sorry for your loss, Andy. Some of my earliest memories revolve around the time spent in my Grandfather's workshop, watching him build furniture. I'm sure my love of woodworking stemmed from these early years. It sounds like you were very close to yours also. May you have fond memories of time spent with him. Greg
-
Very nice job on those crossed loding knees, Remco! I love your little pin holders.
-
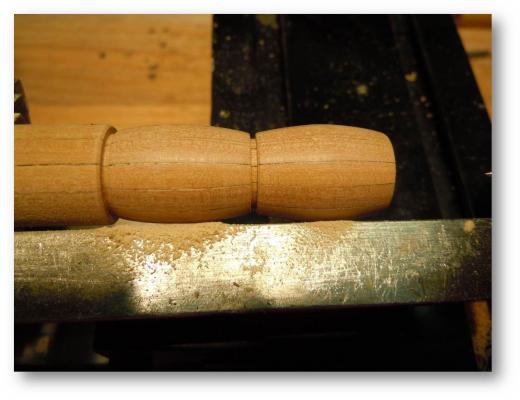
Barrel/Keg making
dvm27 replied to AntonyUK's topic in Discussion for a Ship's Deck Furniture, Guns, boats and other Fittings
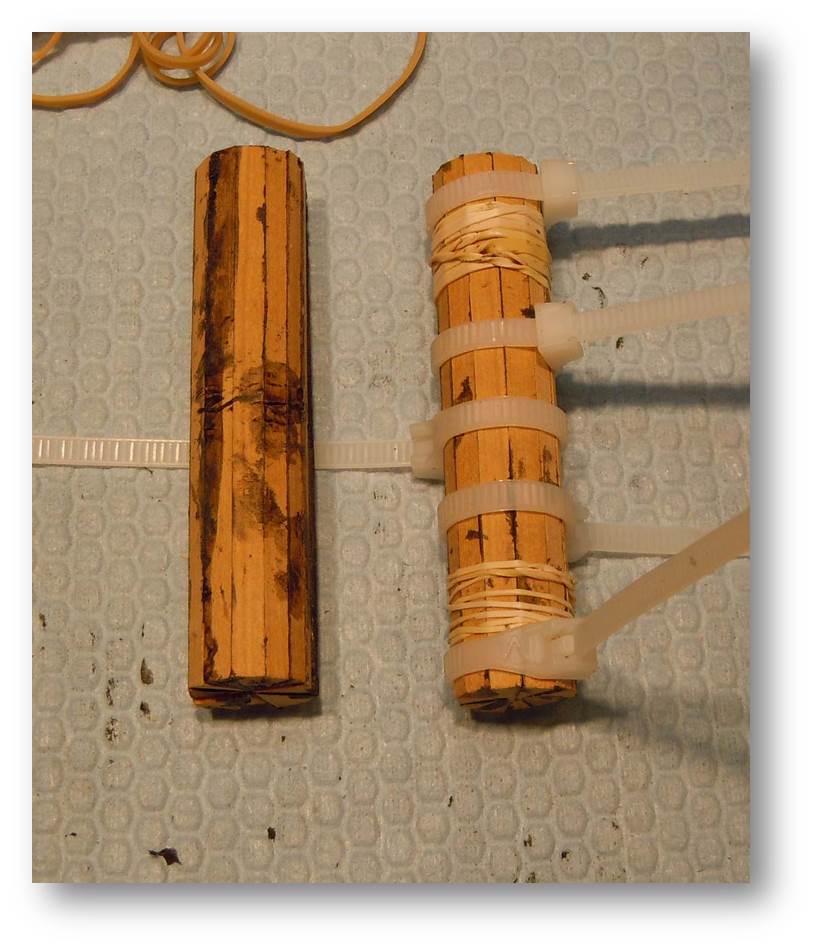
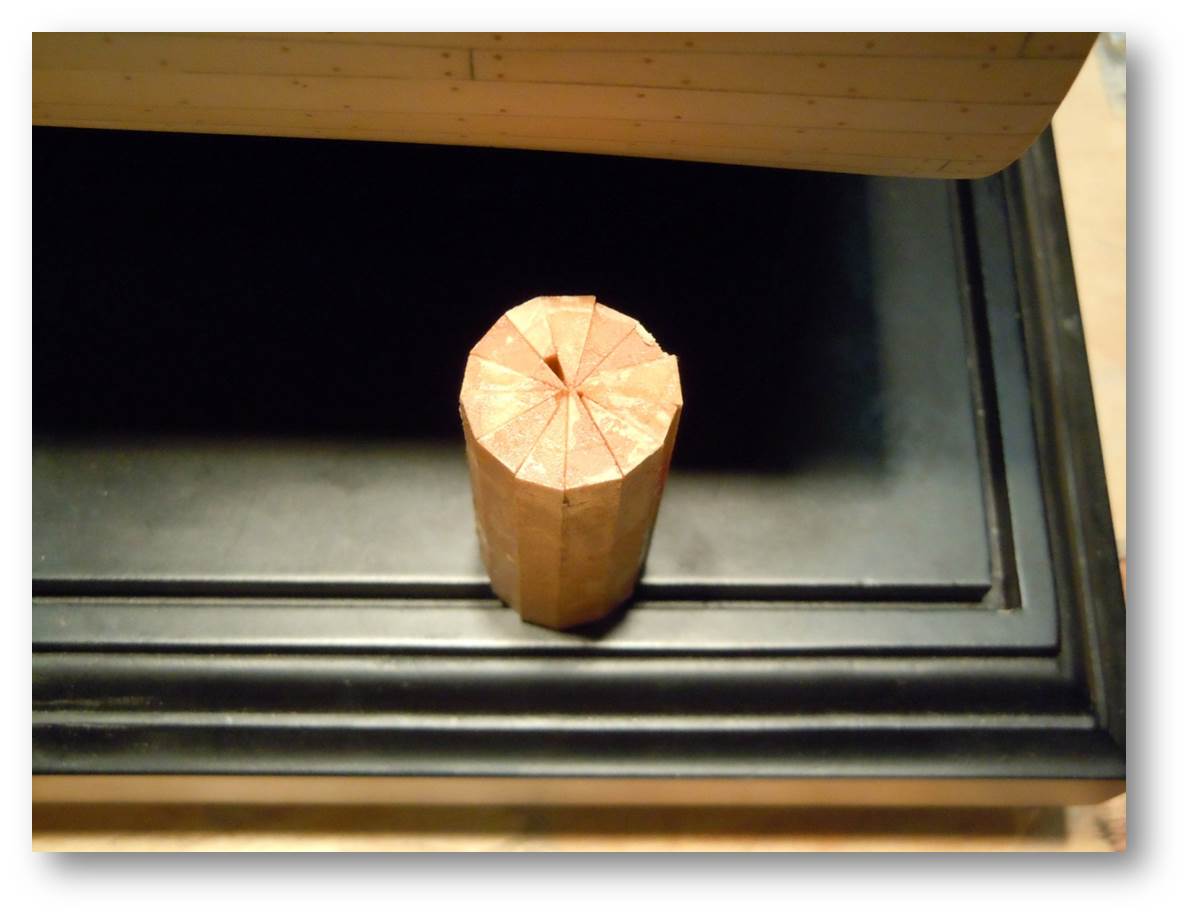
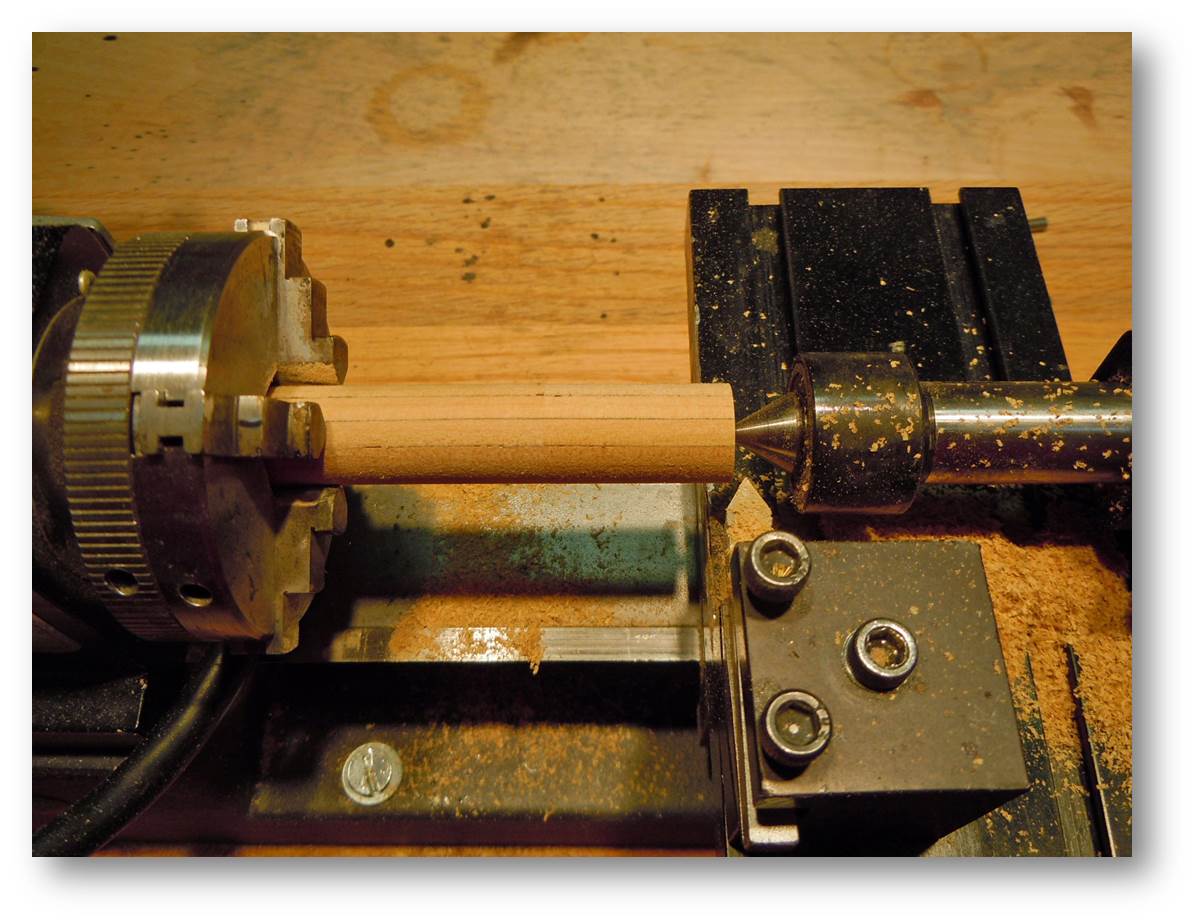
Here's my technique, Antony. It's very simple.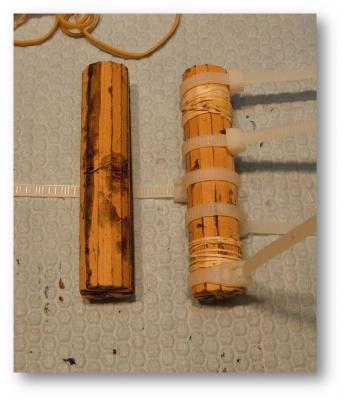


-
Wonderful job on the cross-section, Ben. But you don't have to be finished. We have posted several updates on our website to fit her out if you're so inclined.
-
ancre LE BONHOMME RICHARD by Jeronimo - FINISHED
dvm27 replied to Jeronimo's topic in - Build logs for subjects built 1751 - 1800
Stunning work as always, Karl. What adhesive did you use to bind the ballast and cannon balls together?- 662 replies
-
- 1
-
-
- bonhomme richard
- frigate
- (and 1 more)
-
Is there any more complex part of the ship to model than the transom and quarter galleries with all those compound angles? Keep those wonderful photos coming Gaetan.
-
You, Sir, are a fine modeler!
-
What a beautiful model of a beautiful ship, Bruce!
-
Both boats look terrific, Dan. Also love the Gothborg full sized figurehead. Great start on your figurehead.
-
My first attempt at 3D printing was not quite up to snuff. I used the company Shapeways and had a designer make the 3D model at a very small cost. I then had the cannons printed in several different materials. Unfortunately, none of them matched the CNC turned brass cannon (far right in photo below) in quality. 3D printing does have the advantage, however, of being able to incorporate features such as the Monogram and vent plates. They probably look better than most kit cannons so certainly something to consider. I wonder if there are other printers capable of printing finer detail.
-
Excellent summary, Remco. There are no short cuts to building a fully framed ship model. Your review is the best recipe for success that I've seen. In addition, as a sort of primer on framing a model one might consider one of the cross sections such as Echo, Triton or the bomb ketch.
- 1,215 replies
-
- 2
-
-
- sloop
- kingfisher
- (and 1 more)
-
Nice rider, Antony! I'm always amazed at how closely the builders of full sized ships such as Victory were able to mate these timbers to the underlying planks of varying thicknesses.
-
Alex has been given the rare honor of being designated Master Modeler on his Russian ship model forum. It's easy to see why.
- 227 replies
-
- 2
-
-
- cumberland
- 74 gun
- (and 1 more)
-
Awesome photos, Ryland. There were some terrific models on display!
-
Sweet joinery, Rusty!