HOLIDAY DONATION DRIVE - SUPPORT MSW - DO YOUR PART TO KEEP THIS GREAT FORUM GOING! (Only 72 donations so far out of 49,000 members - Can we at least get 100? C'mon guys!)
×


bhermann
-
Posts
548 -
Joined
-
Last visited
Content Type
Profiles
Forums
Gallery
Events
Everything posted by bhermann
-
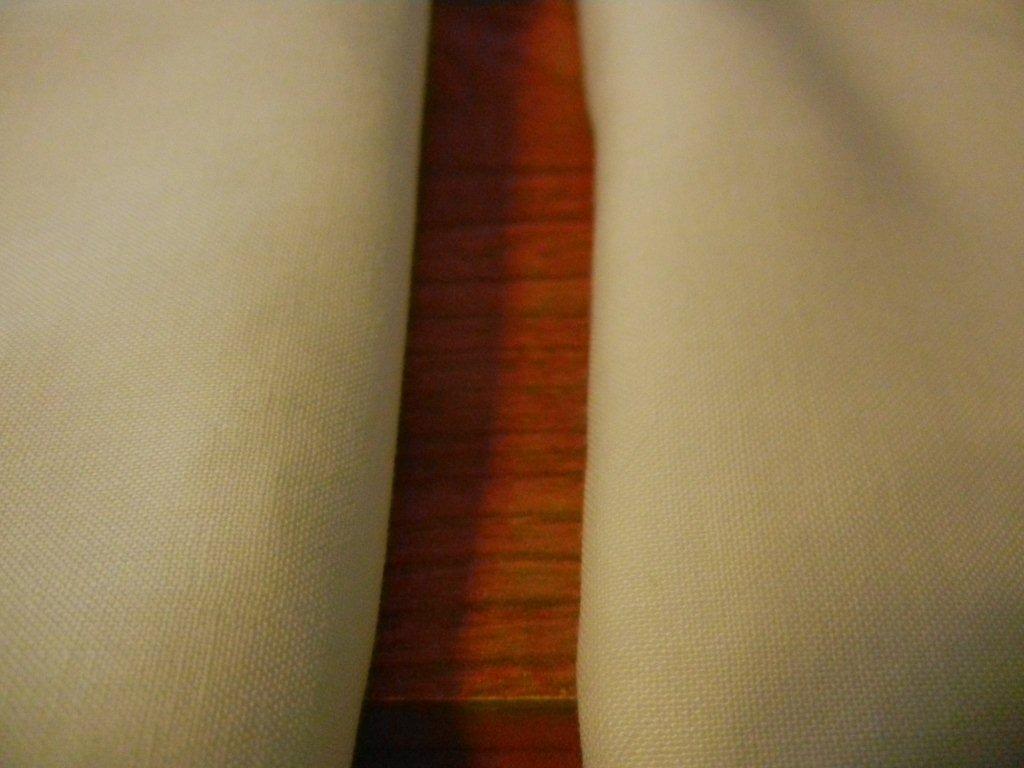
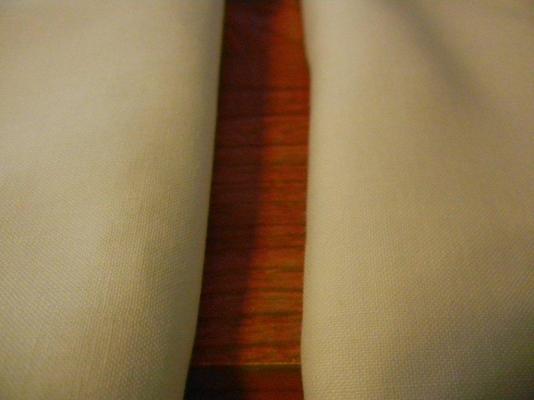
Thanks for stopping by, Blue Ensign, and for your kind words. She does have some lovely lines, sometimes I catch myself just sort of staring, and dreaming of being on board. On to the sails - I have to select my cloth. First up is a piece of fabric that was donated by a quilting friend. It has some things going for it in my book. To me, it "feels" right - like miniaturized canvas should feel. It also seems to have a tighter, more even weave. And finally, there is more than enough of it to allow for some experimentation and goofs. Second choice - an old pillowcase donated by my sister-in-law. It is softer than the first sample. It doesn't have as much "body" to it. Getting enough of it for a full set of sails would be tight with very little room for error. I suppose I could ask if she still has the other one. Finally, the two side by side: Number one is on the left. I am still thinking about the fishermans sail. I get the impression that the sail was lowered to the deck to switch sides and I think I know how the head is rigged to accomplish that. I am still a bit fuzzy on the foot - if it is indeed called the foot (the "tack" maybe?). If I can work out that detail, I may go ahead and add the sail. Bob


-
That is a real effective method to solve what is real problem to do with the kit-supplied pieces. Way to think originally, Jay. Bob
-
David - wow, two builds at once. You really are living on the wild side now. This will be fun to watch. Bob
-
Thanks for the kind words, folks. I guess I'll be heading out to the office supply shop for a mechanical pencil and some #2HB lead - whatever that is! I'm glad the posts are useful - it's nice to be able to give a little back to this forum for a change. Keith - it's good to hear that you are considering Bluenose for a future build. She has some really nice lines and goes together pretty well. I hope Captain Walters would be proud - he certainly was an accomplished skipper - to say the least. Bob
-
Gil - I remember this post from MSW-1. It was my introduction to your log, and a nice way to do splicing, which I have been trying to emulate ever since. From that point on I was quietly following your log in detail. I recall thinking at the time that it was very difficult to tell the pictures of the model from those of the real ship - and I'm still having trouble. Thanks for re-doing the log and for continuing on. I will continue to watch and learn. Bob
-
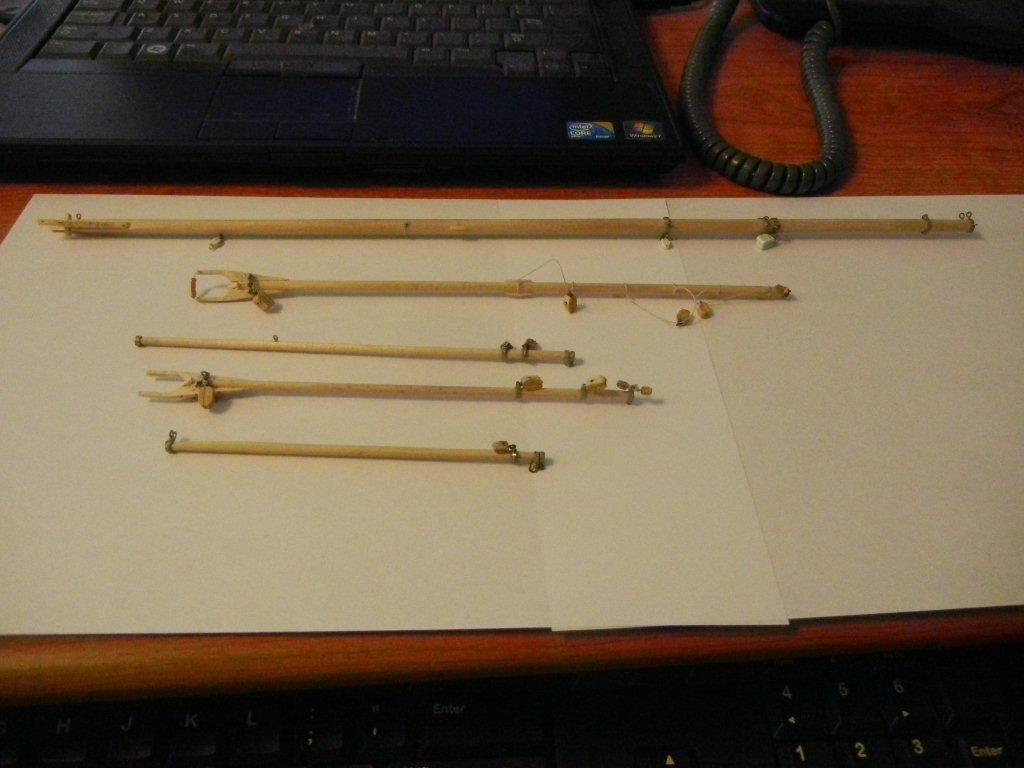
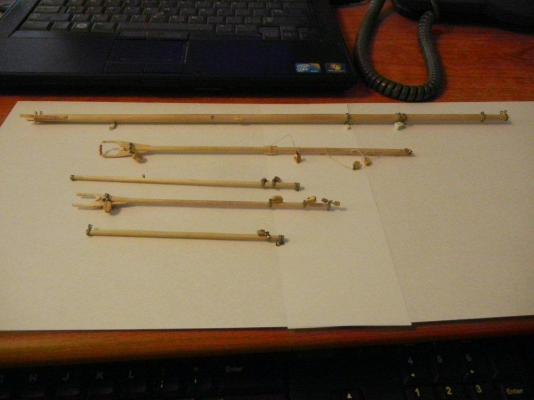
OK I guess I'd better 'fess up. I compared the spars against the plans and it looks like I have everything ready to go. I guess it's time to get off the dime and get moving on sails and rigging. From front to back: jumbo jib boom, foremast gaff, foremast boom, mainmast gaff, mainmast boom. Now to decide which of the cloth samples I'm going to use - old pillow case or old sheet. Bob
-
Hi Jack, and welcome to the growing fleet of Bluenose builders. We are a friendly bunch and will follow along, helping where we can, and always giving encouragement. I look forward to watching your ship come together. My wife and I were out your way about a year ago, staying with friends in Scottsdale. It was our first visit to that part of the country and we were impressed by all we saw and did. Amazingly different from the Northeast! Bob
-
Thanks for posting... Emma is on my list of potentials and it's nice to see another log I'll be able to follow if it happens. Bob
-
ancre Le Coureur 1776 by obi - 1:48 - lugger
bhermann replied to obi's topic in - Build logs for subjects built 1751 - 1800
Robert - that is some very impressive work on the cannon and carriages. Their rigging looks nicely scaled as well. I hope to be able to produce this level of detail someday - in the meanwhile, I appreciate what you share here. The ropewalk setup looks intriguing as well. Do you have any full length shots of it in use? Bob -
white lead putty
bhermann replied to wilbar's topic in Building, Framing, Planking and plating a ships hull and deck
Wilbar - I don't know that it is the best, but I used "Patch 'N Paint" filler on my Bluenose hull and acrylic paint over it. I live in an old house with 90+ year old plaster and I have used it on the walls over the past ten years. It dries hard, sands smooth and holds latex - and acrylic - paint very well. I can post a picture of the container if you'd like. Bob -
That is some very crisp work, Jay. She is coming along beautifully. Bob
-
Dave - that's a nice simple jig - and it certainly does the job well. Looking forward to your log resumption. Bob
-
Marc I'm sorry to hear of your troubles. Take the time you need to heal - the build (and those of us watching it) will be here when you are able to get back to it. Bob
- 525 replies
-
- 2
-

-
- cutty sark
- mantua
- (and 2 more)
-
Hi Dave and Jim - I like to put out the details of what I am up to. It may help someone along at some point, or it may generate a comment or suggestion about a better way to do something. Either way, we all benefit! Not much work in the shipyard lately, I need to go through each of the spars to see if anthing else can be added at this point, then I am going to ahve to decide on sails - I tend to slow down while chewing over anything this major. Bob
-
That's got it Alfons - nice work! Bob
-
Mercury by DSiemens - FINISHED - BOTTLE
bhermann replied to DSiemens's topic in - Build logs for subjects built 1801 - 1850
Daniel - what are dimensions of the wood you are using for the planks? It may be that if you were able to use narrower stock (to allow more planks between the top rail and the keel) they would lay better than the few planks that fit in the space now. I think what you have now looks pretty good but I understand the desire to get everything as smooth as possible. The comments about the importance of fairing are also crucial to getting a good run of planking. Bob -
"Follow the topic"
bhermann replied to Nirvana's topic in Using the MSW forum - **NO MODELING CONTENT IN THIS SUB-FORUM**
C'mon you guys - don't make me pull out the old TRS-80 or Commodore 64!!!! Bob -
"Follow the topic"
bhermann replied to Nirvana's topic in Using the MSW forum - **NO MODELING CONTENT IN THIS SUB-FORUM**
I am happy with the way this version works. I confess to being oblivious to the feature on the old forum -
One more thought on the lugs. I find that silver solder flows toward the heat source. The idea was counter-intuitive to me but it does work that way. In future attempts you may want to think about applying the paste on one side of the band and applying the torch to the other side. Good luck - whatever you decide to do will be fine. The band with eyes looks good to me. Bob
- 169 replies
-
- 1
-
-
- BlueJacket Shipcrafters
- Gloucester fishing schooner
- (and 1 more)
-
Alfons - the "pin" idea Russ suggests worked well for me when adding multiple lugs to a band. Basically you drill a small hole in the band and file a short tang into the inside edge of the lug. The tang fits tightly into the hole and provides a good mechanical connection for the solder. I may have a photo of the tang in my log... if not I'll be happy to dig up a picture if you'd like. I tried to make my lugs look like galvanized steel, based on photos of the actual ship. Bob
-
It's good to see this log starting back up... I recall many wonderful photos and ideas. Looking forward to seeing it again. Bob
-
Thanks for the photo - this is what I was trying to describe in words!
-
Jim - That is some very nice work on the deck fixtures. I particularly like the look of the cabin skylight. The decking looks good too! Bob
-
Russ That is a very clean scarph - good to see you getting some time at the bench. Bob
-
So far I've just taken a file to the corners of the blocks to make them more oval than square. Of course the number of blocks in my current build is around 100, it'd be a different story if I were doing Victory! Bob