popeye the sailor
-
Posts
16,007 -
Joined
-
Last visited
Content Type
Profiles
Forums
Gallery
Events
Everything posted by popeye the sailor
-
 I see you fixed the upper balcony....looks much better. when you add the support columns, it should stop the sagging from returning. looks great!
 -
you showed the sopwith hanging in your Fokker log......made me realize that I had totally lost track of this project. while it appears that I didn't miss much, I see that the finish produced a fine looking model. the half fabrication looks great....the truss cables can be a trial....you pulled them off very well. definitely set you up for your tackle of the Fokker kit super looking model!
-
very tedious work to keep all the pivots movable....then all the fastenings that go along with it. my hat's off to all who can achieve this......an act of the purest insanity I have trouble even with plastic kits......one ill drop of glue, and I've failed the kit has me fooled........clearly can see what looks like mold lines on the frame parts kinda interesting
-
Mark has a good idea there........I've never tried to split hairs I've uses thin wire from those little motors........the ones you get from toys and such. the armature wire is very thin......almost as thin as a human hair. nice progress........too bad about the flag
- 378 replies
-
- 5
-

-
- java
- pacific crossroads
- (and 2 more)
-
very nice progress John.........your putting some thought into this projects, and it's paying off !
-
nicely done Glenn........the extra detail for the rigging is paying off. really looks good the sails look great as well!
-
congratz on making it to the rigging stage......quite a journey to get to this stage she's a labor of love......and your off to a good start
- 1,306 replies
-
- 8
-
-
- syren
- model shipways
- (and 1 more)
-
the hull looks fantastic! I've asked myself the same question about double planking....I've only done it to one model. it seems a waste of planking, especially if done as well as yours .....and of course, with the use of copper and paint. really nice....well done!!
- 359 replies
-
- 3
-
-
- prince de neufchatel
- model shipways
- (and 1 more)
-
nice job on the hull bottom Danny.......at least you won't have to deal with the decks being off shaded looks very good!
-
WOW! you've done a lot so far! looks very good Is the frame plastic?.........I see mold lines on the parts. this might even answer some of the dilemma between A.L. and Model airways {model expo's brand of kit}. to weigh in on the bending question, think that the bending line cuts into the thickness of the PE. bending into the line will give you a smooth corner or edge, and evens the thickness of the part being created, on the inside of the bend. you won't have any telltale marks on the outside of the bend either. as most know, this is a one time shot.......no way to correct anything once bent to shape. I've not done too much with PE, but to me, logically, I think this is the process for bending the parts. I did have a bending tool for PE, but I traded it along with a bunch of other stuff, for a Billing's Bluenose model that was partially built. I will soon have a chance to experience some PE......the river boat has some. I feel cheated a bit, 'cuz there is no bending involved your doing a super job on this build.......the sub assemblies look very well done as well
-
I agree with Ken.......I'm impressed with how you put it all together. the model is coming along nicely as well.
- 378 replies
-
- 6
-
-
- java
- pacific crossroads
- (and 2 more)
-
your way ahead of me.........windows and stairs look great sweet look'in model so far
-
thanks for the good word Russ, Jesse, and Chris I finished banding the deck last night.....a rarity for me during a work week. I still need to trim where the poles will go and clean up the corners.....it's just about ready for the clear coat {lacquer}. glad to have you look'in in I'll be happy once I'm where you are Chris...your way ahead of me thanks to all who hit the like button
-
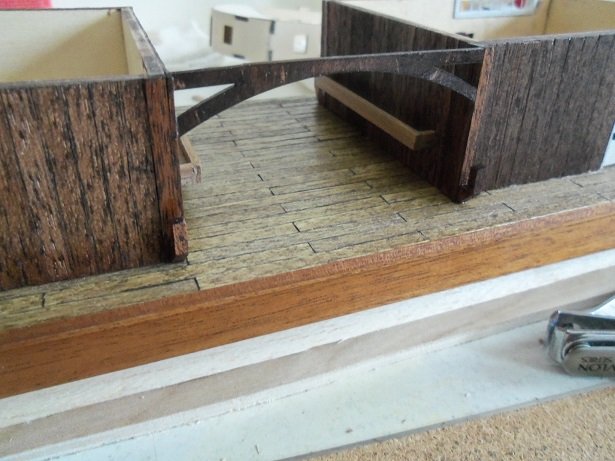
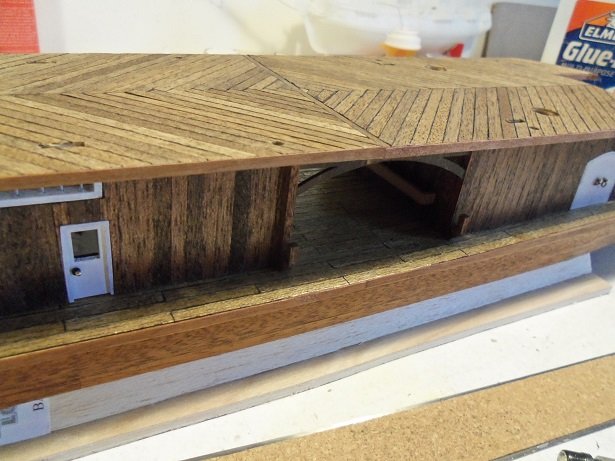
thanks Carl! I did a bit more. I started to make some of the other parts for the lower deck. if I get enough filled out, I will be able to add the second level. first were the hooks for the coral gates. I made a bunch of them......stain the finished ones with mahogany, and glue 'em in place. I cut the coral gate bars as well and stained them too.......sprayed them with gloss lacquer. where the smoke stacks are to originate from, are the two large holes in the second level deck. there are two pieces that will act as a stop for them. the aft structure is not a wide as the forward structure.......to compensate for this, I added two posts.....one on each side, of the aft structure. as mentioned, I also began to do the edge stripping around the deck half of it is now done. a canopy brace spans both sides of the area between the structures. they were stained and given a couple coats of gloss lacquer. here is one of them....they are both in place now the bottom coral gate hooks are in place as well........the top pair will be added soon. the resat of the edging was added to the deck. I had to run out and get more lacquer.......tried to find it in a bottle or can, but I guess I'll have to go to Hobby Lobby for that. I'll settle for the rattle cans for the moment
-
Kevin......no..I'm cutting them from the square plastic pieces that fits in the trays. I can only get three out of each part.......but cutting out like this will make them look a bit more real. I will need to look up whatever fish this is and try painting them. I have seen so much Walter....good to see you BTW I get a lot of my ideas from browsing through Hobby Lobby.......the bead dept......the jewelry dept mostly.
- 378 replies
-
- 10
-
-
- t78 norden
- billing boats
- (and 1 more)
-
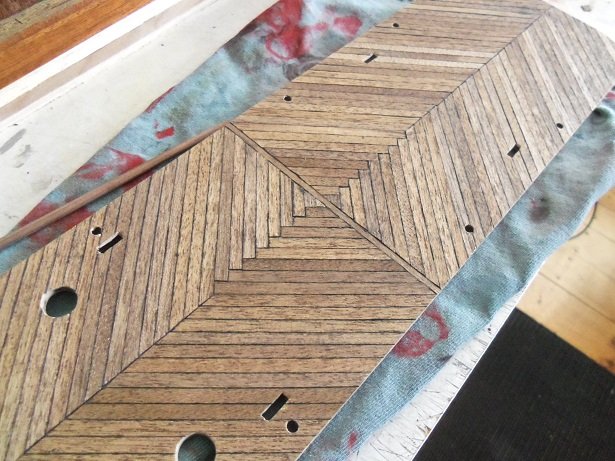
I think it's more like nibbing....joggled planking is in regards to the hull planking. the other joint you saw going aroung the margin, is called a scarf joint. very nicely done. you also made mention about the center planking on the deck. depending whether you do two planks or a single, would be called the king plank, they are usually a tad thicker {depending on the ship your building}, and are usually laid as one continuous plank..... no butt joints. looks very good
-
nice to see an update......she's really looking good
- 51 replies
-
- 1
-
-
- krabbenkutter
- billing boats
- (and 1 more)
-
well done on the rigging Tom.........looks great!
- 1,354 replies
-
- 1
-
-
- constitution
- model shipways
- (and 1 more)
-
I meant to mention this the other day. I was at work and was doing the repair work on the trailer. they are equipped with GPS, and I was in the process of inspecting and updating the firmware. walking out of the trailer, I noticed a clump on the floor. I picked it up and found that it was a hair net......brown mesh and dirty, with a bit of damage to the mesh. fanning it out, after picking out some of the debris, I saw how small the mesh was. it made me think that it would be perfect for a fishing net. of course, it ended up on my tool box......but I forgot to bring it home, for further testing. today, we were in a local Wal Mart......I looked for one, but they didn't have the color I had found. we then went to the local grocery store, and I found a three pack in brown. I think by cutting off the elastic edging, it might be useful.........my testing continues
- 378 replies
-
- 7
-
-
- t78 norden
- billing boats
- (and 1 more)
-
thanks Mike.........I think it's more the metal they're made of. it weirds me out
-
thanks Pat the bin didn't have much in it........I thought I had a couple from another project. all I had in there was the railings form the Half Moon crow's nest. I didn't use them, since half the parts were missing to make them {another project I was thinking of bringing back out}. I'll think of something........then one more thing i want to add thanks for all the likes gents!
- 378 replies
-
- 4
-
-
- t78 norden
- billing boats
- (and 1 more)
-
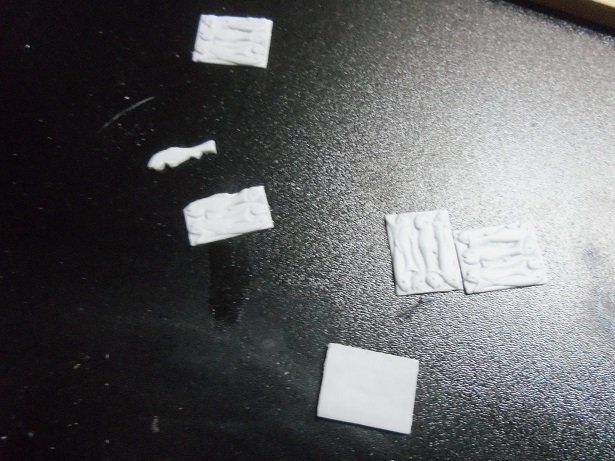
they can also be formed by using cloth or tissue paper, painted over with diluted white glue. there are a number of choices.......and I'm sure there is something on this online
-
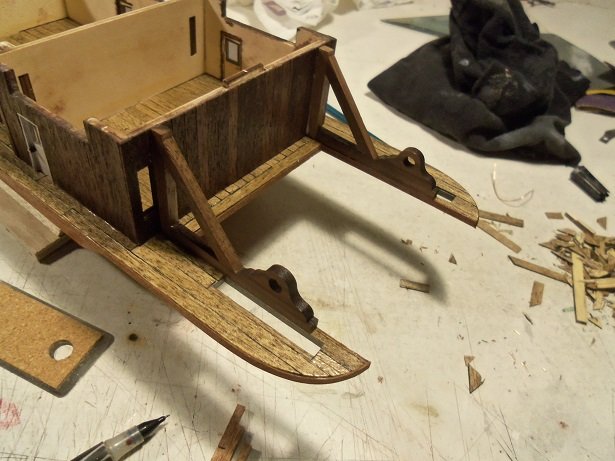
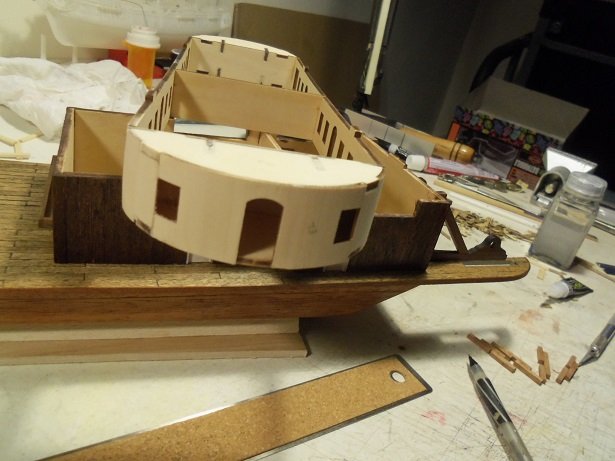
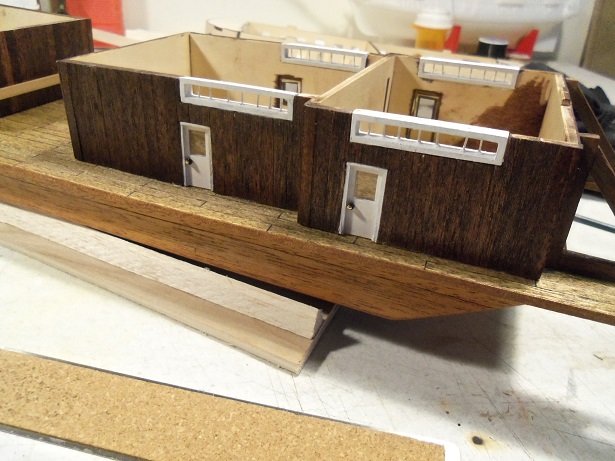
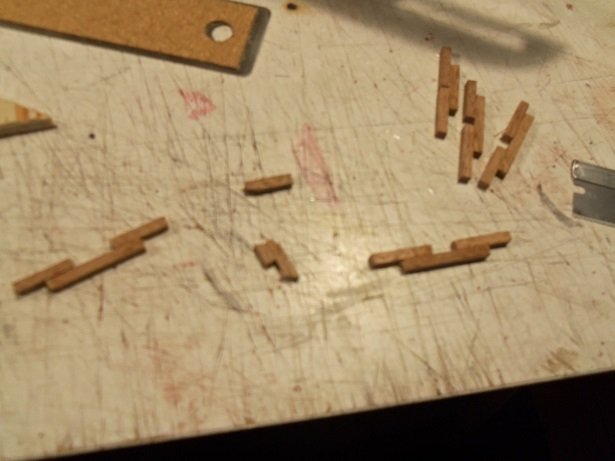
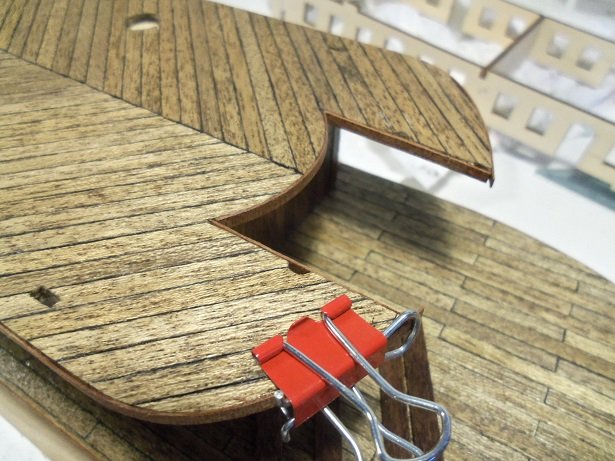
there's a lot more than meets the eye Carl.......more involved than a work boat ....like a lamb to slaughter I got to do some more on her yesterday......sub assemblies galore! it's time to clean out the holes for the poles....I got the main ones. there are two larger ones at the stern end of the deck.......one of them I botched and had to repair it. the other side came out good though.......I tried to cut the affected one, but the glue hadn't set long enough and had to repair it again. I'll try again at a later time. I tried to make a jig to drill the bar holes in the vents for the aft structure, but gave up on that notion....darn thing kept breaking. instead, I did one of them by eye and drilled the others to match, using the first one as a template. came out reasonably well. later they were painted to match the doors. I had sprayed the paddle wheel brackets with a gloss lacquer........they came out with some degree of shine, but it still sucked into the wood. two seal coats before this........and it still did it?!?!?!? .....some kind of thirsty wood ! good enough for me though, and they were cemented into place. I also repaired and finished the end on the second level structure. sanded, it will pass muster......I thought it would have a flat spot because of the break, but it rounded up fairly well. the other end still needs to be done, and then I can start to plank it over, along with the third level. I'm not going to use the metal windows......I will either try to remove the panes in them, or I'll make the windows for them.......weighing out the possibilities the vents are dry.........they are now in place on the aft structure. I gave the second level deck a second application of stain, to spruce it up and get rid of the tiny nicks. I also started to put the banding around the edges. it will be ready for sealing at that point, later to be cemented to the model. the decorative lattice that goes between the two structures has been stained with the mahogany. it will need to be fitted later.......the coral bar hooks are in the process of being created. still more to go on the first level I've been looking at the frames for the paddle wheels.........the more I look at them, the more I'm not liking the paint work ahead. thinking on this..........