


popeye the sailor
-
Posts
15,981 -
Joined
-
Last visited
Content Type
Profiles
Forums
Gallery
Events
Posts posted by popeye the sailor
-
-
sorry to hear your under the weather.......hope your back in the saddle soon
") Vanguard is coming along splendidly........really good paint
Vanguard is coming along splendidly........really good paint ")
-
hey there Sjors.......thought I'd take a peek and see what my good friend is doing
moving pretty quick on this one.........look'in really good!
no Covid.......we've both had our shots!
-
you certainly have a lot of parts there, as I pointed out earlier........this is going to be one hellasiously detailed model
nicely done!
- Old Collingwood, CDW, lmagna and 3 others
-
 6
6
-
-
thanks Ken
of course, with these sub assemblies, there is still more to add. the raft was one of the things I did yesterday. the placement of the rest of the torpedo mounts and the border was completed. the border is only 1 mm thick......I have a bunch of other planking, but they are 1.8 mm {the overage {1.5} is the allowance for sanding}. in most kits, they say the planking is 1.5 mm.......but it's actually 1.8 if you mic it out. I found this out when I used left over planking to fill in shortcomings I've had with other models. some are right on the money.........some are not. it's not a big deal......I've found this little 'fib' to be useful in different situations I will do butt shifts, since I find it hard to believe they handled planking in these lengths. the Revell kit I've been studying doesn't show butt shifts, but I will say.......that the kit is very close to what the actual boat looked like.
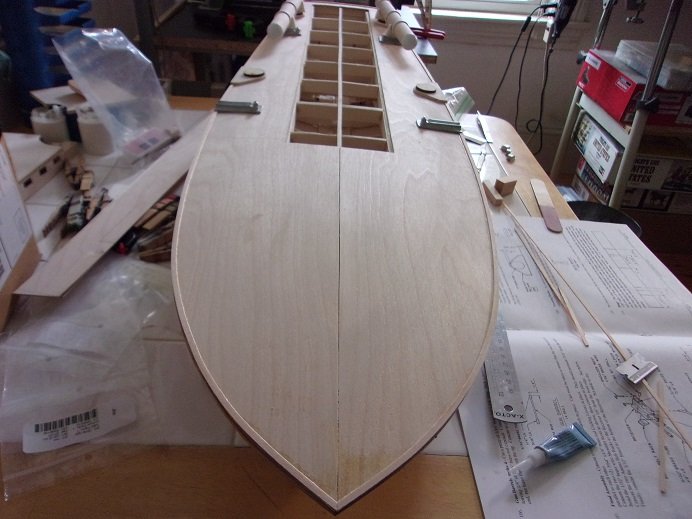
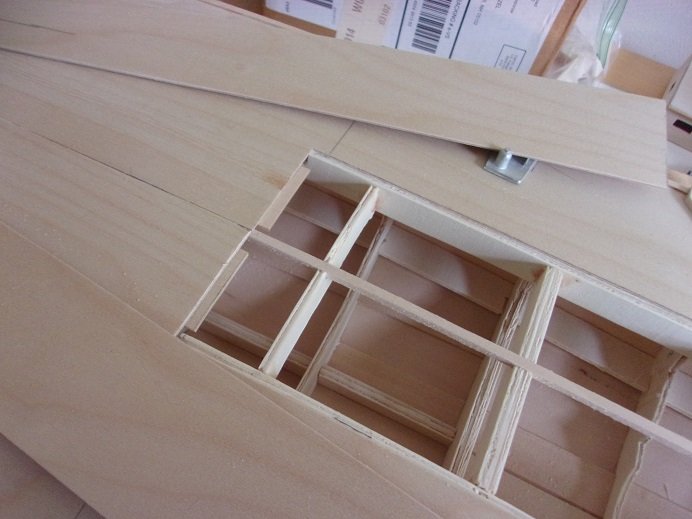
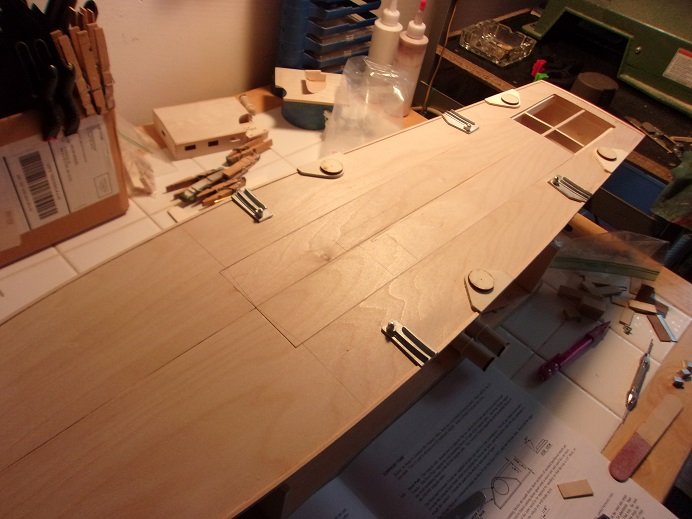
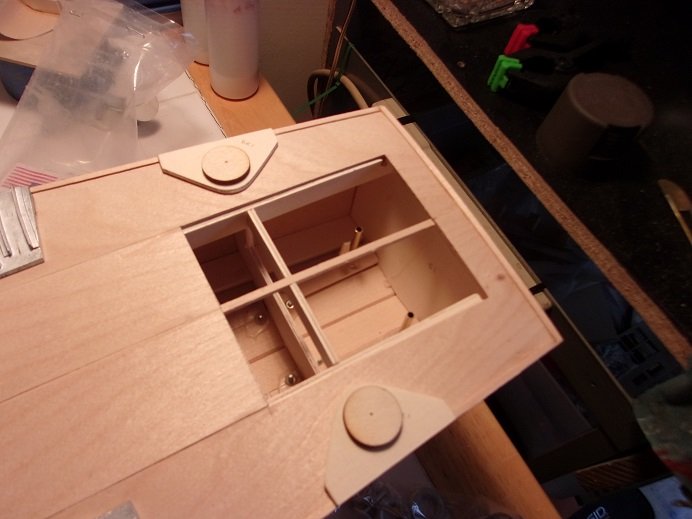
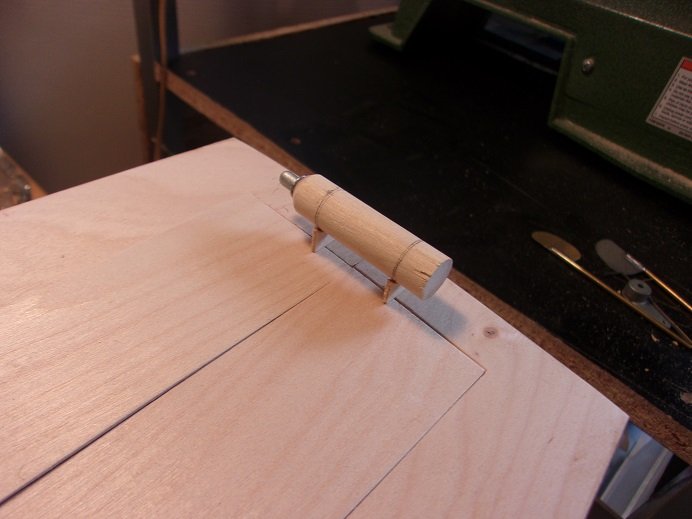
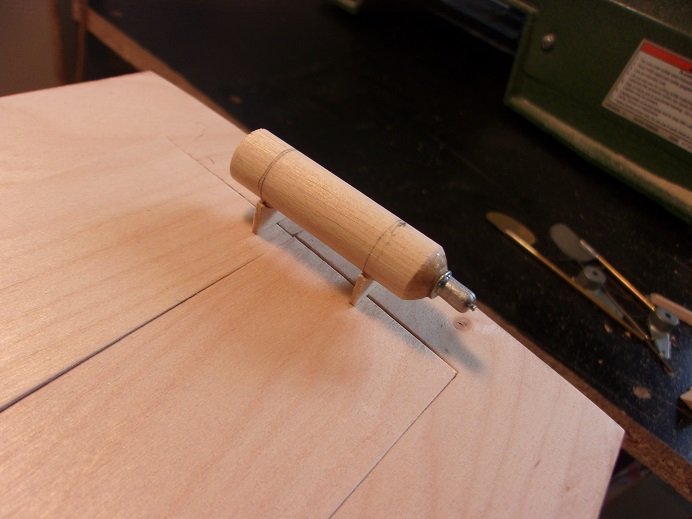
at the front of the center filler panels, the nose of the helm structure was traced out for the planking. tabs were added so the panels will sit flush when cemented in place.
the line you see on the deck sheer, is where the corners of the structure are....some 5 - 7 mm from the line of the opening. I also started to play around with the .50 cals, while sub assemblies were drying.
fitting the brackets in the turret mounts
there's quite a bit of detail to these guns....... I started to give the panels some thought........the only opening I actually need is at the stern. so the panels were cut where the engine cover ends off, and I can cement the rest of it in place. pretty soon, I will need to paint the hull, before I can put anything on the deck.
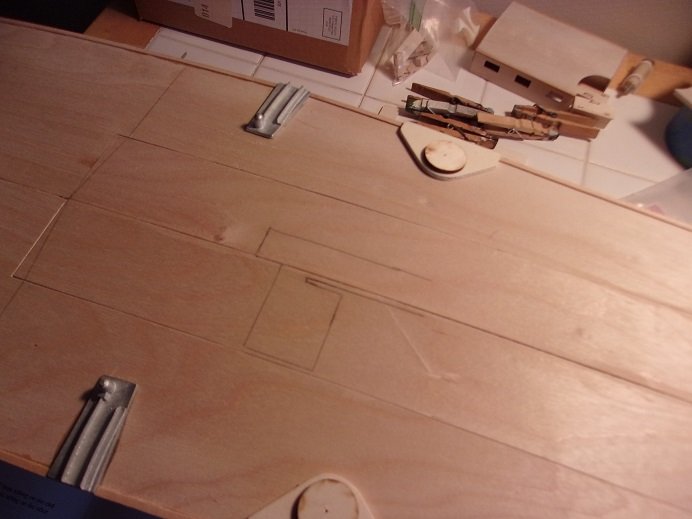
the configuration of the helm floor was traced out, I have something in mind for it, as well as the two shields. I left more than enough room to set up the rudders.
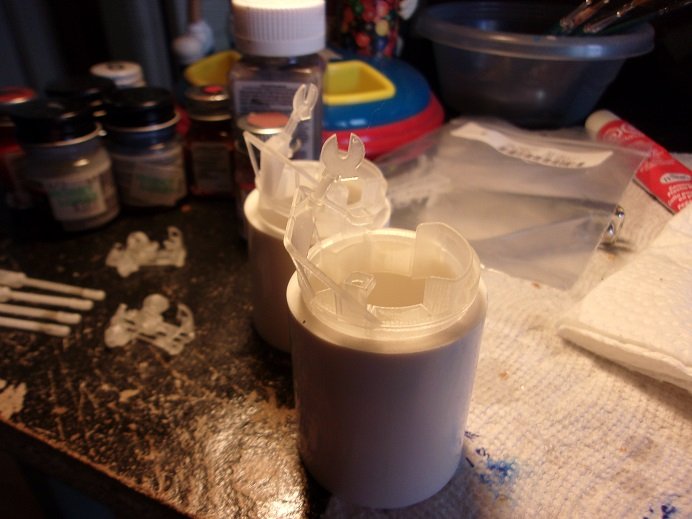
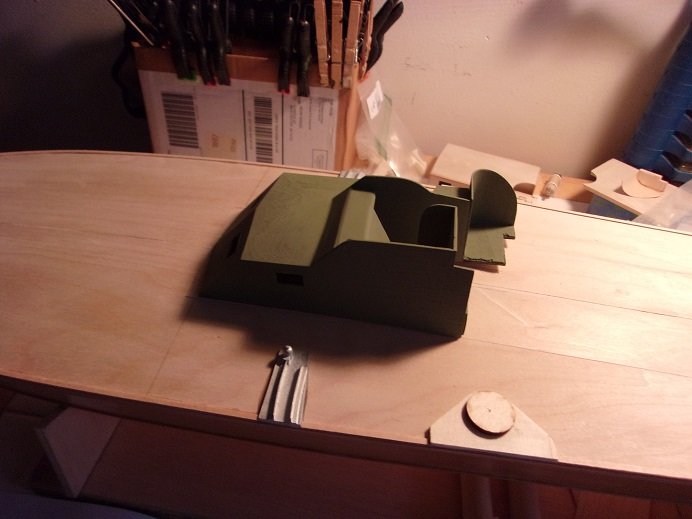
as I mentioned on Mike's log, I had a rattle can of Deep Forest Green......a Rustoleum 'camouflage' color. it's a non reflective paint, specially designed for camouflage. to relieve the itch to get some paint on her, I decided to spray the helm.....but the can won't spray. I think it is dead
 I'll figure out a way to tell if it's still energized.......if it isn't, I'll drain it somehow....I'm not wasting paint another color I bought is an Army Green......not a bad color.....gives the sense of fading and will help highlighting the detail.


- lmagna, marktiedens, GrandpaPhil and 8 others
-
11
-
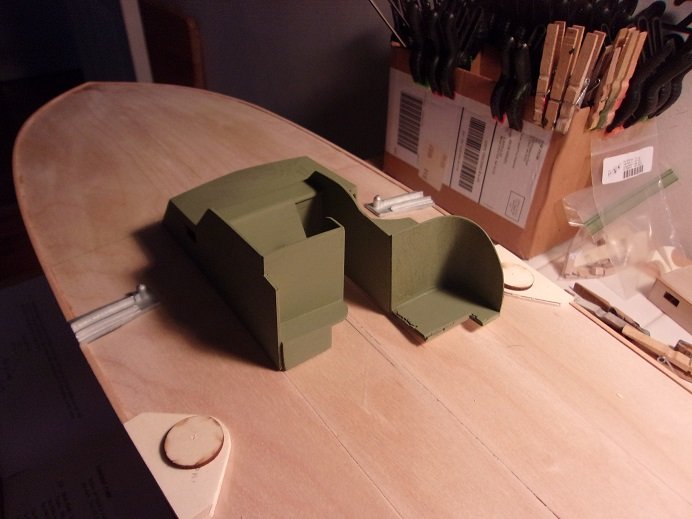
hmmmmmm....looks like there is some green to it. what I have {had}....is a Rustoleum 'camouflage' color.....it's non reflective. deep forest green
looks brownish in the pictures, but it's the light..........very close to a true olive drab. doing searches, I've seen many shades of green. Pacific theater boats were mostly olive drab........or an equivalent shade due to fading. Kennedy's boat {PT 101} when he was stationed at the canal, was gray.
I've also been comparing this model to the Revell model.......your model bears the resemblances in many ways........very nice
- GrandpaPhil, Egilman, lmagna and 4 others
-
7
-
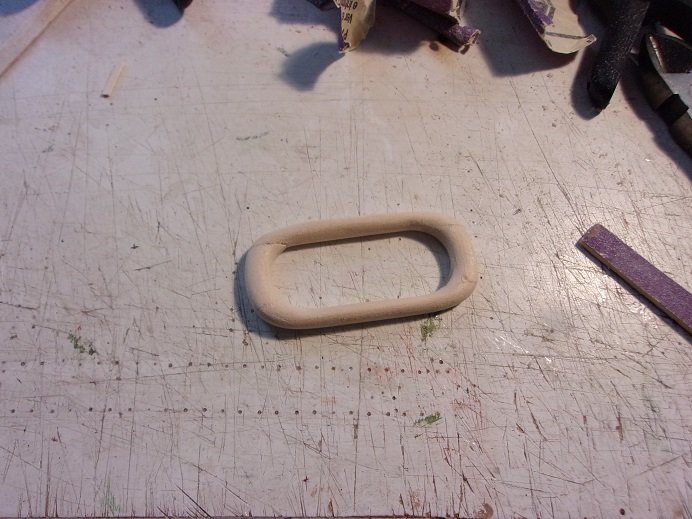
yesterday, I took the day off. I made more progress.......the first being the sanding of the life raft. to hasten it up a bit, I used the Dremel to get the shape, and then sanded the rest by hand. what I ended up with was this.....
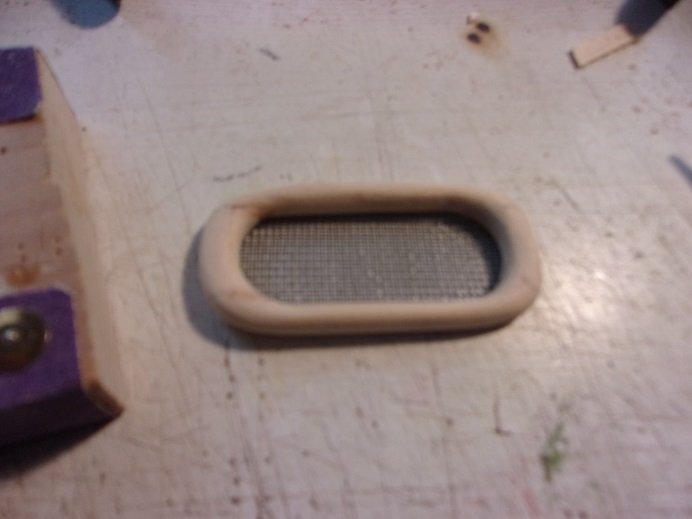
in the kit, they supply a small sheet of screen....enough to make three life rafts. cutting a piece to fit....then rounding off the corners.......this was the result.

more to come
- marktiedens, GrandpaPhil, Canute and 8 others
-
11
-
I suppose I'd better get caught up with the progress.......I've made quite a bit since the last update
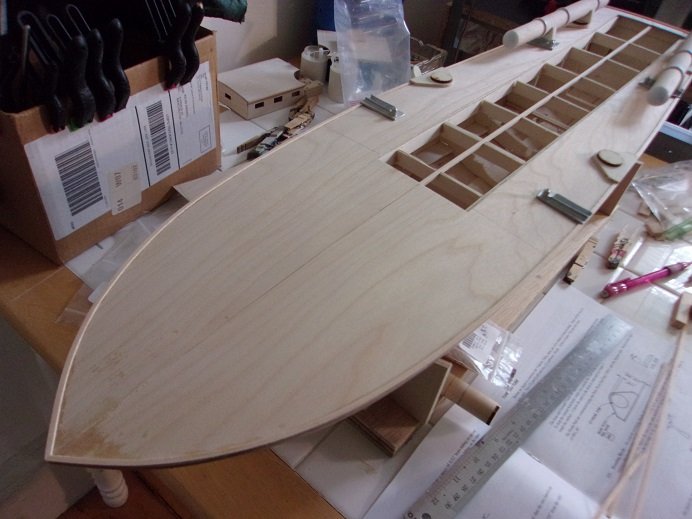
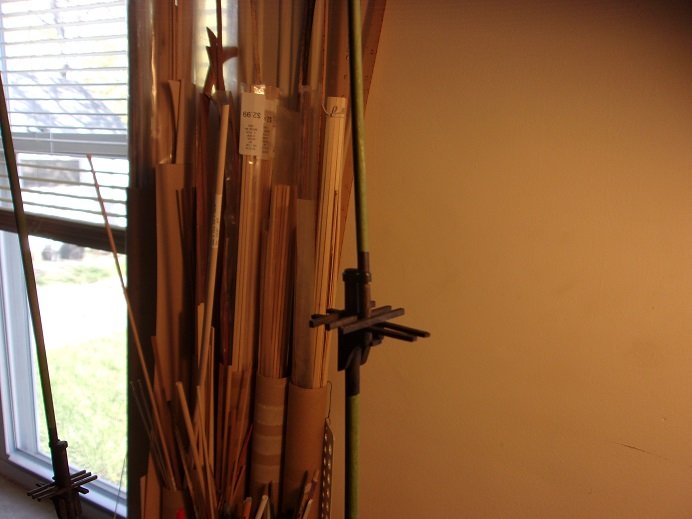
I've been wanting to paint the hull, but the weather still doesn't want to cooperate.......I may be forced to paint it in the spare room  so what I will do is flesh out the basic deck layout and plank it. I did get scared though......Mark had sent me a huge bundle of .5 X 880 mm blonde basswood planking...of course, that was a while ago. I have used some since then.....I found that I have only a quarter of what I used to have. this sent me scurrying through the other bundles of wood......luckily, I scared up a bundle of .5 X 550 mm thin strip! RELIEF!!! { More about this a bit later}
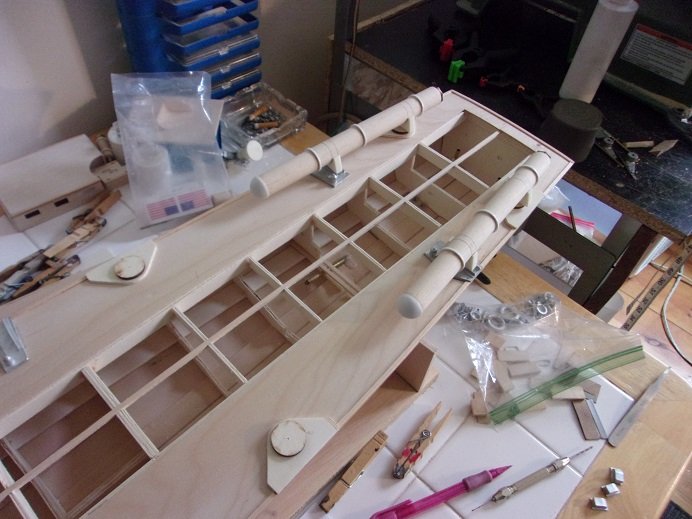
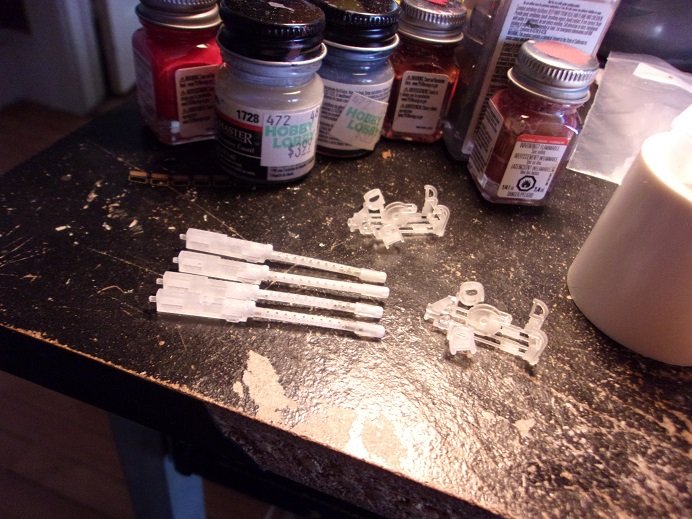
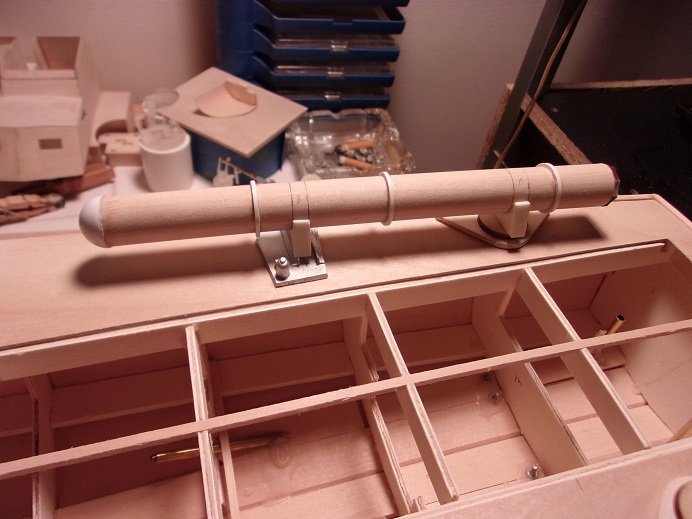
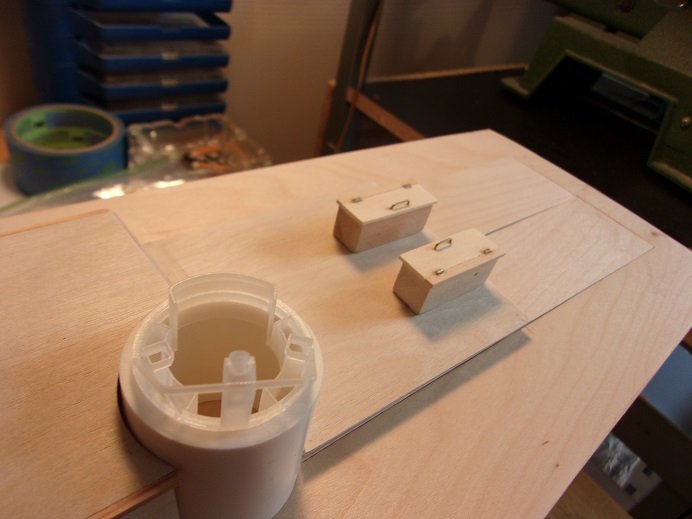
carrying on with some more sub assemblies.........I began to flesh out the torpedo tubes. the first thing was to mark out where the bands are to go, as well as the chocks.

the nose and the tail parts were added. my plan for the deck payout, is to add the torpedo mounts and border around the deck sheer. 1 mm strip was use to border the sheer, broken by the mounts. measurements for this are few, so I went with the big diagrams.
I also used some of the measurements from the torpedoes for the swivel mount placement. if you can see, there is a hole drilled into the center of the disc.......a pin will be inserted in the center of the rear chocks to fit them.
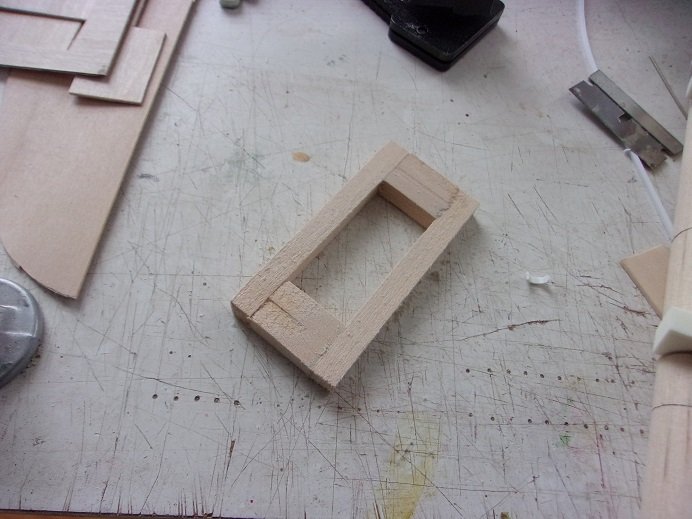
the life raft was another sub assembly.........it is to be made of wood, and the 'blank' has to be assembled. the parts were cut from a 1/4 square piece of pine, supplied in the kit. cemented together, you get this.......
there are some hood vents that I'm not too crazy about.......they don't even look the part. most likely, I will scratch build some.
this was done on Friday of last week........
- marktiedens, Canute, mtaylor and 8 others
-
11
-
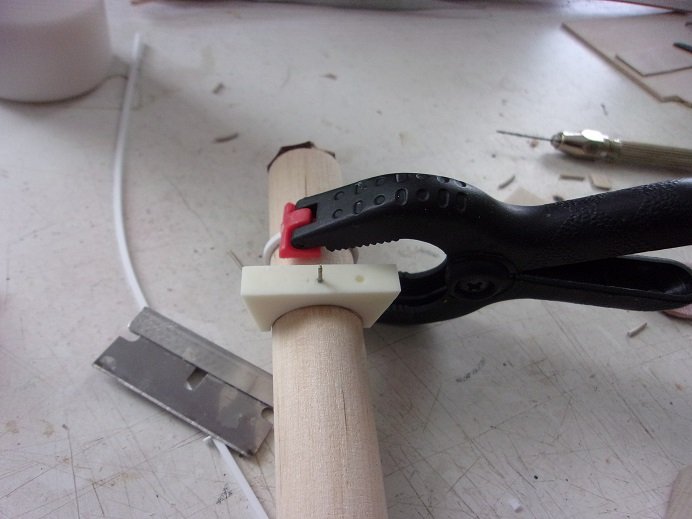
most shop carry 7 mm brads for modeling.........they can be inserted with a tool known as a pin pusher. they also carry 10 mm brads, but they have visible heads on them and I've not seen a pin pusher available for them {they carry small hammers instead}. I used then for door knobs and levers on the dash
good to hear your making progress great job!
- Halvor and Keith Black
-
2
-
-
thank you!.....perhaps I can scratch build one. I have enough brass tubing in different diameters. I also have square brass tubing too......
on another note..........after replacing the front brakes and a pair of front stabilizer links, the car passed inspection
-
I tried butterflies once........failed miserably
hats off to a really neat model! great job!
reminds me..........gotta get the Revell kit off the table

- thibaultron, mtaylor, Old Collingwood and 2 others
-
4
-
 1
1
-
I had the same problems with the Vendetta........ in regards to the lost part department, put a nylon stocking over the nozzle of your vacuum cleaner and go around your table........you might even find parts you lost eons ago

look'in really good there .....captain
- Edwardkenway, mtaylor, CDW and 3 others
-
6
-
thanks all........there's more than meets the eye with these boats. hello Egilman.......glad to see you
.........I do have mahogany planking.......got a good bundle of it when I got my second Nordkap kit. a while back, I received a equally good bundle of .5X5mm blonde thin strip from Mark.....that is what I'll be using instead. sandwiching canvas between layers is another bit of detail that will never be seen, so I won't be doing that........paint will also hide the sin.
I'm saving the mahogany for a project that won't involve paint......that's a wood that deserves to be seen. the plan is, to border off the sheer and plank her completely....since my earlier assumption has been debunked { I got that from models I've seen}. I also though that there was a shortcoming with the kit, since the sheer wasn't riddled with punch outs for the hatches and deadlights.........easy to overlook and cure. the next update will show the start of the deck layout. the hull paint really needs to get done so I can do more on deck.......weather has been unsettled of late...hindrance
as for the 37 mm gun, heck, I've seen models where they left the tires on........adds a bit more detail, if you ask me
I wonder what scale would be suitable........IF I was to add it?  .......do I want to lay some paint!
thanks again all, for the kind comments and the likes.......hope to have more to show later. gotta go look at some brakes.......
- Edwardkenway, Canute, mtaylor and 3 others
-
6
-
they look awesome Greg...........you've turned this into a dual build!
- Canute, lmagna and Old Collingwood
-
3
-
-
think of the PE!!!!!! Pfffffffffffffffffffffffffffffffffffffffffffffffffffffffffffffffffffffff!

- Canute, Old Collingwood and mtaylor
-
3
-
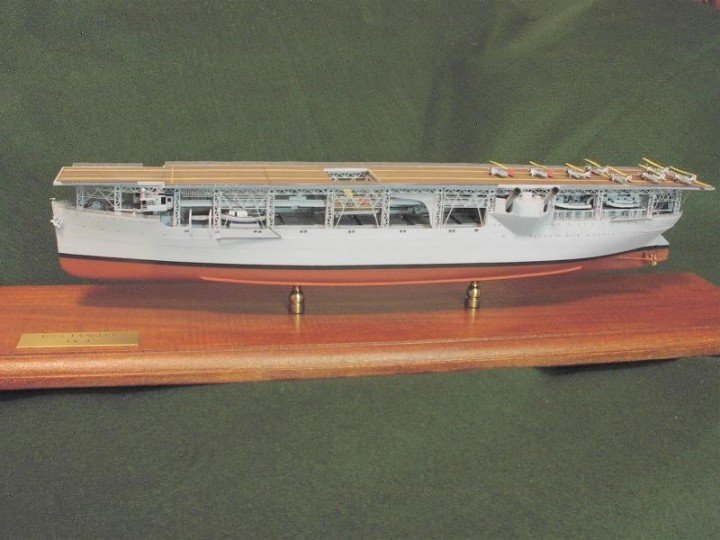
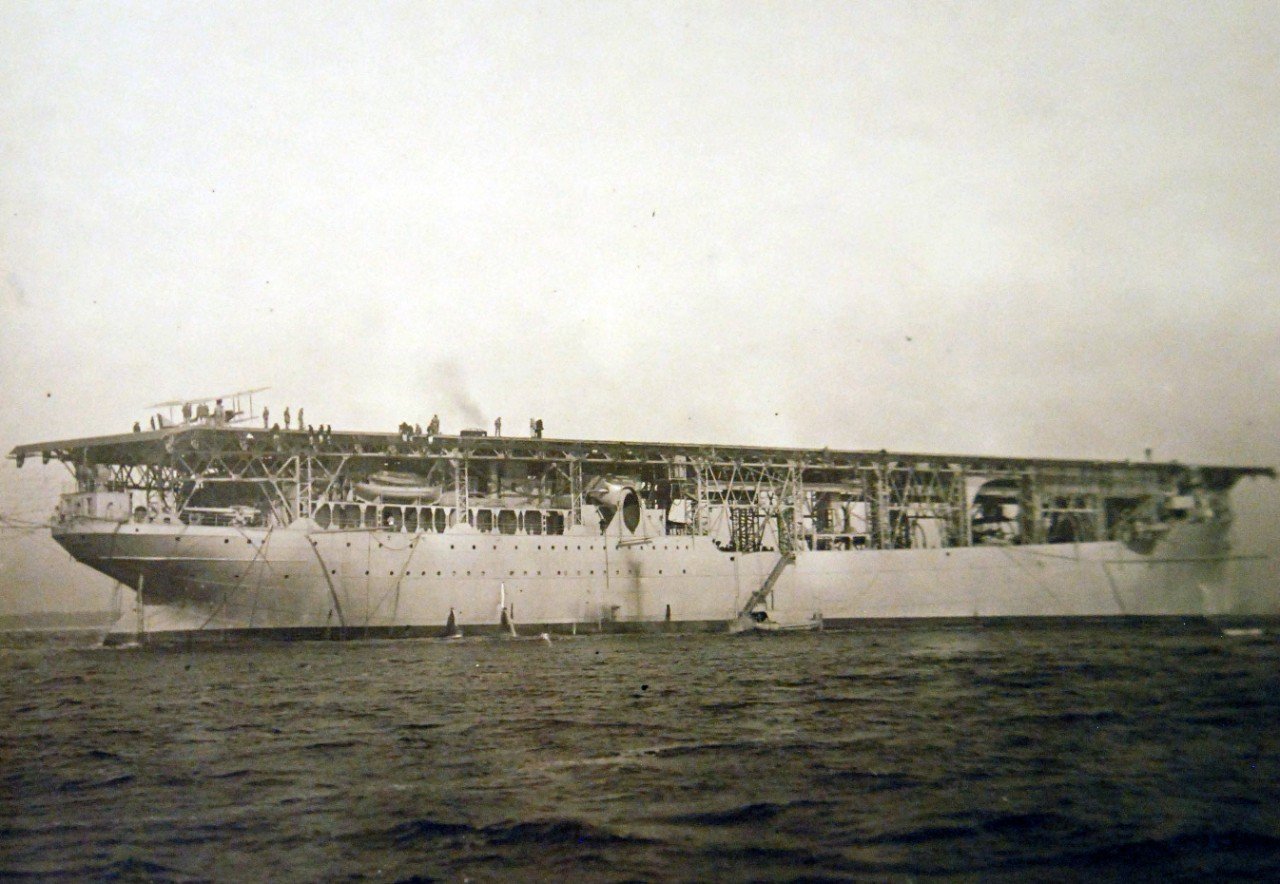
that's the 2021 kit Greg........still looks like a nightmare to build........but surely to be interesting! I got the Langley built in 1922 Lou......it was touted to be the first U.S. aircraft carrier. it was sunk during jap attack.........which is interesting the Lexington was touted as the first aircraft carrier to be sunk during war, but she was lost in may of 1942, and the Langley was lost in February of the same year. one thing the Lexington loss did teach us, she taught us how to survive enemy attack. I found this while I was looking for info on the IJN Shokaku....future build.
- lmagna, Old Collingwood, mtaylor and 1 other
-
4
-
Trumpeter had a kit out in 1:350 in 2019. it sported the full deck. the new production is different......part of the deck is missing.
- lmagna, Canute, Ryland Craze and 2 others
-
5
-
cool life raft!
I just assembled the outer ring........now to sand it all down. the detail looks cool too!
- mtaylor, Egilman, Old Collingwood and 1 other
-
4
-
are you kidding?!?!?! just look at the logistics!
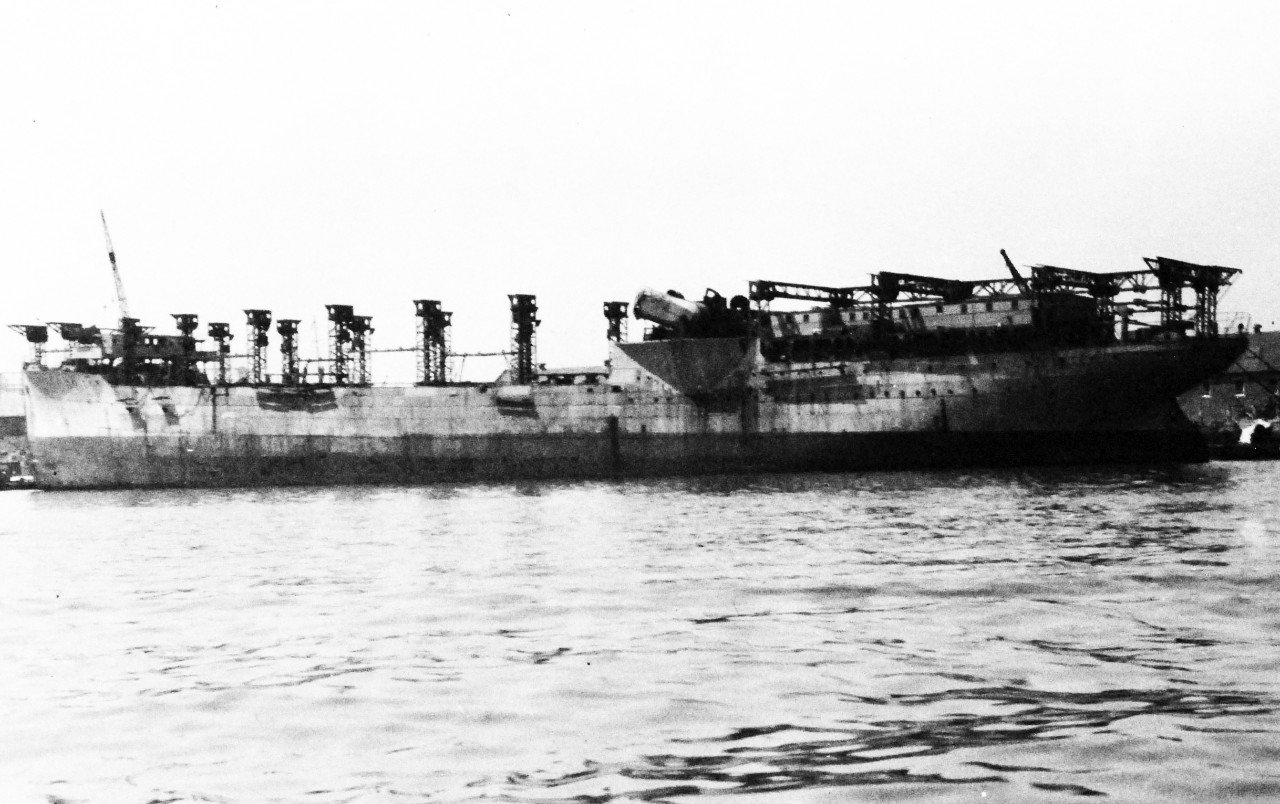
converted from the U.S.S. Jupiter........to this.......
this is going to be one insane model !
- mtaylor, Ryland Craze, Old Collingwood and 3 others
-
2
-
 4
4
-
I would have, but a lot of the below deck won't be seen. if I was into cut aways........this boat would be a god candidate
you must follow John Drain's work Al........I have a couple of his links bookmarked his laser cut deck link explains a lot about the deck......the pattern, dead lights, and bits & bobbles. straight fore and aft it is
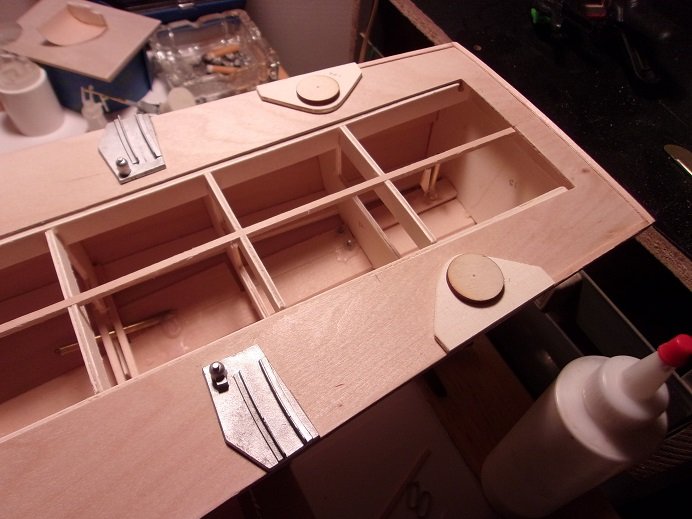
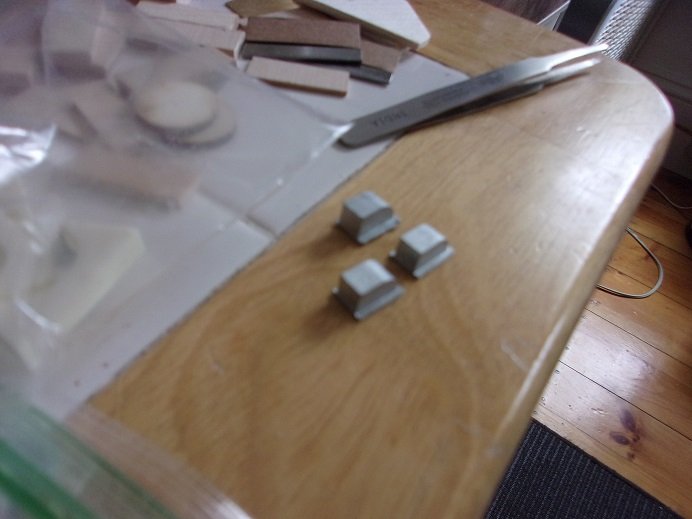
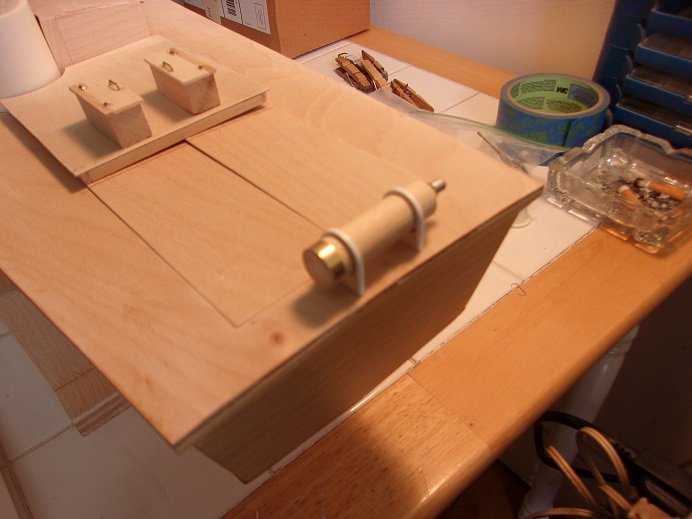
I did a little bit more this morning......added a bit more to the ammo lockers.
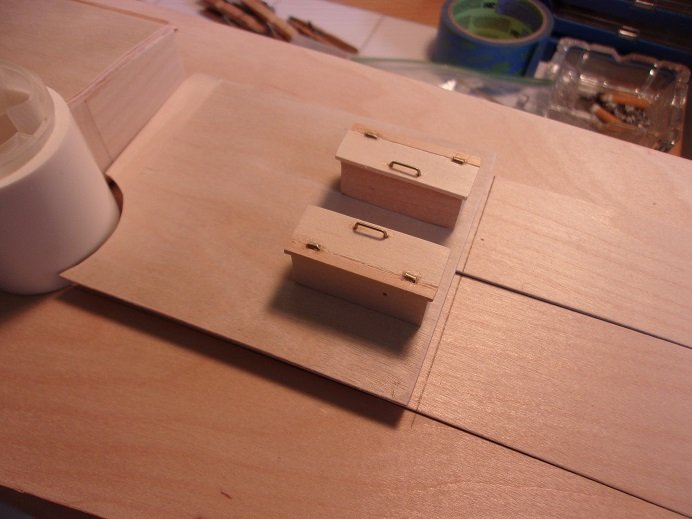
wasn't keen on the way they were shown, so I changed a couple things.
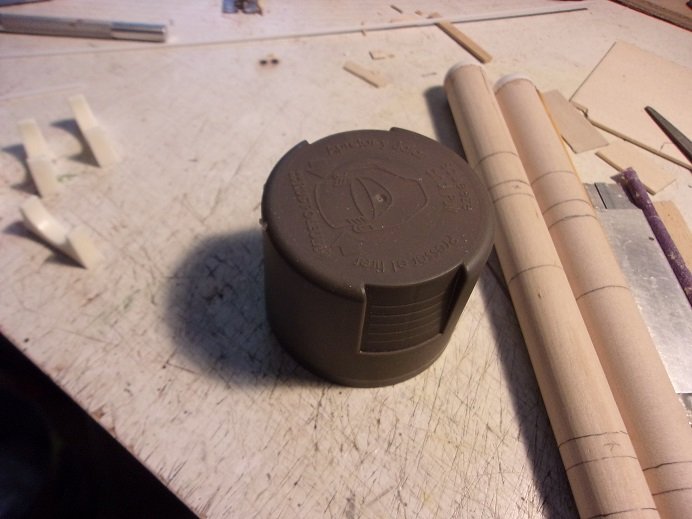
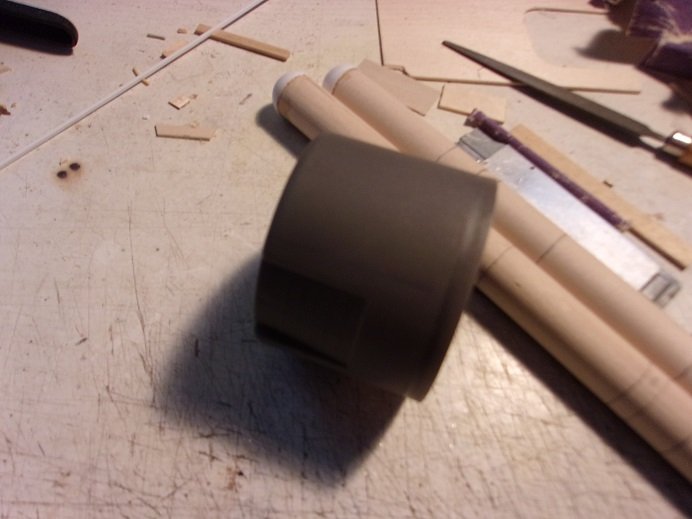
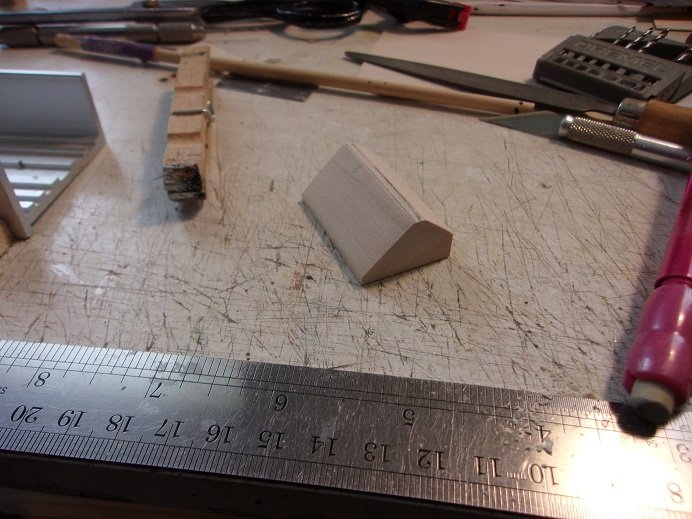
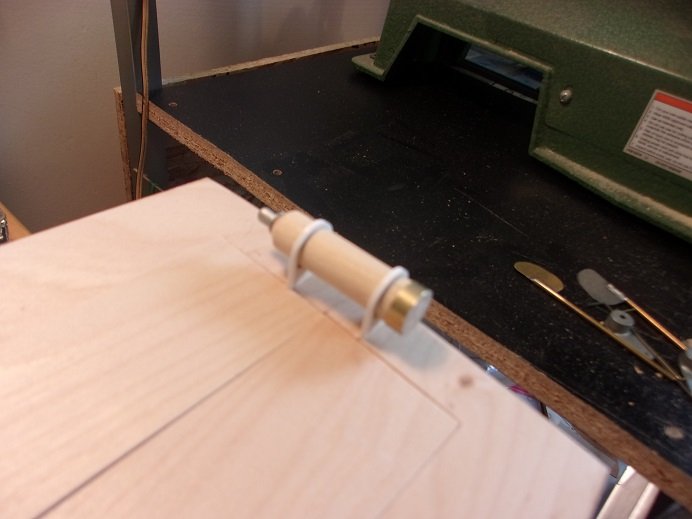
still need to add the supports at the bottom. I started to work on the access hatch, but I got diverted to the smoke generator. I don't have one of those disc sanders.......the end was rounded off by hand.......and it took a while. the metal parts supplied in the kit are not that good....had to do some shaping to the base ring of the nozzle and file down the locator pin, cleaning up the flash and stuff. I made up the chocks that it sits on and set it aside to dry, so I could do more.
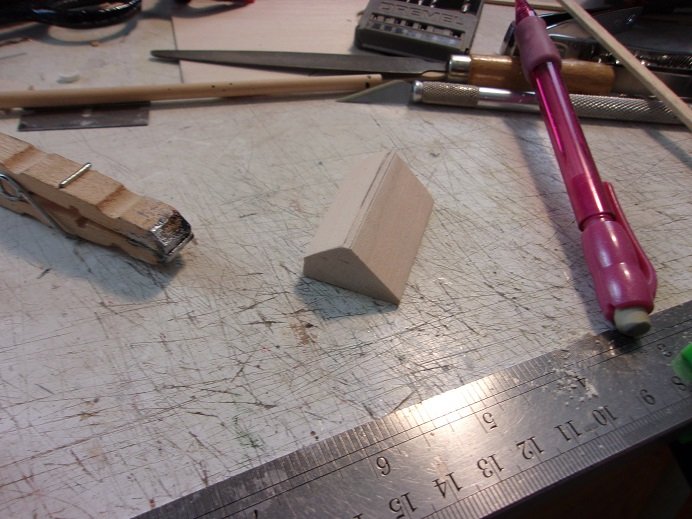
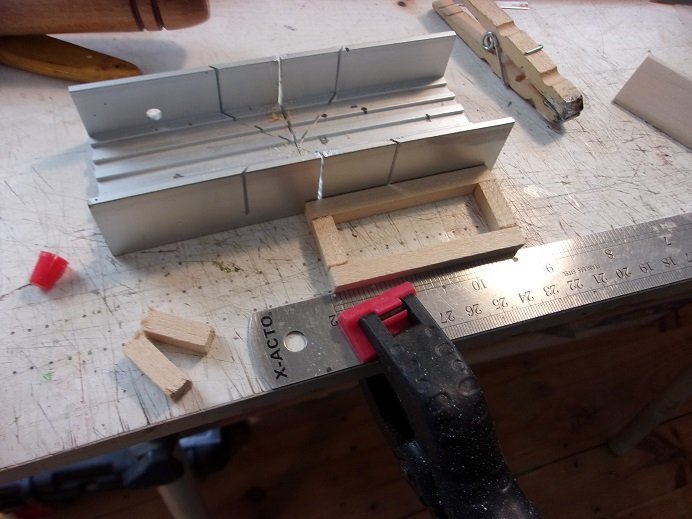
still more to add....not too crazy about the other end.....there is some chipping. to be honest, I'm not a big fan of the solid pieces of wood , supplied in most kits. if the part made from it is supposed to be hollow...or has a window, it's very hard to portray a window that you can look through. the only recourse, is to use a dark cello, like window tinting material {which I have some}, or resort to using other bits of cello.....like the discs that can be found in old computer floppy discs { I also have some still....my earlier attempt at making windows}. the access hatch is shaped by lopping off two areas from the block of wood. I did it with my scroll saw without it wrenching it from my fingers......took some sanding too
I guess I'll be shaping the life raft too.......this will be interesting
the chipping problem was quickly remedied...from the collection of metal odds and ends, I found a bit of brass tube that will cover the sin. the straps are on it now as well.
once painted, no one will ever know. the grab bag of metal bits I bought from Micro Mark came through for me again.......... I should go out and check the front brakes in the car, but I really don't feel like it. I have an inspection on Friday. we were planning to buy another car, but at the last minute, the admiral voted it down.......perhaps by summer's end....maybe.
another bit of news........I made a breakthrough with the budget director..........I ordered a wooden deck for a [hopefully near} future project. this will be my first one, and I ordered it from BNA Models. we'll see how long it takes to get it. PE railings are next.......wish me luck
thanks all for the kind comments and likes!
- Edwardkenway, gieb8688, marktiedens and 6 others
-
9
-
the painting spree on the Agillis included the masts on the Clotilda. I got the main parts painted in the flat gray I used for the inner bulwarks. I have a couple more parts to paint, and then I will cement what I have so far, on the model. perhaps I can even get to the channels and the pin rails.
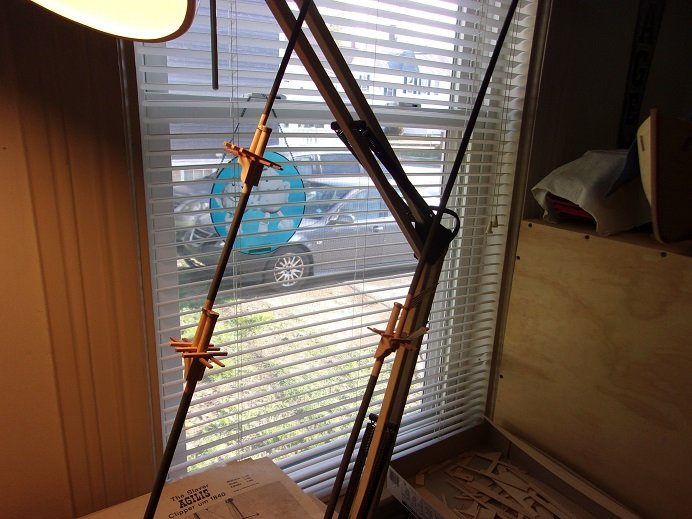
the segments not painted will be flat black. I hope to get more done soon
- clearway, jct, Old Collingwood and 5 others
-
8
-
here are more of what I accomplished the other day. the masts got a coat of paint too......done in the green and flat black. it may be hard to see......the table is very 'busy' and poor judgment on the lighting.
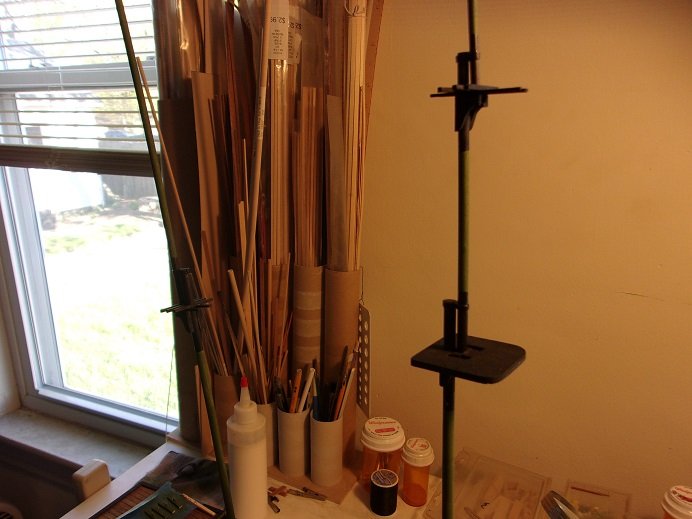
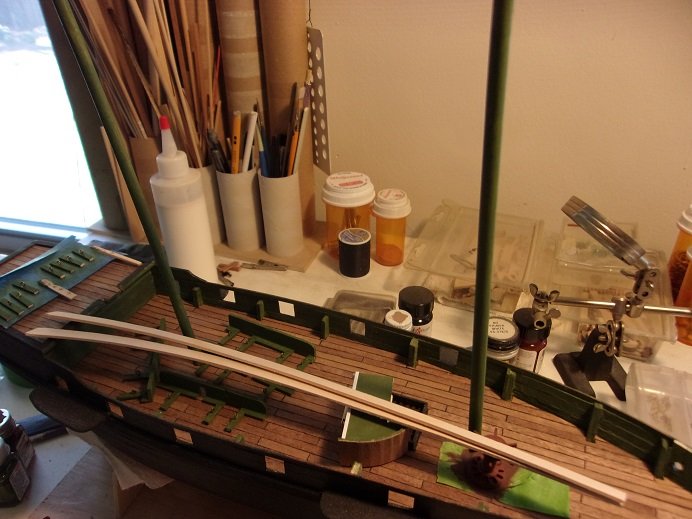
next will be to get some of these parts in place permanently......then get the cannons in place and rig them.
- Edwardkenway, marktiedens, clearway and 1 other
-
4
PT 109 by popeye the sailor - Dumas
in - Kit build logs for subjects built from 1901 - Present Day
Posted · Edited by popeye the sailor
thanks all") .........a little progress yesterday. I hope to have more soon
.........a little progress yesterday. I hope to have more soon ")
ohhh..........and I'm sanding the hull too