popeye the sailor
-
Posts
16,007 -
Joined
-
Last visited
Content Type
Profiles
Forums
Gallery
Events
Everything posted by popeye the sailor
-
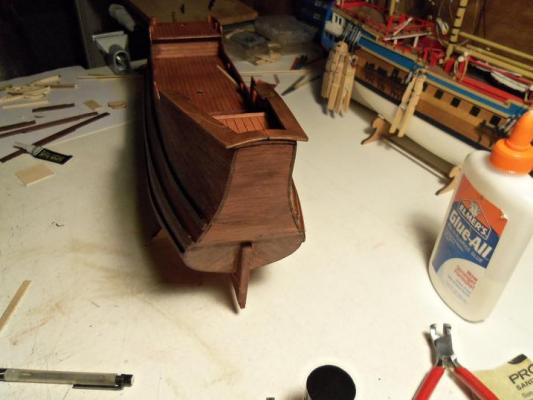
 kits are something.......aren't they Andy. they give you all the parts, and you put them together. they look kind of wide to me as well, but I figured that the cap rail and the pin rail, being made into one part like this, accounted for it. the thickness of the bulwark posts and the outer hull is 5 mm wide.........the cap parts are 10mm wide. I'm not sure if I threw foresight into this, but I left a reasonable overhang along the outside edge. when I have all the rails on, I do plan on sanding the edge down to even and contour the rails to the hull.....this may remove some of it. I also plan on rounding up the stern a little........I really don't think it's that square. there are a few other aspects that don't follow the lines of the actual ship.........the most glaring one, is that there are three steps to the stern, and not two as the kit suggests. if this was a POF kit, other aspects could have been built in, instead of being done as a sub assembly. the fact that there are quite a few parts missing, puts an added chink in the armor. I have a few pictures of the ship, but while I'm in the process of doing this, I'll look into it some more. perhaps I can come up with some more definitive pictures. thanks for looking in and the good word
 -
it's good to come away from them with ideas.......but I don't follow them, as a rule. I feel that it would take away from my own creativity, if I used them too much. I get a lot of technical ideas here as well..........it more than makes up for it.
-
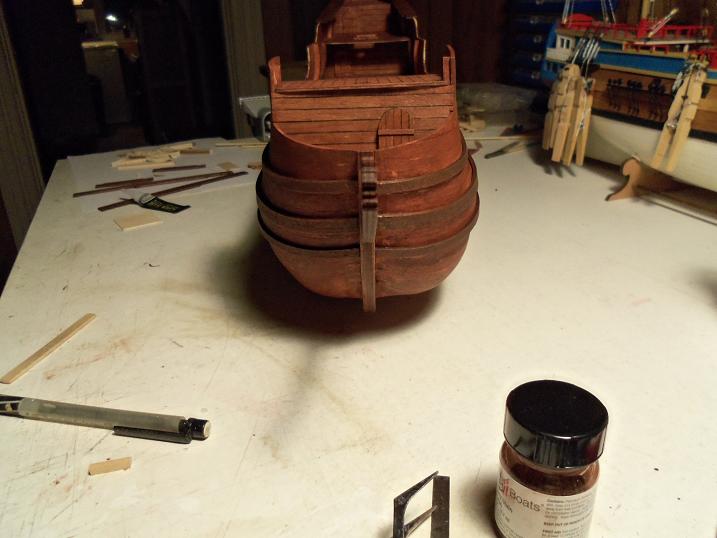
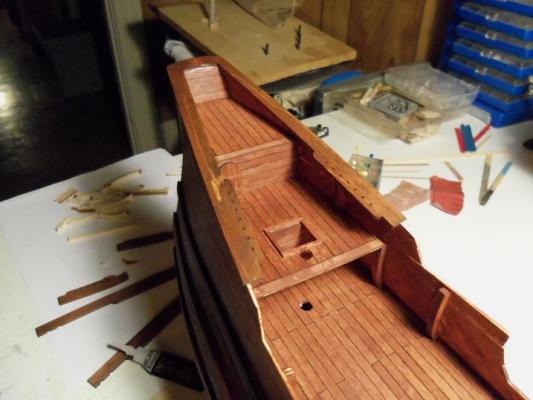
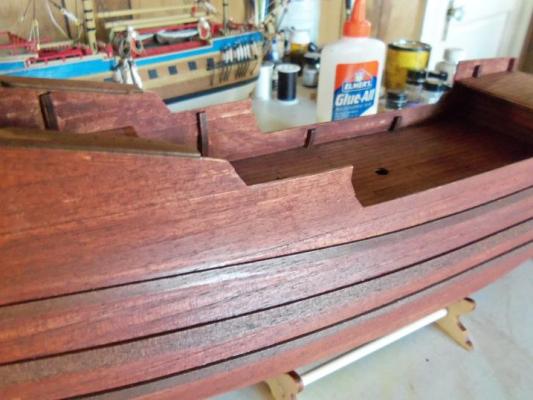
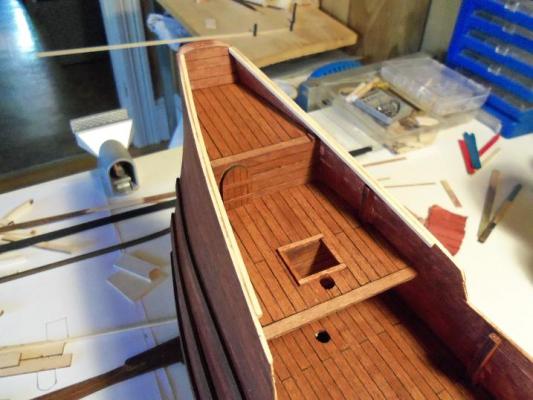
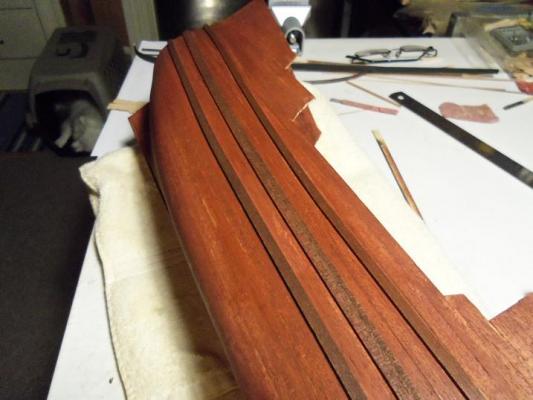
now that I have the port side rails, I can get those on. the posts were stained and cemented in place.......it still needs to be pulled in on the port side and the beam on the underside of the deck. I'll cover the deck edge with a piece of thin stock, and clean it up. I need to do the others, anyway the stern cap rails are cemented on at this point, making sure that the pin rack is level. the third hull rail is added.......... the cap rails are really going to be a neat thing to do........the double step down to the main cap rail, and then the curve up to the fore cap rail.......I just hope I allowed enough material. in my scrap bag, I found some 3/16 flat stock and cut them to the width of the plywood sections. then, they were wet down and set up on a jig to create the bend. another jig will ne needed to cut the excess wood from the bulwarks. I think the fore cap rails will need to be done first, so I can get a better idea of how much material to remove from the lower step-down. along the bulwarks, I will add the extra strips, for better anchor points. the stronger, the better.


-
superb looking progress Tom........the windows, stanchions and doors look fantastic! she's really shaping up to be a fine looking vessel! I applaud your work, good sir!
-
so good to see the progress on your build........the hull looks sweet! from what I can see, the hull looks nice and smooth......shape and contour is nice as well. looking forward in seeing more progress
-
nice looking name plaque Borge
-
I like how they all seem to have a jumble of the same number :D it's plain to see why Anja can't continue.....Sjors needs to move his big 'sterns' over and let her work! {just kidding Sjors} whatever the reason Anja........I hope you can find some time to continue your build.......you are doing so well on her, love to see more
-
cool!.......a spinal tap moment I can see having the extra breech rope......the bigger guns would probably rip the eye bolts right out of the wall!
-
thanks Patrick........the painted black ones just didn't look right. I think once the seal coat is on there, I'll be glad I made the choice thanks for the good word!
-
nice work with the stanchions.....it's a good thing you don't have to do every one .......add that method of tree nailing to the book Nenad.......looks cool!
-
your doing a fantastic job.........I'd be the first to tell ya that I do hope you didn't glean that from my post.......I did not intend it that way you should have been here for my first build {it was on the old MSW}. I didn't know diddily......and I didn't cement between the planks......you should have seen my paint job! it looked like morse code along the hull....a hundred times over! ohhhhhhhh, what I had to do to solve that problem. remove all the paint......paint the hull about four times with diluted white glue.......resand and repaint. yea, I learned my lesson! I guess two things that helped me long, is imagination and experimentation. I'm always learning something new too.
- 773 replies
-
- 2
-

-
- san francisco ii
- artesania latina
- (and 1 more)
-
congrats on a really fine build.........you've done a superb job!
-
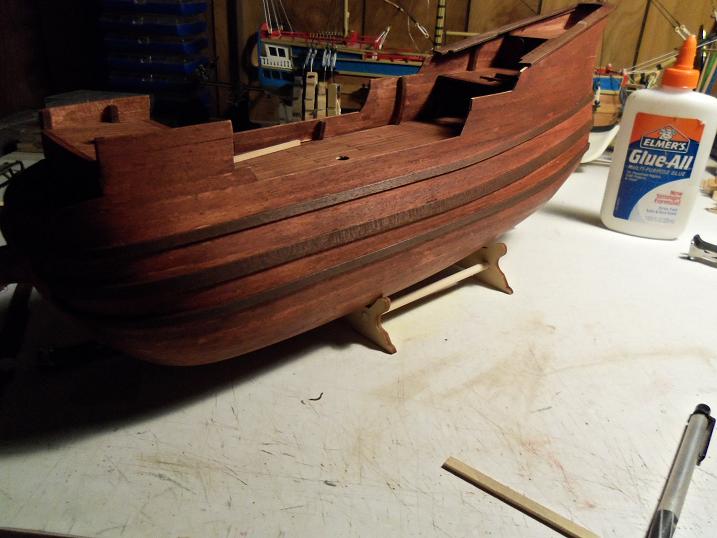
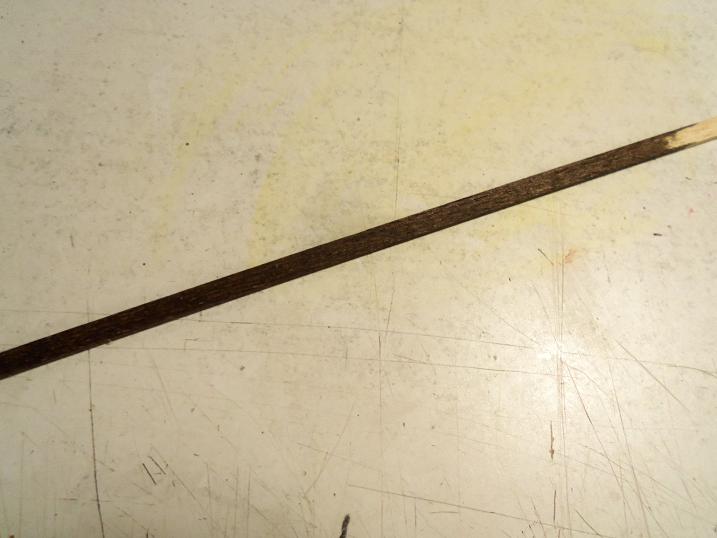
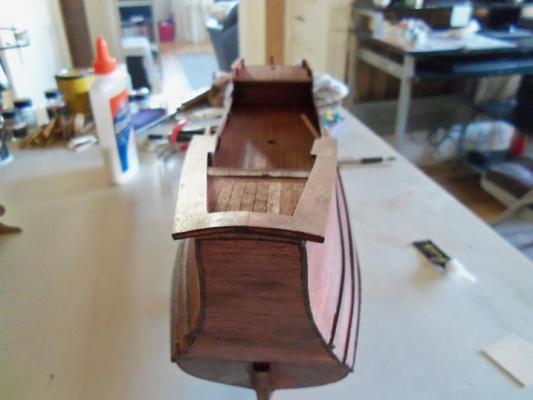
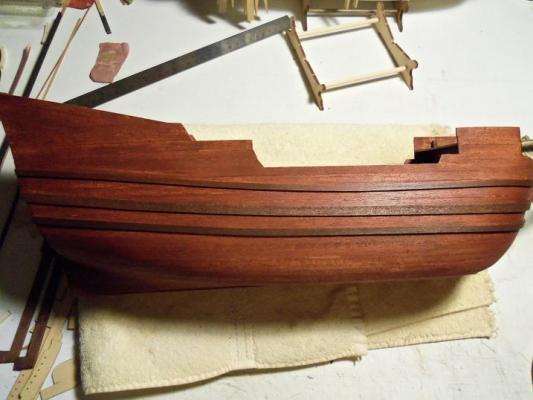
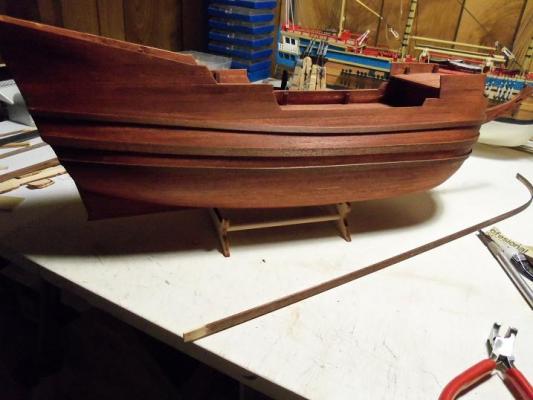
thanks again everyone! there are a couple more rail to go on yet, but it give you a better idea of the true color. I was able to come up with the two 5mm rails for the port side, although I did manage to break another one in the process. as for the broken ones......I'll more than likely find a use for them somewhere......if not, I'll just sleeve them and save them for another build. you never know
-
sweet looking work Piet..........wish I could share your enthusiasm for dentists...........had a few bad experiences in my past.
-
.........you wuz a back-up singer?..........I used to do a good Fig-a-roe in the shower :D really good! love the vid!
- 1,873 replies
-
- 1
-
-
- occre
- san ildefonso
- (and 1 more)
-
looks good Robert..........and butting the pin rails along that lower rail will beef them up and make them more prominent. nice work!
-
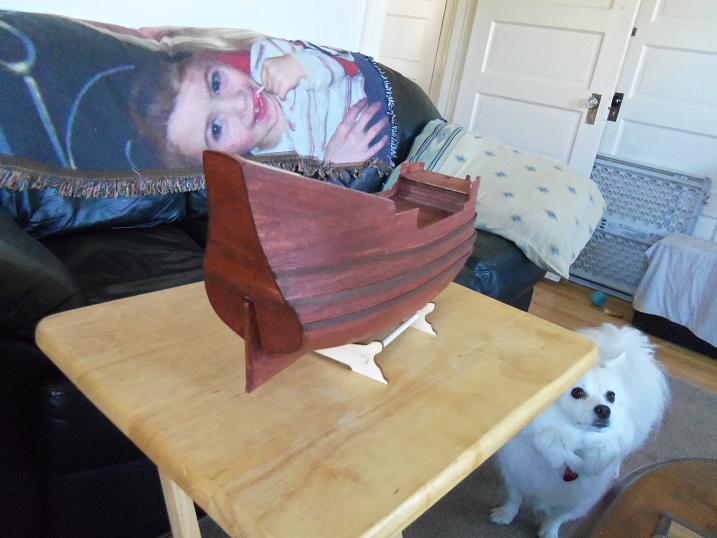
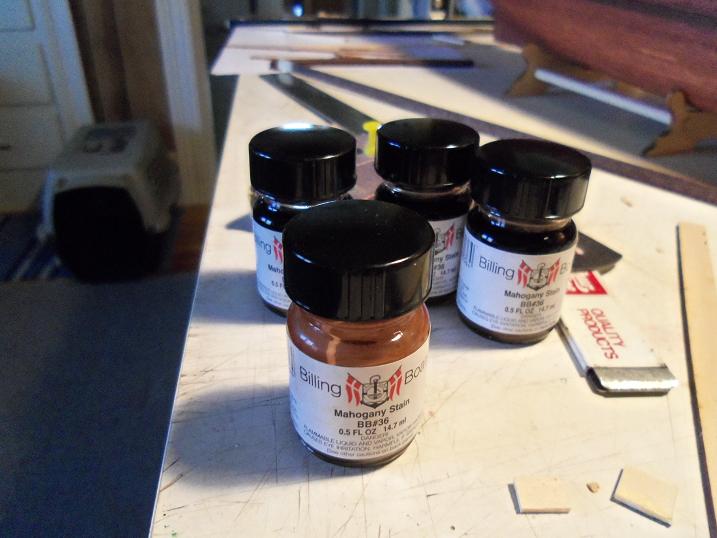
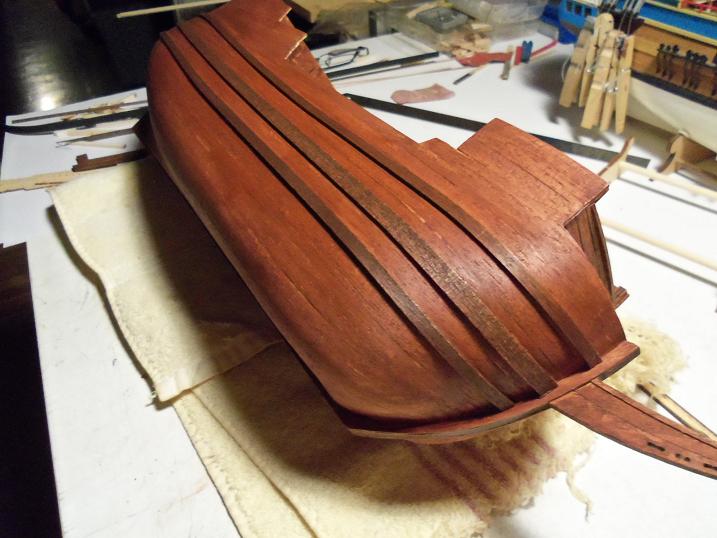
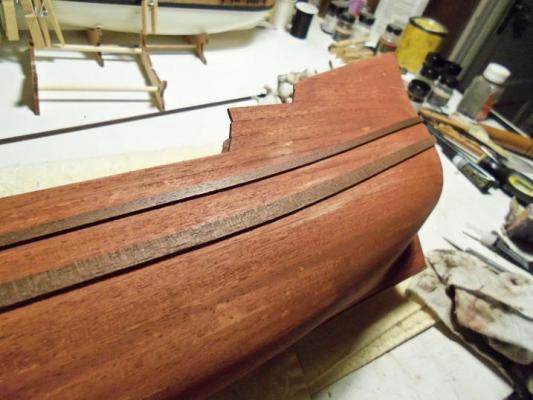
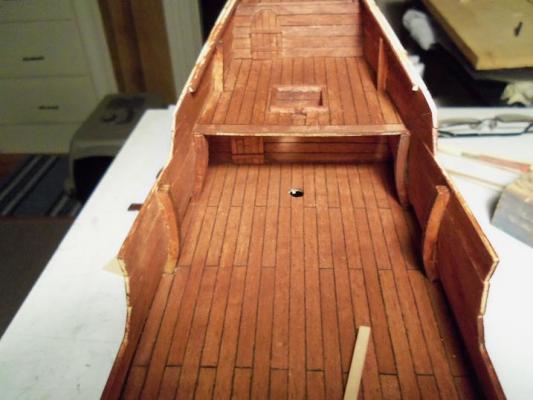
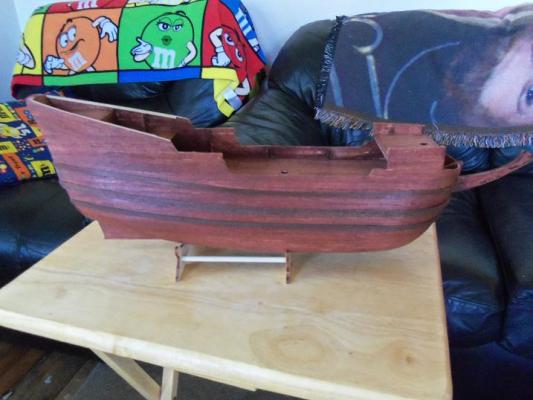
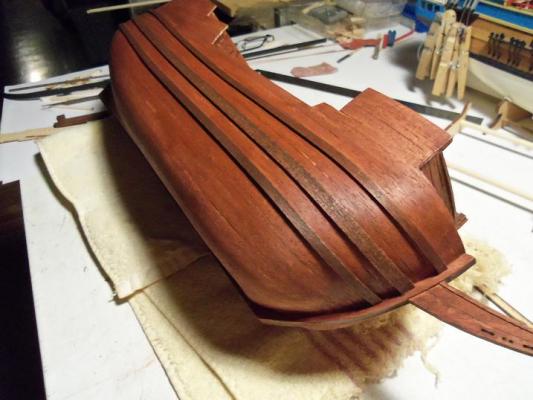
I did a bit more before I gave in to gibb's request last evening. I cemented in some extra wood for when I cement the stern cap rails in place.........gives more surface area for a better bond. the pin racks are part of these parts, so they need to be as strong as possible. this morning, after my reply.....I thought to bring her into the living room and snap a couple pictures of her in actual light. pardon the upheaval........but I had to give in to gibbs last night. lately, he's taken to goading me into the living room to watch TV....for some reason, he likes the room, but doesn't want to be in there alone. this has been going on for a while now.........the admiral thinks it's real funny. so, I go in there and watch TV, while he lays on the floor {and sometimes on the couch with me}, and chews his whatever they are. he can be very affectionate........but can get downright ornery, when he don't get his way. he knows I'm his 'Alpha', so I don't get too much crap, but he can get bossy with the admiral. he is an American Eskimo, but I think there is a bit of Pomerainian in him. Gibbs though he was getting his way without even trying....... :D (I got news for him} :evil: I got thing to do today. there is some blotchiness, but before I give her the seal coat, I'll even it out. the Billing's mahogany comes in the small bottles.....the same as their paints. I'm working on my third bottle.........but, I have back-ups.


-
not me..........I don't want to look like no mummy! :D
- 1,873 replies
-
- 1
-
-
- occre
- san ildefonso
- (and 1 more)
-
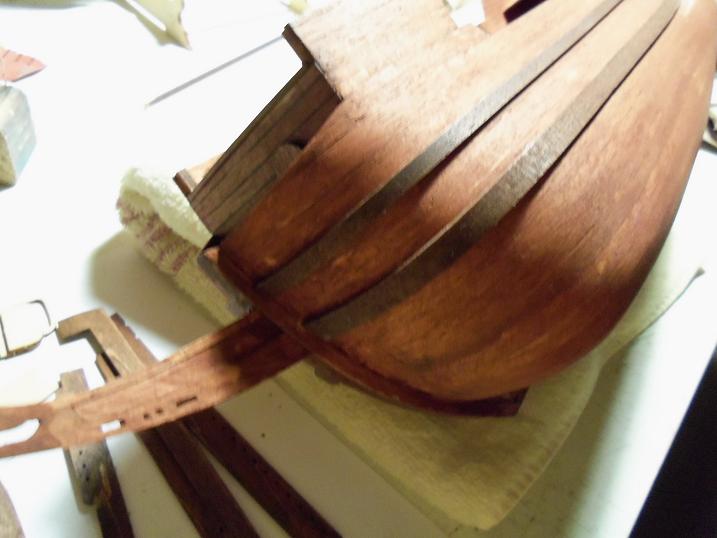
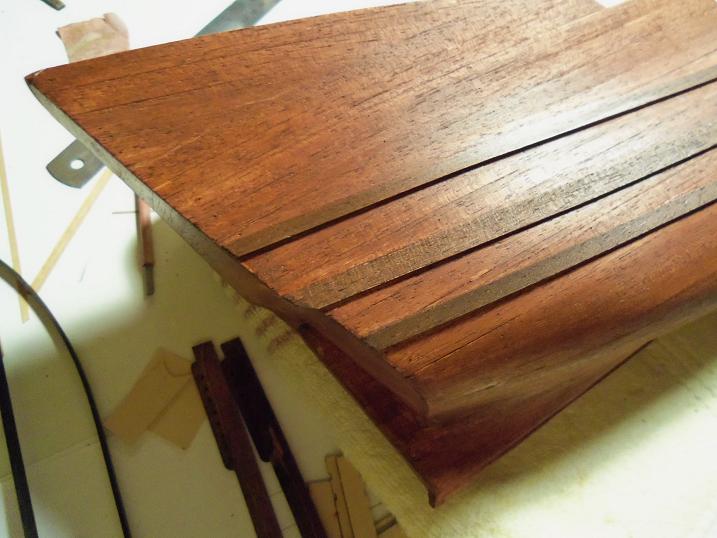
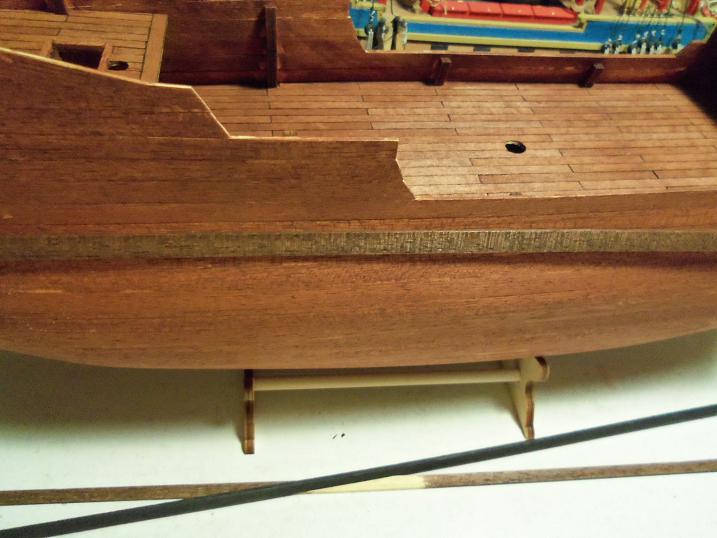
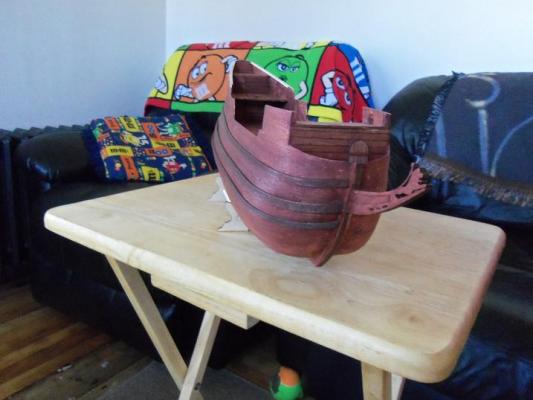
thanks everyone for the good word........when I saw the pictures of them on the ship......I had to keep looking at it, because they look odd. it's just the pictures.........whewwwwwww! it's the reason why I chose this particular wood Piet........the grain runs in an odd way. I have a bunch of wood like this. when I select wood for a build, I look at the grain {even what they supply in kits}, and make sure. I have been able to catch these little pho-pars, if you don't it comes out looking like crap! of course, this is what you get when you rub wood the wrong way :D well......I'm not REALLY flying trough it Robbyn.......just getting some progress on her, before I get back to the Goth now that these rails are on the hull, I can give her a bit more stain........dulls out any glue marks and darkens the hull........I will try to get a picture in actual light.......using the crane light makes her look too light. I've added more stain, and she looks a lot darker. I wasn't too pleased with it at first.......but now that I have done this, I feel a bit more at ease with the color. she's going to look really good with the seal coat..........I hope to be doing that very soon. few more thing to do yet before that happens though I really appreciate all your kind words........she's shaping up better than I ever expected.
-
baby, we can talk all night............ but, the masts ain't getting no where.......... :D I could go on.........but, you don't want to hear me sing
- 1,873 replies
-
- 4
-
-
- occre
- san ildefonso
- (and 1 more)
-
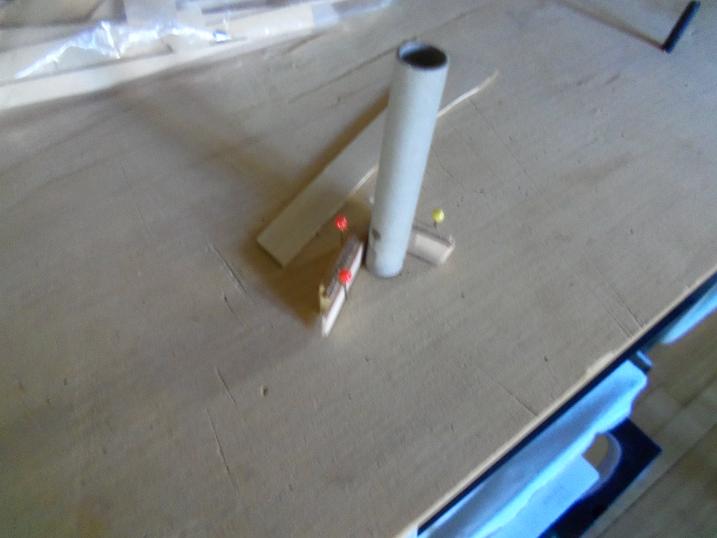
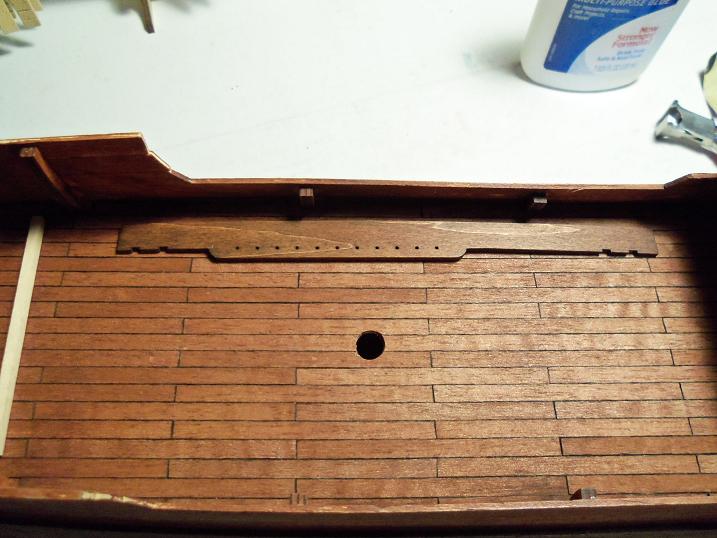
air quality must be very poor where you are......safe travels. the grates look very nice.......well constructed are they set into the deck, or do they sit on top? is there a cut out for it? wicked sweet!
-
Dr. Dafi has a cool Idea for fitting drill bits in dowels.........might be something worth asking about that's the thing about kits in general, you constantly have to look ahead........don't feel bad, I do it as well. either not drilling a hole that you'll need in step 70, to not seeing inconsistancies in your build, the problematic Mr. Murphy lurks in wait, ready to jump out when you least expect it. never get angry at it.......it feeds his Frankenstein. laughter and a light heart is best......it thwarts him quick thinking to resolves issues is especially unnerving to him as well..........missing parts, just put it aside and work on something else until you can continue. but do check out that possibility.........it may solve one jam, anyway
- 773 replies
-
- 1
-
-
- san francisco ii
- artesania latina
- (and 1 more)
-
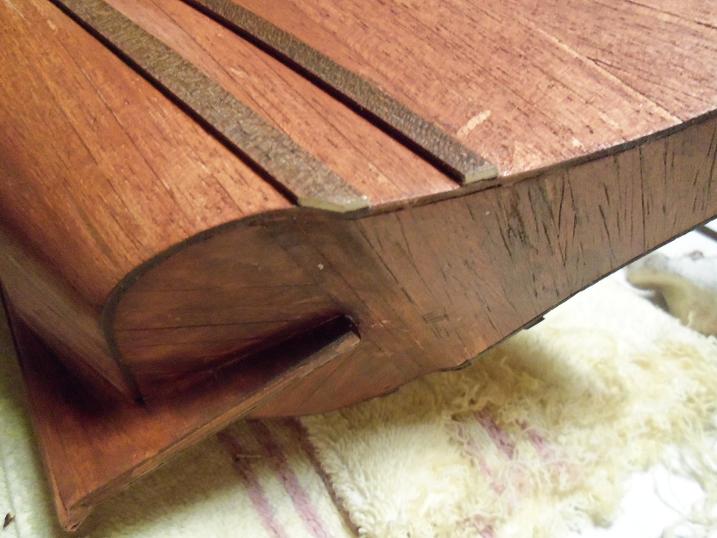
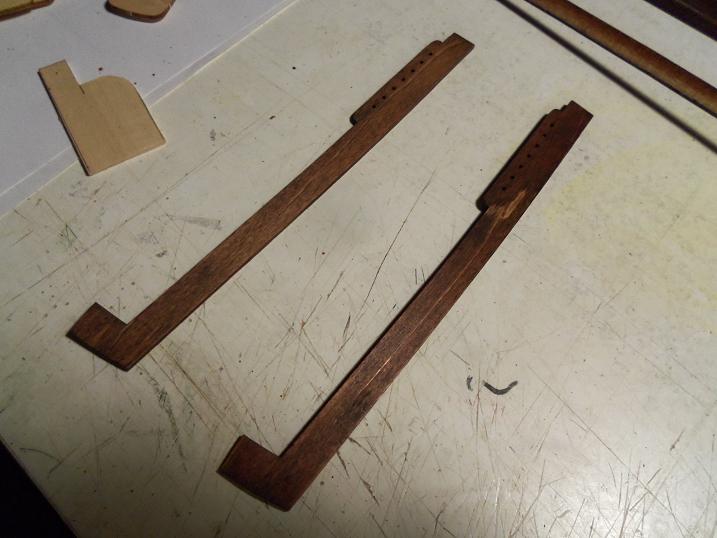
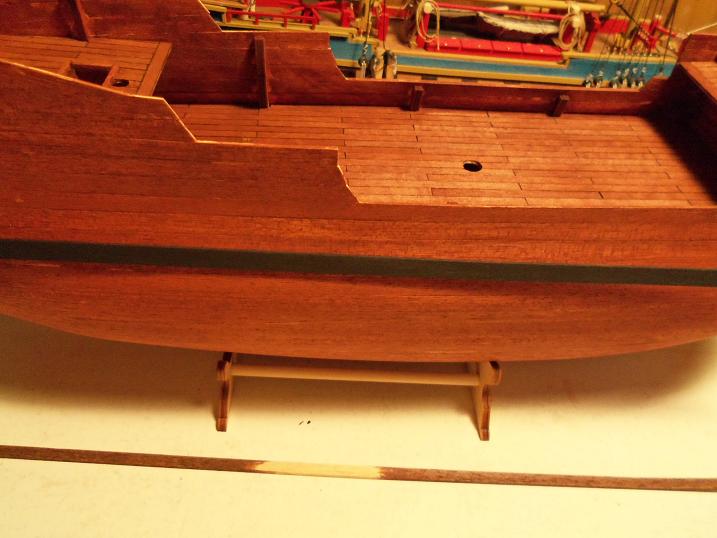
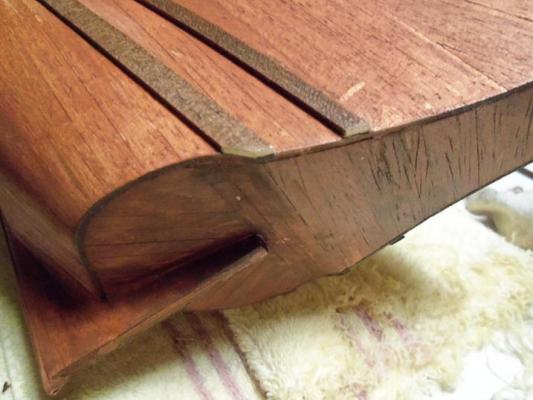
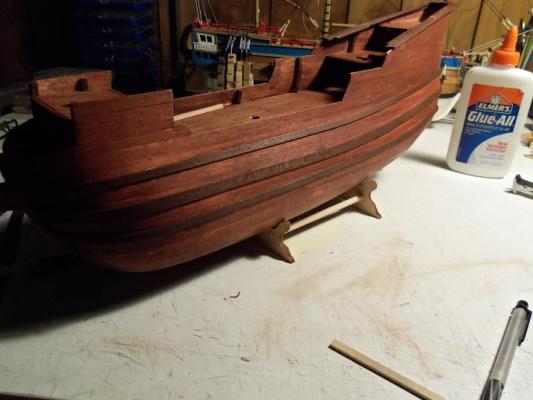
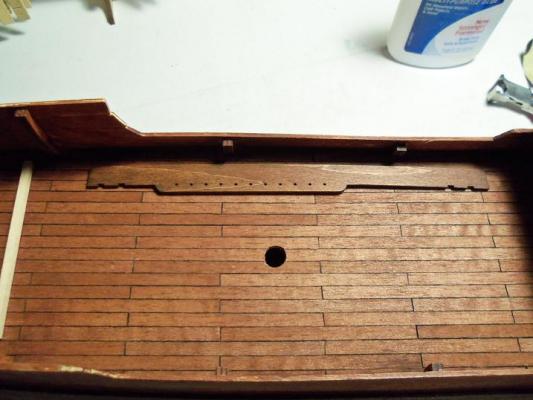
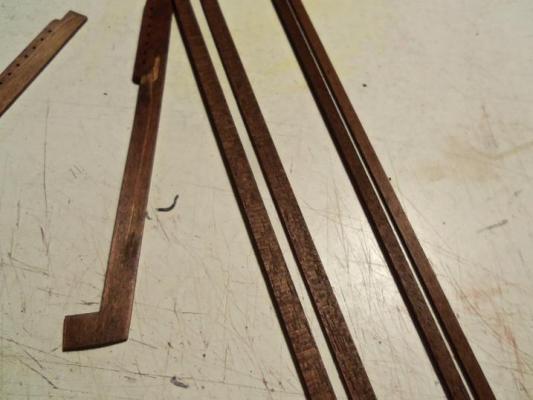
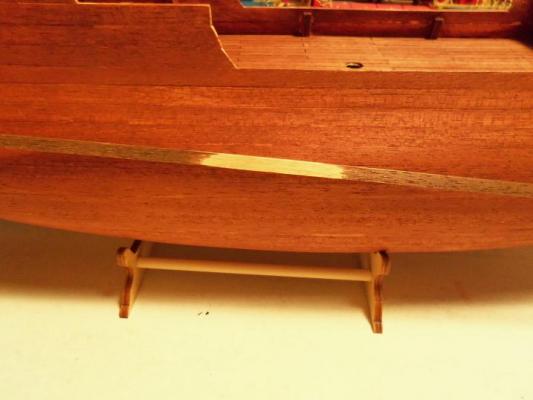
I figured while I was waiting, I might as well stain the stern cap rails to see what they would look like the other ones weren't ready yet, so I decided to do the starboard side.


-
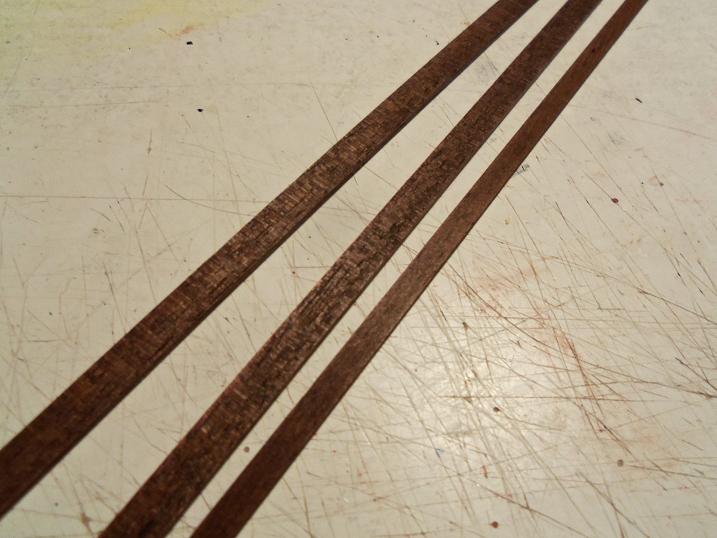
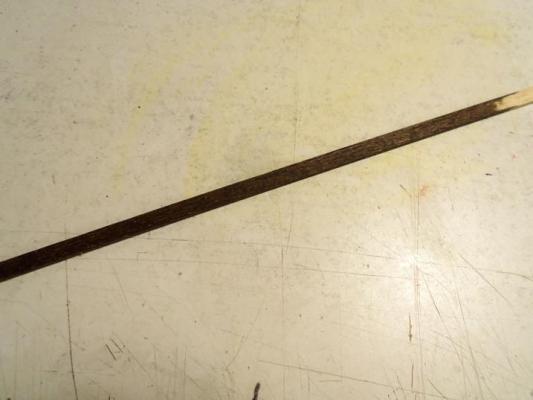
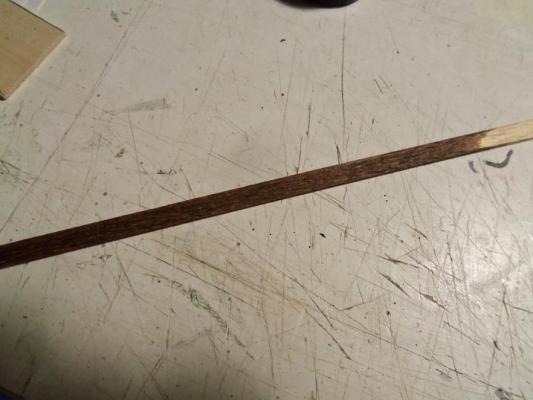
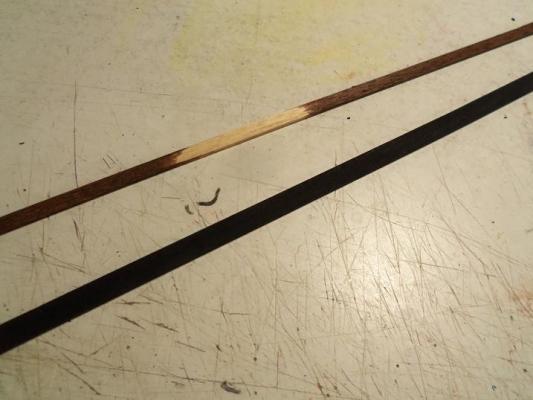
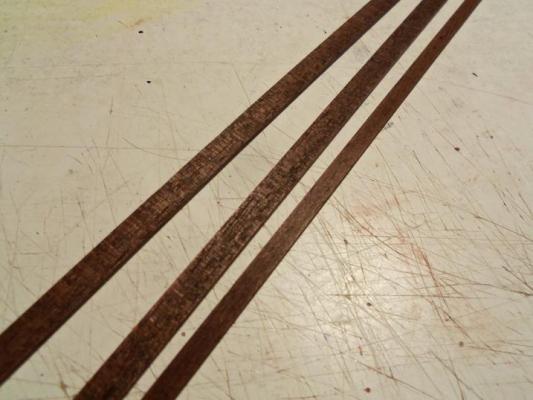
with the ship stained, now is the task of figuring out what I'm going to do about the cap rails, wales and rub rails. I first looked at stain. I went with a dark stain.......to add some contrast nice........but I think it needs something......kind of a reddish look. I went over this with the Billing's mahogany. still looked kinda dark, so I switched it then I did a traditional flat black strip lets compare.........left side : mahogany over dark right side: dark over mahogany now the black mahogany over dark won........it carried the best redish hue I needed two of the 7mm and 4 of the 5mm strips. this seems to be easier said than done. while staining them, I broke three of the 5mm strips. wet down and bent more strips..........after they were dry, I stained them and broke two more in the process........set'em up again charlie


-
beautiful John.......that is some fine looking rigging I am so glad that you were able to sneak her across the finish line, behind Murphy's back! he must be cursing up a storm right now! :D ....a superb looking build....worthy of her place of prominence!