MORE HANDBOOKS ARE ON THEIR WAY! We will let you know when they get here.
×


popeye the sailor
-
Posts
16,007 -
Joined
-
Last visited
Content Type
Profiles
Forums
Gallery
Events
Everything posted by popeye the sailor
-
 nice looking bollards borge...the bow is really starting to look like the business end of the ship nicely done!
 -
hey there! good to see your back in the shop! looking very nice. I use a jig to do my bending......a lot of times I'll do them while they are still wet. heat is the key though....glad your feeling better. congrats on the promotion as well
-
Augie answered the question about gammoning........I take it that it's in a future step.
-
are you missing a rope stop under the bow spirit.......it appears to be resting on the railing. about a half inch up from there should solve your problem......looks very nice. is there to be gammoning on the spirit as well?
-
Ya can't get mad at it Larry........I don't and see.....I had a quick fix in the blink of an eye. now that ain't bad.......I gotta get these shrouds done. thanks for looking in my friend..........hope to see you in the workshop soon
-
thanks Frank.......if that's the worse thing I've done so far.......then I'm doing great! then again......it would have been a very boring build! who ever heard of an easy build
-
Cutty Sark by NenadM
popeye the sailor replied to NenadM's topic in - Build logs for subjects built 1851 - 1900
awwwwww...that's not a biggie.......ships are full of cost overruns and oversights just scale 'er down a little and you'll be fine- 4,152 replies
-
- 1
-

-
- cutty sark
- tehnodidakta
- (and 1 more)
-
thanks John.......I'll be glad when I do ......they will be more visible then
-
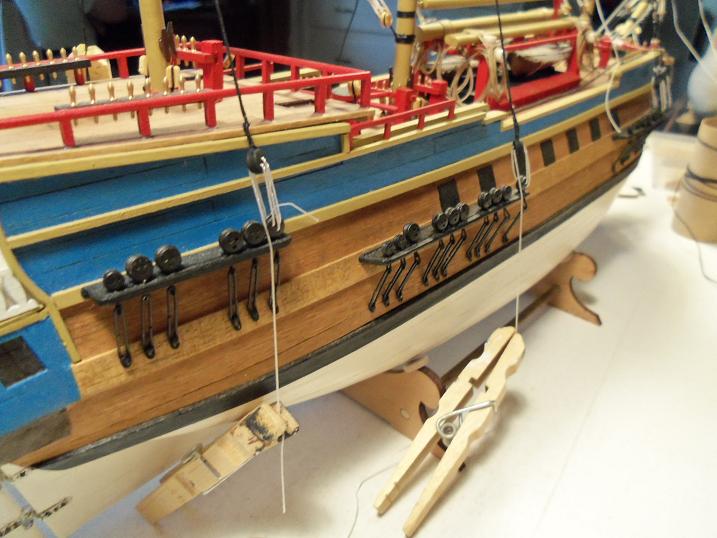
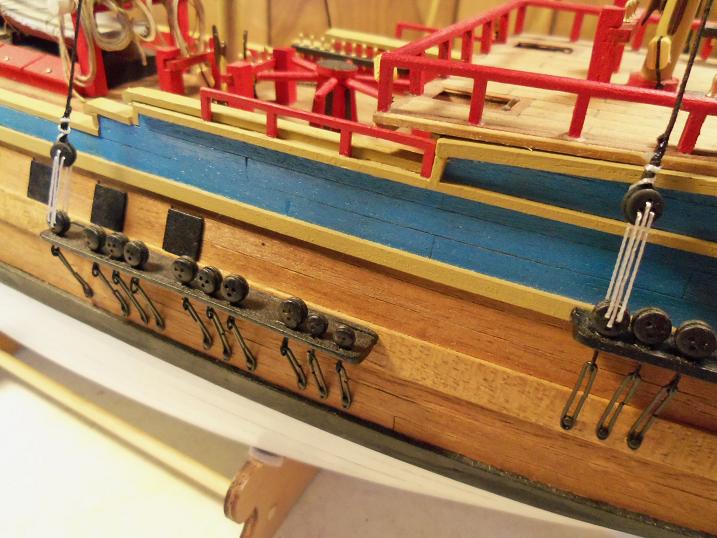
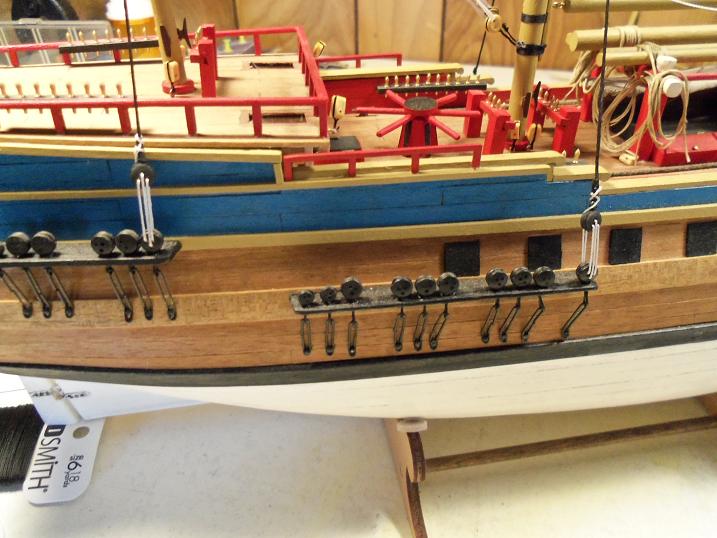
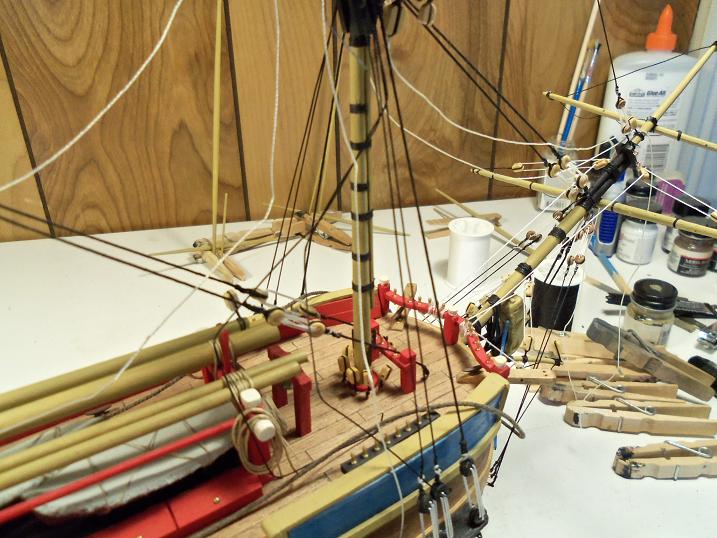
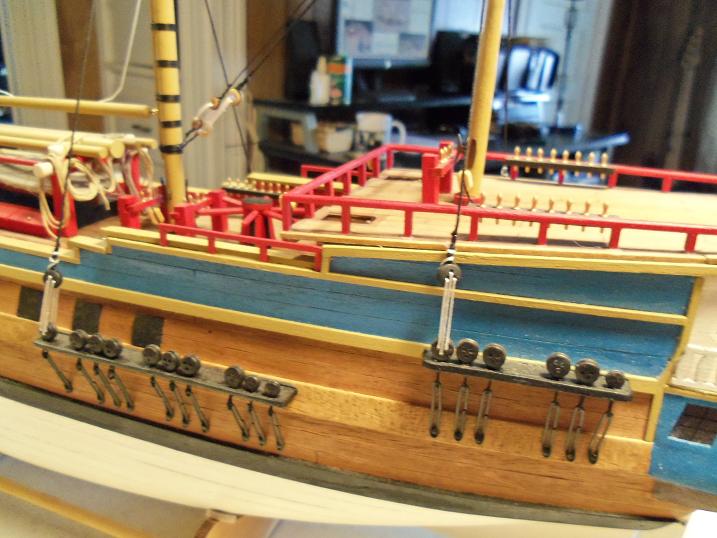
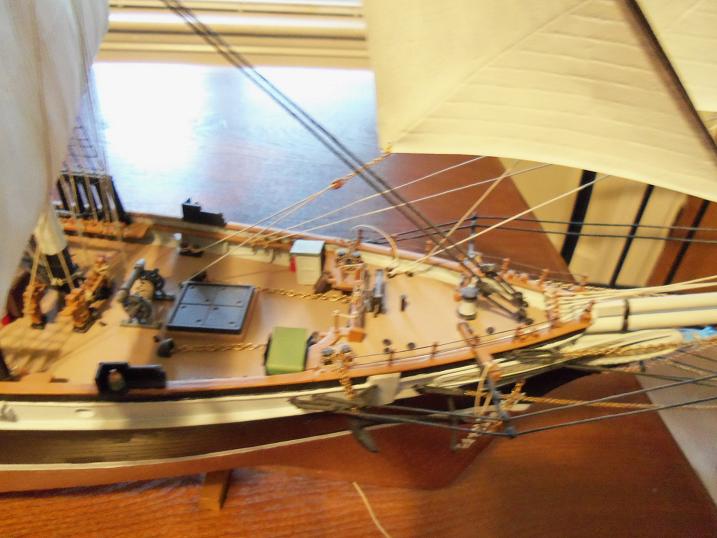
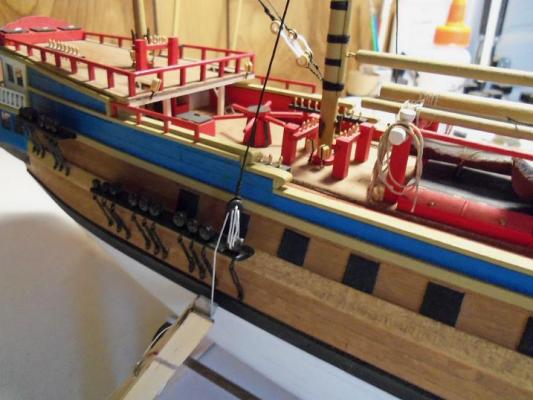
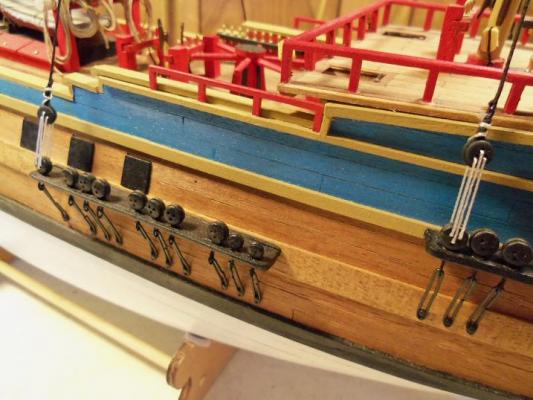
thanks Aldo......the shrouds are a slow-go at the moment......I'm hoping to pick up the pace. I'll be glad to get all this spagetti tied off......it's starting to bug me I did get a couple more shroud lines done.....wasn't long before I made my first goof. After making the pair for the other side, both sides were tied off. in doing the lead shroud for the main mast, the starboard side was rigged first. in tying the dead eye for the port side, I forgot to run the line through the top. I had to take it all out and do it over. but all was not lost.....I found that the line could be moved to the mizzen. now both of the lead shroud lines are done. I took this picture of the stern....it would look better if they were complete. then I took these random pictures perhaps the next update will show more progress.


-
that's how I'm doing the Goth, Sjors........I tied on some of the blocks needed, but I didn't get them all. I do notice you haven't done the fore stays, main stays, and mizzen stays.......I hope you don't have too much trouble, now that the shrouds are in the way. the lower main and mizzen stays require hearts.......I found them easier to do before the shrouds......the only reasomn I mention this
-
are you good at ironing as well. I've never done the furled sail approach. I can't quite remember which line actually does the haul, whether it's the bunt or leech lines, but on a ship this size, I wonder if it's doable to portray this operation being done. however you do this Den........it's going to look sweet on the build. one thing I have learned though, is the fold materal should be a bit shorter, in order to make a narrower hem. the ends should also be beveled, so it will mate the following folds without overlap.
-
I've never used a CAD program before.......I'd like to, but I think it would be too hard for me to wrap my head around. that's why I rely on the parts panels to recreate my hulls. the upsidedown piture you showed, reminds me of the Nordkap I built. I like that hull shape very much.....sadly, I don't have those panels, it wasn't laser cut.......it was an OLD kit I want to get another kit though....I throughly enjoyed building that one good to see a frame to the plans Bob.........now your cooking! looks great!!!
-
you did a splendid job on the figures Frank........what made you think you didn't? your technique is spot on......they look very real and ready for the sea I like the Flint Bros............you gave them all different shirts, so you can tell them apart hee....heee
- 389 replies
-
- 1
-
-
- supply
- caldercraft
- (and 1 more)
-
the shrouds look nice Sjors........one more to go on the lowers there are more on the upper steps.....aren't there? they'll keep you busy for a while yet........good job so far
-
looking very nice Dragzz...planking is going to look nice when you get it finished. I usually work it from the center....out. this way the gaps can be better kept in check. did you used to subscribe to plastic models plus?
-
AWESOME!!!!! she looks super Tom........you've really done some fine work there! really nice lines and curvature. oh crap! now I have a tooth ache from all this eye candy .............where's the advil I hope your happy with your results......you deserve to be!
- 326 replies
-
- 1
-
-
- vinal haven
- steam ship
- (and 1 more)
-
Cutty Sark by NenadM
popeye the sailor replied to NenadM's topic in - Build logs for subjects built 1851 - 1900
Lou has some good stuff there..........have you done any more to the one you started a while ago Lou? -
you mean it was hollow towards the base? WHAT HAVE YOU DONE! you just trashed one of Sjor's gnome home! that will make for some good fire wood when it's dry......I'm sure you heat the cottage with wood......do you burn it at your residence as well? easy enough to split.....till you get to the solid. I wish we had a fire place here....I love the smell of a good fire
-
ahhhhh.....the 'own worst critic' again.........he is a tremendous boxer. he bobs and weaves like the best of them......he can throw 'doubt' like no other. but, I'm afraid he's punching 'air' on this one. you should have KO'd 'em in the first round Ron.......for your first sailing Ship, you've done a superb job on her. 'taint nothing shabby about this fine lady. she'd going to look fine when you get all the yards mounted......keep up the good work!
- 240 replies
-
- 1
-
-
- supply
- caldercraft
- (and 1 more)
-
Hi Tom.........you've really made some progress with your build.......she looks fantastic! love the pictures of the bow......are there any of the stern? congrats on your daughter's wedding........I can agree that they grow too fast. I have one more at home still......one of these days, he find his calling.....and then leave the nest......I'm not pushing.
-
Cutty Sark by NenadM
popeye the sailor replied to NenadM's topic in - Build logs for subjects built 1851 - 1900
your making me wish i had a Cutty build in front of me, you know. it caused me to get out my Cutty build and show how Revell molded these details. it has been in 'the hallway' for well over a year, waiting for me to finish her. when I did this build, there was so much conjecture as to her color, I just went and painted her my way. I am amazed with how little dust is on her......just a few ceilling putty droppings...the folks who live upstairs stomp around like animals....lucky the whloe ceilling hasn't come down! the two rub rails along the bulwark is there.......and then the cap rails the inner bulwark detail can be done as close as you like, but some of the details do get lost with scale, some too small to actually do. just getting the basic layout, can be quite rewarding. Revell had a hard time with the fore castle deck and windlass assembly. they specified using multiple pieces of chain to do the windlass. with just a couple of holes drilled into the deck.....two covered by the chain gates and the other two covered by the decking, I cut it down to just two pieces of chain. you had mentioned the stern and the shape of it. Revell did a nice job of this and the way the rub rails wrap around it. the cap rails finishes it off. the last Cutty I did, I included all of the sails.......I intend to do the same to this one. the studding sails and braces still need to be done, as well as the repairs to the rigging from the move here. one of these days, I'll get her back on the table


- 4,152 replies
-
- 2
-
-
- cutty sark
- tehnodidakta
- (and 1 more)
-
I'm glad you cleared that up Mobbsie.........I was thinking that Andy was celebrating, finally coming home when i was younger, I used to imitate different accents I'd hear. when i moved to Florida, I adopted the Floridian accent.......every once in a while, it comes out. I think they are fasinating...I never get tired hearing a person talk. I have to be careful though.......if I hear it long enough, I begin to sound like they do.......kind of embarassing sometimes. if I could do it........I'd be there in a heartbeat.......it would be a hoot to meet you I still think back to the day I got to meet John {Jim Ladd}......I treasure it
- 1,279 replies
-
- 1
-
-
- agamemnon
- caldercraft
- (and 1 more)
-
yes...I will be......you build is in my watch list. I had a very extensive list back on the old MSW. I was a newbie back then {still am in some ways}....I wanted to see and learn as much as I could. I was kidding about being a secret......it's so nice to see some of your work. hope to see more.