


No Idea
-
Posts
893 -
Joined
-
Last visited
Content Type
Profiles
Forums
Gallery
Events
Posts posted by No Idea
-
-
Fantastic work and nice to see you back at it
")
- DaveBaxt, Beef Wellington and mtaylor
-
 2
2
-
 1
1
-
So sorry to hear this Kevin and I would have done exactly the same thing as you.
- mtaylor, Kevin and Ryland Craze
-
3
-
Tobias in hindsight I should have used your method as it's far more accurate than the way I made these parts. When it came for me to apply the planking to the dogs legs I had to thin them out to get the correct hull shape. This pretty much showed my errors in the way that I made them. I can see by the way that you have made yours you will not have the same experience as me. I shall be using your method on my next build and thanks for sharing how you did these difficult parts. Cheers Mark 😃
-
-
-
Hi Nic and welcome - thanks for showing your grandfathers build that really is a lovely ship.
If you would like to get into ship building get in touch with @chris watton as he supplies the most beautiful kits. He's based not far from you in Gloucester
- mtaylor and Keith Black
-
2
-
-
2 hours ago, Tobias said:
Hello Mark fantastic job, I see you have made very good preparations for the planking. This work still exists for me and I have the greatest respect, it won't be too long until then so I'll take a close look at everything.
Greetings TobiasHi Tobias and thanks mate - I like to draw every strake as I firmly believe that if I can draw them I can make them. Nothing worse than trying to make major changes half way through the planking. My marks are very much a guide but they do let me see if I'm roughly on track.
-
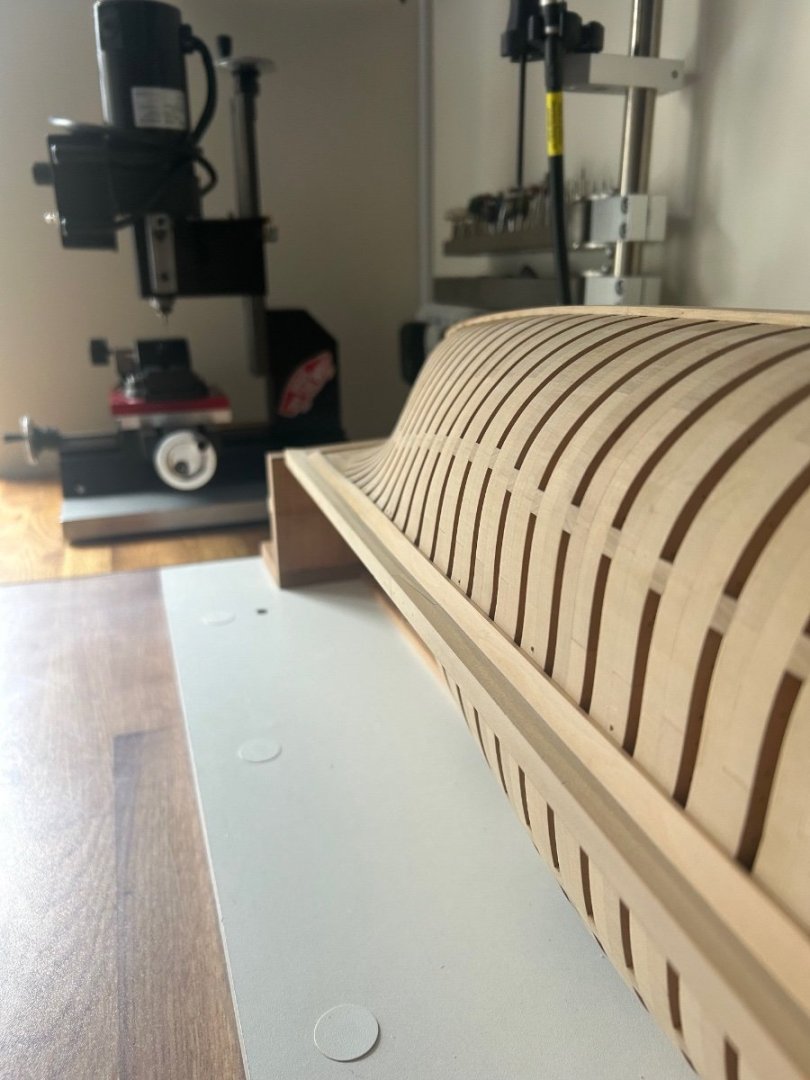
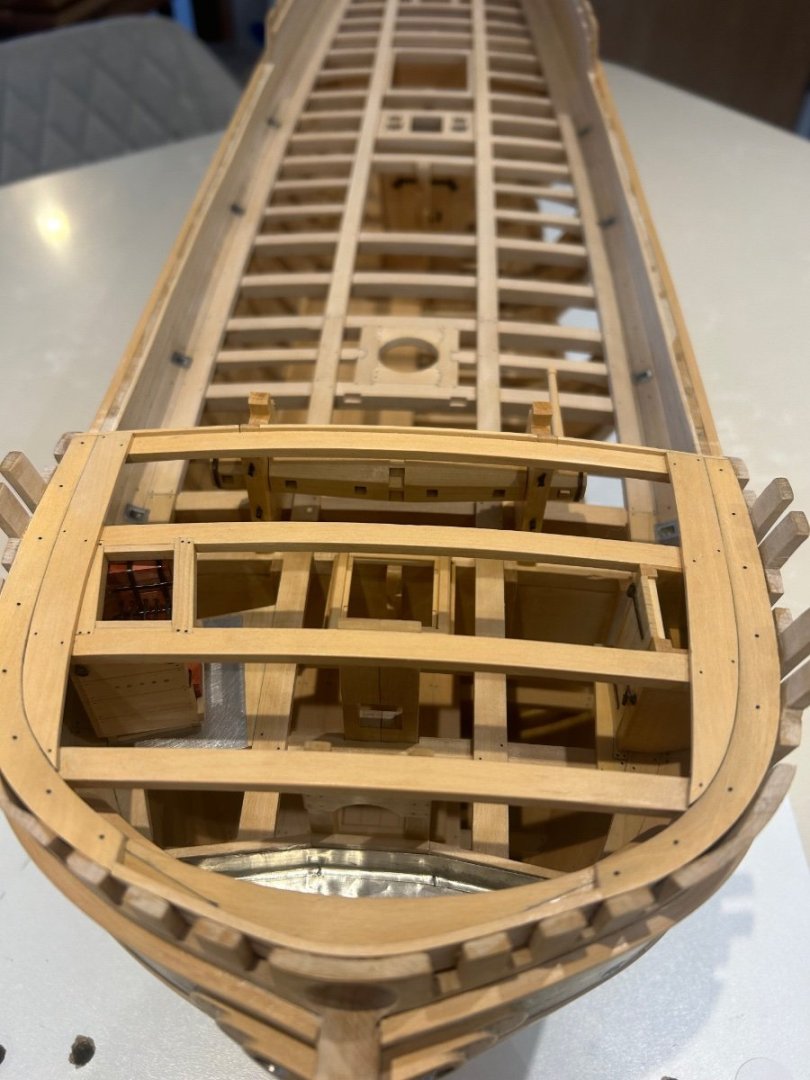
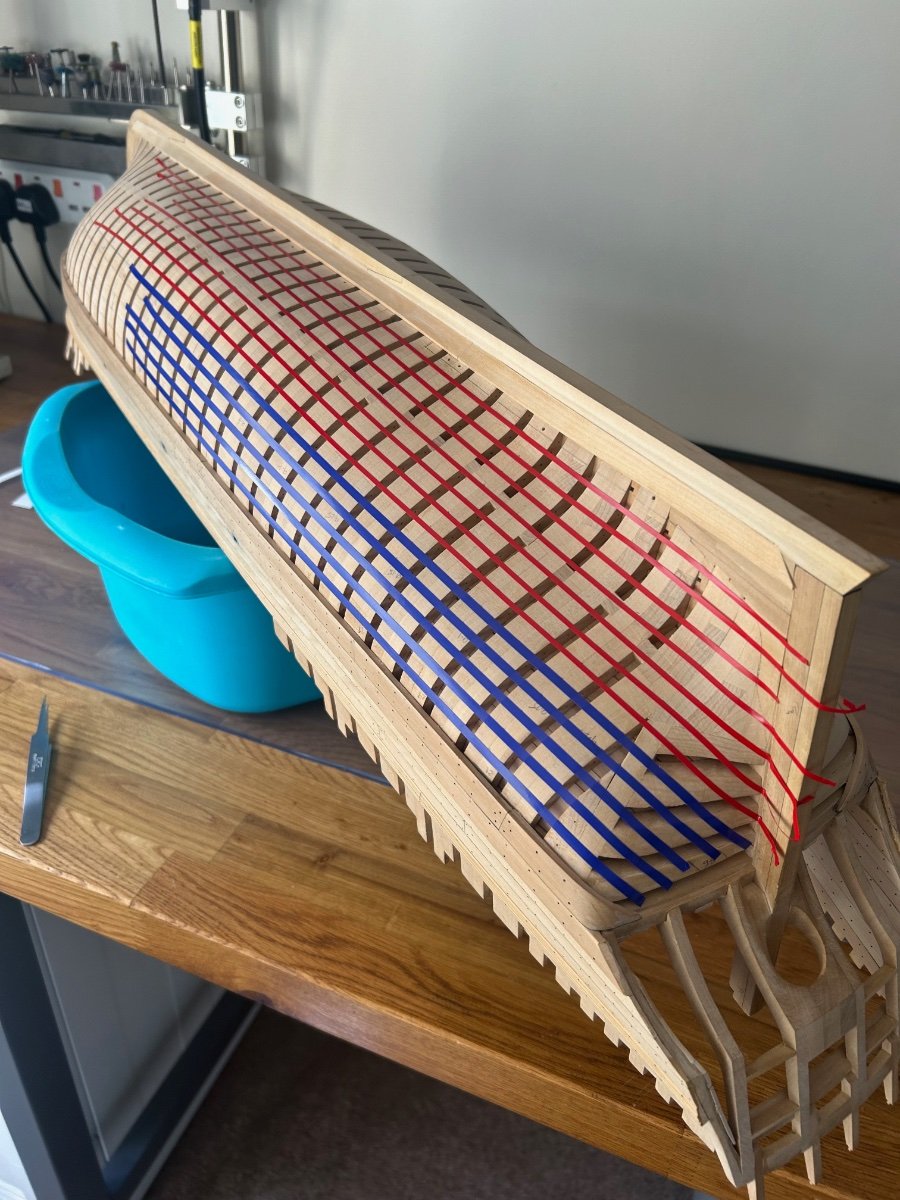
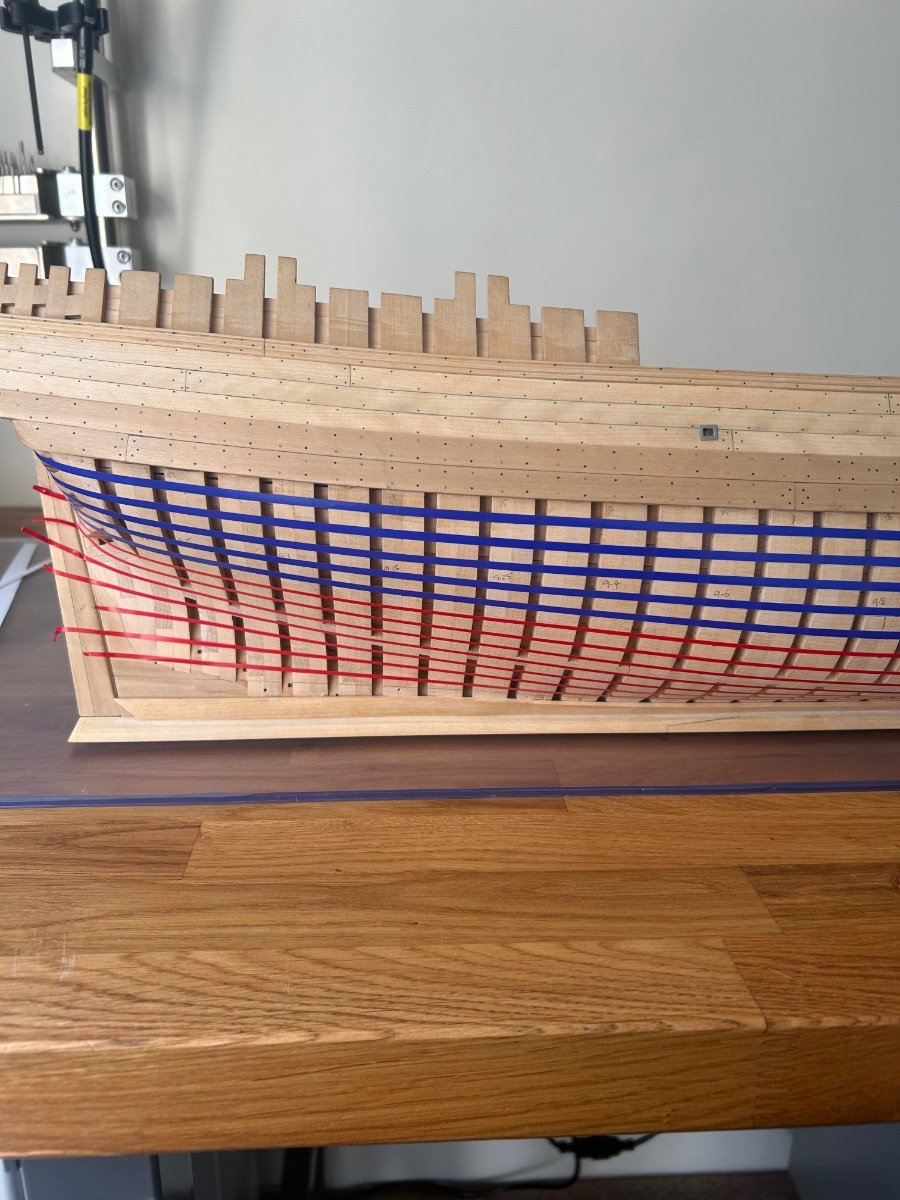
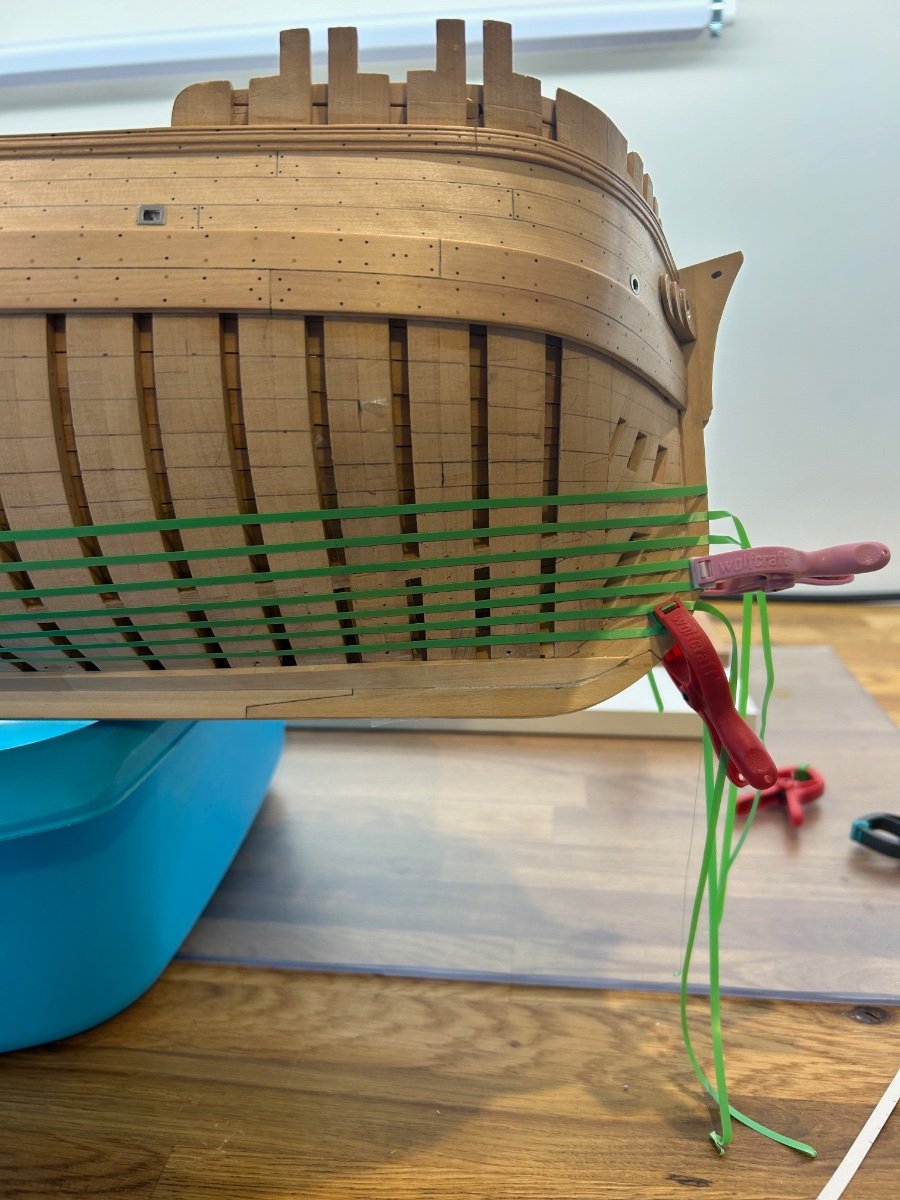
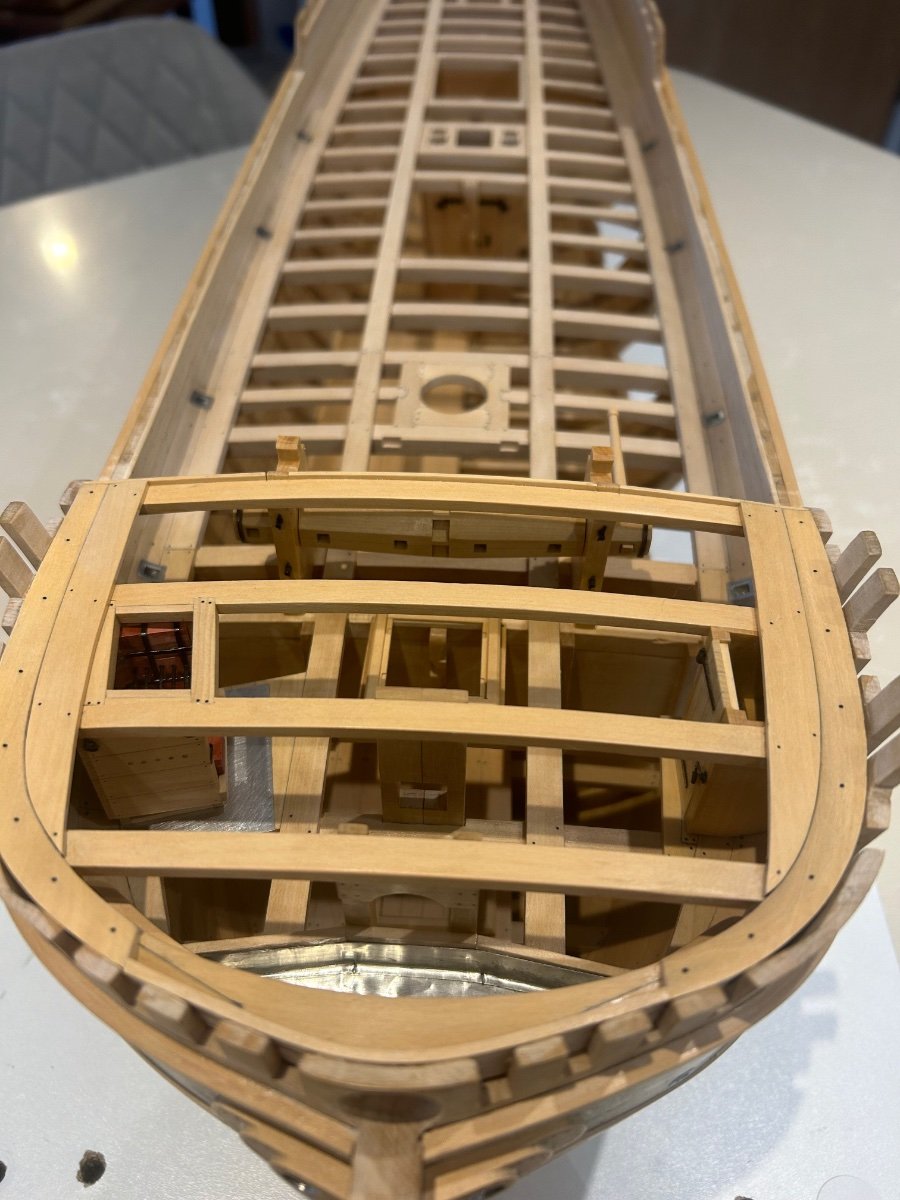
I've spent the last few days marking out the strakes which is pretty time consuming. I wanted to stay as close to the plans as possible and try and achieve a nice even look too.
I like to use automotive lining tape as it's nice and flexible - the only issue with this sort of tape is that it doesn't stick very well to the wood. So after using tick tape and a planking fan to mark out the master frame I started the job. My planks work out to be 9.9mm wide on this frame so I'll cut them to 10mm as my measurements are probably out a bit.
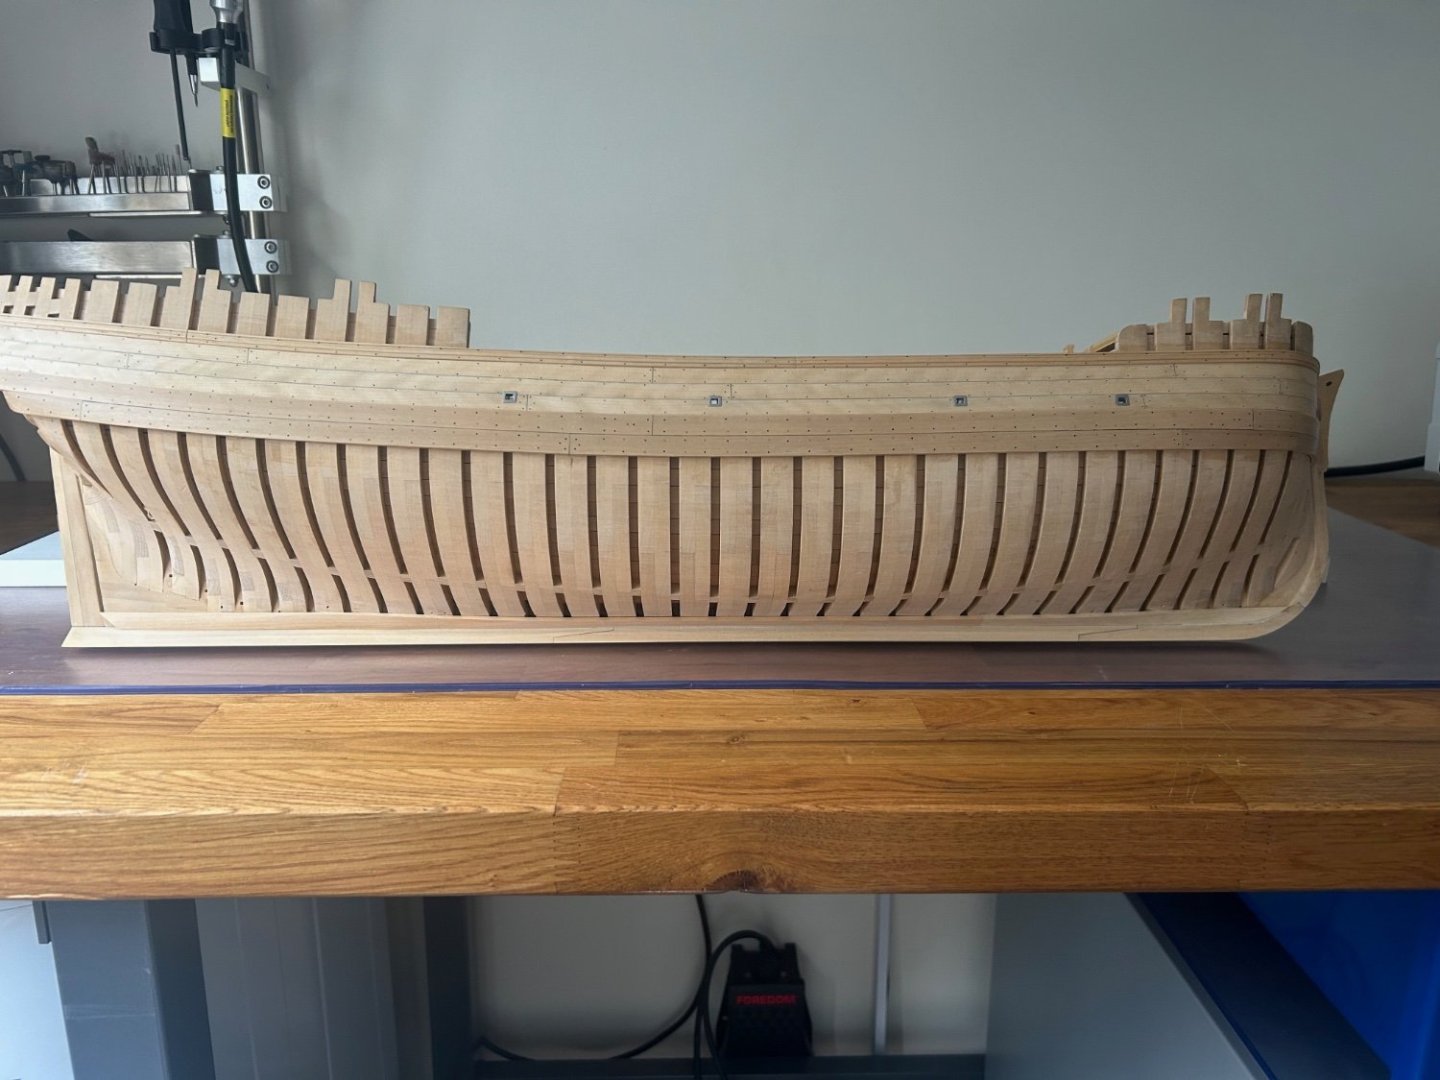
Lining the stern

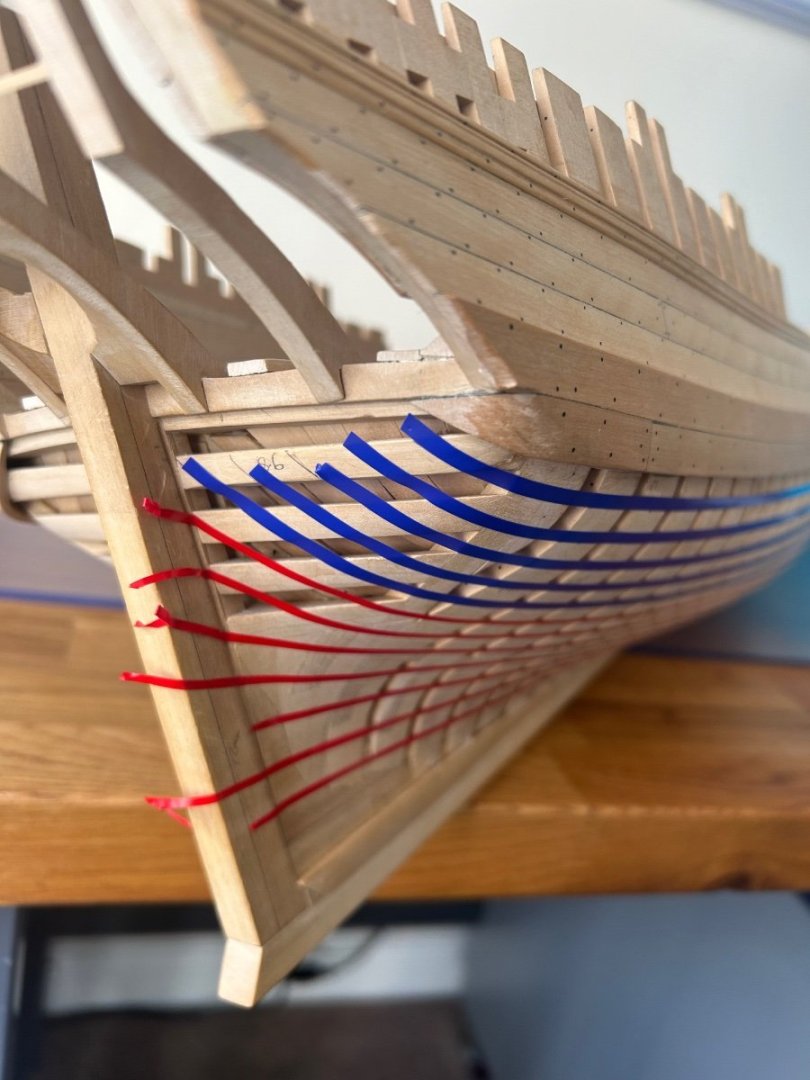
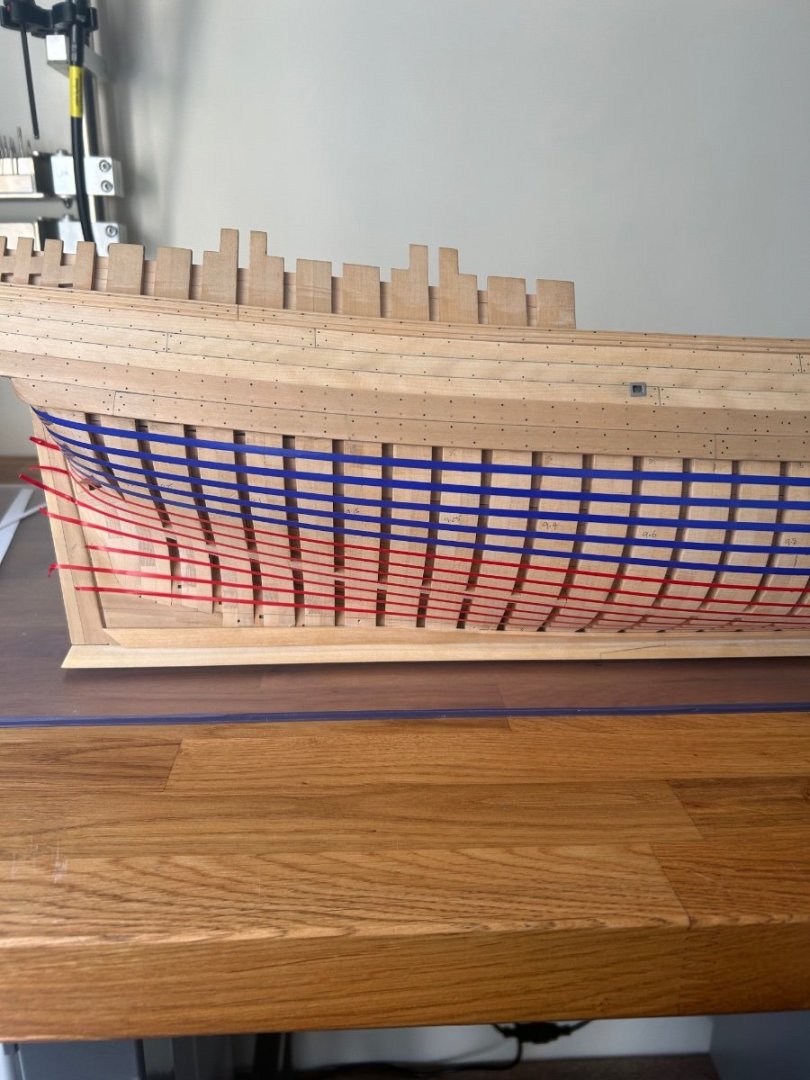
Then the Bow

I have one stealer in the stern straight off of the garboard plank and one drop plank towards the bow. So it's just as the plans suggest.
I had better start cutting some planks now and get on with the job
Mark

- Mike Y, native one, chris watton and 23 others
-
24
-
 2
2
-
Fantastic build Chris I'm going to follow along
- mtaylor and BlockPlane
-
2
-
Seriously Chuck they do look very very good.......mmm I might have to get some soon!
- Canute, thibaultron, mtaylor and 1 other
-
4
-
-
9 minutes ago, bdgiantman2 said:
This ship model has been a delight to follow. I have come to like seeing those frames being visible, it would be a shame to cover them in my opinion. Those frames are so realistic and most public has no clue this is how real ships were made back then.
Brian D
Hi Brian and thanks for your really nice comments. You're spot on about how people have no clue about how ships were made and they probably have no interest either nowadays. I too really like the frames of this ship but this little vessel has always been a learning curve for me. I need to know that I can plank the hull as it should have been and I would like one side finished so that my family can see the ship without having to imagine it. The port side however will stay bare from the whale down so that the frames will always be visible. Cheers Mark
- KentM, Keith Black, Stavanger and 1 other
-
4
-
41 minutes ago, druxey said:
I rather like the 'greasy' bars, actually, Mark! A nice inadvertent touch. Good start to planking. I hope you'll leave some of those frames showing.
3 minutes ago, Keith Black said:As do I.
Thanks both - purely a fluke on my part
I'm only fully planking the starboard side and I'll clean up the port side as it is now. I think that this will give a nice perspective on the finished hull and the work underneath.
- DaveBaxt, mtaylor and Keith Black
-
3
-
On 2/29/2024 at 12:42 PM, druxey said:
Lovely progress, Mark. Looks like the grill bars could use de-greasing!
")
Hope you are recovering well.
Thanks druxey and I'm glad you said that because after I glued the stove in I could see that I completely forgot to take the shine off of it. Oh well just another of my little mistakes but I'm gradually learning to live with them. As for the recovery - yea I feel loads better but can't go back to work yet but cheers for asking
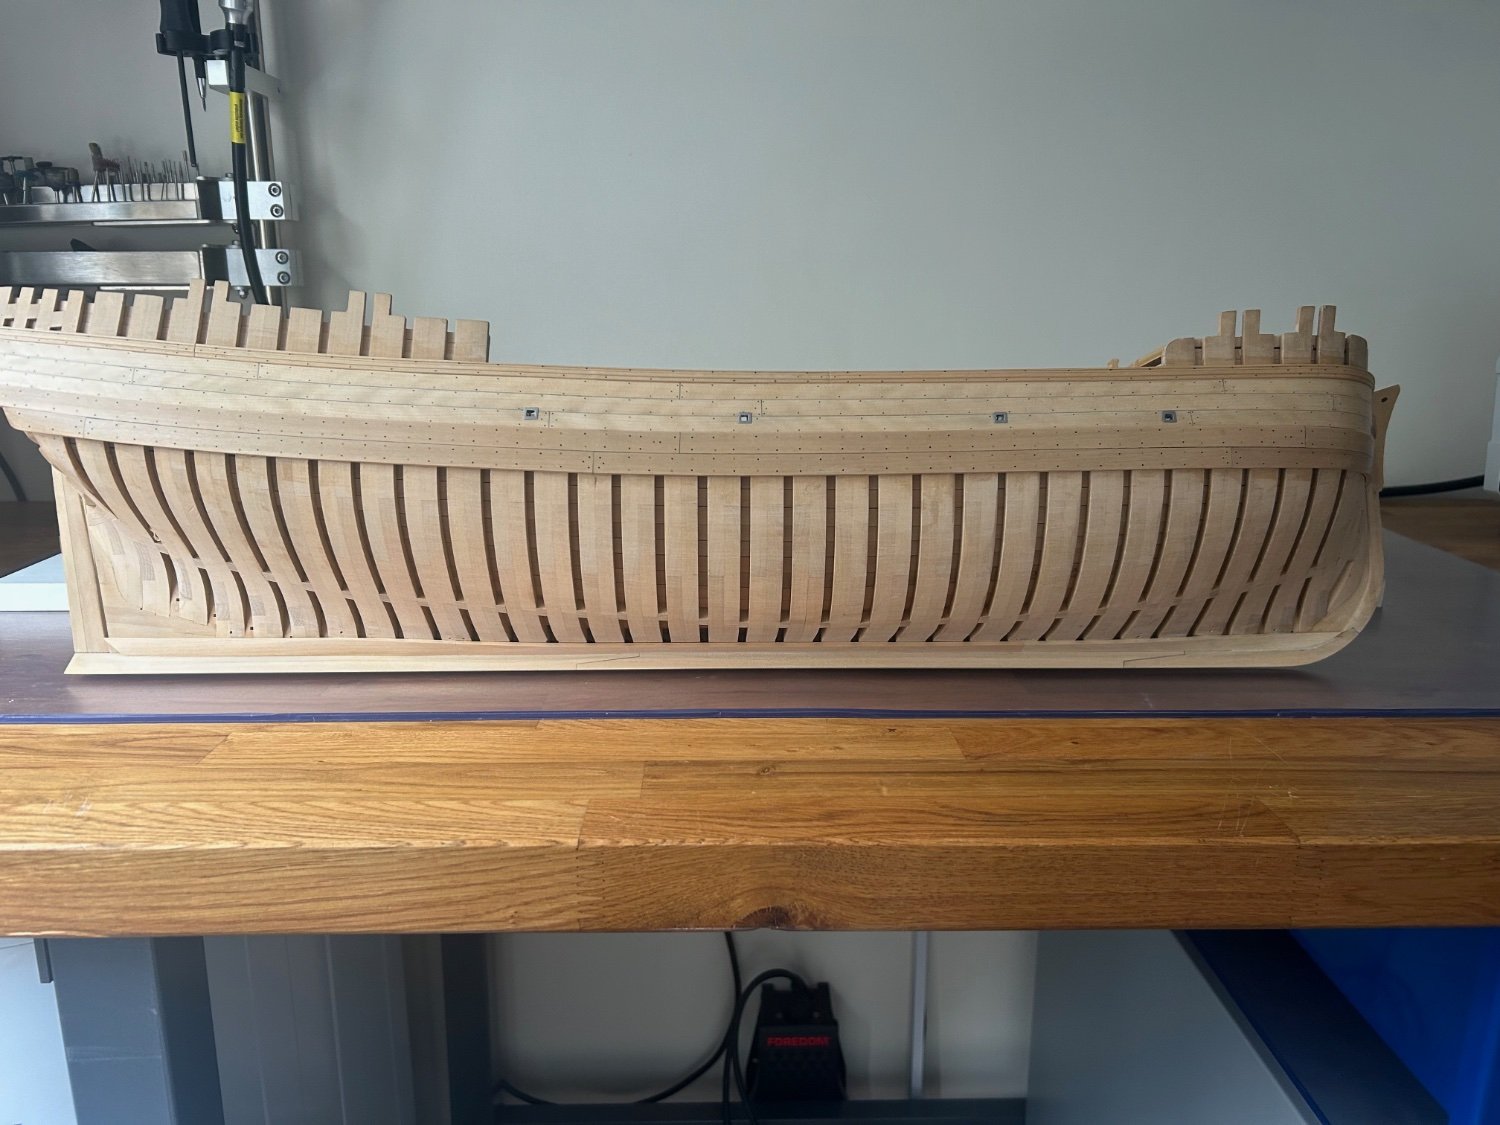
The garboard strake - This was a bit of a nemesis for me on my last build but I learnt a lot from that experience. So firstly I cut the planks but the profile is not flat it's slightly curved. I only curved the centre section with the view that I could blend it into the other two planks. I won't say exactly how I cut the inner curve as it involved using a table saw in a way that it shouldn't but the result was nice 🤣
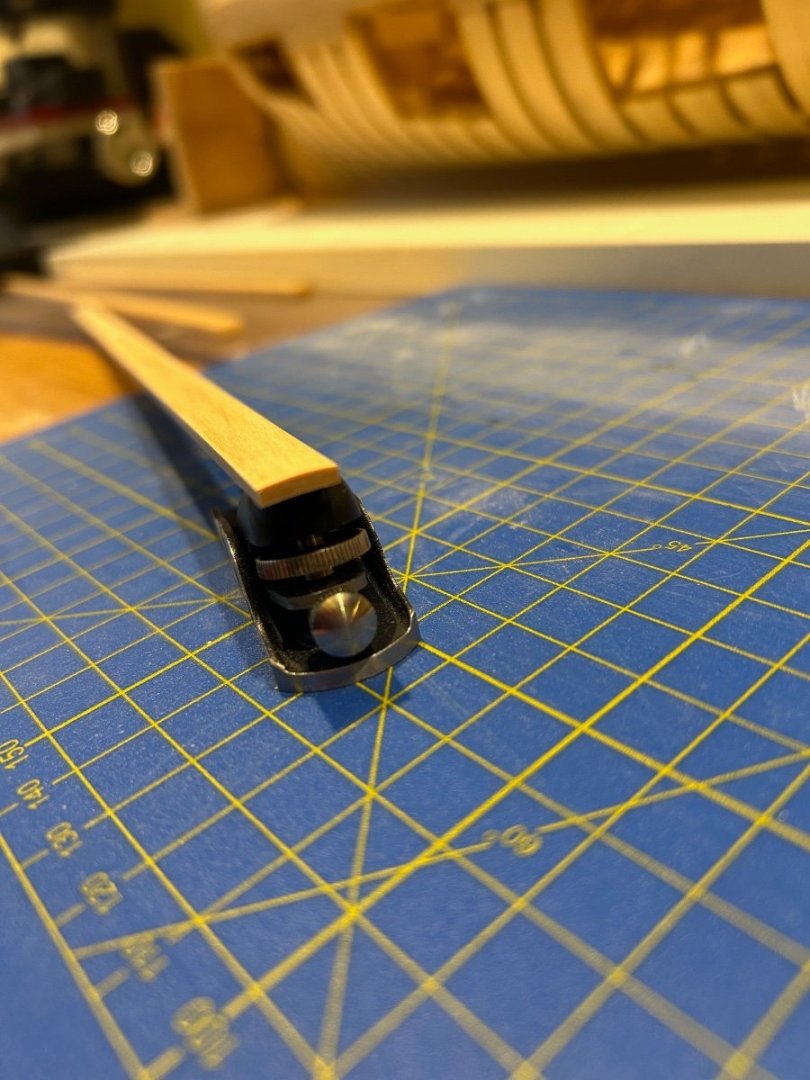
I started in the middle as this is an easy plank - The other ends rotate through about 90 degrees.

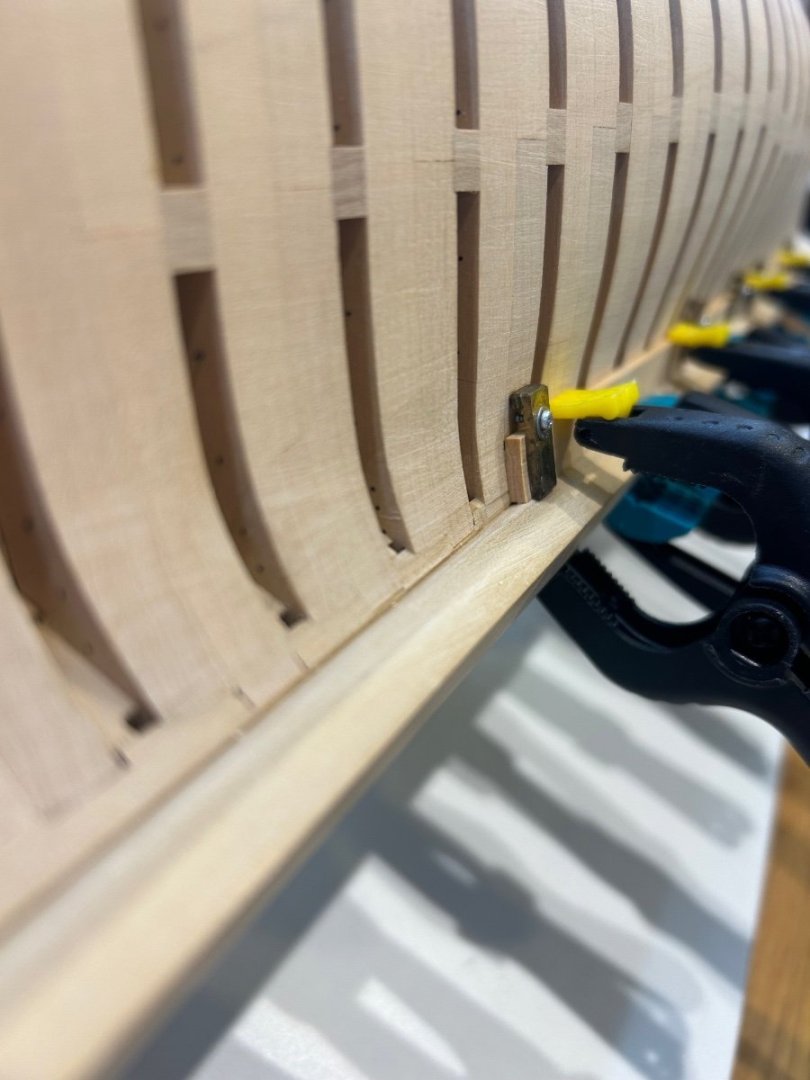
I then made and fitted the other two ends - This strake is 2.3mm thick so takes a little persuading but with hot water is not too difficult. I'm pleased with the result even though I haven't quite got it right on the forefoot. It's difficult to bend and clamp a plank through 90ish degrees and see if it fits exactly. I thought that it was but alas no! A bit of saw dust filler to the rescue which I'll blend in properly at a later date.
Just looking at the hull I would guess that it will need a couple of stealers at the stern and a couple of drop planks towards the bow. I'll soon find out as the next job is to line out the planking which will reveal all!
Cheers Mark
-
Hi All
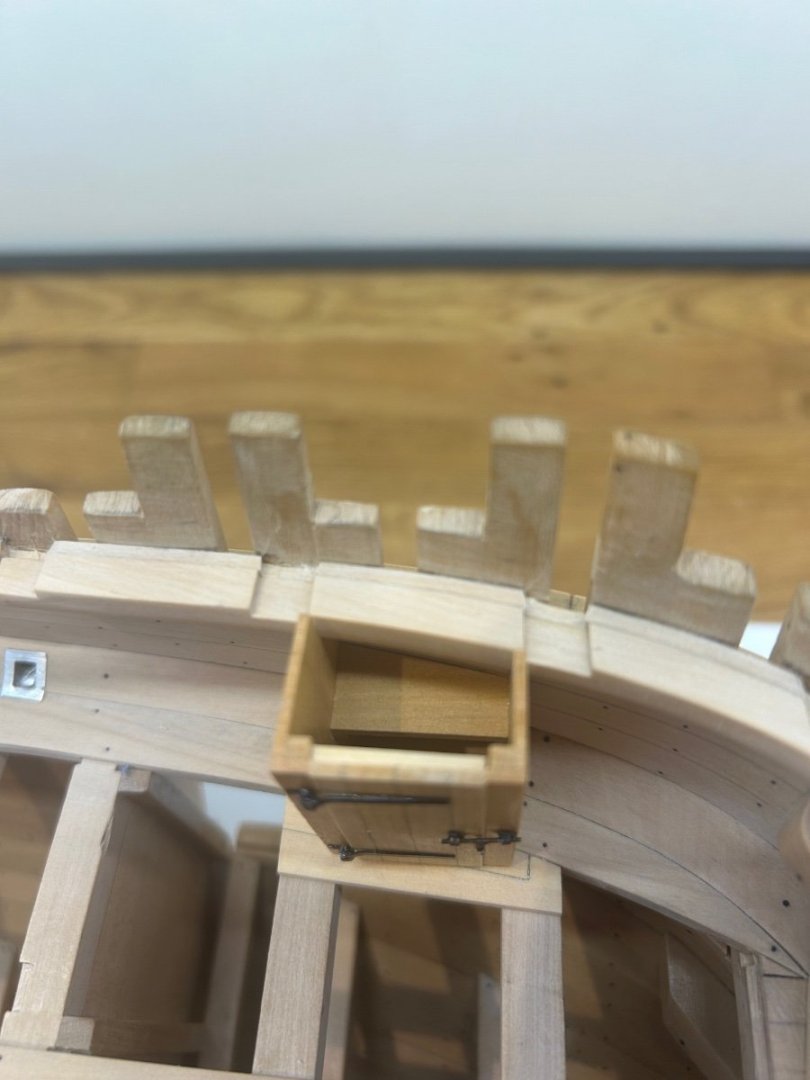
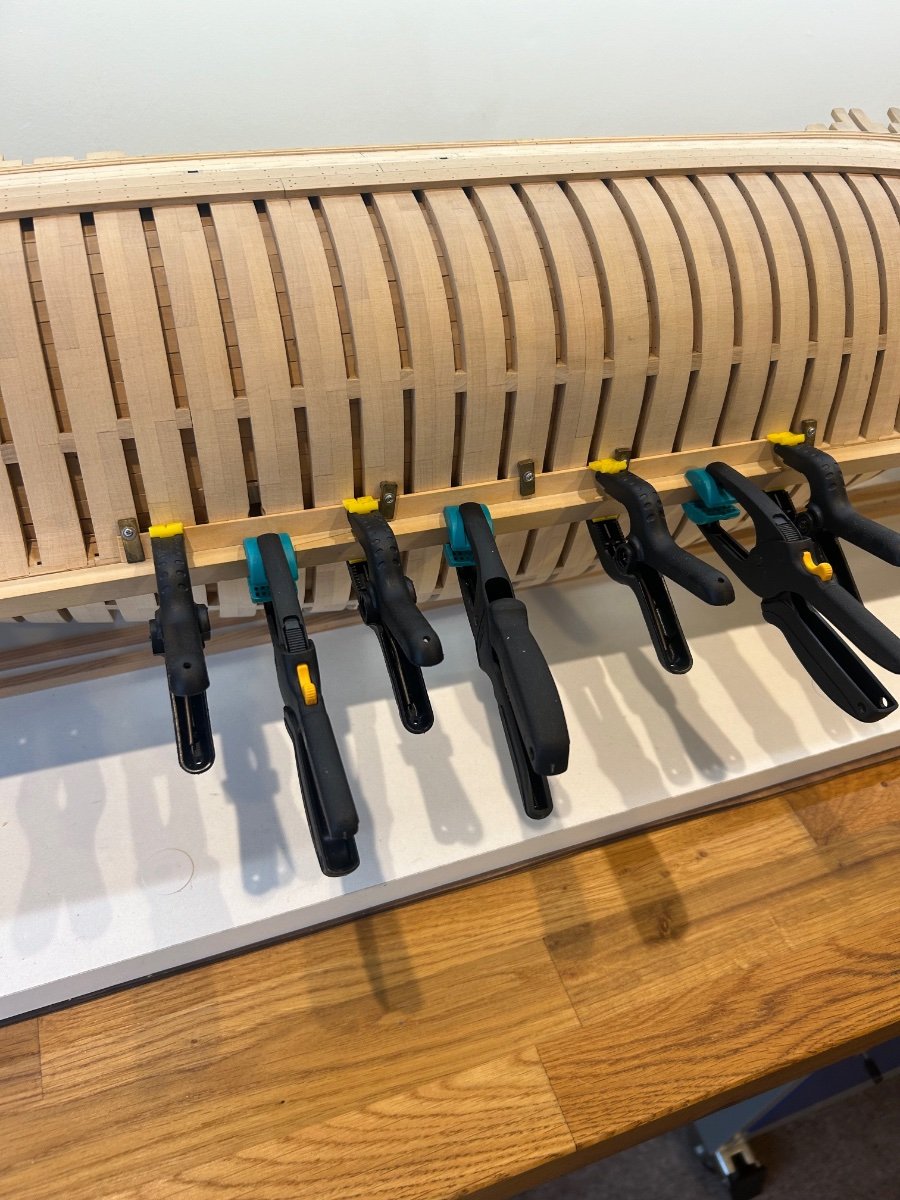
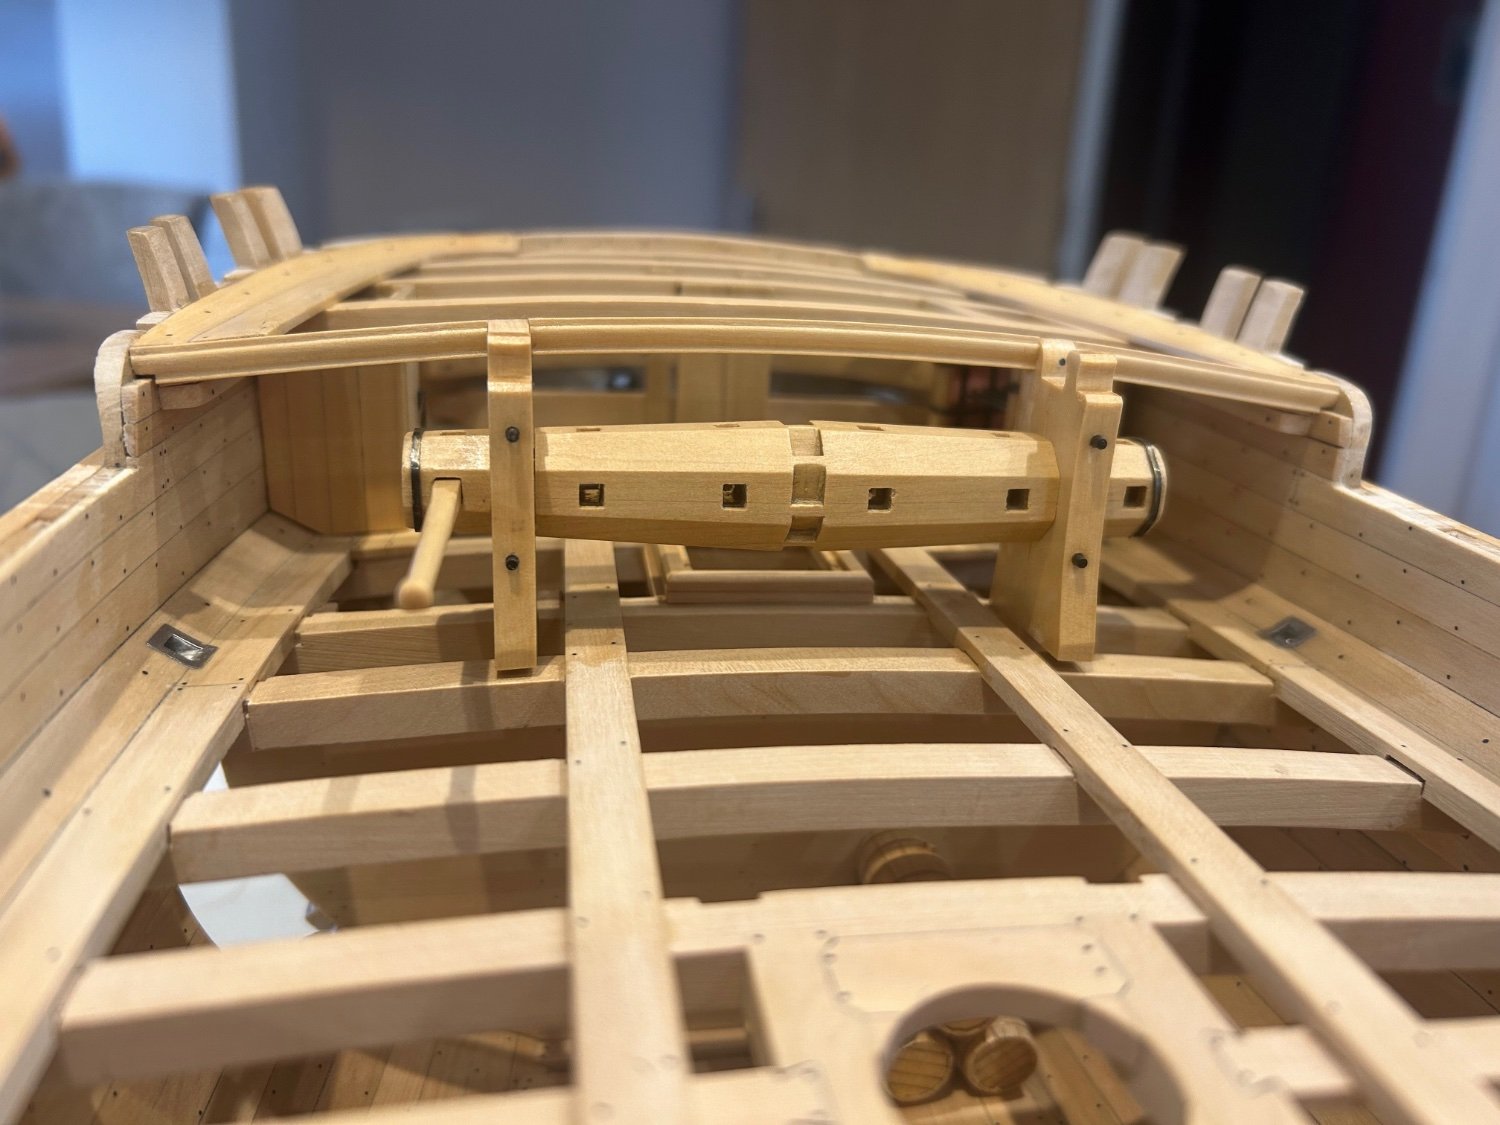
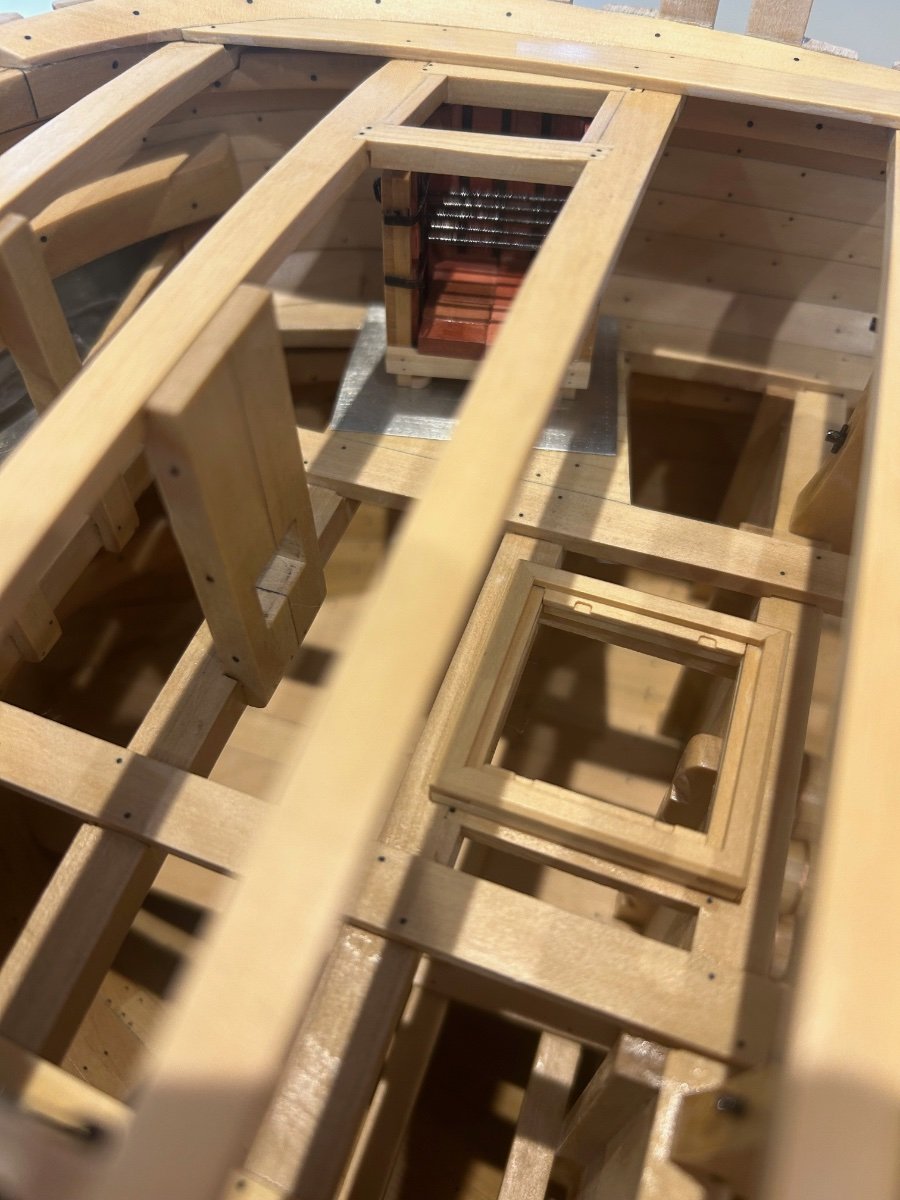
So it's time to put all of these pieces together and just generally catch up with myself. So firstly I put in all of the nails that I had missed and finished parts for the hatch above the stove. I also had to make the decorative rail that covers the end of the last beam.
Loads of small clamps on the rail to get a nice even curve
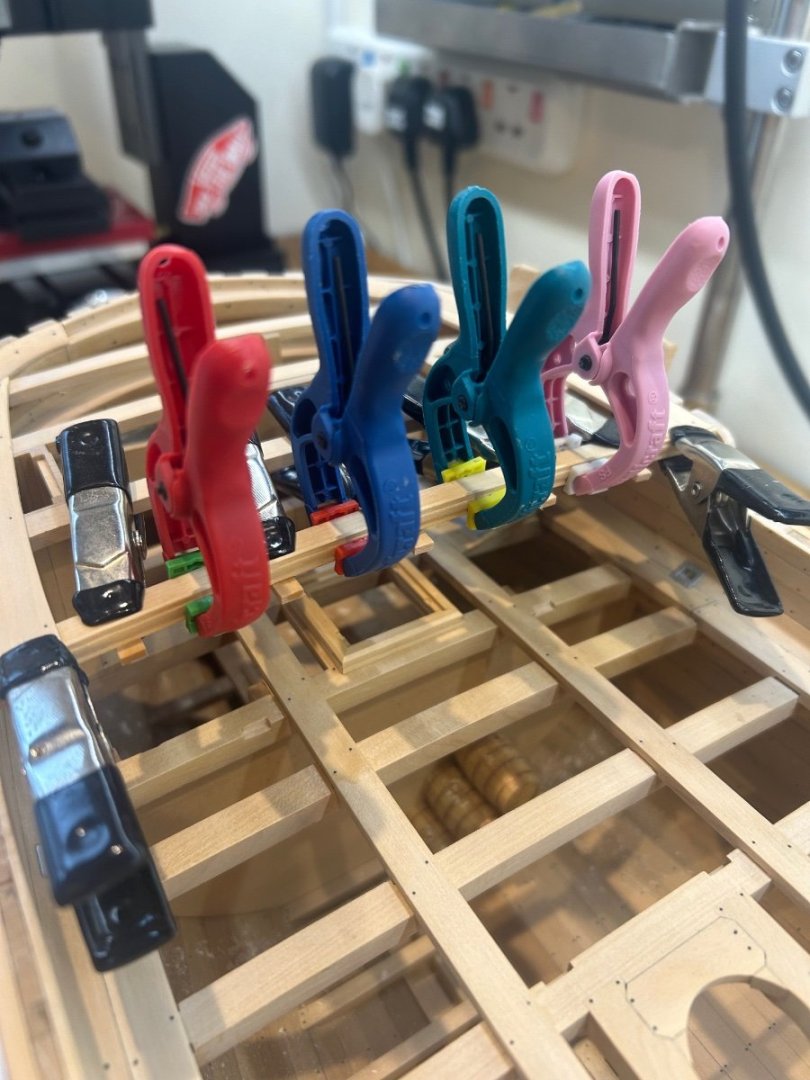
Then it was just a case of assembly and clean up. The results are below.

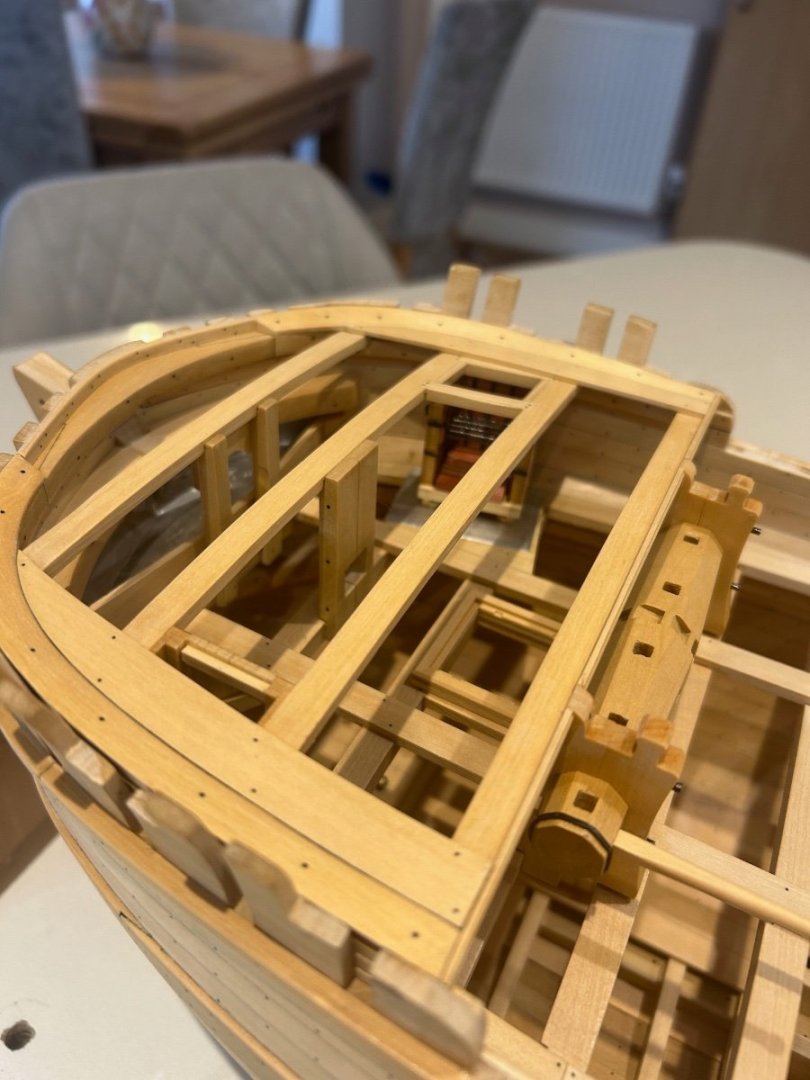


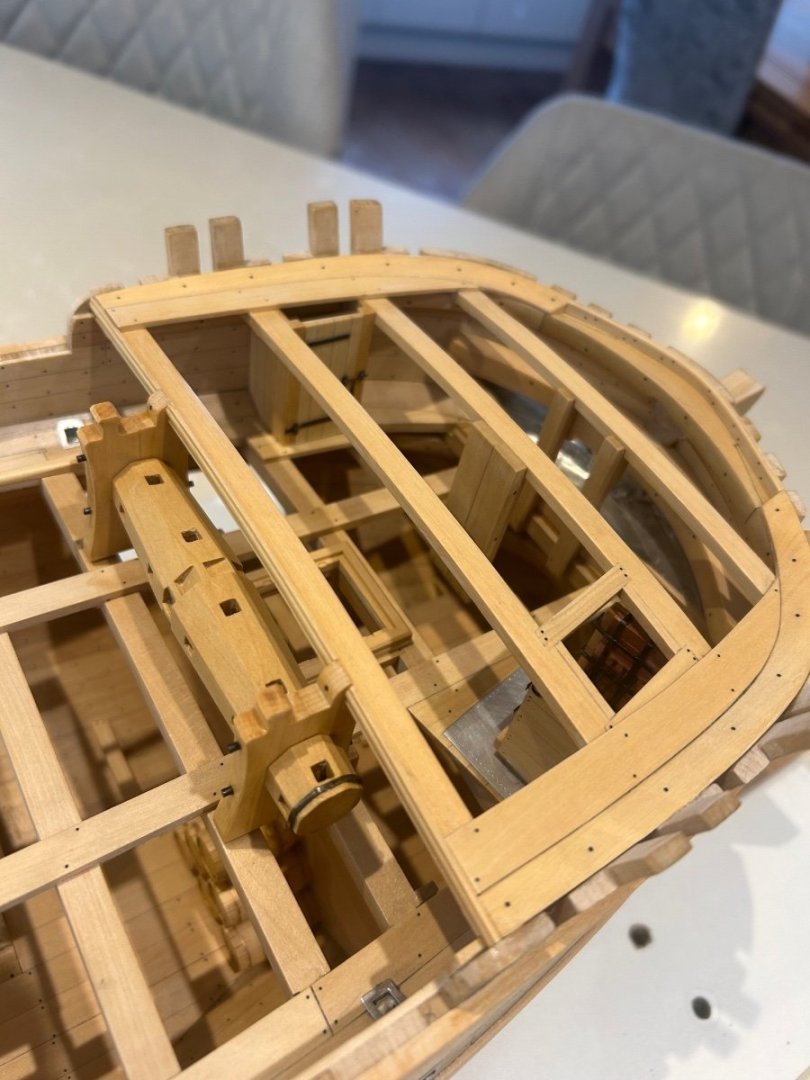
So thats the forecastle deck and detailed work below pretty much finished. I'm a little unsure what to do next but I think its probably about time I finished off the planking of the hull.
Cheers Mark
-
-
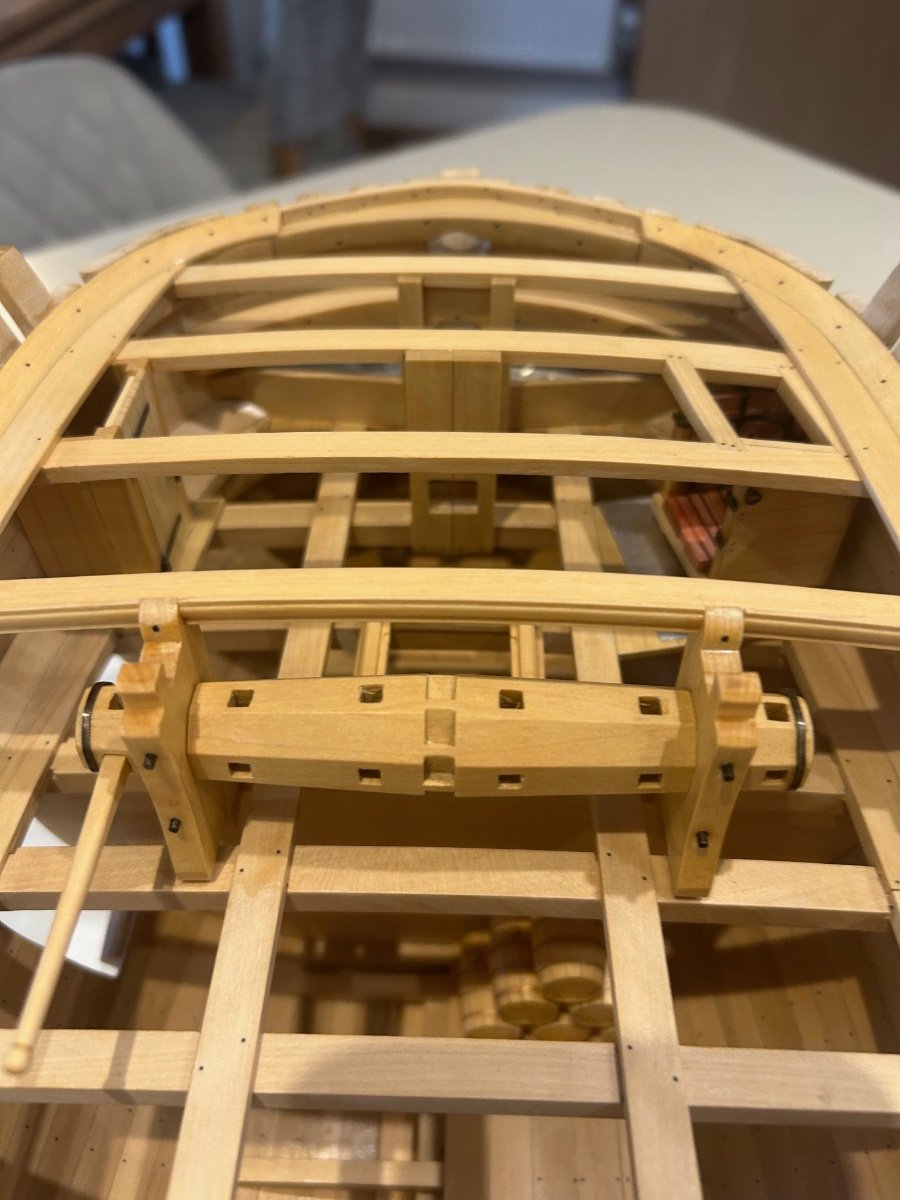
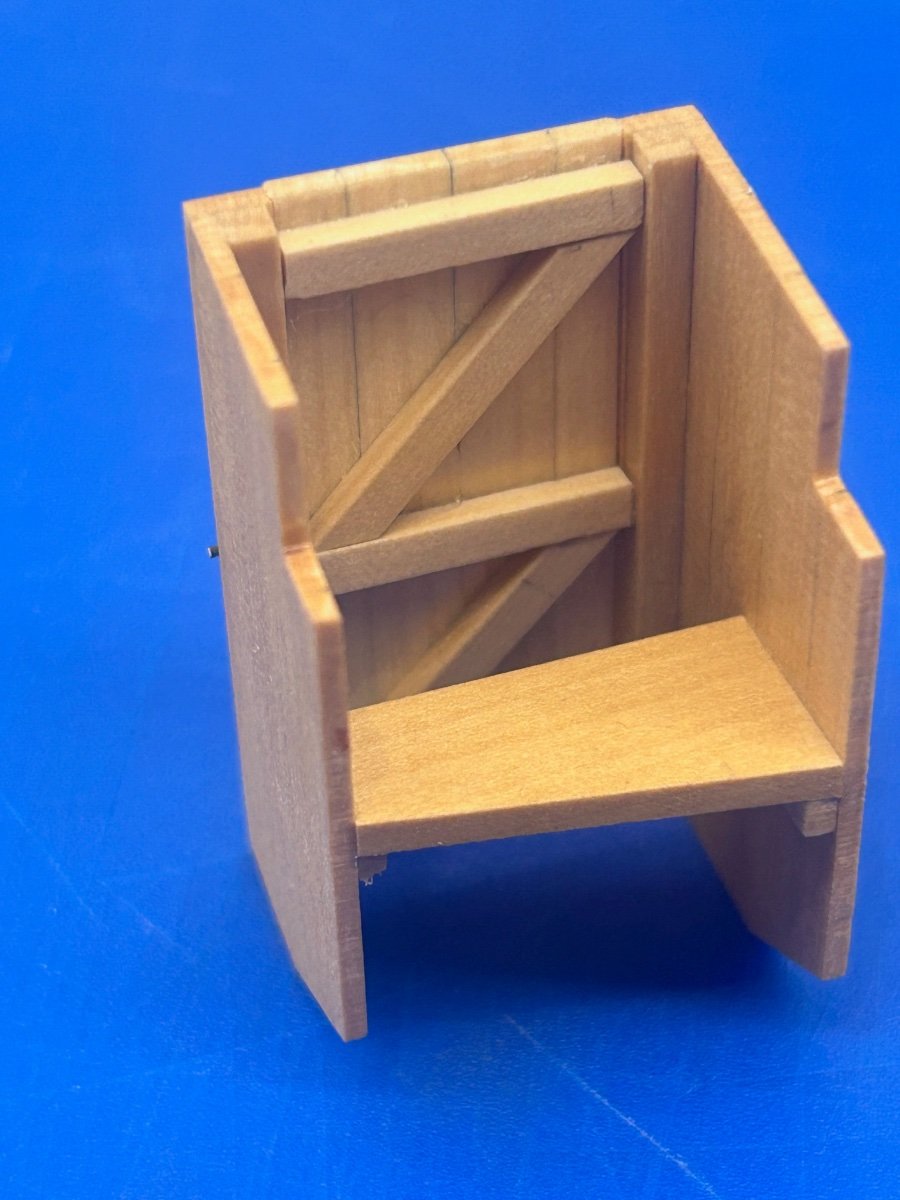
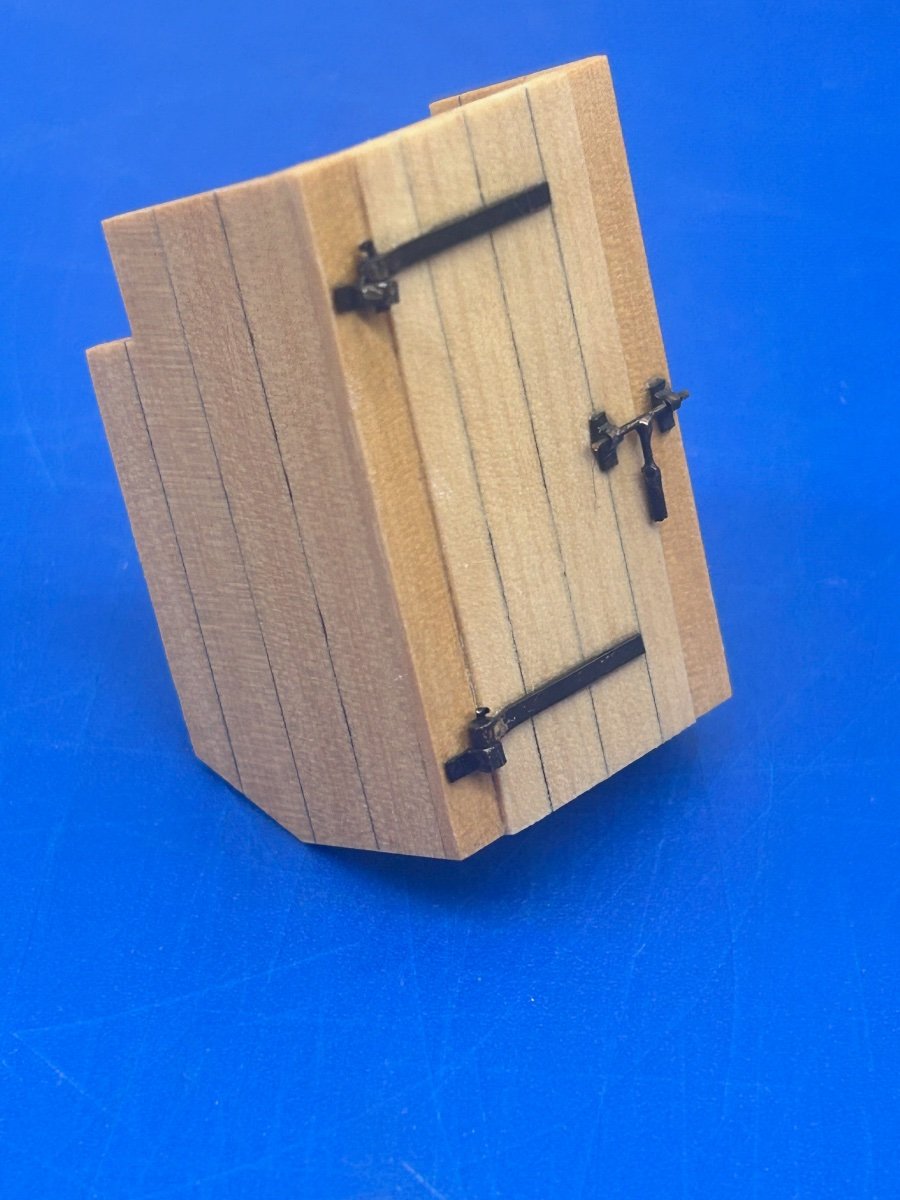
Some more work done - This time it's the small office/store cupboard. It's a very simple construction with brass hinges and lock. It has a small shelf too and many angles come together for a good fit.
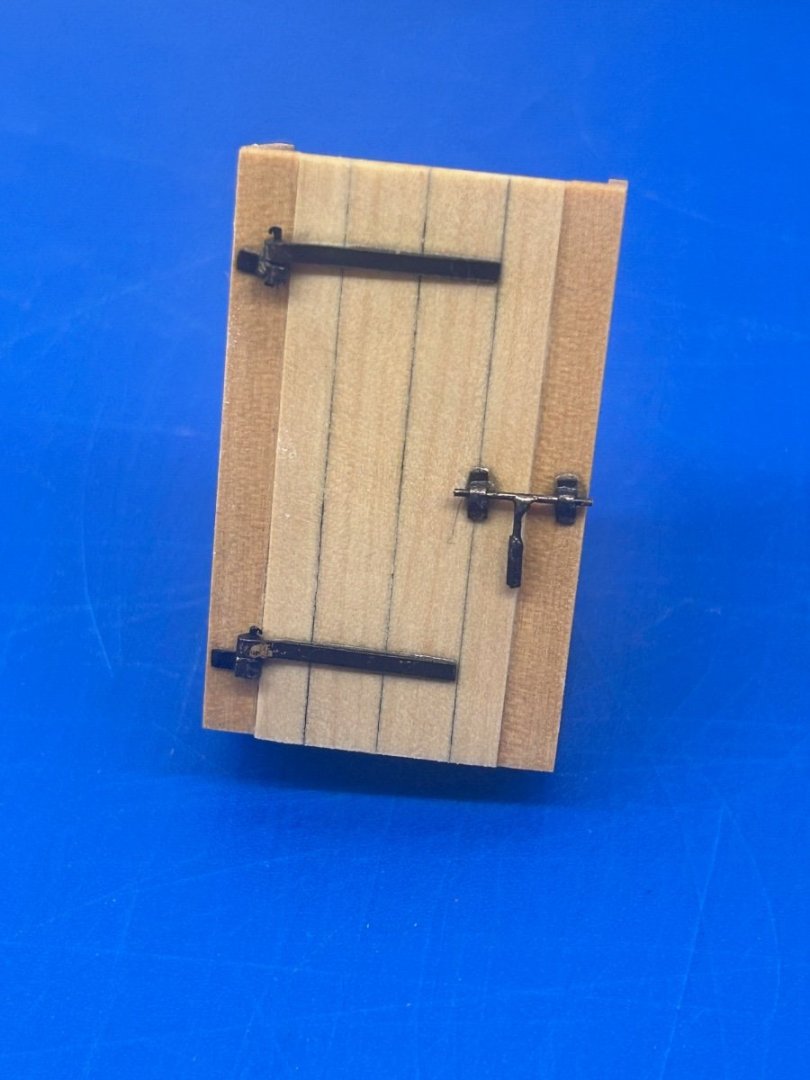
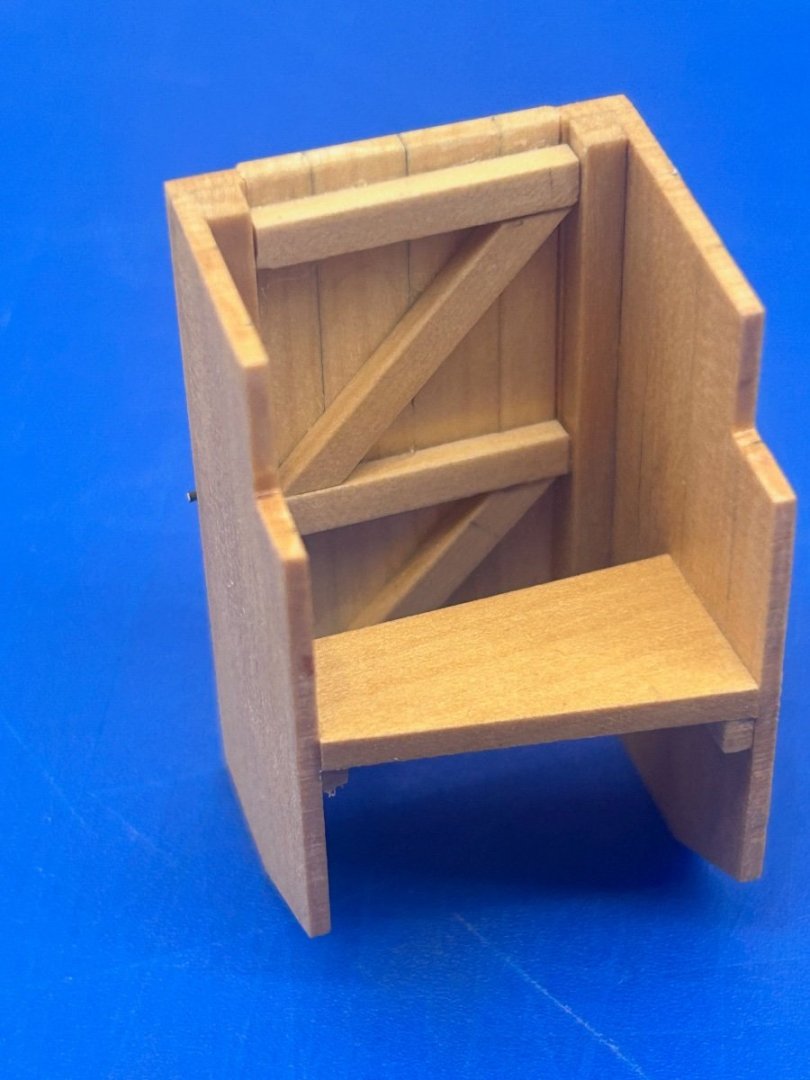

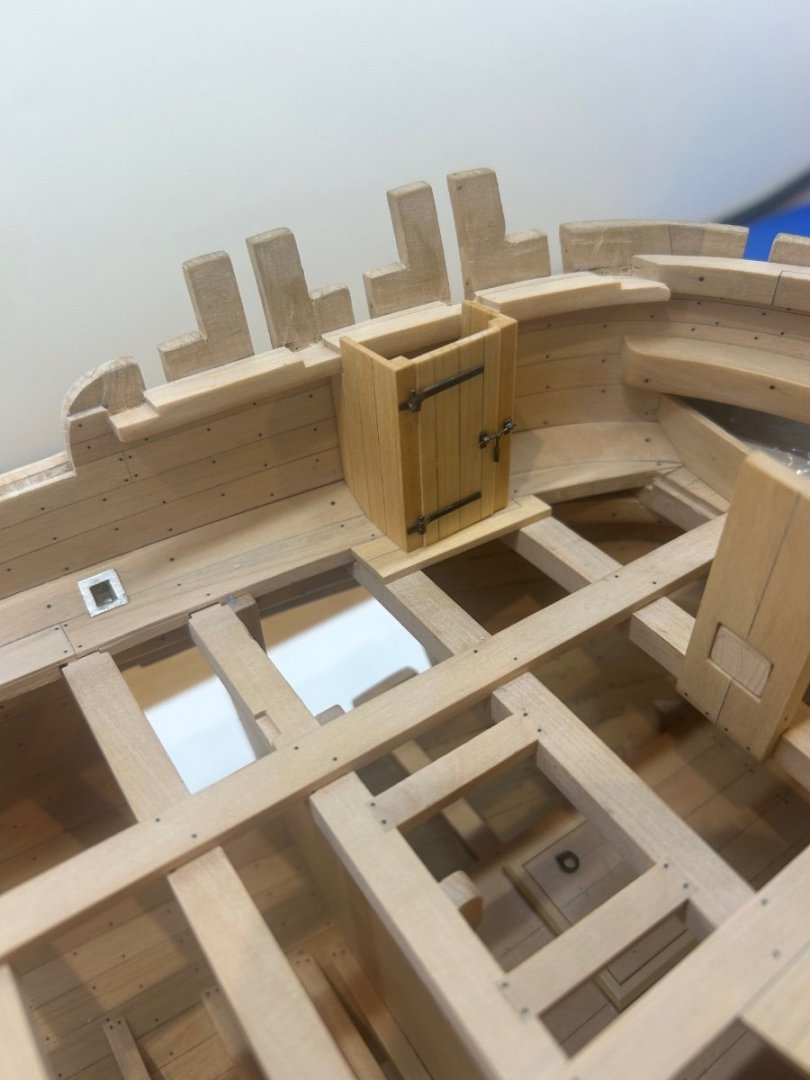
So now I have to bring all of these parts together and finish off some of the little details that I have missed
Mark
- ChrisLBren, scrubbyj427, AJohnson and 18 others
-
21
-
Hi Chris I did mine the other way around - I cut the profile pieces and then cut the angle onto them. I'm pretty sure that either way will work though. I would also cut the dovetails into the wing transom as I have looked back on my build and thought of some of the details that I have missed. They could have all been done and the reason they weren't was because my patience was lacking.
-
Goodness me Chris that really is lovely joinery 👍👍👌
- mtaylor and Vladimir_Wairoa
-
2
-
56 minutes ago, allanyed said:
As will water.
Allan
Hi Allan - I use water as a clean up but I have never successfully used water to unglue my work. In fact I have had to soak some parts in ipa for 24 hours for them to separate with a good contact point. Can you expand on this a bit because if I can use water to unglue joints I would be very happy to do this.
-
I agree with Jaager try using yellow carpenters glue. It will give you far more time to place your planks and if you get it wrong IPA will undo your work. I know that many modellers on this forum use CA extremely successfully Chuck being one example but personally I just can't get on with the stuff. Yellow carpenters glue or aliphatic glue as its also called is very strong and grabs within minutes
-
-


LE ROCHEFORT 1787 by Tobias - 1:36 - Harbor Yacht from ANCRE monograph
in - Build logs for subjects built 1751 - 1800
Posted
Thats really nice work it looks fantastic