HOLIDAY DONATION DRIVE - SUPPORT MSW - DO YOUR PART TO KEEP THIS GREAT FORUM GOING! (Only 24 donations so far out of 49,000 members - C'mon guys!)
×


druxey
-
Posts
13,302 -
Joined
-
Last visited
Content Type
Profiles
Forums
Gallery
Events
Everything posted by druxey
-
 Good question, Dirk. The English also made repairs and replacements easier by through-bolts that were forelocked. How early this practice began, I'm not sure.
- 1,035 replies
-
- 7
-

-
- royal katherine
- ship of the line
- (and 1 more)
-
I use the MicroMark lead-free pewter. As for all casting metals, you ned to skim off the dross before pouring. I can see that the urn-shaped opening might create a bottleneck/backup, allowing cooling to occur before complete filling of your mold. If low melting point is an issue, there is always Wood's Metal - it flows at below the boiling point of water! I've no idea what blackening agent might work on it, though. Cerrosafe is a non-toxic alternative.
-
Congratulations on a fine result, Thunder. I remember seeing advertisements in Model Shipwright back in the '80s and wondered if the kit was as good as the photo in their ad. It is.
- 102 replies
-
- 1
-
-
- speedy
- model shipwright
- (and 1 more)
-
How unusual! I wonder why a block was used there rather than a deadeye. However, if the profile plan is 'as built', one can't argue with it!
-
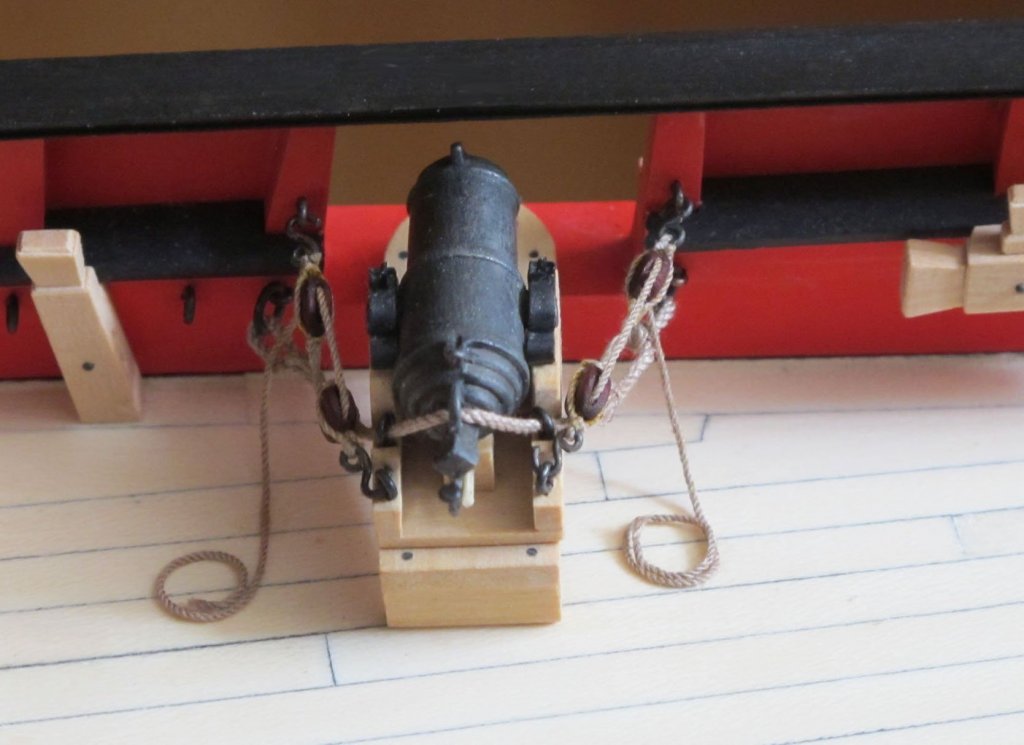
Depending on how nicely the RTV mold is 'clamped' by the outer plaster one, the seam should be minimal. The slight seam, if there is one, is easily filed off. The finish used was a chemical one: Jax Pewter Black. Incidentally, the carronade pattern shown was the earliest one of 1782 that lacked the muzzle cup or extension seen on later ones. Another consideration is providing air vent passages in the mold to allow a complete 'fill'. Did you have such channels when you attempted to cast?
-
Why the triple block on the channel, Paul? Just a placeholder?
-
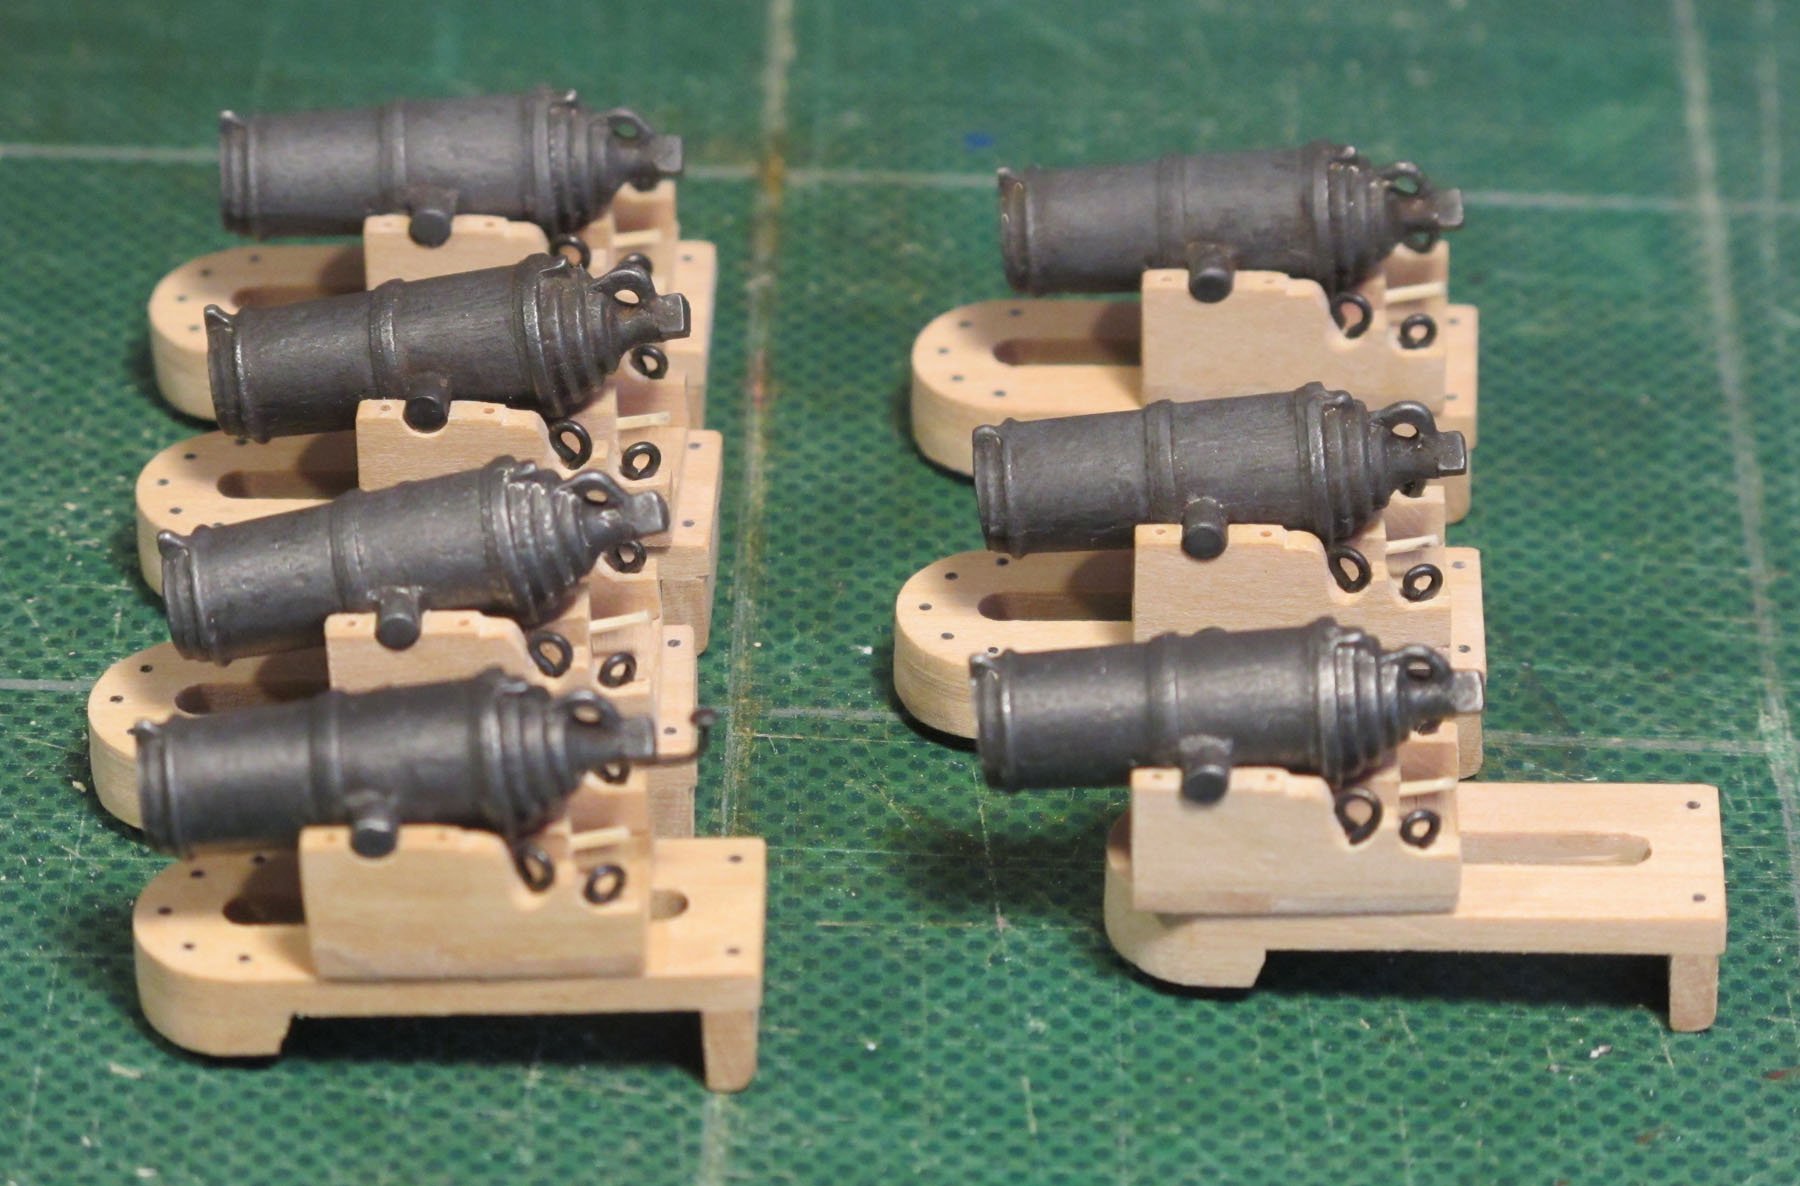
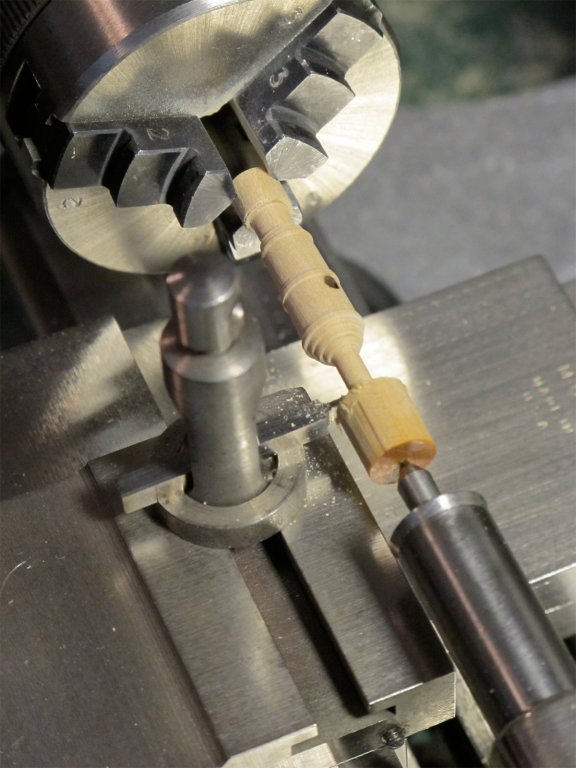
I used to pattern/duplicator turn my guns on a Unimat. The taper angle had to be a trial and error offset of the headstock. I found I needed a very fine-tip cutting bit for the reinforcing rings. Eventually I realized that it was not the best method of producing multiples, so made masters in wood. (By this time I also had a watchmaker's lathe, whose cross-slide could adjust for taper turning.) These masters were cast in clam-shell RTV molds supported by an outer dental plaster shells, then cast my cannon and carronades in lead-free pewter.

-
Interesting indeed. I guess we need to wait for feedback from users as to whether it delivers as promised! It does not seem to mention the maximum size it can handle.
-
Glad you didn't just take my word for it, Alan: verify, verify, verify!
- 125 replies
-
- 3
-
-
- 9 pound naval cannon
- 3d cannon barrel
- (and 1 more)
-
Much better! The planking should flow now, rather than crease across the bulkheads. You'll be very glad you went for the 'do-over'.
-
Did you read A Primer for Planking? It explains why the garboard need to run out short at the bow.
-
No, I've not tried acrylic 'pads', Mark - it was just an idea.
-
What an intense collection of belayed lines! And trying to rattle down those shrouds at this stage of rigging must be a real endurance test. You continue to amaze us, Ed.
- 3,618 replies
-
- 4
-
-
- young america
- clipper
- (and 1 more)
-
Michael! That isn't 0-gauge live steam, is it? It reminds me of Emett's Far Tottering and Oyster Creek Branch railway.
-
That's a lot of machining for a single piece! Looks beautiful.
- 589 replies
-
- 3
-
-
- le gros ventre
- cargo
- (and 1 more)
-
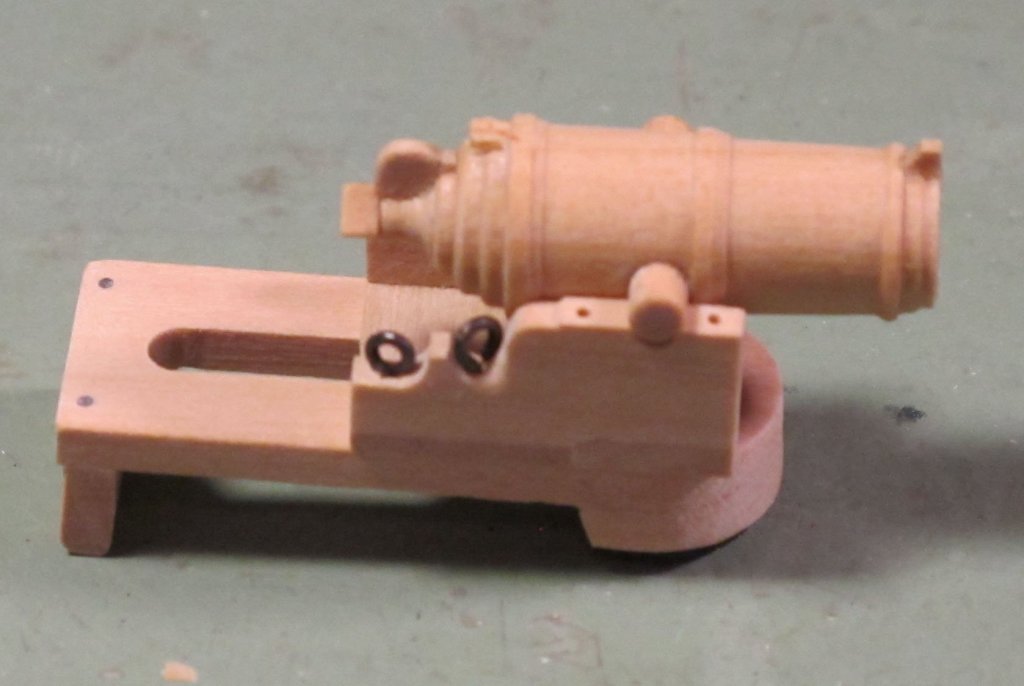
Would you 'float' the trucks above the deck framing? Will the guns be secure enough with just a spacer? If you don't want bits of plank below the trucks, perhaps small pieces of clear acrylic?
-
Happy travels, Cathead! We look forward to your return.
- 599 replies
-
- 6
-
-
- sidewheeler
- arabia
- (and 4 more)
-
Um, you could try to get another $10 off, Alan: decks had wood plugs over nails, not treenails!
- 125 replies
-
- 3
-
-
- 9 pound naval cannon
- 3d cannon barrel
- (and 1 more)
-
Miniature wood plane
druxey replied to michael mott's topic in Modeling tools and Workshop Equipment
Plane sailing, perhaps? (Sorry, couldn't resist that.) -
Frank: please don't be embarrassed: that was certainly not my intention. As, Chuck says, it's a learning experience we have all been through ourselves. How do you think we learned? We've made the same mistakes ourselves! Good luck with the re-do.
-
Yup, that's how my father dressed to do hobbies!