HOLIDAY DONATION DRIVE - SUPPORT MSW - DO YOUR PART TO KEEP THIS GREAT FORUM GOING! (Only 13 donations so far - C'mon guys!)
×


druxey
-
Posts
13,292 -
Joined
-
Last visited
Content Type
Profiles
Forums
Gallery
Events
Everything posted by druxey
-
 Good to see you back. That first photo make you look as if you live in - oh, yes, you do live Down Under! Those figures look great now they are painted.
 -
Well, one opinion, for what it's worth: ratlines are part of the standing rigging, therefore are tarred. It's possible that sailors' hands and feet acquired some of this stuff when climbing the rigging, so were referred to as - wait for it! - 'tars'.
-
Joints eventually 'read' through either paint or dye, due to seasonal wood movement. I wouldn't be too concerned about accentuating the joints.
-
Well done, Mark.
-
Using Holly for decks
druxey replied to Jim Rogers's topic in Building, Framing, Planking and plating a ships hull and deck
You raise an interesting question, Jim. Holly decks are a model-makers' convention. Another convention that does not reflect 'real' ships is ebony for false keels. Yet another is using black line for standing rigging. These styles were begun by well-known model-makers and then copied by many others. And so it continues. Personal taste comes in to play here. Some prefer a stylized look to their models. Others prefer a 'realistic' appearance to their models, including wear and weathering. You, as the maker, have to please yourself (unless you are building on commission for a client). There are no absolute right or wrongs. -
Just catching up with your build(s), Paul. Very nice work!
-
Sweet! Coming along nicely, Mike.
-
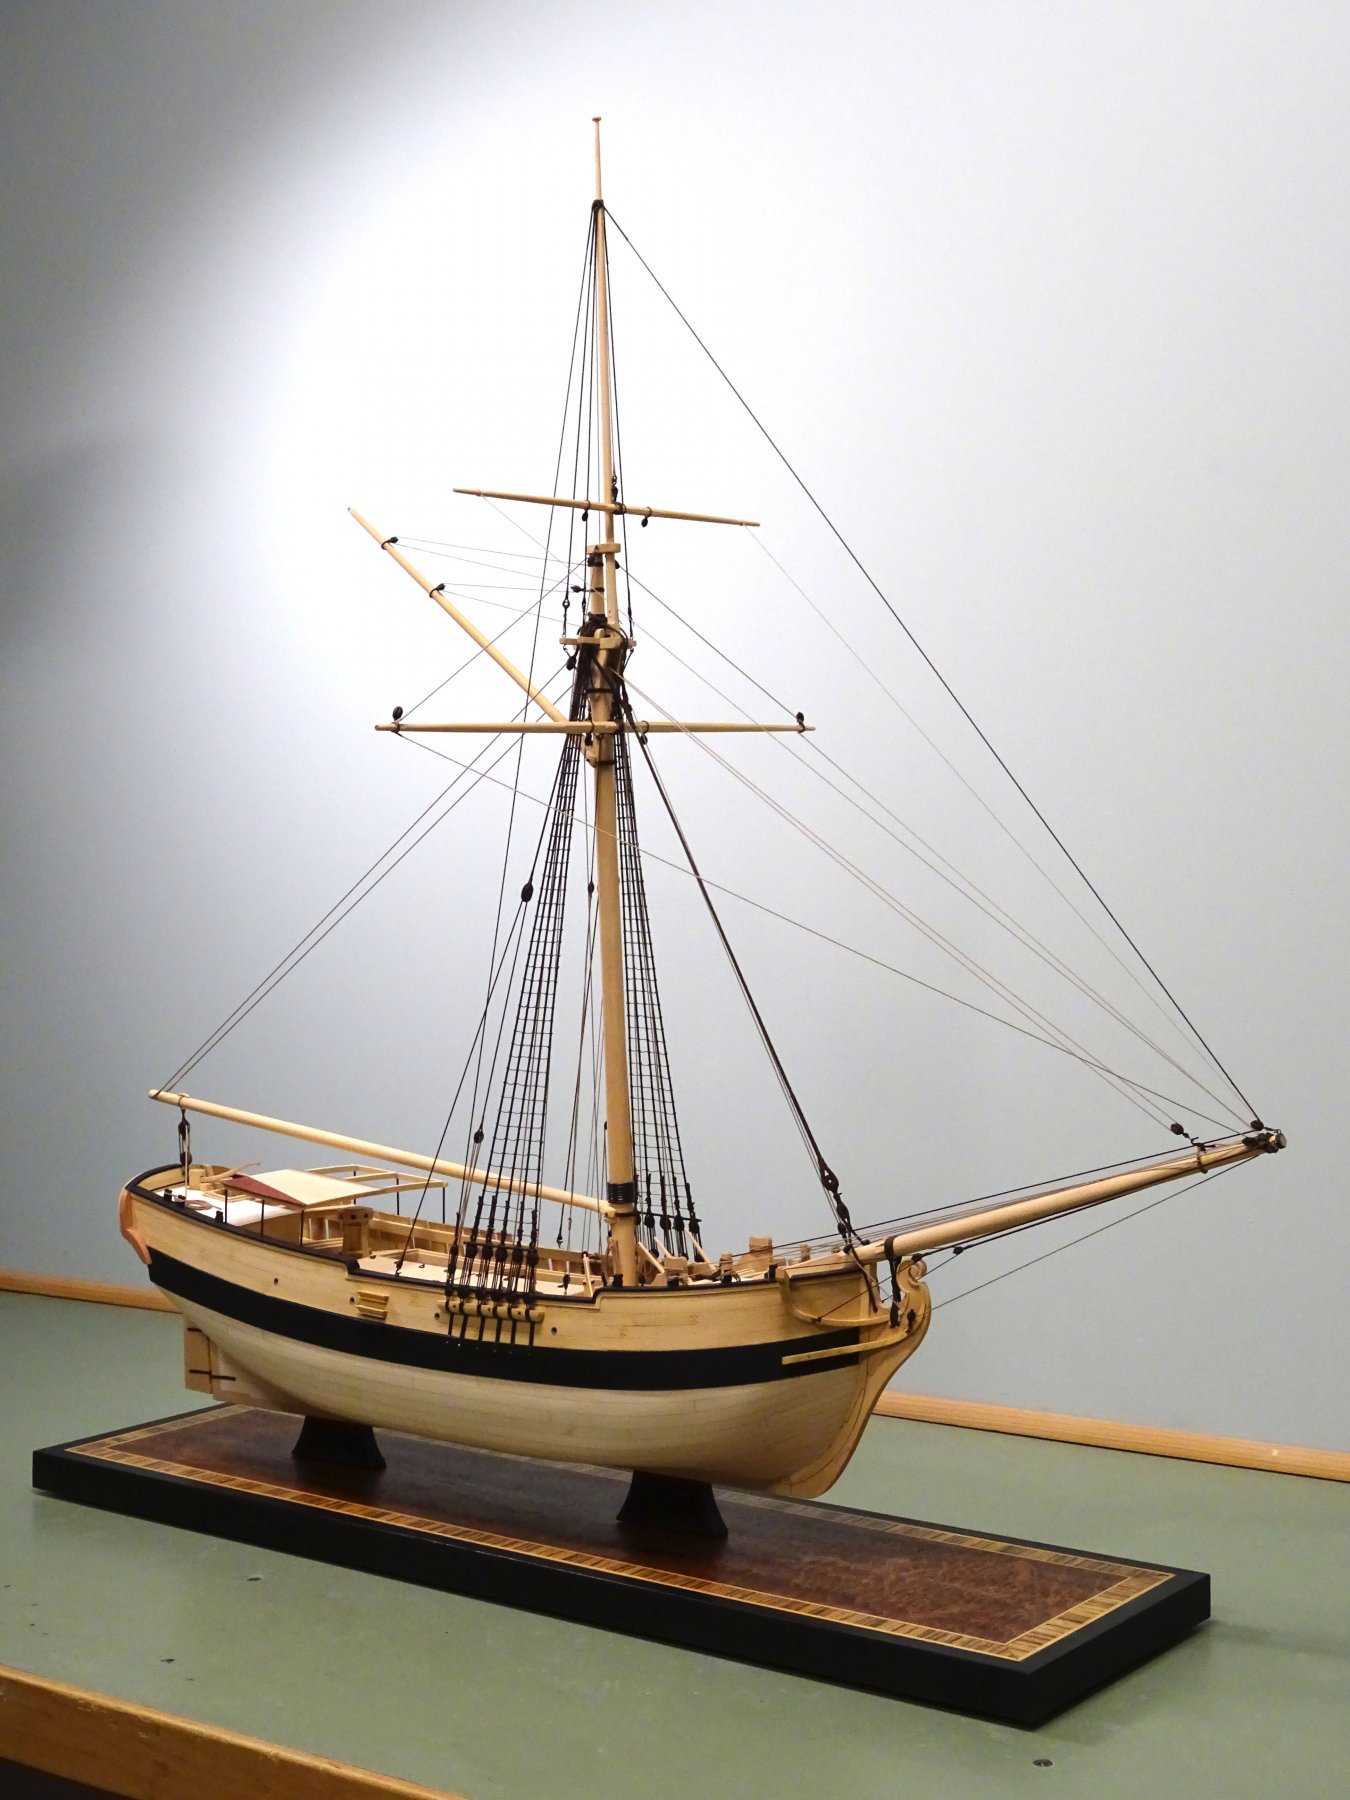
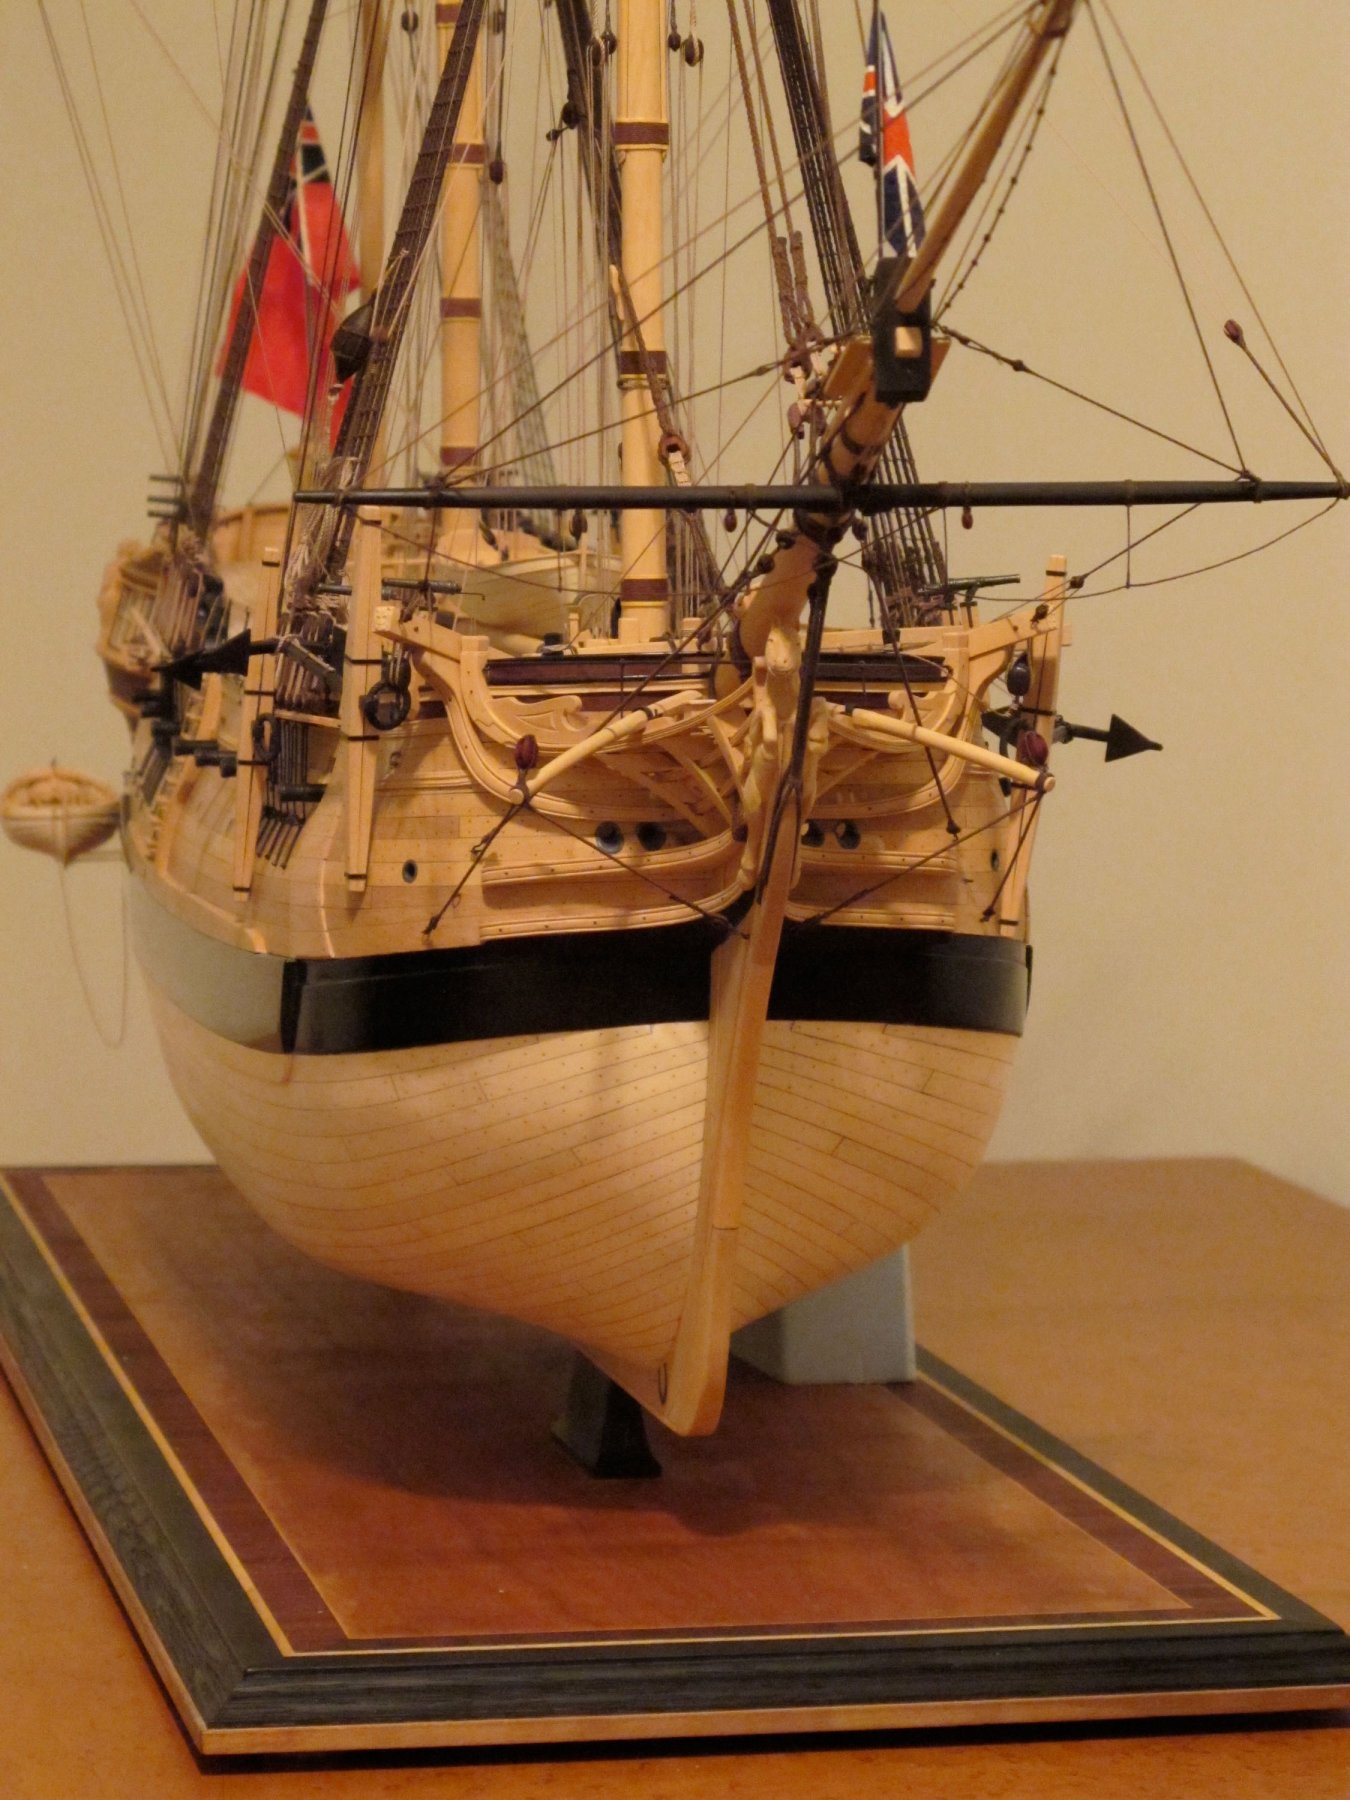
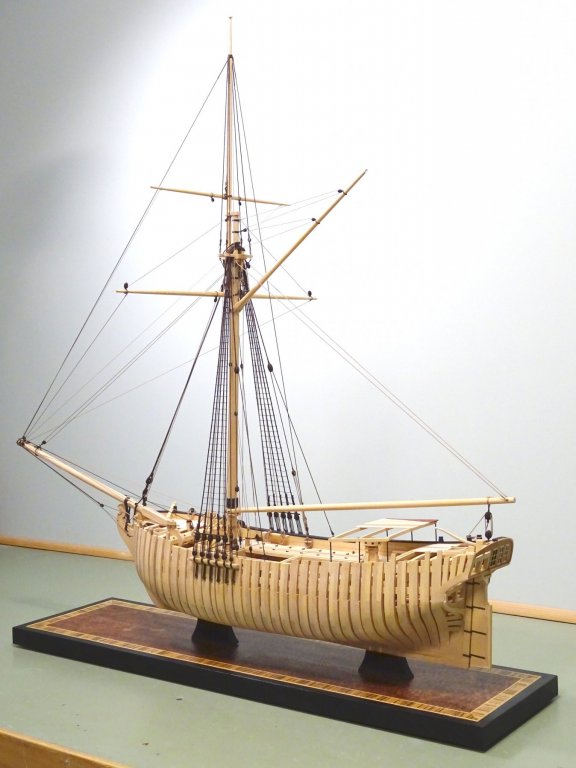
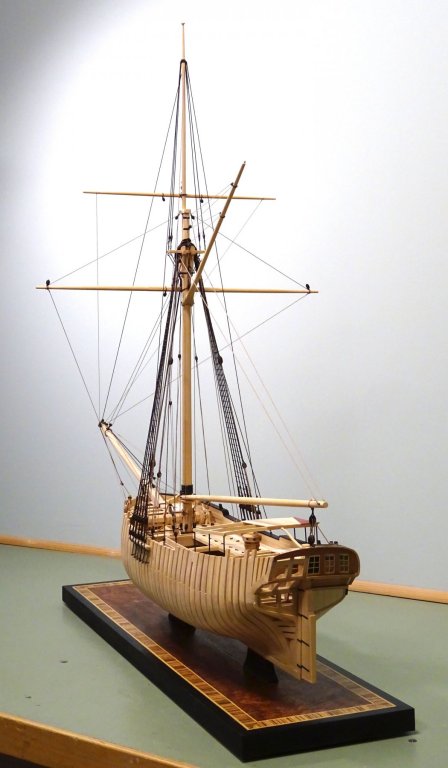
Model by David Antscherl for sale The Hayling hoy of 1760 is a carefully researched model of an original subject at the classic scale of 1:48. This model was constructed as a prototype for a forthcoming book. Made of Castello boxwood, pear and holly, it is fully framed with one side fully planked. The model is rigged and measures 28”L x 28”H x 14W”. Offered on a custom veneered base but uncased. Serious enquiries are invited. More photographs upon request, terms available.

-
Looking good, that is to say, awful! Thanks for the early 'heads up', T&E. Of course, watching the trailer in the dead of Canadian winter is not uplifting!
- 346 replies
-
- 4
-

-
- terror
- polar exploration
- (and 2 more)
-
Sorry if I misinterpreted your photo, Maurys. I'll shut up now and slink away!
- 525 replies
-
- 4
-
-
- anchor hoy
- hoy
- (and 1 more)
-
Sorry to read about your re-do, Gary. Usually the channels rest against the outer planking, and are not inserted into a slot in them.
-
Best wishes with your change in circumstances, Alexander! Nice lion's head.
-
Small point (which may be unimportant to you!): If you serve in the opposite direction to the 'lay' of the rope, the result will be smoother in appearance. The example above seems to be served in the same direction. That's a serious looking machine you have there for the job, Maury!
- 525 replies
-
- 5
-
-
- anchor hoy
- hoy
- (and 1 more)
-
As long as the vertical height(s) at the stem rabbet is/are correct, you should be fine!
-
I found it much easier to work on the counters with the model inverted. Nice work on the lower counter figures!
-
The reverse curve is an optical illusion. As seen from the side, the curve continues up to the bow. However, if you plot this curve in three dimensions (the bow is curving away fro the viewer in plan view), the curve flattens out. The rounder the bow, the more apparent is this effect.

-
SilkSpan worked well for me. You might want to get the supplement to Volume IV, The Fully Framed Model from SeaWatchBooks. It describes a method of working with this material.
-
No, that is a pirated version - and not a very good one - lifted from the book that you see advertised, I'm afraid.
-
That looks right to my eye now, Mark. It's a critical point that many modelers miss. Later it comes back to bite as the headwork won't articulate properly with the bow of the model. I'm glad you posted those photos in time to catch it!
-
Looking great, Mike!
-
This continues to be a beautiful piece of craftsmanship, Amalio!
-
Your assumption that the smooth upward curve on the sheer drawing (in one plane) is the same projected on the 3D shape of the bow is misleading. That is the trap!
-
I still enjoy my DB200 Unimat, circa 1970. It is a very versatile power tool. Thoroughly recommended, and other accessories are available on eBay.
- 4 replies
-
- 3
-
-
- flex drive
- table saw
- (and 2 more)
-
Beware of the line rising too far at the bow. Check the height from the baseboard to the wale edge at the bow rabbet. Usually the curve of the wale flattens or even appears to reverse at the bow. If the wale ends up too high on the bow, it will throw off all the headwork. You won't want that!