

.jpg.f26acc9a74319261612561bfa7da1303.jpg)
vaddoc
-
Posts
1,528 -
Joined
-
Last visited
Content Type
Profiles
Forums
Gallery
Events
Posts posted by vaddoc
-
-
Many thanks to all for your very interesting comments!
Now, I feel I may have actually managed to more or less define the shape of the planks. It has taken me overall many weeks of trial and error but this time the run of the planks looks ok. It is so much more difficult to do it with CAD, there were times that I thought of just cutting the frames out in cardboard just to be able to lay a batten! I fully admit it is a bit silly to do this on the computer but I am afraid it will be quite some time before I can cut wood and I really wanted to take it further and see the shape of the planks.
Now, this is the carvel planking but the lapstrake will come out using the same lines.
.thumb.png.6e20072b44acacfd8aacf8f7143588b4.png)
.thumb.png.fd0964cfb845ccc2350735cb36a4352a.png)
.thumb.png.da9e53410d19c5591f5ceb27bcaa67b0.png)
.thumb.png.211fd39144c294bae8fe142ca0ed06d8.png)
It is not perfect but I think it is pretty close. The largest blank needed is 57 cm, this would need either a crooked tree or a scarfed plank.
Regards
Vaddoc
- KeithAug, druxey, FriedClams and 5 others
-
 8
8
-
All so very true!
Fairing lines is so easy with CAD but at the same time feels very artificial and indeed, the result is a compromise and seems that the computer is making decisions on its own. Much better to use a batten!
Building boats I find myself wearing two hats. One is the CAD hat, when I am trying to make all drawings perfect. Then the modellers hat, where I find challenging to even make all frames have the same height. In the Deben the tolerances between the CAD drawings and the actual result were abysmal, some frames were out of alignment by 2 mm and I did not like the lines at the bow so I let the wood sit at the angle it liked to sit and readjusted the frame to the new lines. No problem at all in the end!
Indeed some degree of lofting is needed to make sure lines are reasonable close and fair but thankfully the wood has its own self-fairing properties.
On a different note, I suddenly thought of another way to tackle the Yawl's planking which may work this time. I will try it when I have the time as I would like to have some idea of the shape of the planks. It will be a CAD exercise of course but I do not have any time to create actual wood dust so a good substitute for now. This is another side of things, CAD gives you the satisfaction of creating the boat although virtually. We do of course have our own CAD building section!
- FriedClams, KeithAug and mtaylor
-
3
-
Many thanks for the offer Keith!
Considering how slow I now work, it makes sense to get even very expensive wood orders as the cost spreads over many years. But it seems very attractive to get a plank and mill it. These would open up a whole new range of options.
How do you do mill your wood, do you have a professional set up or a more scale down one for example with a proxxon or Byrnes saw?
-
-
-
Oh I can relate! Well Michael, I think this shows nicely why you create such masterpieces!
- mtaylor, michael mott and druxey
-
3
-
-
-
-
This looked interesting so i nipped out to the garage and tested it.
I cut a circular piece of 60 grit sand paper and loaded it onto the Dremel. I tried cutting pear wood, I think 3 mm and brass, I think 0.8 mm.
At low speed it did not do well. At high speed the paper straightens and cuts wood very fast and cleanly. The surface of the wood that is at the grit side gets black and burned. The sand paper should last a long time but is dead easy to change. In all honesty, it seems to cut better than my proxxon table saw and is much safer as the paper just buckles and does not kick back.
With brass it did not fair well, it deviates and eats the metal
Turn down the volume, the video is a bit loud!
I am tempted to make a jig for the Dremel, it cuts wood well and is much safer.
-
-
-
Well, the peak halyard indeed does look a bit odd. Two ways of looking at it. Either you follow exactly what the designer had in mind, or you change the rigging to suit your needs. After all it is your boat and in real life I think during the initial fitting and much more during the life of the boat, many changes take place. I d say rig it as you like!
I was looking again at your photos, I think the vividly grained wood works incredibly well at this scale! The boat is alive, the more boring woods like pear and boxwood would not achieve this I think. Lovely!
-
I did some more research and reasoning and indeed I got it wrong. The spotty wood is Alder and the nicer one is Birch. Both have a darker colour as they are kiln dried. The bitch plywood I got is much whiter as wood is not dried prior to processing.
Another error is that the very nice wood I bought years ago, was not from massive holz but from Arkowood. That wood order was flawless, all strips dead straight, no knots and no colour variation. I emailed the chap to see if he has any beech sheets. His shipping fees are much cheaper as well.
Michael, certainly timber stock is now nowhere near what it was in the turn of the previous century but, at least in Europe, cherry and pear seem to be in good supply as they are used as ornamental plants. Here in Cambridgeshire these trees are everywhere! Beech seems to be also plentiful. I would expect wood to be selected before shipped, considering that each 2x100x1000 mm pear sheet costs close to $10.
GL, I never worried about ship worm in a model but how cool would be a log to replace worm-eaten planks in a model!
Keith, I cannot mill my own wood, not even cut strips from a board. The only suppliers I know that carry a variety of woods and can cut any size strip/sheet are the above based in Germany. Massive Holz charges I think close to £30 for shipping and Arkonwood about £15. If you know any UK based suppliers that offer similar products, even with more limited variety, please let me know. Cornwall models does not carry what I need considering I work in large scales
Regards
Vaddoc
- FriedClams, paulsutcliffe, G.L. and 2 others
-
5
-
So, the wood is in!
First however, a couple of pics of the Chapelle boat. This was only a quick fix but I got a continuous outer skin, more than adequately fair, and offset the surface for a plank thickness of 2 mm to produce the inner skin. The rest will be done nearer the building time.
.png.3d0dc57c9d0f993b441ec6158f4646fc.png)
.png.a87fe0d0448ffb5ef2dc6219c493d65f.png)
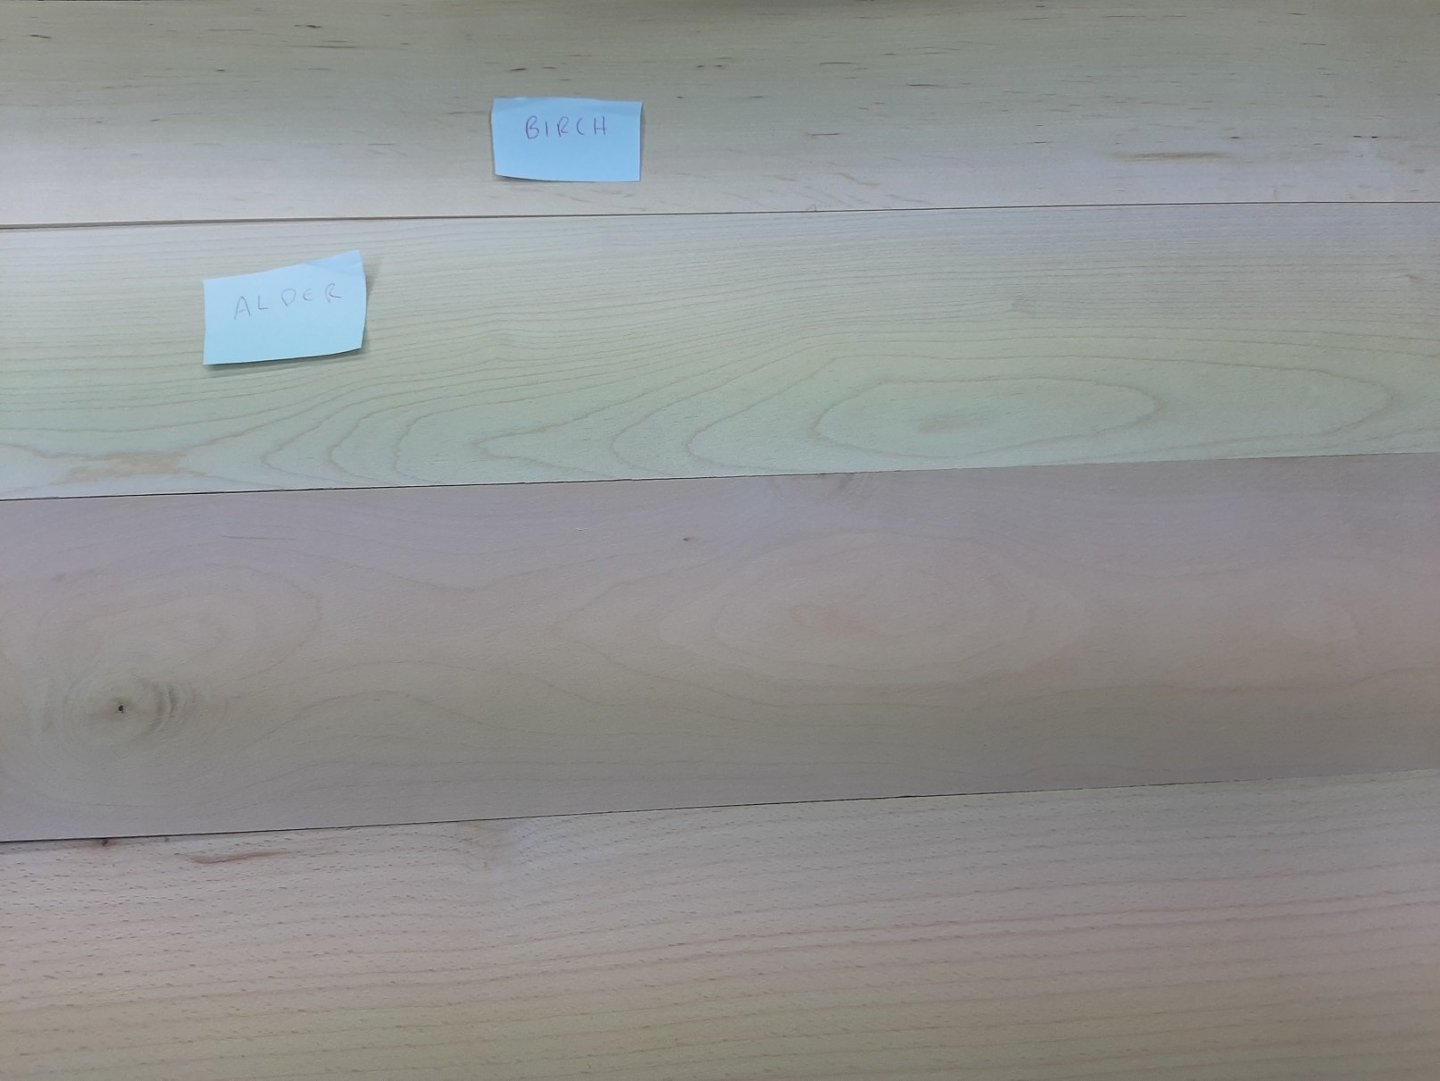
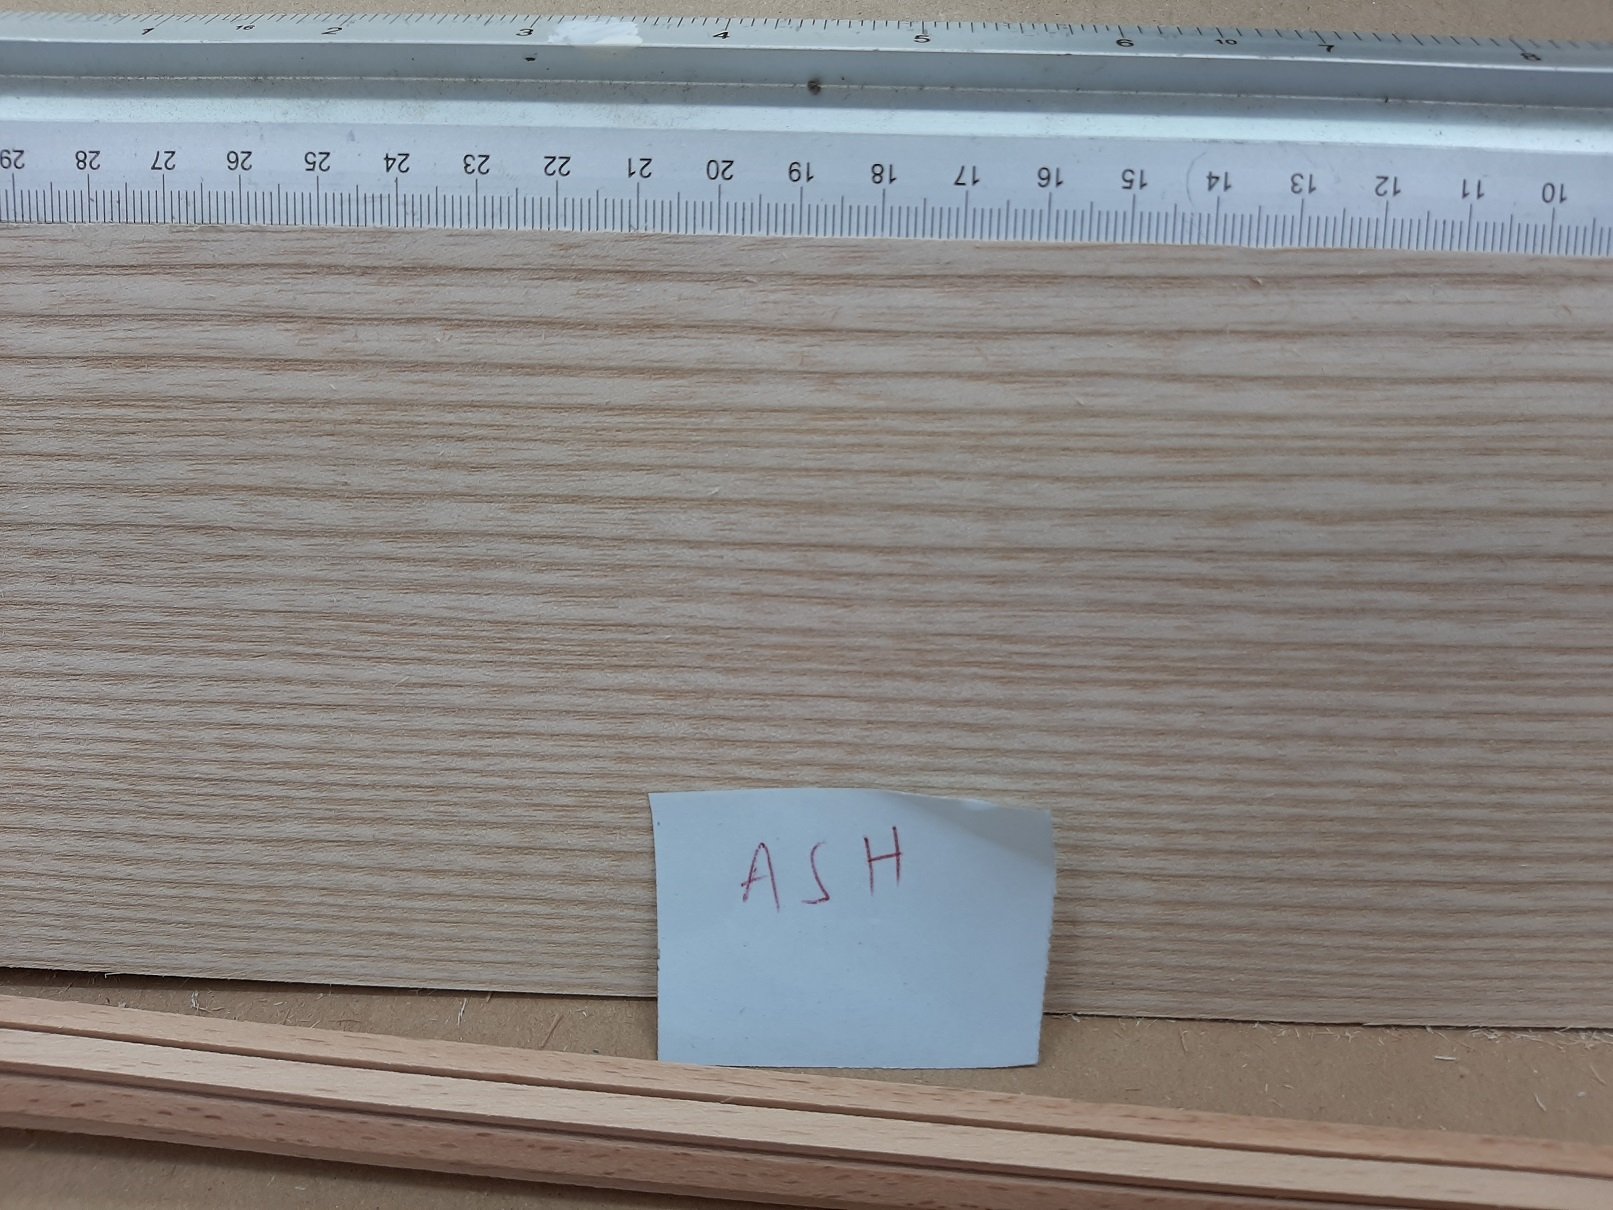
Back to the yawl now, I received various strips and sheets of pear, and also sample sheets of ash, birch, alder and beech. Excuse my very poor photos, I only have a cheap phone! Also, I am not 100% sure that I got right which wood was alder and which was birch.
Ash really has such prominent growth rings that it is of no use for modelling.

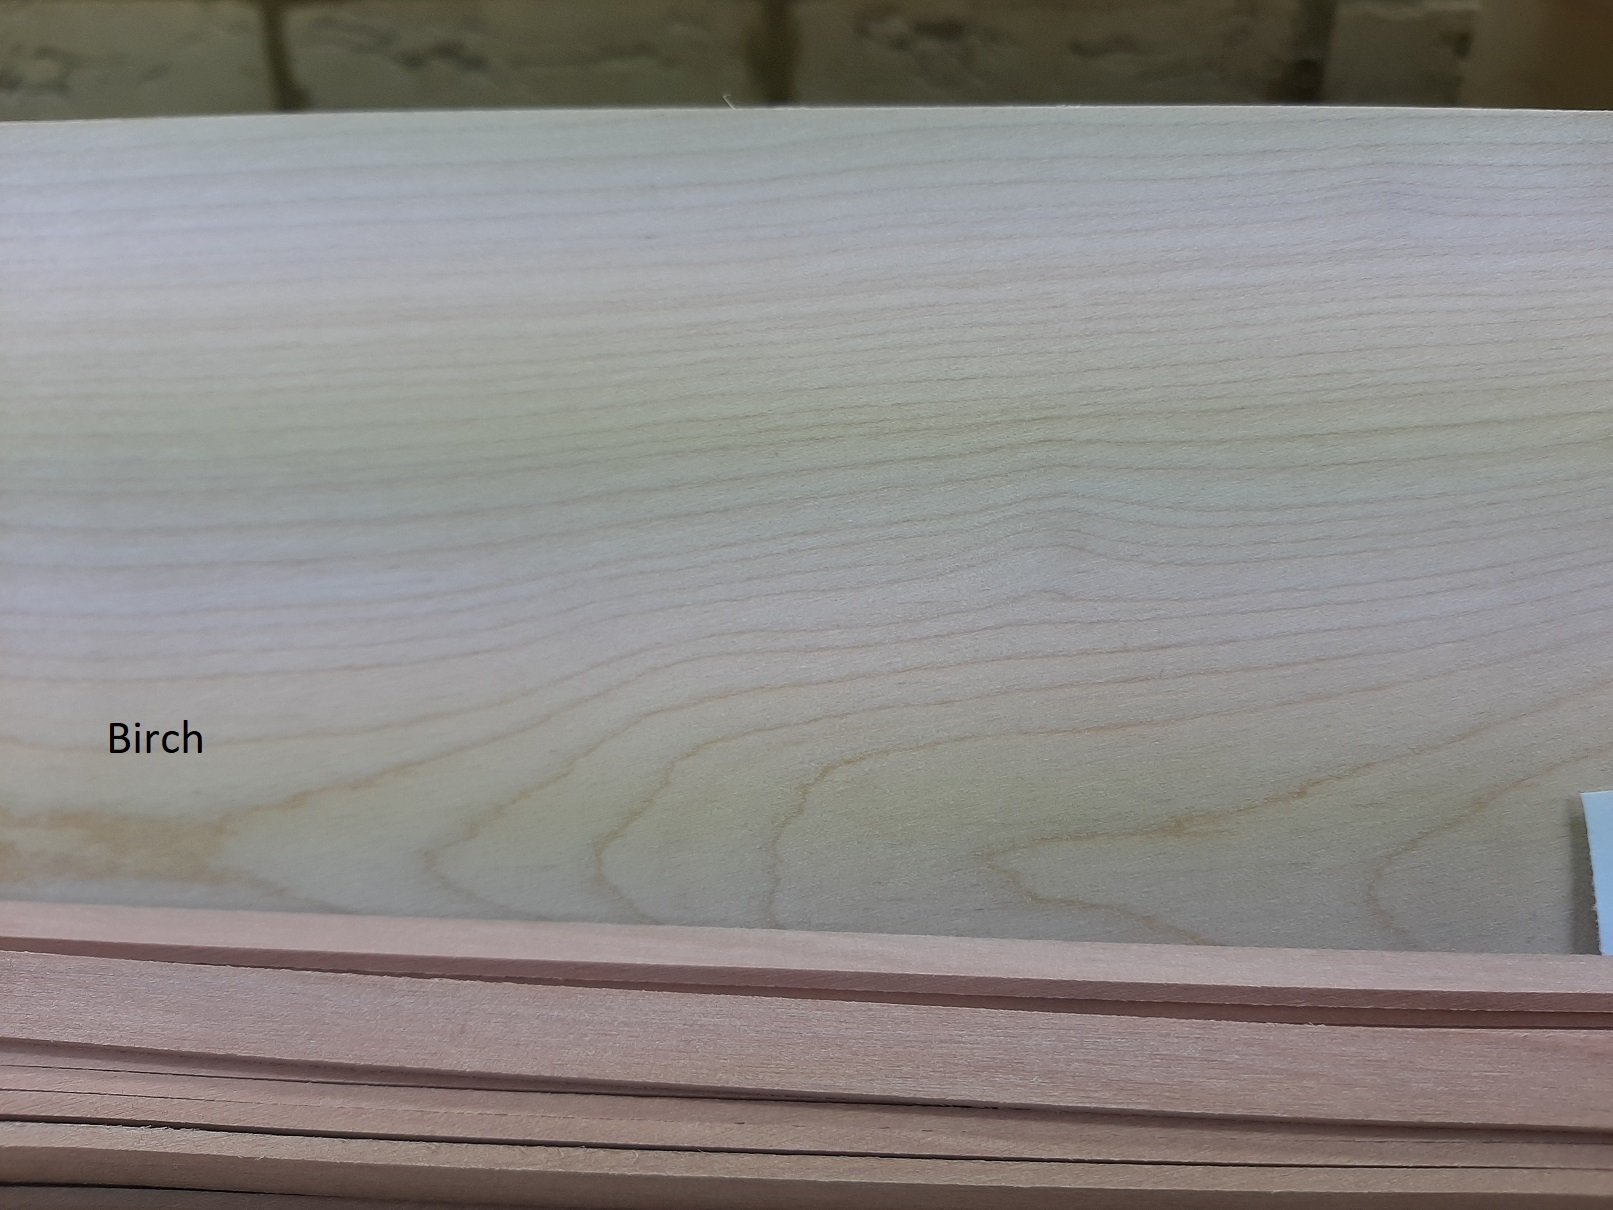
Now, pear has a pink hue and really does not combine well with
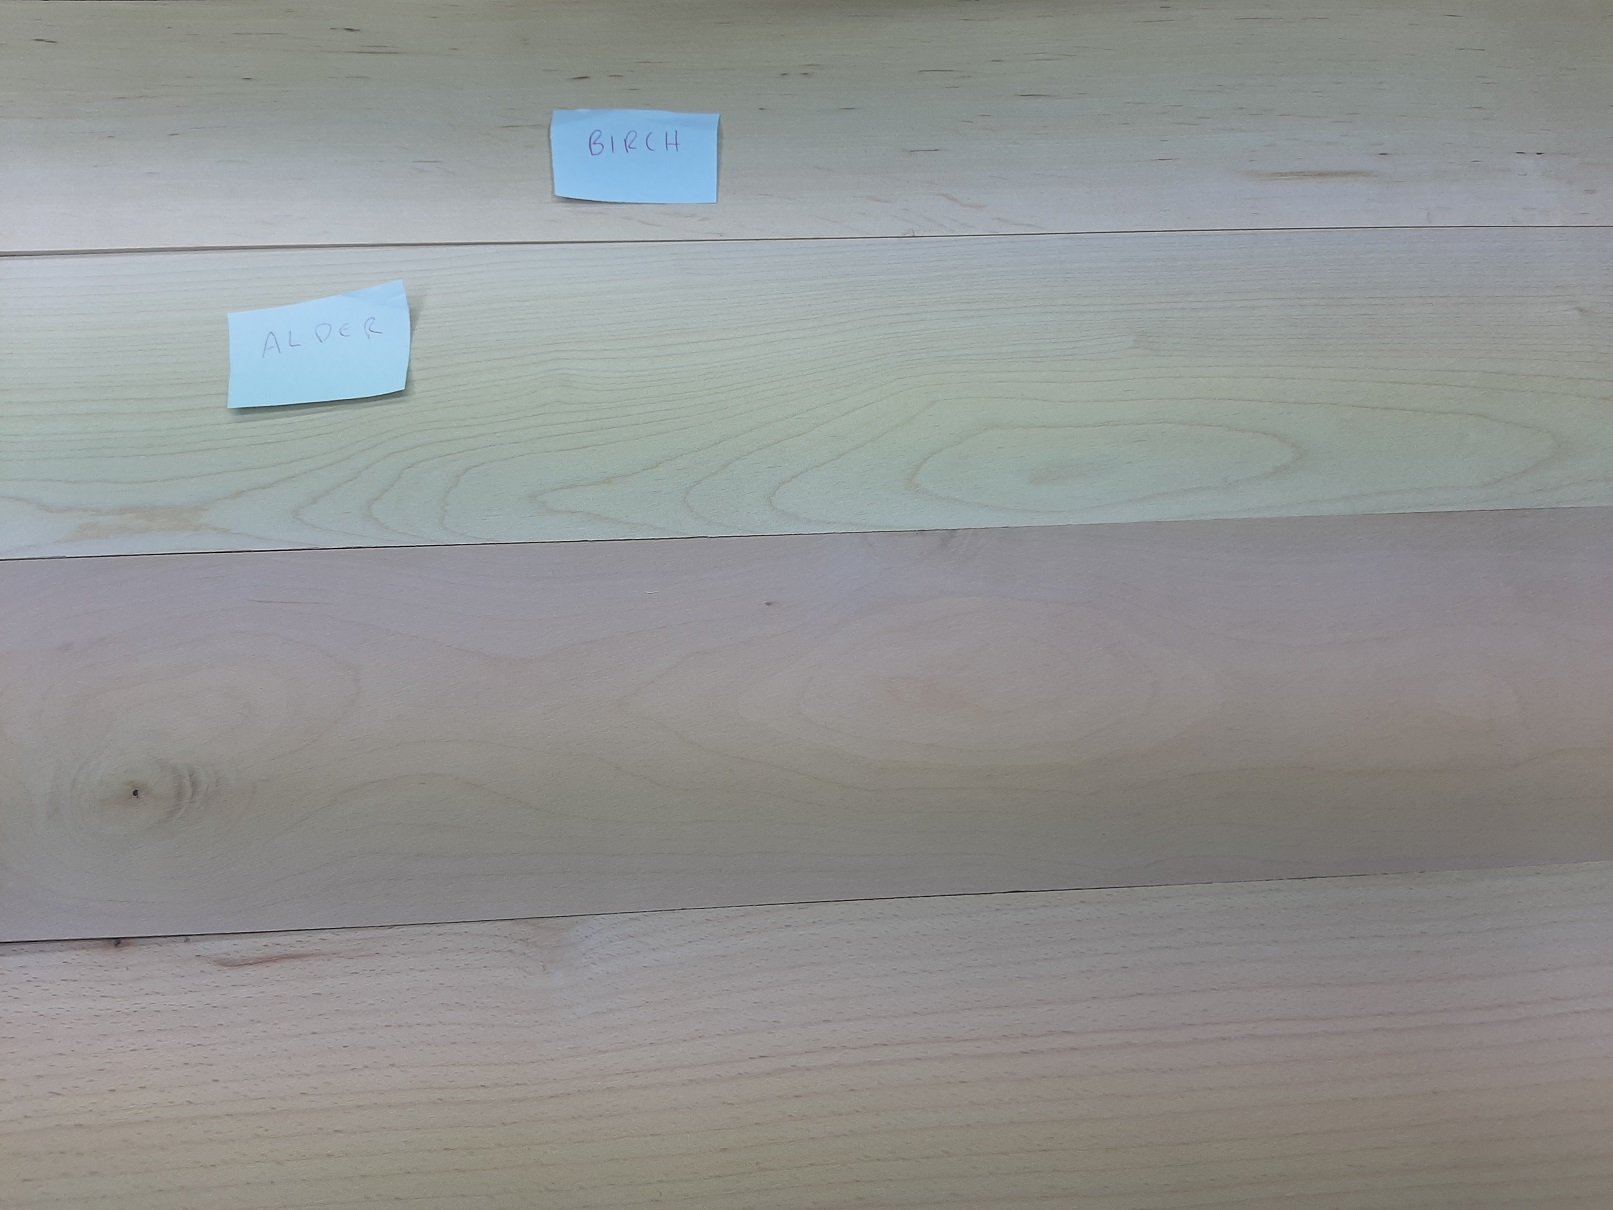
BirchAlder that has a yellow hue. Also I did not like much the black spots and streaks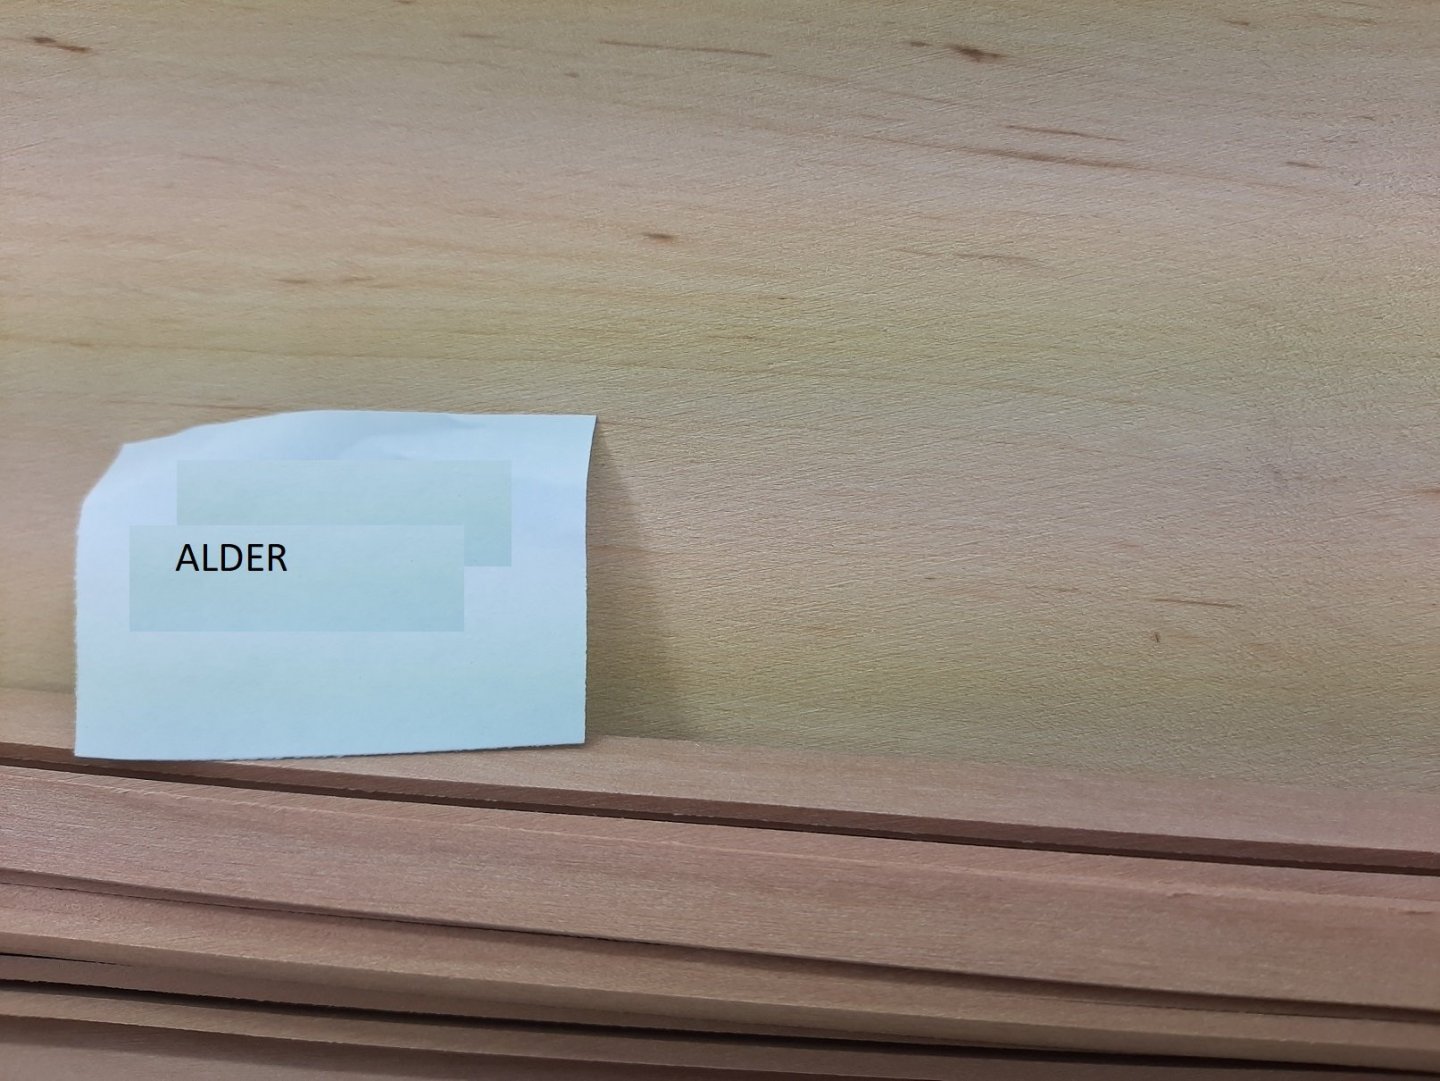
AlderBirch is a much nicer wood,although wood data base suggests is quite soft. It looked fine for planking but again, does not combine well with the pink pear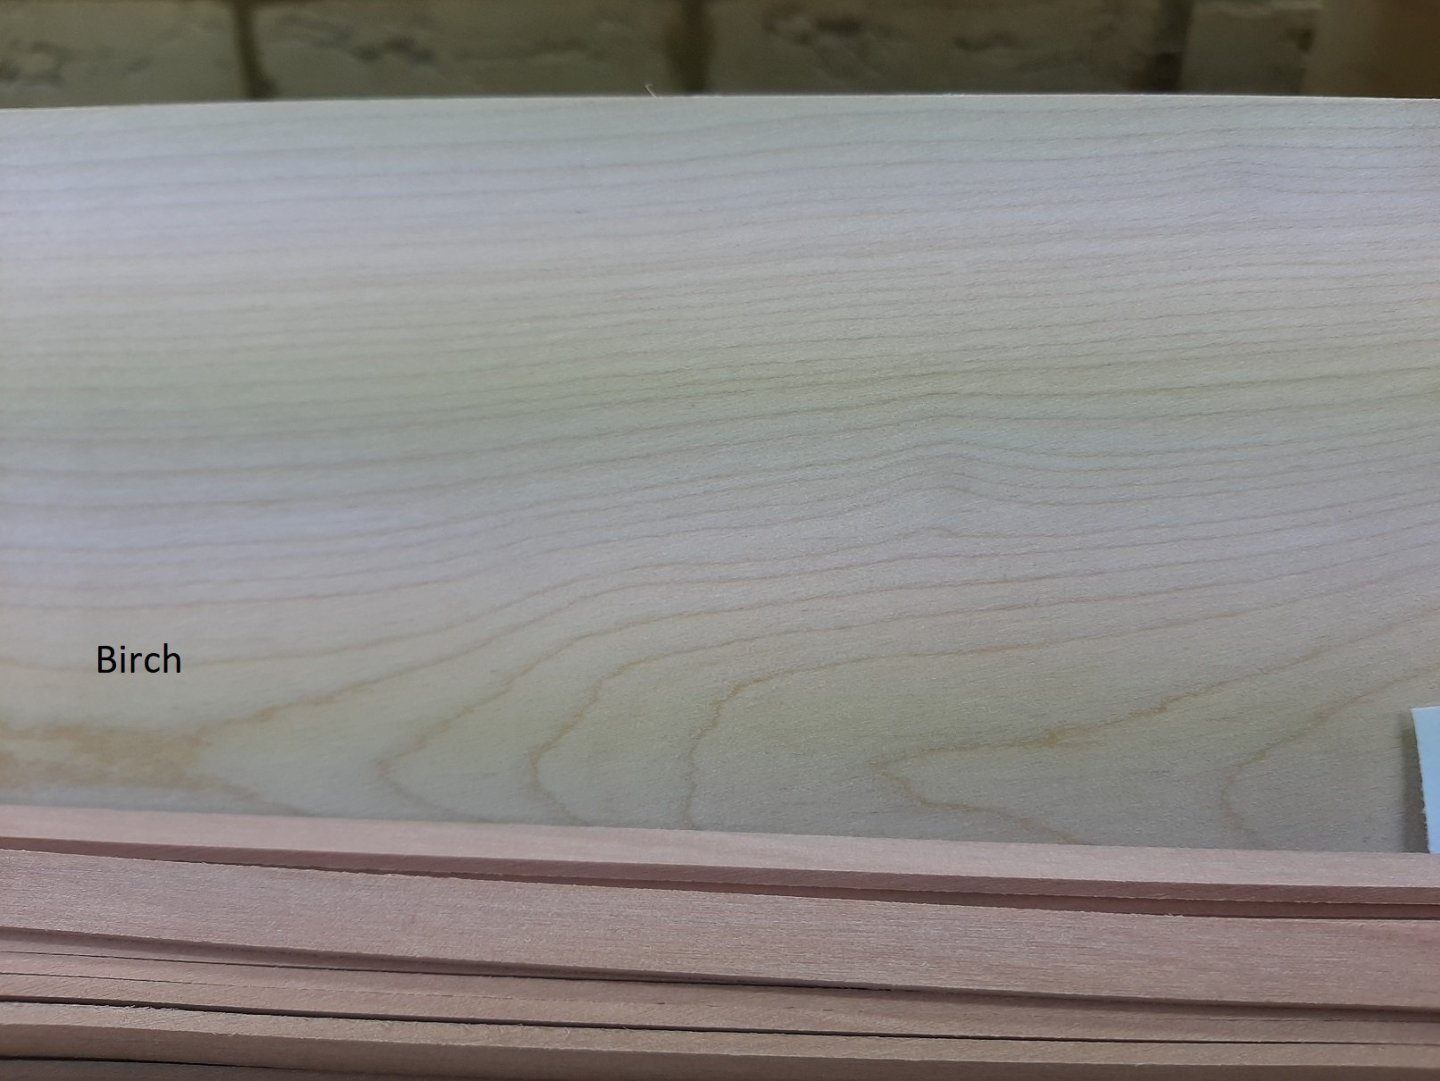
Beech on the other hand has also a pink hue and looks really good with pear! I do not mind the spotty appearance. Beech is I think my favourite wood!
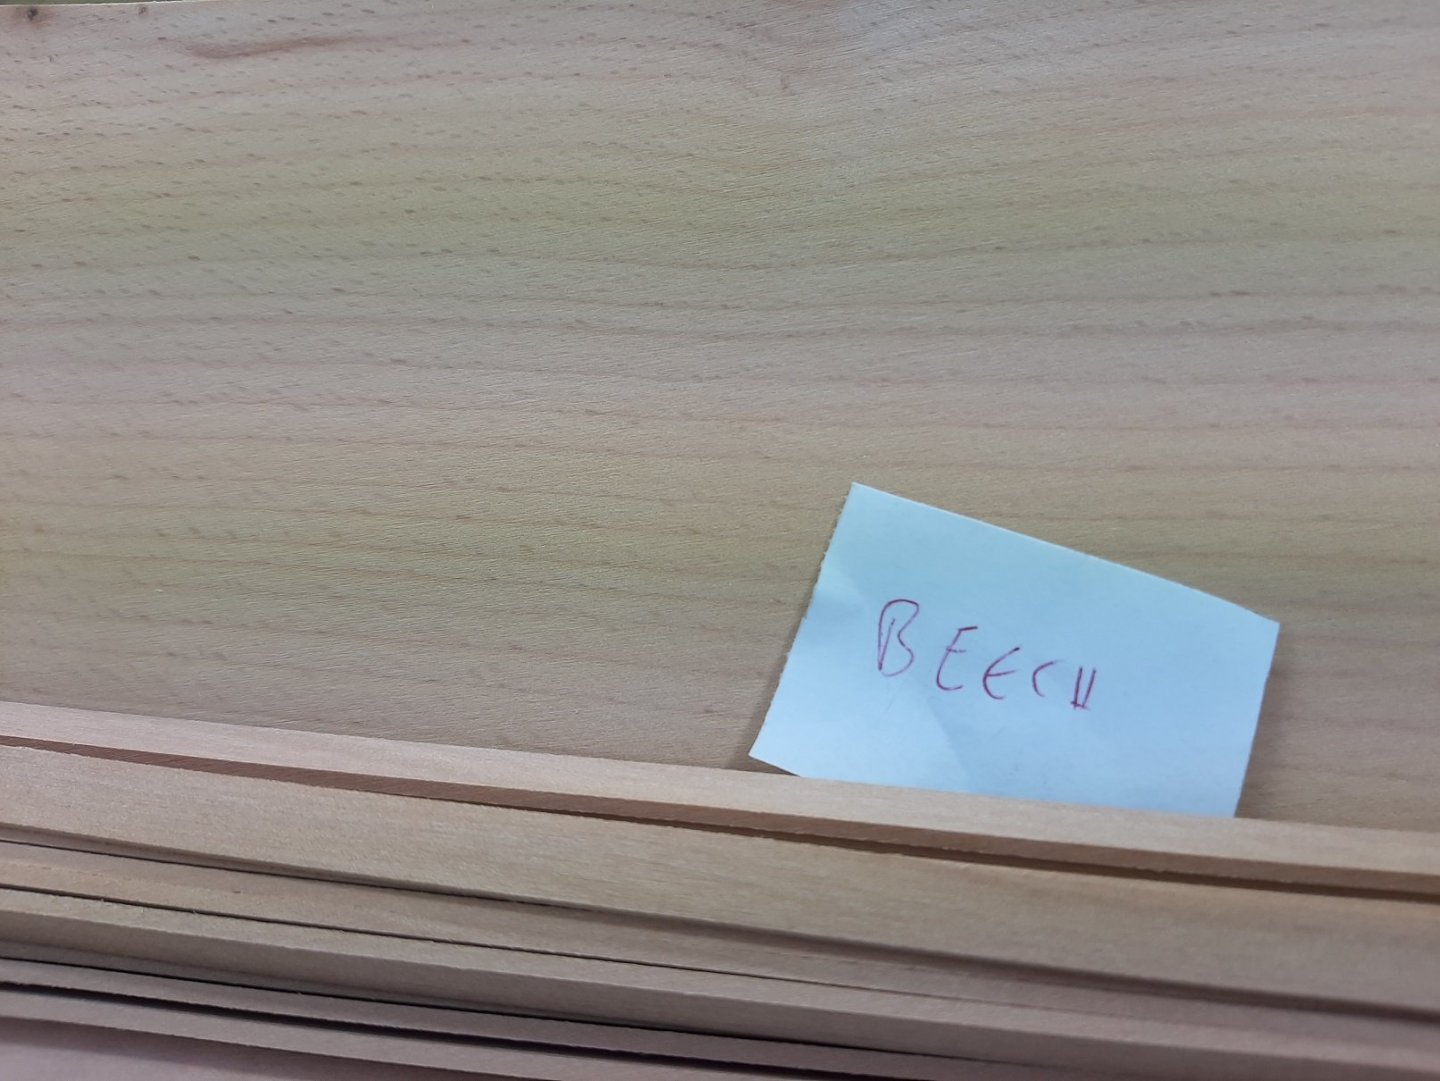
Beech it is then for the planking! In the next photo all the sheets are shown next to the pear wood
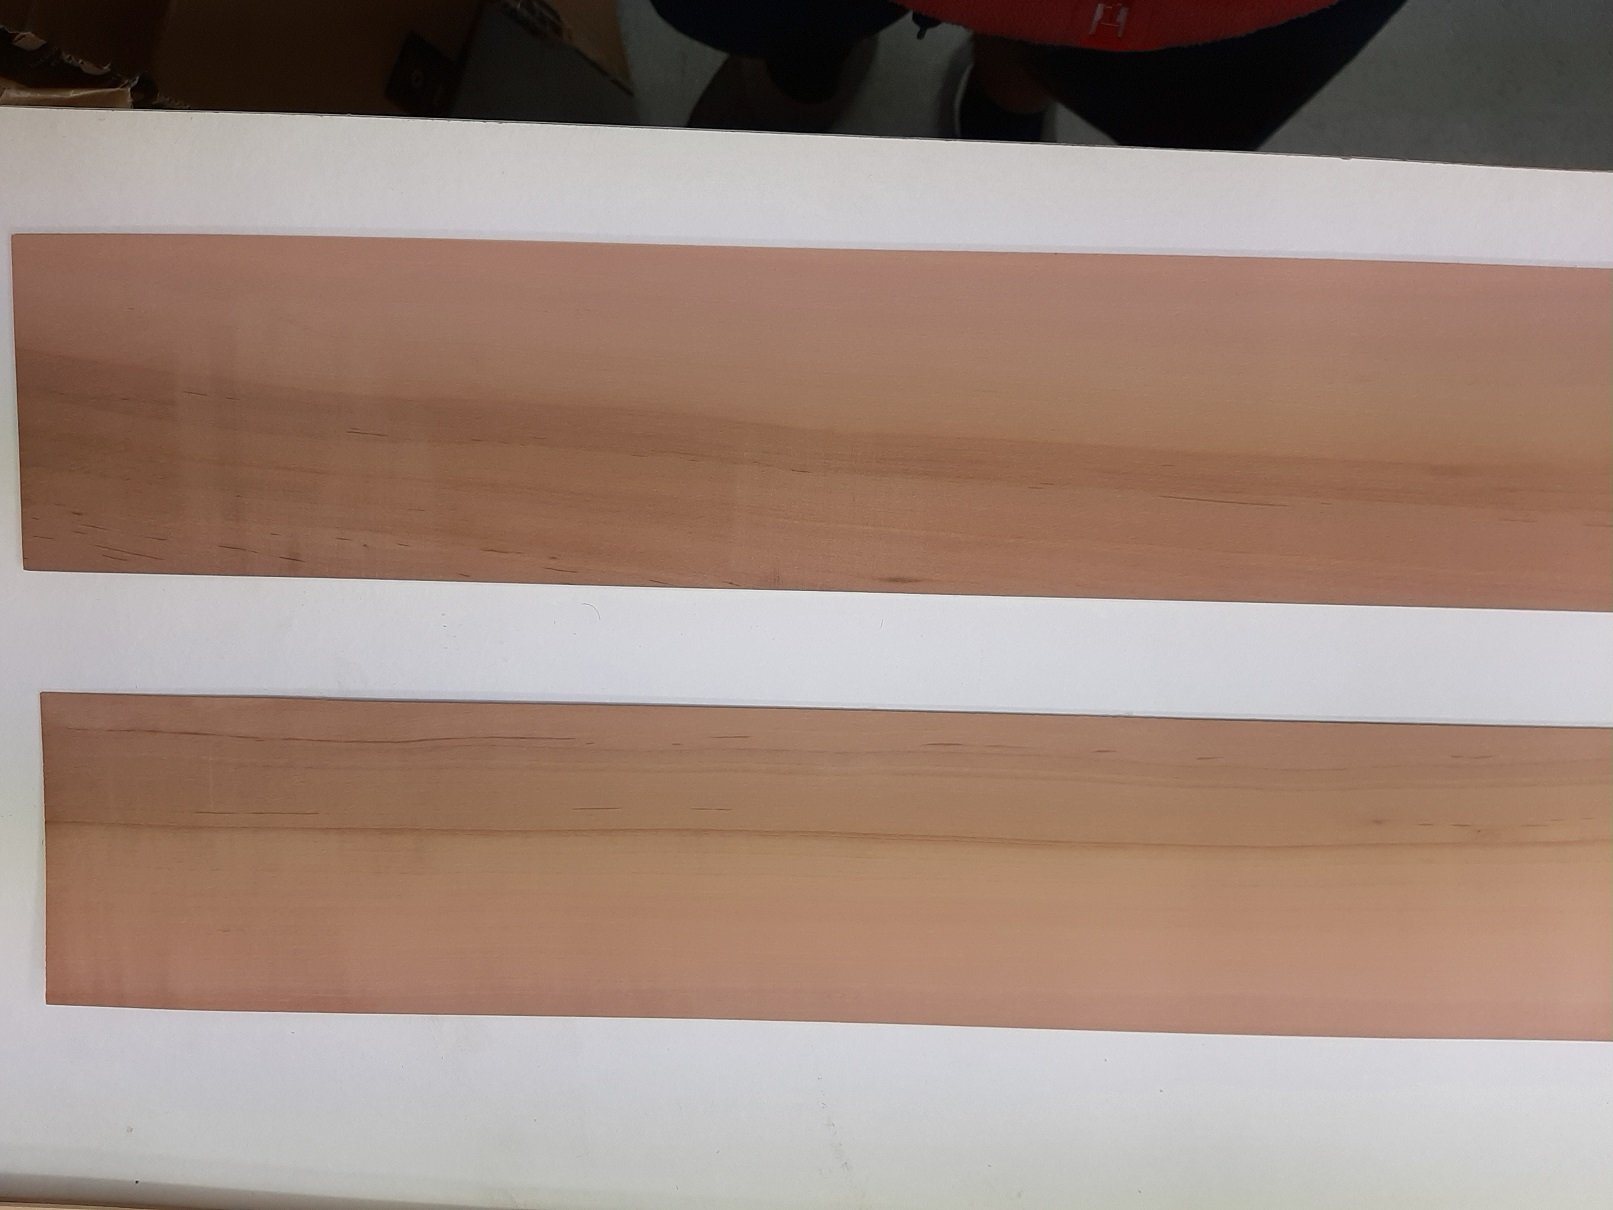
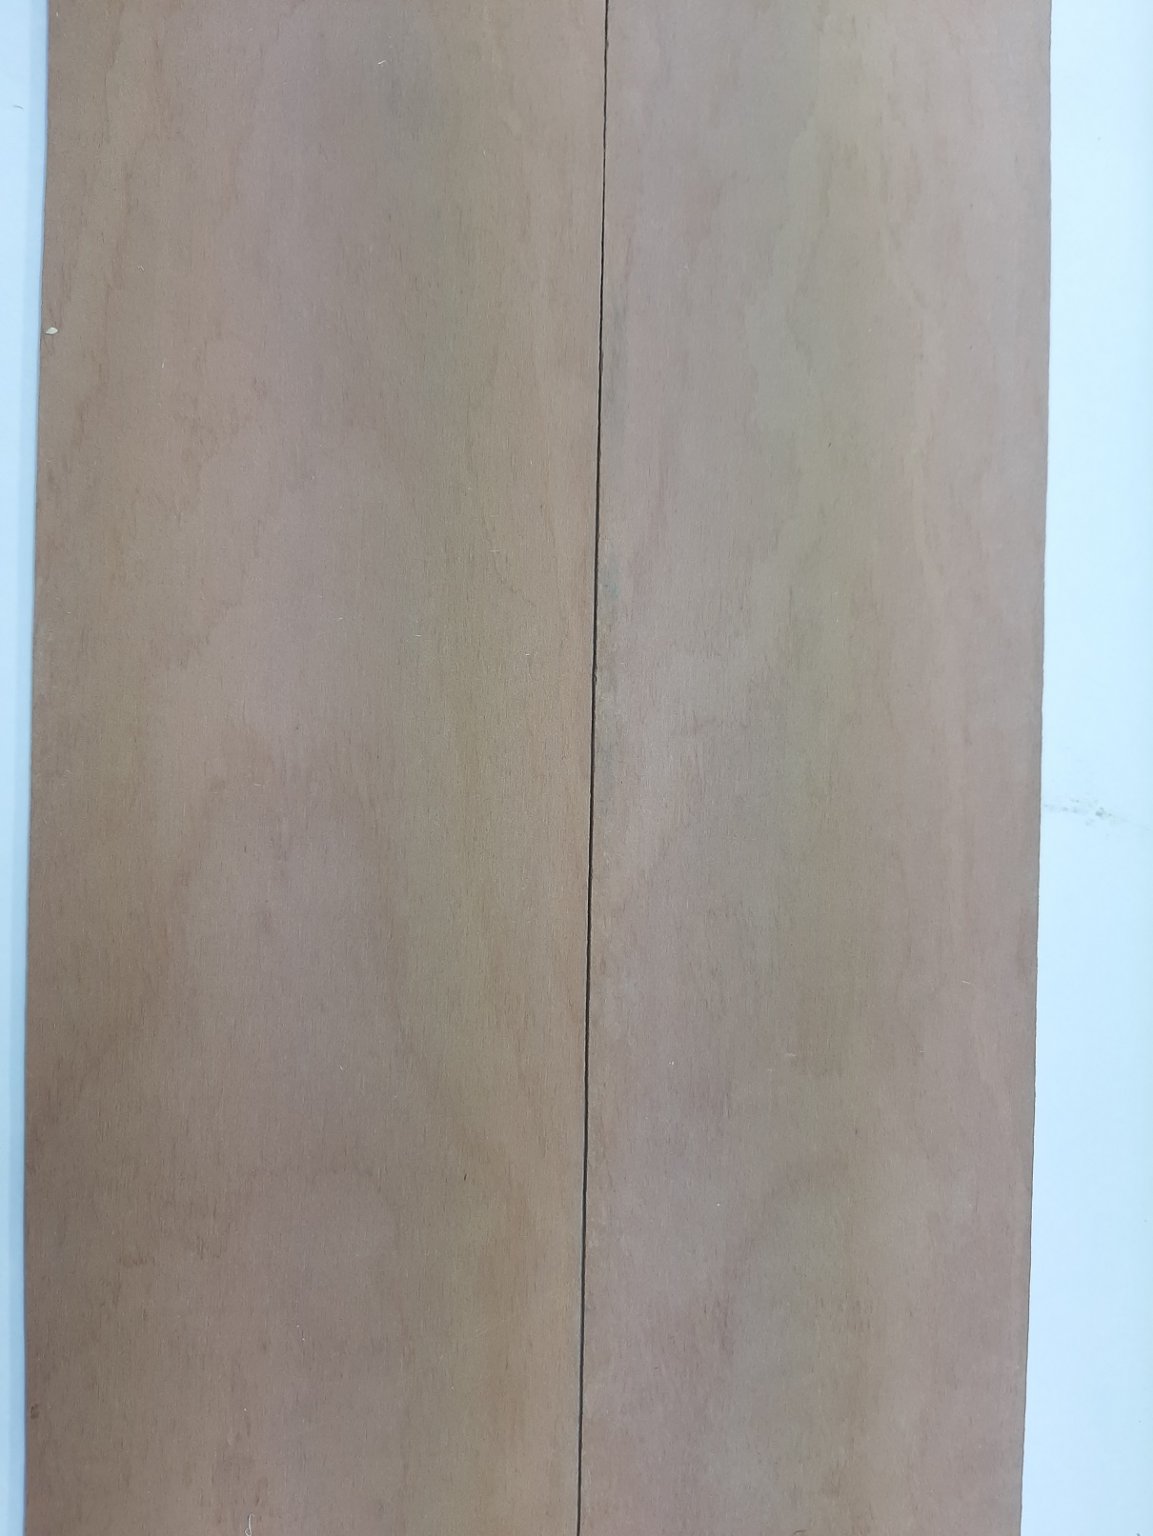
Now, I must say that this time I am not entirely happy with the quality of wood I received from Massive Holz. These are the pear sheets I received
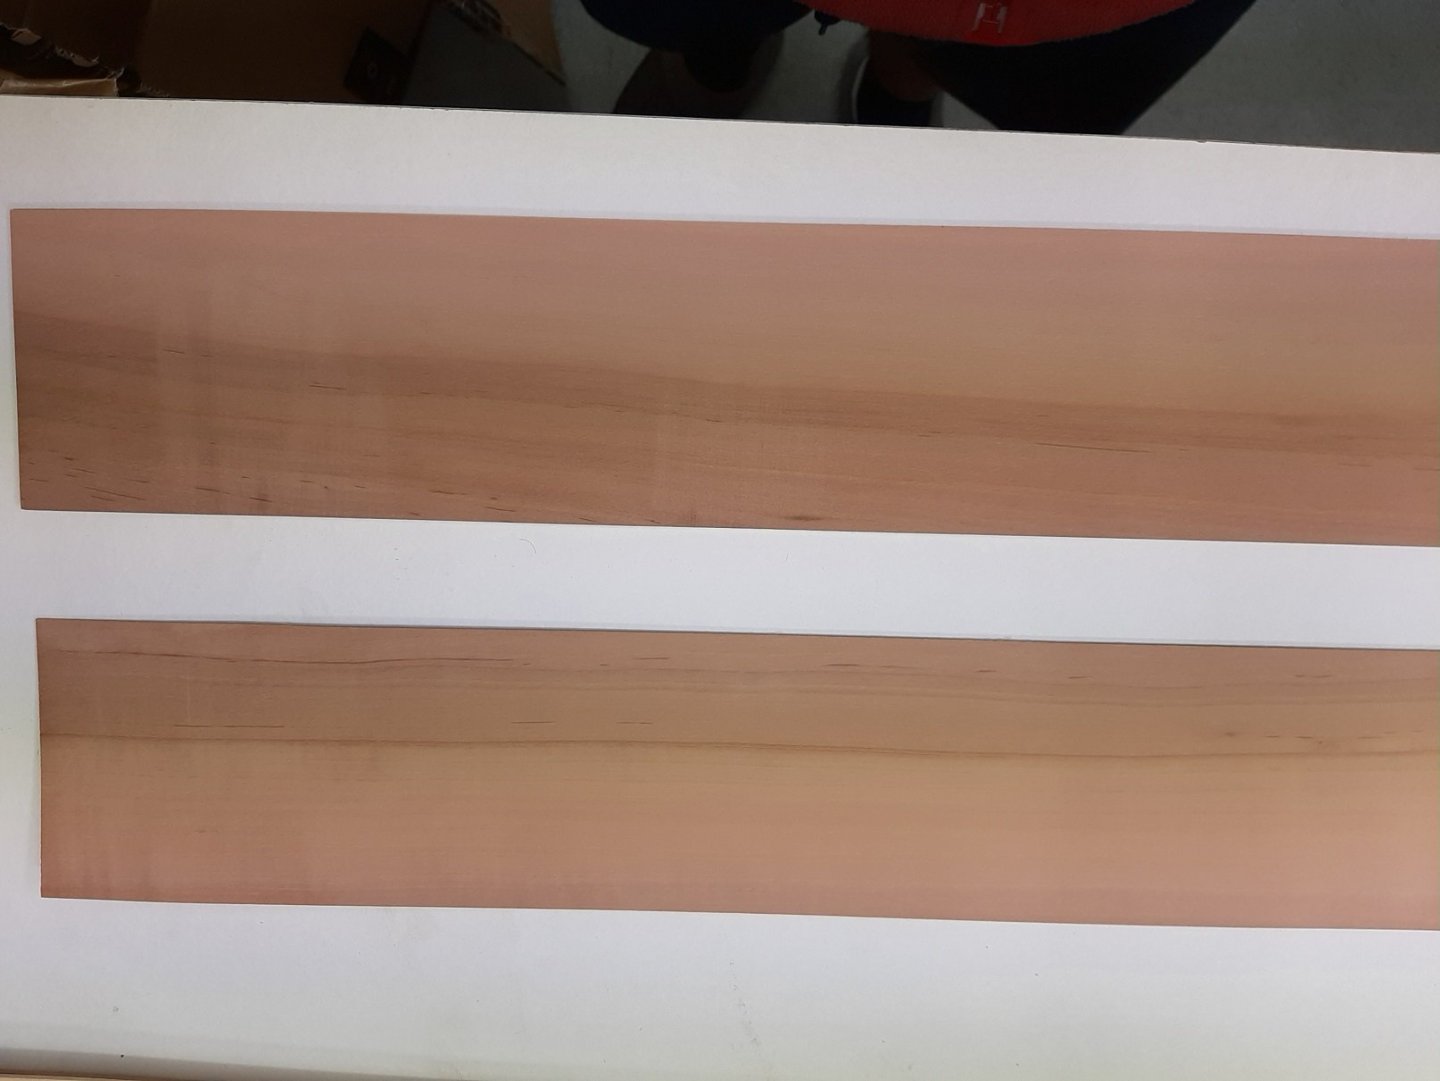
Considering how expensive these sheets are, I would expect timber to be selected and such dramatic colour variations to be sorted. n my previous order, the colour of the sheets was much more uniform, the next photo shows two sheets I received many years ago,
again from massive holzEDIT: This wood was bought from Arkowood
So all has fallen into place and I have no more excuses for not making saw dust. Both time and money though are currently in short supply so further posts will be at the usual snail pace.
Regards
Vaddoc
- FriedClams, KeithAug, mtaylor and 3 others
-
6
-
Test your paint/finish on scrap and not the model! I use cheap plywood or plywood offcuts to see how various things react.
- thibaultron, Canute, BobG and 6 others
-
9
-
-
I wish you every success Bob!
- BobG, mtaylor, thibaultron and 2 others
-
5
-
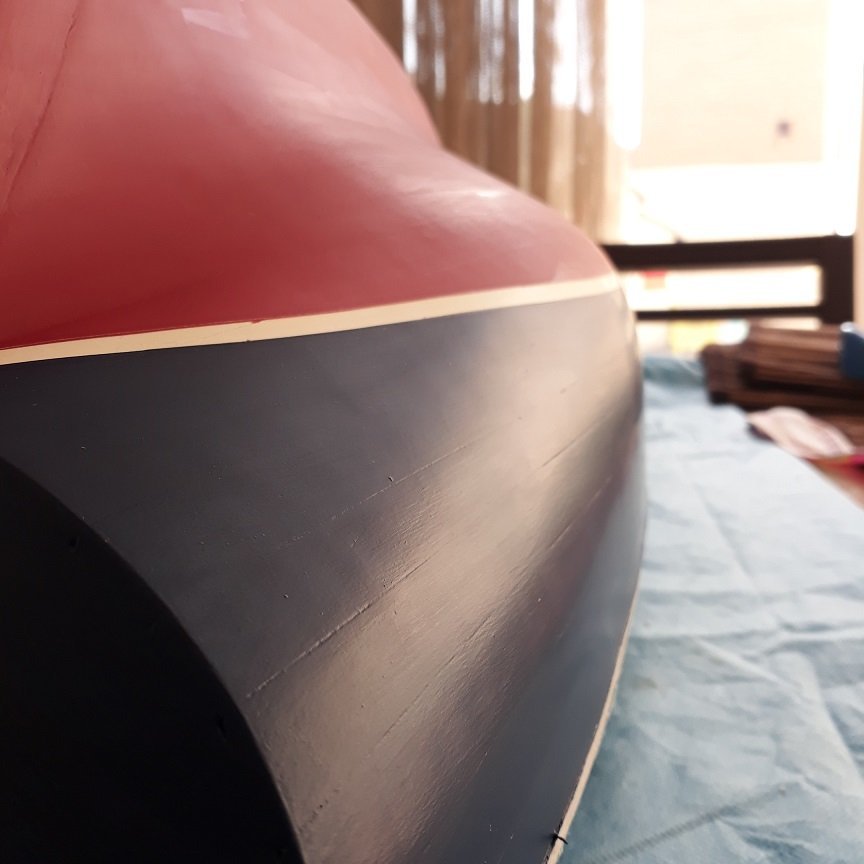
This is the hull of the Deben with all imperfections filled and sealed with sealer. Actually this was sanded to 240 grit and then rubbed with 0000 steel wool. Humbrol grey primer was sprayed prior to painting. It was very nice to touch! Between various coats it was wiped with isopropyl alcohol.
-
In the past I ve used a lot of humbrol or automotive primer (not good) but for wooden models is really not needed most of the time. There is no problem with adhesion and to smooth imperfections, a filler is needed. It might be useful if the colour of the underlying surface needs to change dramatically, for a large red surface applying a red or grey primer will reduce the number of coats needed. But since you can add 4 coats in an hour with acrylics, maybe not worth the cost and trouble. I usually sand away the primer leaving a thin smooth film. Never tried the Valejo primers, I ve been using the Humbrol white and grey spry can primers which I think are good but will not fill in imperfections.
I like using sanding sealer as it seals the wood leaving a very smooth surface so the paint later does not soak into the wood and does not raise the grain. Painting on sealed wood is a better experience than painting raw sanded wood. I very much like the decoart/Americana water based sealer, the large bottle should last a very long time and has a very long self life. Dries in 15 min, sands very nicely. This sealer sits on top of the wood, filling the valleys and essentially levelling the surface. I usually sand the wood to 400 grit, apply a coat, sand smooth with 400 grit and repeat with a second coat. The surface should reflect light afterwards and be smooth and slippery. No worries, the paint will adhere very nicely.
Never tried weathering, on my to do list!
Do not dismiss enamels completely, they are wonderful. Low odour mineral spirit will allow you to paint in the house but cleaning the brushes is a pain, it takes a long time to dry so attracts dust and if you leave everything on the table waiting to add another coat in 6 hours, you will inevitably spill the mineral spirit on the table/floor and the admiral will not be impressed and will ban indoor modelling activities. Much easier to use acrylics...
- DaveBaxt, thibaultron, Ryland Craze and 6 others
-
9
-
Wefalck, to get good coverage with acrylics you really need a dozen or more coats. Thicker paint does not increase coverage, it just increases the chance of messing things up and reduces the self levelling properties of the paint.
Bob, dry to wet means this: If you have a surface to paint, start on one side and paint a bit. Then continue working from the unpainted surface and ending to the previously painted segment so the two blend together. Do not rework the painted surface even if you see brush marks. If you have the right dilution and the right paint, the brush marks will disappear.
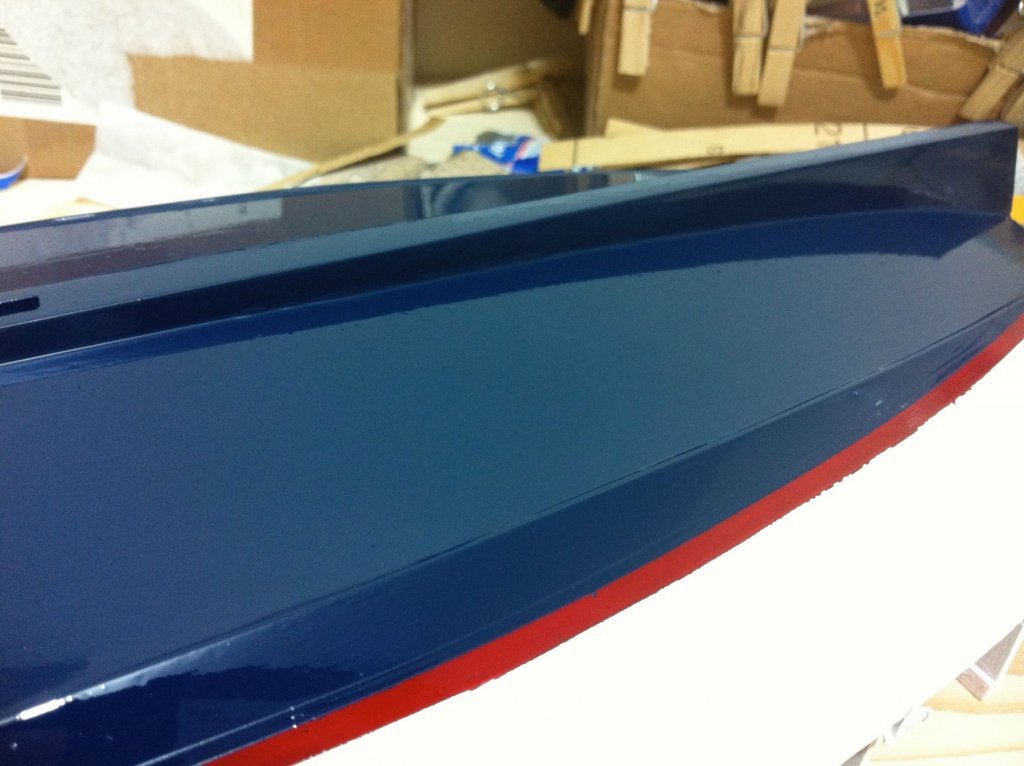
Have a look at the following pictures. Both boats shown are very large, 1:12 and 1:10 scale.
This is gloss blue enamel, only 2 coats, 6h apart I think. Great coverage and depth of colour. No brush marks! The boat is about 50+cm long
This is Valejo acrylic, can't remember how many coats but they were many, 15 min part. Brush paint, no brush marks! The planks in this hull are 70+ cm long
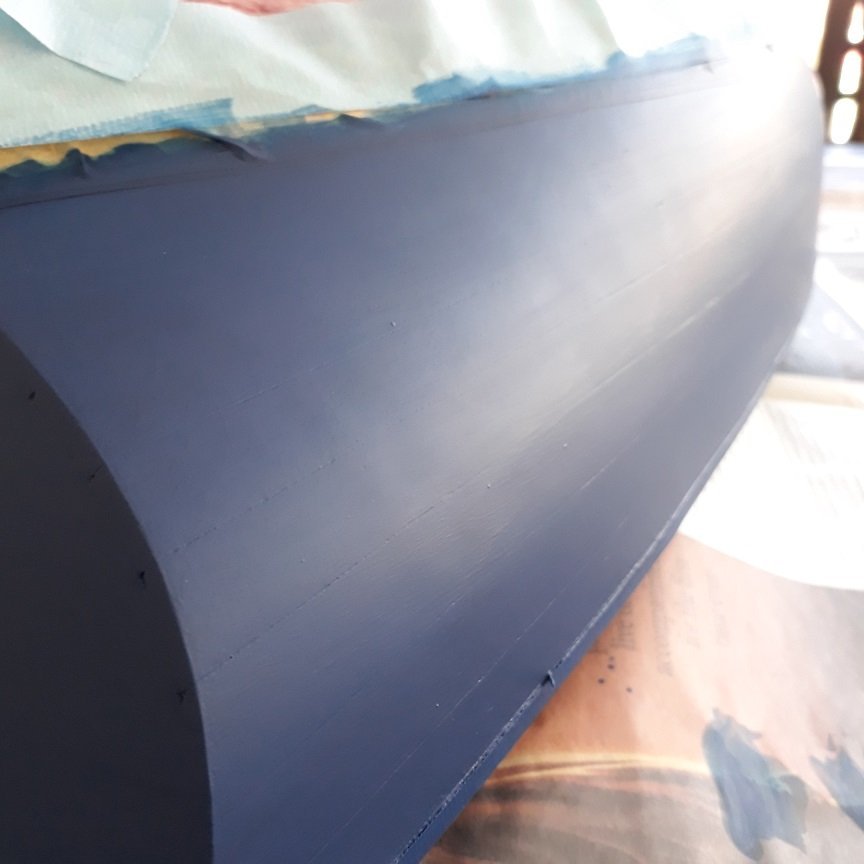
This is the same hull with Valejo matt polyurethane varnish on the red and satin on blue. The brush marks are actually the matt medium in the varnish that did not distribute evenly, matt varnishes are very tempermental.
I am actually not good at all at painting. It is the modern paints and brushes that are so good. The Valejo hand brush thinner is very different than the airbrush one and has more stuff in than alcohol and water, it actually congeals.
No ties with the company, I just like it a lot!
-
I did not like rattle cans Mark, too expensive, easy to put too heavy coats, needs a lot of masking and makes a mess. Acrylics dry incredibly fast (so they do not trap dust) but their coverage is very poor compared to enamels. I need 12 coats vs 2 for enamels. I always tell myself I ll use enamels and always end up with acrylics. The depth of colour is much greater with enamels. Use the brands' thinners, do not make your own. Valejo hand brush range is fantastic.
- Old Collingwood, Bob Cleek, mtaylor and 3 others
-
6
-
-
.png.45ba2a0528d093a2a486457c5deebaef.png)
.png.8cb9c11f281511c94f3dff589934a29b.png)
.png.706905c5ab70fdb233cfb0f94561600c.png)
.png.e3a81025895a78ec5de887941842885e.png)


21 ft Yawl Longboat for a Sixth Rate by vaddoc - FINISHED - Scale 1:10 - Plans from the National Maritime Museum
in - Build logs for subjects built 1751 - 1800
Posted
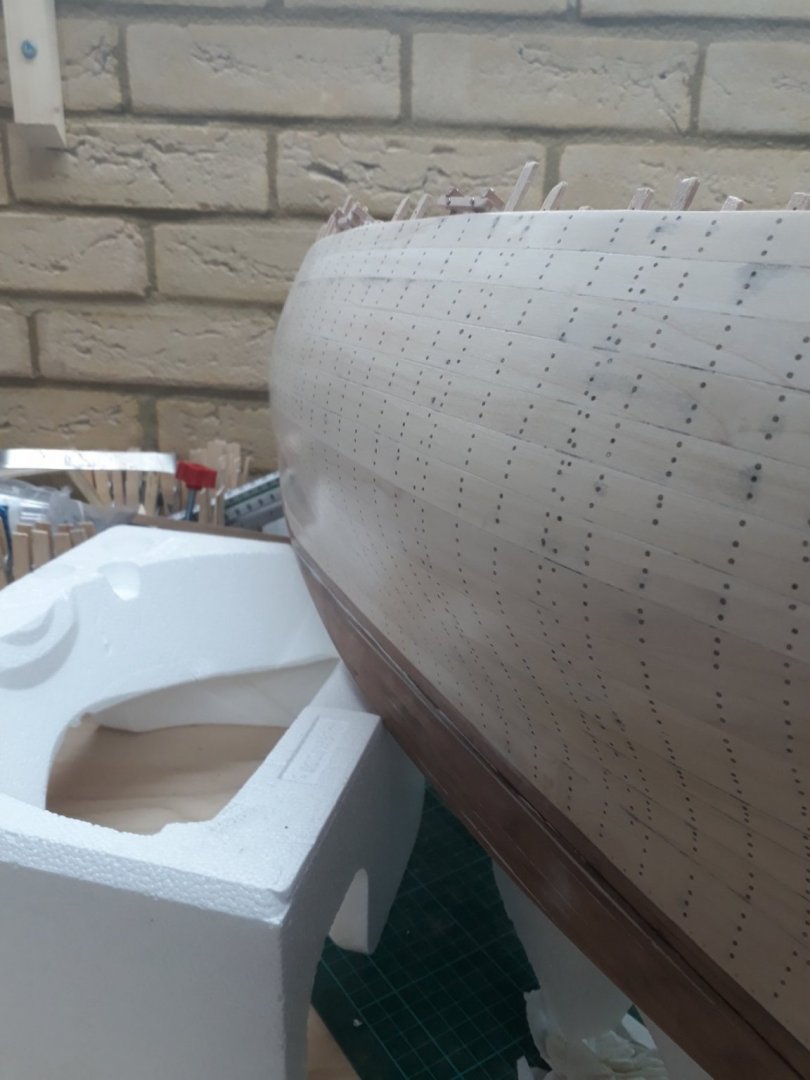
Thanks GL, It is interesting to see that the run of the planks is reasonable. The planking is not correct though and when the real boat is planked, the following changes will be needed:
1. The garboard should come higher up the bow, this will push the planks higher and maybe reduce the curvature of the planks
2. The width of the planks at the really curved areas of the hull and at the transom is far too much. This needs to be reduced and width gained at the flat areas.
3. I think 11 planks are too few, the average width is around 13 cm which is probably far too much. I suspect it will end up with 15 planks each side
4. There will be a 2 mm overlap for the lapstrake.
Due to the large scale, it is possible to do the planking exactly as it would be done in the full scale boat. The challenge will be access to the keel/planks, I was thinking of using a similar jig to yours but some modification will be needed.
Vaddoc