HOLIDAY DONATION DRIVE - SUPPORT MSW - DO YOUR PART TO KEEP THIS GREAT FORUM GOING! (Only 20 donations so far - C'mon guys!)
×

md1400cs
-
Posts
2,839 -
Joined
-
Last visited
Content Type
Profiles
Forums
Gallery
Events
Everything posted by md1400cs
-
 Perfection continues...............
 -
Frank, Thanks for the kind words...Here is where I bought that tool http://www.amazon.com/Excel-Pounce-Wheel-1-4-Inch/dp/B0006O5K5A/ref=sr_1_1?ie=UTF8&qid=1414958647&sr=8-1&keywords=pounce+wheel There are diff. sizes the 1/4" has appropriate spacing for what I intended with the inner parts of the doors. Cheers, Michael
-
Nigel, As usual thanks for your sage advice. Yes that is a great solution. That said, however working on the sizing of those little second door bits I now realize, retrospectively of course, that as a novice when first starting this ship the gun port openings actually vary in size. So I will need to, visually, adjust each of those 100 inner bits here and there so as too appear, if the doors were to be closed, that the inner frame would fit within the door framing and not be too wide when seen with the doors open (which they will remain) I have learned so much through being a member here from all of you artists. All of which will be incorporated into my next project that will certainly have many less builder errors (:-) So for now its an ad hoc go as you go for these doors. I'm also learning the meaning "foresight" Always enjoy and appreciate your continued interest and posts Regards, Michael
-
John, Nice update, as has been said bow shots are super. No trim masking on the white?? I need to have what your drinking to steady my hand ha ha Nice work MIchael
- 2,250 replies
-
- 1
-

-
- model shipways
- Charles W Morgan
- (and 1 more)
-
Theo, Your ship's boat is SO beyond comparison. What a work of art in and of itself. A pleasure for the eyes certainly.... Regards, Michael
-
Nigel, With my apologies from across the pond, I've been falling behind with-well-everything...Certainly your build as well. OMG what excellent updates, tutoring and a crash fix..Your grating issue has been beautifully resolved, certainly (though as you know those nails were such an amazing detail bit, but as I often say, "oh well"). Pear wood is beautiful. I need to explore that particular wood. Your full views along with those awesome curves are a delight. Thanks I enjoyed my entire morning breakfast catching up with you. Even had a second latè to stretch my time here. Gorgeous !! Cheers, Michael
-
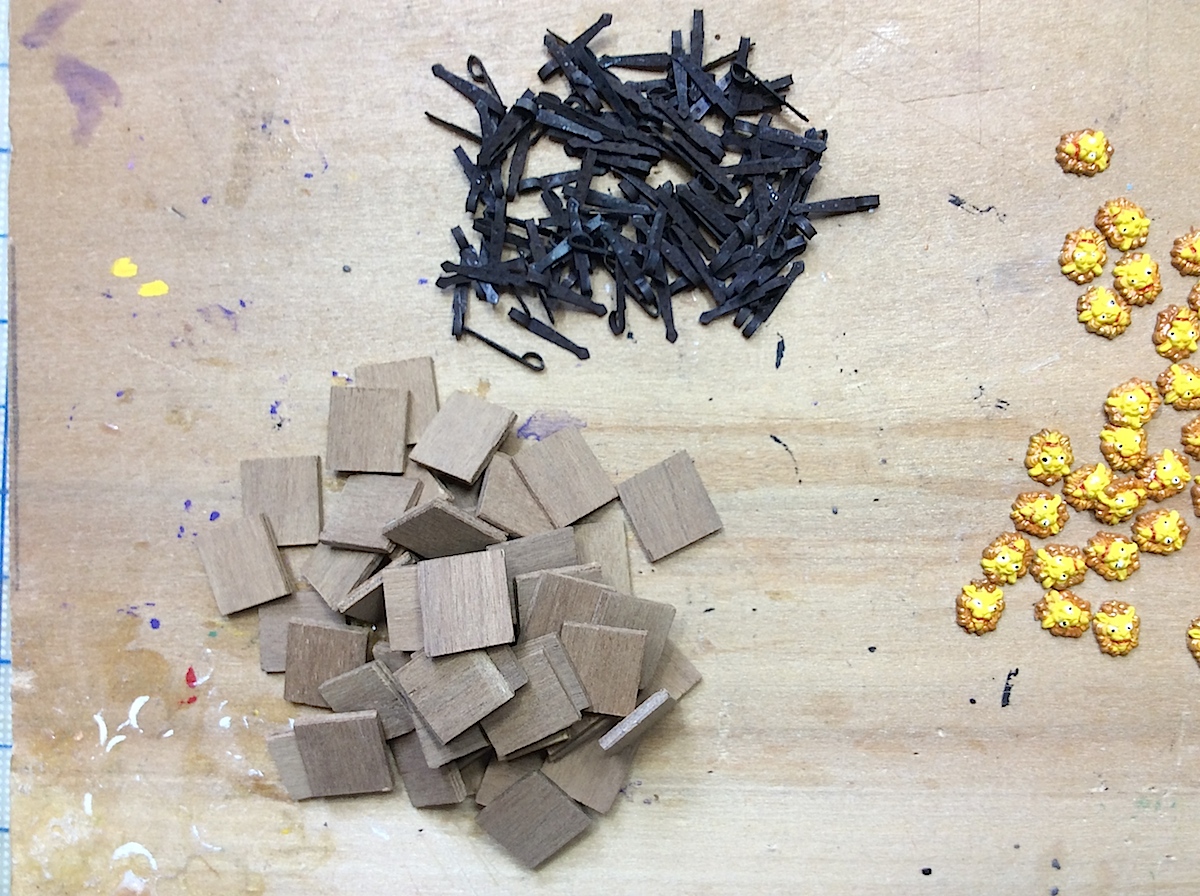
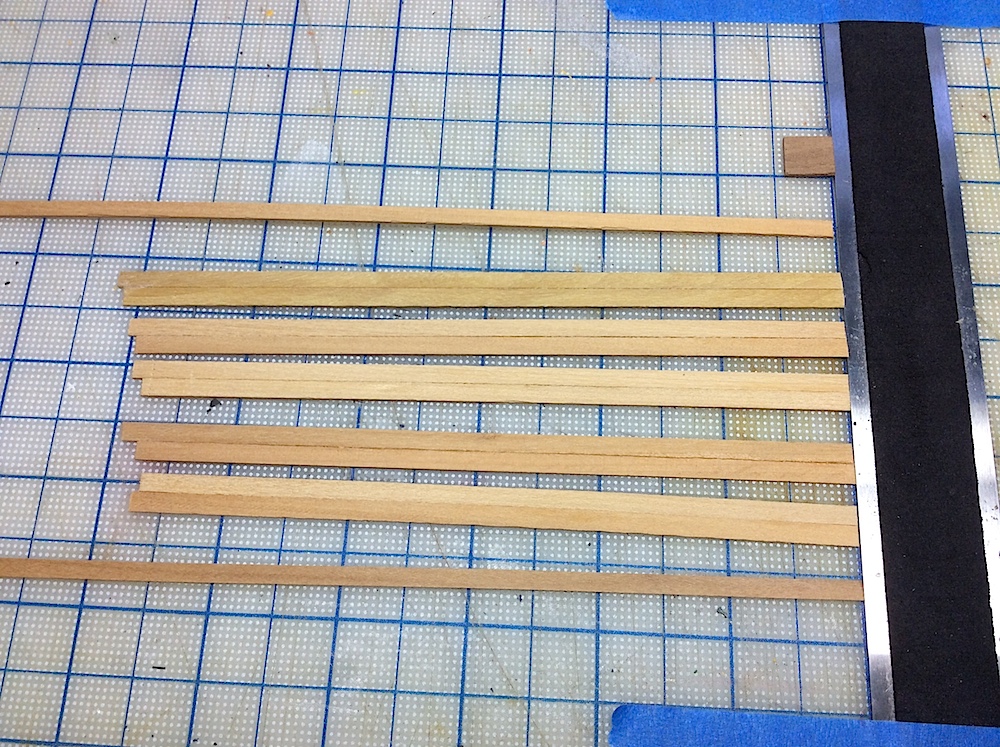
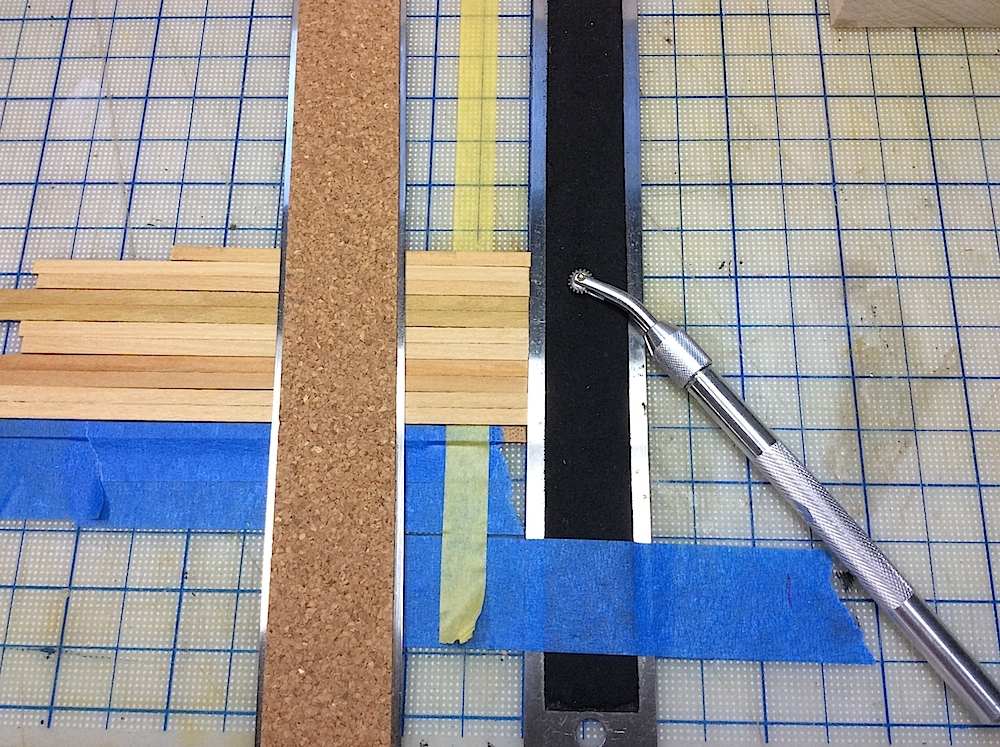
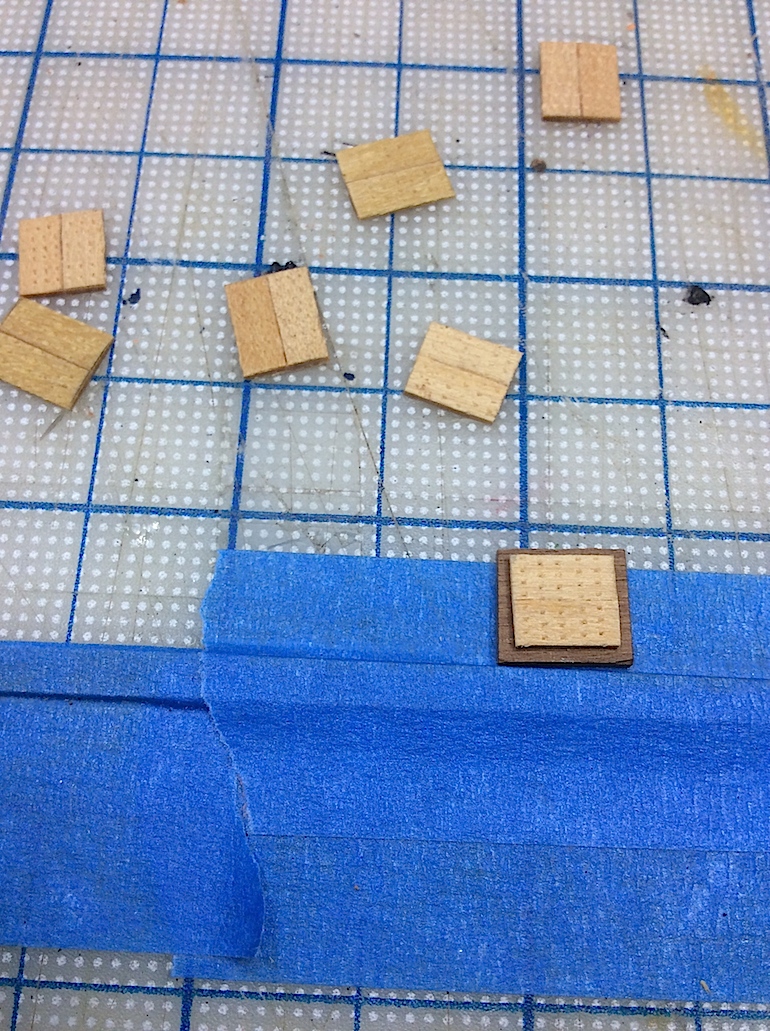
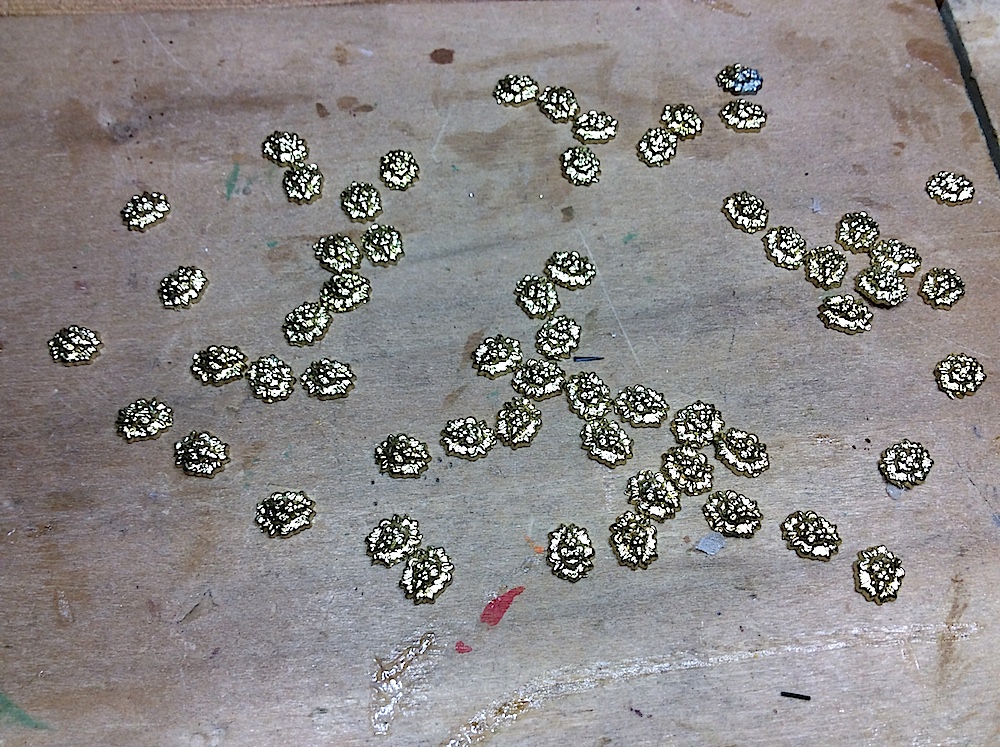
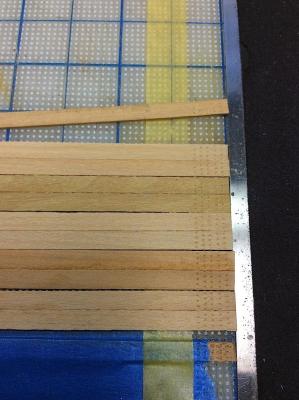
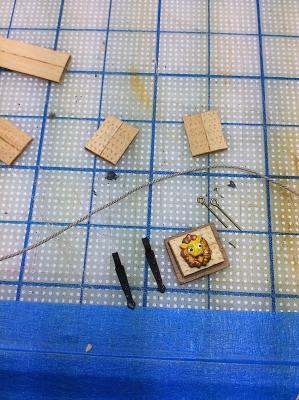
Hi Mates, Moving along, now starting on the cannon doors. Wanted to replicate the example from the original, so thought that the pics below were an acceptable solution. Pics are self-explanatory so I’ll remain brief J So after 100 of these I should be done except for the hinge pins and installation. The last pic is just a demo, need to square and make adjustments. I know that in the original the insert planks are vertical, and that mine are attached horizontally. A compromise, but so it has been going with this build - hmmmm.. As usual thanks so much for visiting, “likes”, very kind and encouraging comments, and just dropping in for a look…. Regards, Michael


-
JP, I will learn about this thanks for sharing MIchael
-
JPett, As I've always told myself, "Don't offer opinions about things that you know nothing about" Still learning on that point Cheers, Michael
-
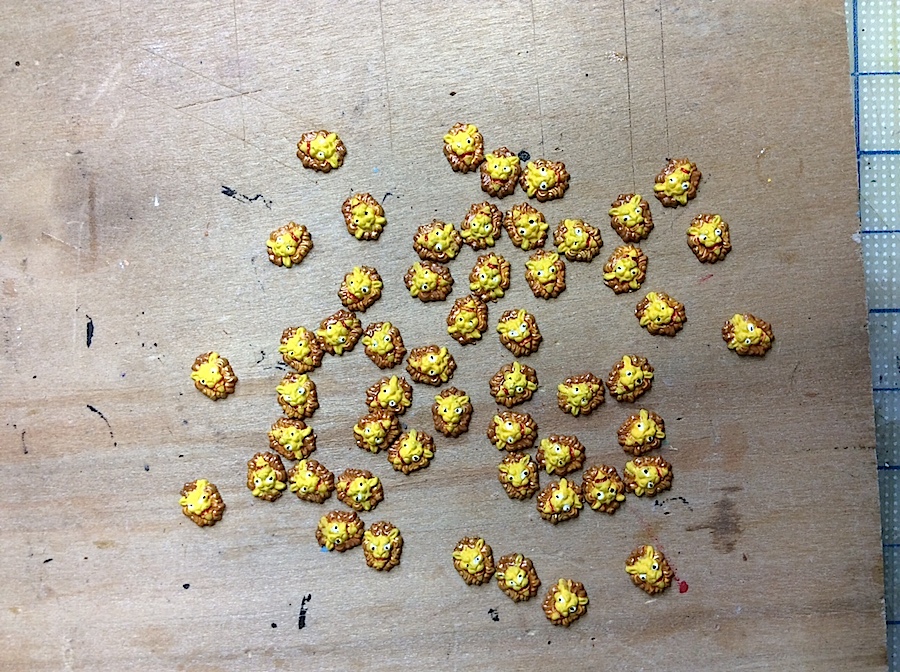
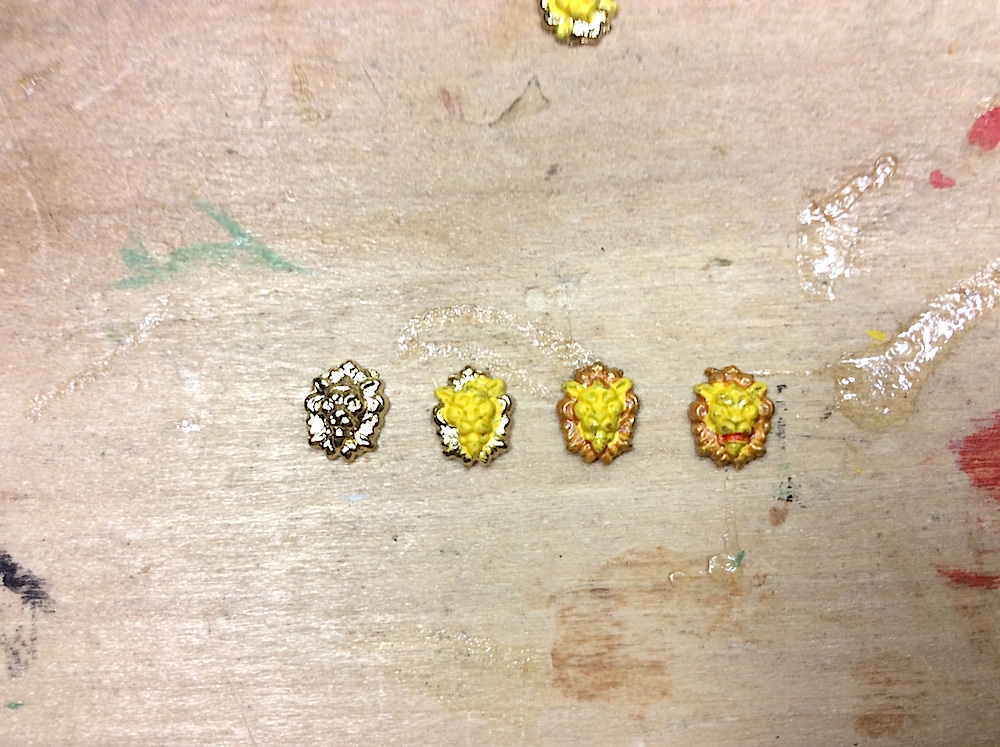
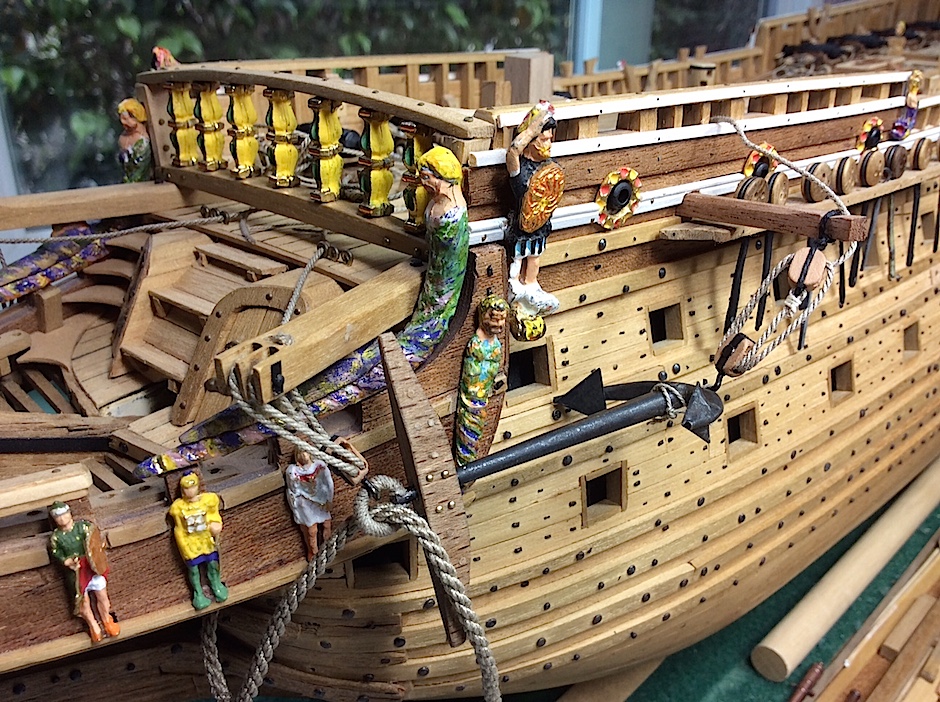
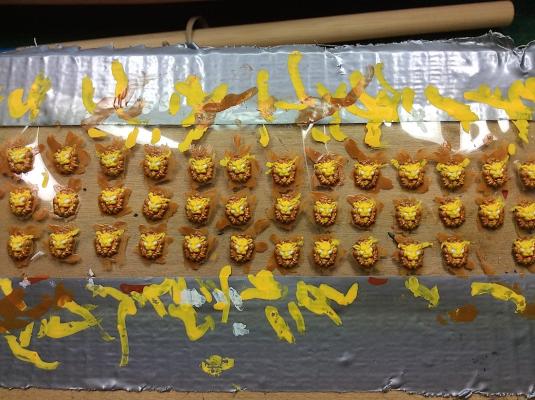
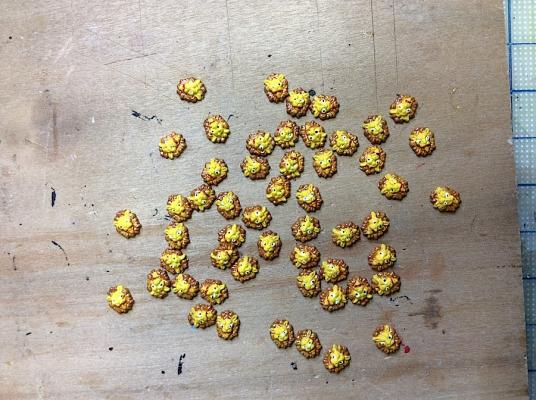
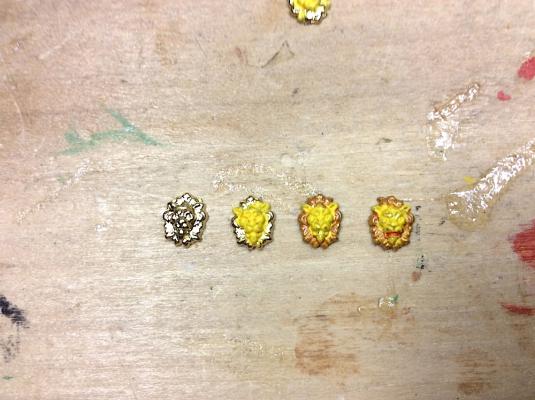
Hi mates, Well it appears as though this worked out ok. I had removed all of the heads from that plastic shipping tape, deciding that I was not up to doing eyeballs. I tried a few with resulting pupils too large, crossed eyes or hanging too low. Hmmm Then looking at all those heads with bulging white-eye balls sans pupils irritated me, and on second thought I needed the challenge. Put all of the heads back onto a tape, fine trimmed a toothpick, dulling the tip ever so slightly, thinned out a bit of black paint and gave it a second attempt, much nicer than just white eyes IMO That said, I must give huge credit to Corel. The head castings are so excellent, including a pinpoint tip specific to the eye pupils. So toothpick in hand AND Optivisor attached I tried to hit each pupil pinpoint. Had Corel not done such a detailed casting of the lion heads I would have just painted the whole things yellow, and been done with this bit. PS: With apologies to Ferrari and Lamborghini for using their “Italian Red” for lion mouths. Now on to the doors, hardware, inside insert frames, hinges, and ropes. Regards, Michael
-
Nigel, You just keep on surprising. Oh my you also did military figures !!! Maybe you might be tempted to share (;-) Michael
-
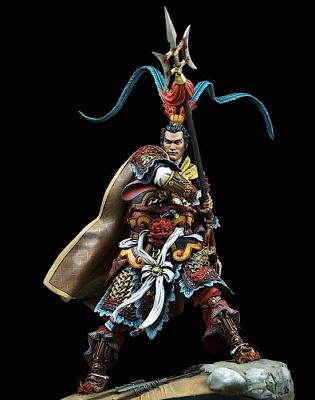
J.Pett, Thanks, I did check it out. These airbrush masters really walk on water...such artists. I have seen military figures that are almost impossible to believe; such as this one
-
Frank, On a just previous post of yours. What size rope did you use for the main anchor rope? Thanks Michael
-
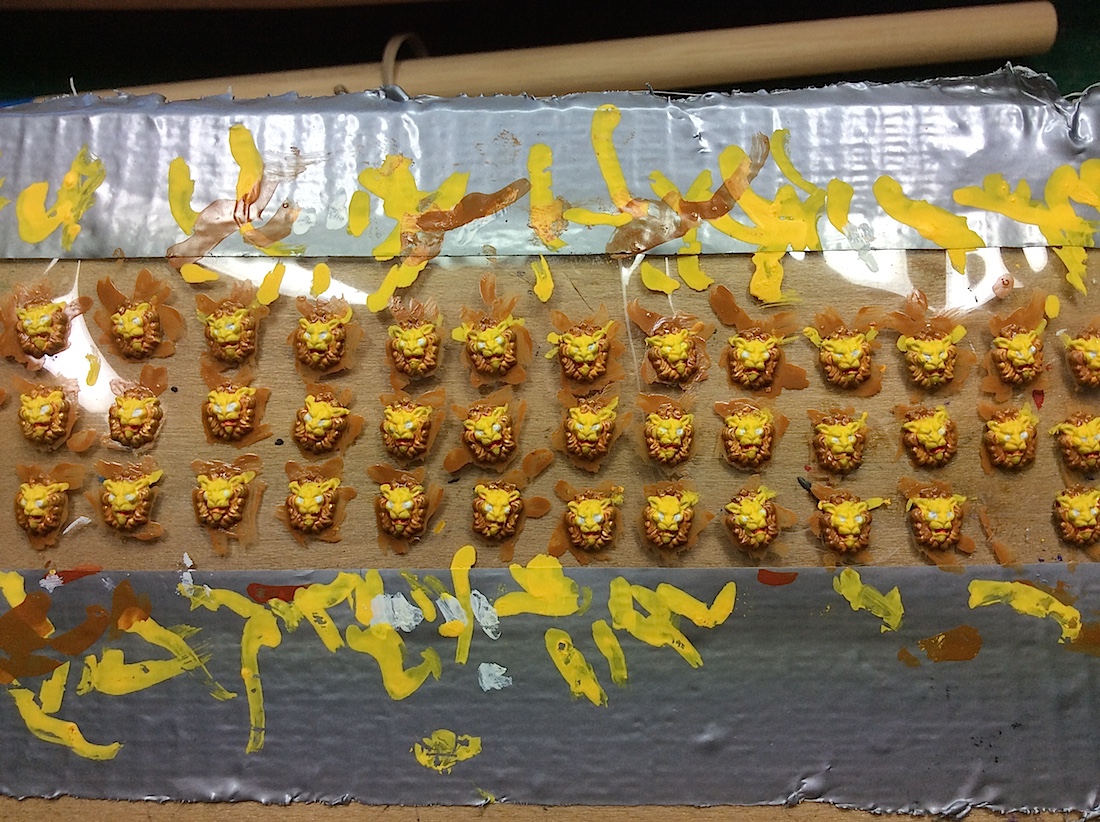
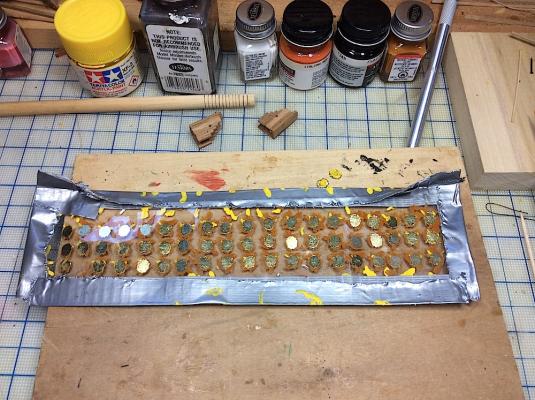
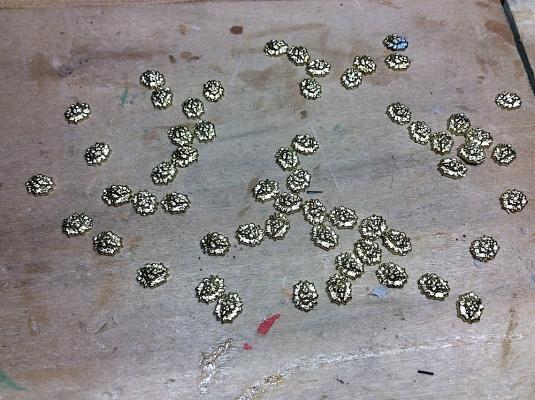
Hi Mates, Thanks for your very encouraging remarks, likes and for just dropping in (;-) ---------------- So a very partial (just beginning) update, but I thought that if someone could find this useful I would post. Working on all 50+ very small lion heads for the gun doors. At first I picked each one up one at a time and started with the yellow paint Then again one at a time painted the bit darker mane. Then one at a time added the red for the mouth Then went back to add the white for the eyes. No no, no, no, what a nightmare; the eyeballs were too big, the mouths were odd looking. It was taking way too long. My eyes were asking me what I was doing?… So going back to square one. Needed to create a “factory” sort of assembly. My solution Step 1 used a piece of packing tape and placed all 50+ heads on a board. Step 2 I will paint all 50+ eyes Step 3 I will add all 100 eye pupils Step 4 I will paint all mouths Step 5 I will NOW paint the face and overlap correctly eyes and mouths with yellow Step 6 I follow up with darker edge manes. This should save quite a bit of time (I hope) those that have been sort of completed will be "fixed" PS: Yes I know that the 1/10th has just yellow, along with eyes. Adding a bit of poetic license to this bit. I’ll post when done. May be overkill!! Cheers.


-
Peter, As usual nice update. As Nils mentioned great pic. compositions... Michael
- 431 replies
-
- 2
-
-
- pegasus
- victory models
- (and 1 more)
-
Lawrence, Thanks for your thoughts. Also enjoying watching your build, two centuries ahead of my potential work (:-) Regards, Michael
-
Edwin, You are way too kind with your praise blush, blush...Thanks so much very touching indeed. Further to your other points regarding what some of us pirates actually steal to "invest" into this hobby, YES you are so right. Were we to be "outed" our membership at MSW would no doubt ebb by 50%, assuming that even those would survive. Great point. funny and true. Cheers, Michael
-
Hi Gil, Welcome back as well. Your Victory is so awesome. MIchael
-
ancre Le Fleuron by cabrapente - FINISHED
md1400cs replied to cabrapente's topic in - Build logs for subjects built 1501 - 1750
Beautifully detailed work. -
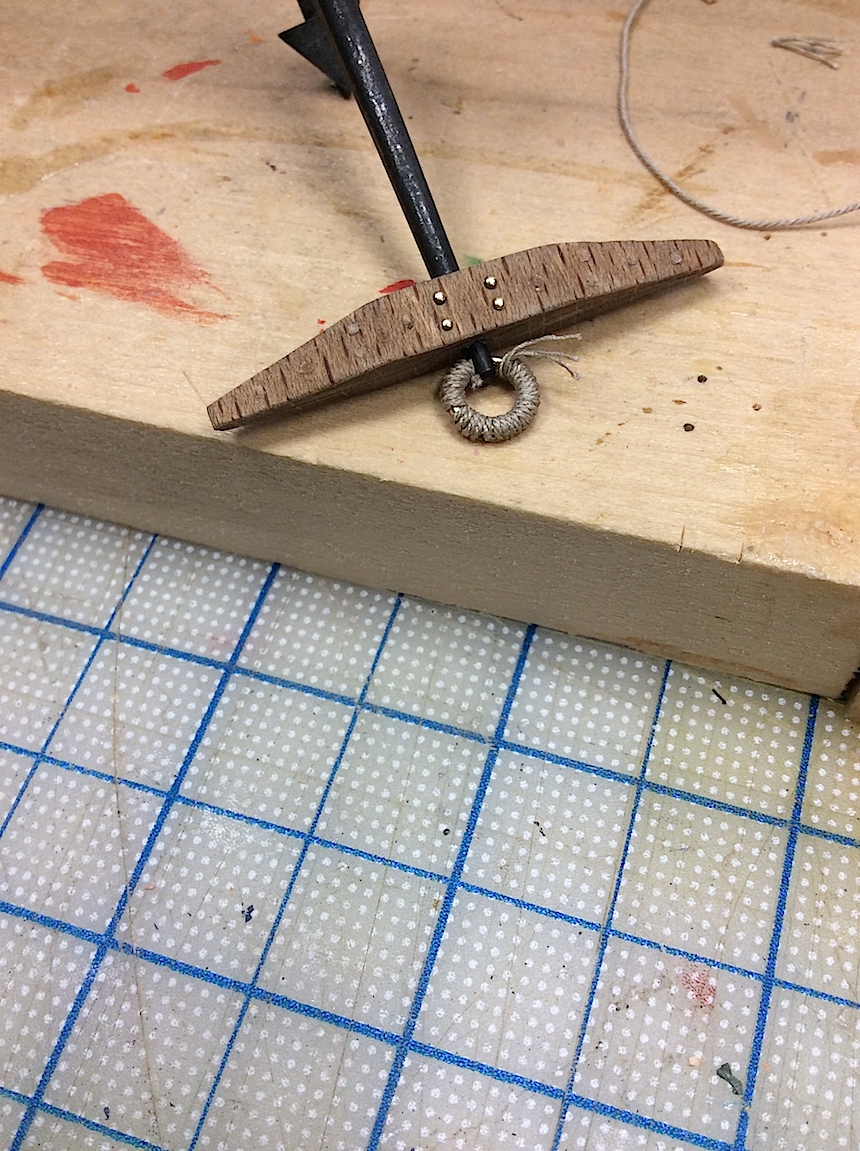
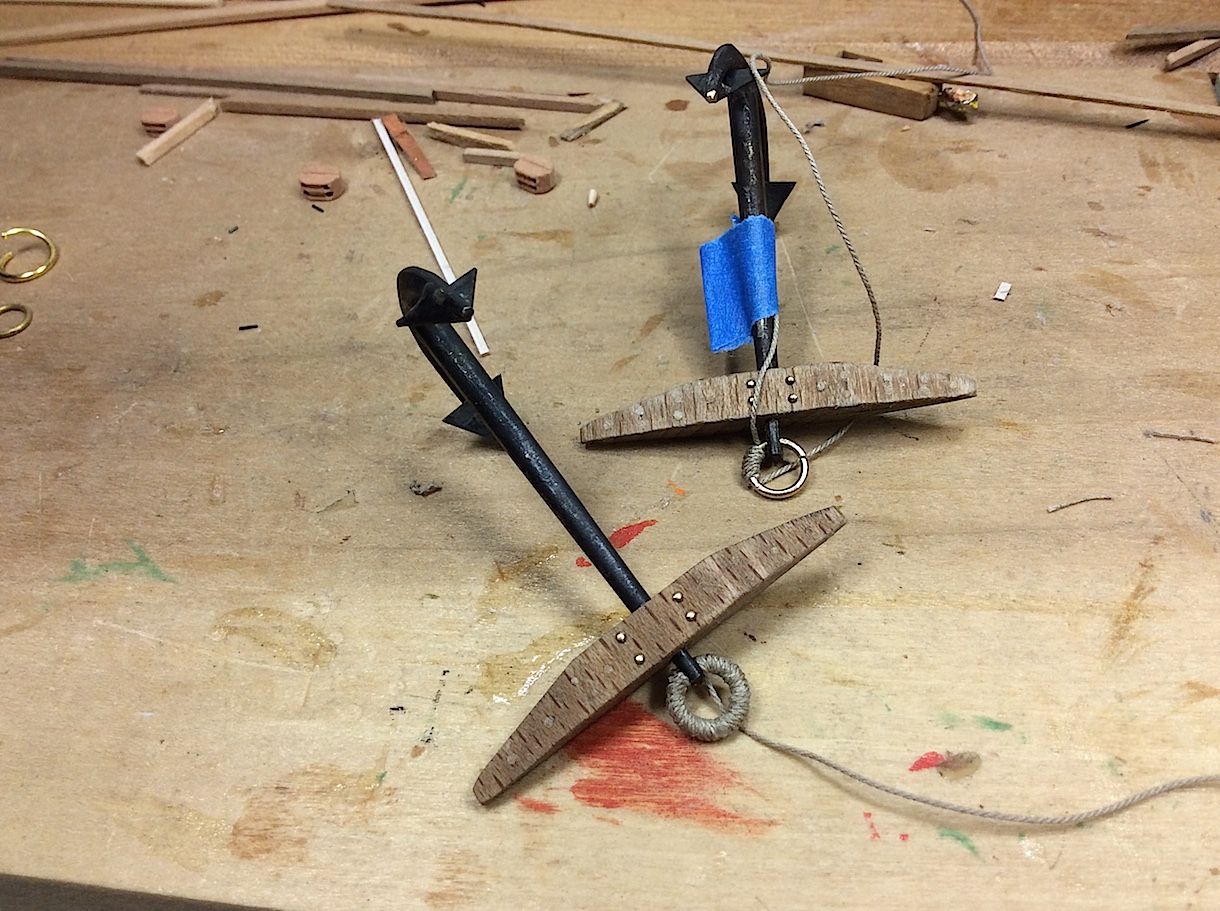
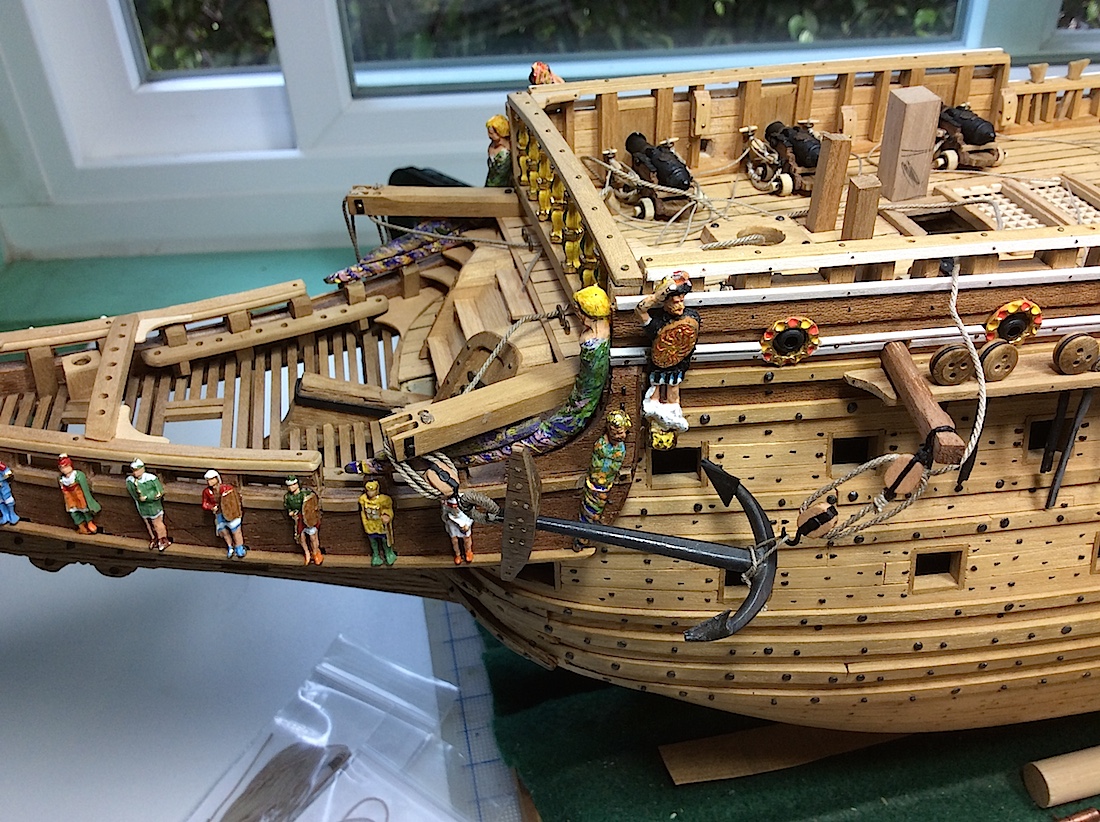
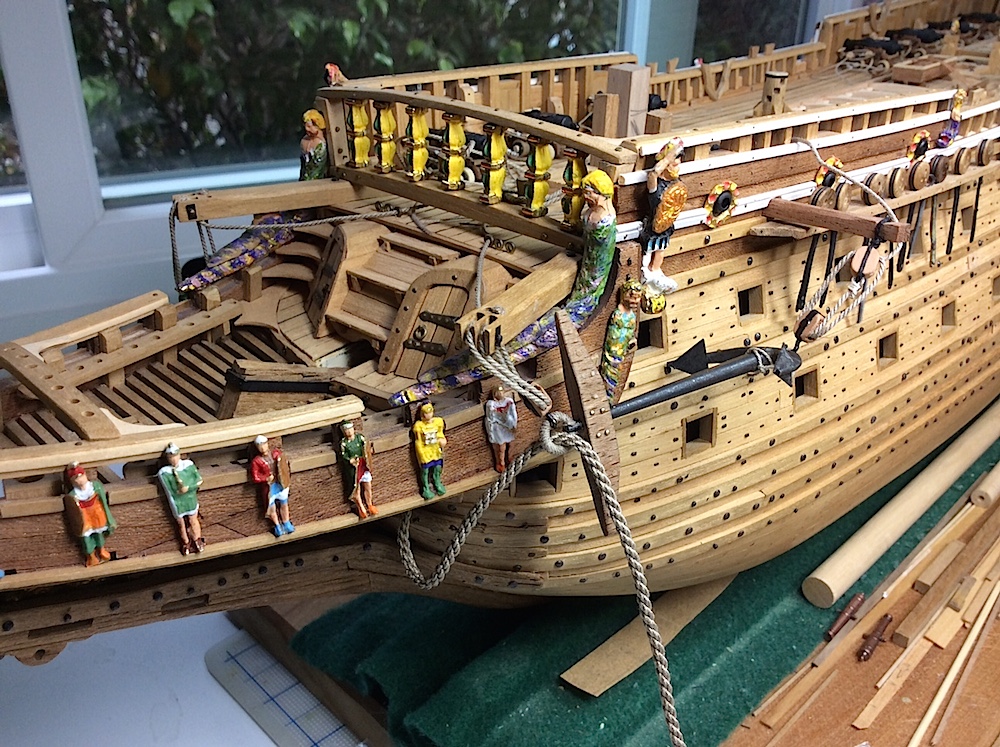
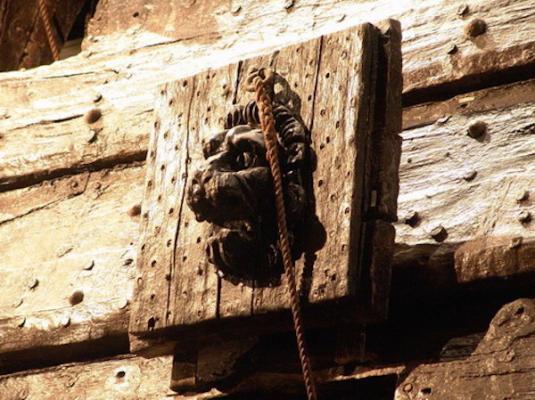
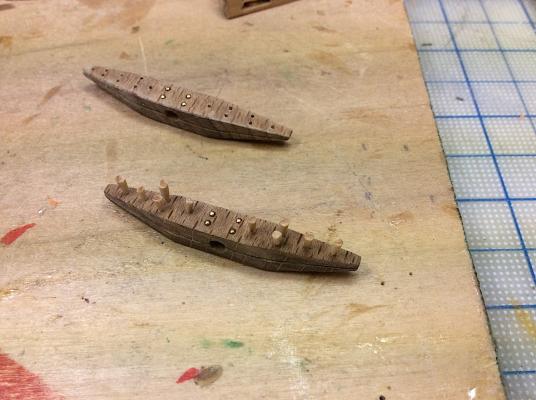
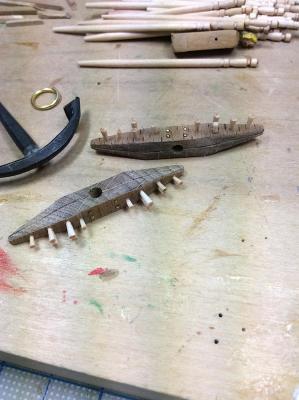
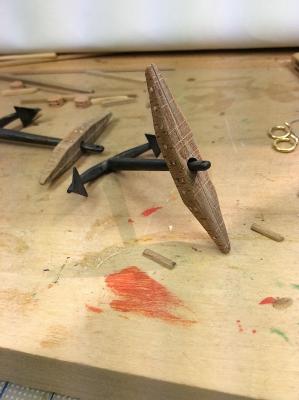
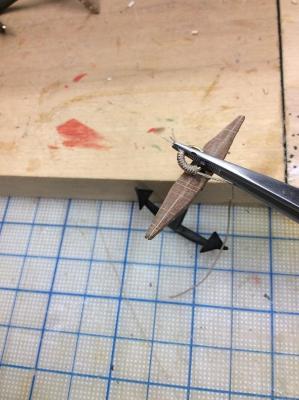
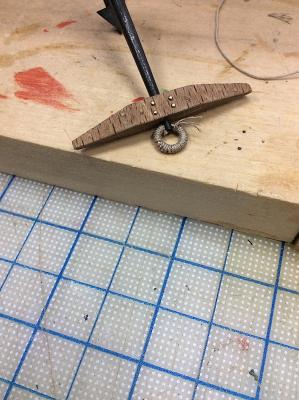
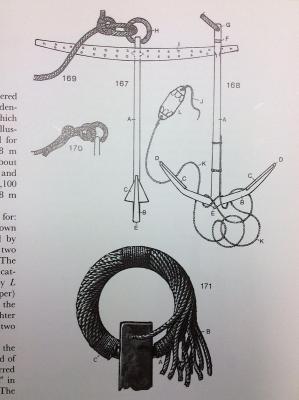
Hi Mates, Minor update finishing-up the anchors; I decided to use the Corel provided stocks (the two light wood pieces are from “I don’t remember” were). The anchors should be attached to two separate half stalks. I faked this by using a micro saw blade to imitate the two halves. Weak, but looks ok. Though I needed to add a shunt to fix the anchors in place. Then went down to the kitchen to take command of some of the Admiral’s designer for “guest” toothpicks. Photos are self-explanatory so will keep this brief. The Vasa did not use metal framing, but instead had treenails for joining the two halves, along with four metal bolts. ----------------------------- My first attempt at wrapping the anchor rings with rope was, well a failure. As you can see-oops- not enough rope length on my first attempt. Second and third tries were charms. Using tarred rope was a question, but the 1/10th did not, so I mimicked that thought. As I went along, I used GS Hypo to fix in place the three or four loops at a time. Came out better than I expected. After dabbing the glue I used a finger to remove excess. This glue is really cool. As you can see the glue disappears. Last few pics just for the visual. Need to attach and fix anchor’s main ropes etc.…though not sure about the anchor rope, maybe too thick?? Also need to make two buoys per Landström’s drawings. Speaking of whom the correct details for wrapping the rings with rope are SO beyond my skills, I saw the pic and started laughing….. PS: Only port side will have the fish-davit, for a “transition look”. PS2: Yes those eight brass nails should be black, got lazy on this bit. Time will dull them (;-) As always thanks so much for your dropping by. Regards, Michael


-
Karl, Your handrail mounts are in-and-of-themselves works of art. Your art never ceases to amaze. Michael
- 662 replies
-
- 1
-
-
- bonhomme richard
- frigate
- (and 1 more)
-
Nice, Billings sculptures are such an improvement over what Corel offers. And with plastic (once painted who cares) you can, as you did, adjust and shape them as needed. looks great. You also captured, very nicely, the angles for the towers. MIchael
- 249 replies
-
- 1
-
-
- billing boats
- vasa
- (and 1 more)