HOLIDAY DONATION DRIVE - SUPPORT MSW - DO YOUR PART TO KEEP THIS GREAT FORUM GOING!
×


Old Collingwood
-
Posts
12,097 -
Joined
-
Last visited
Content Type
Profiles
Forums
Gallery
Events
Everything posted by Old Collingwood
-
 Mark how about one of those optovisors with the various strenth lenses, I use one of those and they are very good for us with weak eyes. OC.
- 505 replies
-
- 3
-

-
- vanguard models
- Sphinx
- (and 1 more)
-
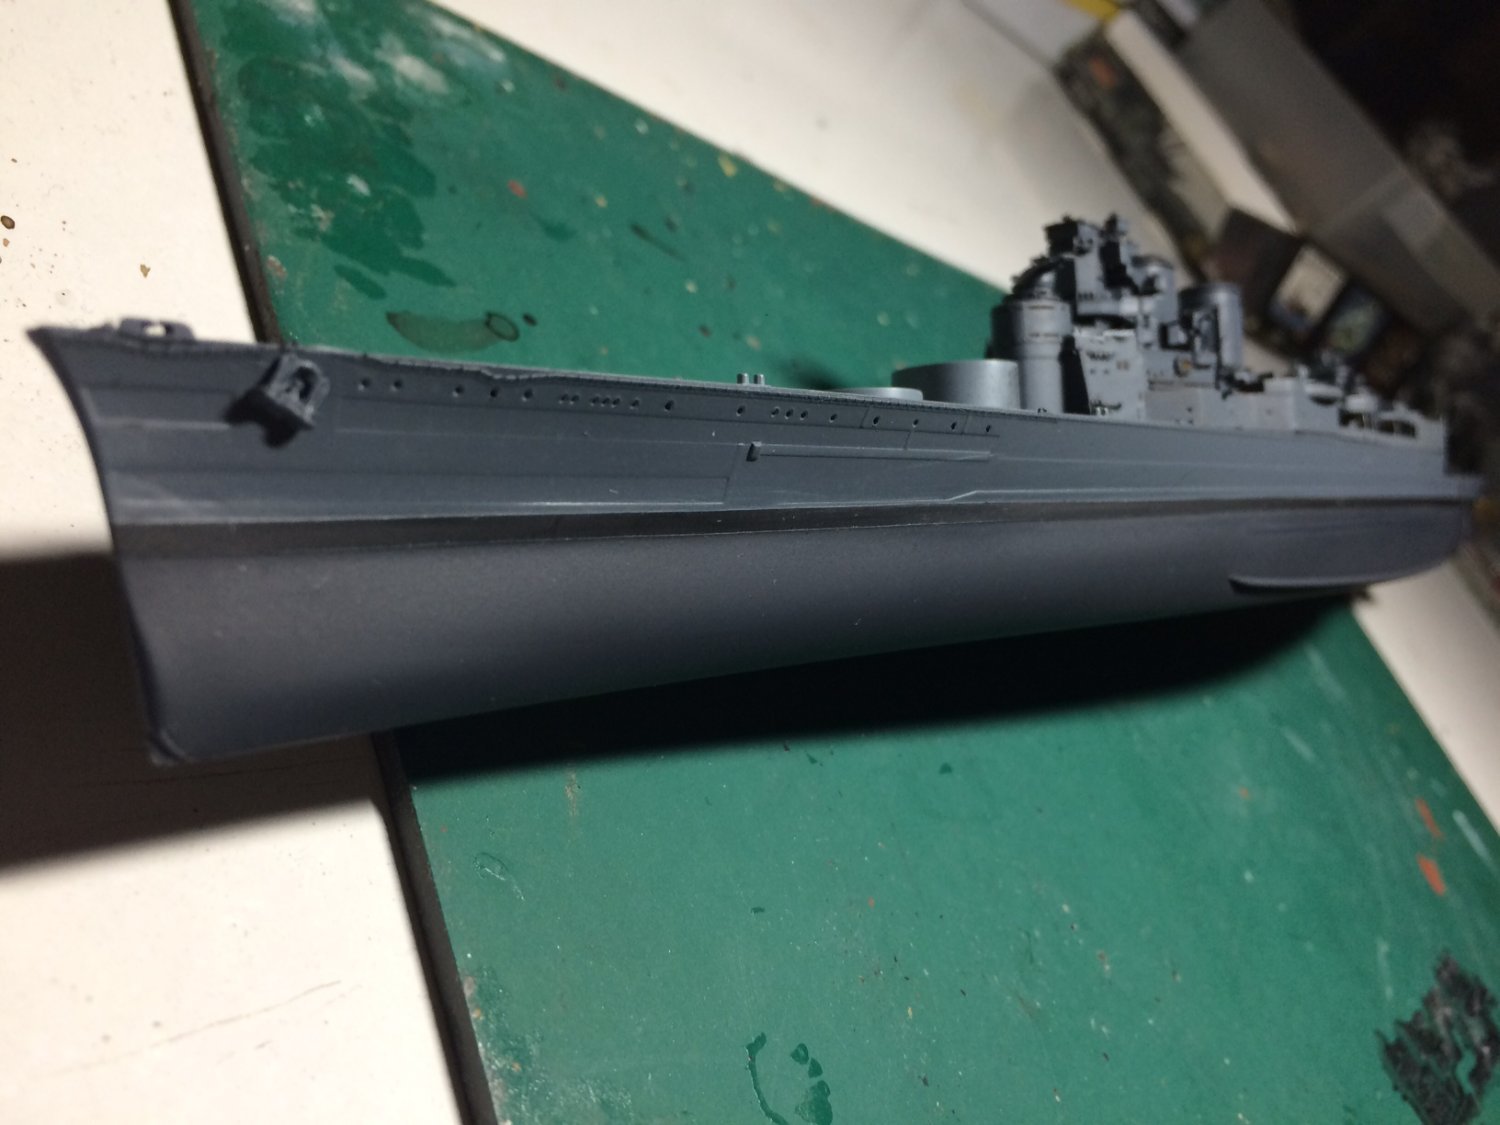
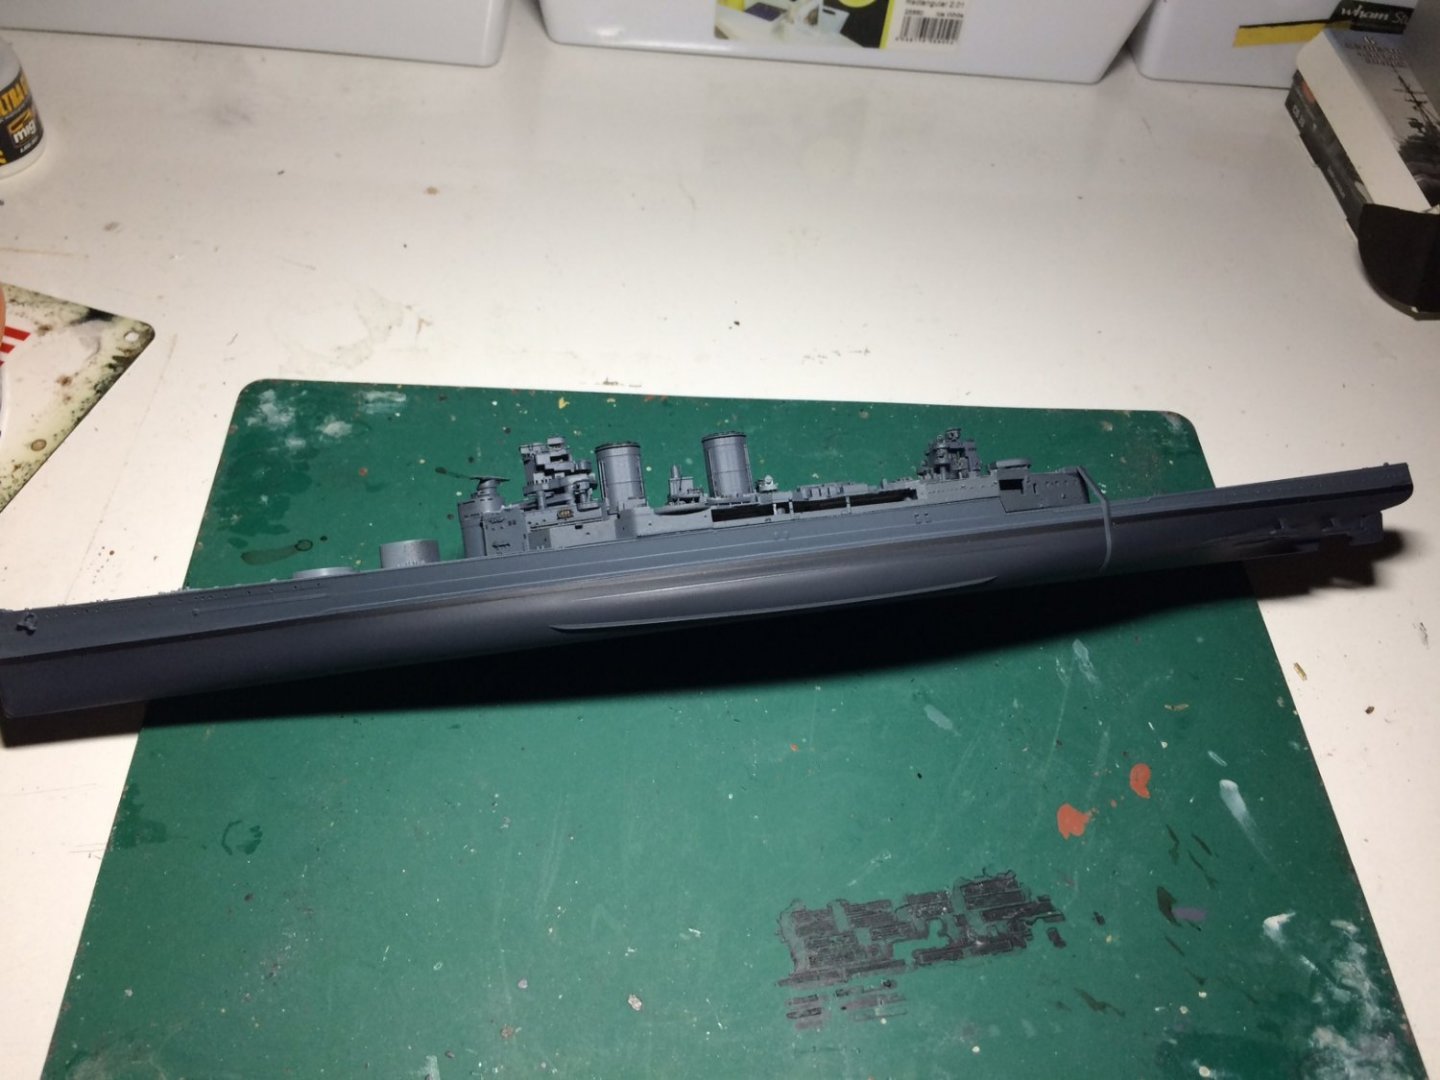
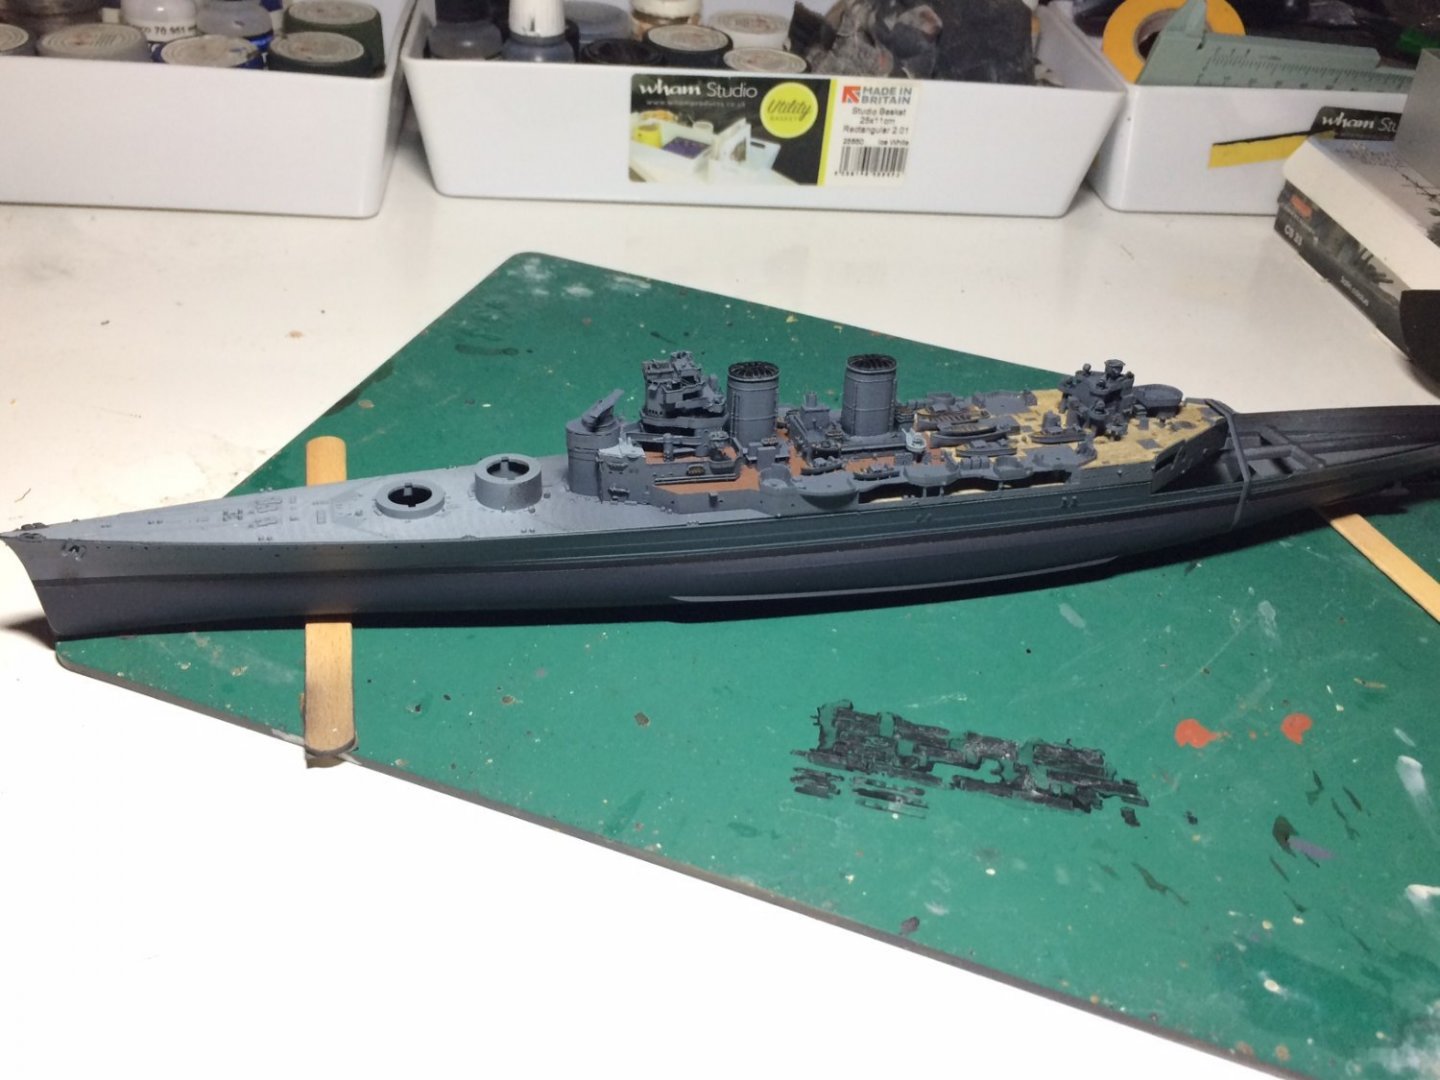
Evening all, moment of truth and the Big reveal - I de masked the hull and to my supprise the paintwork has not come out to bad - better than I expected, I dry fitted the deck area just to get an idea how it will look. Quite pleased. OC.

- 510 replies
-
- 12
-
-
Morning all, early/late one for me Mrs OC is not too good suffering baddly with pain from her face problem, so its made me more allert during the night keeping a check on her - its quite natural for me to be up late as I am an insomniac anway. But smoe more progress alas with no pics (sorry I am slacking and will stand in the naughty corner) so airbrush time again - got the table prepaired then set up the airbrush mixed up some slightly darker Grey using those Vallejo bottles requiring me to pull the (tight) tops off the bottle to mix some Black in, - no problem - next stage put some paint in the cup and teast spray .............Nothing coming out of the airbrush (Again) but I made the mistake of unscrewing the front nozzle (yep while the pressure was still on) .........Paint Everywhere. So mop up time all over my hands - table - spray booth, finally tidy - strip the airbrush Again nothing really was causing the problem, but I gave it another good clean out, but I noticed the Grey mix was still not dark enough - so I mixed in more Black and after a good mix it was time to go at it again - so holding the hull from the supports inside the hull I gave the first spray, went on quite well (but) my limited and strange eyesight meant I could see right up close but not a foot or so away - and yes I had caused a ridge line from an over spray. I just thought best idea to try to smooth it out as the paint layer dries - yap kind of worked, I proceeded with several more layers untill I had put down about Five thin payers. Kind of happy with the finsish (the overspray area was so small - so should not be noticed) so thats the hull painted - the big reveal will be when I de mask her..................(Enter bitting nail emoji) OC.
-
Thanks Alan, I think even with my magnification that would be a streach - but I am confident you will pull it off mate. OC.
-
Reminds me of the job I once had working on an actual sleeper carriage when I was a grounds keeper - the land owner wanted one on his land placed on the old tracks that were still there (as his place was an old station) anyway he wanted the inside gutted and the outside re painted including the roof - just myself brushes and a broom for the water proofing Black on the roof - took me about a month to paint alone. OC.
-
Evening all, well I finally finshed the re decorating in the bathroom - that released me back to my build, so next step was to set up the airbrush and to paint the upper hull, the airbrush was nice and clean so I went straight into spraying, I pur down a couple of thin sprays and dried in between coats with the hairdryer, then after the final coat I examined it - nice even paintwork - very pleased untill I looked towards the lower stern "ups" the hairdryer had distorted one of the prop shafts. Always a Three step person me - One forward and Two back, anyway I have tried to rectify it best I can - but it will have to be the weak side that I do not display. No pics - I will after letting the paint fully harden (lifecolour acrylic) so perhaps a few days? then I will mask up ready tp paint the lower hull in a darker Grey. OC.
-
That is looking so nice - all that effort is so paying off. OC.
-
It looks so real - Fantastic work. OC.
-
Amazing Wonderful work - speechless levels of detail. OC.
- 321 replies
-
- 3
-
-
- Finished
- Flower-class
- (and 1 more)