Old Collingwood
-
Posts
12,104 -
Joined
-
Last visited
Content Type
Profiles
Forums
Gallery
Events
Everything posted by Old Collingwood
-
 That is looking so nice. OC.
 -
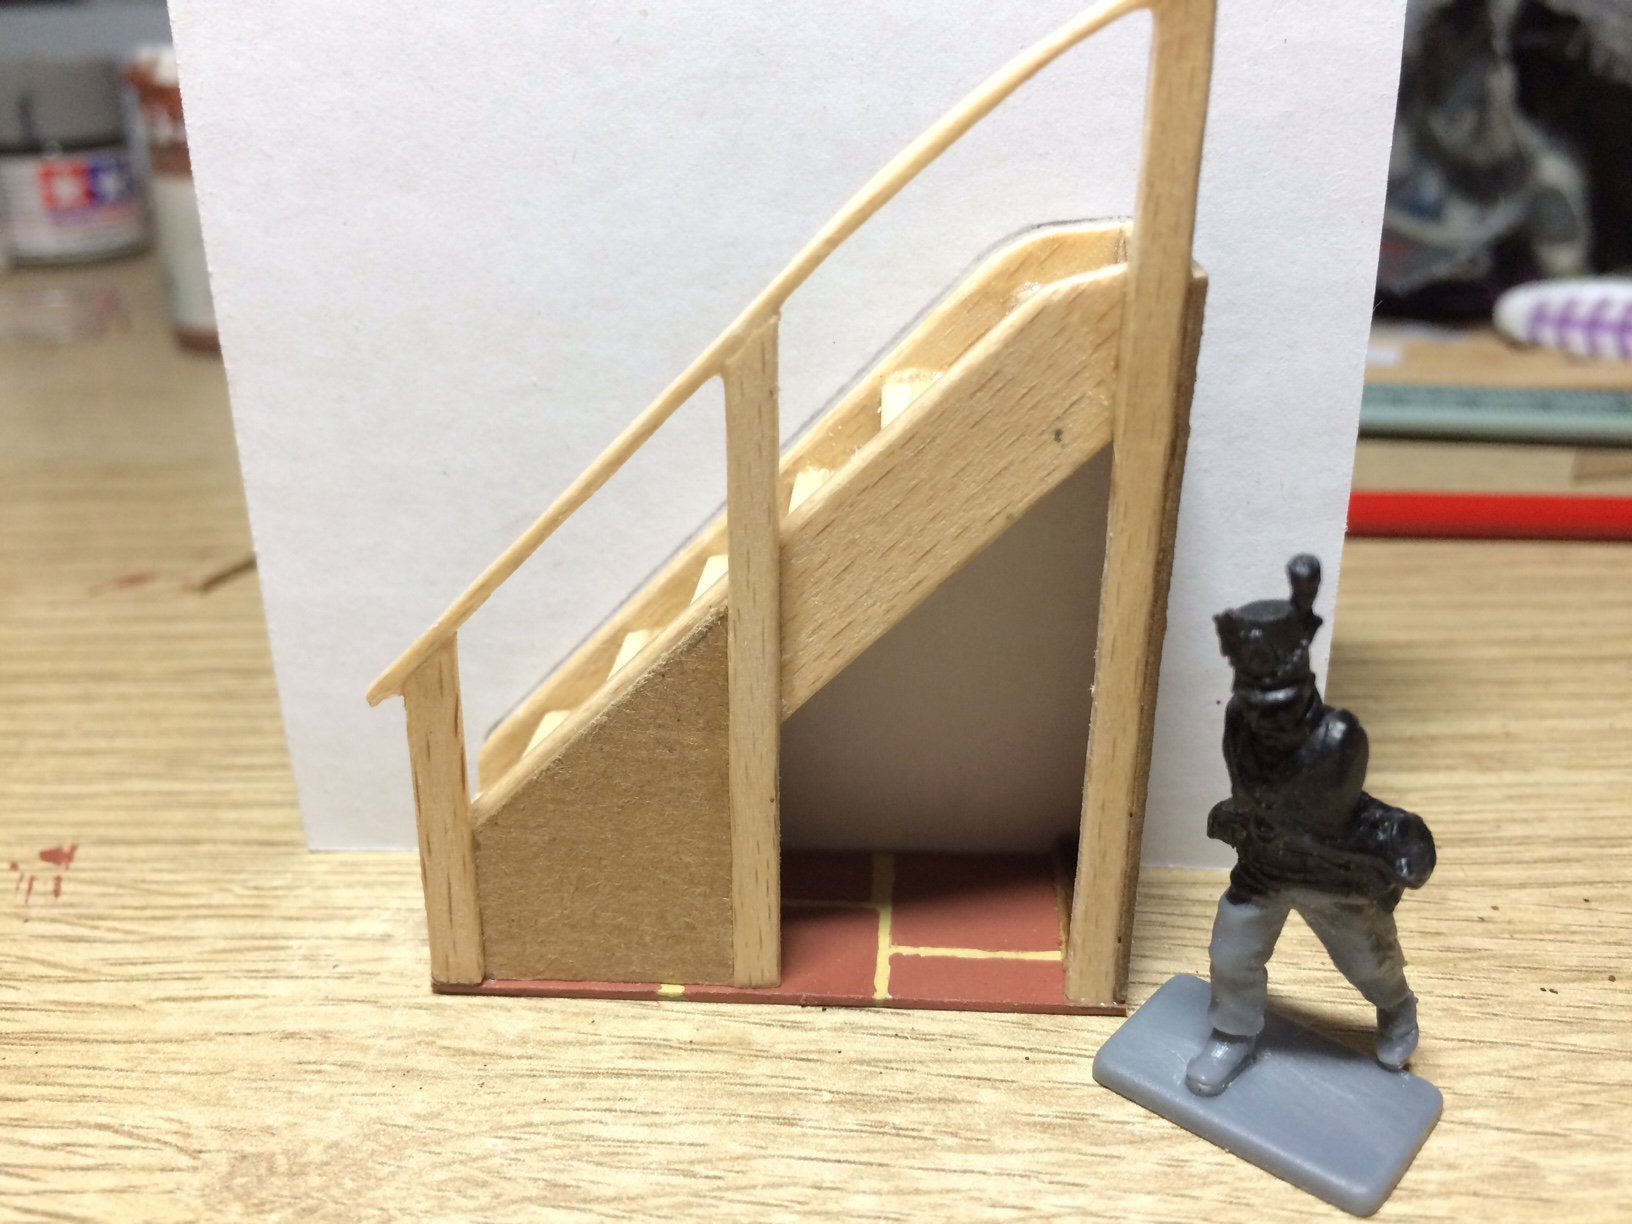
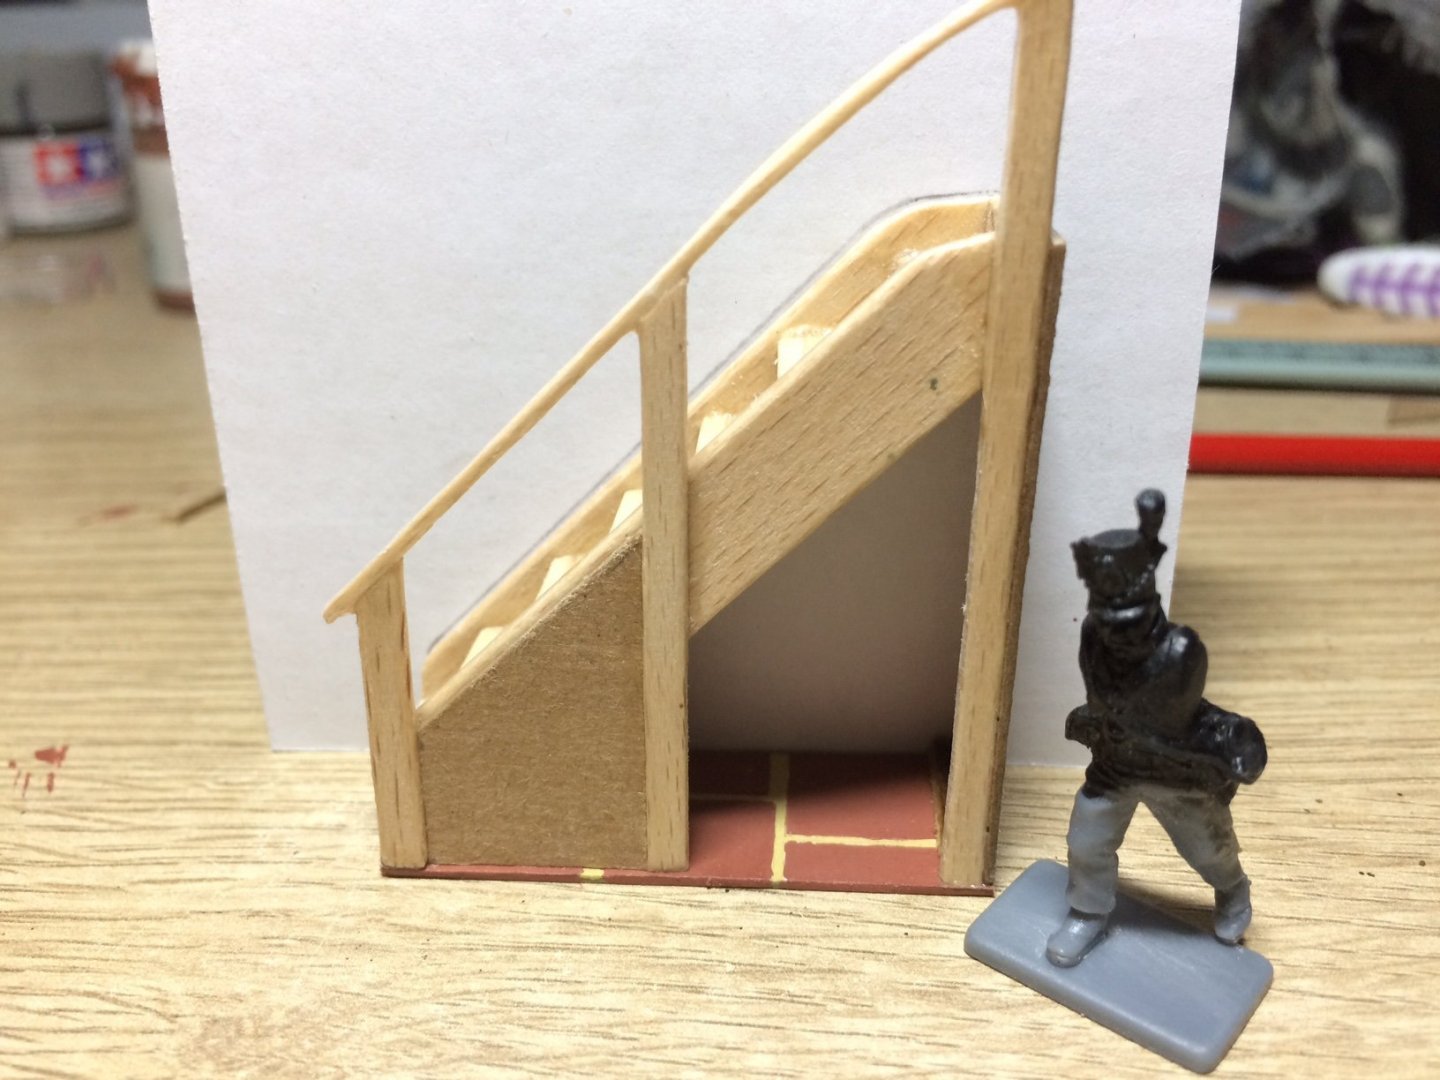
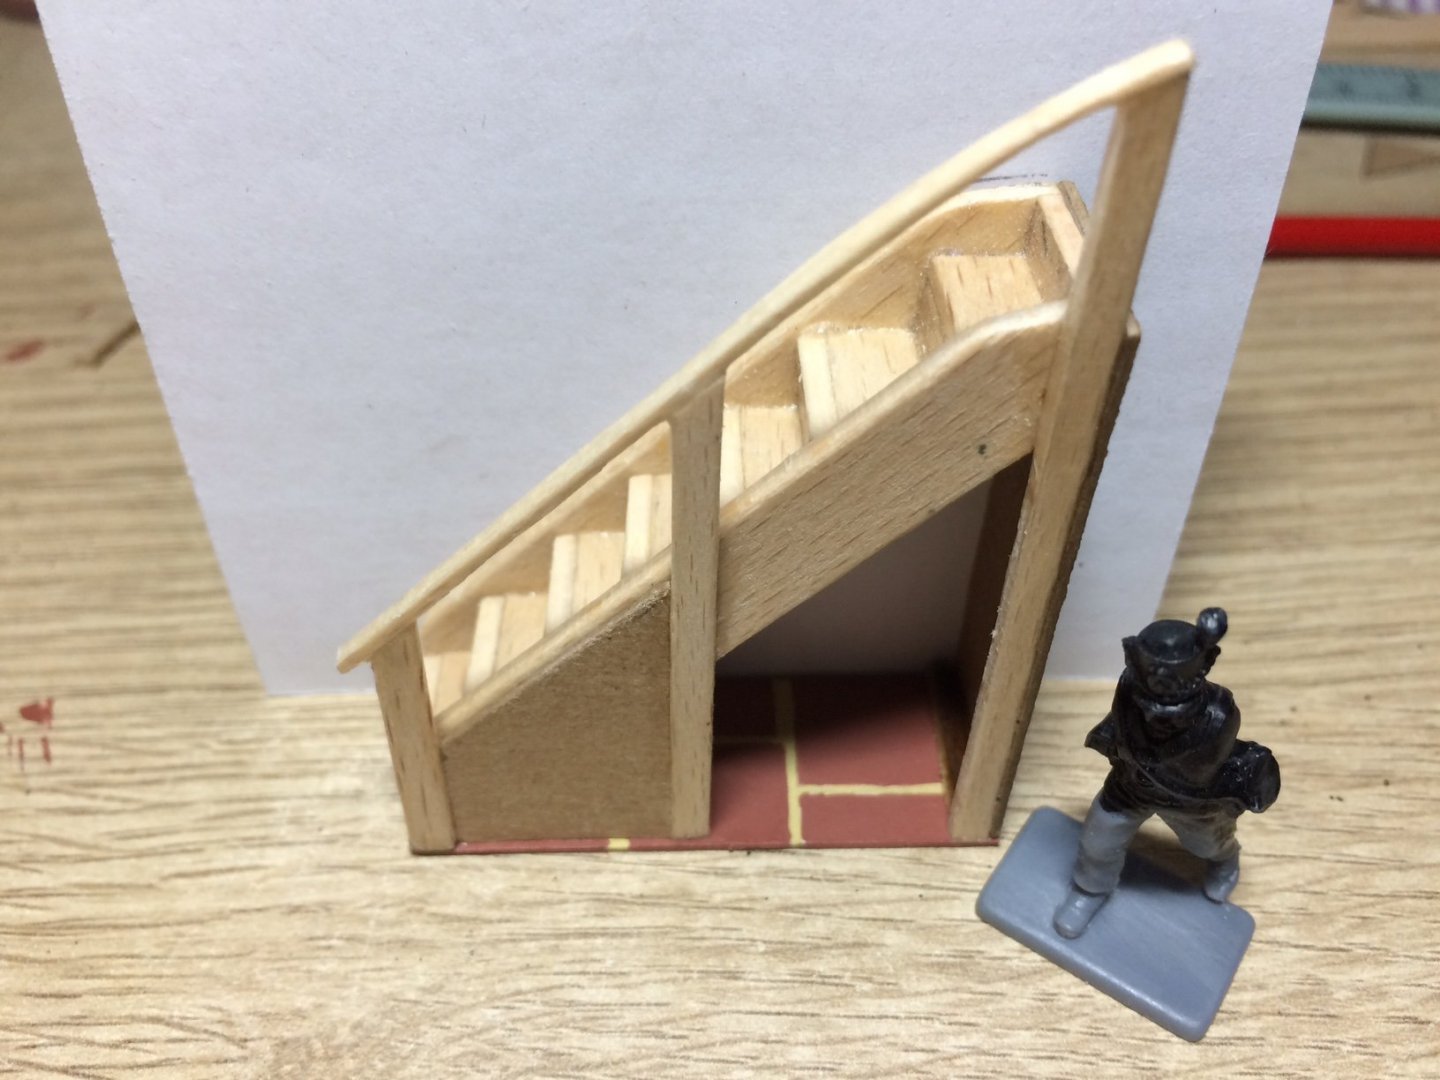
Evening all, firstly a Huge thanks to all the likes and comments about my build - its all my buddies here that make this and any build worth the time. Right on with some more progress - I am still working on the staircase area making a little space underneath where I can hide a toilet/heads type thing, firstly I made a floor for it and set about creating some tiles, first I made a paper template than I cut out the individual tiles and glued them down on some card leaving a mortar gap, then I painted the mortar gaps in sand and the tiles in Brick. When dry I glued the staircase down onto the floor, next I filled in part of the front with card leaving a space in the front where I will construct and fit an angled door, to finish off tonight I made a cardboard end to close it in. Also I made the partition wall using card and paper glued on both sides then trimed to fit, this still needs it cut out acess into the living room. I am quite happy as its looking better than I thought it would. OC.
-
Thank you All for the input and regards, I was thinking of doing similar to how ships heads was set up around that time - basically just a box with a hole in it leading to a pipe in the ground, and a bucket with water kept at the side (hope that would have been the kind of thing in use back then)? OC.
-
Toilet brother its a term we use over here. OC.
-
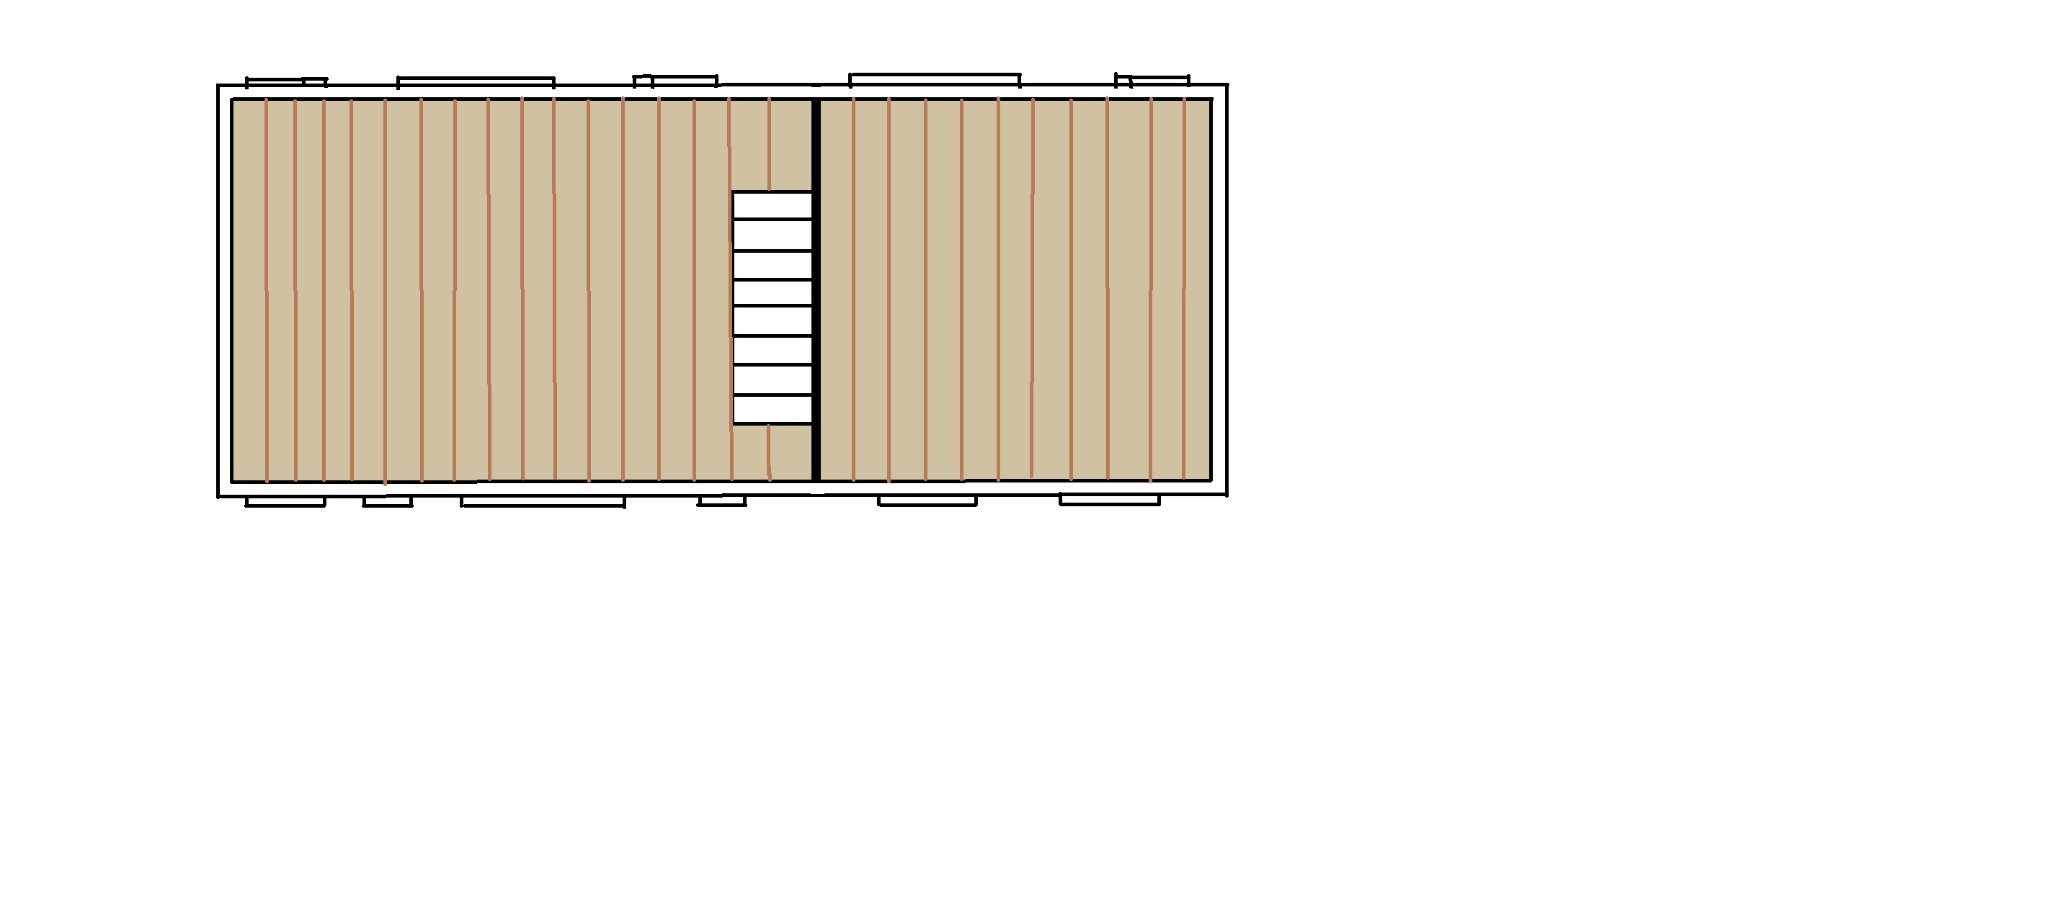
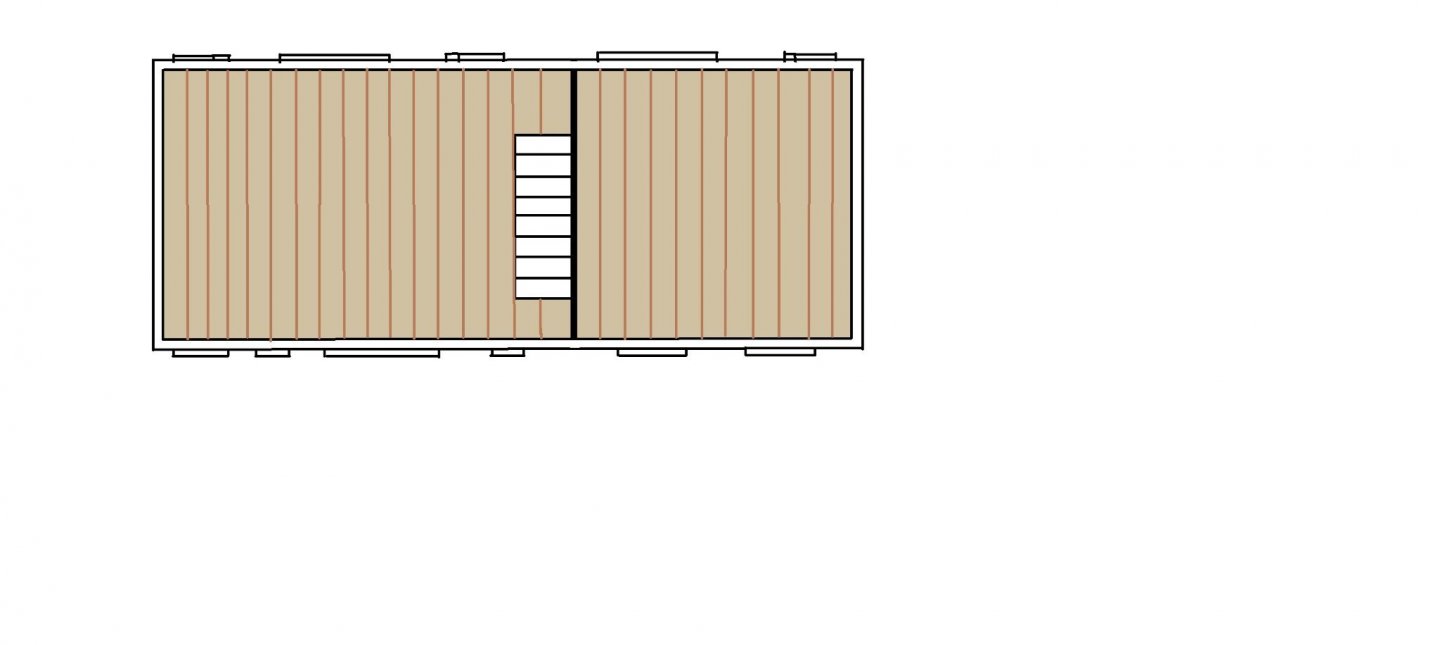
Just done a quick plan in Paint, this will be my first level floor plan - The main Black line is the main partition that goes from ground to roof, there will be Two bedrooms with a small hall way, where there will be Two doors going into each bedroom. On the ground level there is a Large kitchen with a w/c area under the stairs, the stairs will be situated against the partition wall, a door will lead into a small living room. Hope that makes sense? OC.
-
Thank you so much Alan, that is very kind of you to say. OC.
-
Thank you kindly brother. OC.
-
And how it ended up - OC.

-
Evening all, so how its started with a few of these - OC.
-
That was so kind of you to say Edward. OC.
-
That is looking So good Alan - and considering it minute size. OC.
-
Hiya mate, yep its a nice straight forward assembly using a slotted system, but I have made it more interesting with some bashing, I want to do a part interior (as you do) before I put the whole farmhouse togther - then I will move onto the next stage. OC.
-
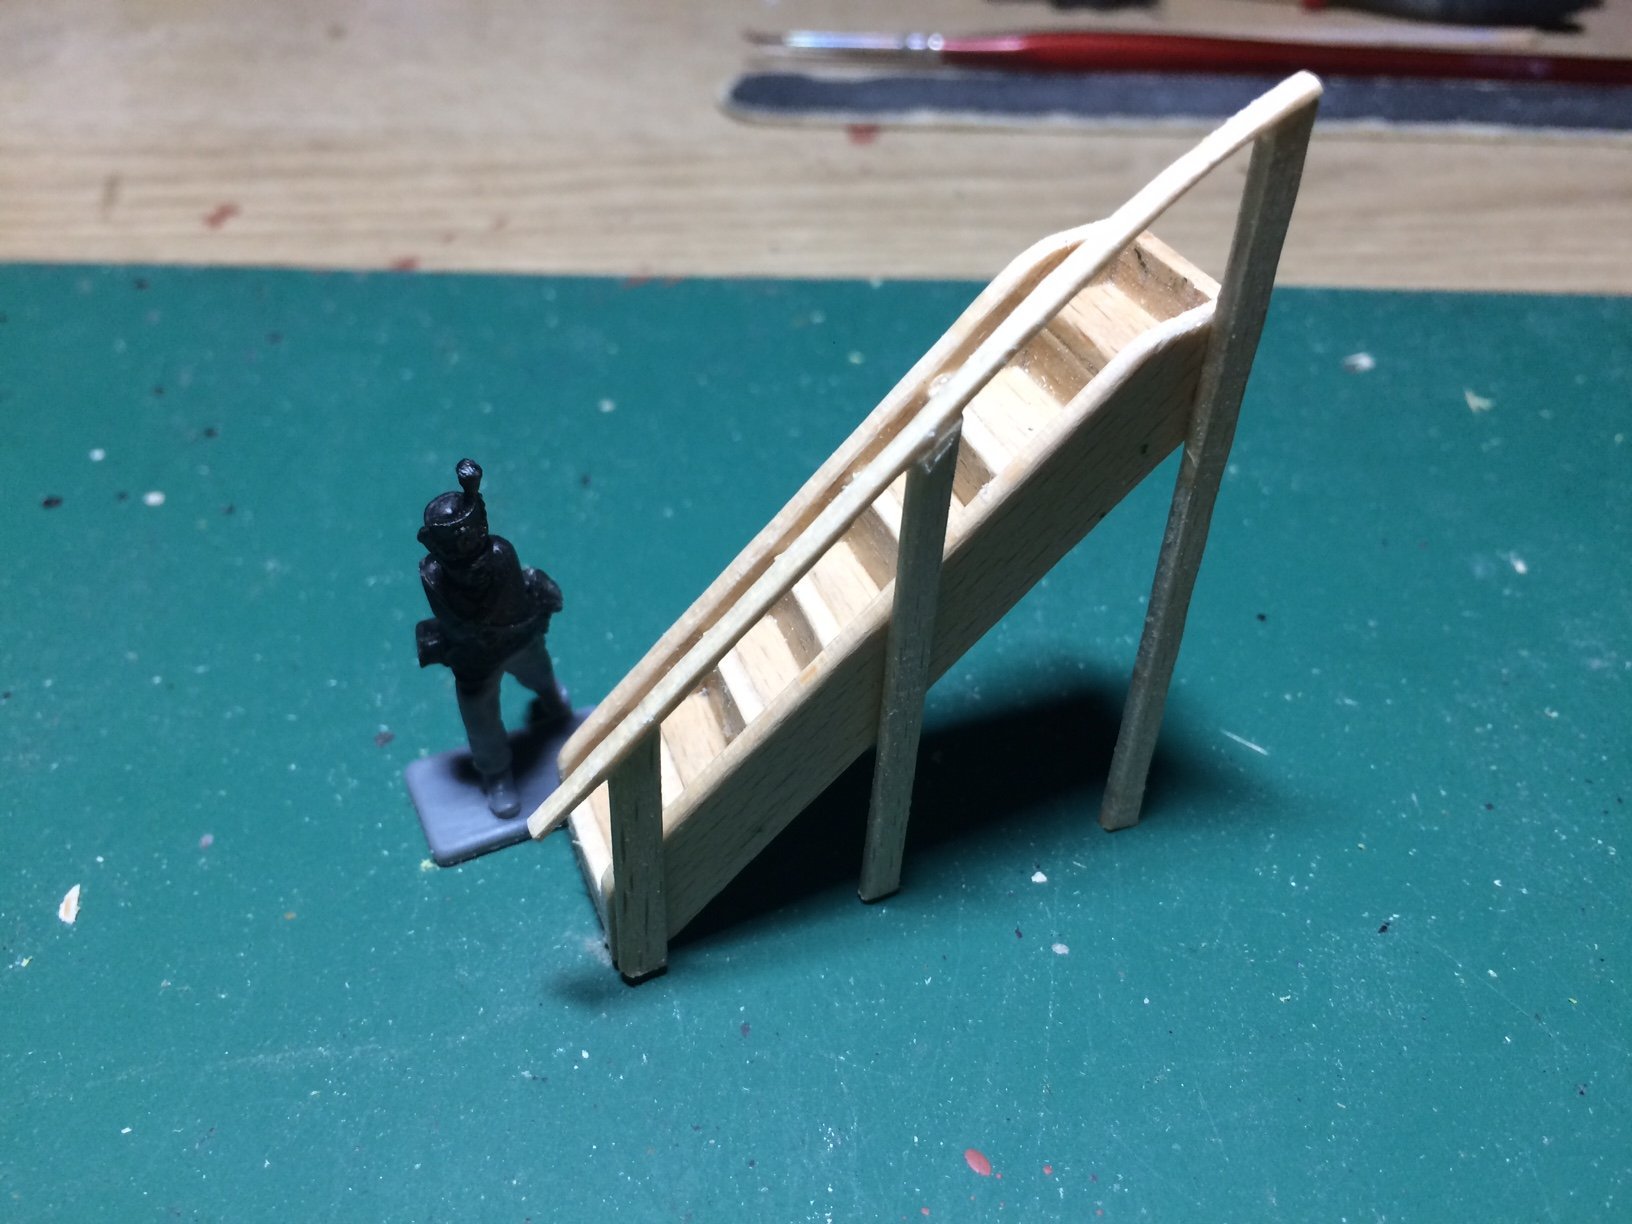
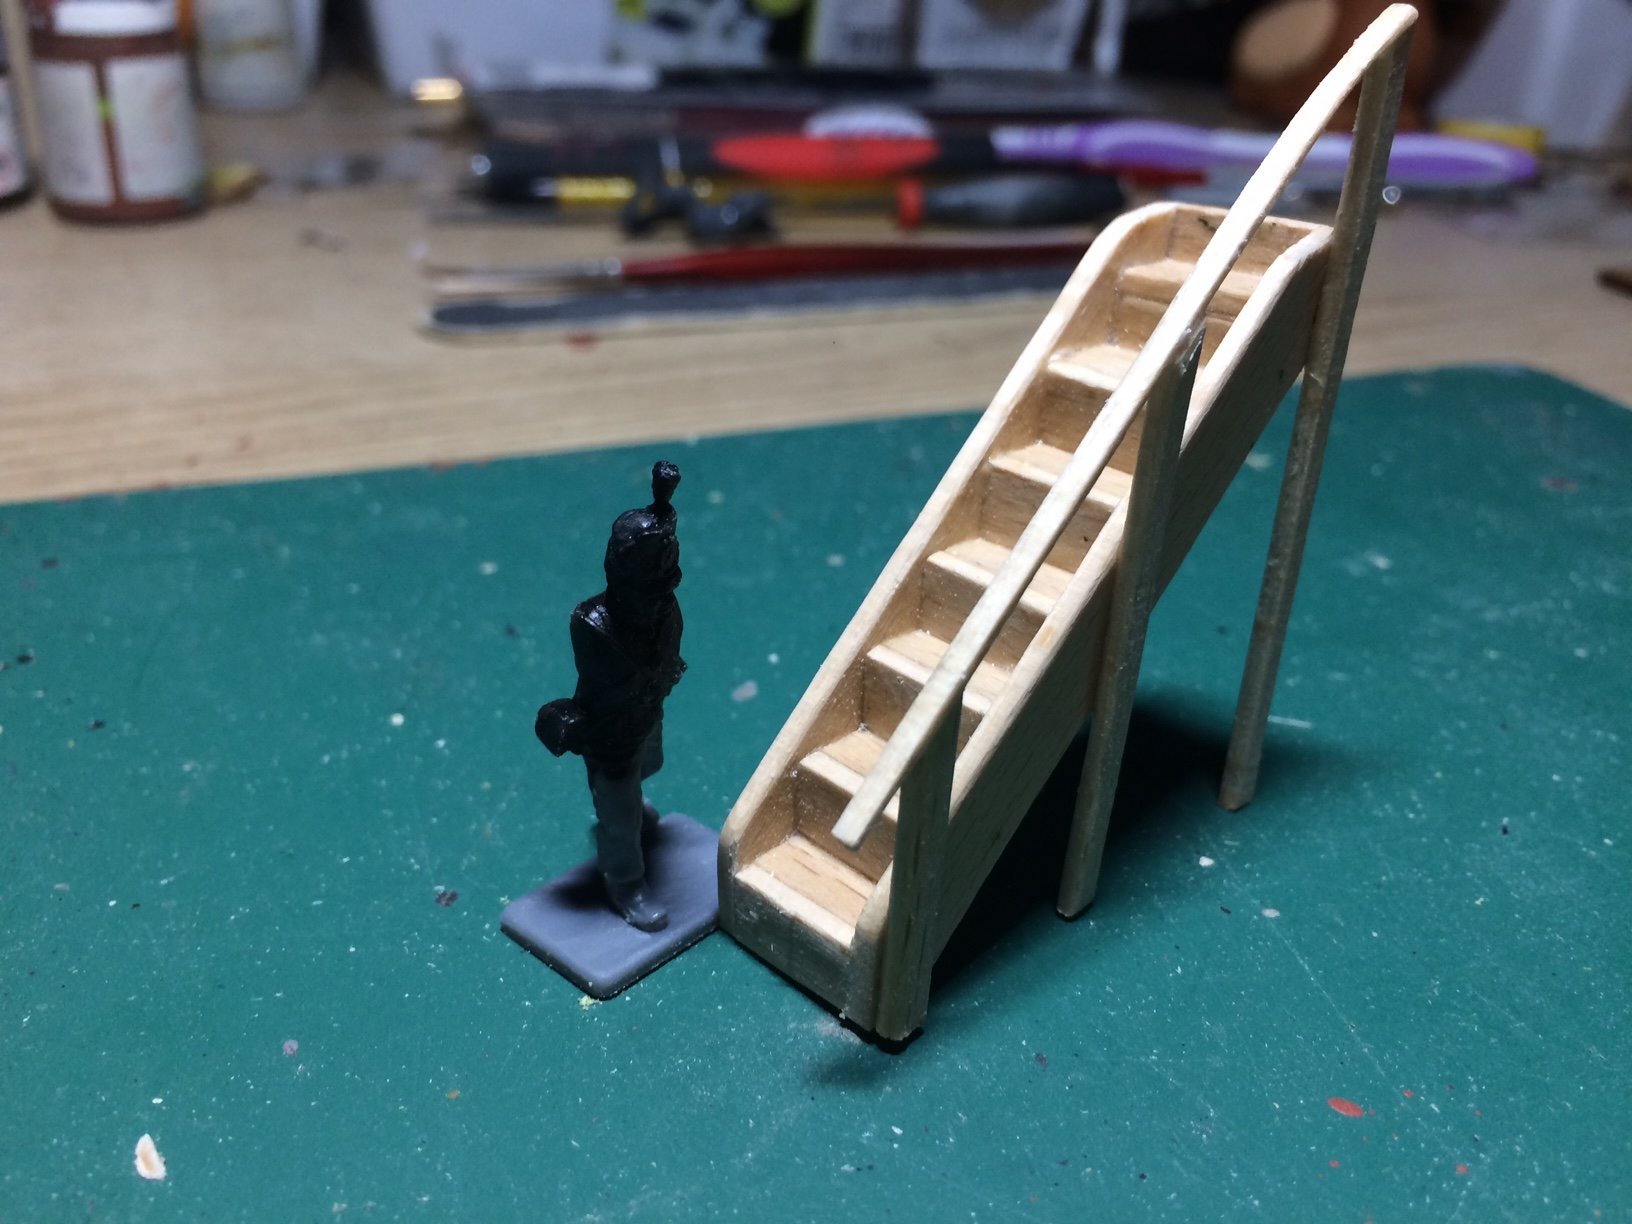
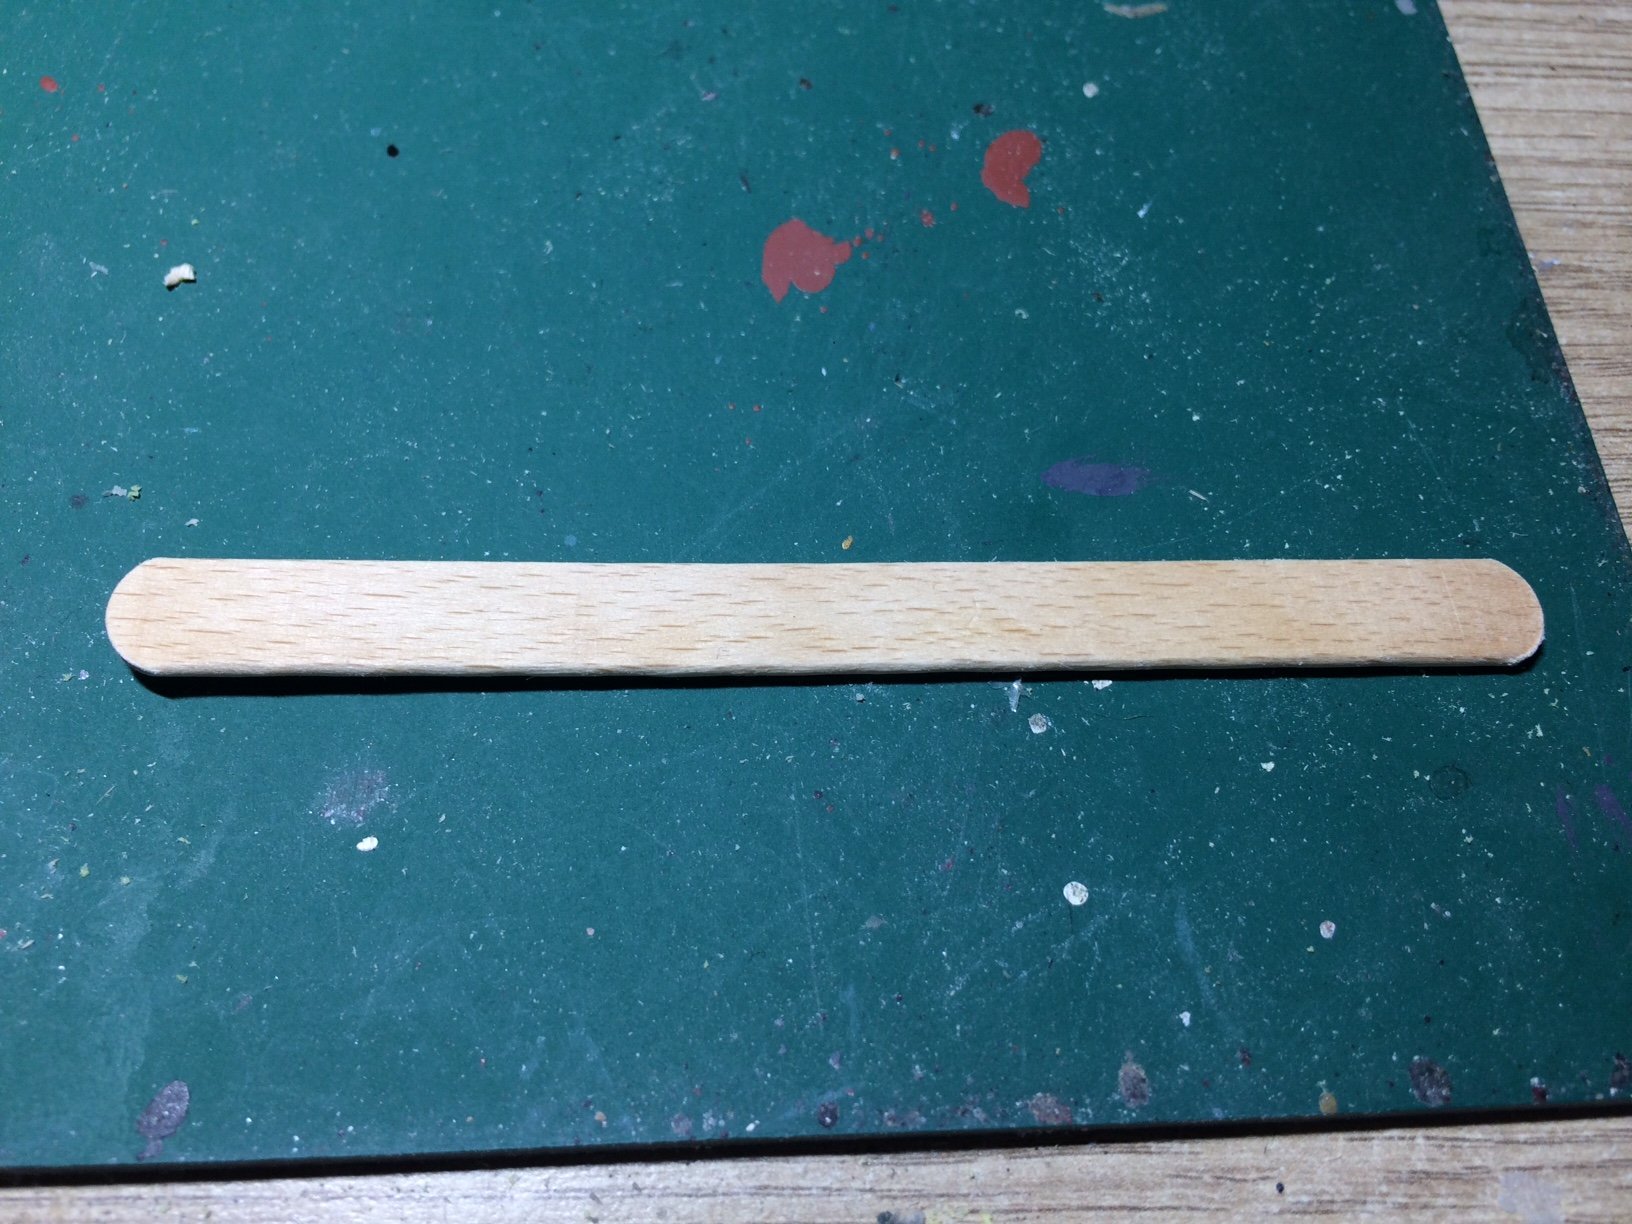
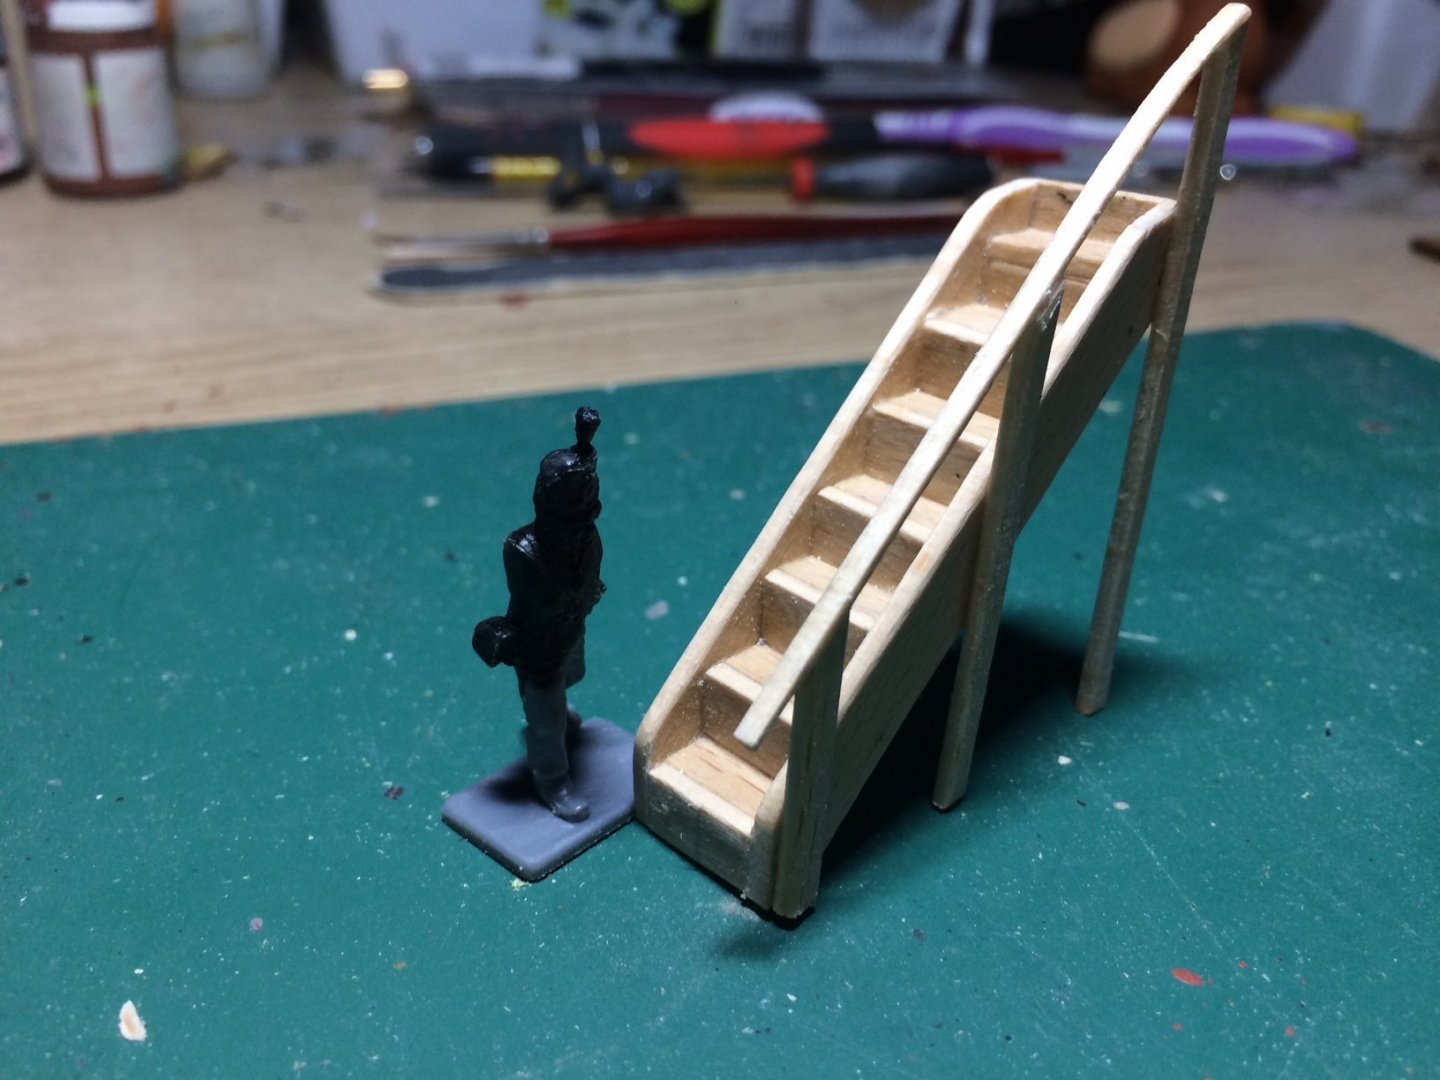
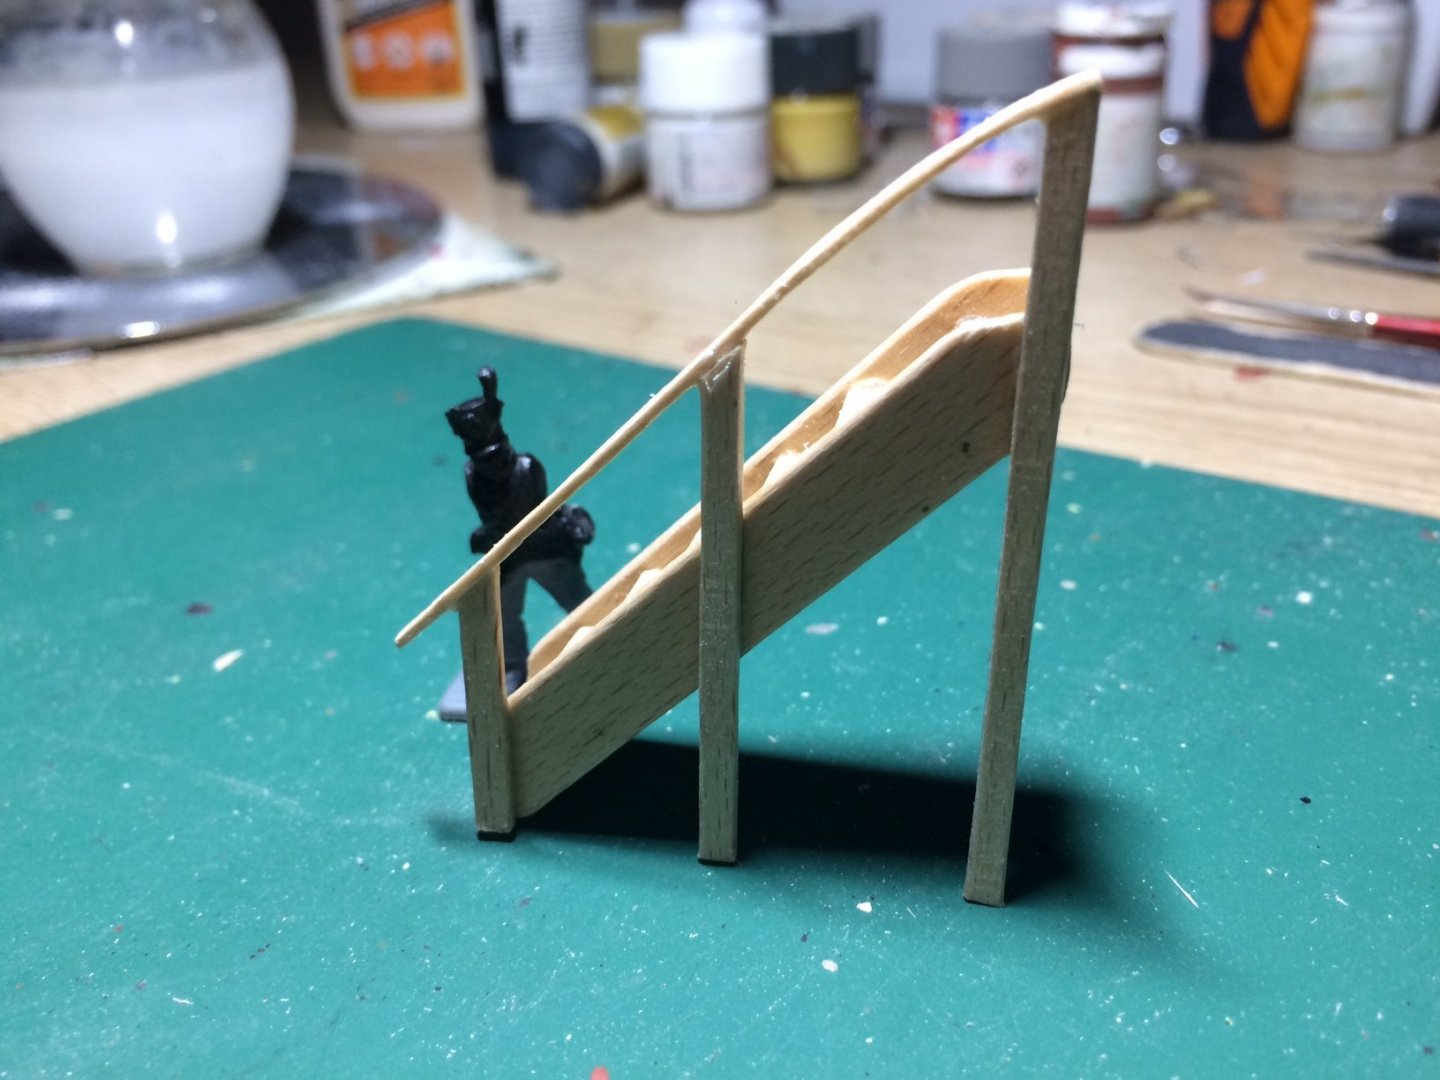
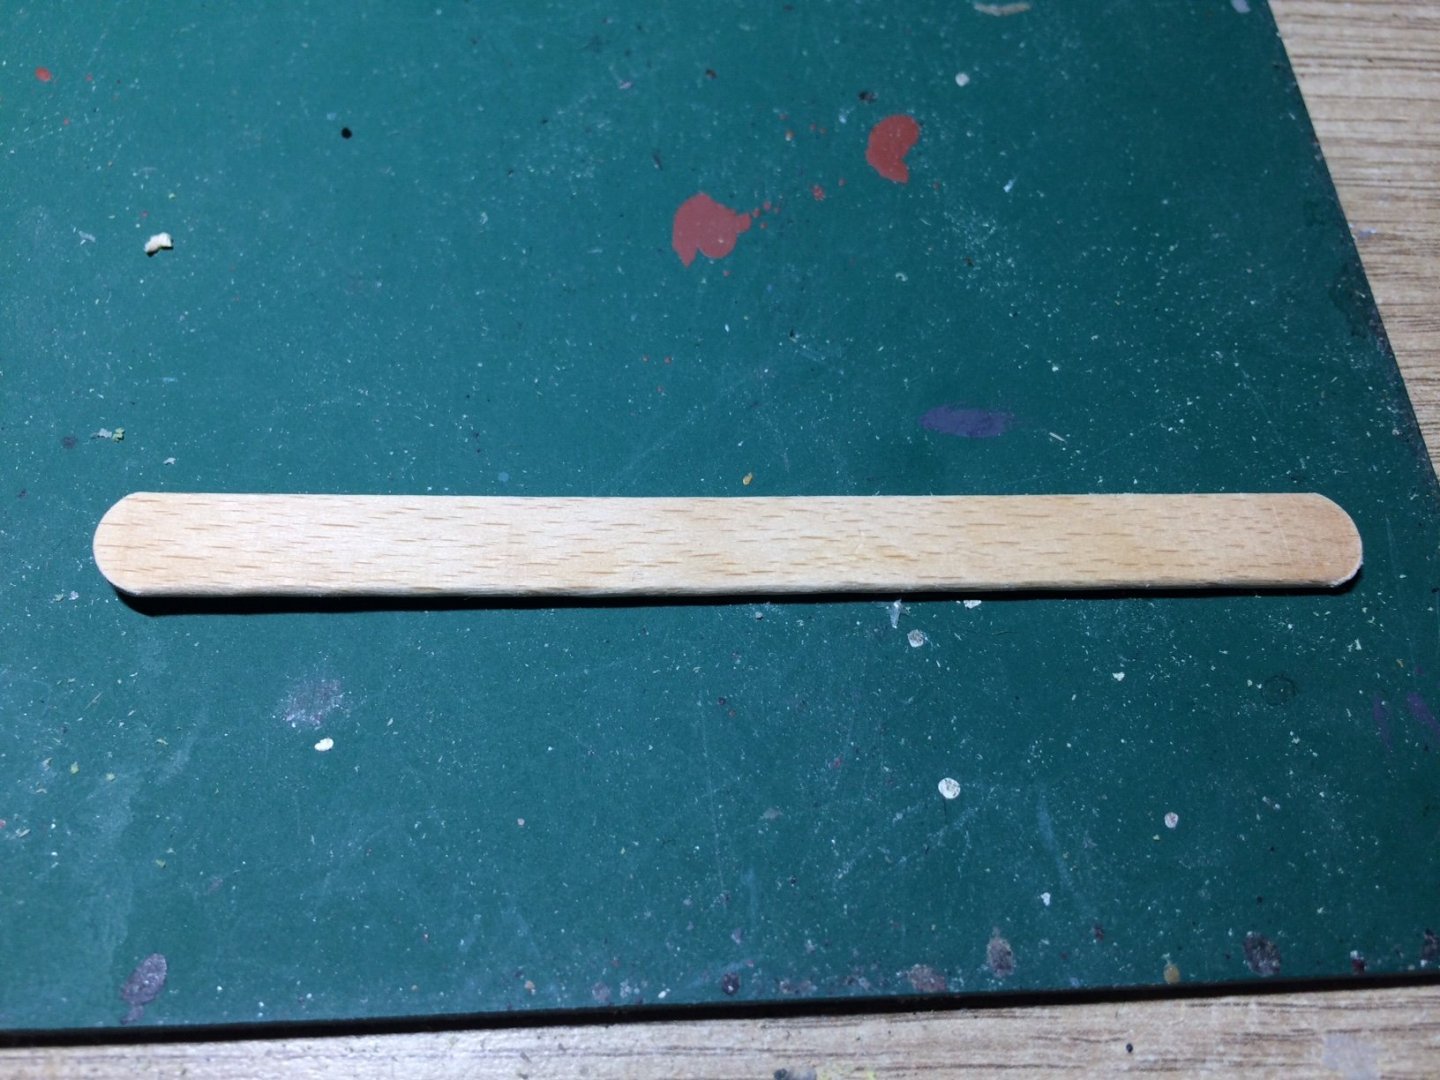
Evening all, I did a couple of hours work making a set of stairs this evening, I have saved a lot of wooden lolly sticks and I worked out the length and width I needed then cut them out, I have then started to stack the treads and risers together glued using PVA then I sanded the edges to level them - I need a few more added to it as its not quite tall enough, then I will add the Two side boards again made from my sticks, then I will fashion a hand rail. OC.
-
Now thats what I call a Display - lovely work mate. OC.
- 273 replies
-
- 3
-

-
- panart
- amerigo vespucci
- (and 1 more)
-
Have you asked them over at the official Mary Rose site for details of her sister ship. OC. https://maryrose.org/
- 740 replies
-
- 2
-
-
- Tudor
- restoration
- (and 4 more)
-
Enjoy it - ask as many questions as you want to - experiment and look at it as if you were tackling small separate ventures, and enjoy it most of all. OC.
-
I just checked and saw Three main B24 kits in 1/72 - Hasegawa, Academy and Airfix would the not be anygood to you mate? OC.
-
Thank you Alan, I think it will look ok when its atatched to the walls and when they get a bit of weathering too. OC.
-
You can't beat a couple of burgers with fried onions in slightly toasted buns with a side order of fries, upsssss "off I go again distracted by food"😁 I didn't know they made many kits in 1/92 scale - I learn a new thing every day mate. OC.
-
Superb work - so lifelike. OC.
-
Excellent work - truly a stand out piece of work. OC.
-
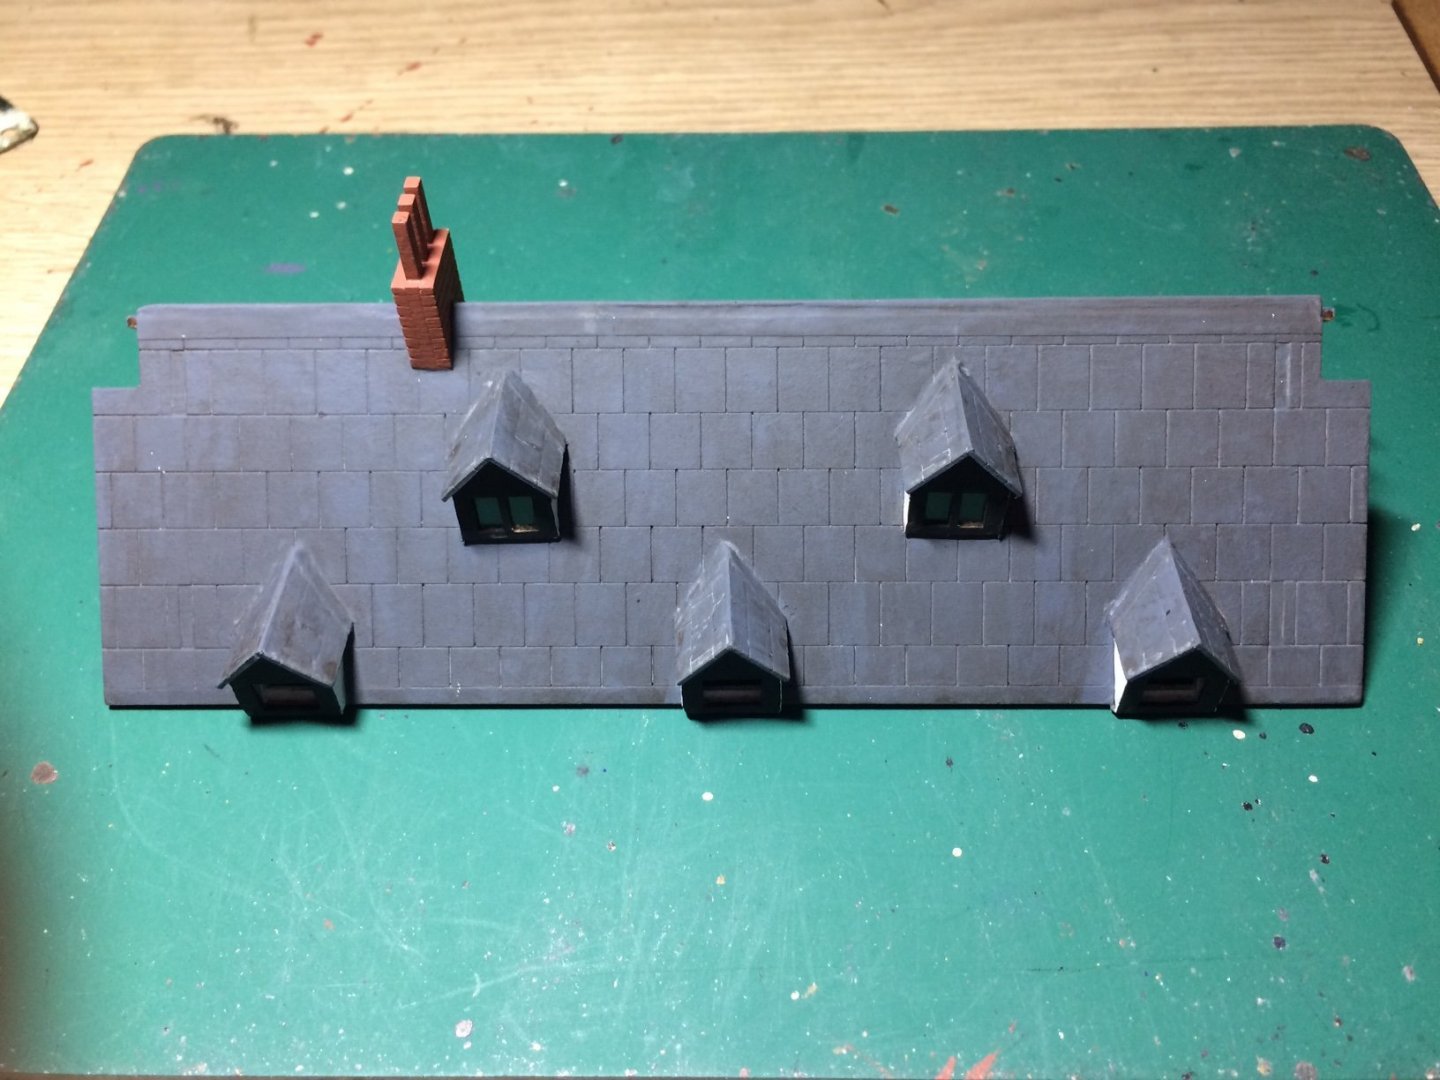
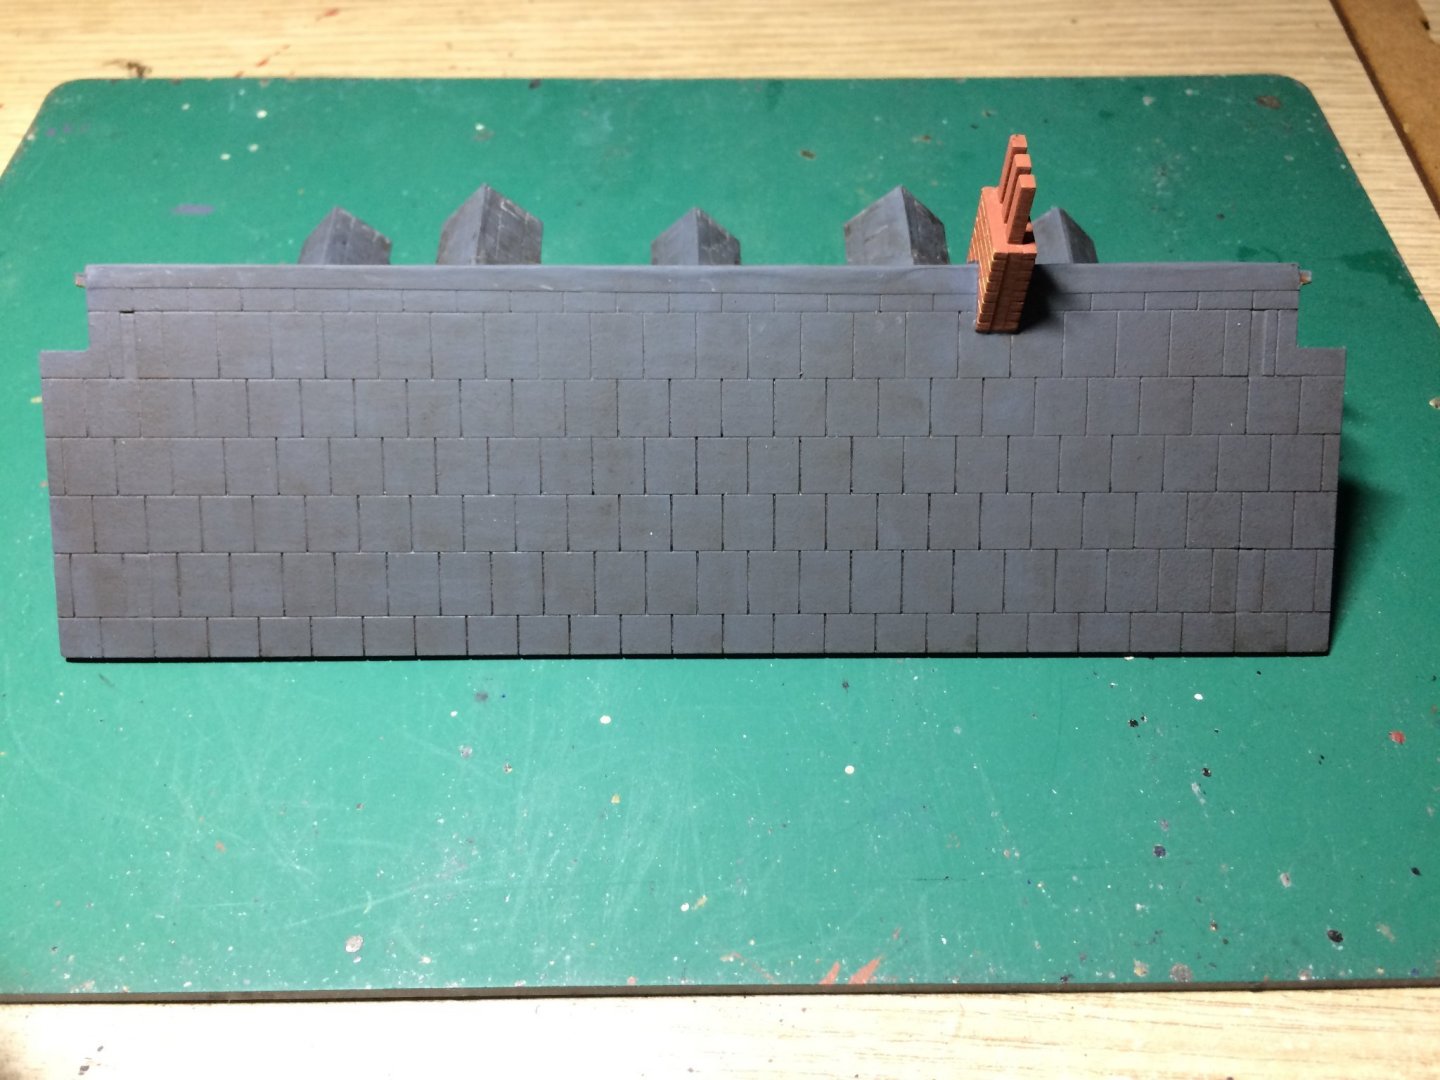
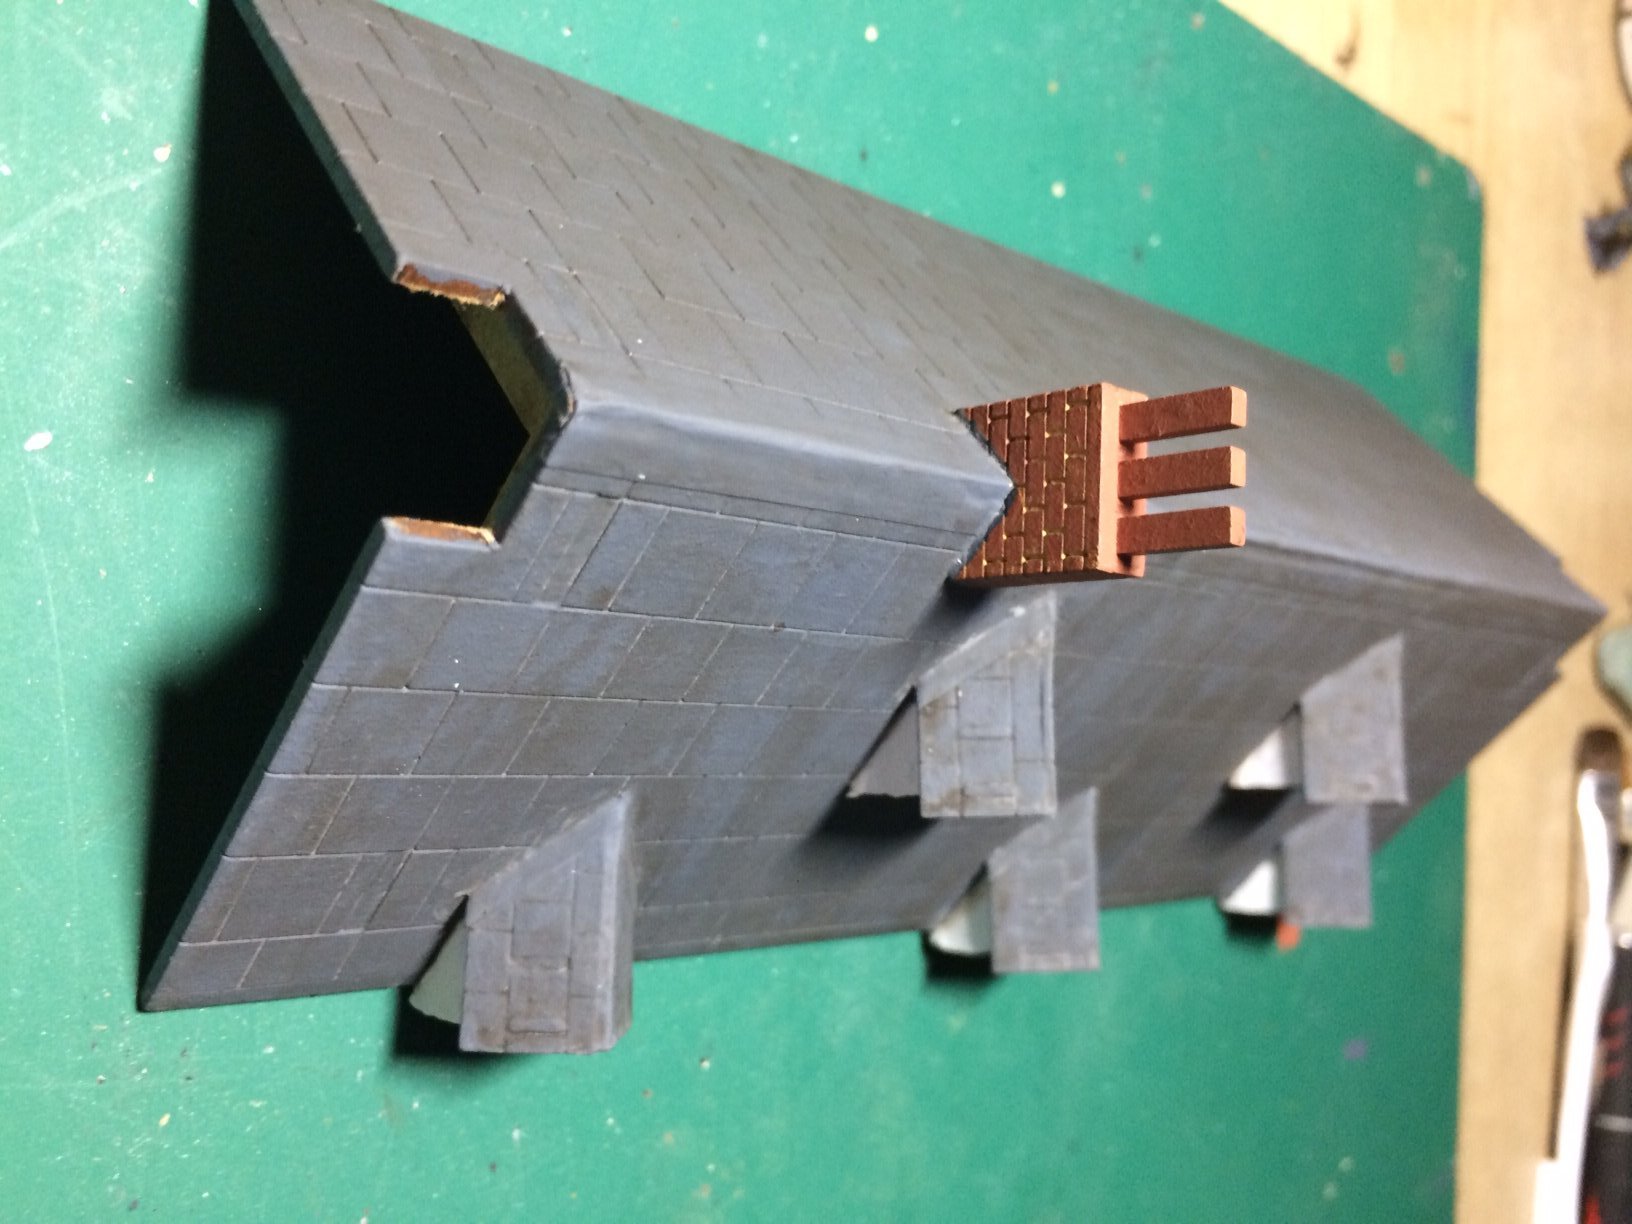
Evening all, I continued with the roof by adding a ridge flashing strip, this was then painted, I then painted the faces of the Dorma's Black, after this was dry I applied a dirty wash all over making it look weathered, then a few brushed on flat coats to seal it all in. So apart from fitting a few figures - the roof section is finished. OC.