
MORE HANDBOOKS ARE ON THEIR WAY! We will let you know when they get here.
×


Old Collingwood
-
Posts
12,073 -
Joined
-
Last visited
Content Type
Profiles
Forums
Gallery
Events
Everything posted by Old Collingwood
-
 My late farther used to buy cheap old UK Fords Like the Cortina mk 2 and mk 3, he used to get them dirt cheap second hand and do them up as good as he could including brush painting both of them - I helped him hand paint the mk3 with Tekaloid paint he got from his works - he had it made up in his works paint shop, I remember we would mask up an area at a time with newspaper then paint say a whole wing then rear wing - doors bonnet - boot - roof etc not the best in the summer with all those flies and nats in the out doors. I also remember us doing a top end referb putting new guides in and piston seals. Like these pics off the net. OC.
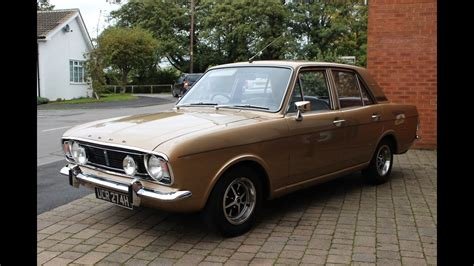

-
I have been measuring up how much room I have for my display board and it will be 36 Inches x 20 Inches (91.4cm x 50.8cm) the farm building complex I will be getting measure (62cm x 46cm) but that doesn't leave a lot of space at the front where a lot of the action was, so I have decided the best option is to make the rear stables building a "False Building" I will just show the face of the wall with a cut out for the rear entrance and will paint a false hoizon view, by doing this I think I will free up another 5-6cm's to give me more room at the front where the road will go. OC.
-
You are doing amazing work Ekis - just mind blowing how you achieve this level of artistry and detail. OC.
-
Gonna need a ladder.😁 OC.
-
And a Gold Trowel for the members.😁 OC.
-
Thats good progress thare - and good to see both top and bottom hulls went together ok. OC.
-
Very nice work indeed - the rats and the stays look perfect to me - I would be more than happy with those. OC.
- 436 replies
-
- 2
-

-
- vanguard models
- alert
- (and 1 more)
-
Evening all, got some more progress on my little armies - have started on Five more KGL the light regimant in thier Green uniforms, Five is a good number to do in a go as thier easy to work on without feeling too repetetive, although they have only Two positions I will try to make them look slightly different - I will post some more pics when I have done a bit more. OC.
-
Thank you kindly Captain. OC.
-
Glad you have a plan that will sort that little headache brother, by the way I can see the decs on the deck - they are a nice addition to give it some detail, and better than trying to mask and paint them. OC.
-
Get her in a case to protect all your superb work for eternity. OC.
- 211 replies
-
- 5
-
-
- prince of wales
- tamiya
- (and 2 more)
-
Thank you so much Denis, I think its a combination of factors why I seem to be doing a reasonable job on these figures - Good magnifaction, good light, some better thinner brushes and a more controled way of painting them, I have to be honest - I am quietly impressed myself. OC.
-
1/48 Italeri Hawk T.1A (On Hold)
Old Collingwood replied to Old Collingwood's topic in Non-ship/categorised builds
Indeed - I was trying to attach the seats pe belts I should have just been patient and not built the kit till the new year. OC. -
1/48 Italeri Hawk T.1A (On Hold)
Old Collingwood replied to Old Collingwood's topic in Non-ship/categorised builds
I am putting this one on hold also as trying to do this is impossible due to working with what I have at the moment (no super glue) so I have managed to wreck my bang seats trying to glue down pe using revel proffesional contacta glue - abit like trying to inflate tyres with water. Oh well thats Two on hold at least my soldiers are simple and need no super glue. OC. -
Same here sometime Lou, the postal service can be all over the place - as long as they dont leave it in the only covered thing outdoors - our bin on bin empty day, they have been known to put it in there. OC.
-
Waiting for his Christmas tip. OC.
-
I admire what you all do with these stone buildings - you are doing some really fine work Kevin - your determination to keep challenging what you build shows the range of talent you have my friend. OC.
- 164 replies
-
- 10
-
-
Superb work, I back up what my collegues have said - "Please show us a build log when you start a new build" OC.
-
1/48 Italeri Hawk T.1A (On Hold)
Old Collingwood replied to Old Collingwood's topic in Non-ship/categorised builds
Evening all, more progress - alot of time spent this eve for very little done, firstly I painted over the face of both panels and "Yep" the inevitable happned - the grey seaped into the Black dials, so after the coats of Grey was on the fronts I then used my finest brush and dropped some pin prick size drops of Black into the holes for the dials, it wasn't 100% a success but good enough as the canopy is going to be down, I set these aside to dry and turned my attenton to the Tub - this had its back panel fixed then some Grey layers, then a small amount of shading, after I glued inplace the panels, and finished off with a bit more shading and some highlighting. Not brilliant but will be mostly hidden so I'm not too worried. OC.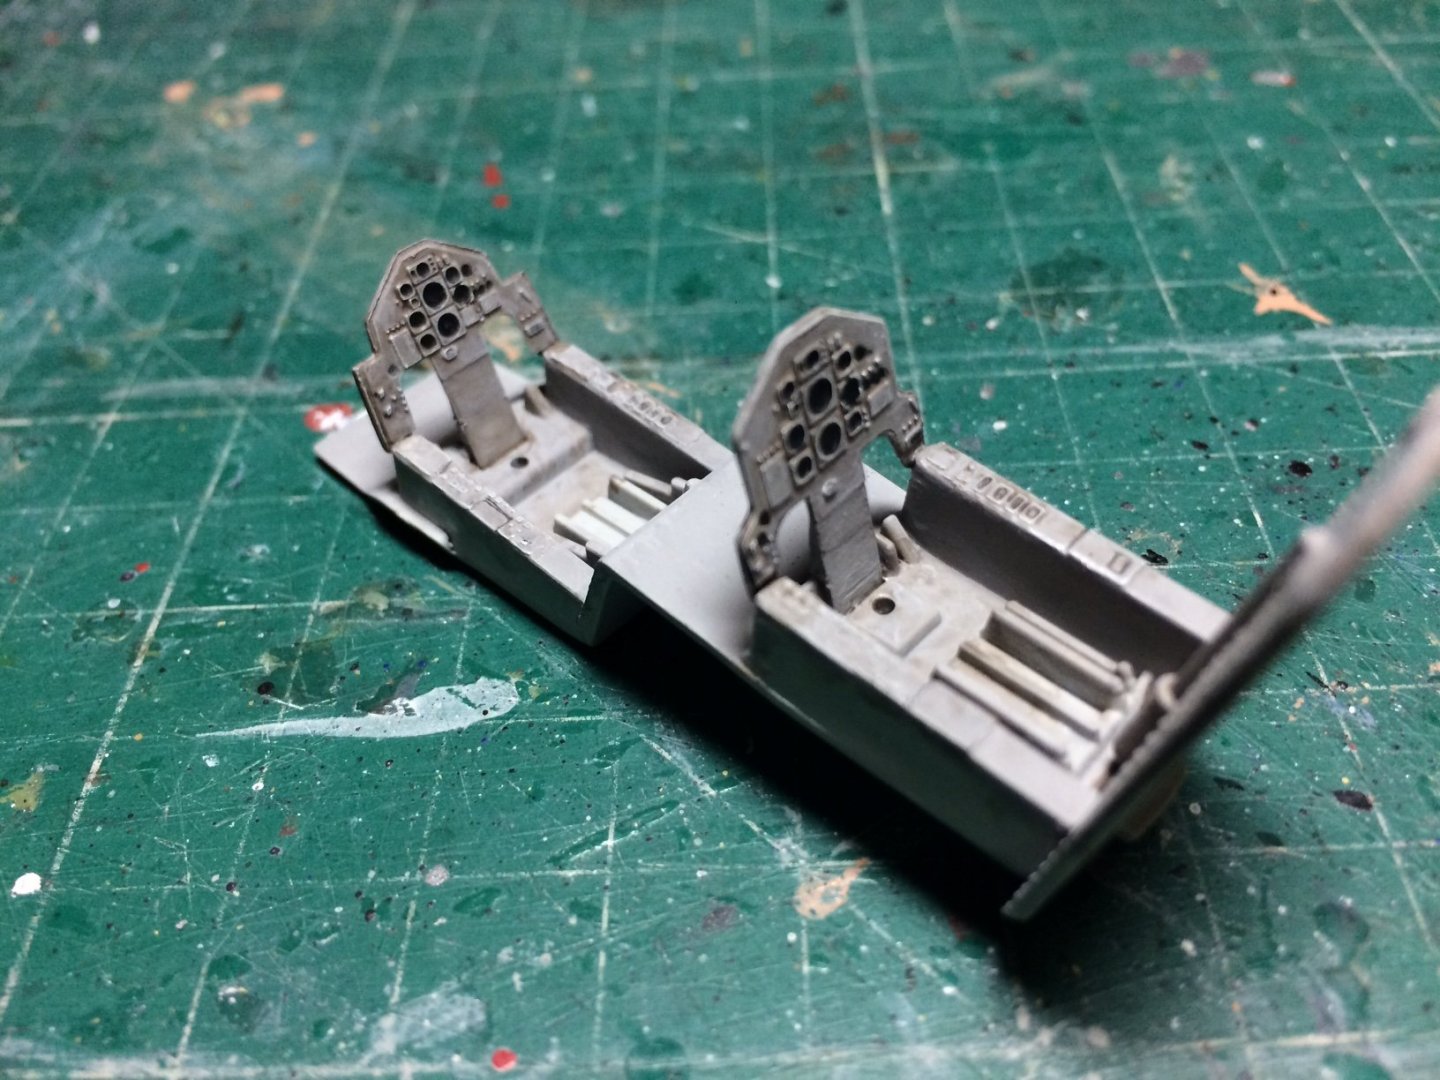
- 139 replies
-
- 10
-
-
Glad I could help Mike, will look forward to seeing that. OC.
-
Hi Mike, yep I used the one Coastal Kits base it was sent to me from someone, it was used in my Airfield dio with the mosquito and spit with vehicles and figures, they are a thick rubber type material and really well made - easy to trim to size you want also. OC.
-
It looks perfect to me just as it is - please dont spoil it You know the saying. OC.
- 211 replies
-
- 2
-
-
- prince of wales
- tamiya
- (and 2 more)
-
Very very nice - fidly but Sooooo.........delicate, got to be so careful how you handle that thing. OC.


