-
Posts
12,098 -
Joined
-
Last visited
Content Type
Profiles
Forums
Gallery
Events
Everything posted by Old Collingwood
-
I stand corrected, I use Gorilla Wood glue its in a plastic bottle with a orange label and pic of a gorilla and a brown cap, it is so good un diluted I have glued plastic to plastic, wood to plastic, brass to plastic, brass to wood and of course wood to wood, it grips in about 10 minutes and I use heat to set it quicker and of course using a damp fine brush you can clean up around the part glued. Its my go to glue where pure plastic styrene glue isnt needed. OC.
- 140 replies
-
- the sullivans
- trumpeter
-
(and 2 more)
Tagged with:
-
I hope your are keeping up mate - I will need a crew soon hope your ship shape my hearty...... OC.
-
Evening all, thank you all sincerely for all the likes and replies, today I had a break from the canon building and started work on the catheads, in the kit these are plastic and attach to the outside of the hull, but I decided to make them from wood stock 2 x 2mm, these sit on the deck of the forecastle deck and protrude through the railngs there, first I had to file away a square cut out in the hull using my box file, I kept testing with the timber till I got a flat cut out. Then I cut the timber to length and drilled two holes in the end for the anchor support ropes. Here's the pics - OC.
-
Excellent - you could almost do an "Under Siege" scene with the baddies arriving by chopper. OC.
-
I used (later stages anyway) gaitor PVA glue, I applied a small amont with a thin dowel or sharpened tooth pick to the area, then placed the part with tweezers and moved into place using a small dowel/tooth pick type thing. OC.
- 140 replies
-
- the sullivans
- trumpeter
-
(and 2 more)
Tagged with:
-
It deffinatley helps to heat up the enamel paint to force dry it, I used to work for a cycle manufacturer and when we painted the frames with enamel paint it was (in effect) backed on with heat on a slow moving track with heaters either side blasting hot air at them - hence why I use a hairdryer on full and hot setting. OC.
-
I painted enamel (humrol) on all my brass effect parts, and just forced dryed them with a hairdryer then did acrylic washes over it and dry brushed highlighting again with acrylic - straight after the enamel, with no lifting or reacting of the different mediums. OC.
-
Hi all, not much to report really - I have duly started on the rest of the canons, so four more have been made prior to painting and weathering. OC.
-
So job for tomorrow (must keep the momentum going its for the wife) do I make and install the ten canons on the top deck, or continue with the lower gun deck port covers and ropes (as these are being closed) Decisions - decisions. OC.
-
I had a few of those days as a kid trying to build and paint my first models - my late farther was less than understanding though, normally got a right back hand for it. OC.
- 122 replies
-
- tamiya
- King George V
-
(and 2 more)
Tagged with:
-
Thank you sincerely, I am trying to make her as ghost like as possible (for the wife) OC.
-
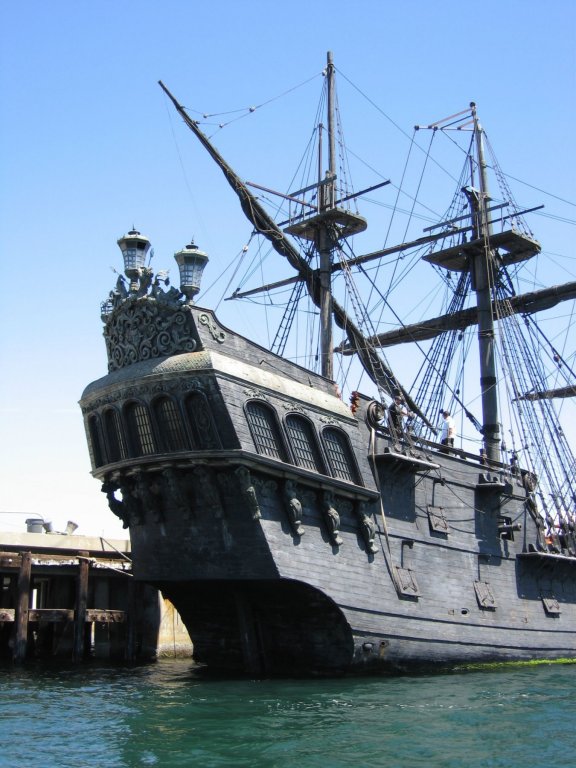
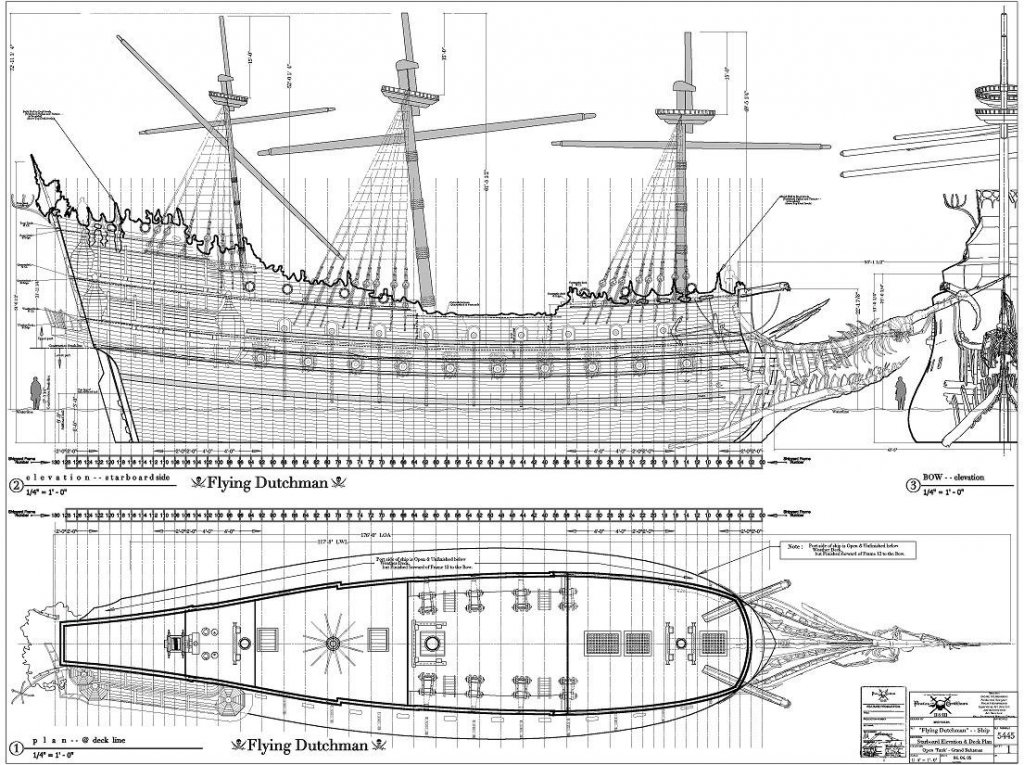
Would love to get this kit in the future and build her as the Flying Dutchman - Pic curtosy of the net. OC.
- 106 replies
-
- deagostini
- finished
-
(and 2 more)
Tagged with:
-
Evening all, thank you again for all the likes and comments - like everyone else it really inspires ones building, so last time I had assembled the wicked wench, it was now time to weather her same as I had done with the other brass bits - first I applied a coat of enamel brass, this was force dried then I used a diluted black and brushed that over into all the nucks and crevices, again force dried that last I applied a dry brush of white to highlight and age the lady. Here are the pics including her fixed in place. OC.
-
Hang on! was the Airfix 1/24 the huge one with that sliding canopy? if so thats the one I ment when I was young my late farther took me to my first airshow and there was a Harrier GR1 flying there, he then took me to a model shop and treated me to the Airfix kit and duly did most of the building of it as I was about 8 then. OC.
-
Welcome back mate - now she is looking the business, really sharp details and very tidy paintwork. OC.
About us
Modelshipworld - Advancing Ship Modeling through Research
SSL Secured
Your security is important for us so this Website is SSL-Secured
NRG Mailing Address
Nautical Research Guild
237 South Lincoln Street
Westmont IL, 60559-1917
Model Ship World ® and the MSW logo are Registered Trademarks, and belong to the Nautical Research Guild (United States Patent and Trademark Office: No. 6,929,264 & No. 6,929,274, registered Dec. 20, 2022)
Helpful Links
About the NRG
If you enjoy building ship models that are historically accurate as well as beautiful, then The Nautical Research Guild (NRG) is just right for you.
The Guild is a non-profit educational organization whose mission is to “Advance Ship Modeling Through Research”. We provide support to our members in their efforts to raise the quality of their model ships.
The Nautical Research Guild has published our world-renowned quarterly magazine, The Nautical Research Journal, since 1955. The pages of the Journal are full of articles by accomplished ship modelers who show you how they create those exquisite details on their models, and by maritime historians who show you the correct details to build. The Journal is available in both print and digital editions. Go to the NRG web site (www.thenrg.org) to download a complimentary digital copy of the Journal. The NRG also publishes plan sets, books and compilations of back issues of the Journal and the former Ships in Scale and Model Ship Builder magazines.


