
HOLIDAY DONATION DRIVE - SUPPORT MSW - DO YOUR PART TO KEEP THIS GREAT FORUM GOING! (Only 20 donations so far - C'mon guys!)
×


Old Collingwood
-
Posts
12,098 -
Joined
-
Last visited
Content Type
Profiles
Forums
Gallery
Events
Everything posted by Old Collingwood
-
 So much facinating info above. So hope that the film my friend has written and is currently being looked at by a famous film producer, will bring all this to light in a fantastic way. OC.
 -
Thank you pat, im quite happy with paint scheme now, it took a few goes but got there I feel. OC.
- 455 replies
-
- 3
-

-
- slightly modified
- greyhound
- (and 1 more)
-
Looking very good, so much commanality between hood and warspite with the position of the props. OC.
-
Hiya mate, there has been a bit of interest on here, its home so to speak is on twitter where I am trying to approach as many people as possible, who may be interested or relavent to the films creation, the script is currently being looked over by a well known film producer, and we are awaiting his feedback and direction with the film. Its a facinating journey to be on I have been invited to be an extra on the film. OC.
- 455 replies
-
- 3
-
-
- slightly modified
- greyhound
- (and 1 more)
-
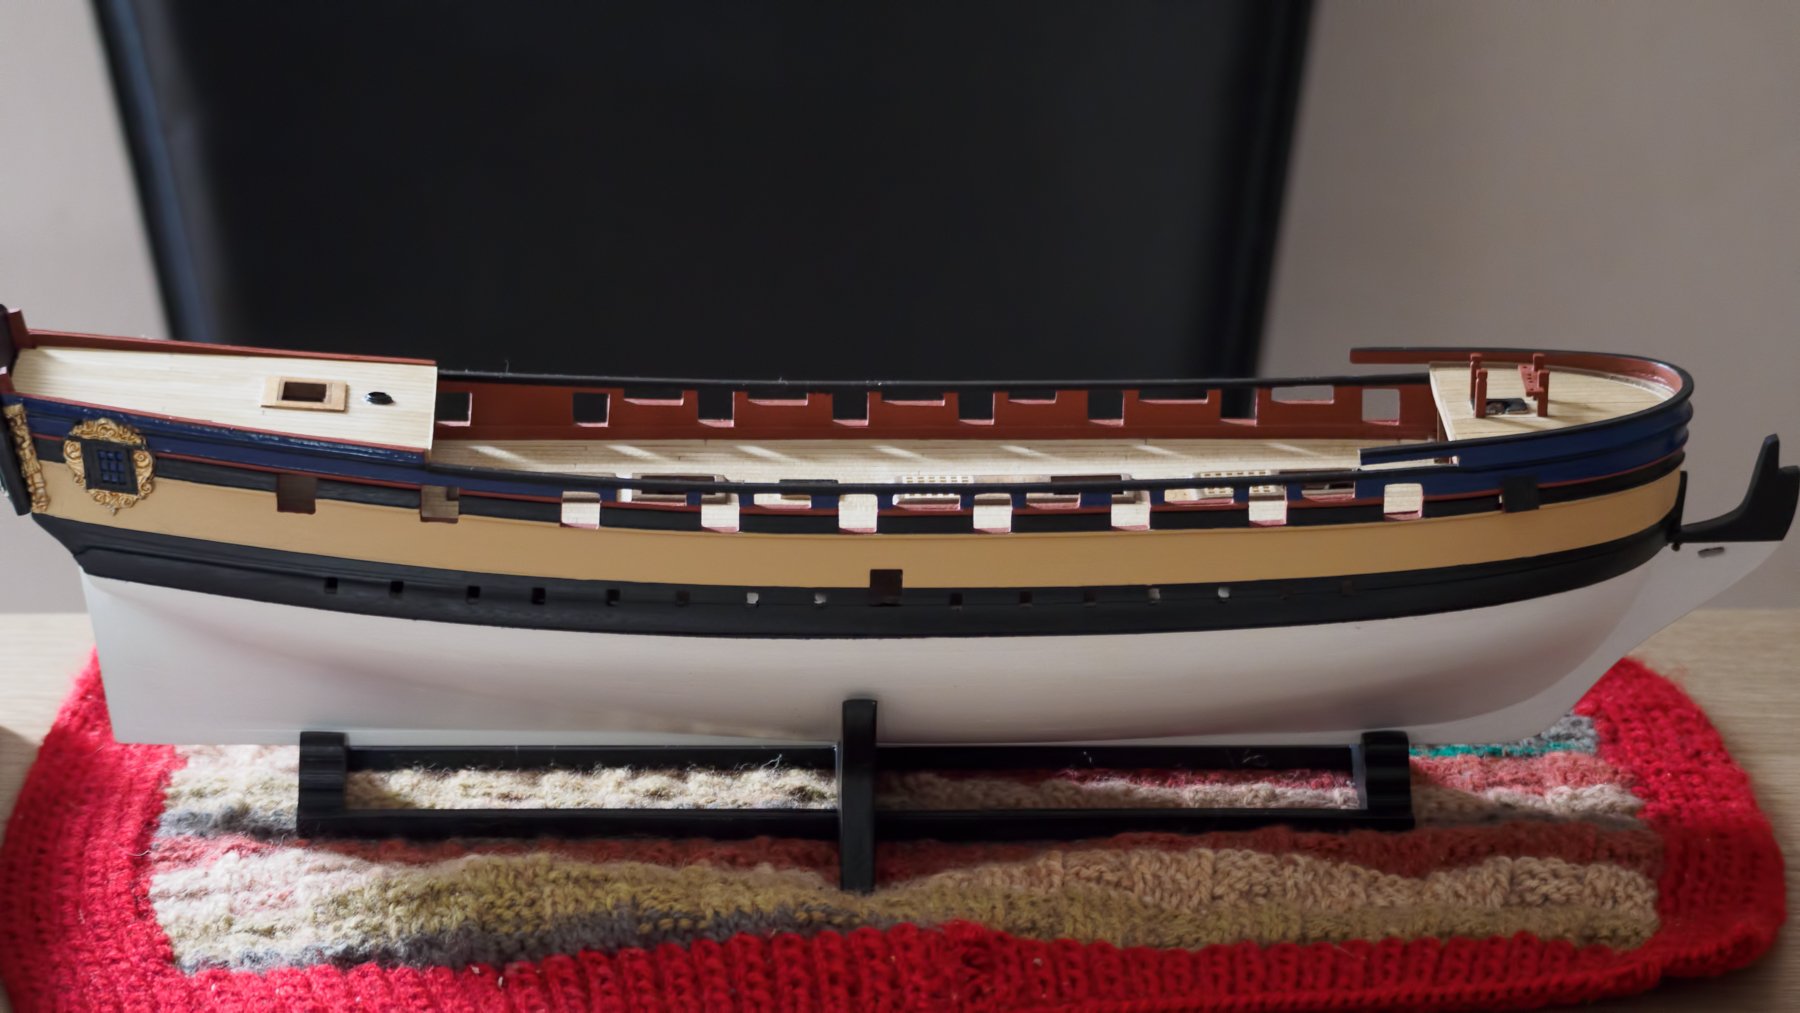
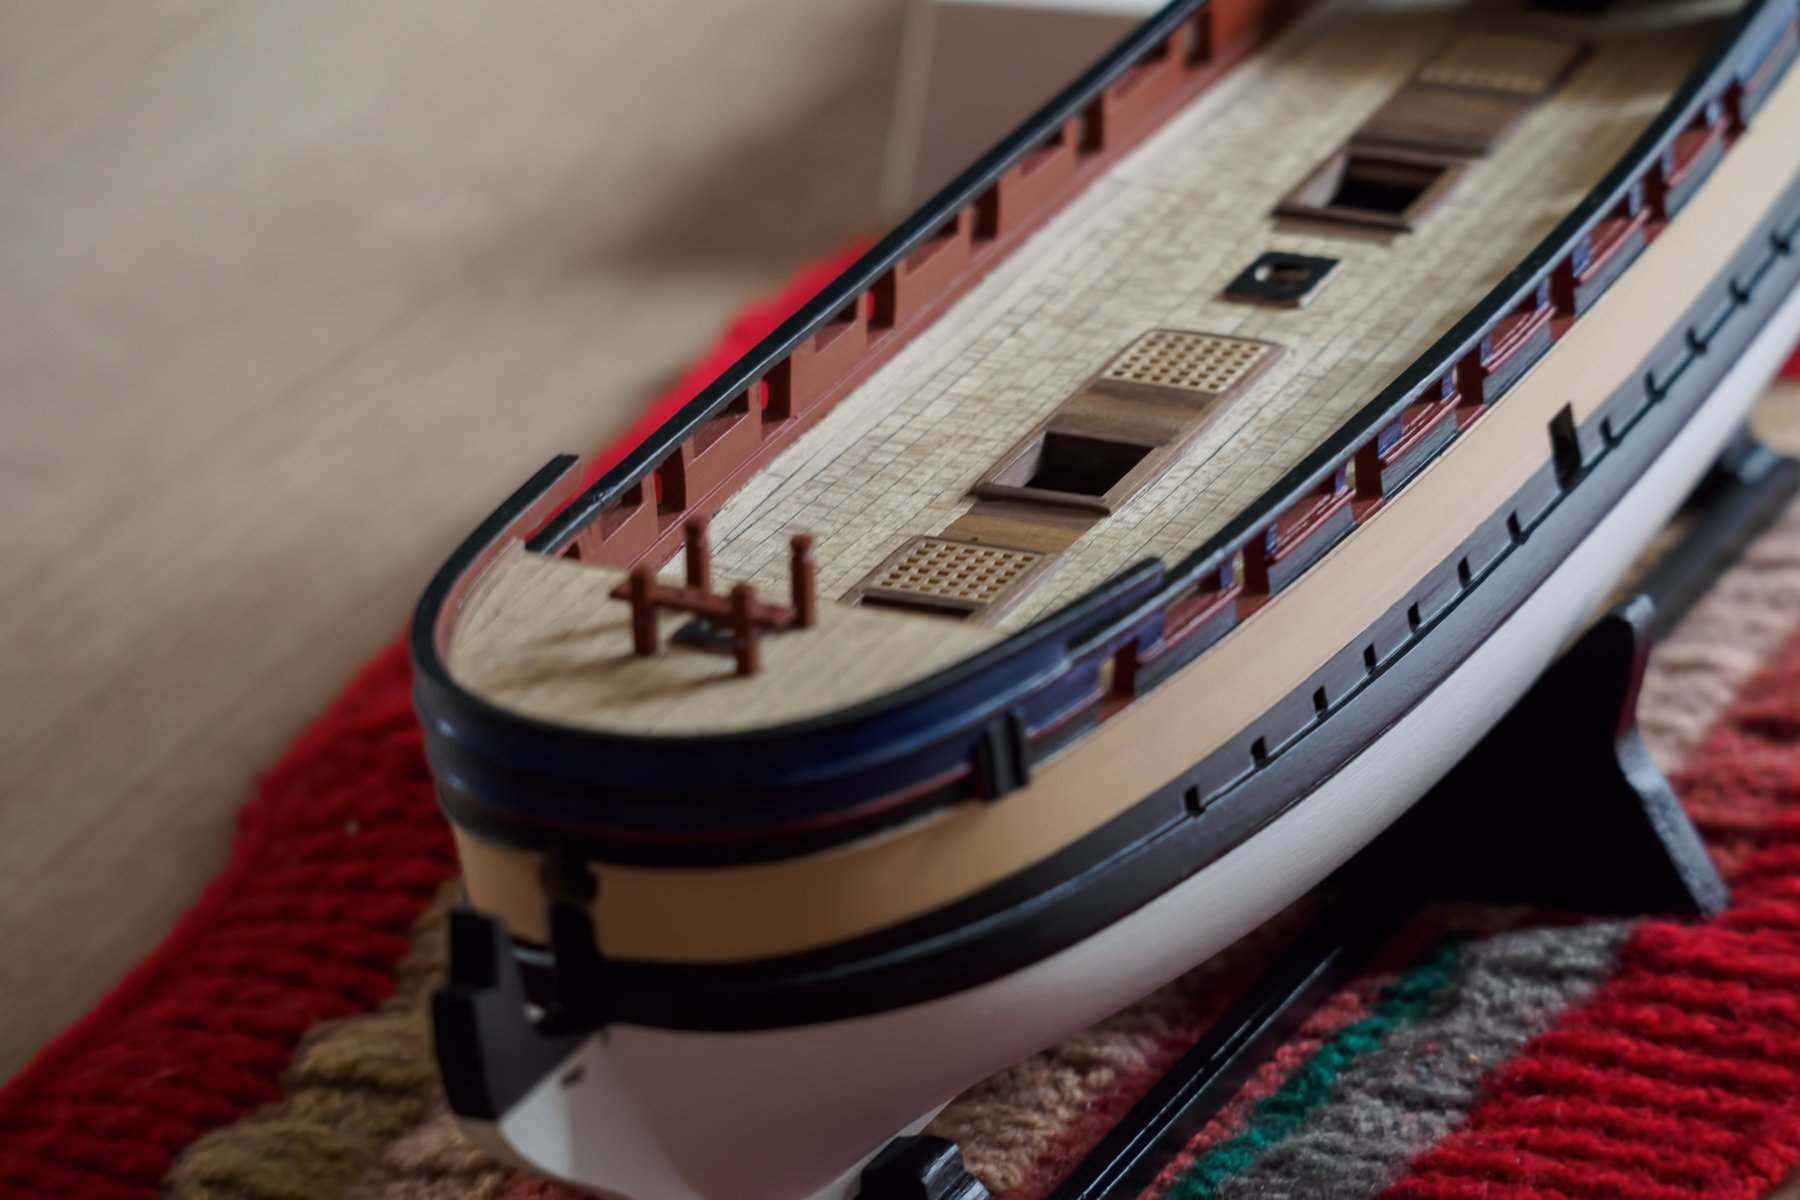
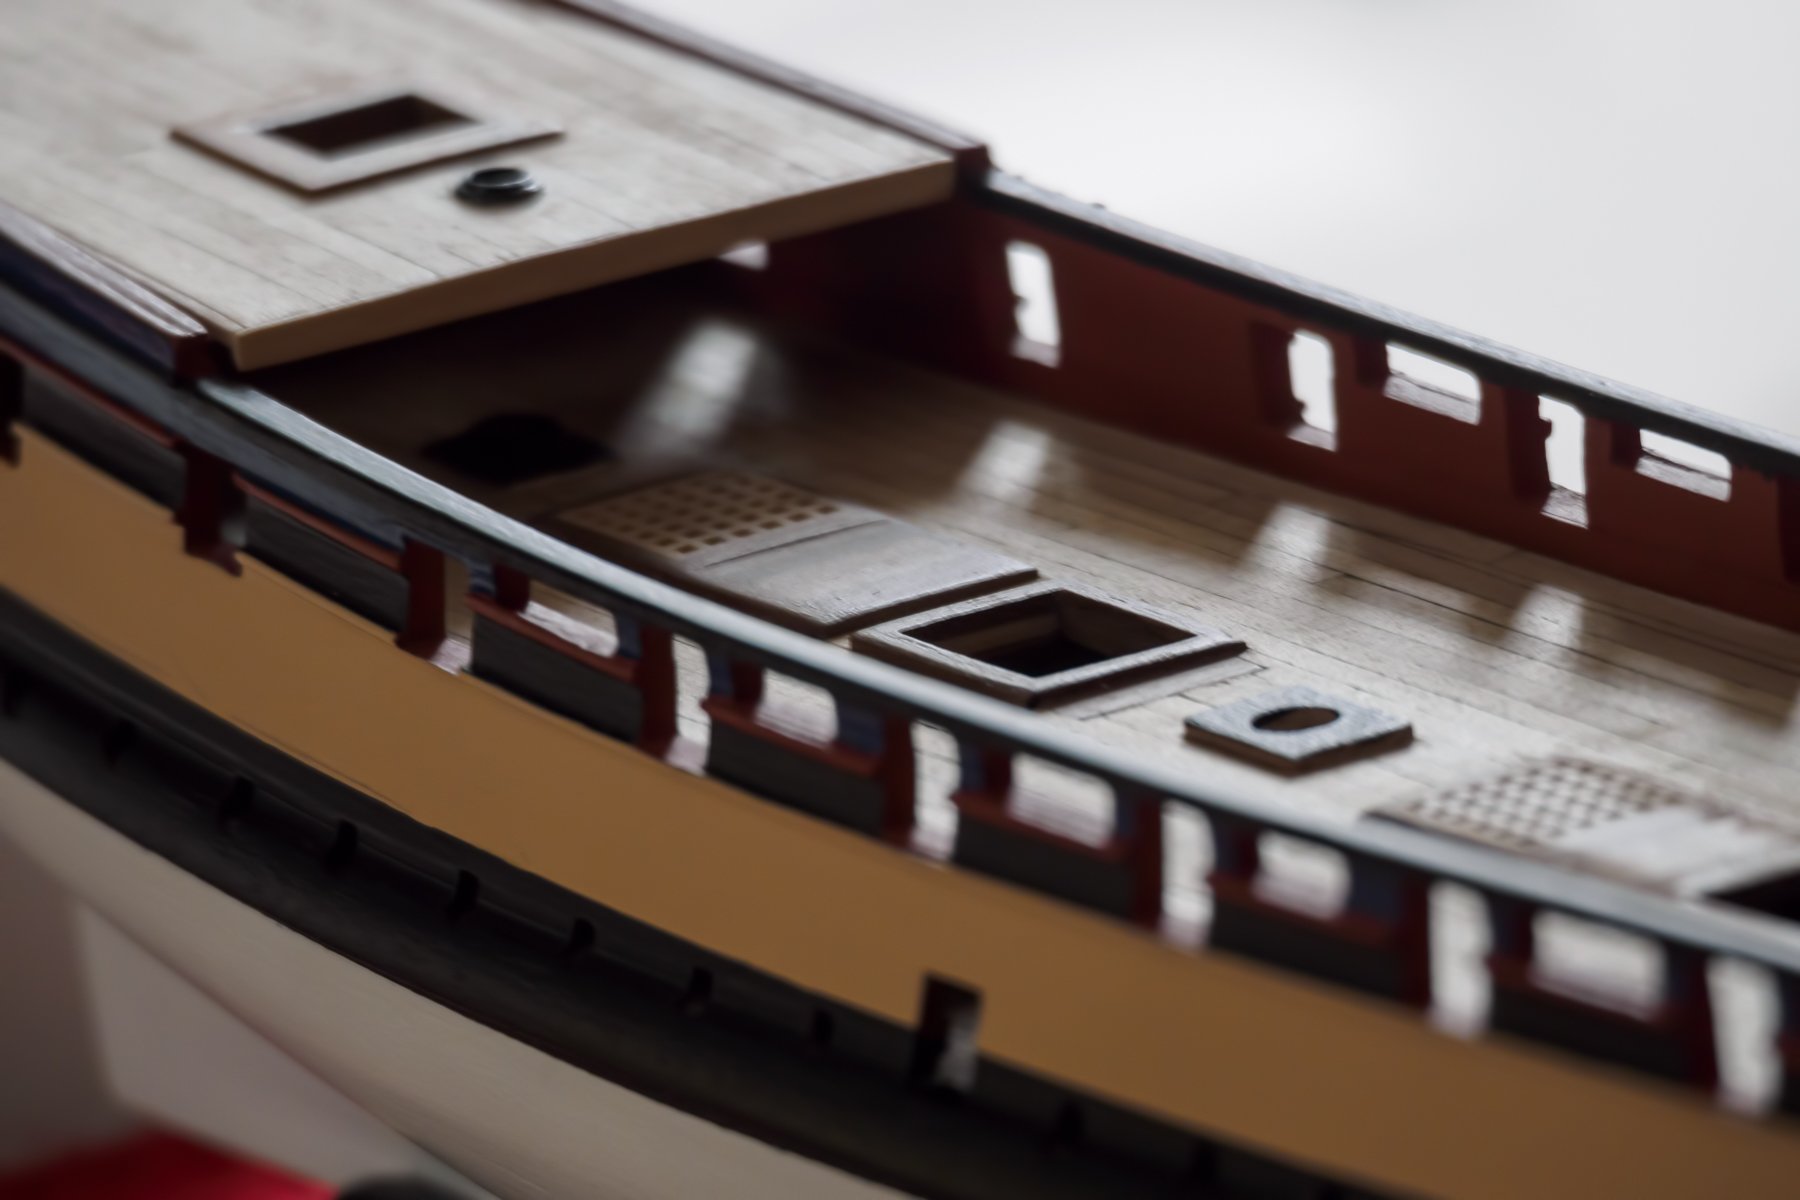
I managed a bit of progress today folks, I decided to widen the black band upwards from the wale, also I adjusted the stand so the hull sits more firmly on it. OC.
-Edit.thumb.jpg.c57c30f130b9076decc4a89dafafae87.jpg)
-Edit.thumb.jpg.727c8d1a5eadf53e685514584147951d.jpg)
- 455 replies
-
- 13
-
-
- slightly modified
- greyhound
- (and 1 more)
-
Coming on superbly mate, the detail in those exocets is amazing.OC.
-
Should see me in a model or toy shop then - Im like a little kid "wait! I am a little kid" OC.
- 378 replies
-
- 5
-
-
- t78 norden
- billing boats
- (and 1 more)
-
Really impressive work my friend - all those wood panels are really making a huge difference, what a lovely piece of work you are doing. OC.
-
Piet great work you are doing you really are bringing such a beautiful ship to life, I know your farther would be proud of you and what you are doing. OC.
- 378 replies
-
- 7
-
-
- java
- pacific crossroads
- (and 2 more)
-
Amazing work. OC.
-
Lovely precise work, its amazing how we all start with pices of wood and end up creating something of beauty. OC.
- 574 replies
-
- 5
-
-
- cheerful
- Syren Ship Model Company
- (and 1 more)
-
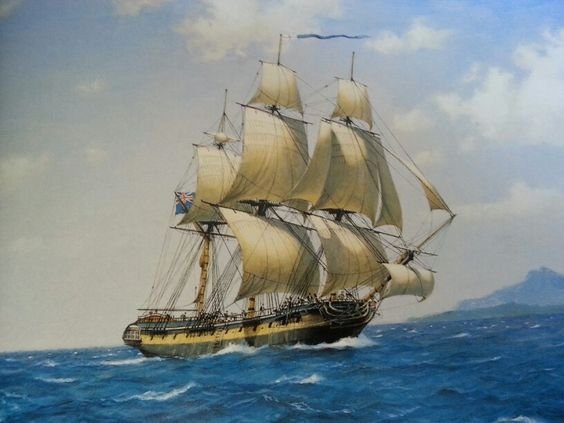
Good evening folks, I have decided my next move with my build will be to increase the width of the black band that was just covering the wale, I will measure an equal gap from the top feature edging downwards to above the top of the wale and mark a line, I will then mask this and fill in with the same black as the wale. Here is a picture of similar frigate to show how I want to extend the black band. OC.
- 455 replies
-
- 7
-
-
- slightly modified
- greyhound
- (and 1 more)
-
I had to do a similar thing with my stick down wood sheet deck on my Warspite as it was slightly too short compared to the hull, I made my join/gap in the center between superstrucer blocks. OC.
-
Wow! that hull looks real nice so smooth she is coming along so well. OC.
- 359 replies
-
- 8
-
-
- prince de neufchatel
- model shipways
- (and 1 more)
-
Just posting a link to the discussion about the film I have mentiond folks - Please have a visit. OC.
- 455 replies
-
- 2
-
-
- slightly modified
- greyhound
- (and 1 more)
-
Thanks mate I asked Chuck and he suggested the general chat forum so guess shore leave is in the same section? OC.
- 455 replies
-
- 2
-
-
- slightly modified
- greyhound
- (and 1 more)

-Edit.jpg.9eacd9aac5fdb48515ea9bf49826e9fd.jpg)
-Edit.jpg.73096a9eb60826b9d32f753285397e57.jpg)