fnkershner
-
Posts
1,595 -
Joined
-
Last visited
Content Type
Profiles
Forums
Gallery
Events
Everything posted by fnkershner
-
Johnny - Did you get the newsletter? Do I have you in our distribution list? Do you have a longboat kit? If not do you want one? I still have 1 more available.
-
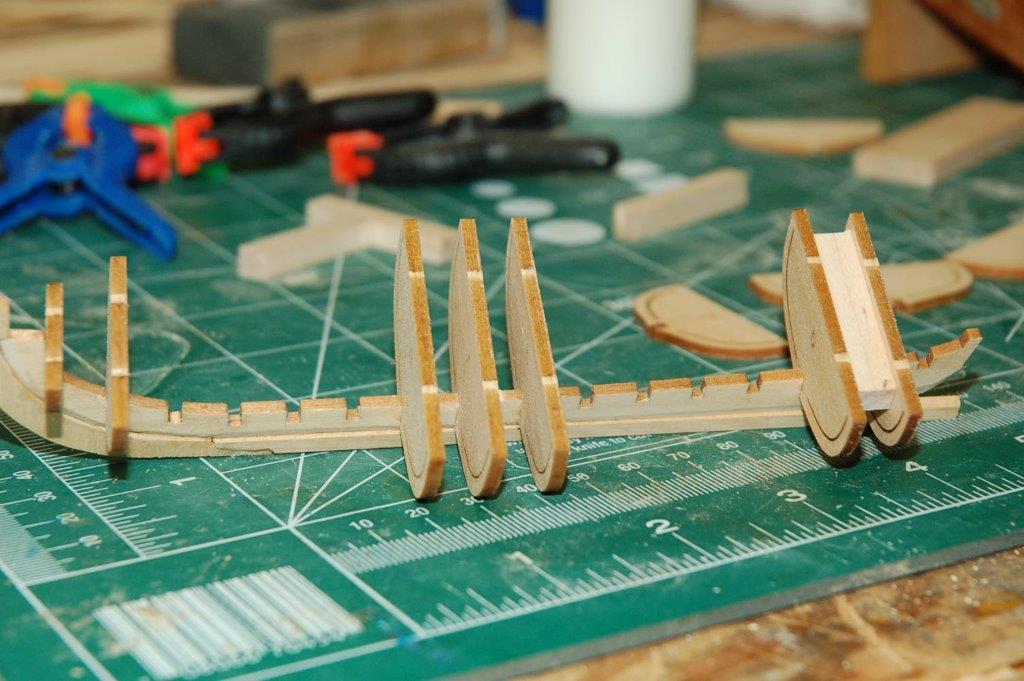
Thanks everyone. They are square to the keel and the keel is very straight. Chuck I had not thought of flipping them. I installed every bulkhead with the writing facing forward. I also used PVA. I only used a spacer to keep them square to each other. And I did not glue the spacer. Most are not glued in place. I will start over as you suggest.
-
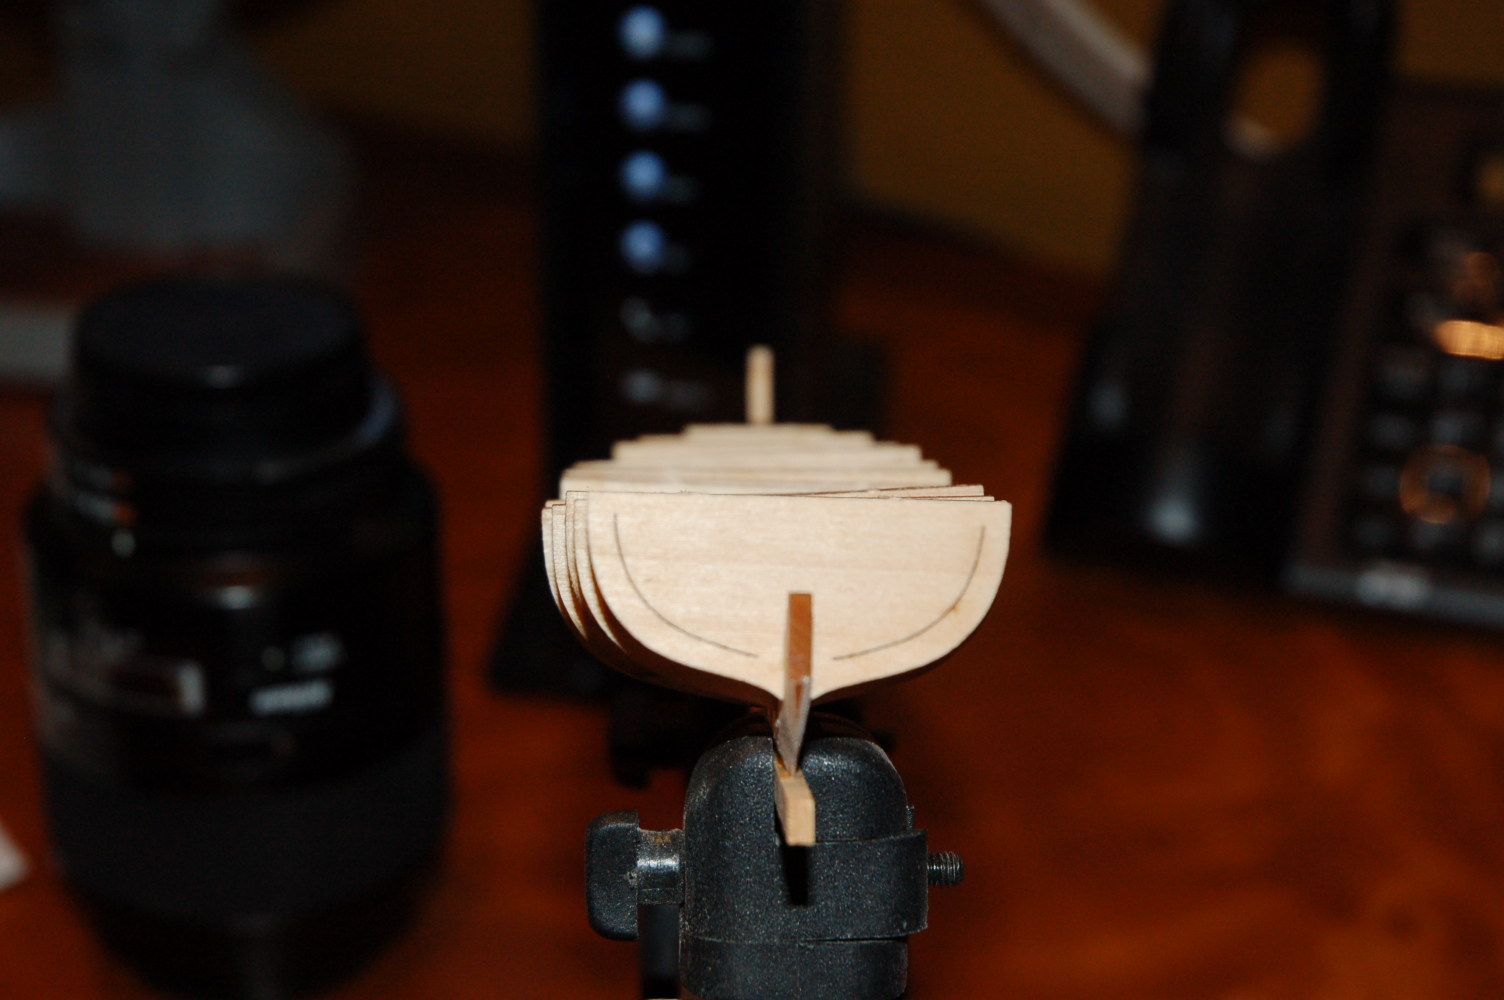
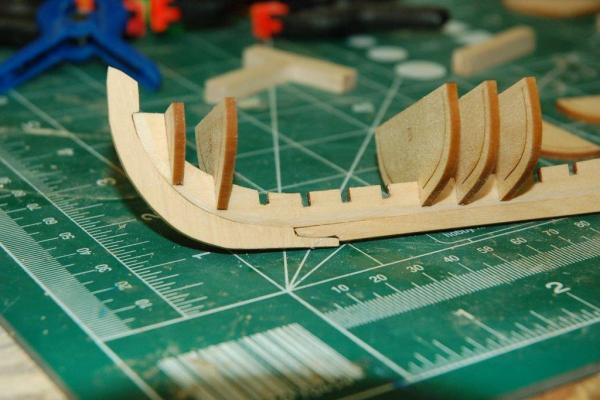
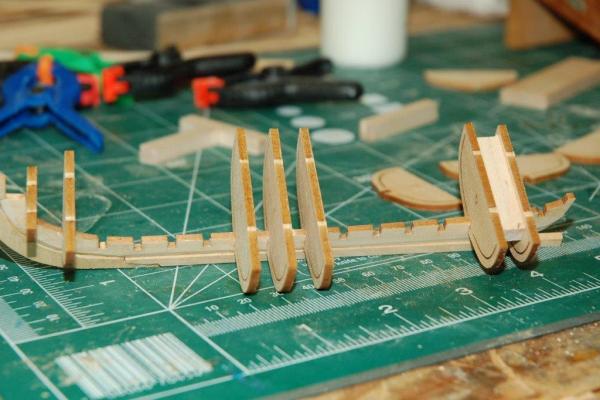
Ok guys, I think I have a problem. Take a look at these pics and tell me what you see. Fortunately not everything is glued in place. I guess the solution is to sand the groove in the bulkheads to fix the angle.

-
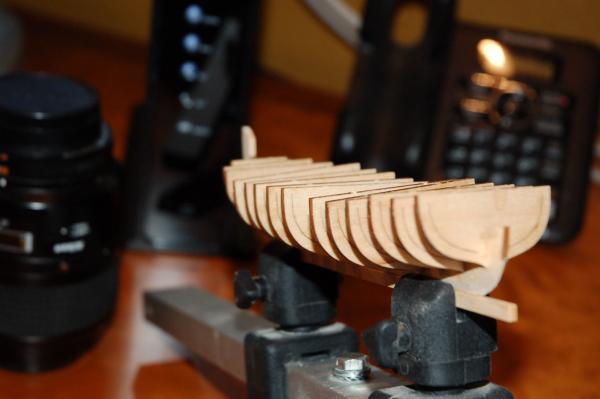
And here are the pictures I promised. I am finding that a club build is a great way to learn and make progress. When you know your fellow builders will be dropping by you make an extra effort to spend a bit more time with the project. These shots were done in Macro. OMG I will be showing all my warts! 2 comments. You will see that I made some custom spacers to place between bulkheads as the glue dried. And I found the notches in the false keel to be a bit too tight. So I cut a small strip of sand paper and folded it over a hull plank to carefully sand the notch.
-
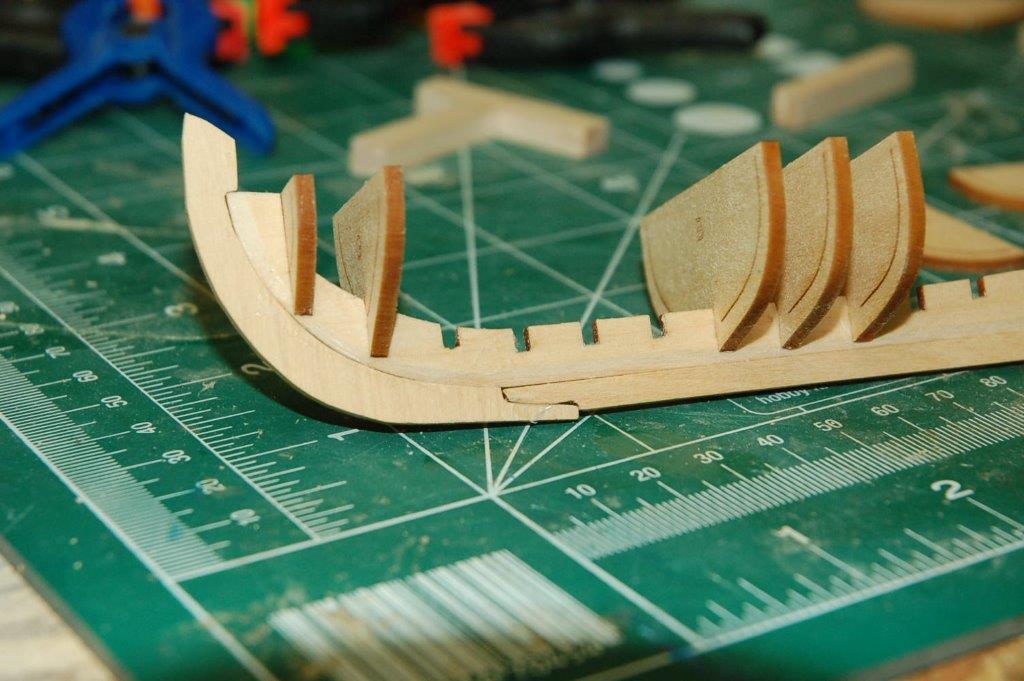
Hi Chuck, I did part of what you recommended. I cut the stem as 1 piece with the grain running up and down from the prow. I was not as confident in my cutting skills to go for 2 pieces. But I did use the basswood piece as a template and then cut it with the scroll saw. about 1 hour of careful sanding and I had a useful stem. Well at least I did on the 2nd try. I haven't used the scroll saw as much as some of my other tools. I guess I will be changing that with this kit since I am replacing lots of parts with Boxwood. I will just pretend I am practicing for when Chuck publishes his book. The saw may get a lot more of a workout. PS Sam I have not forgot about you. I have a wonderful envelope on the shelf that I need to spend some time with. I just wanted to get this kit to the point of planking before our club meeting.
-
Sure did. And now that I am adding the bulkheads it looks like the sanding is just fine. I have a nice groove on each side and a plank fit perfectly. It looks like I could have used a bit more sanding aft. Oh well. I am also going to fill the scarf joint with putty. Good thing the keel will be painted.
-
So Dave, you tell me she is finished!! we need a very complete set of photos to confirm. I think it is time for a 21 gun salute. :pirate41: :pirate41: :pirate41: :pirate41: :pirate41: :pirate41: :pirate41: :pirate41: :pirate41: :pirate41:
- 43 replies
-
- 1
-

-
- bluenose
- model shipways
- (and 2 more)
-
Rusty you make me want the book for this model even more. As usual Chuck has made the idea of scratch building seem possible. I also wonder how much of this is due to your skill?
-
Are you asking what they are or how to make them? You have the term correct. They are the fuzzy wrappings on lines that protect the sails from chafing. Somewhere on this site there is a picture of them in use on a ship similar to the Bluenose. There are several ways to make them for our purposes. 1 suggestion is to use small lengths of pipe cleaner. Some have commented that this is not to scale. Search this site.
-
Darrel, Like you I purchase Bob Hunt's practicum and this was my first kit to actually get finished. You have done a great job with the planking. I will follow along with interest. Also like you when I first began I was not all that interested in the Bluenose. She was just a leaning tool for me. But as time progressed she grew on me and we have had quite a love affair since.
-
Ok guys I have taken the plunge. As suggested I have sanded both sides of the 3/32 laser cut sheets to remove the burn marks. I have painted both side of both sheets with 2 coats of Wipe On Poly to harden up the wood. I then removed the false keel and bulkheads from their respective sheets. I put the bulkheads in a baggy and set them aside. I have carefully sanded the false keel (held my breath on that one!) good thing it came out ok. I then took the sheet of 3/32" box wood I got from Jeff. Gotta love that stuff! I cut a strip off the length for the keel. it yielded 4 keels. Then I cut the stem piece. I screwed up the first one and had to cut another. Cutting the scarf joint to match was frustrating. Next I glued the boxwood stem & keel to the false keel. I think the it looks ok. As soon as the glue dries I will take a picture or 2. Then comes the bulkheads!
-
Mike I hope my longboat is half as good as this one.
- 137 replies
-
- 1
-
-
- finished
- model shipways
- (and 1 more)
-
When do you start on the Longboat? I want to follow you closely. Very nice.
- 137 replies
-
- 1
-
-
- finished
- model shipways
- (and 1 more)
-
Per I had about the same and used 320 grit. It take a while but it does come off. I also didn't bother sanding anything except the bulkheads & false keel since I was replacing everything with Boxwood. The False keel need slots of careful sanding.
- 335 replies
-
- 1
-
-
- 18th century longboat
- Finished
- (and 1 more)
-
Okay guys I have a couple of questions and maybe you can help me here. I am about 1/2 way thru the sanding. Gets pretty boring after awhile. So the mind starts to wander. First off the cabins and deck furniture is made from a sheet of laser cut Mahogany plywood. I am not happy with the grain or the color so I have decided to use these pieces as a template for custom cut piece from a sheet of Cherry. I think this will look much better. So that leaves the deck. the quality of the deck planking is very poor. Each plank is 1 mm X 2 mm and there are about 100 of them. I am trying to decide what specie of wood to use for this. Suggestions? Also I intend to paint the hull Blue to match the color she is now, or at least close. Can anyone suggest their favorite source for Paint? I don't have an air brush but I think Spray makes more sense here.
- 80 replies
-
- 1
-
-
- Americas Cup
- Endeavour
- (and 1 more)
-
Announcing the Model Ship World Ship Kit Database Project
fnkershner replied to SkerryAmp's topic in Wood ship model kits
Adam - You can stop apologizing. It would take an anal DBA to do what you are doing and go to school and maintain a real life. I think you are crazy!! But your craziness is to our benefit. So if we have to wait...No Problem. -
Well I guess she is ready for the finished gallery.
-
I have not had a chance to try it. But I can't wait, I have purchased some rope from Chuck and I am told it does not need wax. It is beautiful stuff and hangs properly. I hope to be rigging soon. so we will see.
-
Pops, Not a stupid question. When I did my rigging. I used beeswax. my frustration was the kinks in the lines. So I would take about 6 to 10 feet of the thread and run it back and forth thru the beeswax then I would drag it across a 40 watt bulb. This took out the kinks and made it lay properly. Now to your question - When I had tied my knots and the lines were properly run I would use a diluted (50%) solution of Elmer's (PVA) to hold the knot. There were rare times I had to use a very small amount of CA. I never found an issue of the wax rejecting the glue.
-
Ok folks here is an update. she is all planked and I have applied putty. I am waiting for the putty to completely dry then it will be Sanding time. Since my local club will be meeting tomorrow and we will be starting on the club build of the Long Boat I may be slowed a bit.
- 80 replies
-
- 6
-
-
- Americas Cup
- Endeavour
- (and 1 more)
-
Mike - I just got my Boxwood upgrade kit recently. So this coming weekend my local club will begin to build the longboat. For me it will be an experiment with box wood, never used it before, and a great clinic in Planking.
- 137 replies
-
- 1
-
-
- finished
- model shipways
- (and 1 more)
-
Mike - As with most of us you are very critical of yourself. I think you have produced a very nice model. I only hope my Longboat turns out 1/2 as well.
-
Wow! I am going to book mark this for my build.
-
Man O man you are going to catch me!