


SawdustDave
-
Posts
1,770 -
Joined
-
Last visited
Content Type
Profiles
Forums
Gallery
Events
Posts posted by SawdustDave
-
-
First Progress Report....
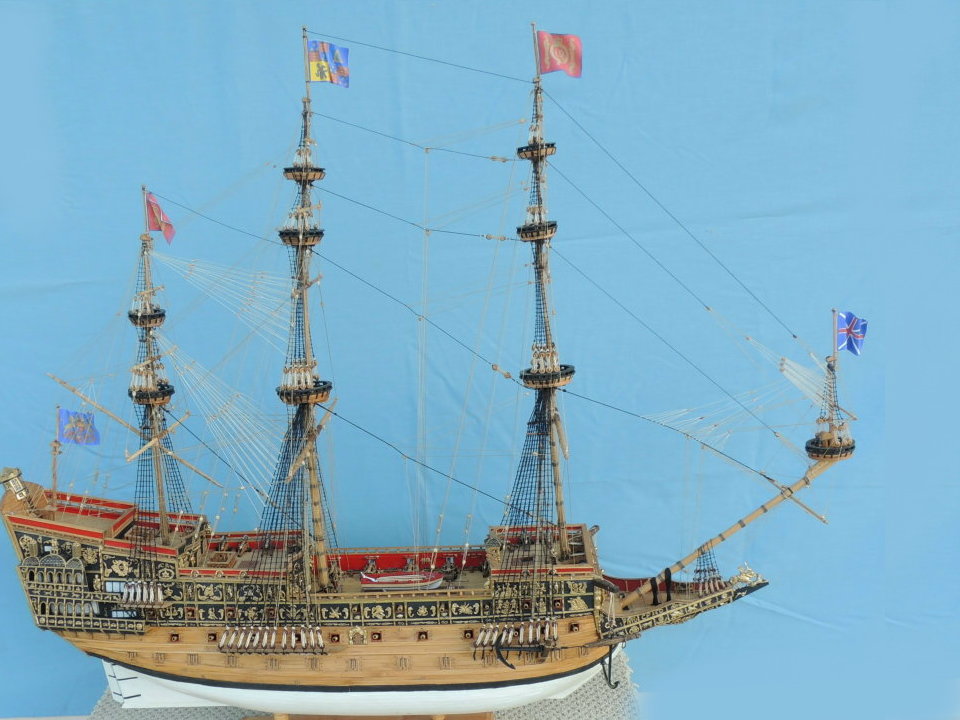
Great to be making sawdust again after finishing up the Sovereign of The Seas build.
Here's a little tip for scratch builders.... kit modelers seldom have to do this....
Cutting out parts on the band saw:Rather than try to trace the shape of your parts onto a piece of lumber, it is much more accurate to glue the plan drawing directly onto the surface of your lumber and make your cuts after the glue has set for about 30 minutes.
This allows you to optimize the layout and reduce the material waste.Also, the issue of tracing a part actually increases the size of the part for obvious reasons.
Seen here, I make a rough tracing of the part simply to define the area I want to spread the white glue.
Then apply white glue to the marked area and smooth out with your finger.
Then apply the drawing and smooth out with your finger.Let it set up for about 30 minutes...........
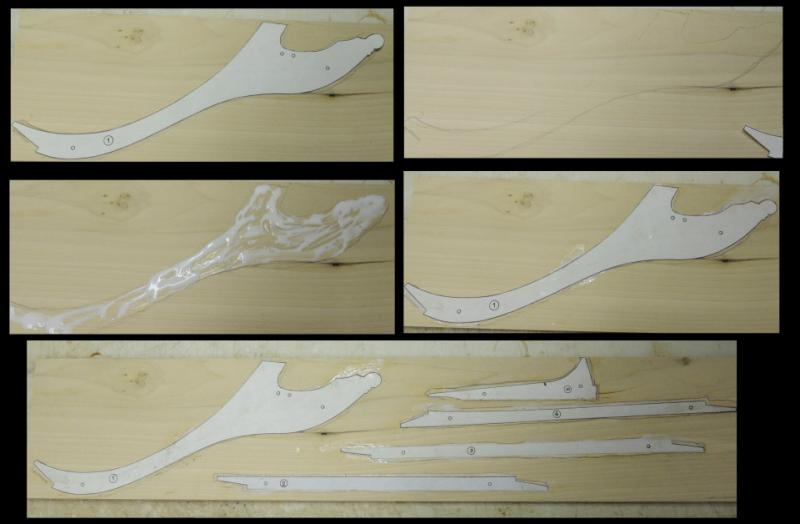
Ready to make some sawdust!
- mmdd, Canute, CaptainSteve and 15 others
-
 18
18
-
SCALE....
If, like me, you don't have a real perspective in terms of the difference between scale sizes. here's a little visual you will appreciate.
This is what made me say "Holy She It"! when I first saw the difference in the size of this bulkhead part.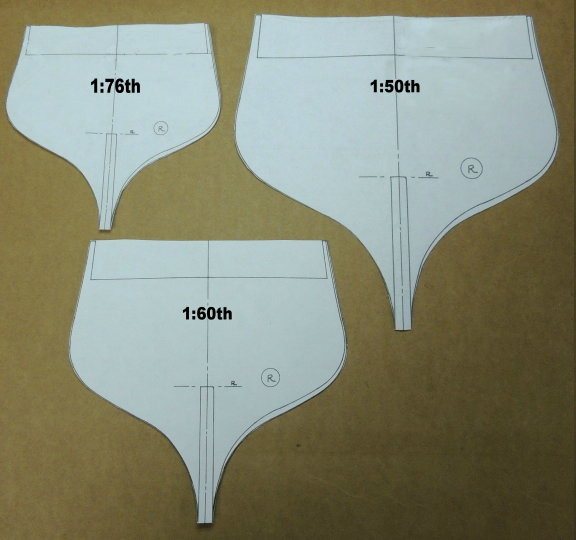
Now, as the saying goes "You get the picture".
- mtaylor, CaptainSteve, Elijah and 11 others
-
14
-
This, being the first day of progress in my effort to scratch build one of the truly great war ships in naval history, I am hopeful that I will be able to do reasonable justice to "Old Iron Sides".
I should begin with thanks to Tom ("usedtosail") and John ("mundie") for their valuable assistance in helping me get up and running on this project. Folks like these guys are a perfect example of what makes MSW such a great community.One quick note about scale....
A new experience for me has been the task of changing the scale of plan sheets - in this case, from 1:76.8 to 1:60.
Many of my friends being aware of my initial thoughts of building the Connie at a scale of 1:50th. Then after receiving the plan sheets I discovered that the size of the model, as designed by Model Shipways, is already very large....and that converting the scale to 1:50th was pretty much unreasonable.
Playing around with scale for a couple of days led to a conclusion that 1:60th is about the maximum size I can reasonably do.
Why not just build her at the plan scale?
For a scratch builder, "bigger is better" in terms of creating detail....So, for what it's worth, here we go "splishing and asplashing"!
- jablackwell, Jasseji, Canute and 13 others
-
16
-
"Fudge"..... Getting very warm Mark, but I'm more of a "She it" guy.
- CaptainSteve, Omega1234, Canute and 2 others
-
5
-
-
-
Got plan sheets today...... thank you John.
So I spent most of the evening playing around with scale.
Conclusion.... at 1:76 scale she is already a very large model!
After confirming that my system output is perfectly in scale with some measurements provided by Tom, my immediate response was "HOLY COW!" (Didn't use "cow", if you know what I mean)
Someone please tell me ..... What the HECK WAS I THINKIN!
My plan on building the Constitution at 1:50th scale? NO WAY! Ain't gonna happen.
Seriously folks, I had no idea this model was so large at the kit scale of 1:76.
I'll continue to play around with it tomorrow, but for now, I would say 1:60th appears much more likely, from a practical standpoint.
Whatever scale I decide to go with, I'm just excited about getting back to work.
- Canute, usedtosail, CaptainSteve and 4 others
-
7
-
Greg - Been wondering if you fell in a deep hole somewhere!
Thanks mate.... will do the link for sure.
Dave
- Omega1234, CaptainSteve, Canute and 1 other
-
4
-
-
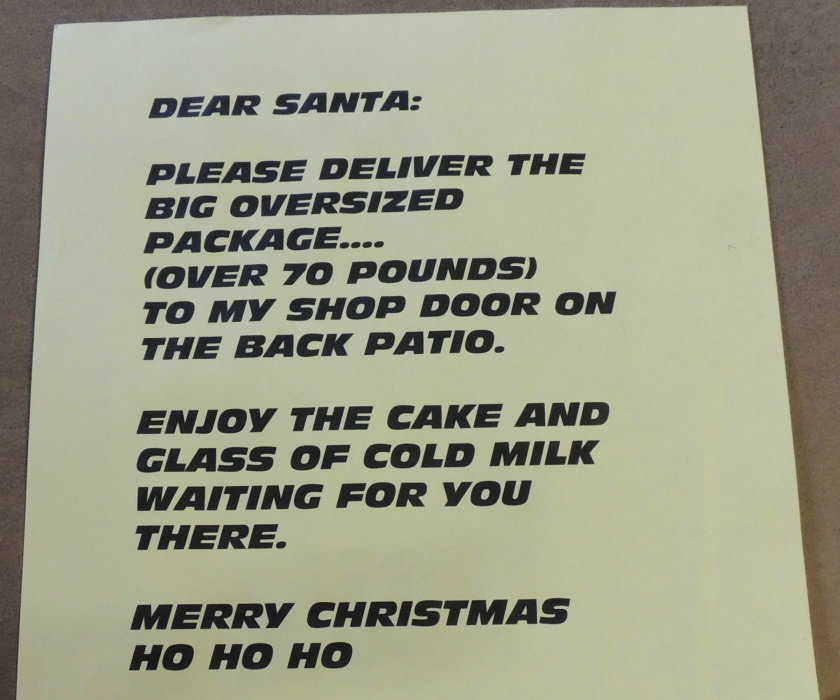
SANTA ARRIVED THIS MORNING!
Following the tracking online, I saw that my new band saw was "out for delivery".....so I figured it would show up some time this morning.
Knowing they always deliver to my front door with a covered porch, I printed this sign early and taped it to the front door......
So I get a knock on the shop door shortly after noon, and sure enough Santa has come to collect his cake and glass of cold milk.
He even helped me un-box the new toy!
Now sitting in it's new home with fresh sawdust already on the table top.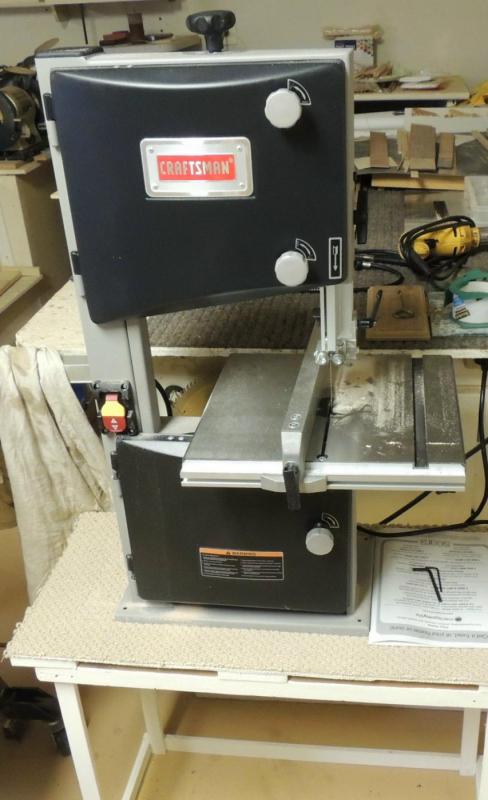
WHAT TIME IS IT?
IT'S SAWDUST TIME!Merry Christmas all!
- russ, GrantGoodale, marktiedens and 10 others
-
13
-
FINAL TOUCH....
This is the ID plaque I finished up this morning.
Decided she needed a bit more elegant than the carving I was working on, so I splurged the six bucks to have an engraver at a local trophy shop do the lettering on a black background. The shiny gold frame I created by cutting down some material from an old photo frame from the house.
The Admiral will never miss it (I hope).....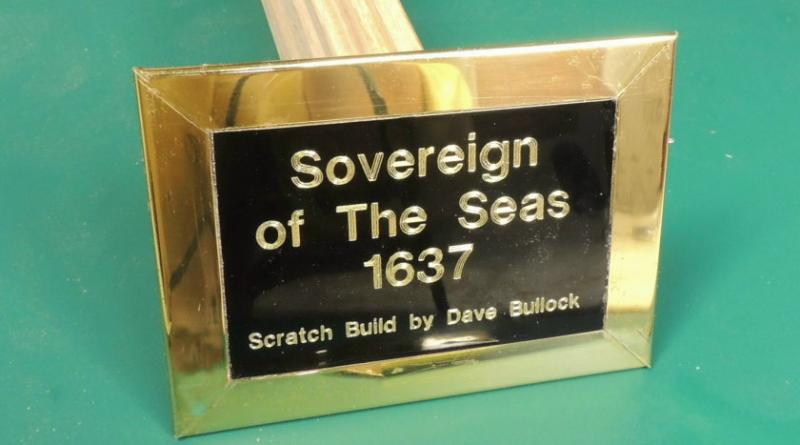
- Jack12477, usedtosail, mmdd and 8 others
-
11
-
Thanks Ken..... can't wait to get rolling on the new build. With the help of many friends who have done such great jobs on the Connie, I just hope I can do her justice. She's really special, and deserves my best effort.
Can't wait to get started.This clean shop stuff is driving me crazy!
-
Hi Tom:
Just spent the first of what will become countless hours of going through your build log of the beautiful Connie.
As I begin a scratch build attempt of this historic ship, your log will be invaluable as my primary reference resource to guide me along the way. I can't imagine having a better example of excellence to try to emulate.
Thank you my friend.
Dave -
Carving.....
Pat - All my carvings were pretty rough in the beginning Pat. Must have trashed the first 20 or more when building the Confederacy.
Then I learned to slow down and work on each from the outside edges toward the center. Getting the outer shape is key, then thickness.... working from the highest raised surface down. Sketching out new lines as you gradually remove material.
As you would imagine - relief carvings are much easier than full 3D figures.... I still struggle with those quite a bit.Like everything else we've ever done.......Practice, practice, practice.
-
-
-
Began the morning with nice messages from three more special friends I have enjoyed so much.
Pat from "down under", and Bill (who I owe so very much for his assistance and inspiration), and my dear personal friend "The Flying Dutchman".
Piet - I was getting a little worried that Santa had hired you to help build Christmas toys. That would make you the Dutch Elf!
Love you guys! -
-
-
And I have enjoyed all your visits as well Mark. Here's too you old friend.....
- Canute, mtaylor, CaptainSteve and 1 other
-
4
-
Russ / Patrick.... Always so nice with your remarks of encouragement, most appreciated by me.
We're going to enjoy the pleasure of NOT traveling this entire holiday period.
Gives me a chance to give the old shipyard a thorough cleaning before starting a new build.
Best wishes to both of you for a very Merry Christmas.
Dave
-
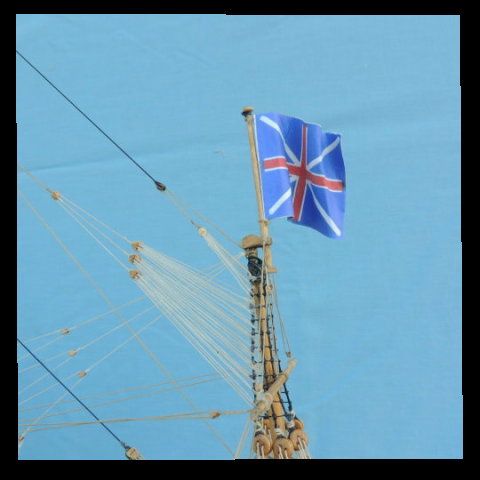
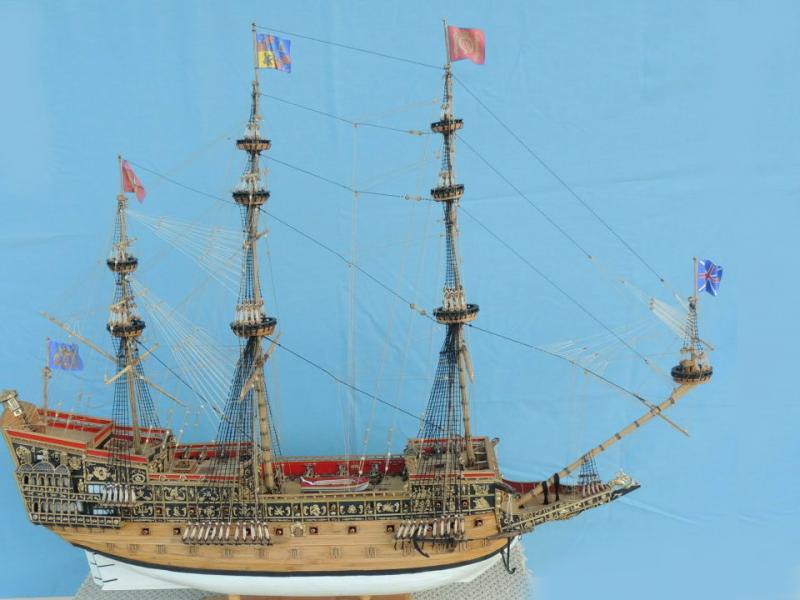
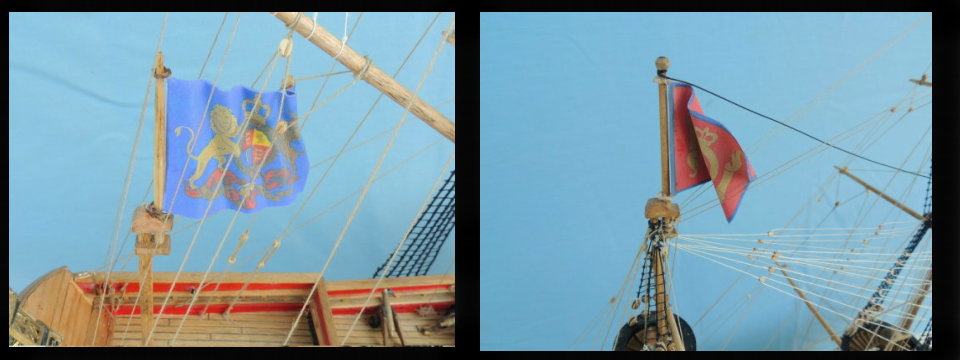
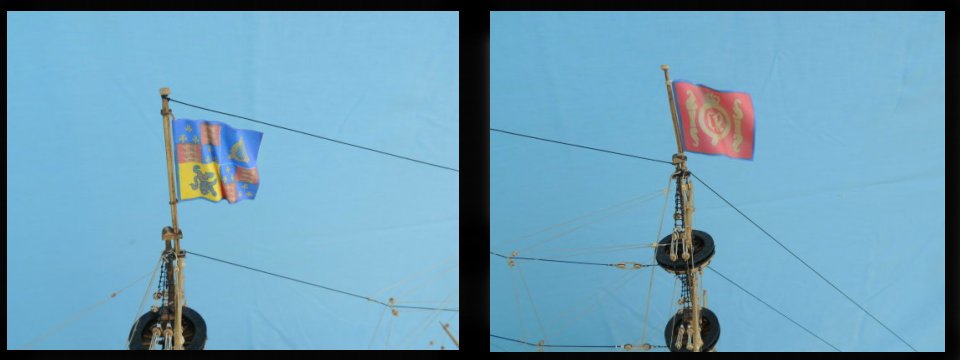
Flags finished....
Arrived yesterday - None the right size of course. Nothing is ever that easy right?
No problem.... I scanned them all and printed onto paper. Re-sized each to fit,. then used white paper glue to fold the two matching sides together.
After 80% dry, I played around with getting the appearance of being slightly lifted by a light breeze.
Working on the ID Plaque now, which will put the wraps on this build.Good day for having a cold one to celebrate.

Dave


- edmay, jablackwell, BANYAN and 18 others
-
21
-
Hey Nenad....
Been there - done that.
My heart goes out to you my friend.
I agree with CapSteve's suggestion.... bread and butter construction.
Take a look at the launch I just finished for my Sovereign of The Seas.
Once you get the hull shaped up. all the false ribs can be glued into the interior very easily, and you have a nice outer shape to apply hull planking, transom, rudder, and false keel.
Dave
-
Began working on ID plaque this evening.
Flags should be arriving tomorrow.Guess I'm almost done with the SOS.....I always have very mixed emotions at this point. Happy to be finishing one up, mixed with being a little sad to be coming to the end of a really fun build.
Still not sure what I'll do next.- CaptainSteve, edmay, JesseLee and 4 others
-
7


USS Constitution by SawdustDave - FINISHED - 1:60th Scale
in - Build logs for subjects built 1751 - 1800
Posted
Hi Mike - Thanks for dropping in.
Yep.... masts and rigging for sure.
Yep.... She's gonna be a big ol girl for sure.
Thankfully, I will not have to worry about finding a place to display her in my house.