clearway
-
Posts
2,238 -
Joined
-
Last visited
Content Type
Profiles
Forums
Gallery
Events
Everything posted by clearway
-
 Ty for the likes and comments everyone- cant wait till you re-start yor Vic Frank Keith
 -
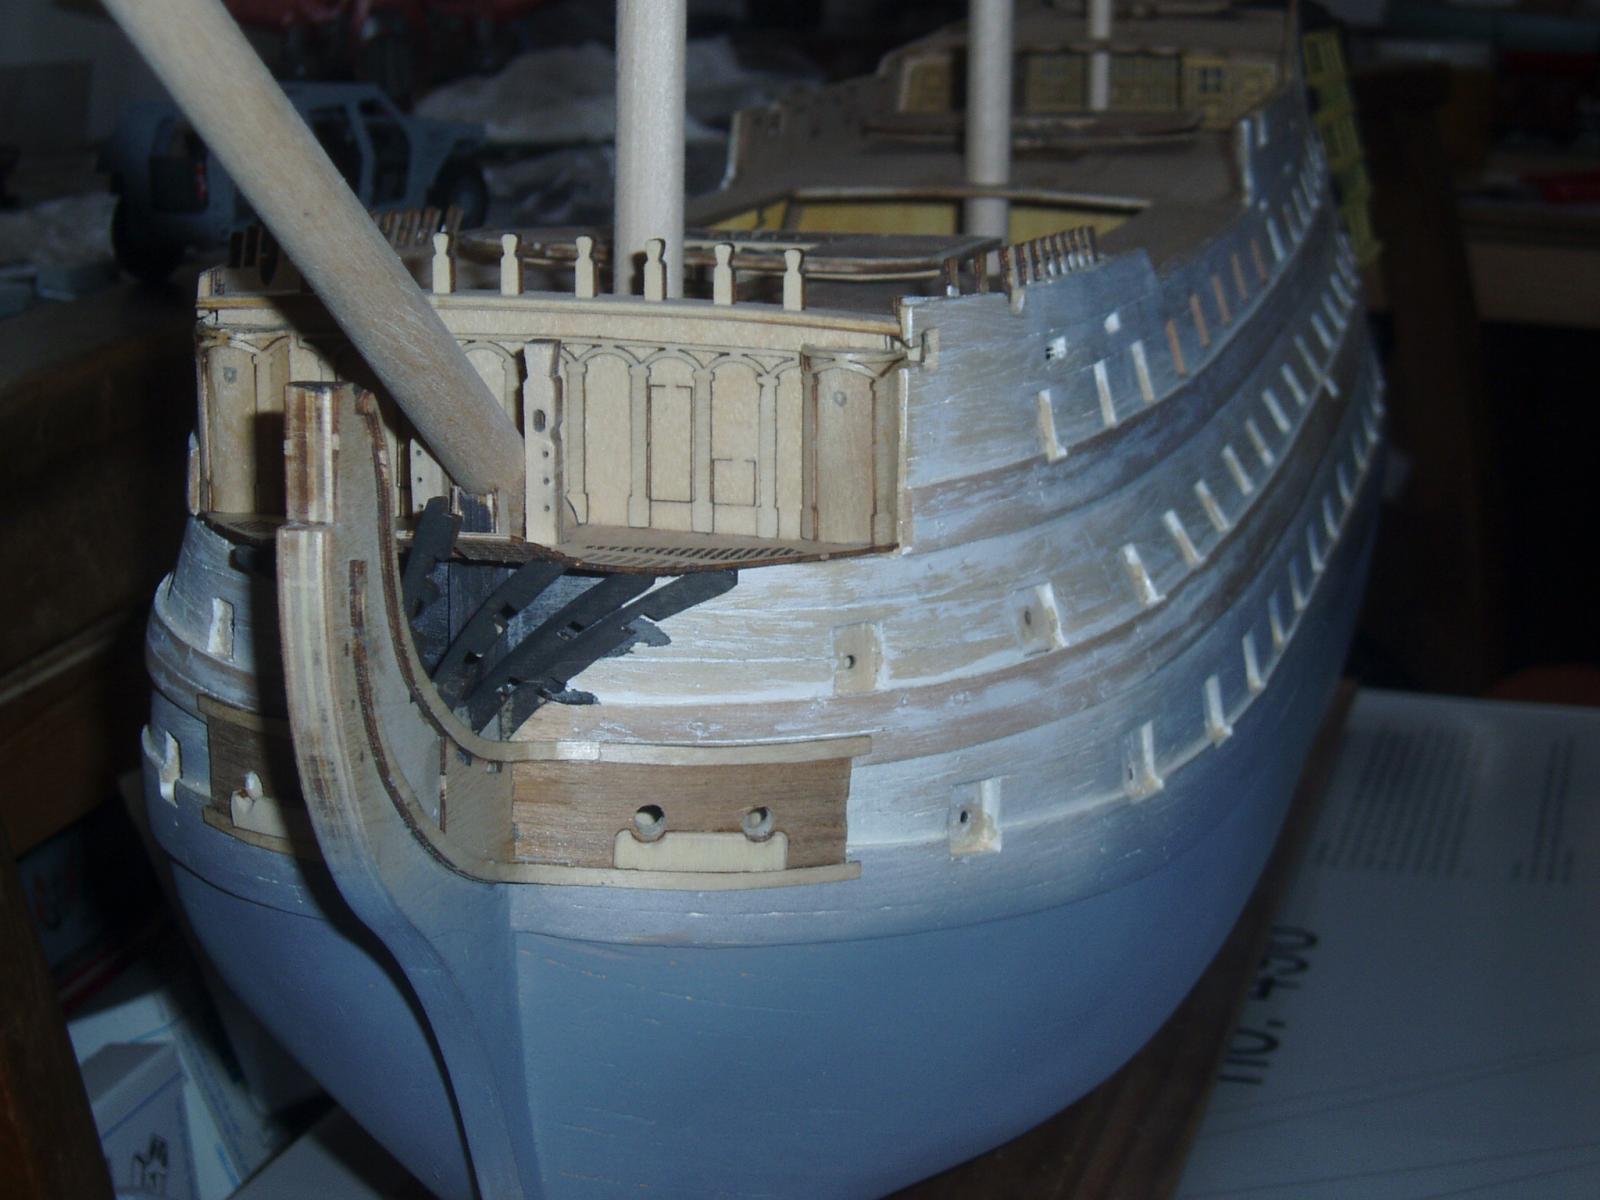
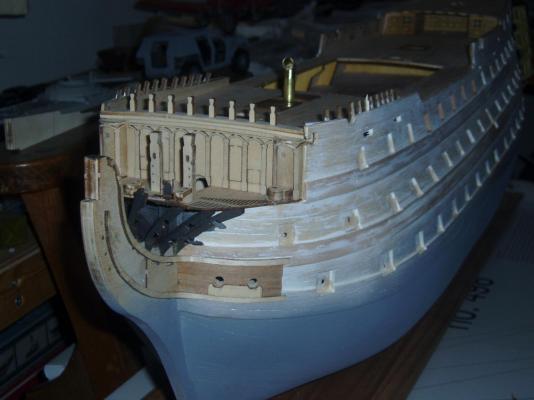
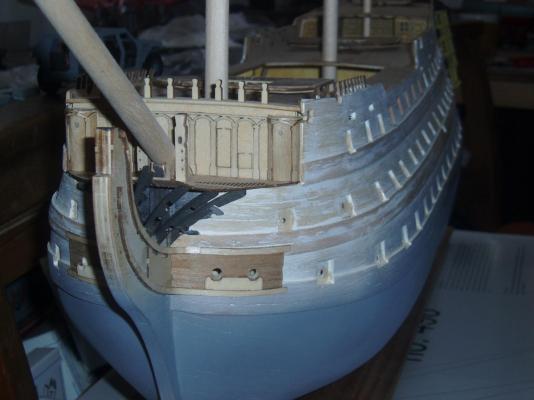
Bit more detail added to the bows and also dry fitted the chainwales- added some square section timber under these which will be sanded/ filed down the thinner profile once the glue has hardened fully. Leaving fitting the catheads till as late as possible! Till next time Keith

-
I agree phil- even without mods a build like this requires a lot of forward thinking and planning. Keith
-
looking great there- bit different from the mighty Vic! Have you thought about copper "dolls house tape" for running lighting conduits? Keith
-
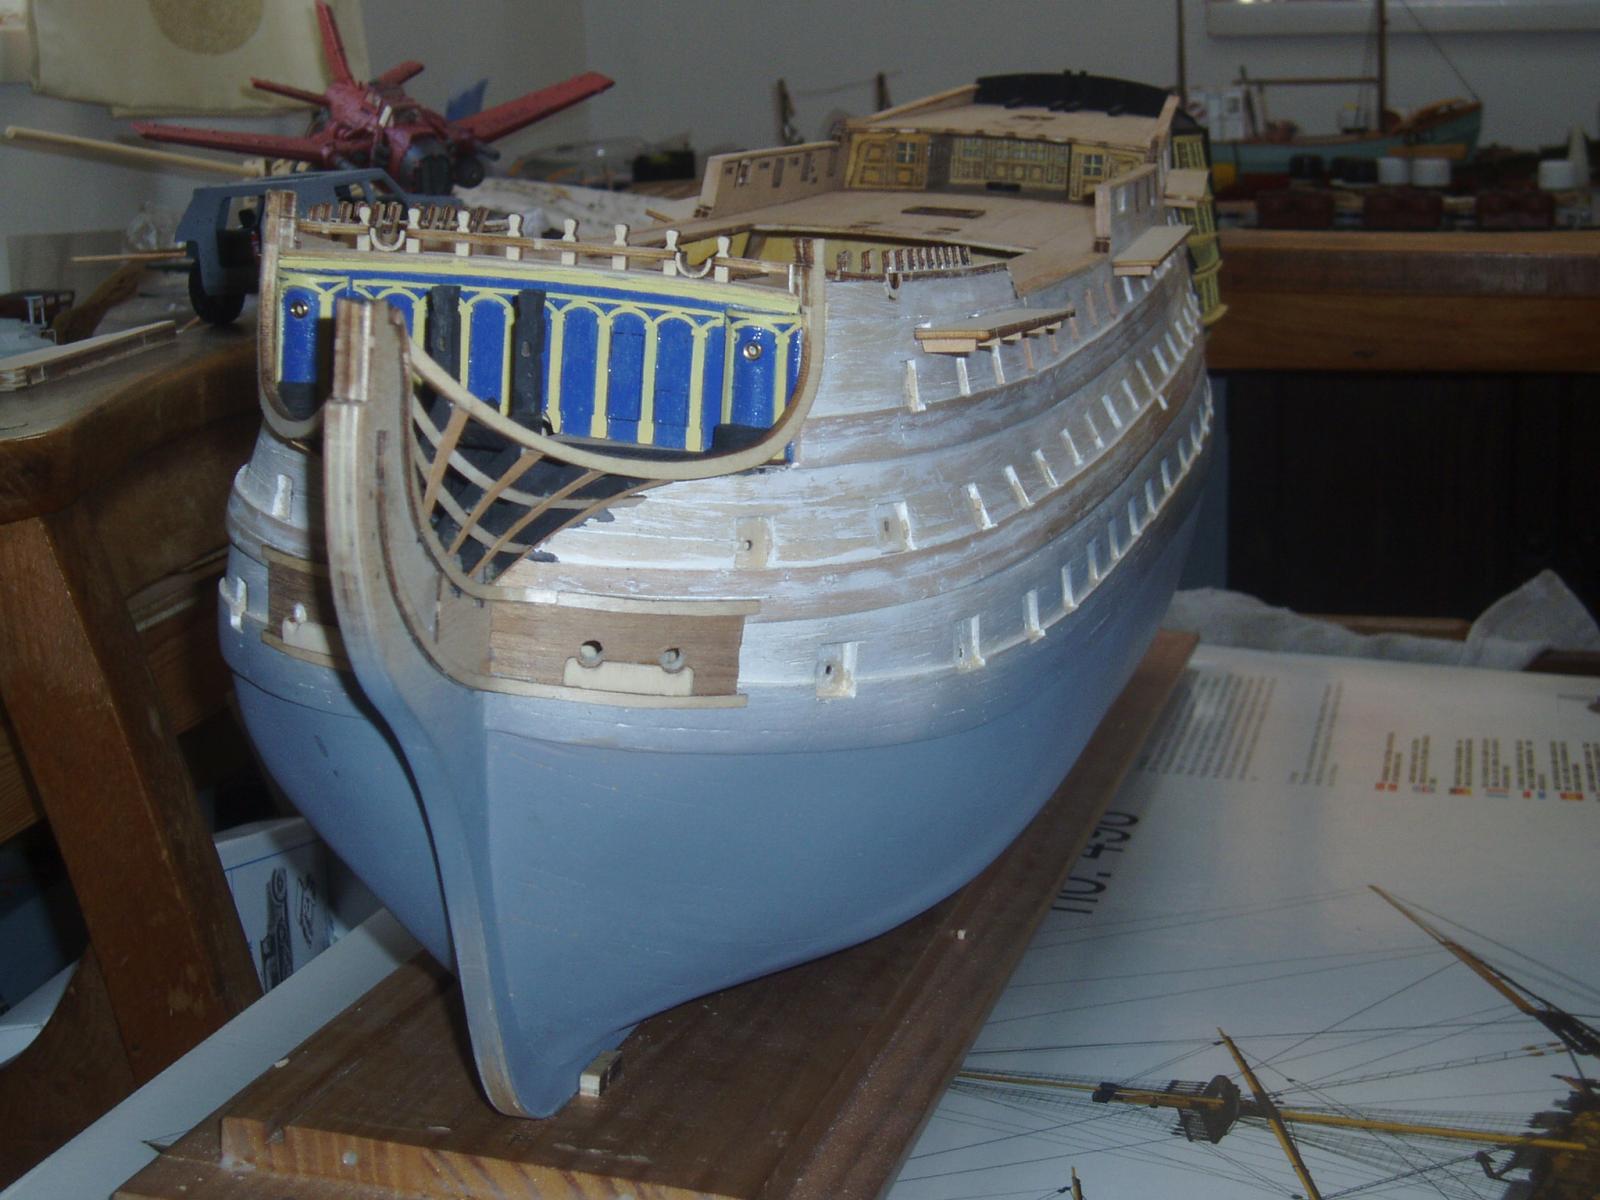
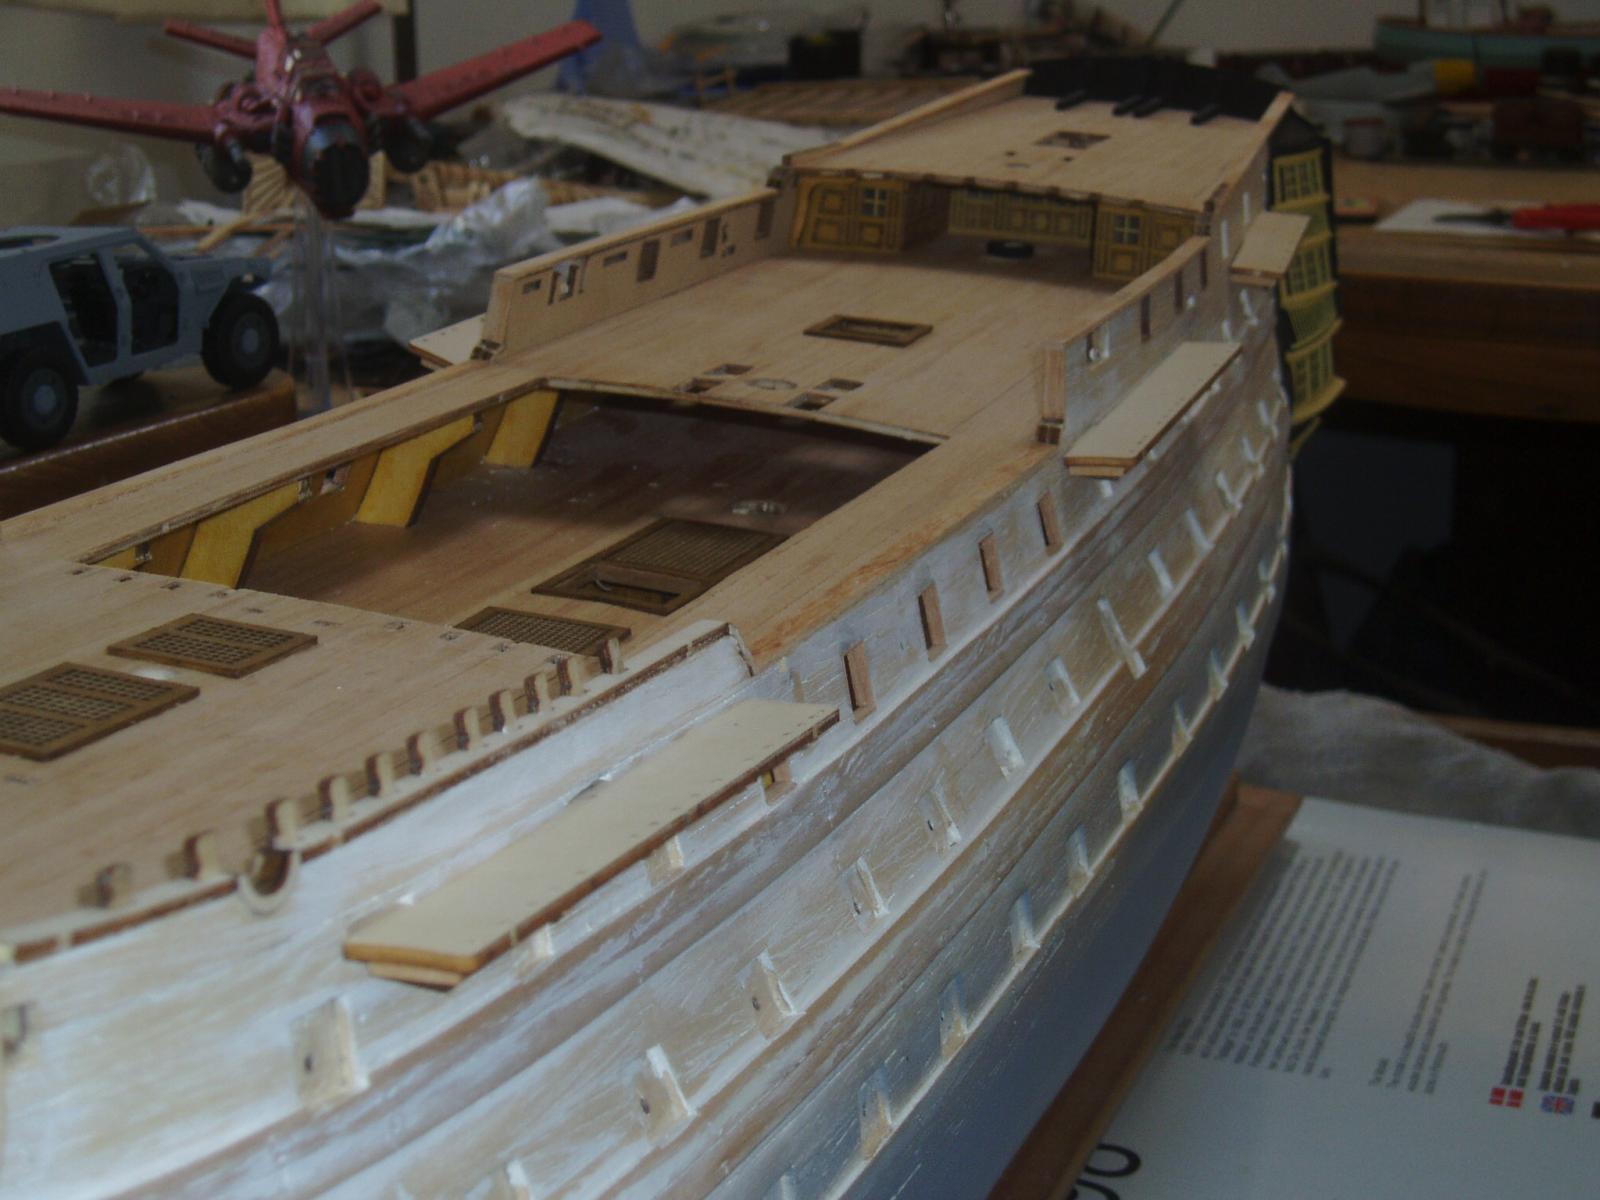
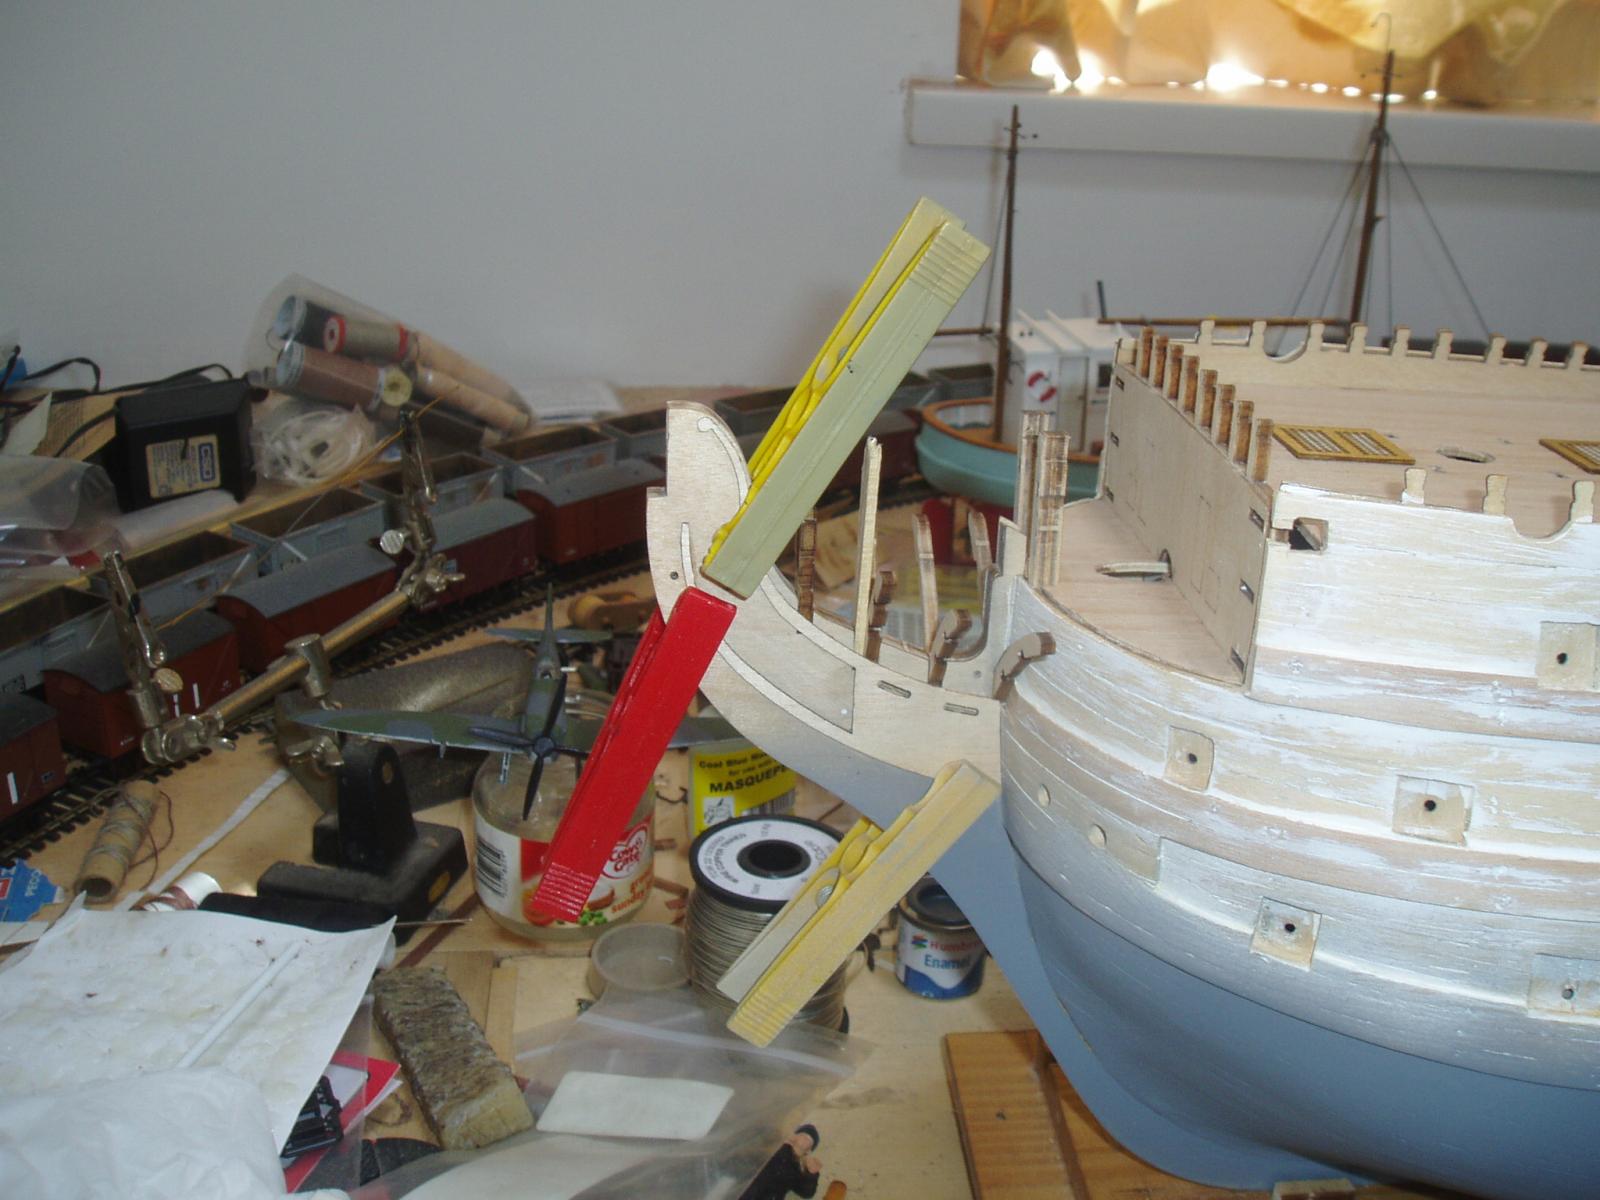
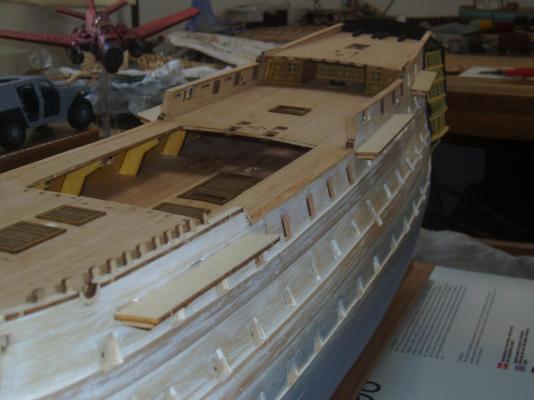
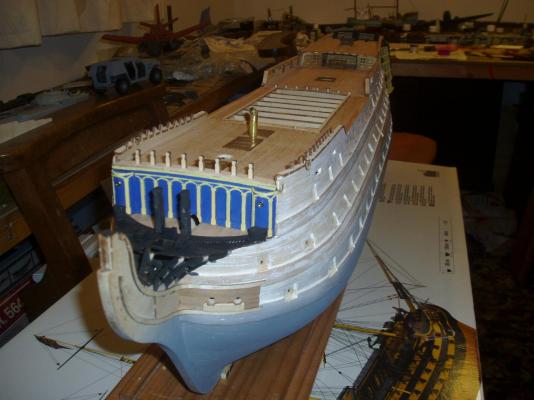
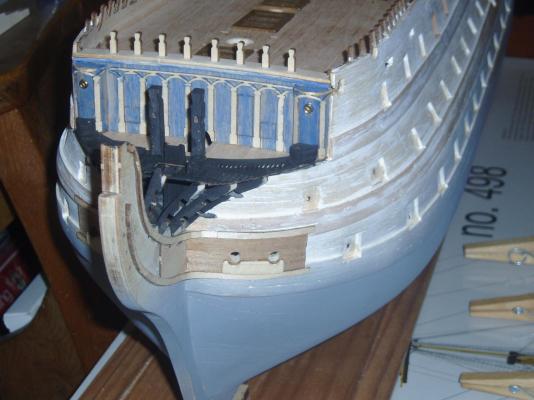
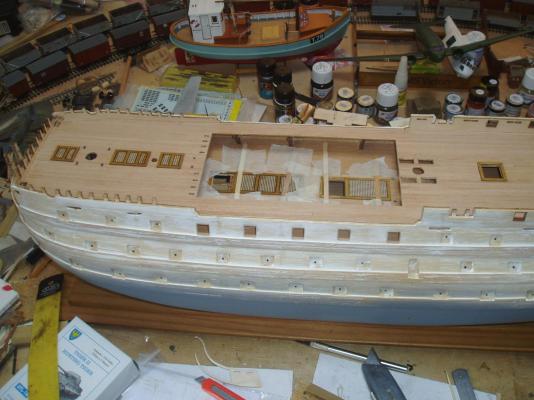
got the blue finished and the first coat of yellow is on the forecastle bulkhead. Also dry fitted some of the other fittings i have been working on including the skid beam assembly. Once second coat of yellow is on i can start thinking about adding detail to the sides of the hull as i wont need to sandwich it between my legs! also added capping rails. Keith
-
builds into a nice kit- built this just over 18 years ago now myself
-
Ty Lawrence it's nice to see her starting to come together and looking more like Victory. Keith
-
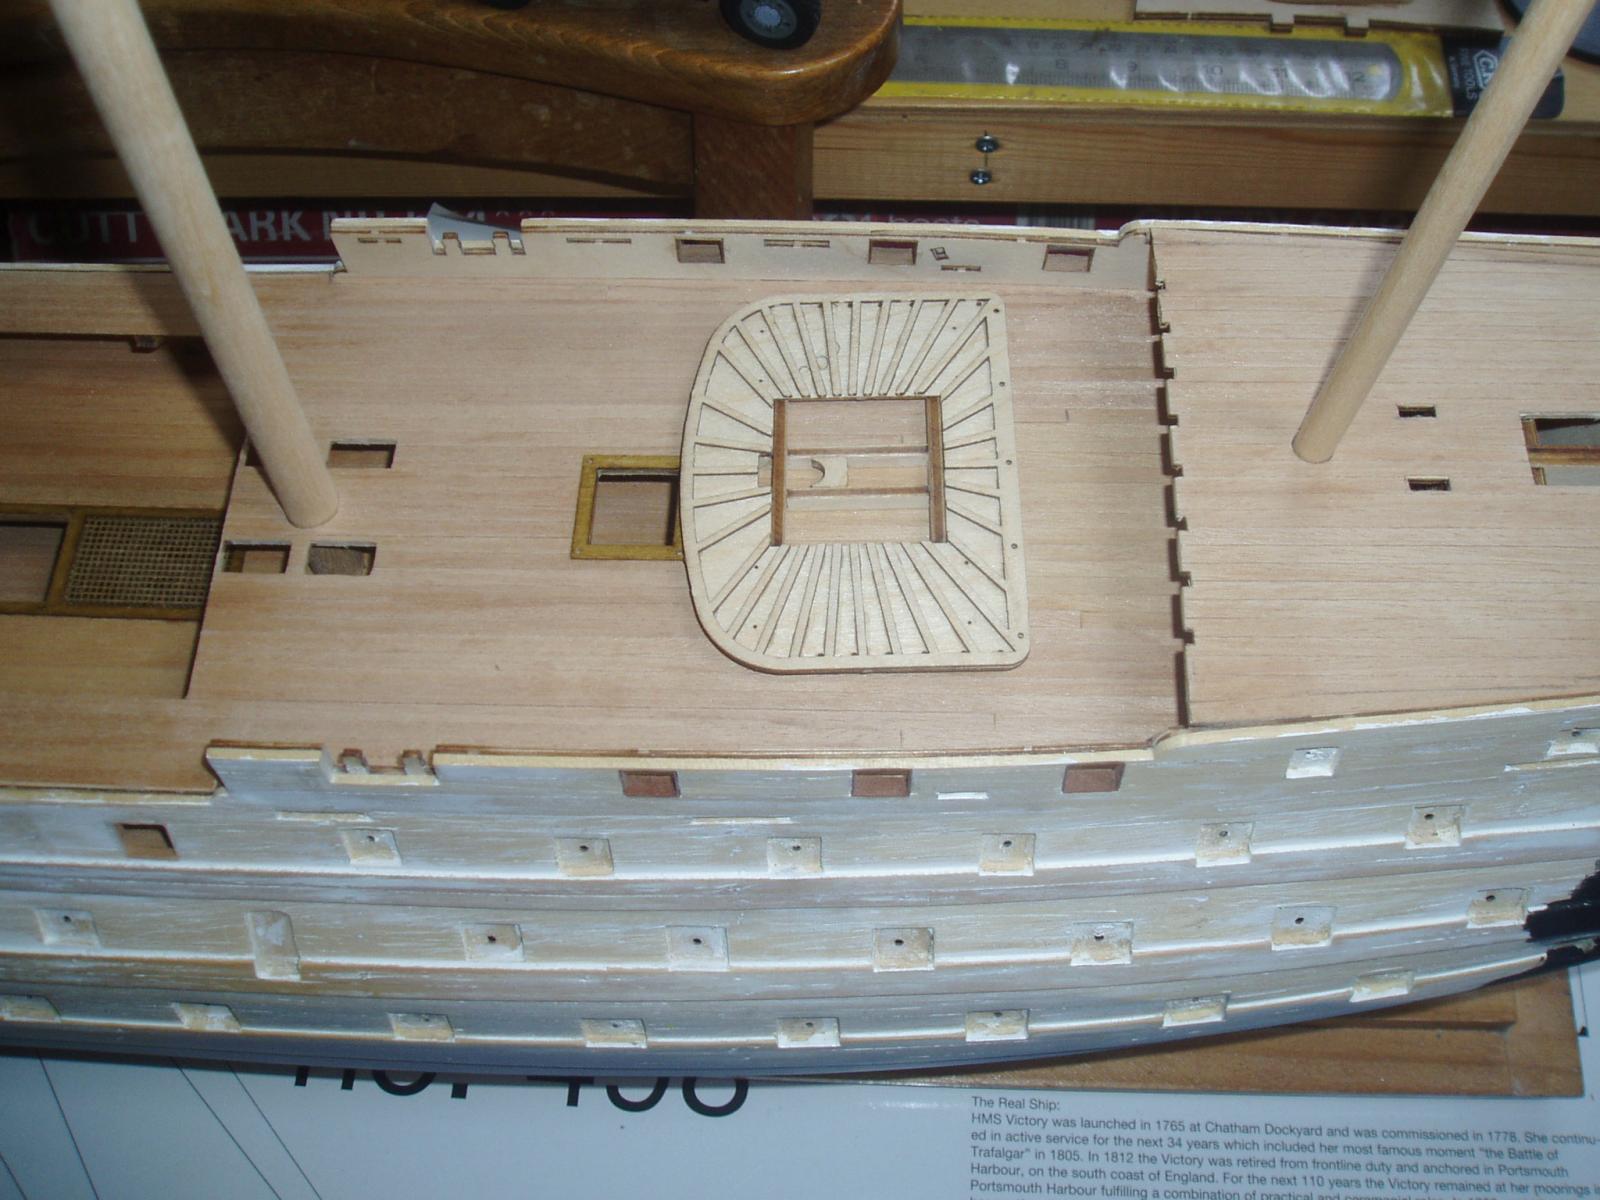
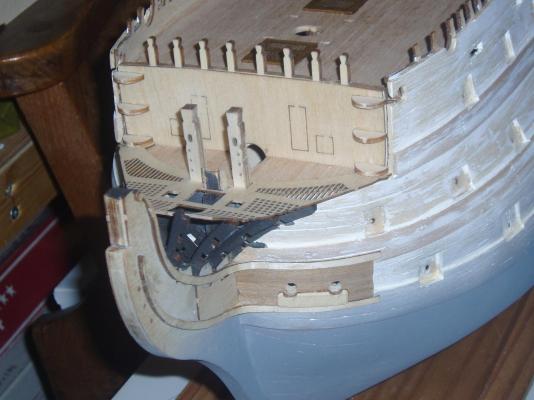
Thanks again for all the likes everyone. Added the seats of ease to the bow grating and a thin strip below the capping rail on the forecastle bulkhead cut from lime sheet which wasn't a part of the billings instructions. Applied thinned down "priming coats of Humbrol matt 33 black and gloss 14 blue - nice using a colour apart from black and yellow! Also made the galley chimney from some brass tubing i had spare- didn't have any 6mm tubing in the fittings which is listed in the destructions! Hopefully will have most of the bow detail added within the next few days depending how the painting goes. Keith
-
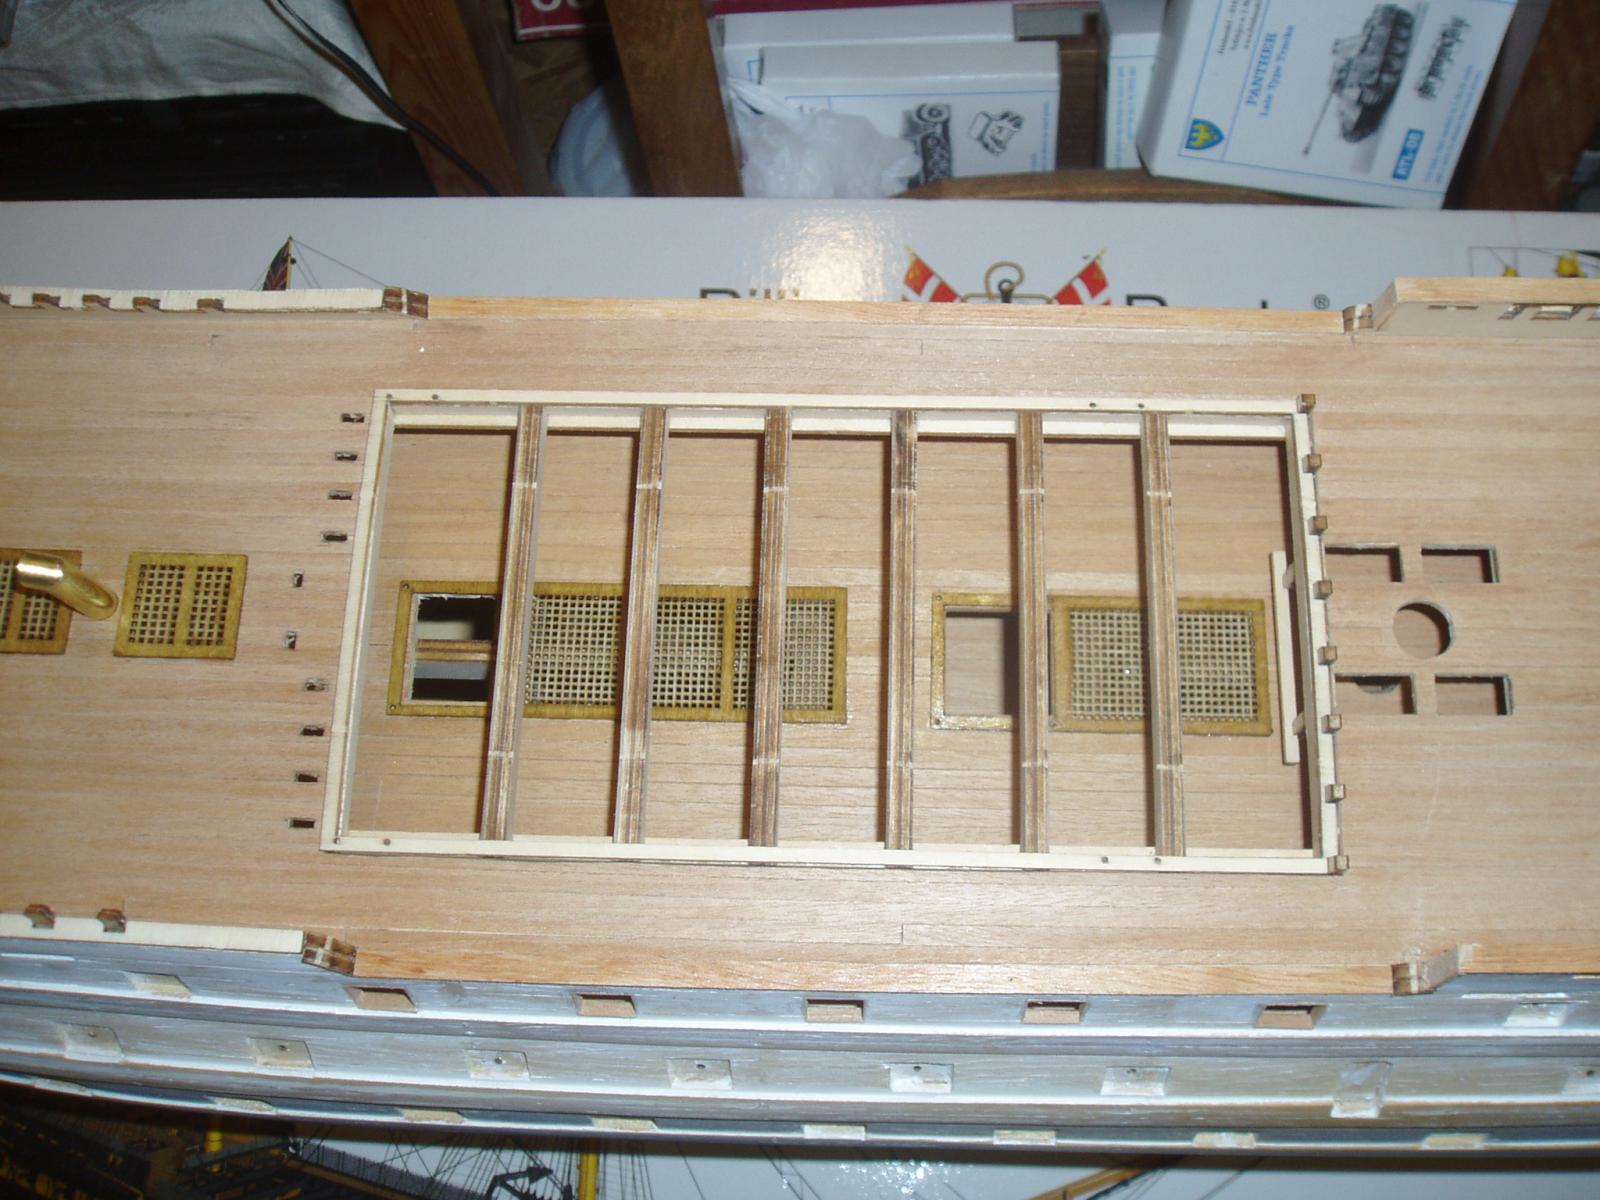
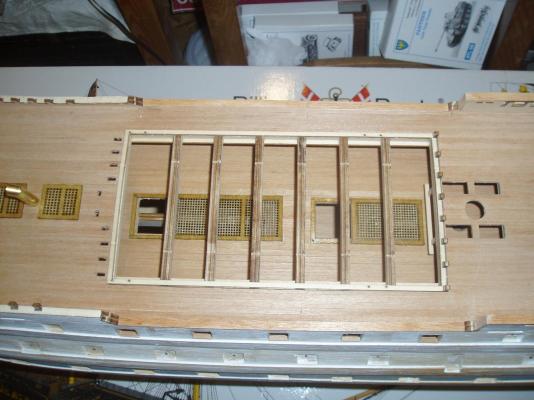
Playing devils advocate here you could even include the hatches for the second run of steps as well! It scares you when the frames start going in and you realise exactley how big she is. Keith
-
Ty Phil- i decided to just use the laser cut ply for some bits because you probably wont be able to tell the difference once painted. Some stuff is being replaced with proper wood like the posts for the pin rails. Keith
-
Looking fantastic as always daniel
-
Welcome back Bob- and yup that looks strong enuff!!! keith
-
sometimes you need a break Frank- why i went and did german armour for four months- just needed a break from my victory Keith
-
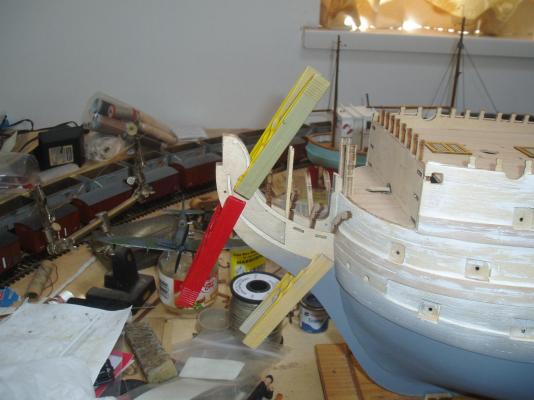
Bit more progress with the bow area and trial fitted the masts and bowsprit. Also made a start on the tops just for a break of routine Didn't use the ply from billings for the curved "heads" but used some offcuts of thin aero modellers ply i have in my scrap box- it is half the thickness of the billings ply. Keith

-
good idea for cheap wood- i have everyone gathering coffee stirrer sticks for me! -though these arnt suitable for fine stuff as they splinter easy. Keith
-
Tanks for the likes, if i ever tidy up properly i wont be able to find anything Boyd Keith
-
Trial and error is sometimes what it is all about Boyd- glad you found the right look you are happy with. Steps look brill m8. Keith
-
After what feels like a lifetime working on the stern and quarter galleries it's been nice doing some deck fittings and working on the bows for a change Keith

-
ty for the likes everyone. Hi Frank, will be using the brass castings from mantua so trois feathers it is- though the casting is not really finely detailed it will do. Keith
-
Looks ok to me Boyd- To mark the chainplates use a piece of dowel and mark where the top or crowsnest is the tie a piece of thread and run this from the makeshift mast and over the channel and mark off the drill point. Hope this makes sense! keith
-
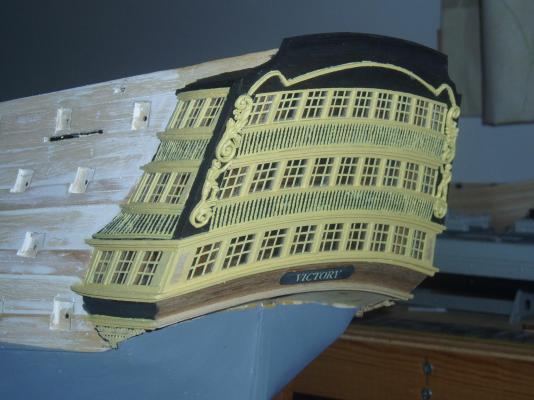
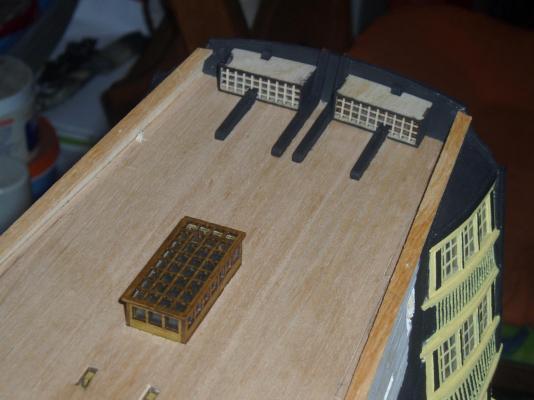
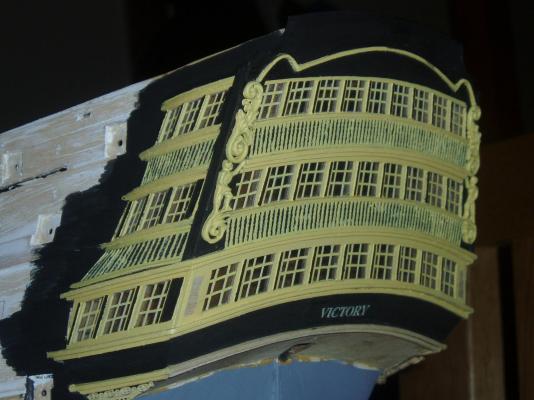
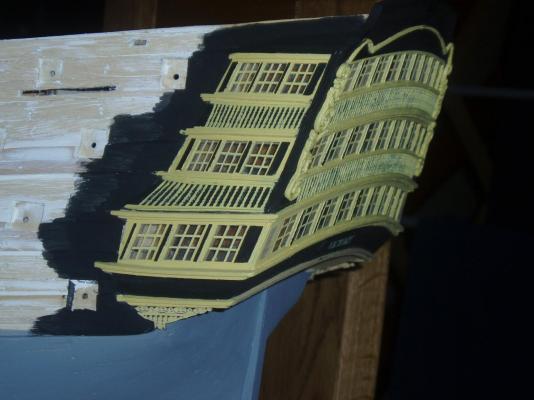
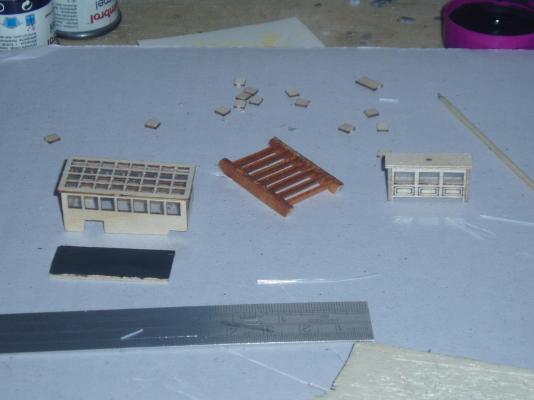
Painted the black panels on the stern and quarter galleries, and made a start on the binnacle cabinet and skylight as a break from the hull! the black rectangle under the skylight will be glued inside it when the clearfix and wood adhesive has had time to cure. The ladders were left over from another kit and will be used for the staircase from the main to middle gun deck. Keith
-
Hi there Boyd- yep painting it all is a pain- sorta wished i had just varnished it all now! As regards weather wind been picking up all day and unuaually for Cumbria rain getting heavier as the evening progresses- mind you me Gran used to say about March "in like a lion- out like a lamb" heres hoping! Keith
-
I often say "why do i do this to myself" Frank but the build is sure looking sweet. Keith
-
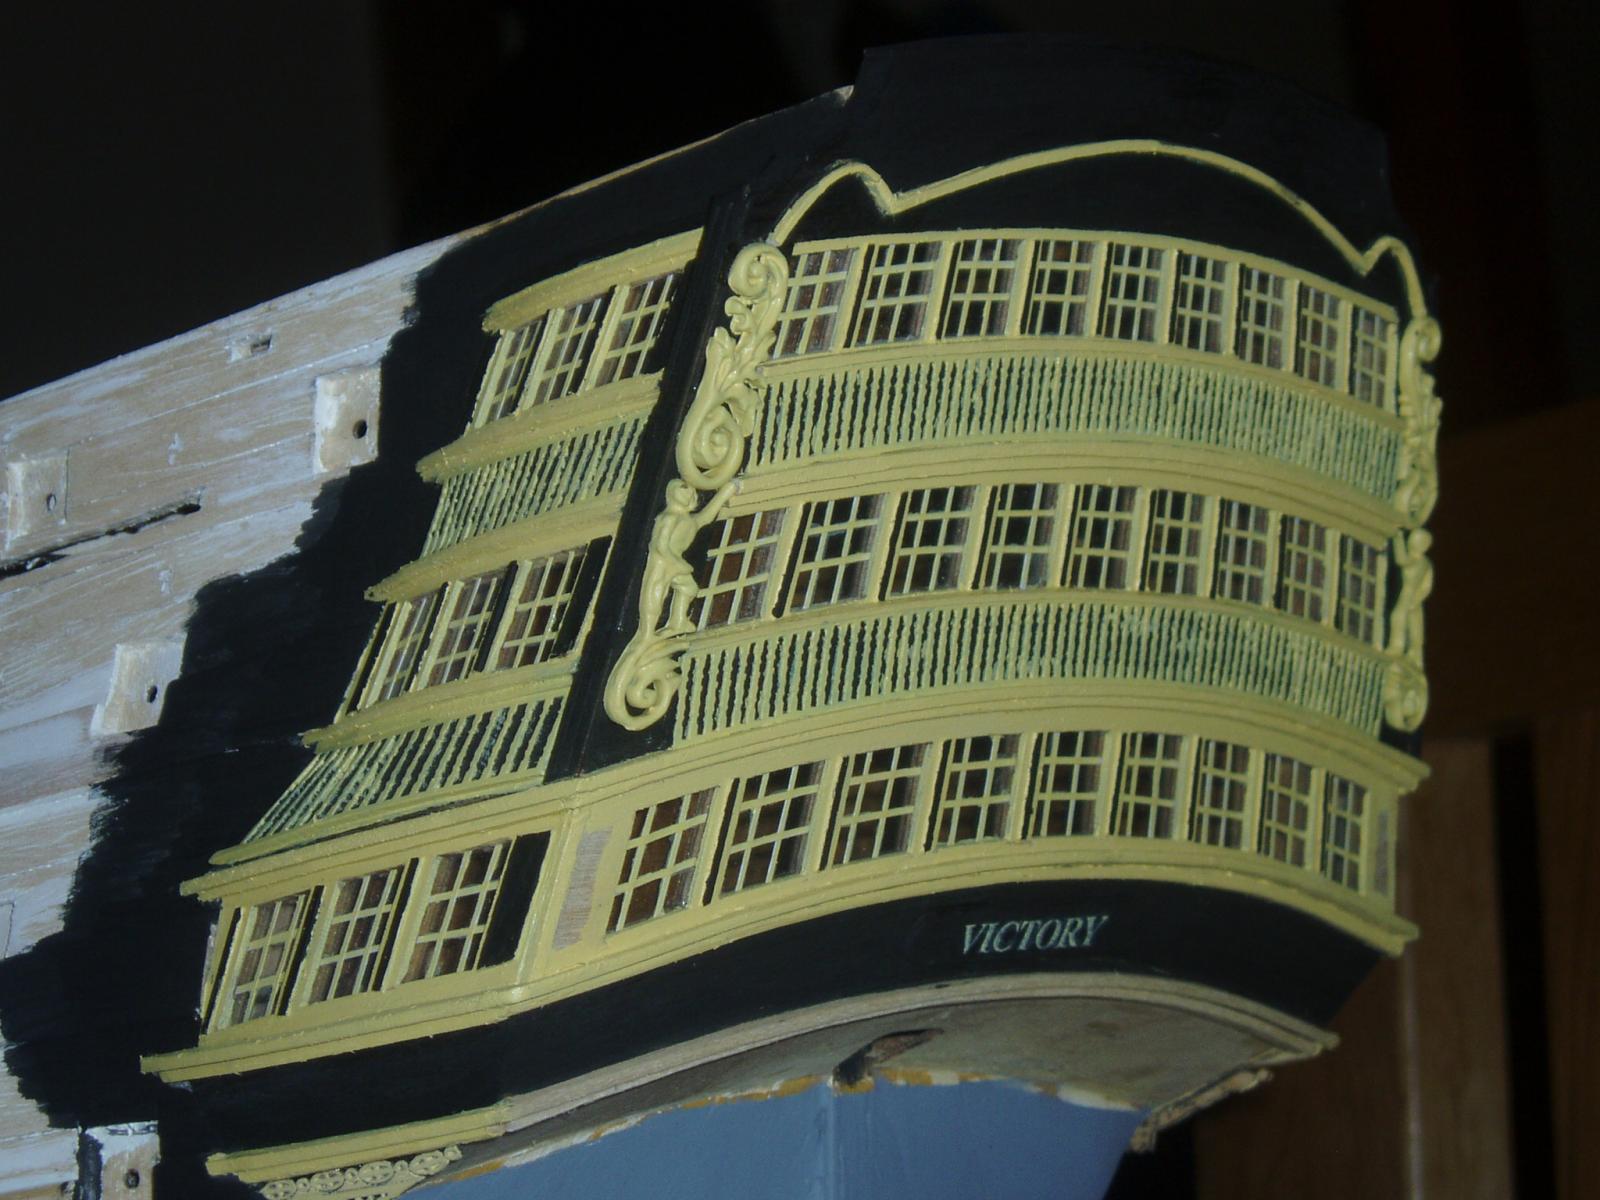
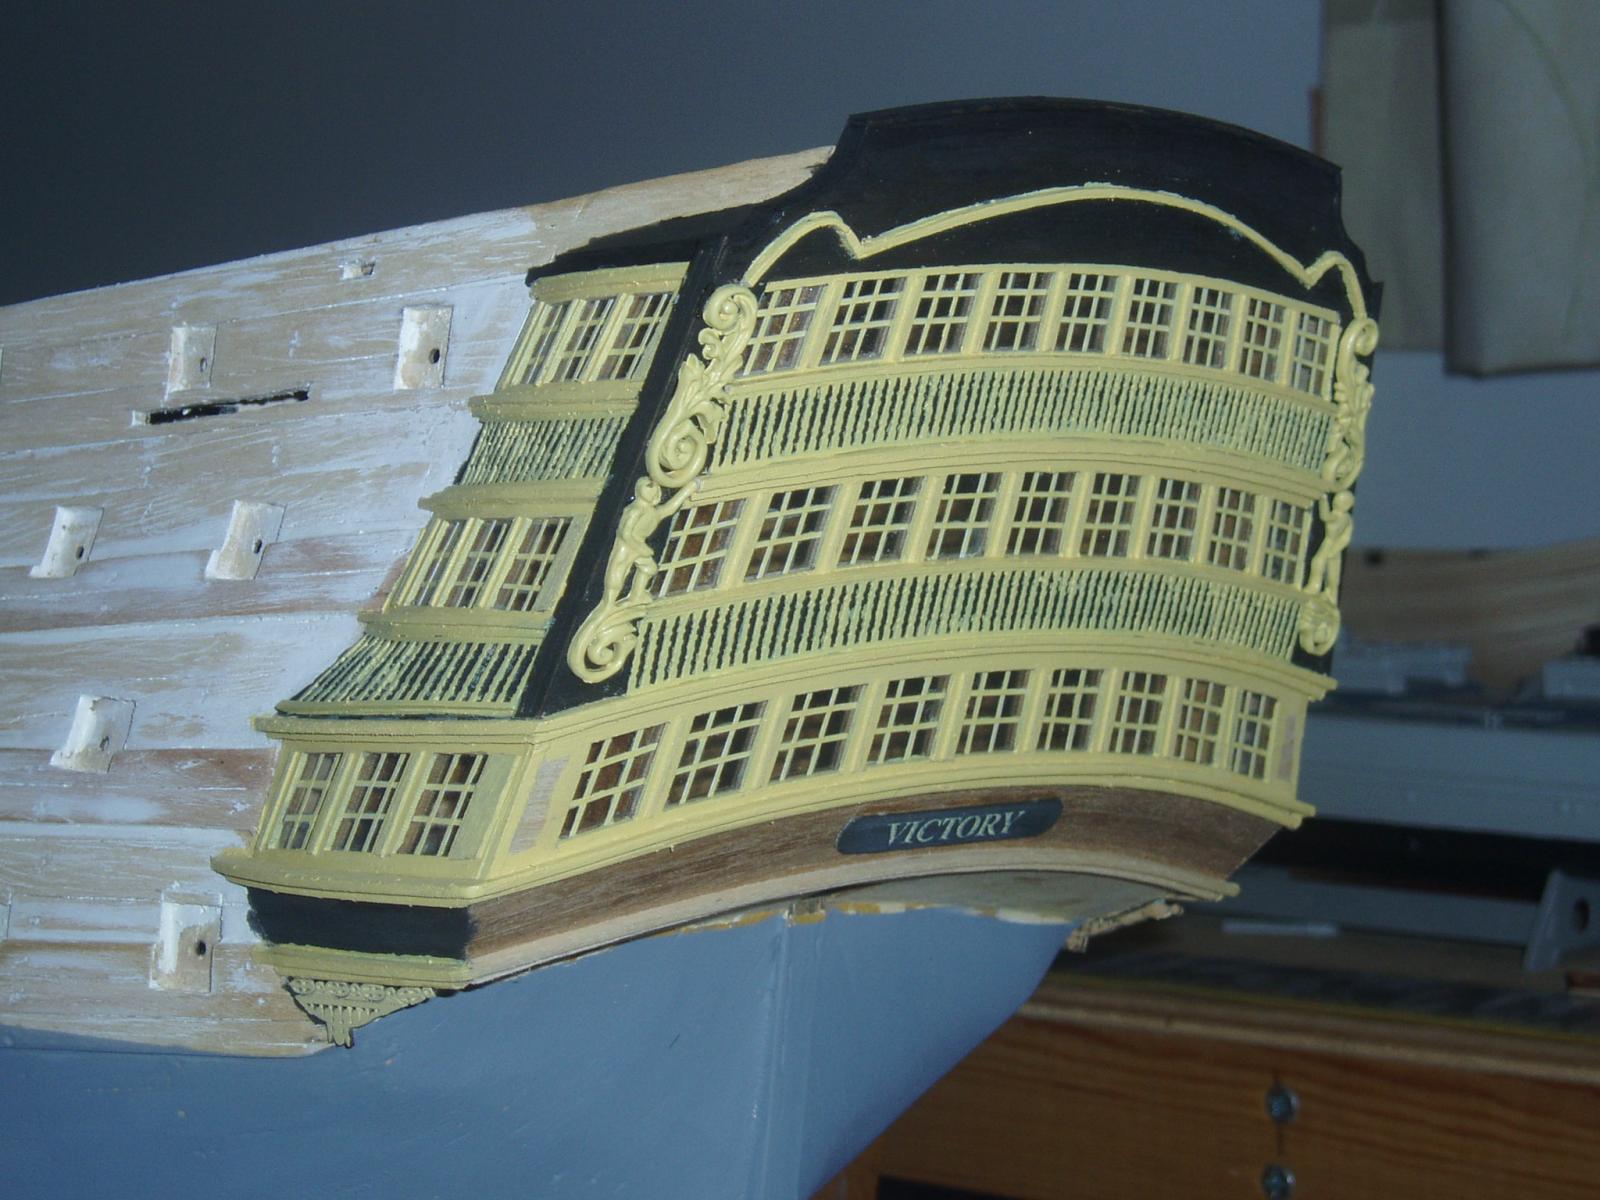
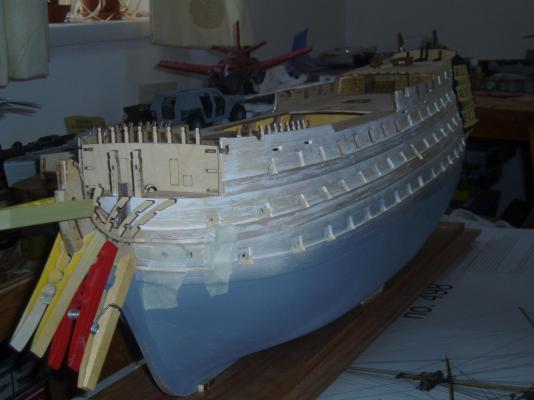
Things moving slowly- need to finish stern before i can really get to work on the rest of the hull as i hold her amidships between my legs as i am working on the stern! Second coat of yellow on and some more decoration- still need to tidy up some of the edges. also need some nice weather so i can sand the lining for the un-lidded gunports back which deffo is not going to be this weekend by the looks of things outside! Keith