clearway
-
Posts
2,238 -
Joined
-
Last visited
Content Type
Profiles
Forums
Gallery
Events
Everything posted by clearway
-
 Ty Greg- cant believe its 12 months since i touched dreadnought due to my Vic taking priority through the summer and a distraction with 1/72 aircraft (darn airfix and their excellent new tooling!). The upgrade is designed for the trumpeter kit though so there are size issues if using it with the Zvezda kit. Keith
- 22 replies
-
- 1
-

-
- dreadnought
- zvezda
- (and 1 more)
-
don't know if its available in the states but i used spray on lacquer from a rattle can for my billings cutty sark and victory. I have seen untreated copper on ship models turning black after a couple of decades! Keith
- 1,306 replies
-
- 5
-
-
- syren
- model shipways
- (and 1 more)
-
Havn't logged in for a while- you have been a busy bunny Boyd -looking great as always m8. Keith
-
I think the lanyards look ok au natural Boyd keep up the good work (i always rig starting with the mizzen mast working forward as it is easier to rig the forestays without the shrouds of the mast infront getting in the way). Keith
-
Bob i remasted a thirty odd year old model of victory for a friend and cleaned up the copper bottom which had oxidised black as it wasnt lacquered - this is why i always lacquer any copper plates on my ships. The pics of my cutty on completed kit built ships shows the copper after 18 years which while dulled i hope wont go black over time! Also beware fingertips are the most destructive element known to polished metal! Keith
-
Coming along nice Dom- I hand painted the black on mine using thinned down coats of humbrol matt 33 as i was worried about black paint getting on the windows and other yellow painted areas i had already done, and it was shall we say interesting and i thiunk she should be black with yellow st stripes. Keith
-
Hi Izzyi agree with Mark (mtaylor)- i am scratchbuilding a model of a 1927 built grab dredger which worked whitehaven harbour for over 70 years and remained coal fired to the end. I had to scratchbuild as no kit is available- however i still bought in ready made items like the handrail stanchions and engine room cowl vents. The anchor windlass was a "bashed caldercrat 1/48 kit, and the winch for the stern anchor was knocked together from several sources (including an 0 gauge loco kit) and some scratchbuilt items- really need to finish her one day- started it in 1998! If you google:- whitehaven harbour dredger clearway you will see loads of pics of the real thing on images. Keith
-
Good point izzy- and why do people only put fastenings on the end of the planks as any boat i have been on has had fastenings were the plank crosses every beam
-
Ty Lawrence, i have been seriously considering the Tamiya masking tape for some time now- i dont normally use it but my eyes are getting past painting long straight lines feehand these days - also thinking about delving into the world of airbrushing as opposed to hand painting and rattle cans. Keith.
-
Ty for the likes and comments- the hull was first primed with white acrylic wood primer then sanded back slightly and halfords high build auto primer applied then sanded back then humbrol grey acrylic primer was used below the waterline. Above the waterline i applied a couple of coats of the main colour thinned down to act as a further priming coat. Keith
-
Yep Boyd, but some actual summer would be nice though- dont think we have had more than two days of straight clear sunny weather without it raining on the west coast of cumbria and we even had to fire the heating on at work a few weeks back! Keith
-
what a delightful little build this is and thankyou for sharing with us. Keith
- 22 replies
-
- 1
-
-
- master korabel
- 75mm boat
- (and 1 more)
-
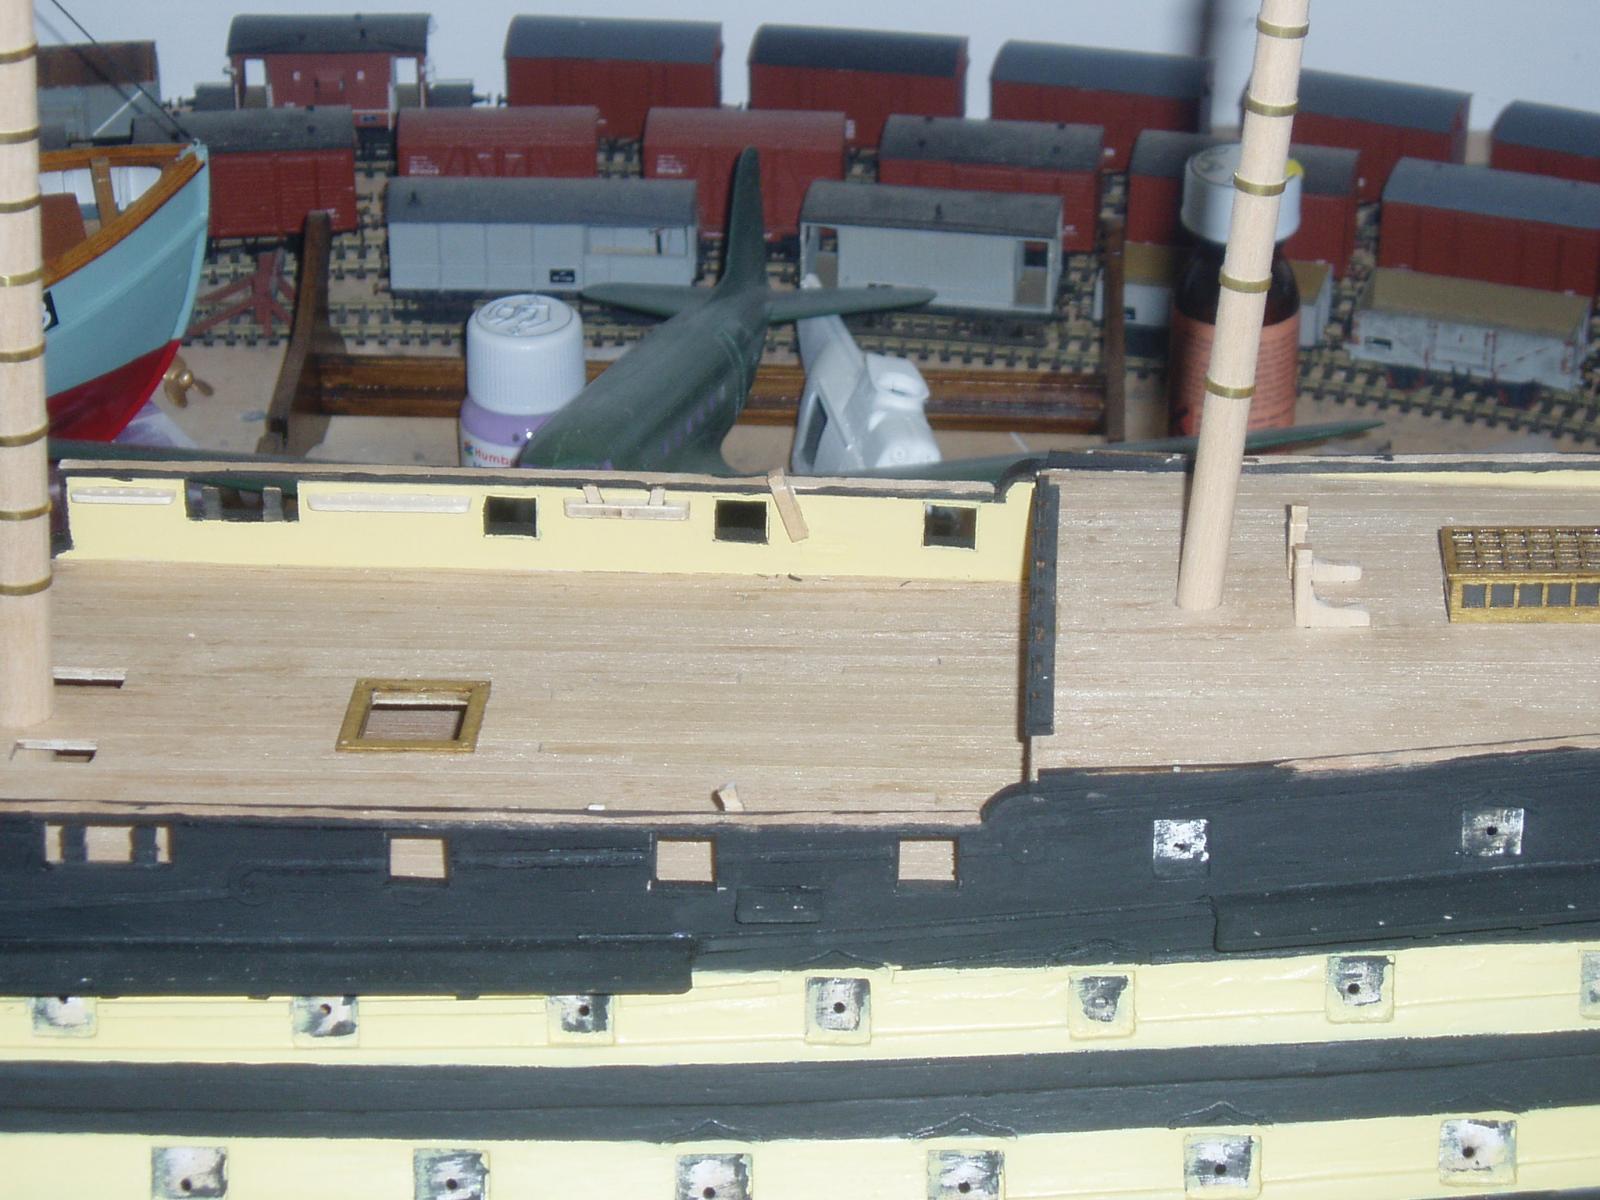
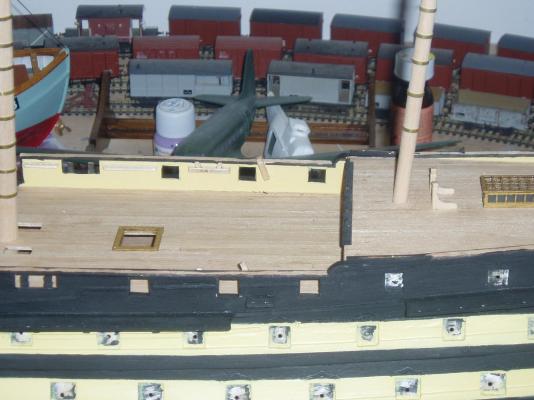
Due to outdoor work being cancelled due to rain- again, i fastened the quarter deck pinrails, staghorns and kevels in place ( replaced the ply kevels and pin rails using lime wood, but used the staghorns that came with the kit). Also built replacement posts for the mizzen fife rail again out of lime wood- thinking i should maybe have painted the pinrails and staghorns before attatching but nevermind! Have fun all, Keith
-
i always either prime wood before painting or thin down the first coat to let it sink into the wood a bit like stain to get it to stick. Keith
-
interesting seeing the similar yet different approaches billings and caldercraft used for the stern tuck and galleries- the caldercraft galleries look better thought out. Keith
-
The wales are a bit tricky to fathom seeing as billings made no allowance for them. I used pictures of stern bow and midships on the real thing as a reference using hawse holes, gunports and stern galleries as a guide. Keith
-
who said alchemists never discovered anything! being 1 off the big 50 meself i know the O.M.G. half century fast approaching!!!!!!!!!!!!!!!!!!!!!!!! feeling Keith
-
5) and perhaps the biggest one would be.......the admirals would always know where we are I gotta agree- when the admiral complains about time in the workshop i reply at least you know where i am (physically- dunno about mentally ) builds really coming together and having started the zvezda 1/350 dreadnought i can appreciate how tiny the 1/400 bits are on the titanic! Keith
-
Have you thought about using planking battens to give an idea for the run of the planking Dominic? I also use a small hand held surfoam and sandpaper around a block of wood to taper planking. Keith
-
i think it was perpetuated by the copper bottoms on ships being relatively straight- i am also building the panart uss lynx and have done a straight waterline on that- its a hard habit to break! Lovely job so far by the way keep it up. Keith
- 1,306 replies
-
- 4
-
-
- syren
- model shipways
- (and 1 more)
-
I use the block of wood with a pencil taped on top- however i will deffo try this one in future . I did read somewhere once that on these earlier period ships the waterline followed the wales and straight waterlines we know it is a later invention. Keith
- 1,306 replies
-
- 2
-
-
- syren
- model shipways
- (and 1 more)