clearway
-
Posts
2,228 -
Joined
-
Last visited
Content Type
Profiles
Forums
Gallery
Events
Everything posted by clearway
-
 Looking good keith- this one slipped under my radar 😁 i love these old workboats and definitely a unique subject. Keith
 -
i used walnut strip on my HMS terror, ongoing Endurance and HMS Erebus and find it lightens over time when it oxidises- if you look at m Erebus log you will see where i have used old and new stock and the colour has altered over the space of a couple of years. Keith
-
coming along nicely- say hello to the 1:1 Terror and Erebus for me when you head North😁. Keith
-
well i dont think i will be buying that one to upgrade wayyyyyyyyyyy tooooo bigggggggggg 😱 Keith
-
i'm a regular on that route- also the section of line from whitehaven to barrow on the cumbrian coast is awesome scenery wise as you have the solway firth on one side and the cumbrian fells on the other.
-
keep meaning to get to Whitby for the north yorkshire moors railway along with the captain cook stuff- the hearts on the bowsprit are held in place by a piece of rope seized around the heart then run through a noose in the other end of the line around the bowsprit if that makes sense- from the front looking back there should be one offset to starboard and one offset to port as opposed to the earlier method using open and closed hearts as on Victory etc. Keith
-
the forestays lead to hearts rigged port and starboard on the bowsprit, the topmost stays lead to the bees and the topgallant jib stay leads through a block set towards the end of the jib boom and the topgallant stay leads through a groove in the end of the jib boom. Keith
-
welcome to the Terror club and all the fun that comes with the Occre kit🤪😜. The north west passage cruise sounds awesome. Keith
-
Thanks- i got my Terror and Erebus from always hobbies and Victory from my local model store which has now closed Keith
-
maybe what makes it taste so good! a few bottles of Loweswater Gold and Ennerdale Blond would be good methinks! Pssst Keith we need our other Keith Keith
-
Welcome back to the Terror Club Hake- ah the dread of having to do the ratlines😱. Keith
-
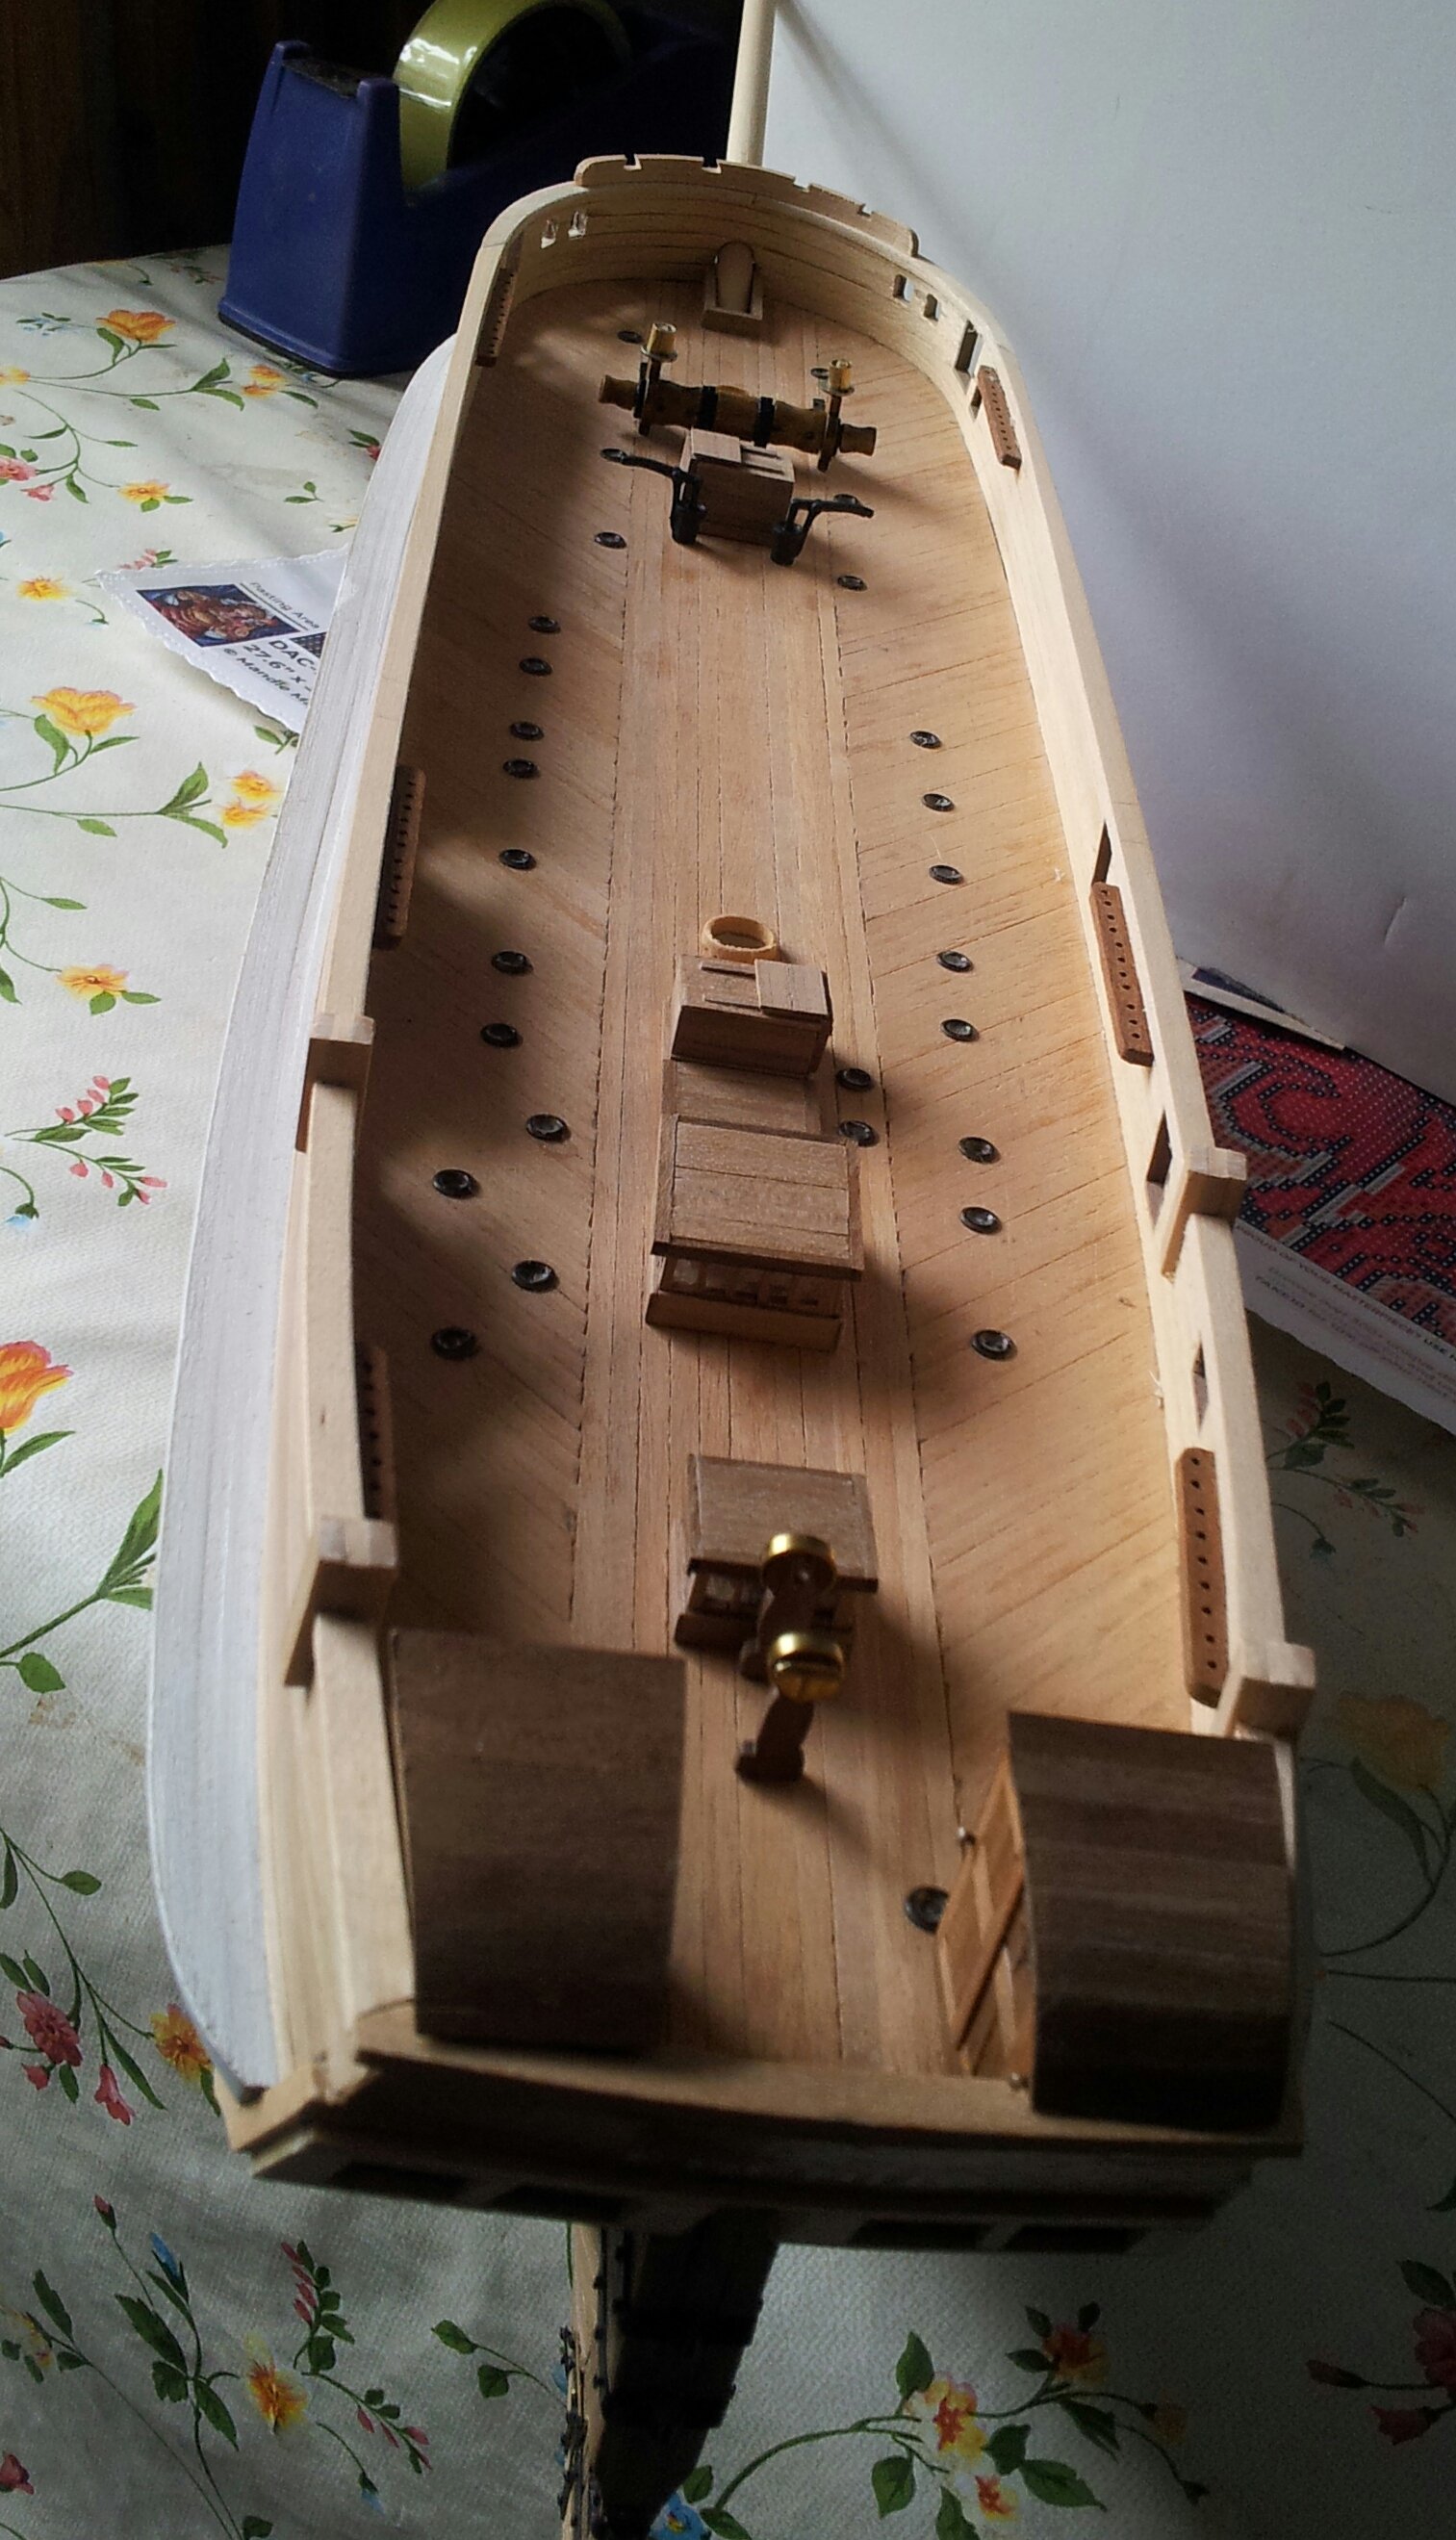
Thanks for the likes and comments everyone, well yet once more wind and rain + cold temperatures = summertime!!!!! Back with Erebus and the belaying pins have been fitted- i wanted to use billings brass 11mm pins as with my Terror but they were only available in wood so had to go with those, also obtained some billing boats cleats (both from Cornwall Model Boats). You can see from this pic that none of the deck fittings are actually glued in place yet. The cleats from bow to stern are for the Jib and foremast staysails, main course fore tack, fore course sheets, main course sheets and main brace. Take care all Keith

-
No problem Matt lol- also there is Daniel d's Terror log as well Keith
-
Ty MBerg i always suggest build a few simpler ships first to get familiar with techniques etc- depends how far you want to adapt the occre kit really but just simple alterations and additions like the deckhouses in the stern make a massive difference (you might want to check out Keith S and my own H.M.S. Terror logs as well if not already familiar.
-
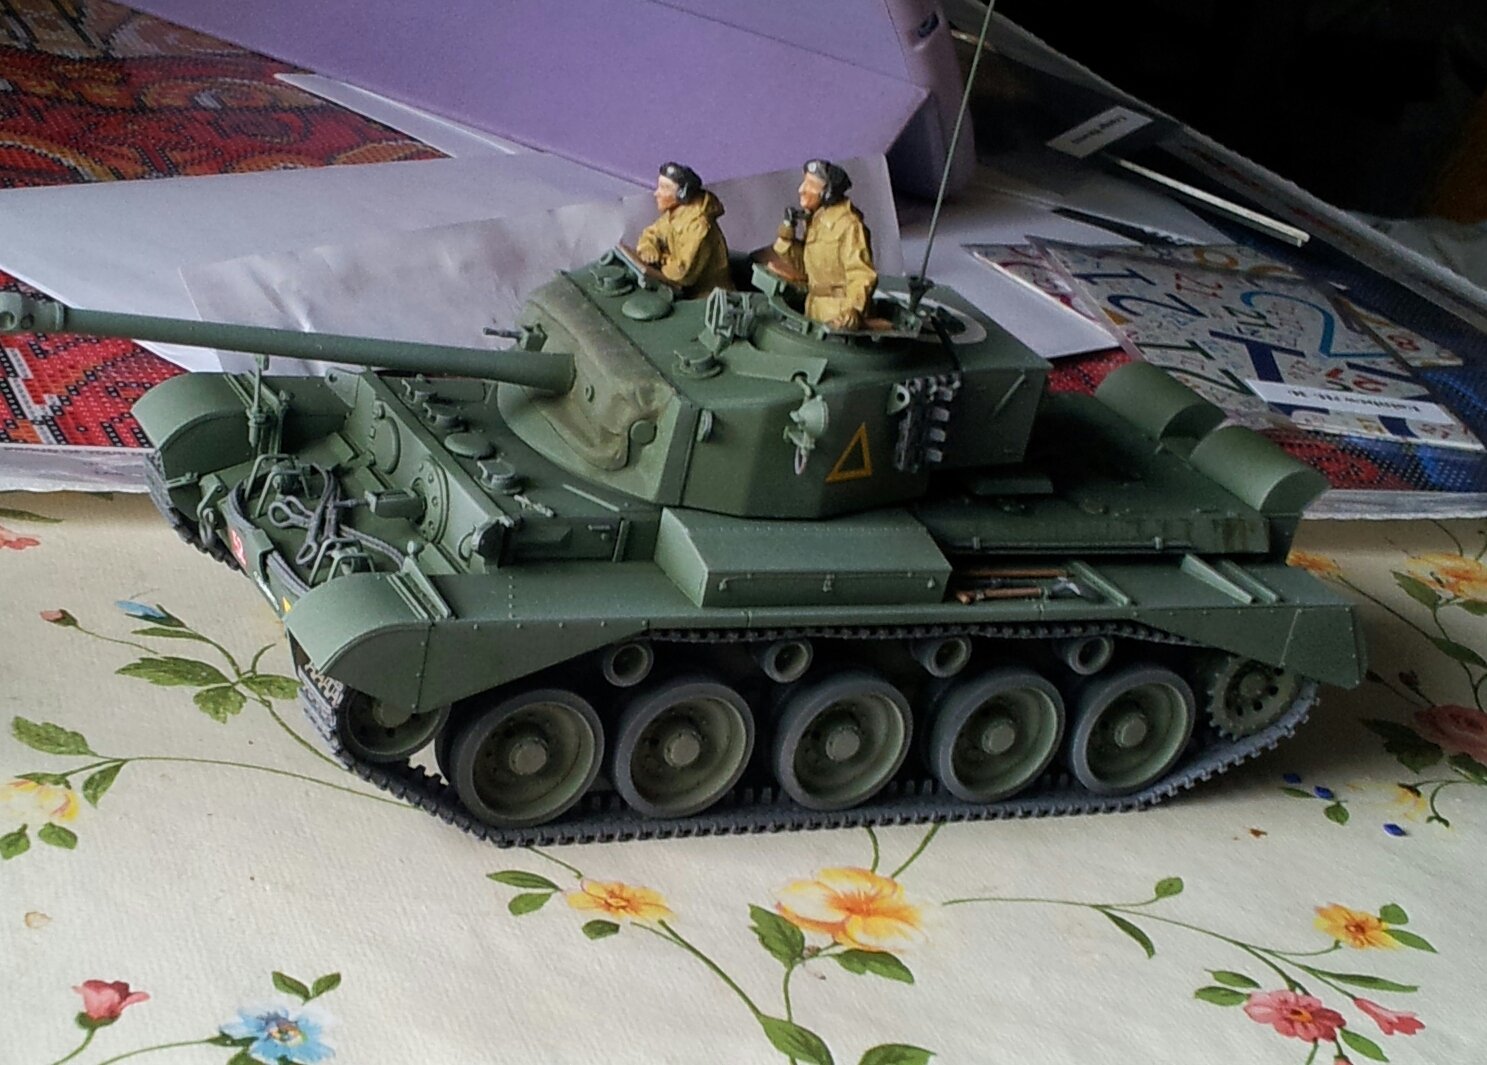
Thanks Keith- likewise your Tennessee - the Tamiya tank commander and loader just a tad larger than your Laal (little) guys! Keith
-
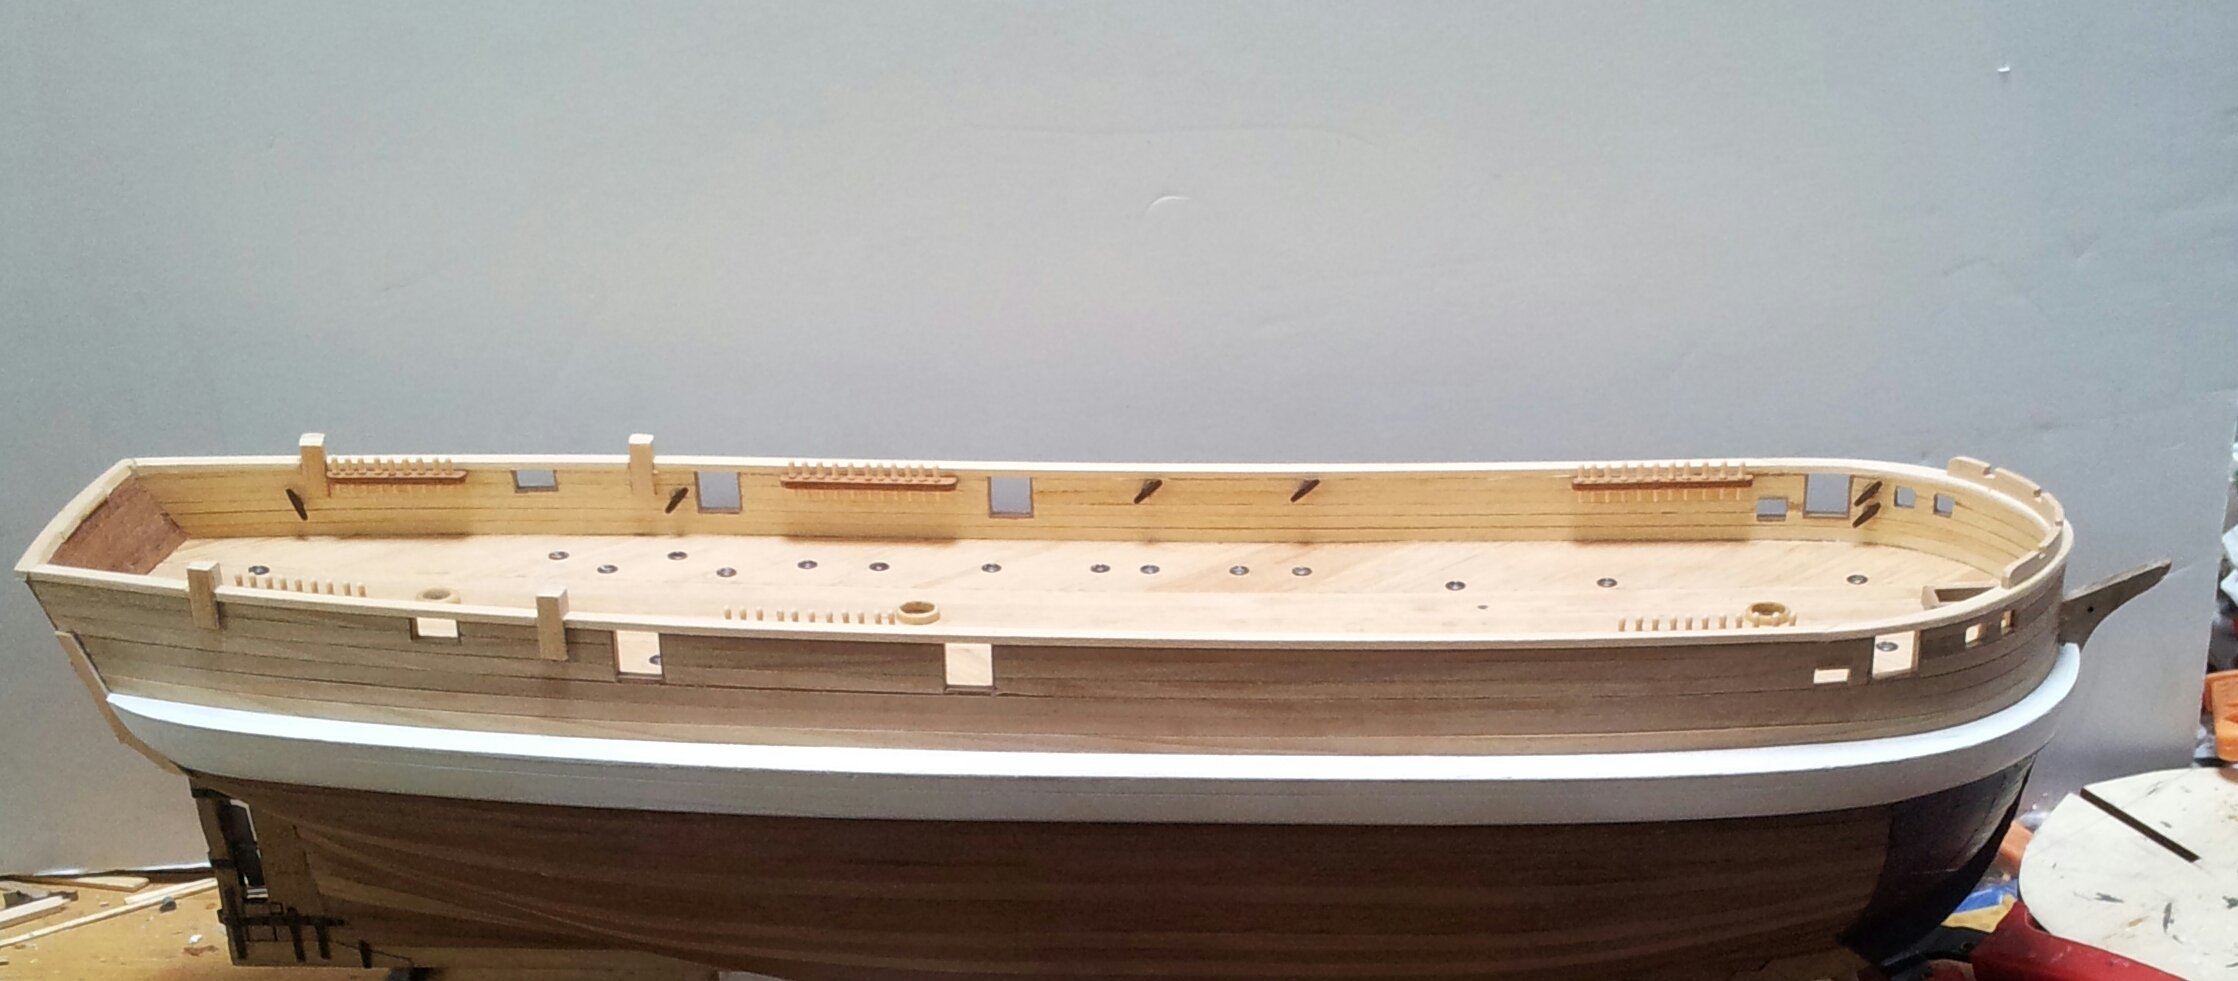
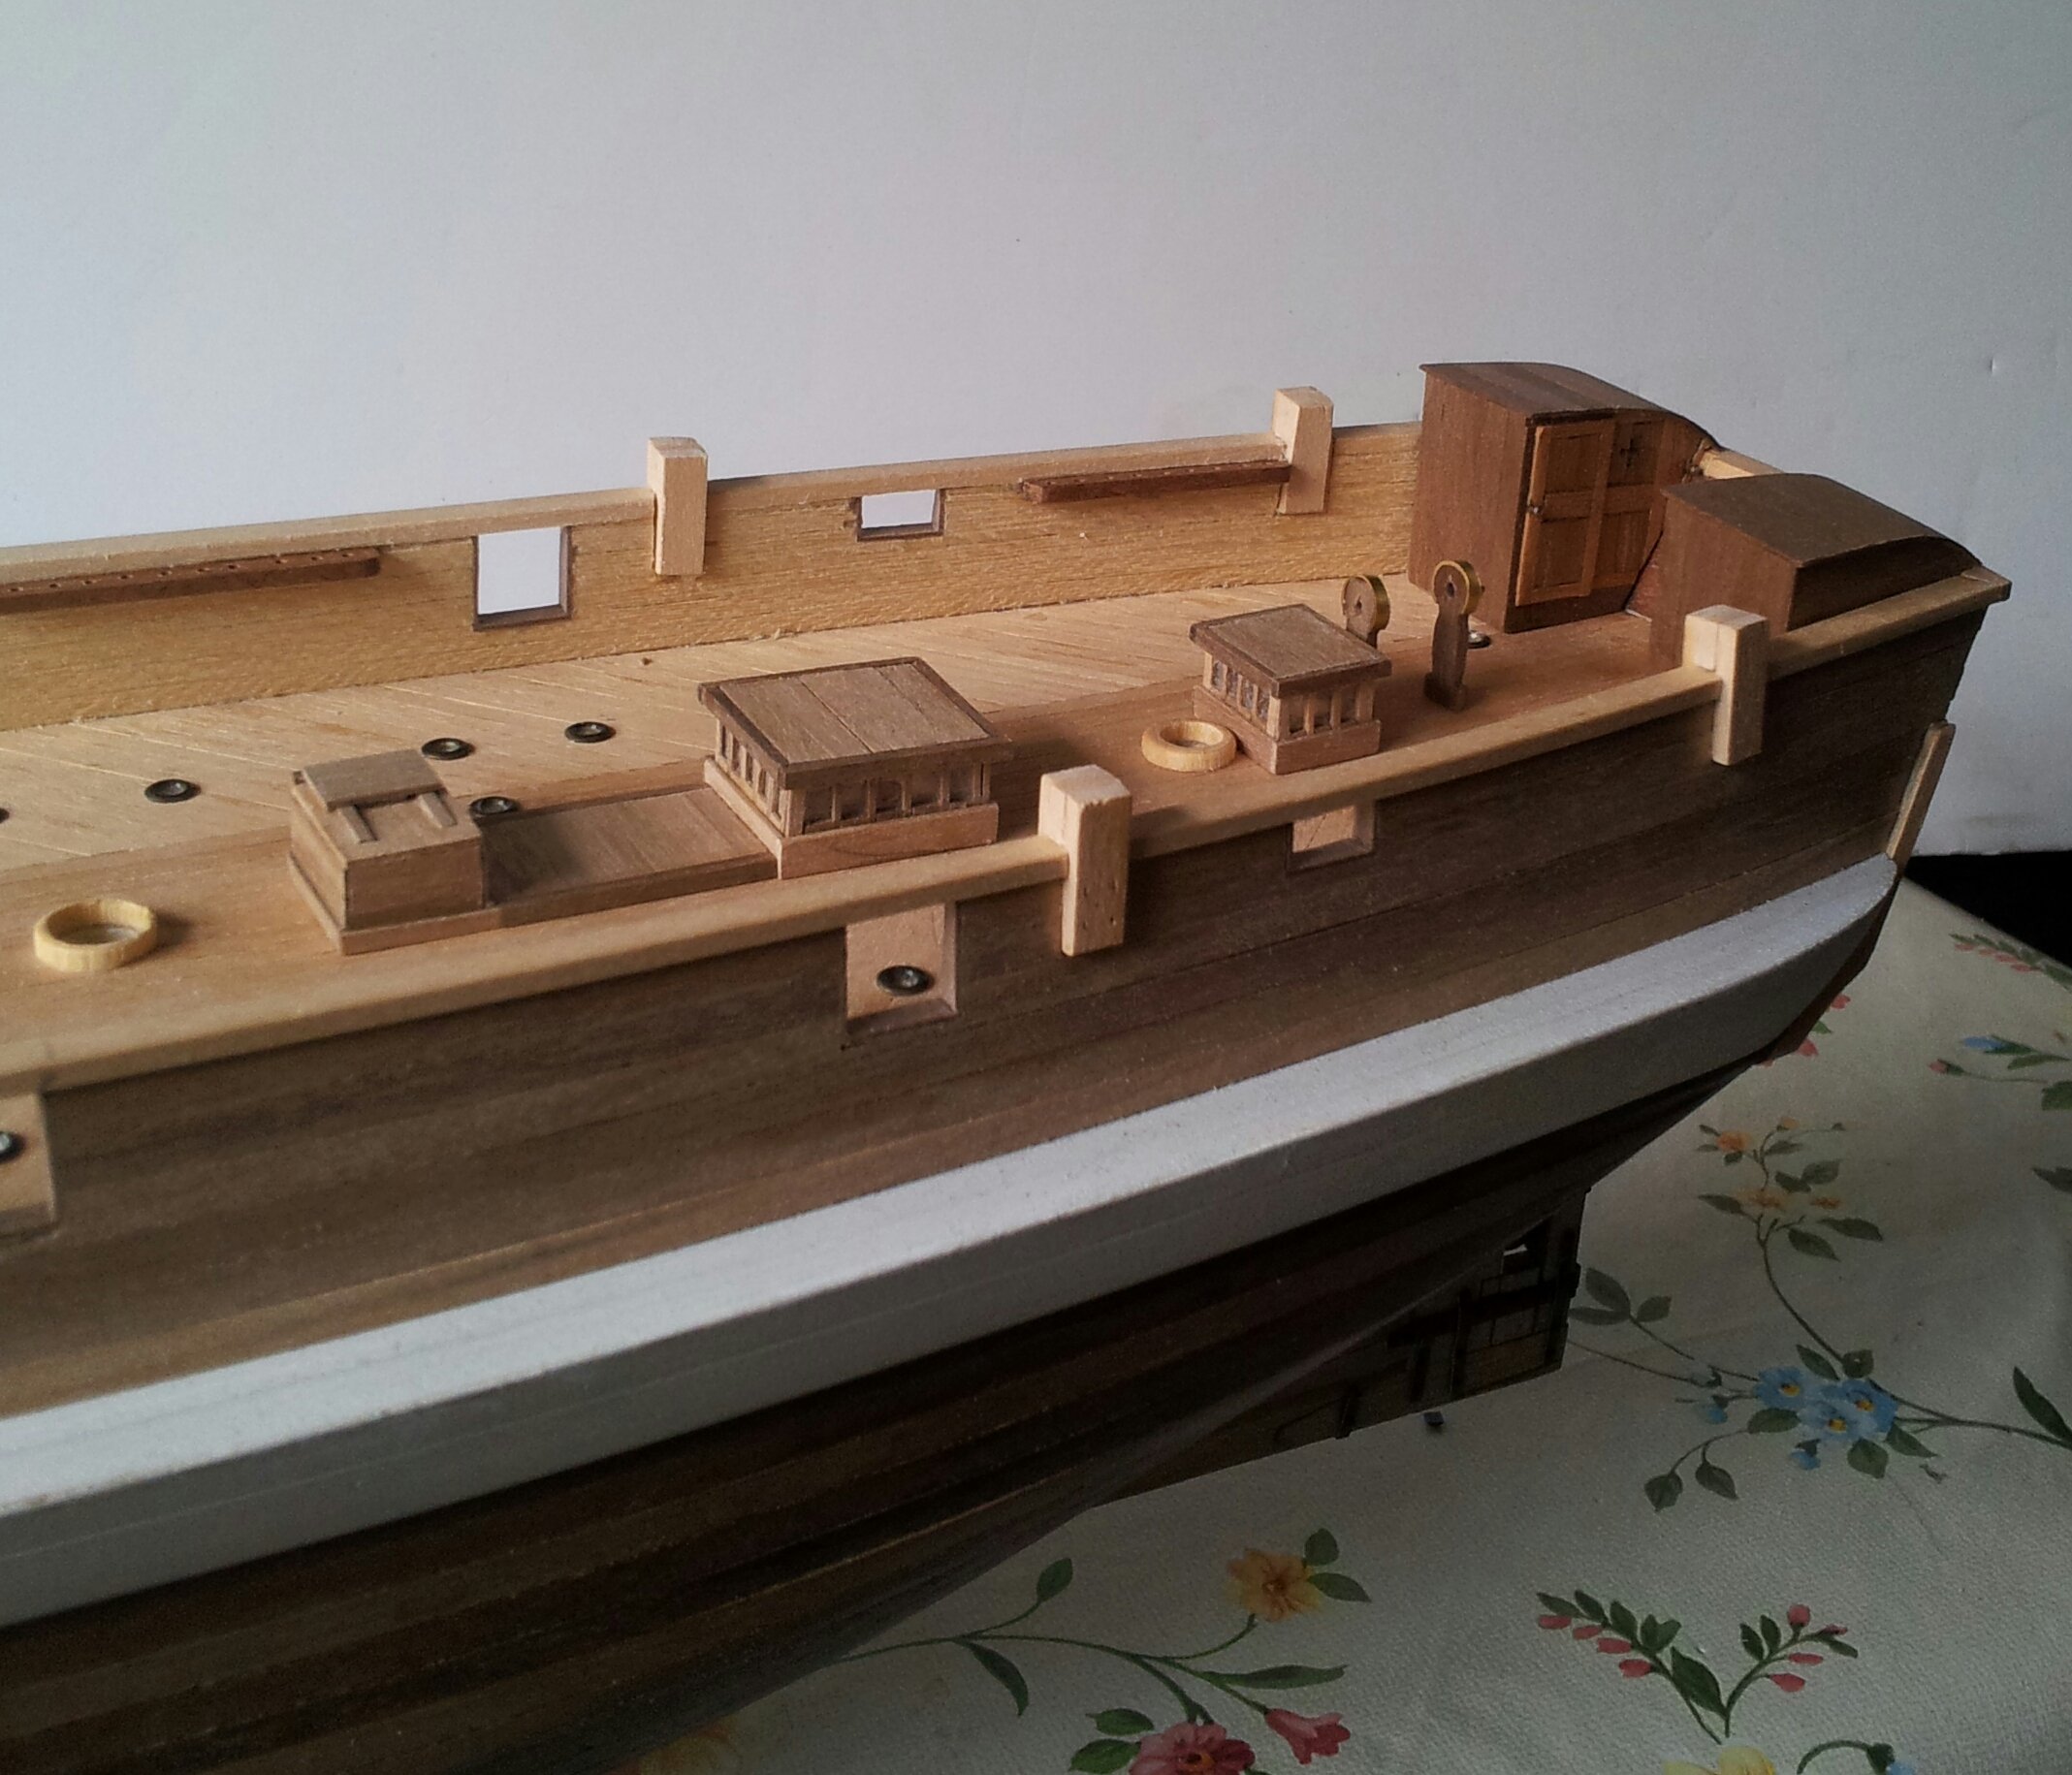
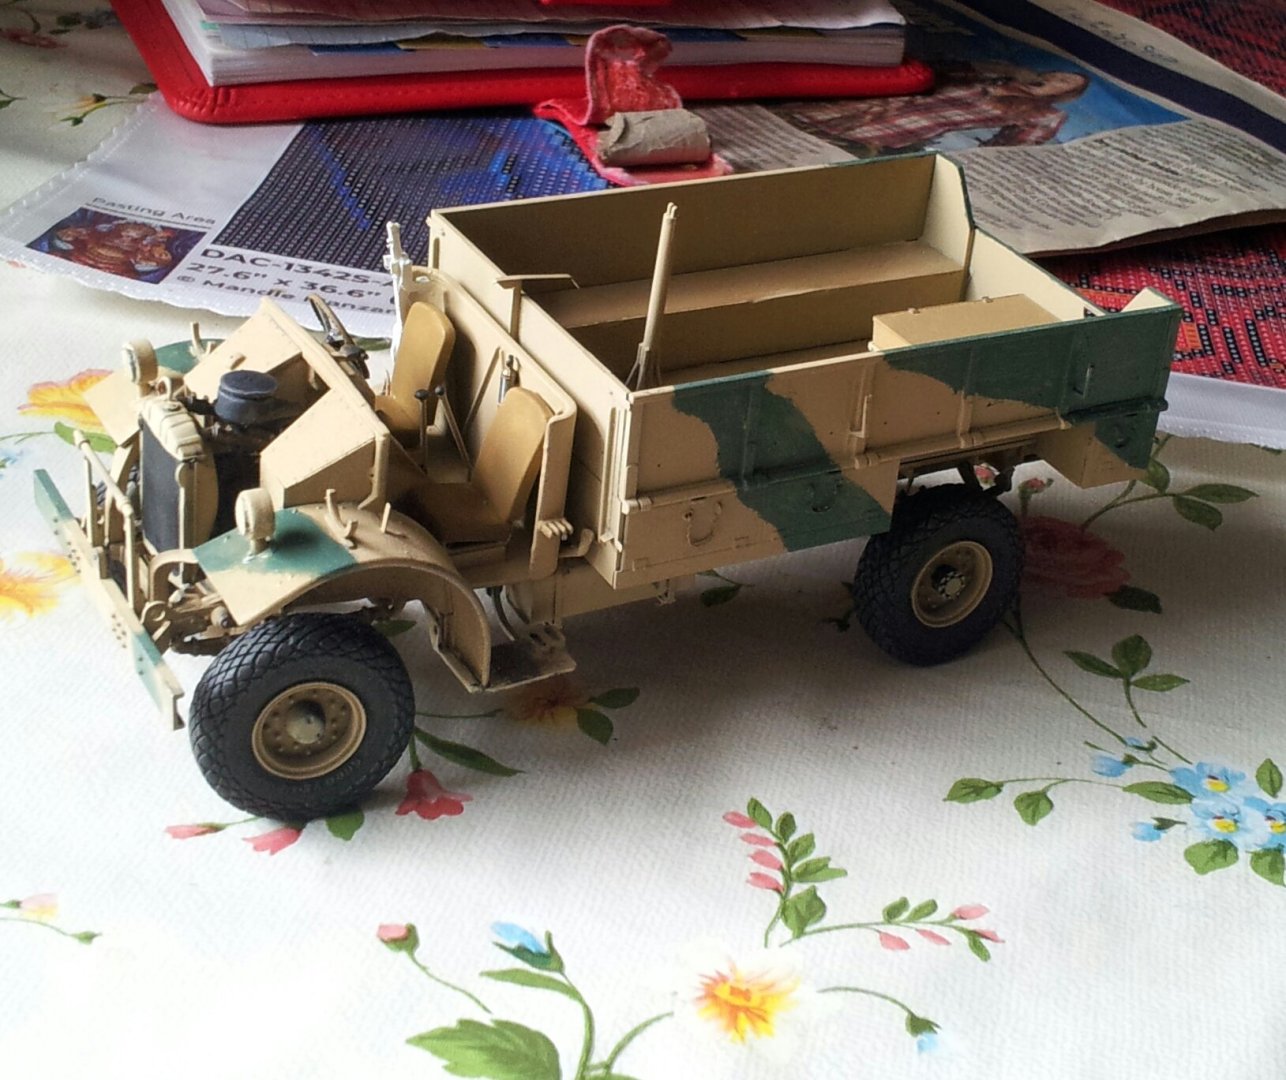
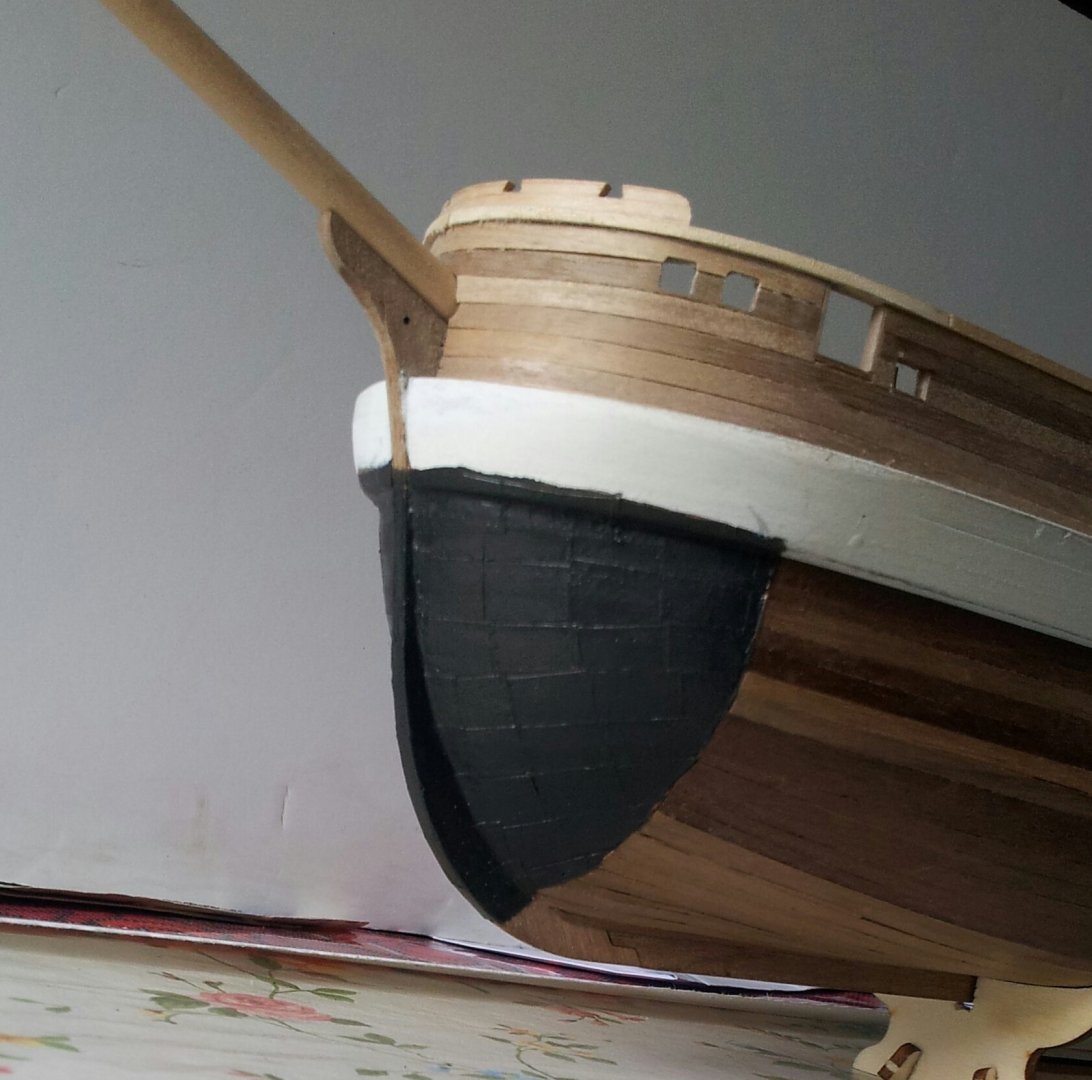
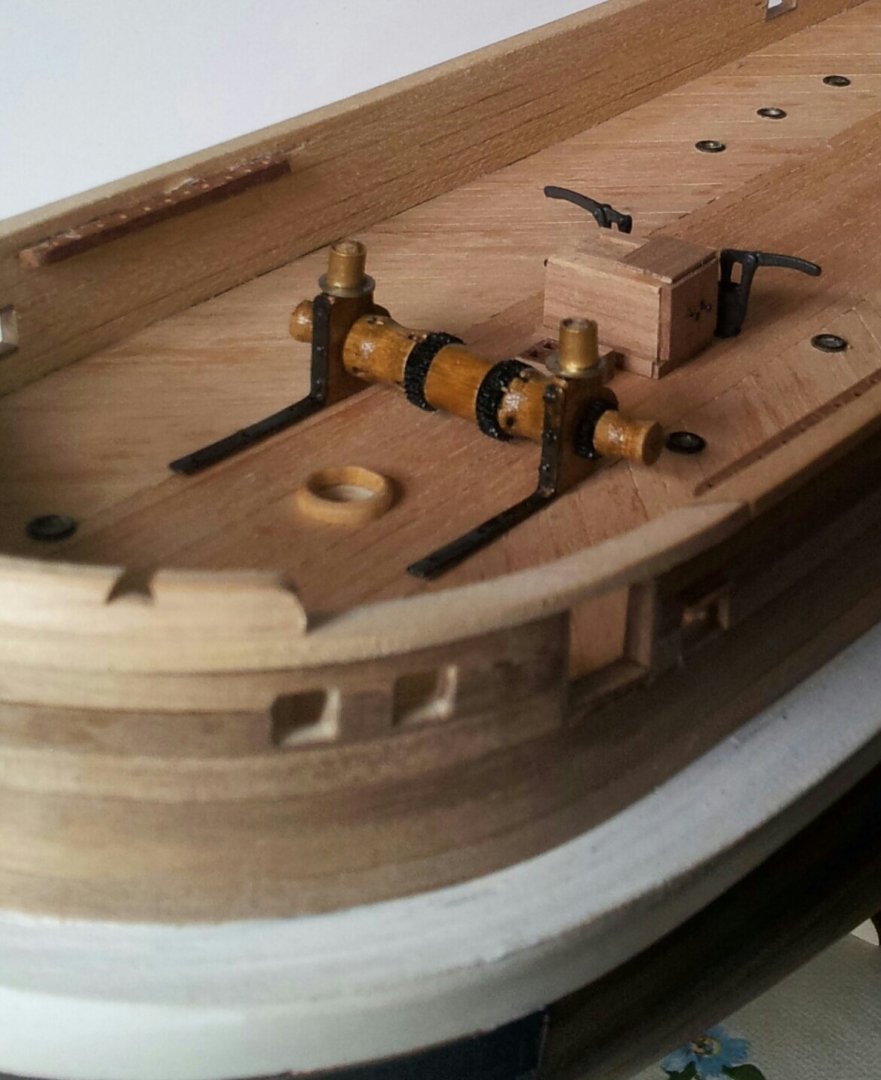
Thanks for all the likes and looking in everyone. Due to outdoor work/ maintenance and the distraction of 1/35 military models poor Erebus has been neglected! Firstly the bow plating has been finished also the bollards are fastened to the bulwarks and the pin rails have been added - unlike the instructions the rear most bollards are not in the middle of the mizzen pin rail there should be more of a gap between the pin rail and the bollard and i think this is where the extra 12mm that should have been added to the kit would make a difference). also the anchor windlass has had the warping drums stained/ varnished but still needs the metal work on the riding bitts blackened. and finally two of the 1/35 distractions! Tamiya british a34 comet and Thunder Models ford f30 cmp truck in L.R.D.G. service (still in progress) Take care all Keith


-
Keith, i take pics using my mobile phone from a distance and then go to the picture on the phone, select crop from the options menu- crop the picture and name it- voila nice detailed pic without needing macro- however if enlarging too much (and dem yar fellas are tiny) the lens can be cruel! But t' laal fellas luk reet ! Keith
-
welcome to the crazy world of occre upgrading Kevin 😁 Keith
- 62 replies
-
- 3
-

-

-
- belle poule
- OcCre
- (and 1 more)
-
some nice detail work been going on over last few posts Daniel. Keith