Ryland Craze
-
Posts
1,569 -
Joined
-
Last visited
Content Type
Profiles
Forums
Gallery
Events
Everything posted by Ryland Craze
-
 I am envious of these guys. I wish they would start a build log to share their progress with us.
- 269 replies
-
- 7
-

-
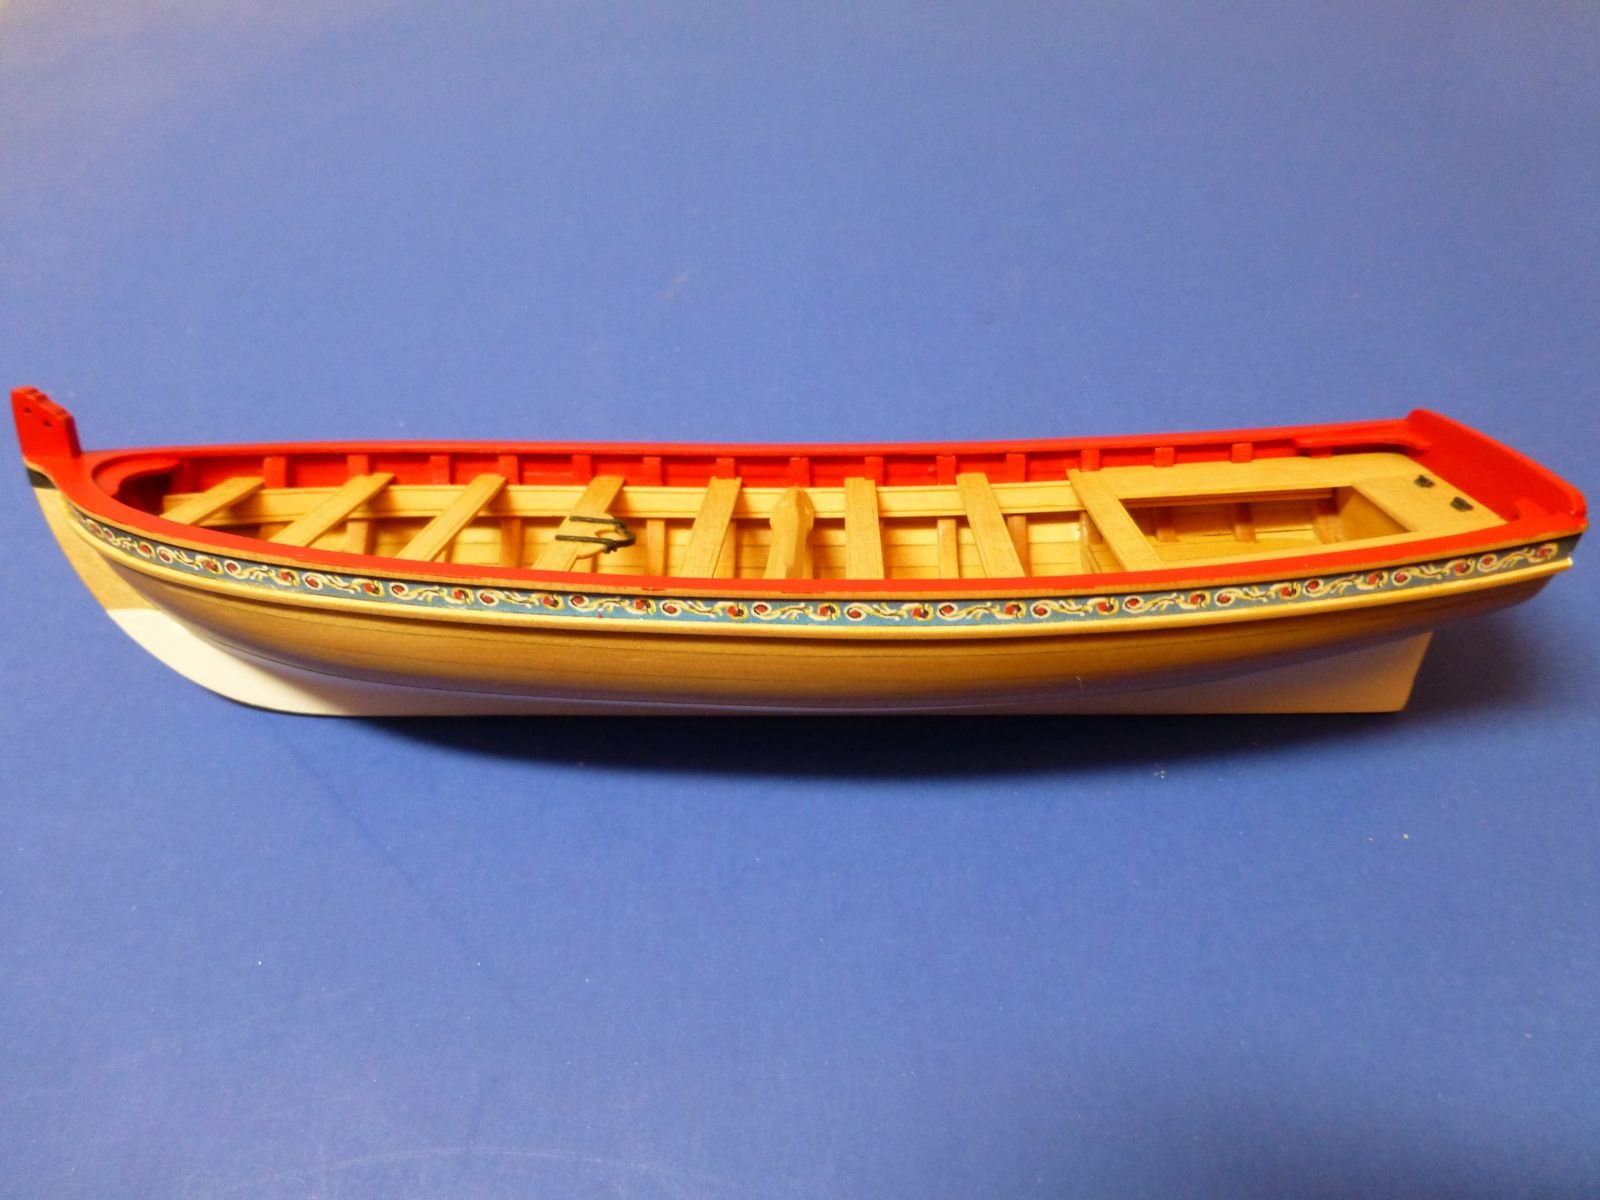
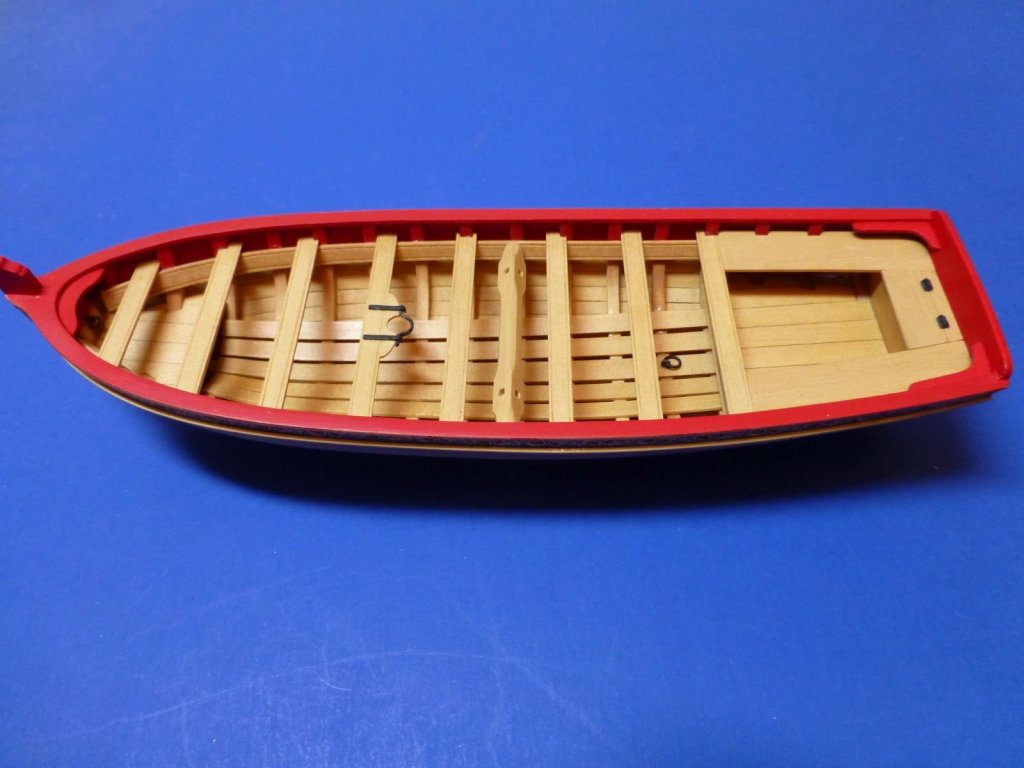
- Queen Anne Barge
- Syren Ship Model Company
- (and 1 more)
-
Thank you Master Korbel for being a sponsor of Model Shipworld. I am looking forward to seeing your products and can not wait to see the joint venture with Syren Ship Model Company.
-
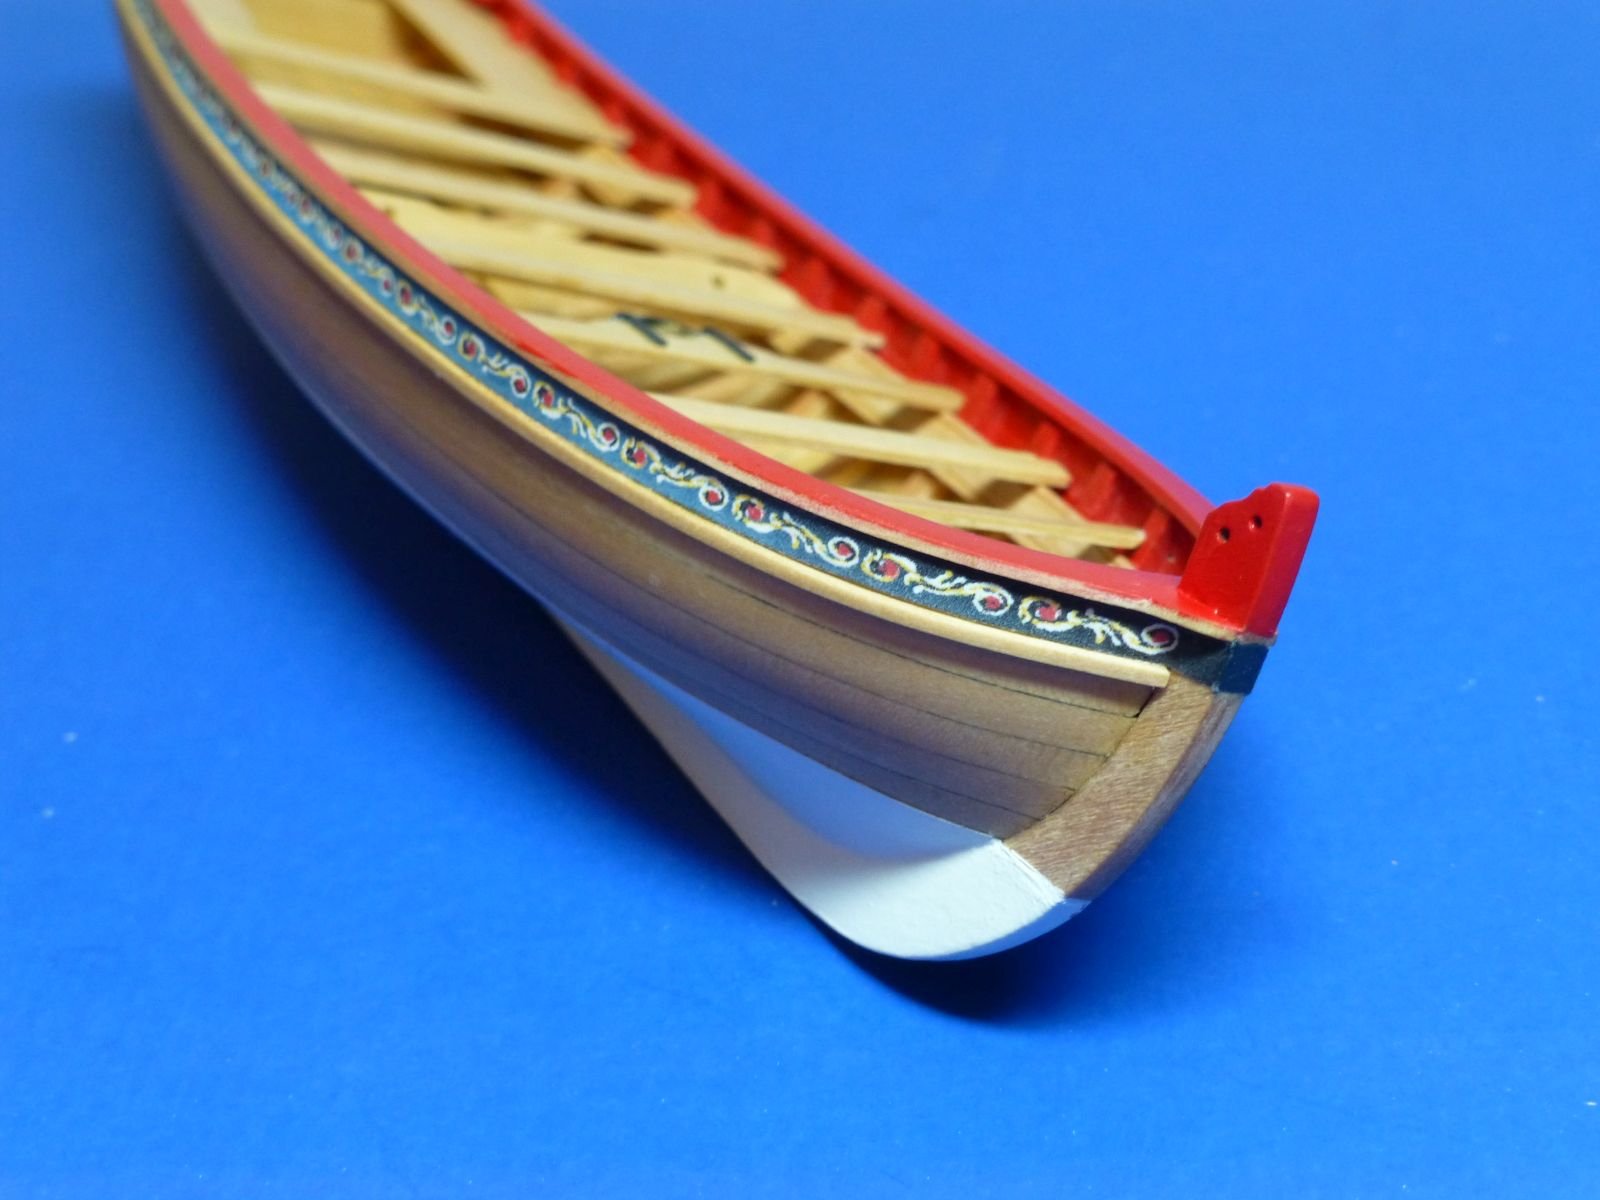
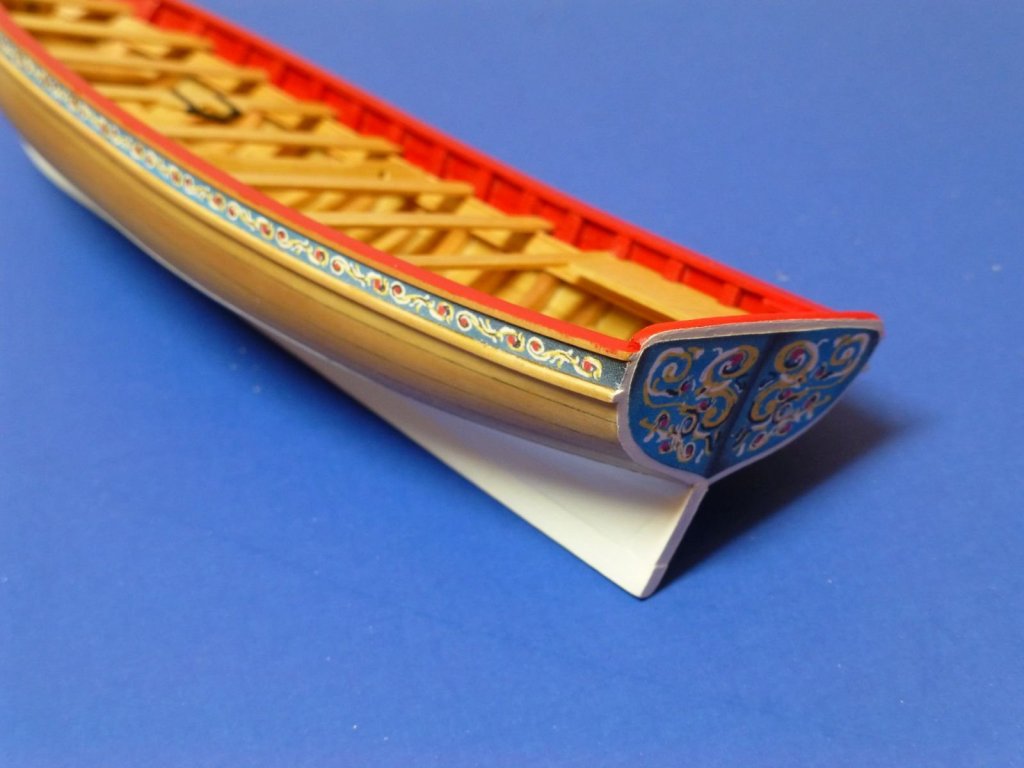
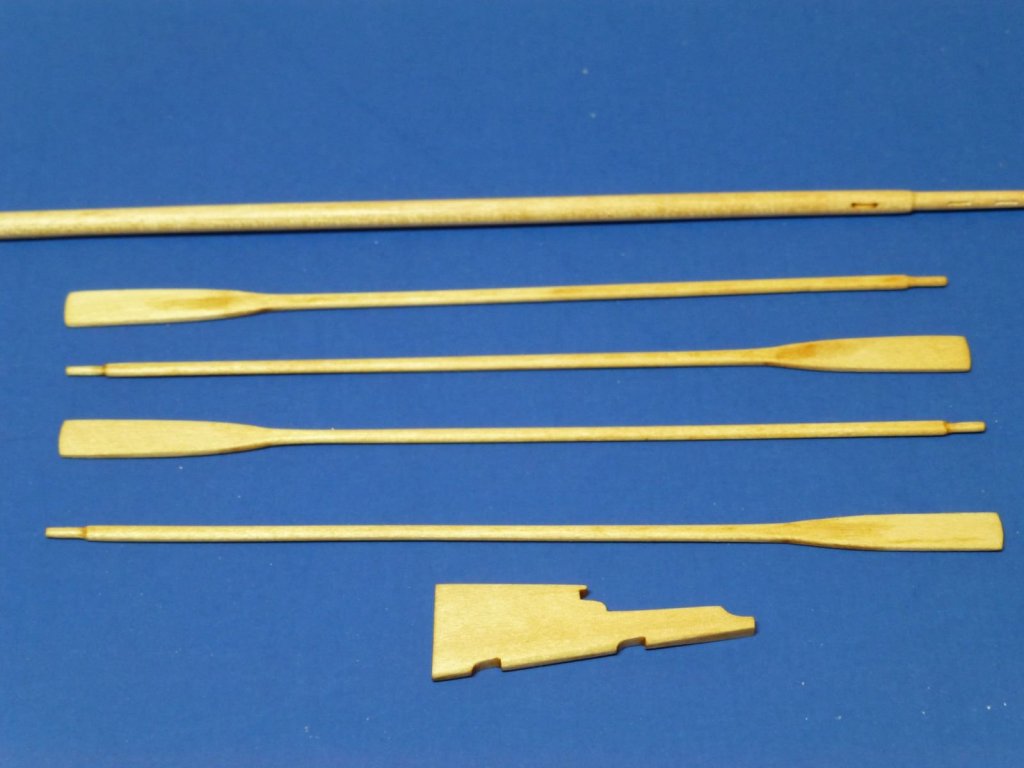
Thanks Chuck, Steve, B.E, John and Dave for your words of encouragement. I also appreciate the “Likes” and those that have looked in on my build log. I hope everyone has a Happy New Year and I look forward to finishing this model in the near future. Over the past year, I have added the printed friezes and the molding strip. I still need to paint the edge of the cap rail and molding strip white, but will wait till I am almost finished handling the model. I painted the waterline using Badger White and was dissatisfied with the color. The white had a grey hue to it and I did not like it, so I painted over it using Model Master Acrylic flat white. I am real happy with this color as it looks good with the white in the printed friezes. I brushed the paint using Chuck’s technique of using water thin coats of paint. Here is a stem view showing where the printed friezes meet at the stem. I used Model Master Enamel Dark Sea Blue to paint the forward edge of the stem. It was almost a perfect match for the printed friezes. Here is a photo of the stern transom with the painted frieze. I first painted the transom flat white. Then I cut out the printed frieze. I did not use the printed white border since I had painted my transom white. I glued it onto the transom using slightly diluted white glue. I also have made the oars and the main mast and have started on the rudder. I have a little work to do on the interior and then I will move on to the metal work. Thanks again for your support and I look forward to posting my progress.


-
Wow, did not realize that it has been over a year since I last posted anything. I have done some work on the Longboat and will post some pictures after the Christmas rush is over. Chuck, I hope your mother-in-law is doing better. I hope 2018 will be better for you and Patty.
-
Be sure that the forward edge of the garboard strake starts about 1/8'' forward of the scarph joint. I feel this strake is the most important of the strakes to be installed. I found out the hard way after installing three bottom strakes that my garboard strake was too far forward. I had to remove them and start over. You are coming along nicely on your build.
-
Looking good Rusty. I appreciate the close-up pictures.
- 310 replies
-
- 2
-
-
- cheerful
- Syren Ship Model Company
- (and 1 more)
-
Glad to see that you are back to work on your AVS. I have one that is begging me to finish it. Planking looks nice. You will be fine just sanding out the gun port to its correct size. It will be covered up by the interior bulwark planking.
-
Congratulations Chris on completing your Confederacy. Your model looks clean and flawless. I have enjoyed following your build log.
- 290 replies
-
- 2
-
-
- confederacy
- frigate
- (and 1 more)
-
This is really a nice feature. I know I will be using it. Thanks for putting this together.
-
Congratulations on getting the barge kit almost ready to market. This is going to be an awesome kit for any ship modeler to build. The design of this kit will make us look like expert ship modelers when we build it. I know you will be stuck in your shop trying to keep up with the demand.
- 269 replies
-
- 7
-
-
- Queen Anne Barge
- Syren Ship Model Company
- (and 1 more)
-
Congratulations on completing your Rattlesnake. You did a super job on building her and I really enjoyed following your build log.
- 481 replies
-
- 1
-
-
- rattlesnake
- model shipways
- (and 1 more)
-
Here is what Chuck posted on Dubz's Syren build log for the rigging line requirements:
-
Congratulations on finishing your Longboat. It was very nicely done. I enjoyed following your build log and look forward to your next build.
-
Your English Pinnace is coming along very nicely. Keep up the good work.
- 190 replies
-
- 2
-
-
- pinnace
- model shipways
- (and 1 more)
-
I like the revision. I cannot wait to see more.
- 269 replies
-
- 2
-
-
- Queen Anne Barge
- Syren Ship Model Company
- (and 1 more)
-
Congratulations on the completion of your Cheerful. Your craftsmanship is top notch. I have enjoyed following this build log and I look forward to your new build.
- 452 replies
-
- 5
-
-
- cheerful
- Syren Ship Model Company
- (and 1 more)
-
Congratulations on the completion of your Cheerful. I have really enjoyed following your build log. Your work is an inspiration to all of us.
- 1,051 replies
-
- 9
-
-
- cheerful
- Syren Ship Model Company
- (and 1 more)
-
Echo by davec - FINISHED - cross-section
Ryland Craze replied to davec's topic in - Build logs for subjects built 1751 - 1800
Wow, that is nice. You will be able to do some serious modeling in your new workshop. I cannot wait to see it when you move all of your modeling tools back in. I am also looking forward to seeing the models you will be building as you turned out some highly crafted models out of your old workshop. -
Congratulations on completing your Willie L. Bennett. You did a great job on building this skipjack and I enjoyed following your build log. I really like the display and am looking forward to seeing it in New London at the end of the month.
- 250 replies
-
- 3
-
-
- willie l bennett
- model shipways
- (and 1 more)
-
Congratulations on finishing your Phantom. You did an excellent job on building this model. You also accomplished what a lot of first time model ship builders never do and that is to finish your first ship model. I am looking forward to following your Philadelphia build log.
- 701 replies
-
- 4
-
-
- phantom
- model shipways
- (and 1 more)
-
Congratulations on completing your Bluenose. You did an excellent job on building this model. John Earle has a lot of valuable information on his website and I have seen his techniques used by other modelers.
- 21 replies
-
- 1
-
-
- bluenose ii
- artesania latina
- (and 1 more)
-
Congratulations on the completion of your Granado. I have really enjoyed following your build log and I look forward to following your Halifax build.
-
Welcome to Model Ship World Scott. You will find this a wonderful site to help you with your model ship building. Also, thank you for your service to our country.
-
Erik, I am enjoying your build log. Please post some pictures of your clamping procedure for your planking strakes. Thanks.
-
Congratulations on completing your Longboat. Your build log is definitely the "go to" resource for builders of this kit. I know I will be referring to it as I complete my Longboat.
- 277 replies
-
- 1
-
-
- model shipways
- 18th century longboat
- (and 1 more)