ccoyle
-
Posts
8,733 -
Joined
-
Last visited
Content Type
Profiles
Forums
Gallery
Events
Everything posted by ccoyle
-
 Hey, @Shipyard sid. The photo links in this build log are all broken. Any possibility of getting them fixed?
 -
Welcome aboard!
-
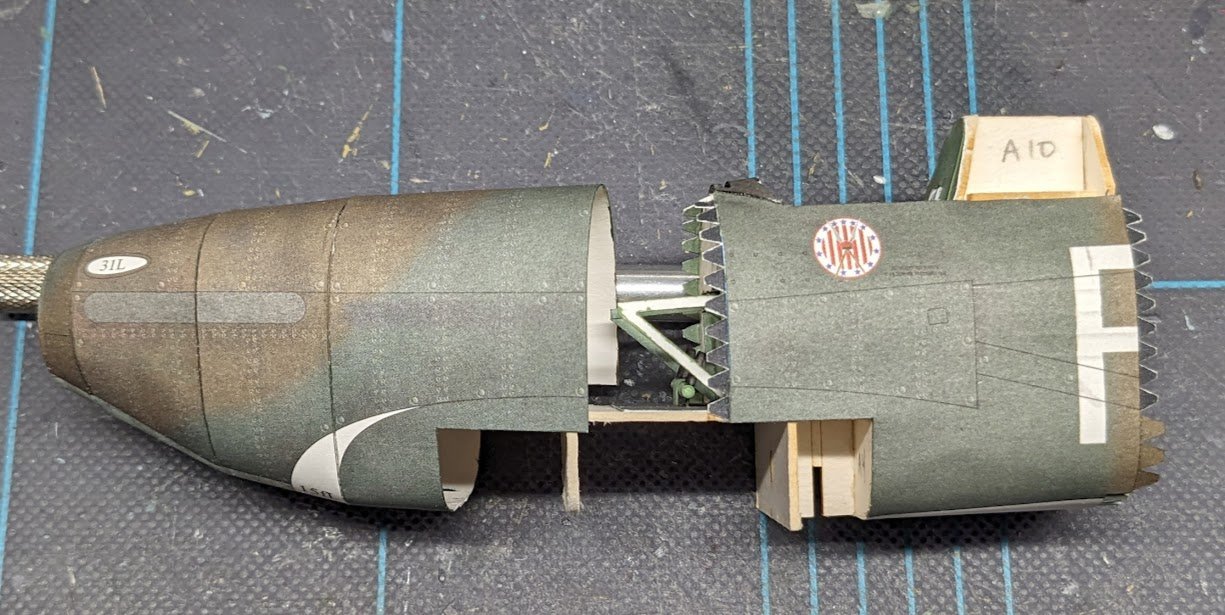
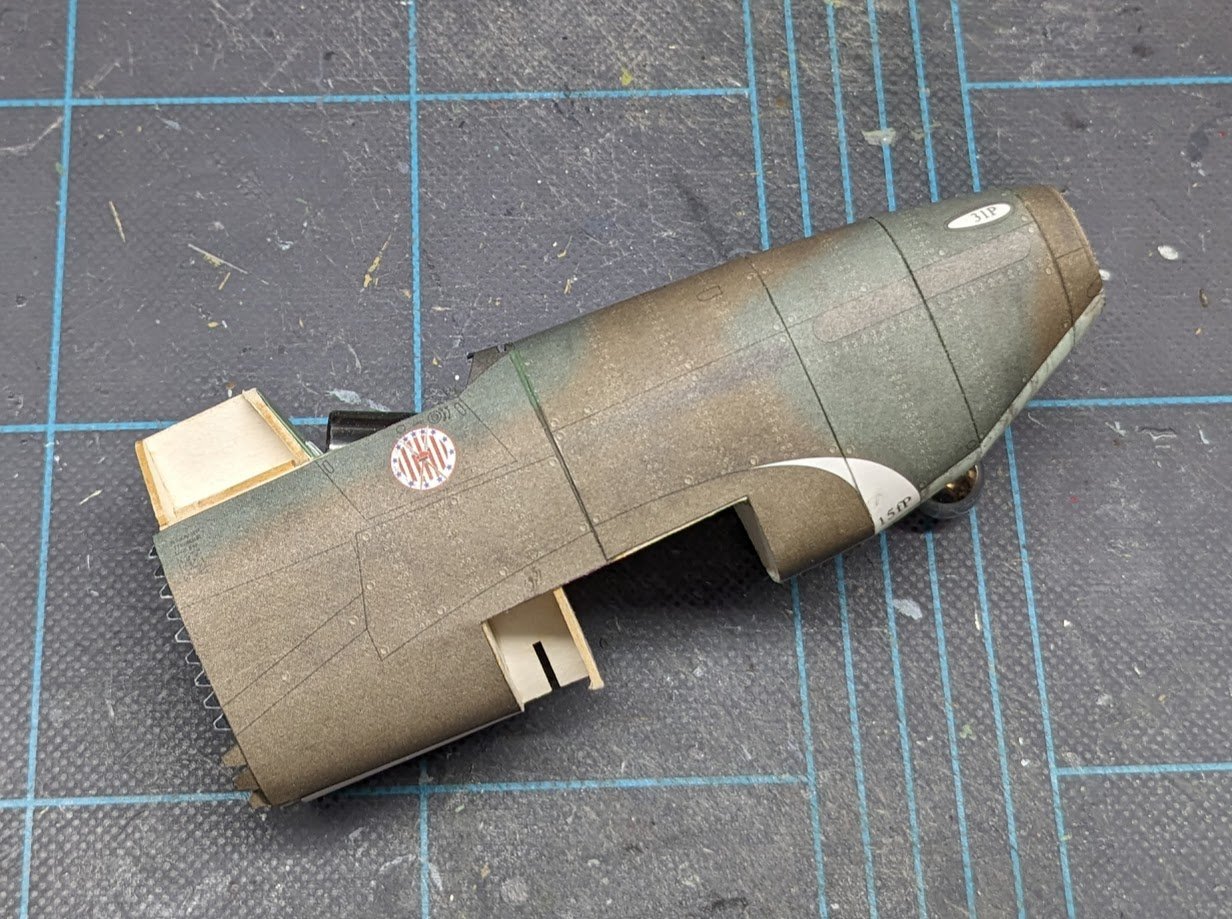
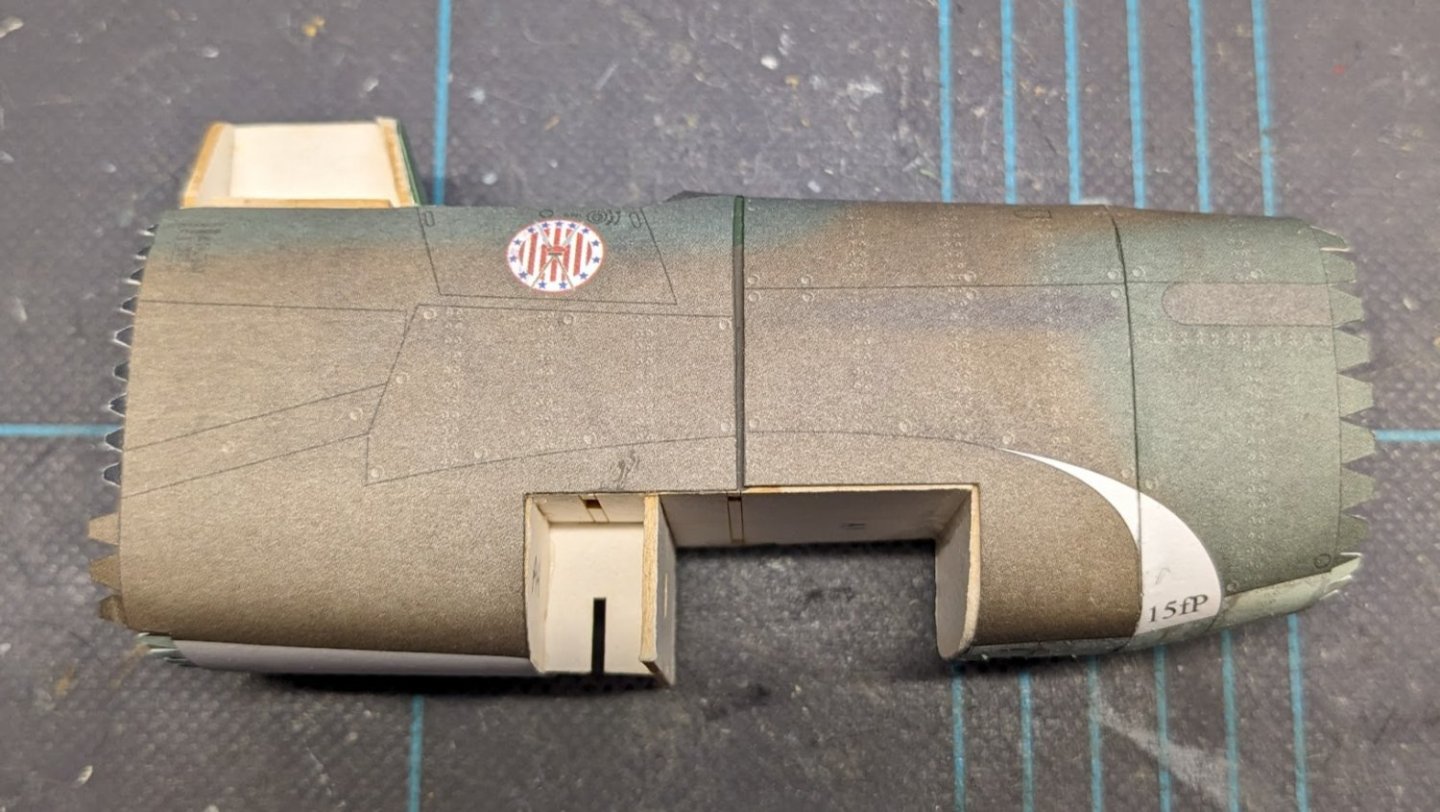
So, here is the forward fuselage glued together, along with the patch of the "hideous seam." It is really hard, for me at least, to get a close match for four-color offset printing -- tinted paint just can't replicate exactly the tone and saturation of all the variously colored dots of a printed part. This is about the best I could do, and the result doesn't look too terrible to my eye. It looks worst when viewed straight on, as in this shot, and looks less obvious at other angles.
- 126 replies
-
- 16
-

-
Welcome aboard!
-
P-51D Mustang by CDW - FINISHED - Dragon - 1:32 Scale
ccoyle replied to CDW's topic in Non-ship/categorised builds
I don't build "cars model", but If my granddaughter bought me something like that, you bet I'd find a place to prominently display it! -
Welcome aboard!
-
P-51D Mustang by CDW - FINISHED - Dragon - 1:32 Scale
ccoyle replied to CDW's topic in Non-ship/categorised builds
Hmm . . . card publishers and plastic kit manufacturers seem to have an affinity for the same subjects.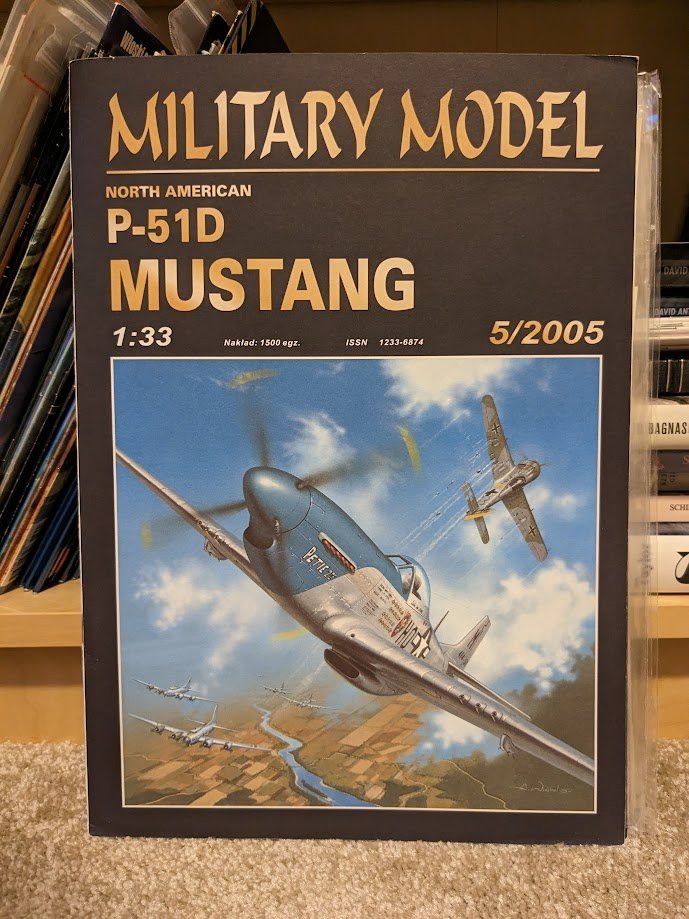
- 122 replies
-
- 12
-

-
-
That's actually quite common in kits these days. The big problem, though, for this particular aircraft is the feathered edges between the brown and green areas of camouflage. Such edges are difficult to replicate neatly. But for this particular seam (and whatever others may result from my misalignment mishap), I'm determined to put it out of mind until I'm ready to attach the forward fuselage. No sense fretting about it before I get there.
- 126 replies
-
- 11
-
-
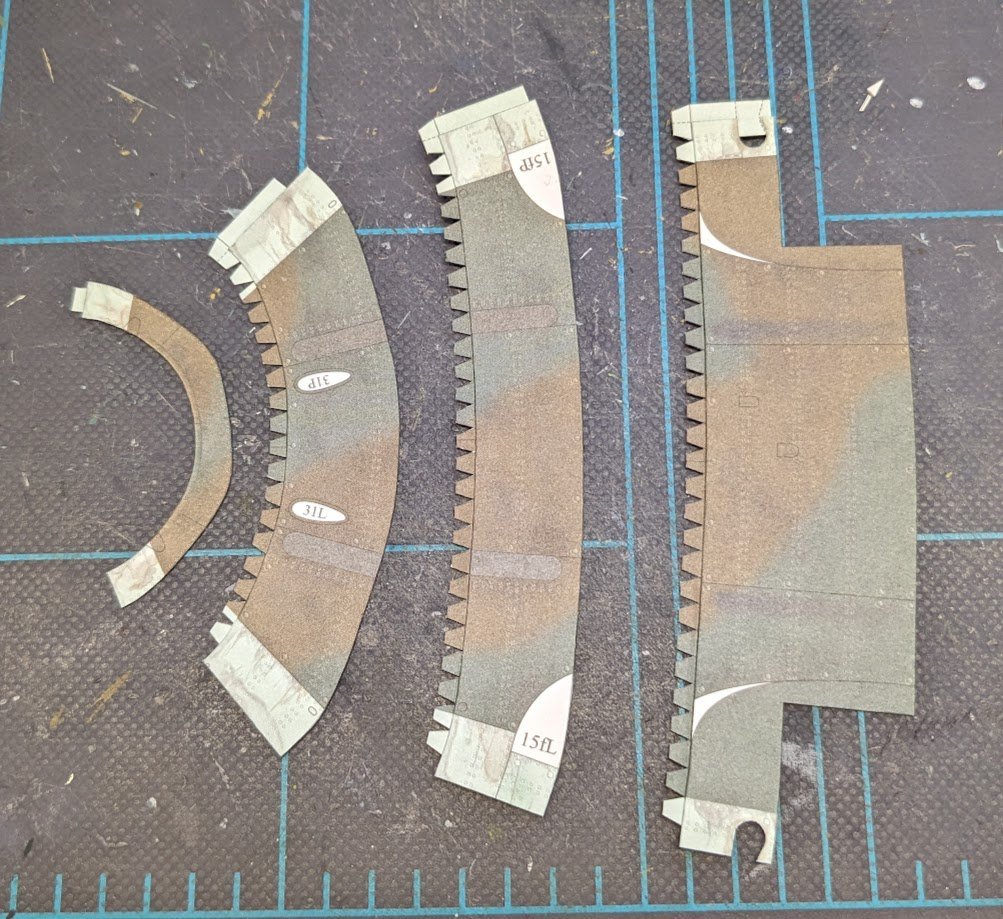
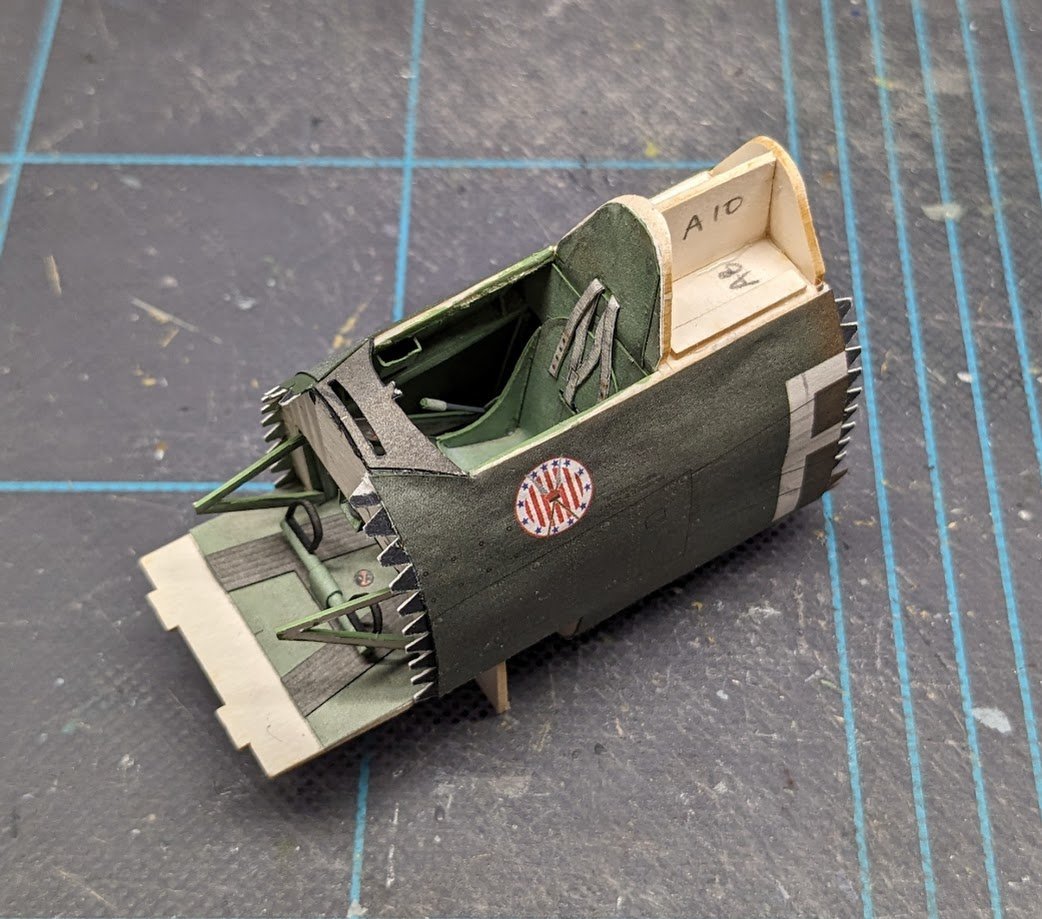
Some progress on the forward fuselage, starting with the skins, joiner strips, and joiner tabs cut out and edge colored, then glued together to make the four fuselage sections. Then the skins are shaped and glued into tubes, here shown with their bulkheads. After some sanding to assure that the fits weren't too tight, the bulkheads were then glued in and allowed to dry. Here's the first two sections glued together and test-fitted to the cockpit section. You can see where one of the "hideous seams" I described earlier will occur, though it is not as bad as I feared it might be. And that's it for today.
- 126 replies
-
- 13
-
-
What? Create extra work?? 😧
-
Which is why I double-checked the fit before gluing and got bit anyway. But, happily, seams can be fixed -- they can be papered over, one might say.
- 126 replies
-
- 11
-
-

-
Albatros by Dulrakk - OcCre - 1:100
ccoyle replied to Dulrakk's topic in - Kit build logs for subjects built from 1801 - 1850
A 10 km spool? 😯 -
That's what sets the masters apart from the rest of us.
-
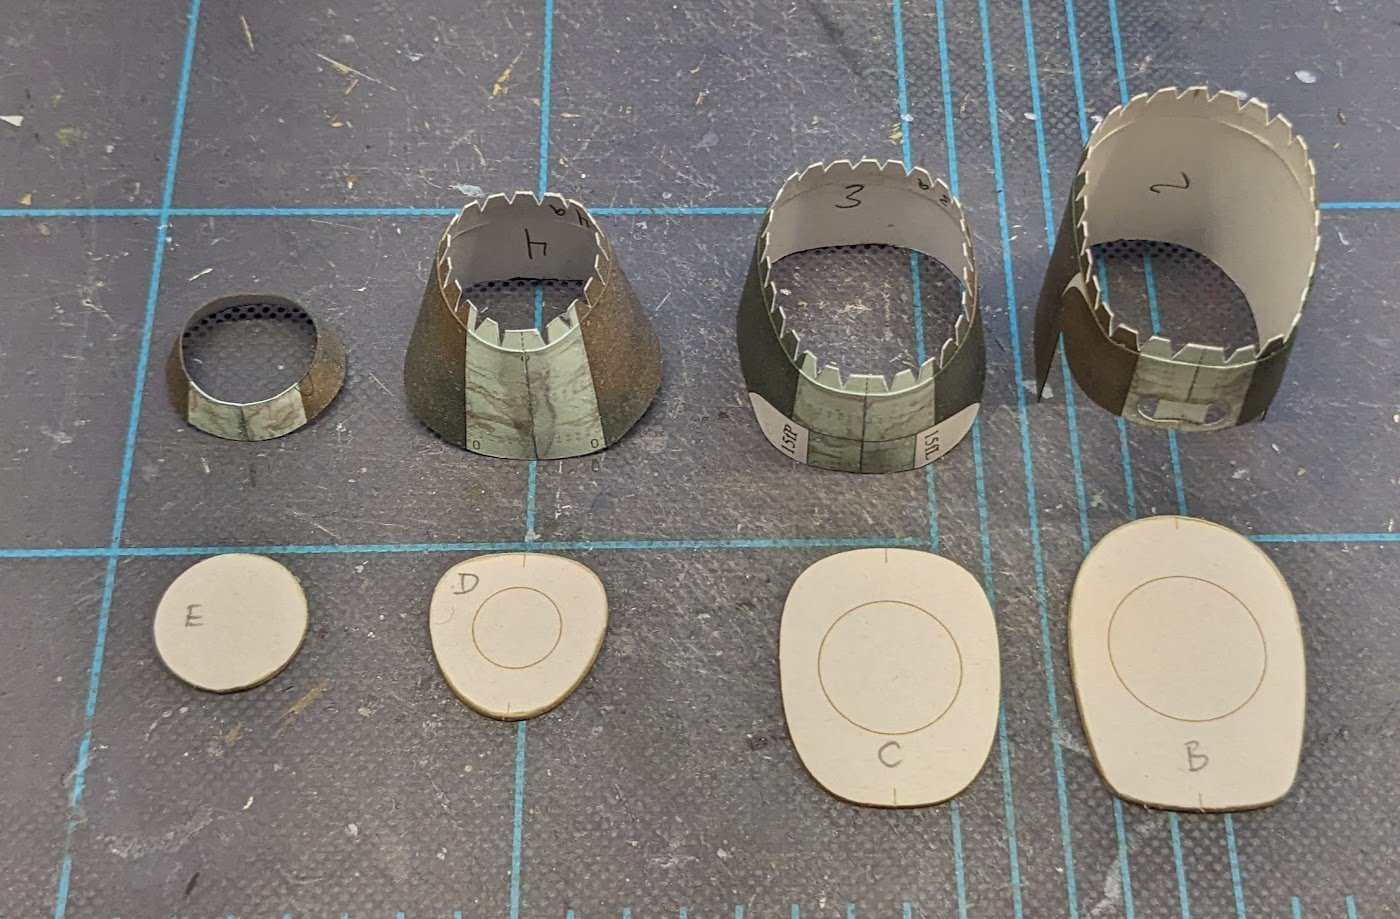
A semi-disastrous day today. After test-fitting the wrap-around outer cockpit skin TWICE, during which tests it seemed to fit loosely, I glued one side on, only to discover that the other side was too short! I managed to get the glued side off before it had completely set, but not without some minor damage to the paper, resulting in some faint crinkling. Then, onward with Try #2. First side went on fine, but the other side wound up slightly crooked -- which I noticed only AFTER it was too late to do anything about it. As a result, I will eventually have at least one, probably two, somewhat hideous seams to repair. Fun. 🙄 Construction now moves on to the forward fuselage. Unlike later Halinski designs, the nose section of this kit has no longitudinal frame, only transverse bulkheads -- I suspect this will yield a somewhat delicate structure.
- 126 replies
-
- 15
-
-
Welcome aboard!
-
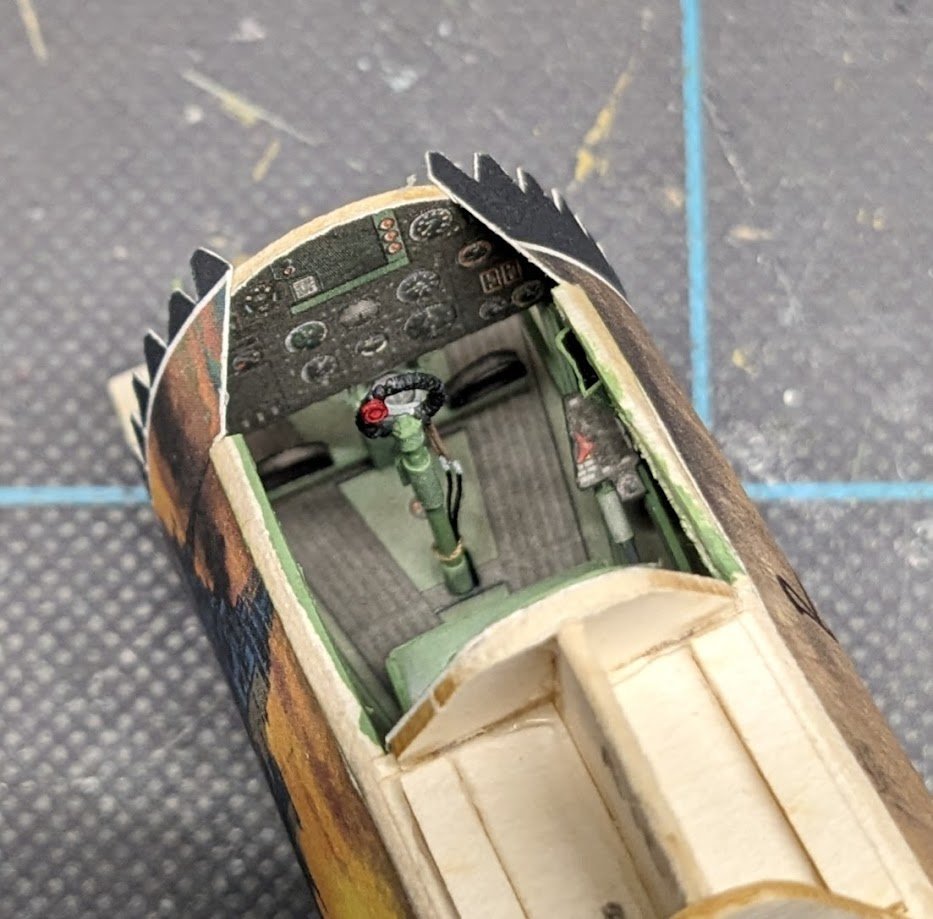
Rudder yoke and instrument panel installed. The kit doesn't supply extra parts for adding depth to the panel. It could be done by photocopying the panel to create an extra layer, but I was too lazy. Hey, at least I'm honest! I should add that I do have the Hurricane Mk. IIc kit from Kartonowa Kolekcja, and that kit does have parts for doubling the instrument panel.
- 126 replies
-
- 17
-
-
Welcome, Christian! You did a fabulous job on your Endeavour!
-
Yes, but he's talking about recent activity. That I can't vouch for, but perhaps some of our European connections, such as @0Seahorse, can shed more light.