HOLIDAY DONATION DRIVE - SUPPORT MSW - DO YOUR PART TO KEEP THIS GREAT FORUM GOING! (89 donations so far out of 49,000 members - C'mon guys!)
×


AndrewNaylor
-
Posts
239 -
Joined
-
Last visited
Content Type
Profiles
Forums
Gallery
Events
Everything posted by AndrewNaylor
-

whats an easier build for a first kit
AndrewNaylor replied to rdestefano01's topic in Wood ship model kits
Deciding on a kit also means buying TOOLS, and lots of TOOLS the more complicated a kit Keel clamps Knives scrapers blades cutting mats ETC the list is potentially endless. When people start into this great hobby of our we develop a fascination for all things sharp spend carefully there is lots of good advise out here. Andy -
A very high "DIN point" pillow case or handkerchief should provide you with enough material have the admiral wash it many times and to age the sail a TEA bag in cold water will do the trick the darker the longer as any tea drinker can tell you after you have finished your needle point to dye the stitches. Andy
-
Iain I have passed this link on to a friend who works at Oyster in Suffolk at the head office hope fully you will here from him Andy
-
Is this a commission? Sitting here in Antigua just after the Oyster regatta I am sure you could sell a few of your models to the ever growing fleet of Oyster 80 owners Andy
-
Treenails
AndrewNaylor replied to pugman11's topic in Building, Framing, Planking and plating a ships hull and deck
I am not sure if anyone sells packets by the 1000 but making them is very easy just pull tooth picks through a "draw plate" Byrnes a great supporter of this great site make a very good one that will last you a life time happy Drawing !!! Andy -
On coiling ropes Working on a yacht for the past 30 years I have coiled a few. Been right hander and most importunely the LAY of the rope dictates which way the rope naturally coils. They all go clockwise So be very careful if the ones on the right of the canon coil to the right with the tail on the bottom Correct, and the one on the left coil anti clockwise with the tail on the top WRONG. If the tail is on the bottom the rope pulls cleanly from the top. if the tail is on the top the rope pulls from the bottom and gets tangled ,Not so good. I sit from afar and watch this beautiful work been created, so we can try with our dull minds and tools the replicate (the tools can be sharpened) Chuck Thank you so much for all your hard work Andy
- 1,051 replies
-
- 11
-

-
- cheerful
- Syren Ship Model Company
- (and 1 more)
-
Glenn Fantastic work BUT surly could you not made some holes in the mounting base rather than cut the beautiful wheels up!!! Best show in town Andy
-
Take a length of plastic hose 1/4 inch 6mm, cut to length of the saw blade, slit full length then slide over the cutting edge to protect the teeth even when hug on the shop wall.
-
Fantastic job I love the following sea as she rides up on the swell very realistic If this is your first I am looking forward to seeing the rest of the fleet Andy
-
Thank you Sir for all your hard work on this article very interesting indeed I especialy liked the bent trees We have the same in the UK in the Royal Parks called "Chained trees" as the limbs where bent with chains to shape them Than you again
-
Needle point and boat building all that to keep the Admiral happy great build very interesting
-
When you consider that the exquisite bone models built by the French prisoners of war had huge parts of the interior built in to them, never to see the light of day with out the models been destroyed You can only conclude that they did it because they could rather than because they should. Andy
-
"Stunning I am truly lost for words Thank you so much Andy
- 883 replies
-
- 2
-
-
- royal caroline
- ship of the line
- (and 1 more)
-
Having spent many years polishing brass on yachts in my early days as a deck hand on classic yachts I have a little experience Polishing is the easy part as every day they get better until you go to sea and then back to square one" Dark Tarnished Dull" Once clean and shiny you have to remove EVERY trace of polish and residue then and only then you can apply a clear Varnish. The varnish will not stick to the brass but form a protective barrier stopping the elements getting to the surface and oxidizing /dulling the surface Now a days I use a 2 part clear paint (Very expensive) but lasts at se for about 9 months A much cheaper alternative that will work on a pond yacht NO salt is a liquid Vinyl floor polish Apply after final installation so the screws attaching fittings are also included in the protective barrier couple of coats should do Shine on Andy
-
I tightened the holder and made sure that there was no side play so the cut was always 90' BUT the most important thing is NOT to try and cut to thick or hard wood as that bends the blade and the cut is no longer true They are great for deck planks cutting repetitive lengths using a stop But remember to hold the timber at the STOP side of the blade rather than the other side This allows the stock to move as the blade passes through because unlike a saw that create chips the blade just PARTS the timber Andy
-
My Chopper suffered the same issues as the cutting surface degraded SO I carved out the offending area and filled with a 2 part epoxy filled with micro balloons and sanded flat after drying. A little tweaking on the blade holder and now years later still better than new. A box of new blades sitting next to it and cutting thick and very hard wood needs to be done by rotating the stock so a cut is made on all 4 sides Andy
-
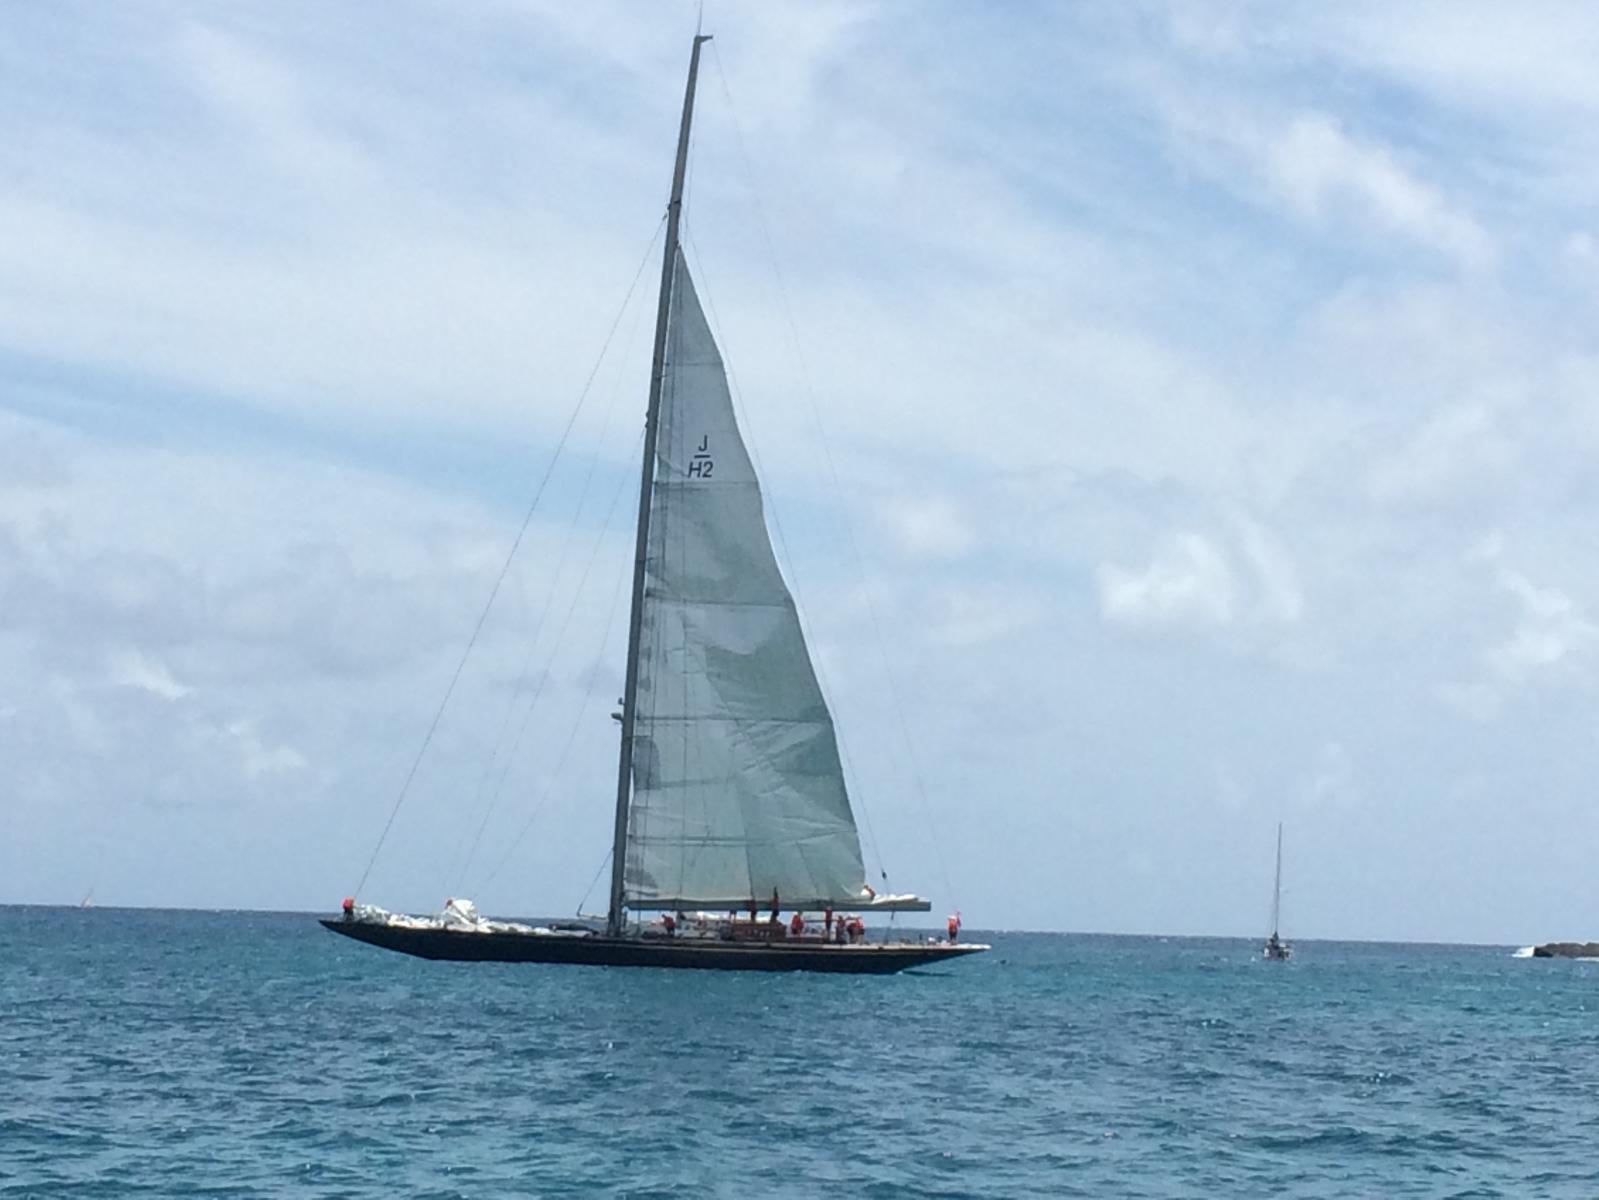
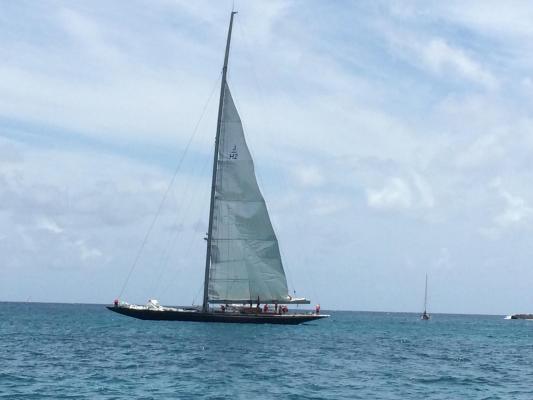
The J boat association is at odds with its self apparently some of the "Rich Kids" have thrown there toys Out of the PRAM" and racing between them is on hold There where meant to be 5 "J" racing this winter at the Antigua Classic regatta but only Rainbow came, The owner is a great supporter of the event. Andy
-
I have spent the season chasing The Rainbow and today I caught up with the iPhone specie;y to post for your build which I have been following with great interest fantastic job The yacht was built in Holland at HJB They are launching another J very soon late spring Watching them sail is breath taking As for "MORE CASH" at least you have a yacht you can afford!!!! and dockage will not require you to sell your first born etc Best Andy
-
Galleon by tuciship
AndrewNaylor replied to tuciship's topic in - Build logs for subjects built 1501 - 1750
Forget IKEA I am going down my Hardware shop You are very creative and building a great ship I know you will be very proud fantastic ideas for all. I will never look at a wall plug the same way "Cannon Plugs" from now on!!! Andy -
Info request on Titanic kit (edited by admin0
AndrewNaylor replied to gleason's topic in Plastic model kits
Any more details on the box, Or shall we all play 20 questions? 1. Who made the kit -
Galleon by tuciship
AndrewNaylor replied to tuciship's topic in - Build logs for subjects built 1501 - 1750
Looks fantastic! I must check my local IKEA for that kit Simple, good looking, few parts and i imagine the instructions are well presented and above all FUN to build Great Andy -
Very nice work Its important to remember that the original builders of these beautiful canoes had a very very hard time finding SAND PAPER so the hull would have had the odd imperfection in it. Great job enjoying the build Andy
- 43 replies
-
- 3
-
-
- indian girl canoe
- Midwest Products
- (and 1 more)
-
A new SHARP #11 does a good job as long as the planks are well glued to the 1st layer Nibble Nibble Nibble away File out to final size ONLY filing inwards as some times an outward stroke pulls the wood another help is that if you are finishing the wood with a sealer a cote on before sanding also helps stabilize the walnut Andy
-
HMS Alert 1777 by Jaekon Lee - 1/64
AndrewNaylor replied to Jaekon Lee's topic in - Build logs for subjects built 1751 - 1800
Some of the best I have seen, Beautiful work Thank you for sharing Andy