Seventynet
-
Posts
797 -
Joined
-
Last visited
Content Type
Profiles
Forums
Gallery
Events
Everything posted by Seventynet
-
 Ah Alan, that's a picture of serenity we all strive for. May your grass continue to grow, the sun continue to beckon and the fish leap onto your hook! Thanks for looking in. Ian
- 191 replies
-
- 1
-

-
- victory
- caldercraft
- (and 1 more)
-
Hi Dominic, Thanks for the kind words. I am now back on the Victory and hope to be posting soon. I hope we get to see your Vic move along with those other new builds of yours but now I quite understand the need for working on something else too. Best, Ian
- 191 replies
-
- 3
-
-
- victory
- caldercraft
- (and 1 more)
-
Looking really good Don. From what you're hinting or what I think I'm seeing you will have an interesting planking configuration into the bow. I look forward to seeing what it looks like. Best, Ian
- 653 replies
-
- 4
-
-
- trabakul
- marisstella
- (and 1 more)
-
Thank you very much for following along Don and Russ, your encoragement throughout this build had been comforting. I have to say I feel really good about finishing my first model. It`s almost as though the pressure is off. I started back on the Victory this morning with renewed enthusiasm. Best, Ian
-
Wow! What a spectacular find and superb work Antony. This build really piques my interest and I shall pull up a chair and follow from now on. Such precise work. Best, Ian
- 99 replies
-
- 4
-
-
- turtle ship
- korean
- (and 1 more)
-
Brian, thanks so much for the advice. Quite apart from my obvious inexperience, I am quite certain that this line was close to impossible to lay naturally. I did in fact soak it in a white glue solution and wrapped it around an object, with only marginal success. I have some of Chuck's thicker line but it won't fit. Maybe I'll redo the rigging at a later date with some nice Syren stuff. Sounds like a good excuse for another order. And those hooks are pretty bad. Maybe in the re-rigging endeavour. But now it's back to the Vic.
-
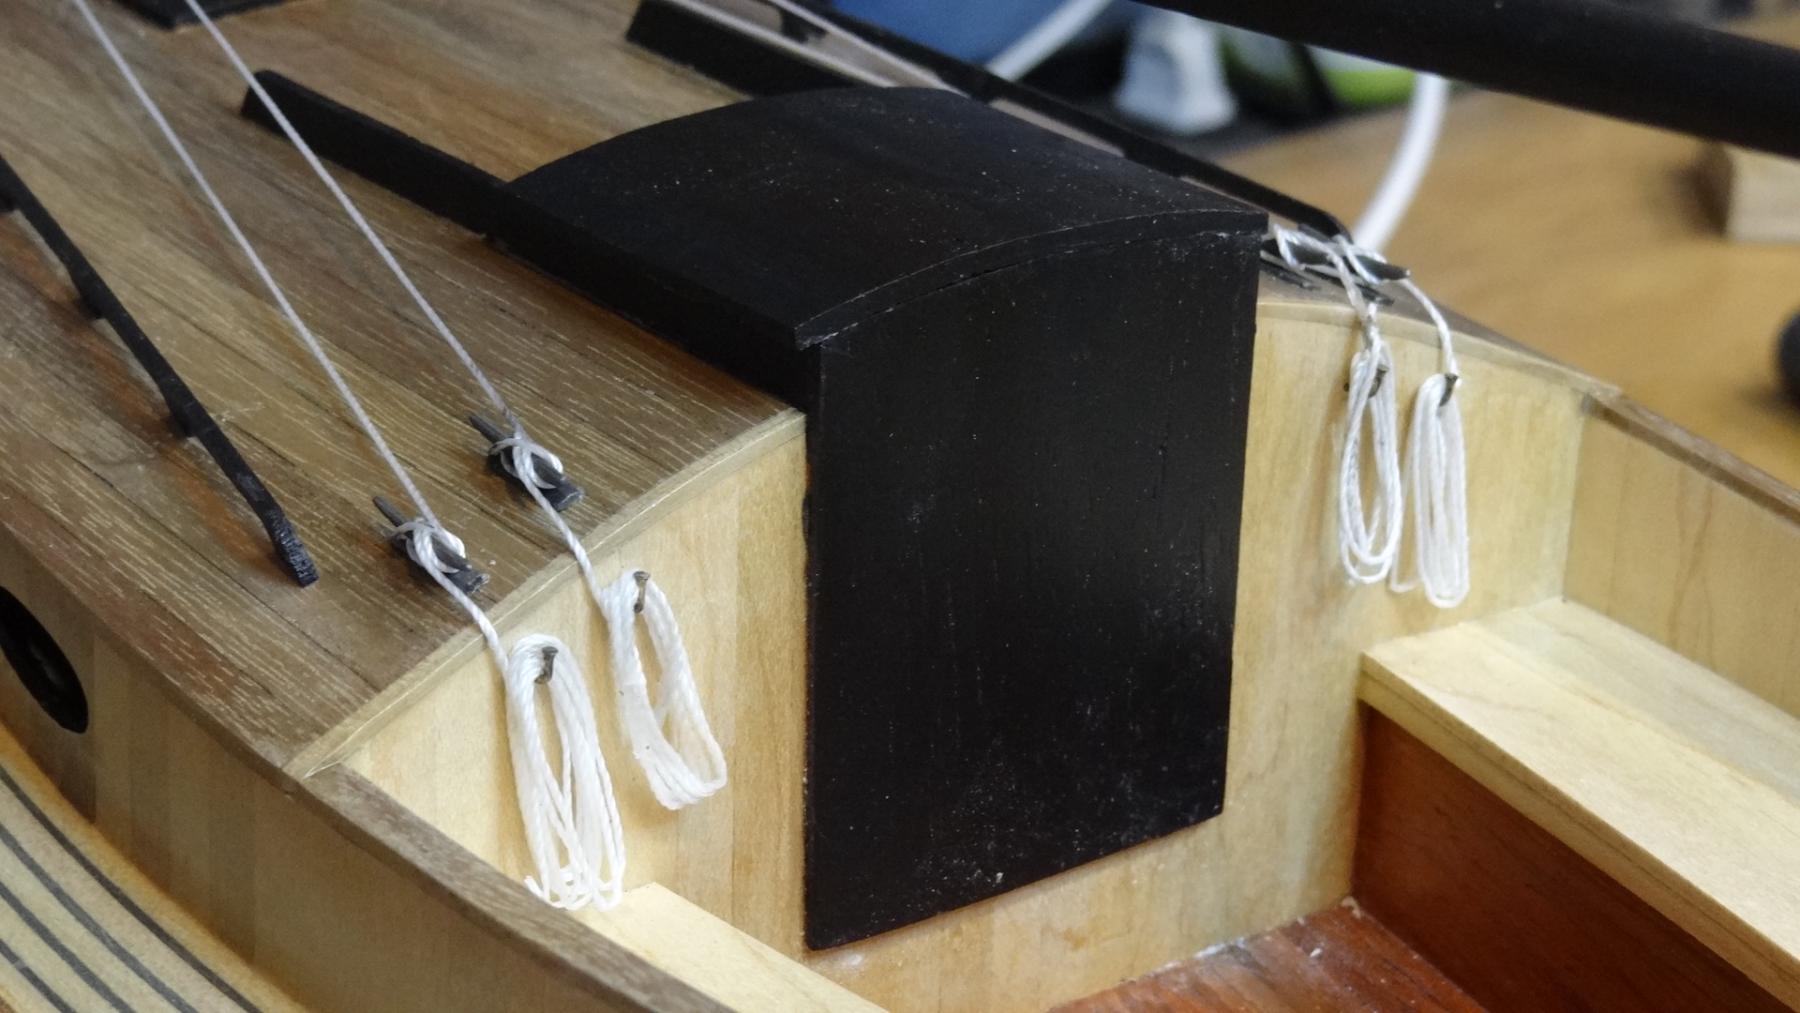
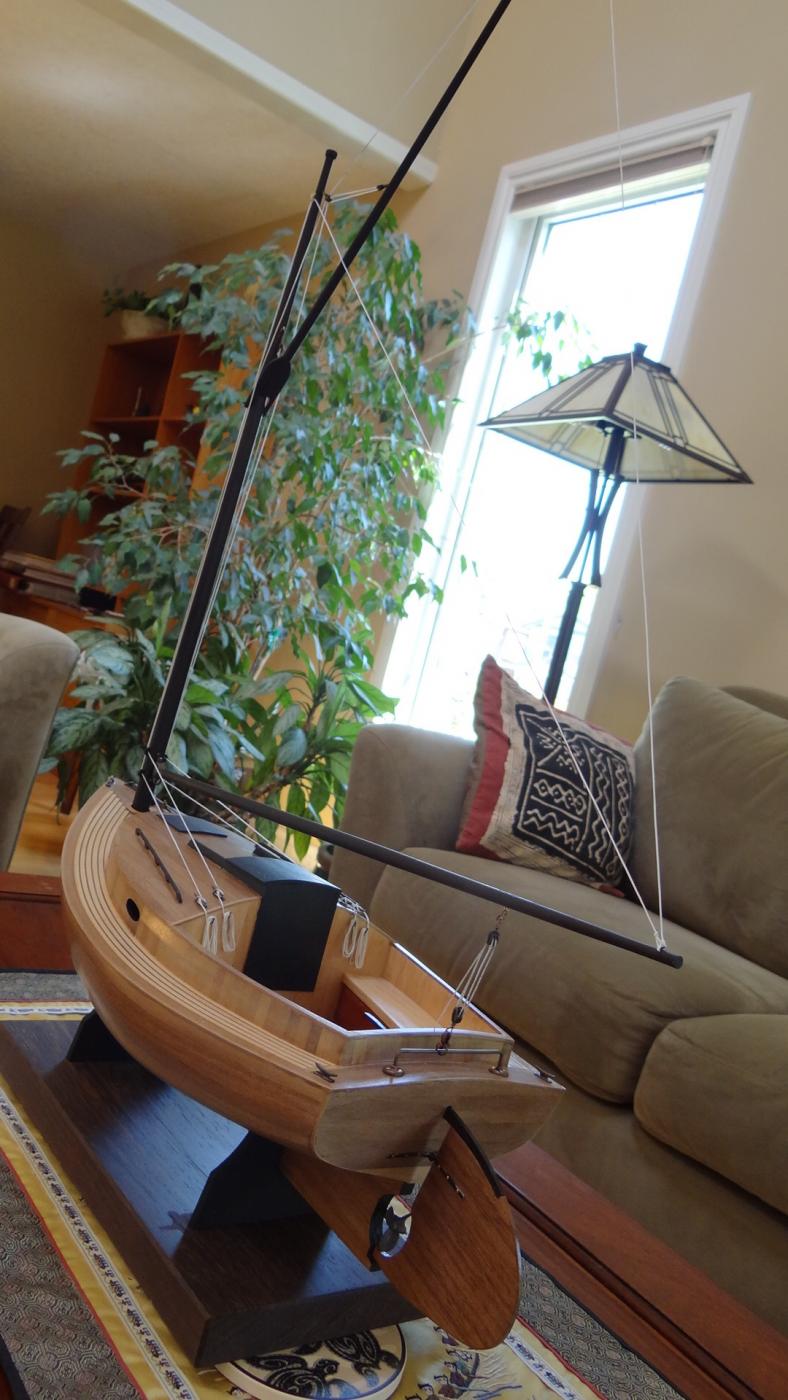
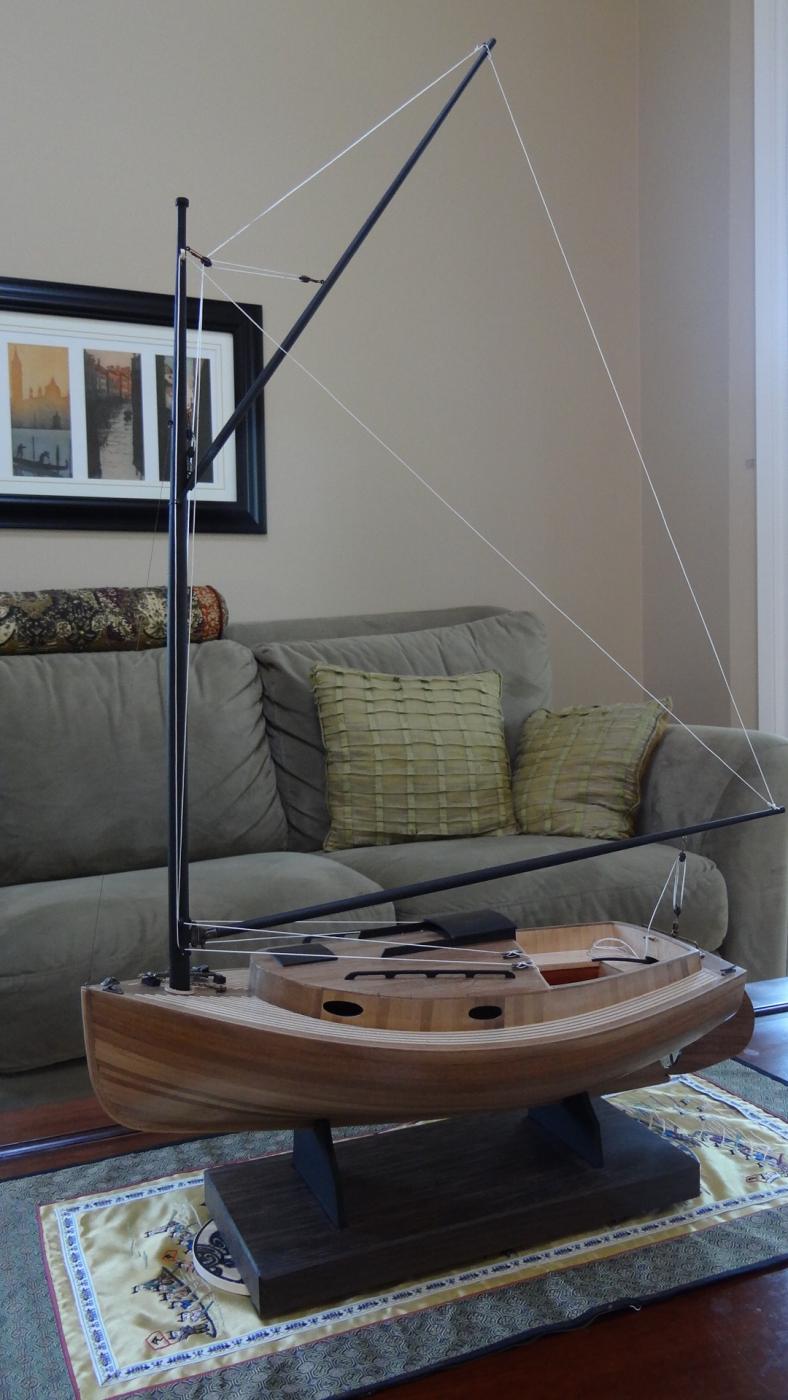
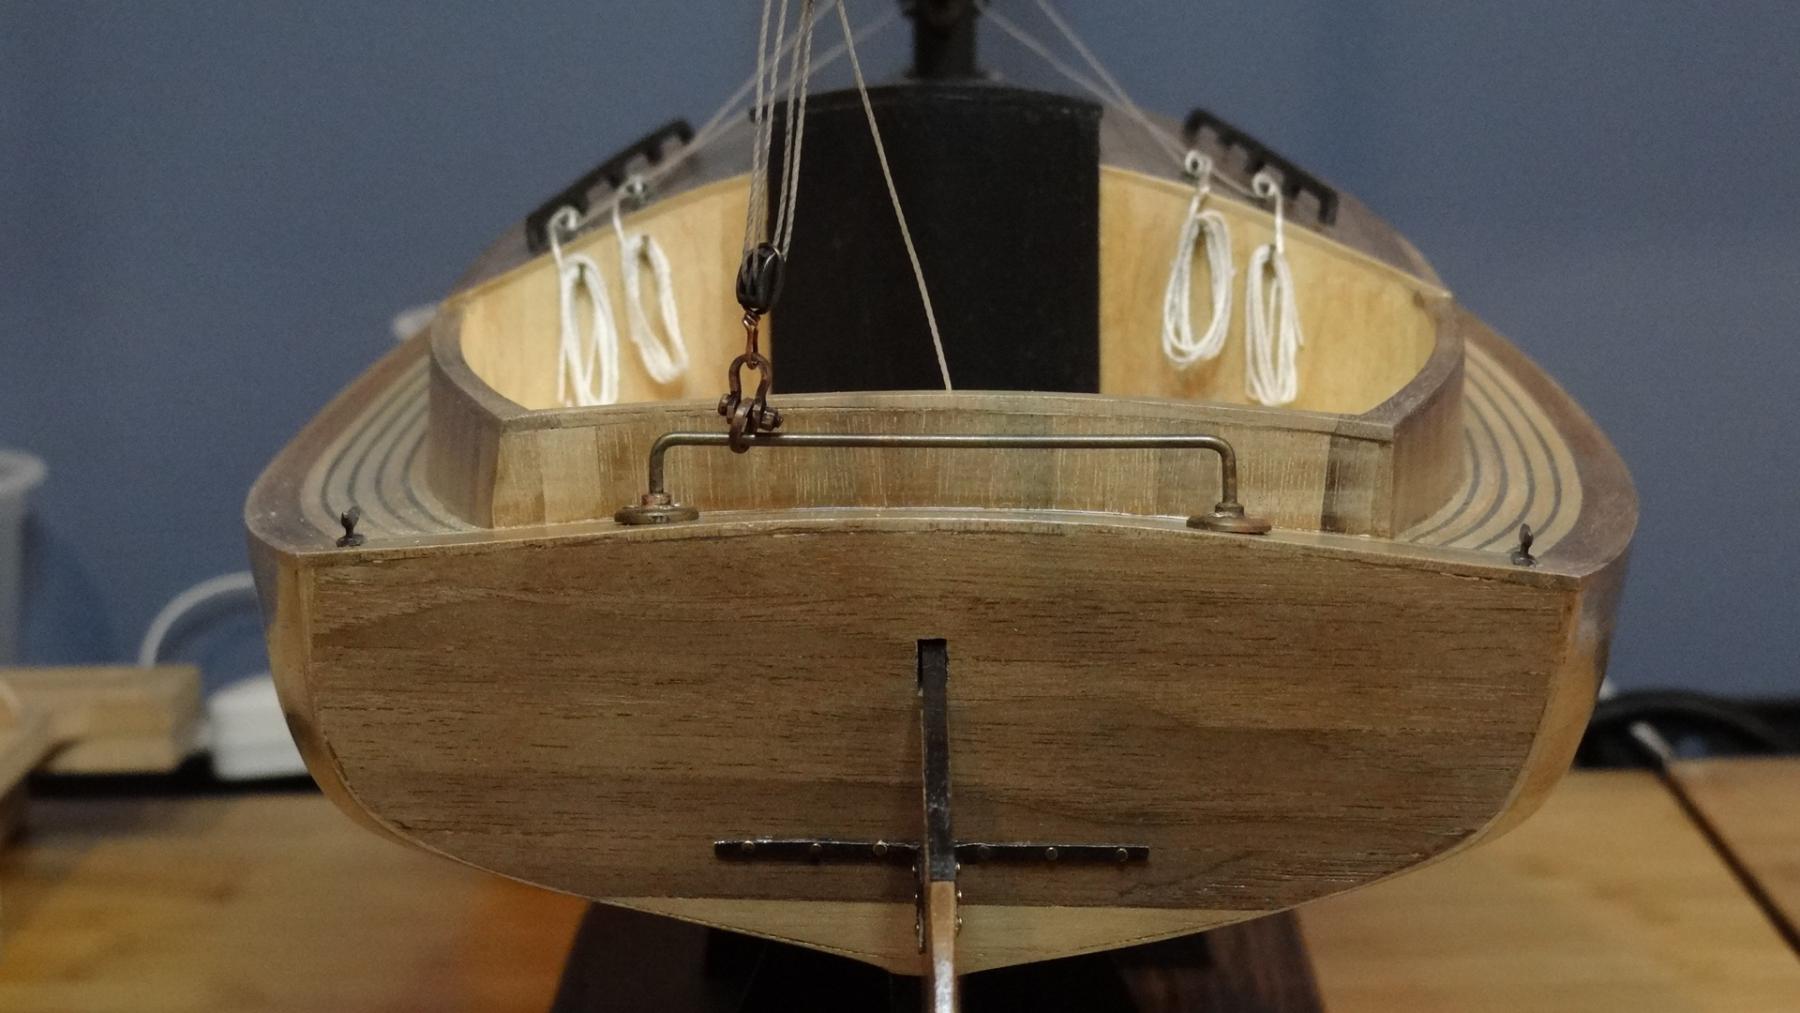
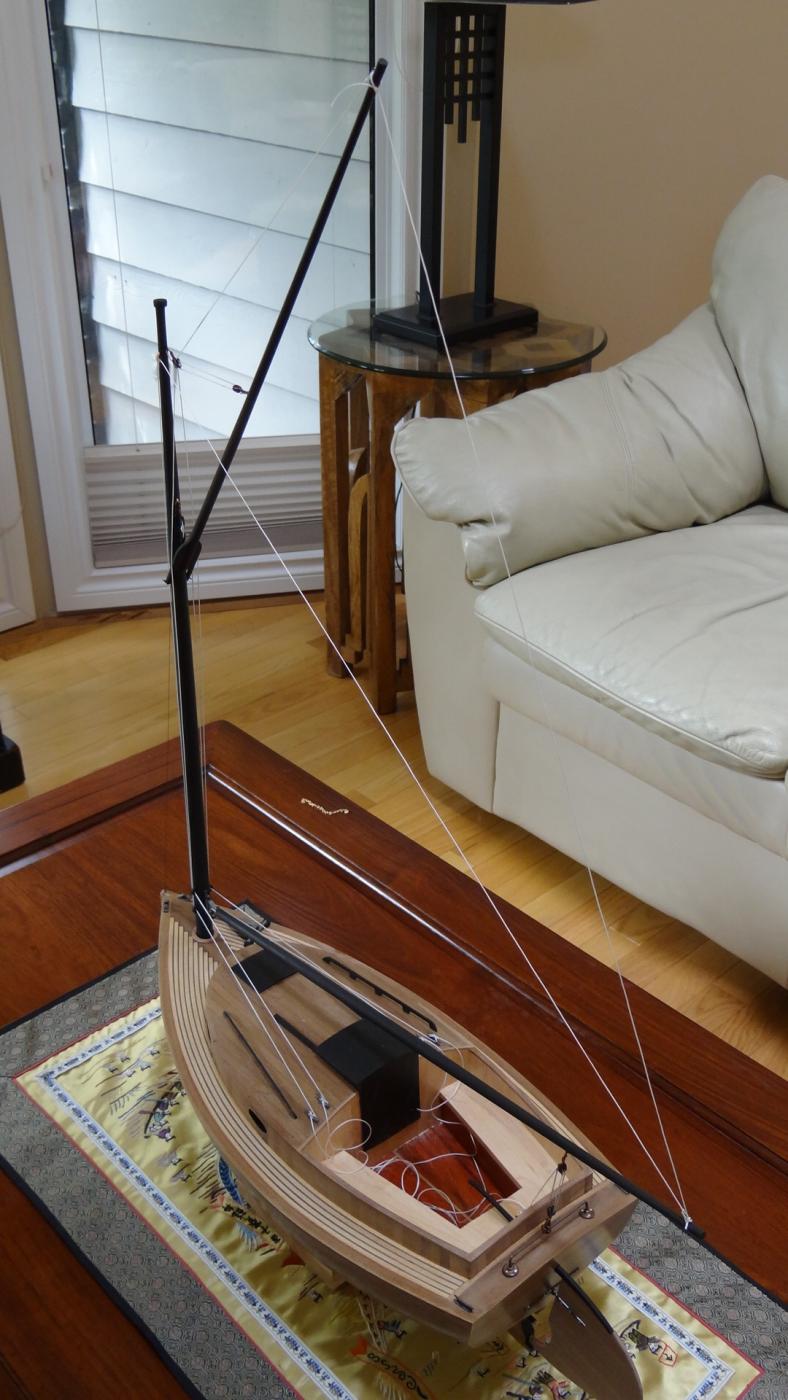
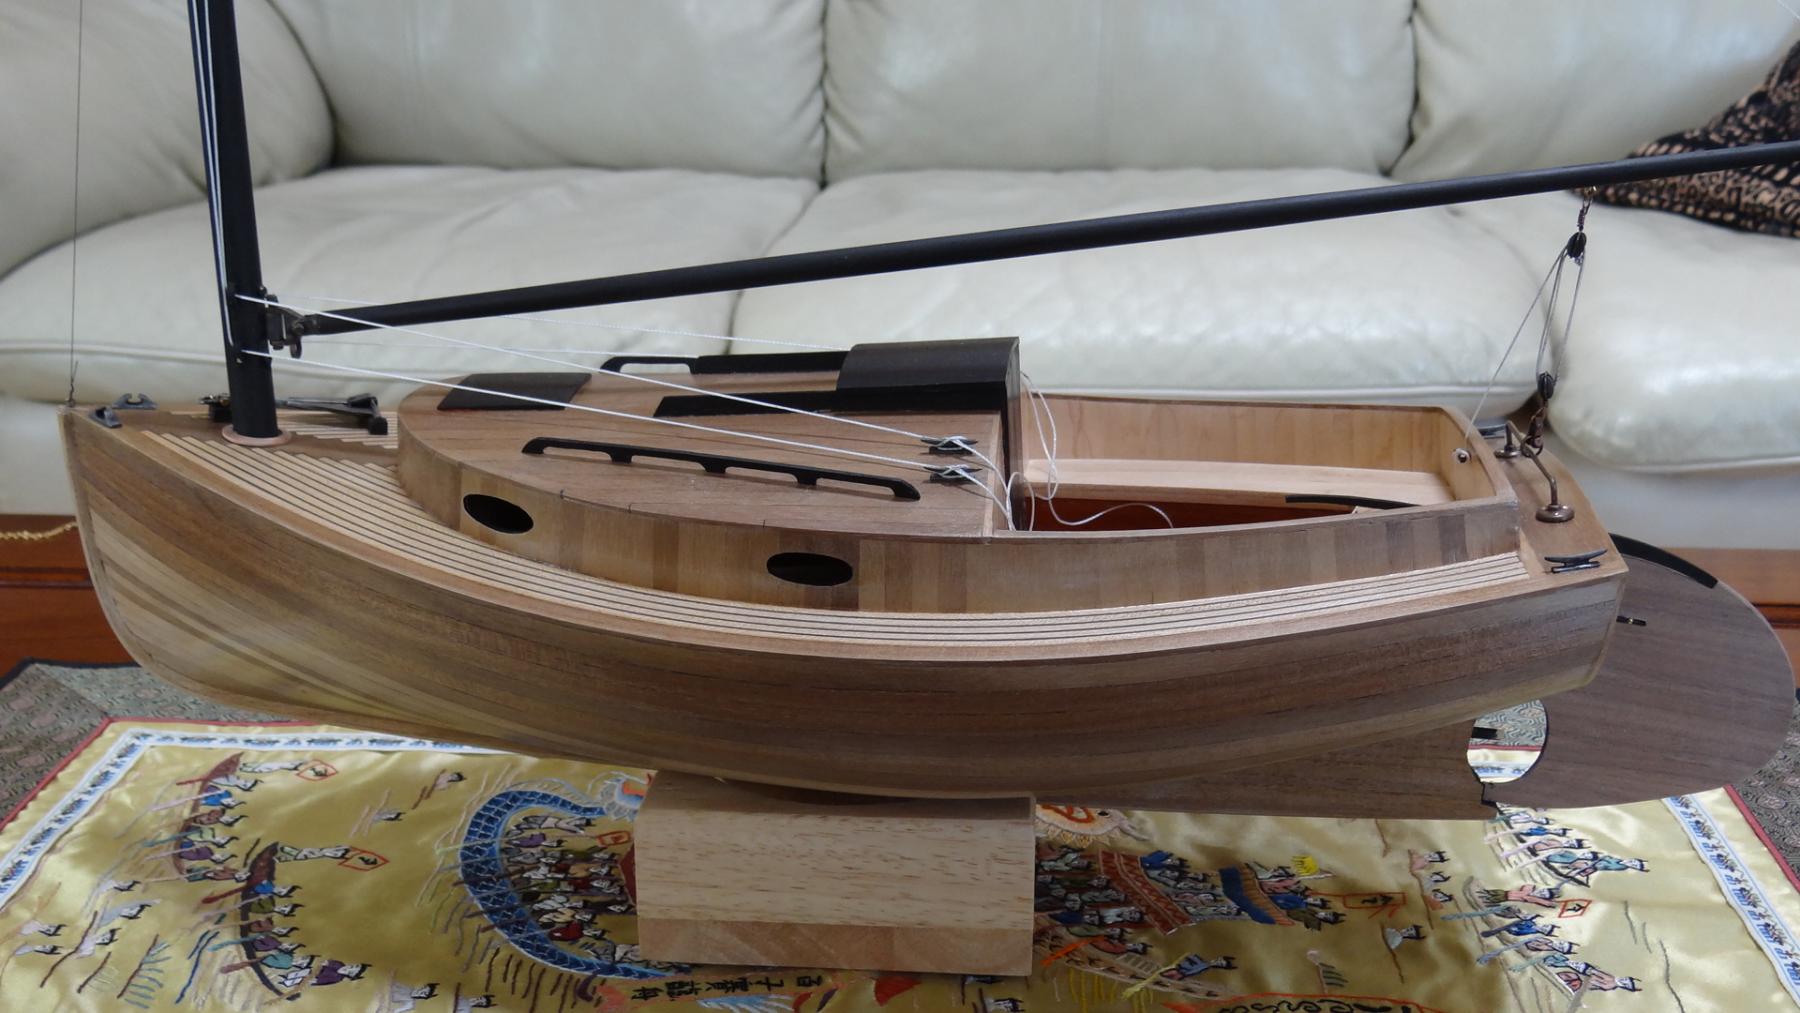
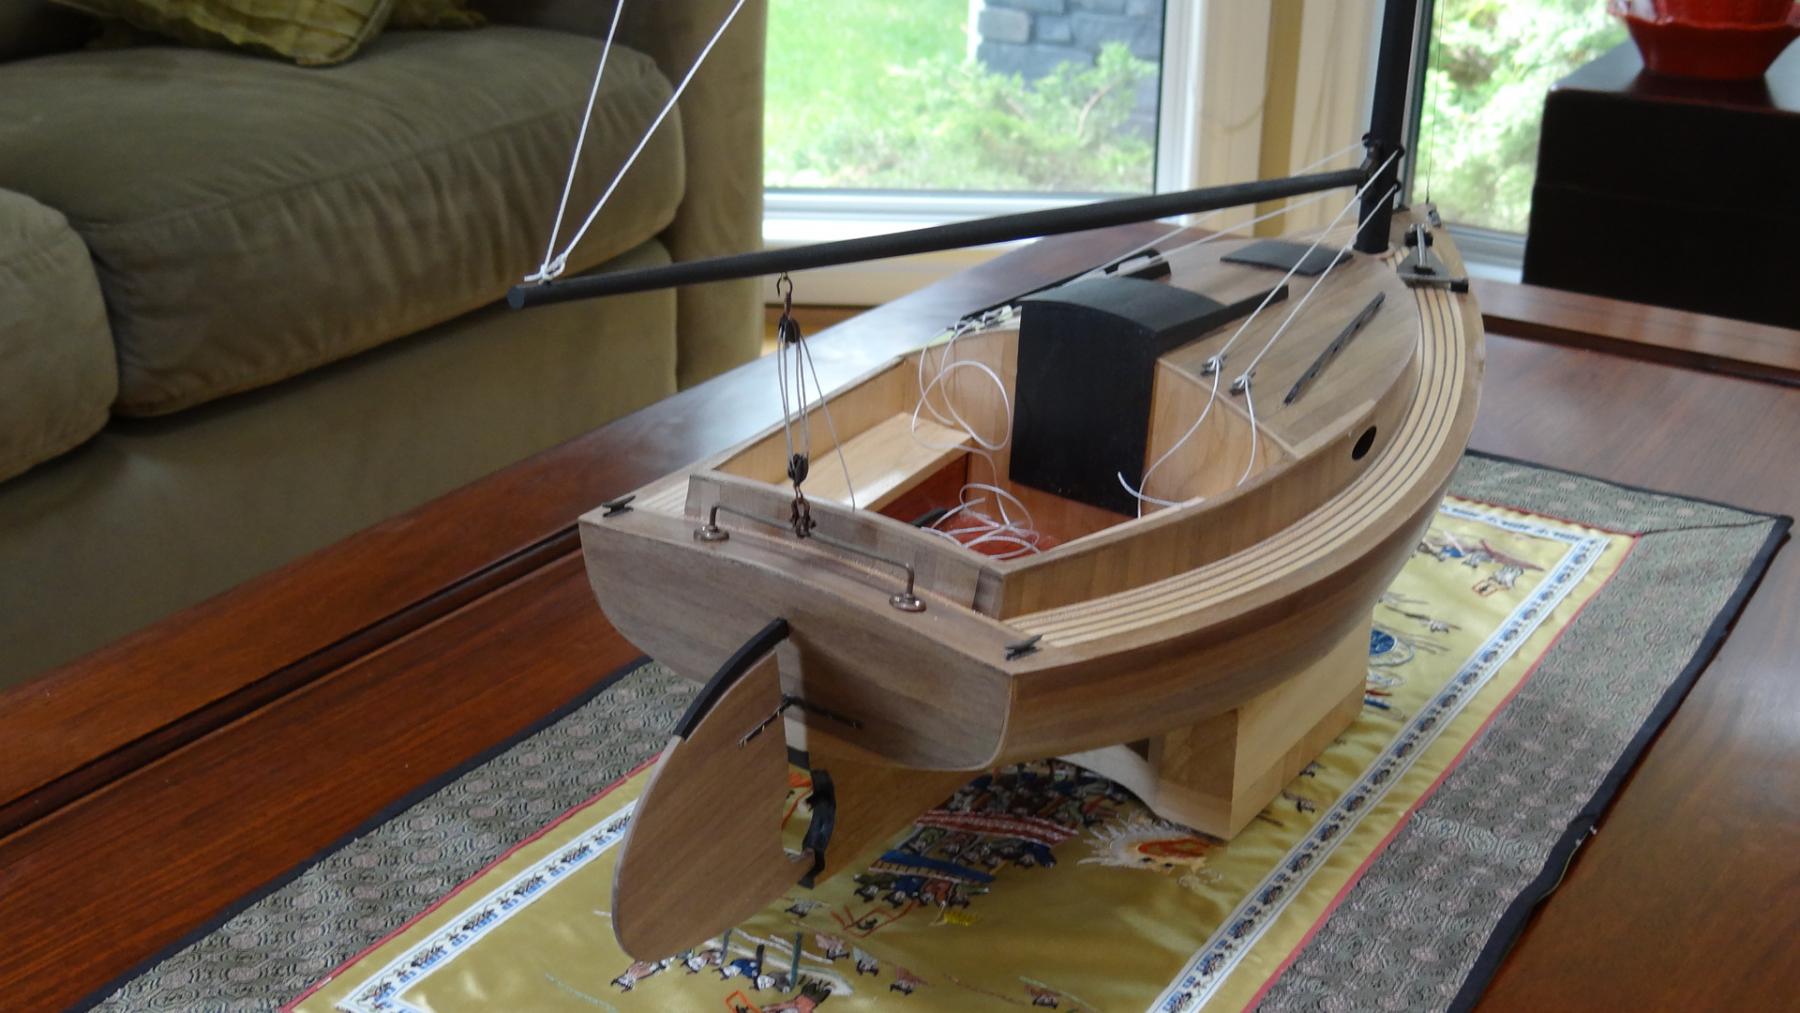
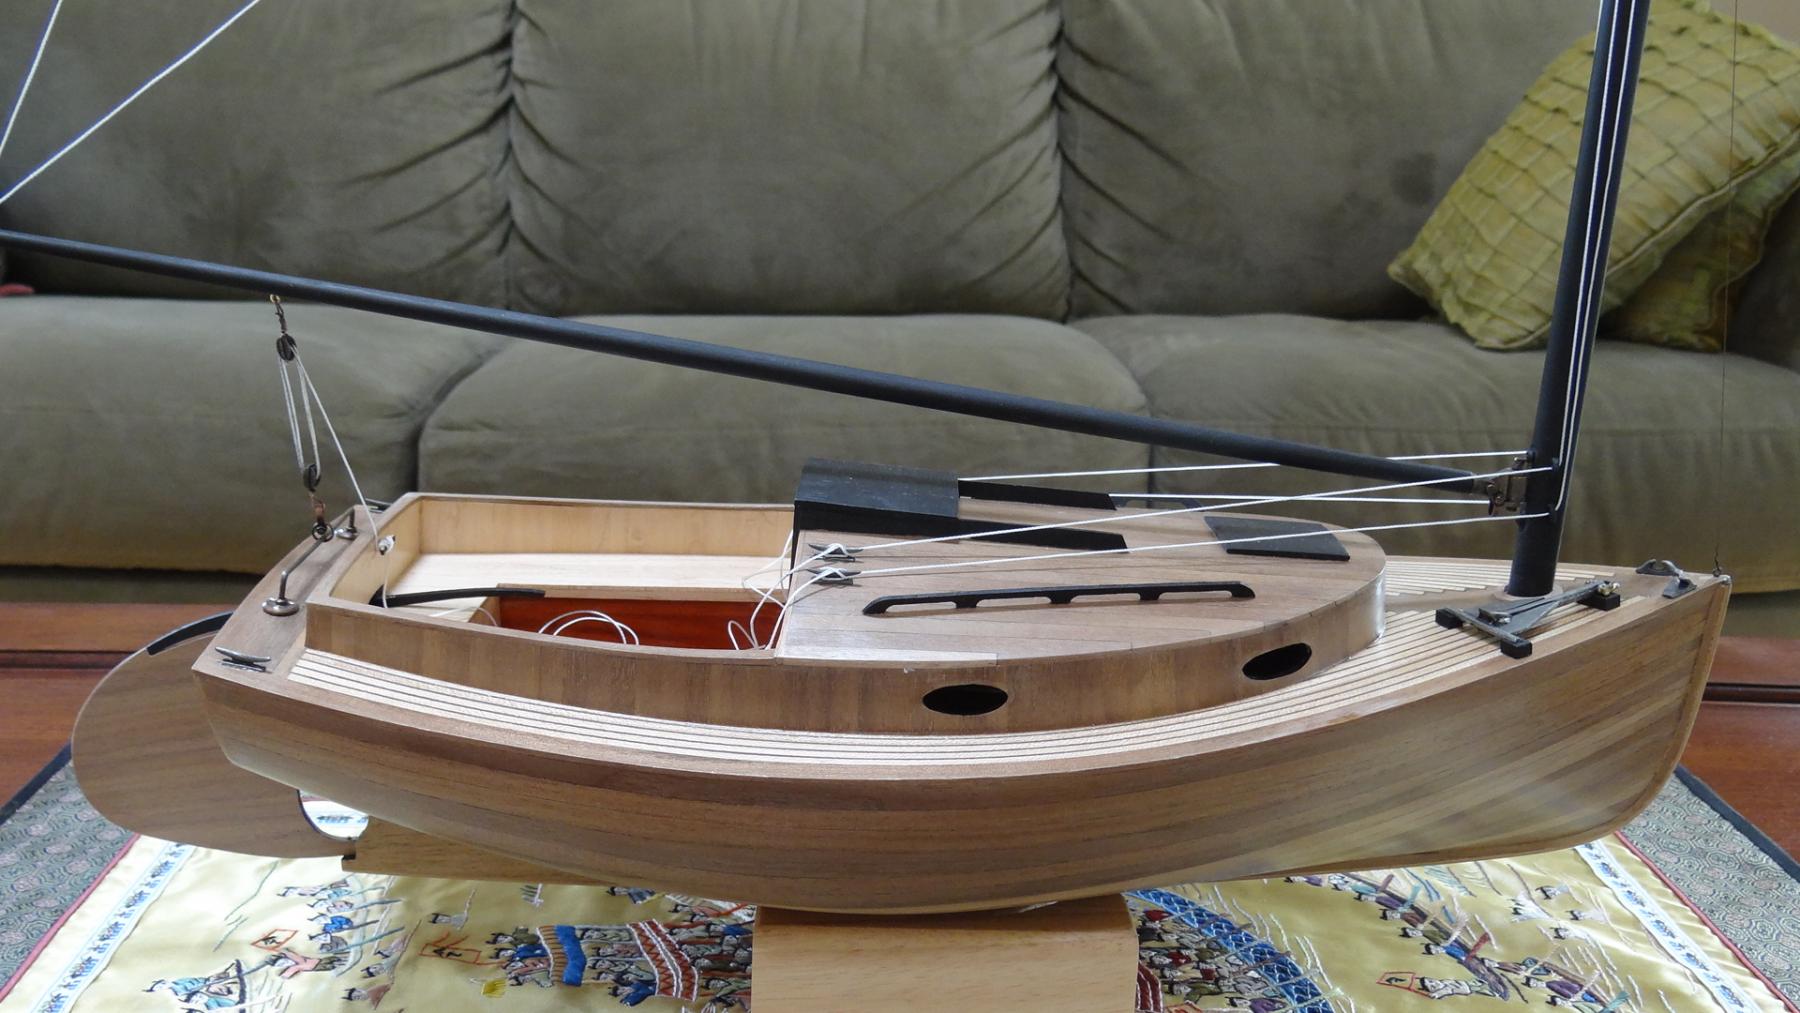
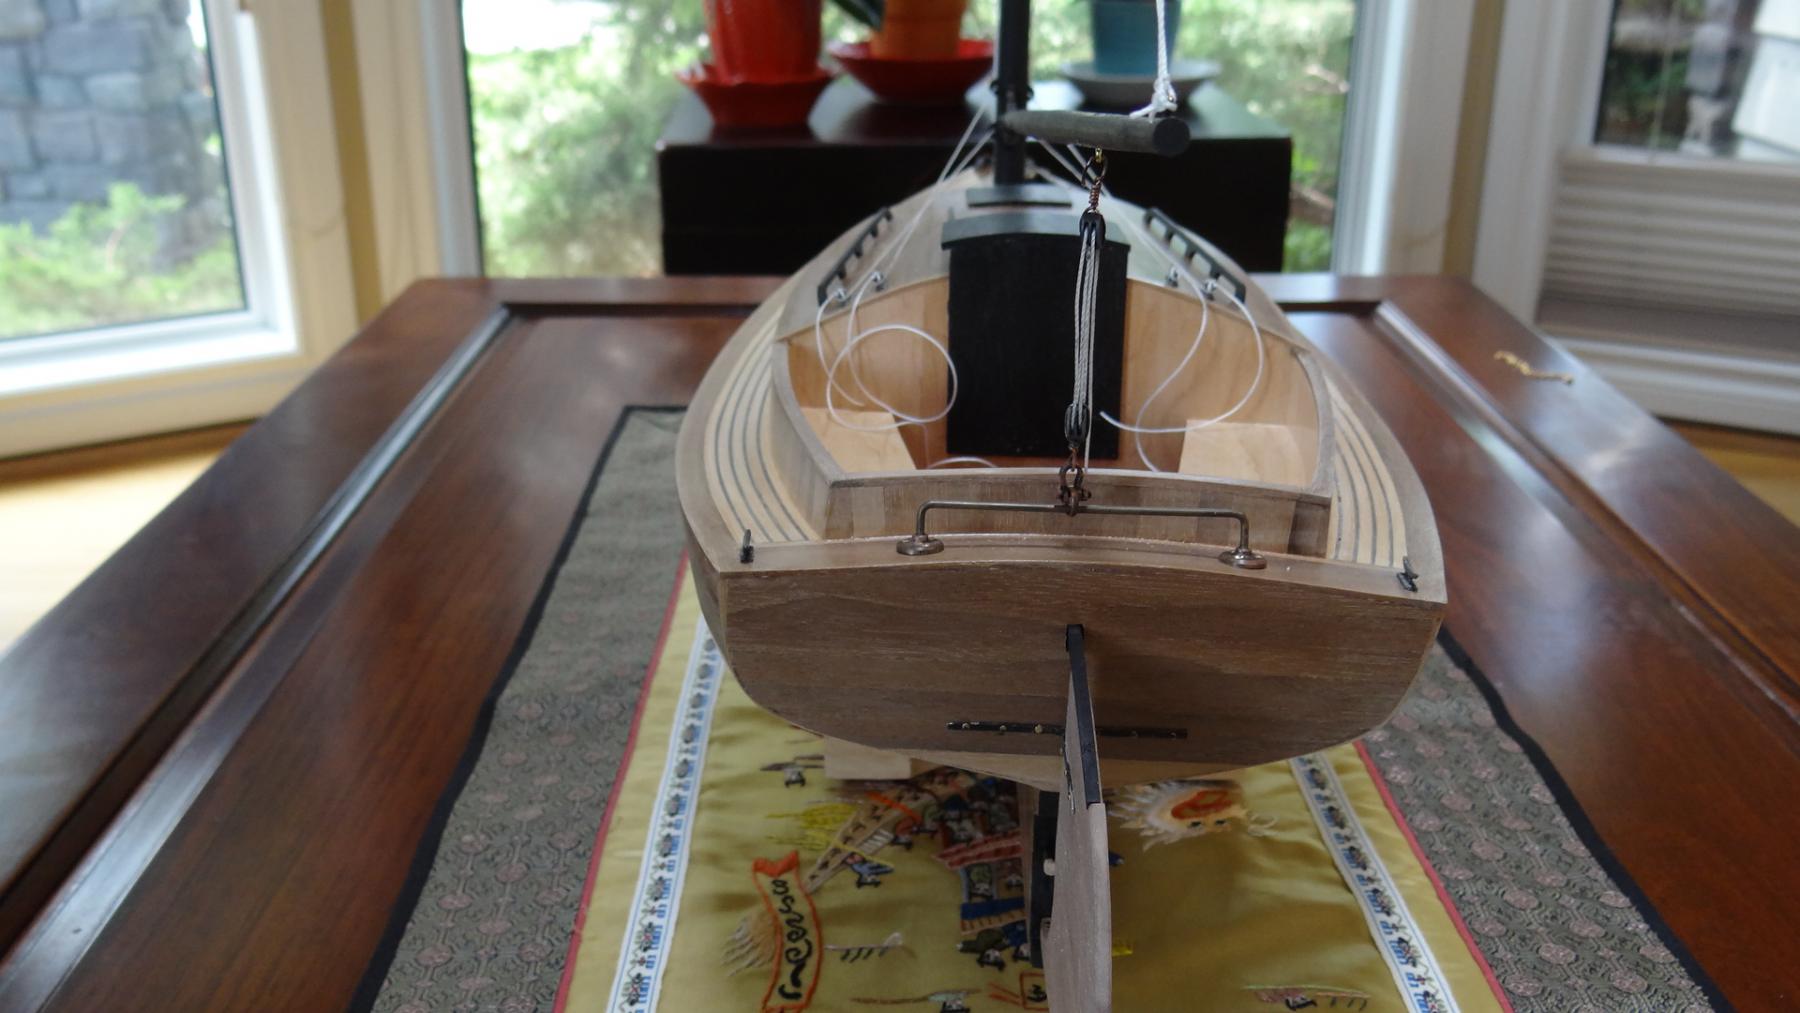
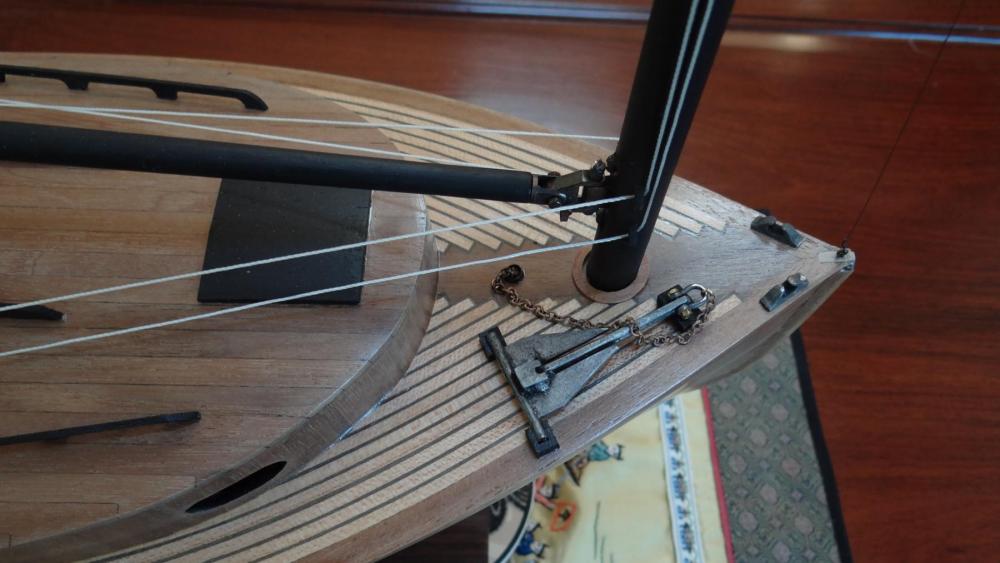
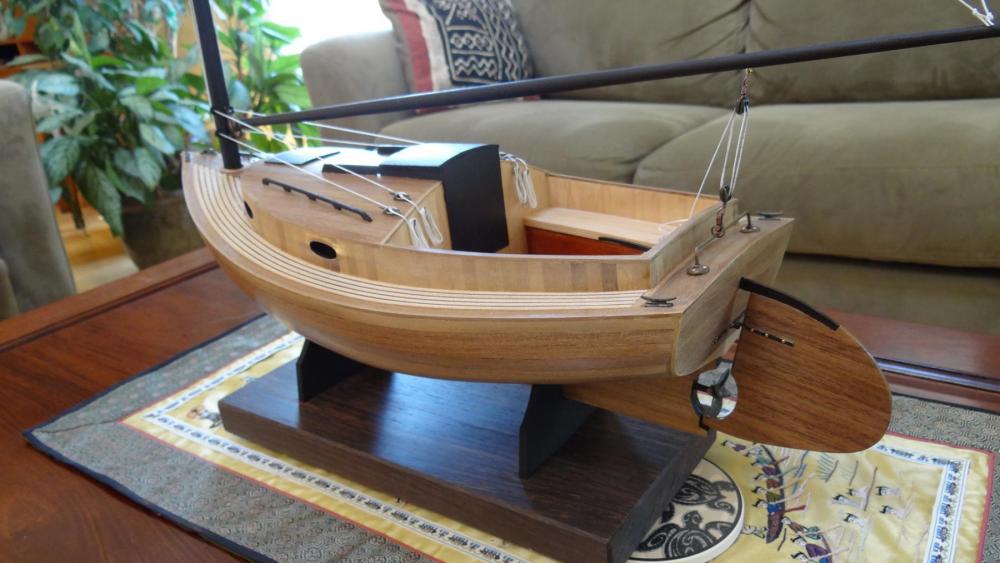
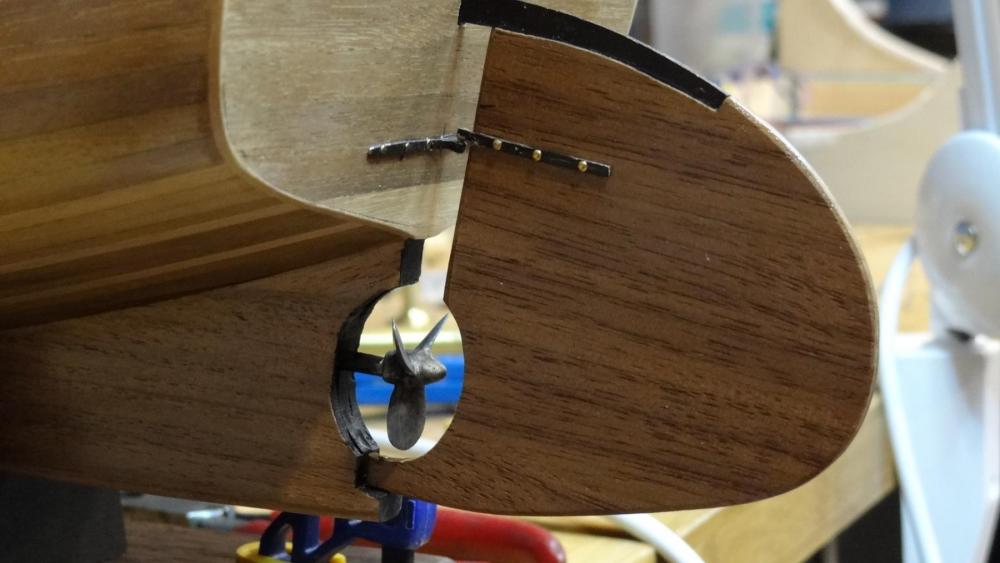
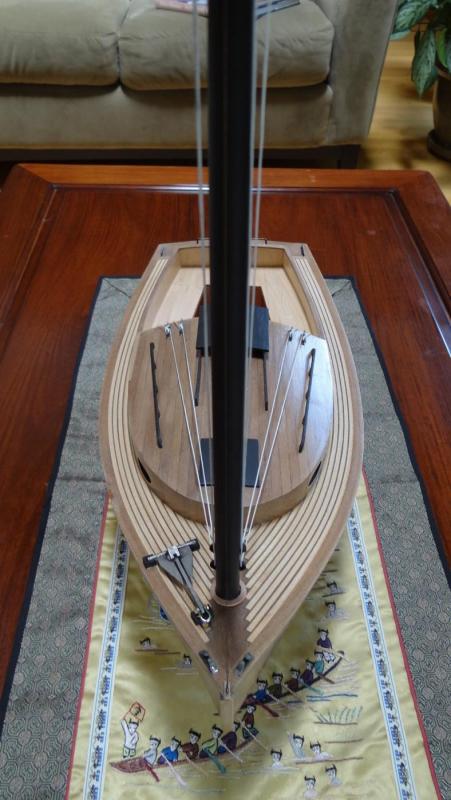
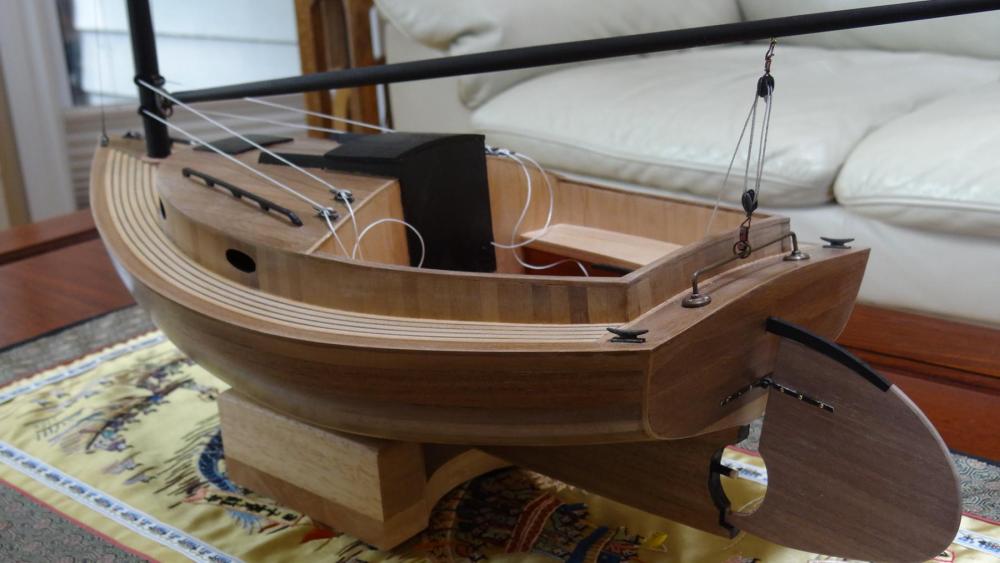
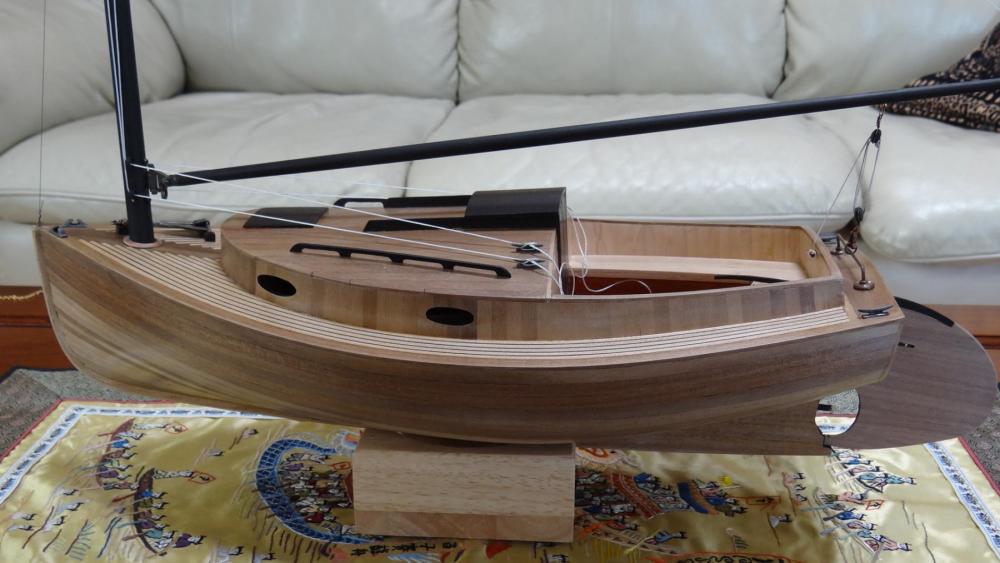
Ok, this time it's done! Any and all comments and criticisms welcome. Thanks, Ian I can see that the traveller attachment points could have been better. Only the camera revealed this. I made the rudder by laminating walnut planks. The Danforth anchor, chain and chain pipe were slightly blackened and glued on to a three point cradle. I fashioned some line coil hooks out of brass nails but had a really hard time of the whole thing. A skill area I need to improve. I just wanted to mention that I made the base out of a piece of Wenge wood. I could not decide what else to do with it as it does not look like a good wood to plank with.


-
I just checked your Vic update. It looks really good and helps me get psyched about restarting my own Vic which has been waiting for the last touches on my other build. So I completely agree with your philosophy. Ian
-
Working with Hull Planks on Model Space HMS Victory Kit
Seventynet replied to CDW's topic in Wood ship model kits
Very nice solution John, thanks for sharing. I'll keep this technique handy. Ian -
Great to see you back with these two models Dominic. The Bluenose is on my long list so I will follow this one with interest. May I enquire about your Victory? Best, Ian
-
Cutter Cheerful by iosto - 1/4" scale
Seventynet replied to iosto's topic in - Build logs for subjects built 1801 - 1850
Very nice work Iosto! Best, Ian -
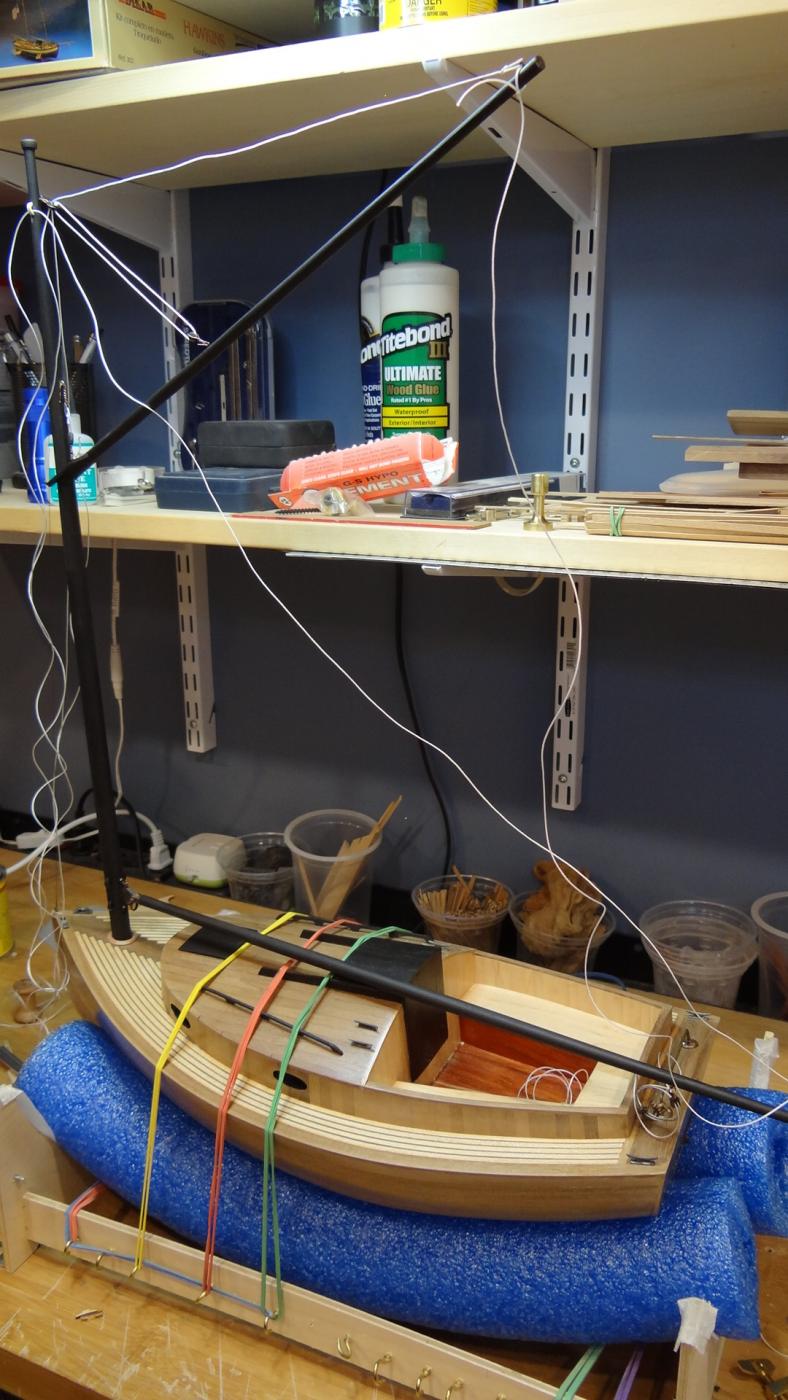
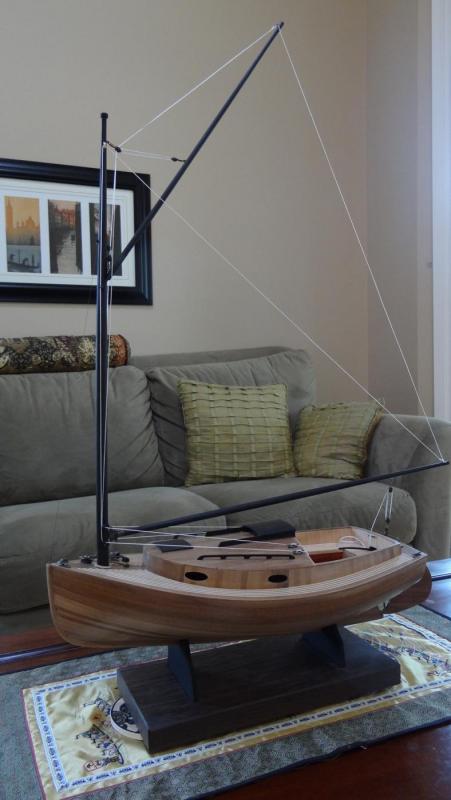
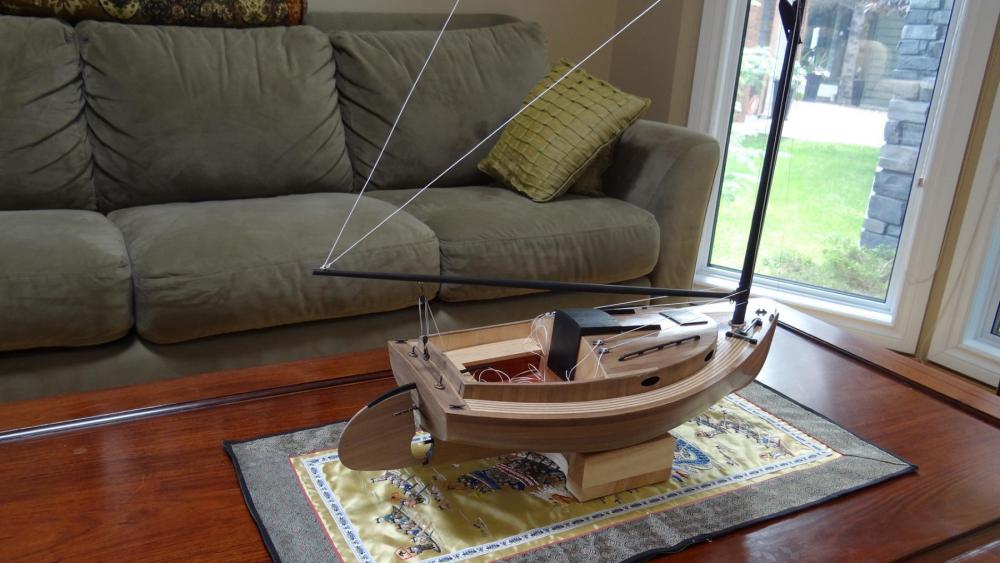
Hi folks, I'm going to call this, my first model, done even though I have a few minor things to fix (anchor chain, properly affix tiller, add prop, paint rudder and figure out display stand and case). I really enjoyed this build. Thanks for stopping by and following this project.


- 86 replies
-
- 11
-
-
Thanks Bob, Don and Russ. As if there aren't enough challenges in this hobby, I see now that I should have fitted the display cradle before I stepped the mast.
-
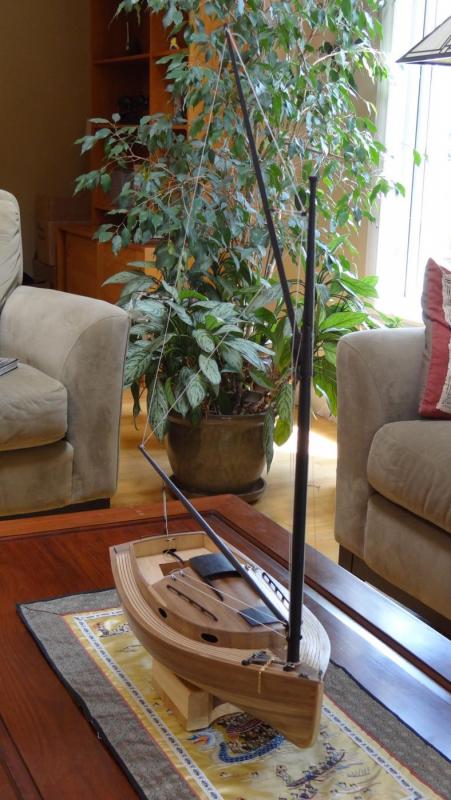
Hi All, With all this talk about first time quitters and idle logs I was getting a little jittery and I felt that I should post a picture to show that I am still at it and in fact almost finished this little baby. Lots of little things still left to do... Best, Ian
-
Hi Bob, it looks like I am looking at a full scale ship. Very inspirational. Thanks for sharing. Ian
- 206 replies
-
- 4
-
-
- battle station
- panart
- (and 1 more)
-
Now if you were to leave your options open, I.e., not copper, especially when you appreciate the magnificent job you will do on your planking, you could do everything that Lawrence has suggested except use elastic bands and erasers to hold the wet planks in place and then to hold the glued planks in place, you would have nothing to lose. You can see my technique in my Victory build. Having said that I am not sure whether the set up work to achieve good band hold points would be worthwhile in your situation. Best, Ian
- 701 replies
-
- 5
-
-
- phantom
- model shipways
- (and 1 more)
-
Hi Heinz, Nice deck planking. As usual your work is just outstanding. Sorry I haven't done anything on my Victory for a while. Soon. Best, Ian
-
This hull planking issue was what I ran up against with my Bluejacket Cape Cod cat boat. I echo what you've said about not wanting to criticize the company because quite frankly I do not have much experience. But I was struck by the thinness and lack of bulkheads upon which to plank. I really didn't want to go with their hull planking technique because quite frankly I would have had difficulty with that. So I used filler blocks, milled my own walnut planks and was pretty happy with the planking result. Anyway beautiful lines on your boat and I hope you'll finish it. Best, Ian
-
Always such a pleasure to look in on your work Eric. There'll be plenty of rainy shipyard days to keep that cutter moving ahead I hope. Best, Ian
-
I really like your approach to putting the fillers in. It definitely beats trying to insert the filler blocks after the bulkheads are in place and I suppose also serves as a solution to squaring the bulkheads. Even though it is a simple solution when you think about it, it had never occurred to me to use this approach. Thanks for sharing this. Best, Ian