HOLIDAY DONATION DRIVE - SUPPORT MSW - DO YOUR PART TO KEEP THIS GREAT FORUM GOING! (Only 27 donations so far out of 49,000 members - C'mon guys!)
×


michael mott
-
Posts
5,198 -
Joined
-
Last visited
Content Type
Profiles
Forums
Gallery
Events
Everything posted by michael mott
-
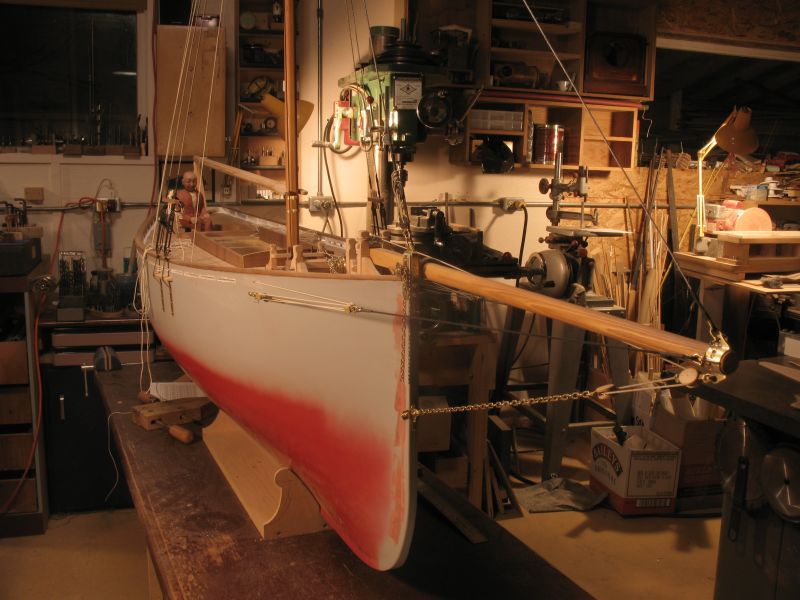
 Very nice Dan, the finished boat looks beautiful. Is the case glass or acrylic? Michael
 -
I always wonder when I do something that causes me to step backwards to repair something that was damaged by doing something constructive with the wrong bit. Sounds like you have moved on now, I am looking forward to some pictures. Michael
-
Dan the thumb stuff doesn't sound very pleasant. the lion is looking much more interesting, I agree with you about the narrowing of the head, it looks much better, I would be inclined to make it even a smidgen narrower perhaps 16 or 16.5% spitting hairs I know. Ill just quietly go back to my corner now. your carving is better than any I have done. Michael
- 241 replies
-
- 1
-

-
- queen annes revenge
- pirate
- (and 2 more)
-
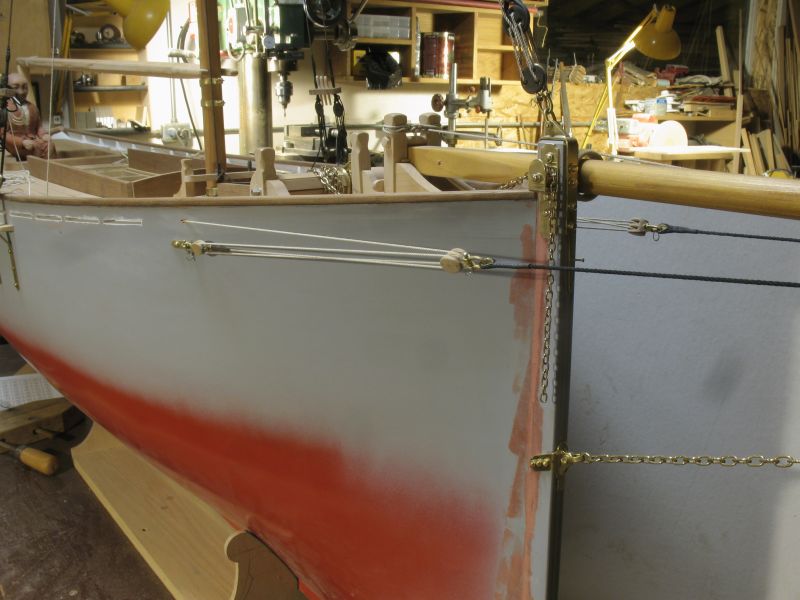
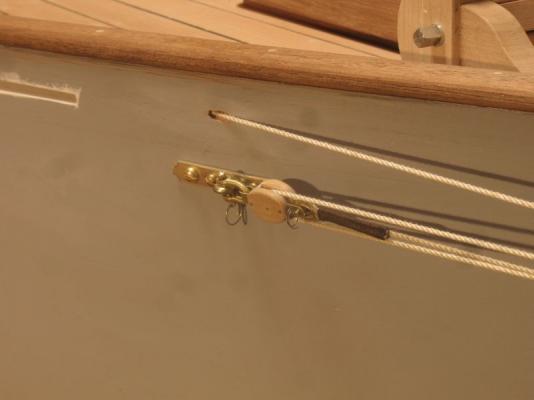
Hi Popeye, thanks for the commendation on the brass work. regarding the eyelet, I noticed on a lot of the pilot cutters and smacks that they just went through the wood, but knowing the owner and what a finicky task master he is it will likely not be his cup of tea to leave it sort of unfinished. Somehow I think he will have me conjure up something appropriate. Michael
-
Very nice work on the blocks. Michael
-
Ambitious, I say, definitely ambitious. It will be fun watching the juggling Michael
-
The planking really does look sharp! Michael
-
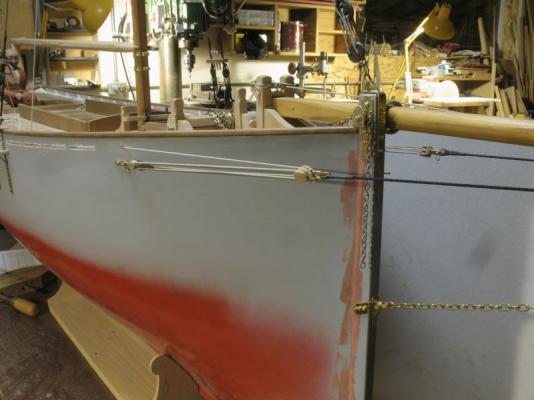
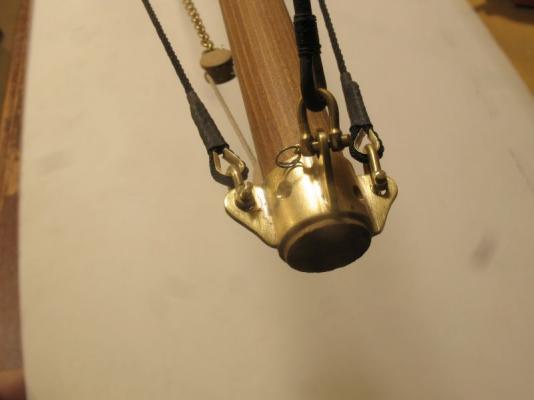
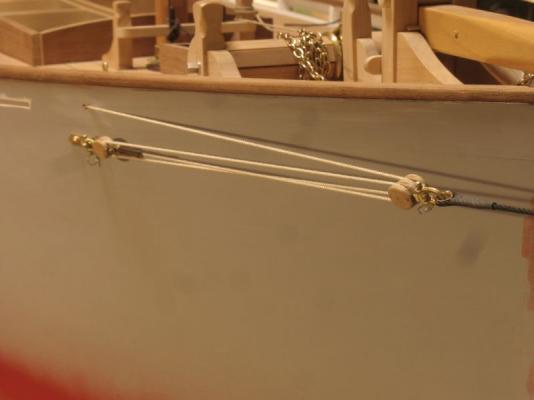
John, if you do eventually get here, there are some great views in the Rockies not too far from here just three hours away. and we do have a spare room. Joe thanks for the kind words. well the bowsprit shrouds were a bit more fiddly than I thought they would be, Had to make a few more thimbles and shackles I decided on the dark rope for the shrouds and a light rope for the tackle. I need to make some cleats now so that I can tie ropes and lines off better, just need to sort out where to put them and what type to make, they will probably be brass. Michael

-
Good to see an update Lextin, she is coming along, michael
-
Glad to see that you have begun the hull I will be watching with great interest how you build it and all the radio stuff. Michael
-
Hi Rusty Just checking in for the first time, very nice workmanship That is a large cross section. Michael
-
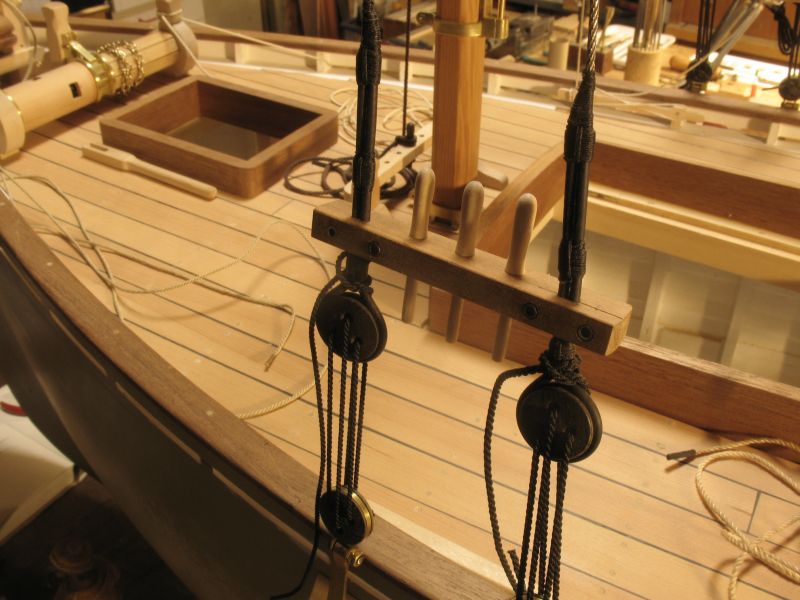
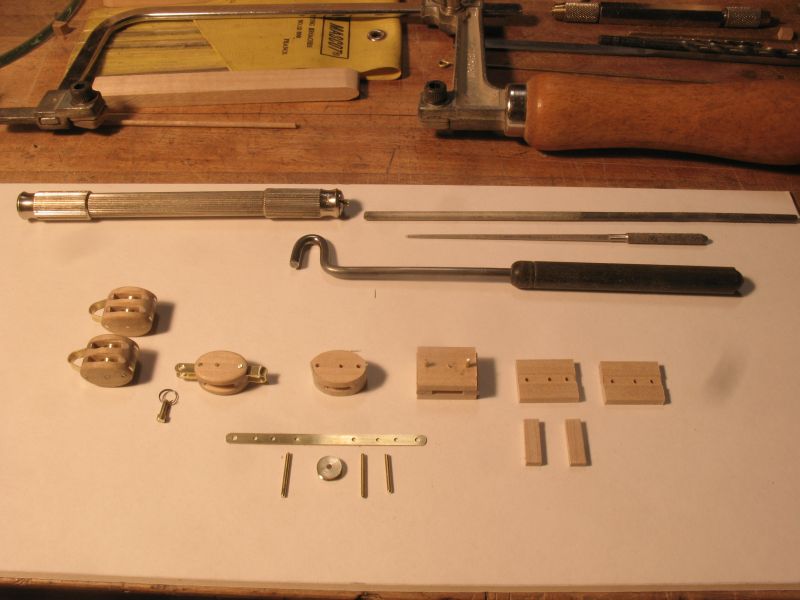
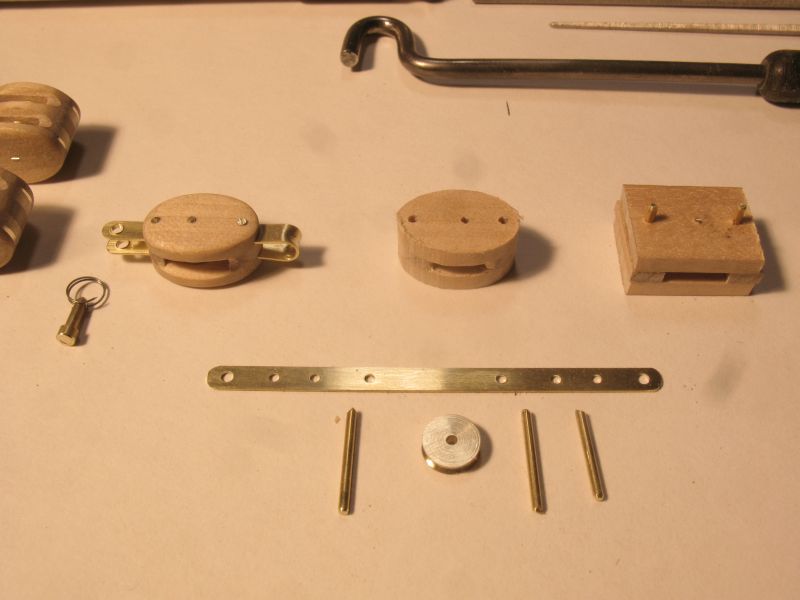
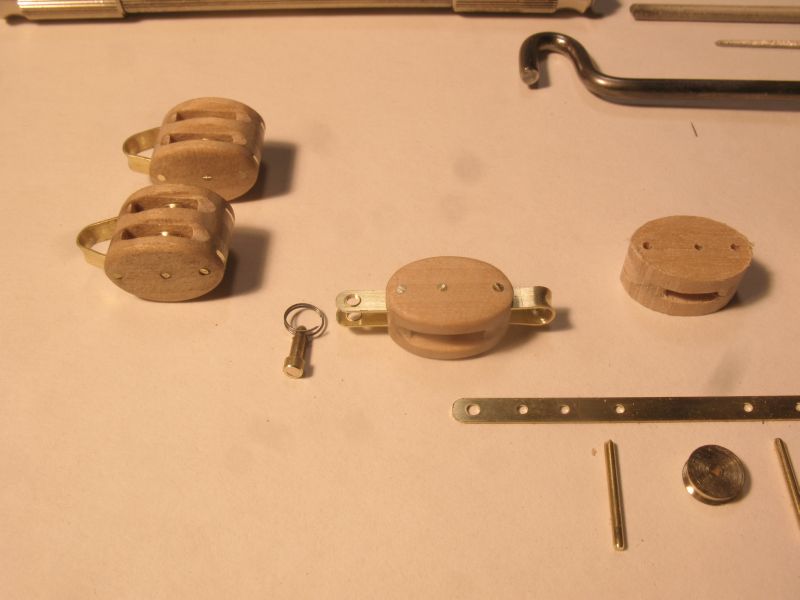
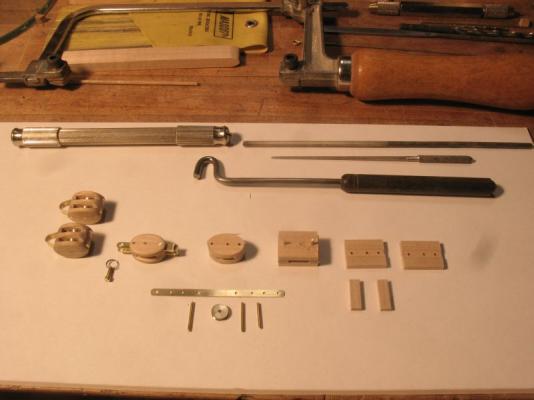
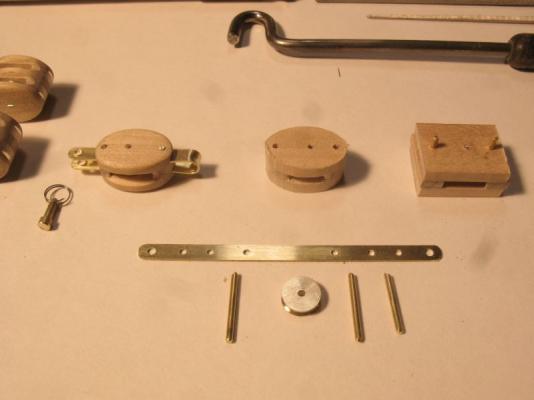
John, Andy, Bob, thanks for checking in. Yesterday afternoon and today I worked on some more rope on the ropewalk. I used some Guttermann 100% Egyptian cotton Ce 50 to make up some more standing rigging parts I used 39 strands to make some 5/8' scale rope and 27strands for some1/2" and also some more blocks for the bowsprit shrouds the rig will use a single block with a becket and a double block on each shroud, tomorrow I will finish the second single block and make the brackets for the hull and drill the holes through the bulwarks. This series of shots shows the parts of the block and the sequence of the gluing and shaping. The brass bars were originally drilled inside all the previous blocks but I have refined the process a little and now am drilling them in a flat jig first The top and bottom pins are .437" apart and the sheave is 1/4 inch diameter the wood is hard maple. I keep thinking about Remco's byline about treating each part as a complete model and it is really helping me with this build. The port side belaying pins Michael

-
Nicely done so far Tim. Michael
-
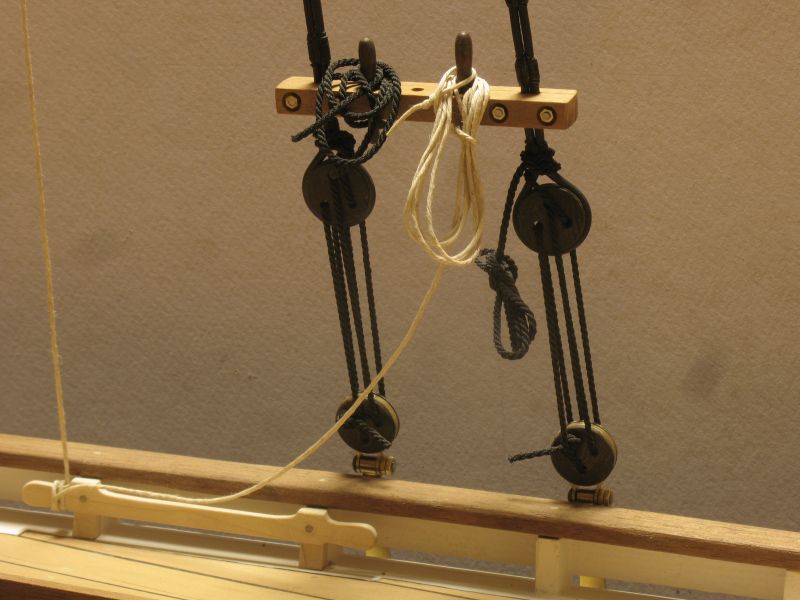
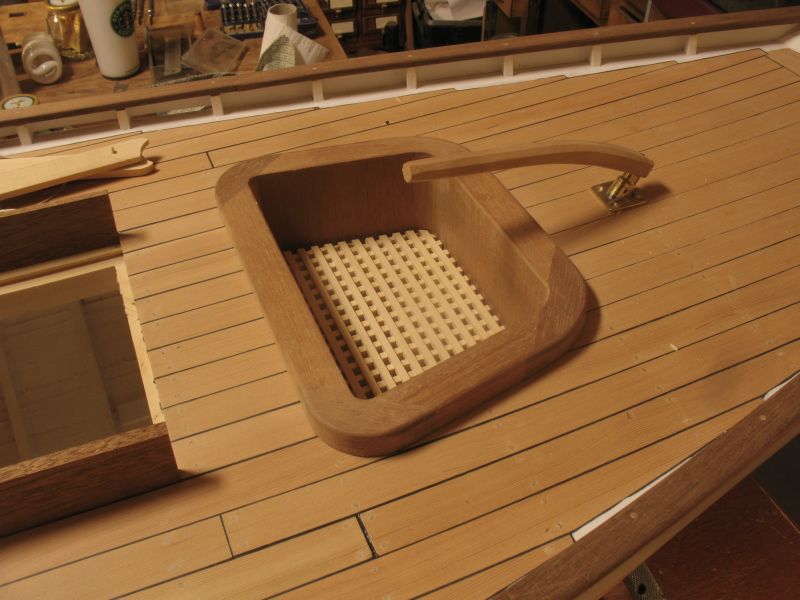
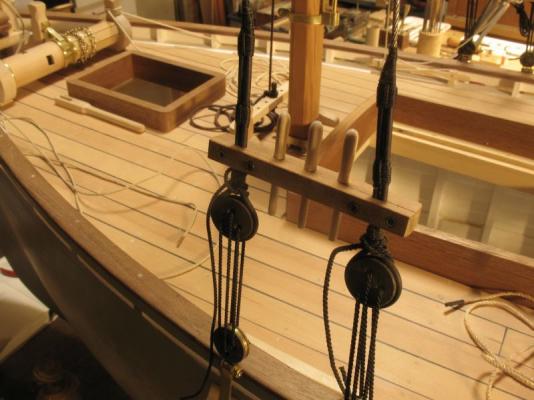
Hi John thanks I just have to round off the corners a little more for it to fit back in the bottom of the cockpit. After supper I made a little block that fits to the shrouds to hold some belaying pins, I have seen this arrangement on a number of the pilot cutters and Smacks seems like a good way to deal with lighter lines like flag pennants and getting rope off the deck. The wood is mahogany and the plank was split and bolted back together then the shroud holes were drilled at a slight angle right at the split line and the three holes for the pins were drilled in the wider section. the bolts are 2x56 cap screws I made the nuts. This is so much fun I am really enjoying myself. Michael


-
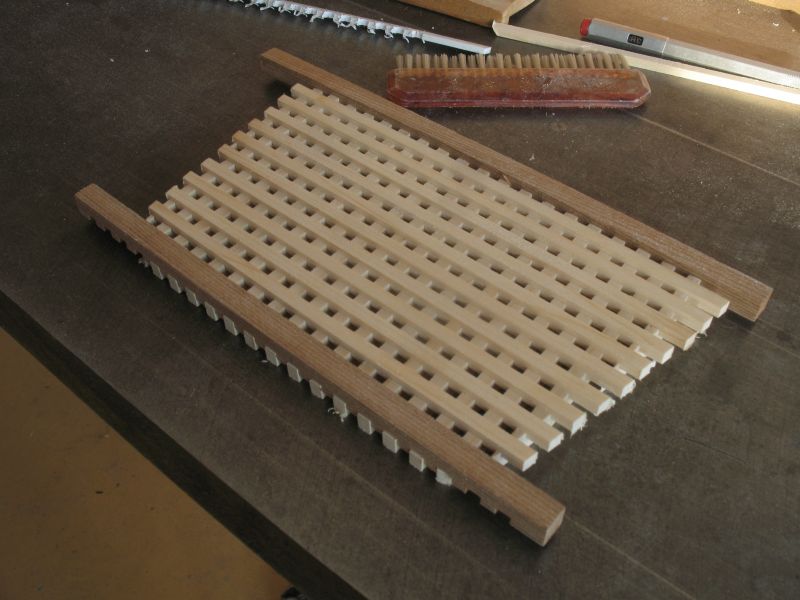
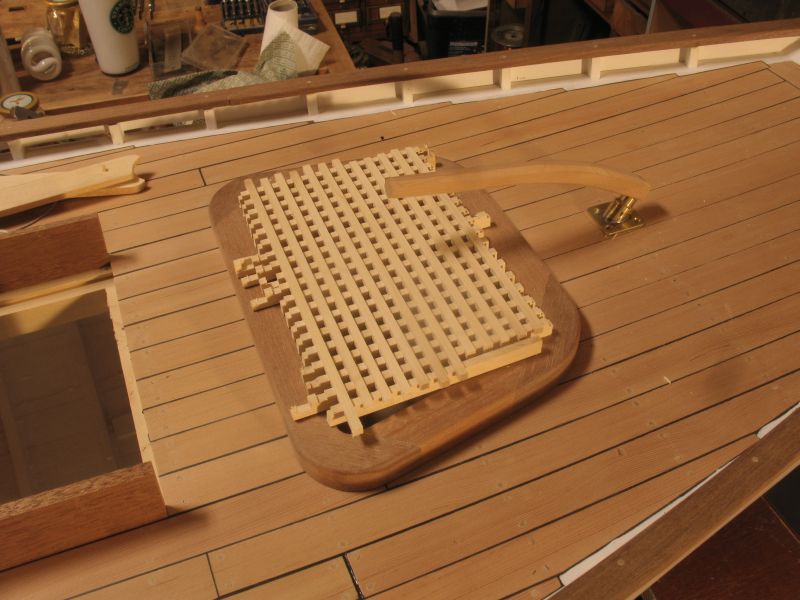
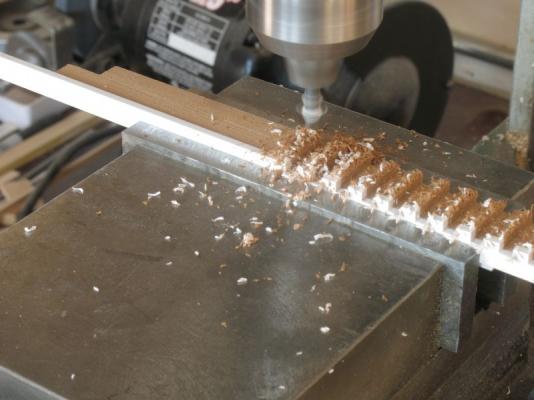
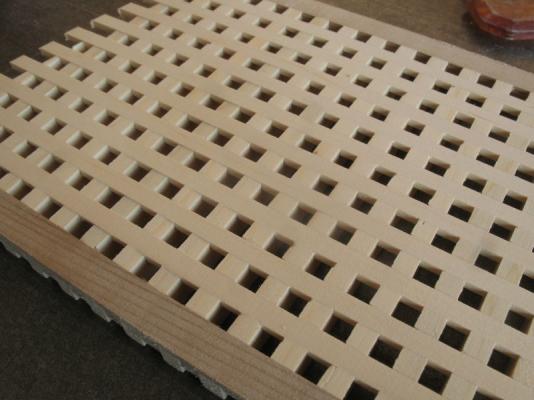
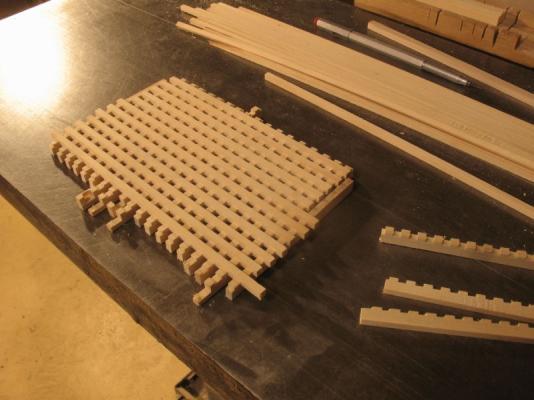
John, Jay, Carlos, and Bob thanks for you continued support it means a lot. Popeye the snow is likely going to stick around the temp is dropping to -16c tonight. Today I worked on the grating and chose some dark coloured Cedar for the frame. Using the same mill to also create the correct spacing for the short slats. reassembled with the correct spacing in both directions now. The top surface sanded down with some 220 then 600 oiled with some teak oil. Michael


-
Ulises, Those Pens are exquisite, I'm lusting after them! I like to write with a real pen and ink. Michael
-
Very nice Juan, you must be pleased with the finished model. Michael
-
Thanks John I must admit I am leaning that way myself, all I need to decide is just what profile to make it, I think that it should be of a slightly larger section than the 1 1/4 stock. Michael
-
Beautiful workmanship on the deck planking Danny. Michael
-
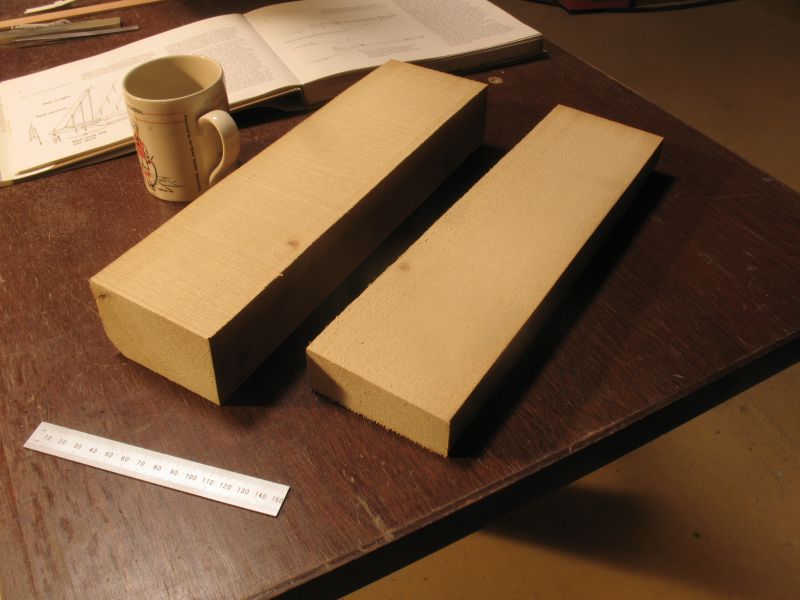
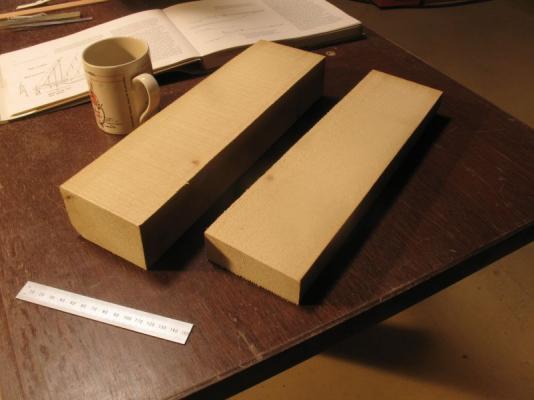
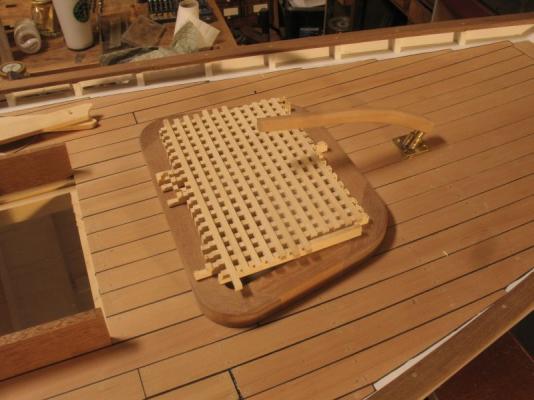
John I'm retired This evening after supper I finished off the rough fitting of the grating in the bottom of the cockpit. it still needs the edge wood and I'm not sure yet whether to use a contrasting wood or to go with some more of the Yellow Cedar that the grating is made of. I cut a slab of 3/4 x 3 1/2" yellow cedar from a 4x4 of it that i have had for a while now. Then stripped it up into some scale 1 1/4 inch thick boards and made a couple of passes to create the square stock and the wider stock was milled with a "19 modified twist drill into an end mill The drill is .166" diameter this gave a nice snug fit to the square stock when it was assembled. checking the size to mark out for sanding. next the assembly was rough sanded to fit into the cockpit on the disk sander. Michael

-
Beautiful work Bruce. I will send a PM regarding the wood. Michael
-
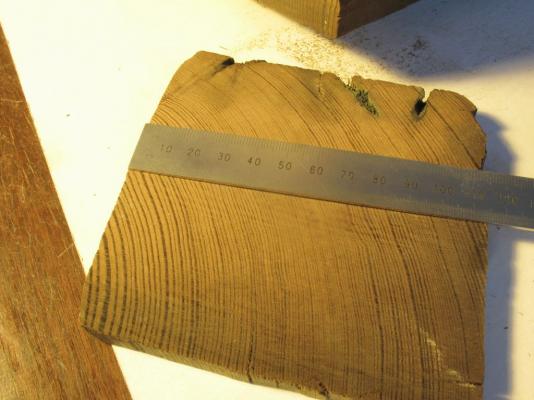
Many years ago I was commissioned to make a special bulkhead piece as a gift for a chap who owned a 65foot swan sailing yacht, showing a section of this wood the piece was mounted on two brackets that were fretted out with the profiles of the hull of the swan. it was mounted in the main cabin on one of the bulkheads. I was given this piece of wood as payment for the piece that was prepared and mounted. Michael
-
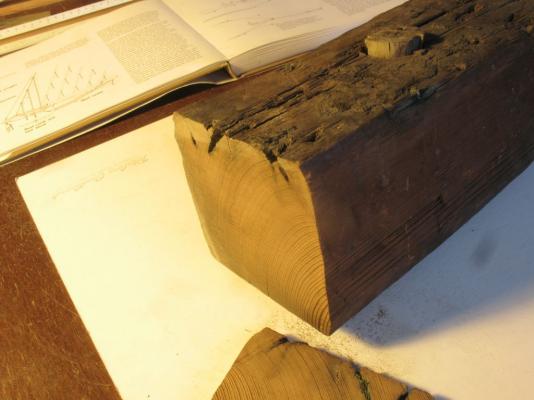
As promised the wood from the deck of the lightning which I was told sank at Geelong. Michael

-
Ah yes the Lightning, I am looking forward to watching the rigging. I think I mentioned this somewhere before But I have a small section of wood from the deck of the lighting I will take a picture. Michael
-
Beautiful work as always! good to see you doing some more work. it has been a while. Michael