-
Posts
5,198 -
Joined
-
Last visited
Content Type
Profiles
Forums
Gallery
Events
Everything posted by michael mott
-

ancre Le Fleuron 1729 by rekon54 - 1:24
michael mott replied to rekon54's topic in - Build logs for subjects built 1501 - 1750
What a pleasure to see such great workmanship. Michael -
Hi David, Thanks, building stuff I can do, play a musical note you don't want to hear it, My musical abilities would make a deaf person cringe. Michael
- 2,215 replies
-
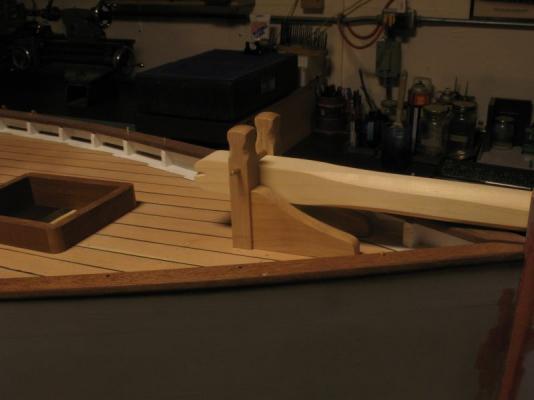
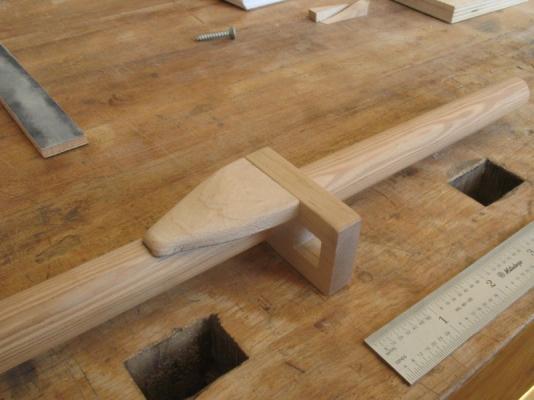
Russ, thanks, I must admit the clean up looked daunting yesterday, especially with the iron wire embedded into some of the silver solder. John, yes I know one step forward and one step back. After the bits and knees were glued to the deck I had to go back and shave about 1/32 off the width of the bowsprit. so now I need to go look at travelers and see how they were made. Michael
- 2,215 replies
-
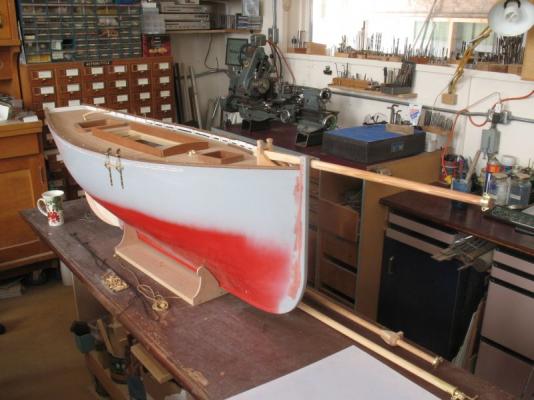
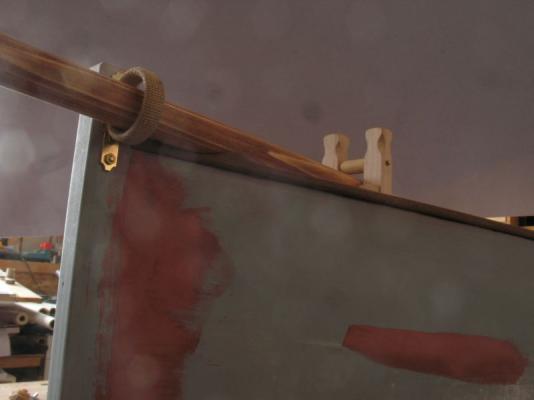
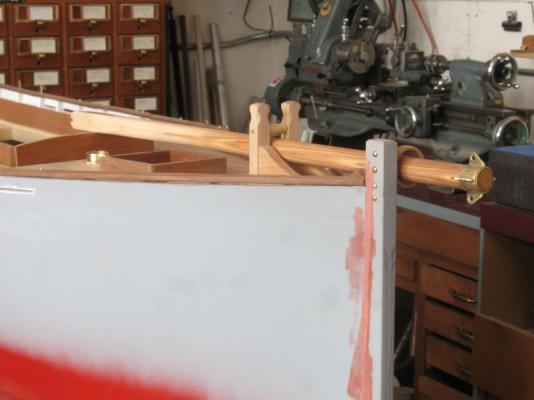
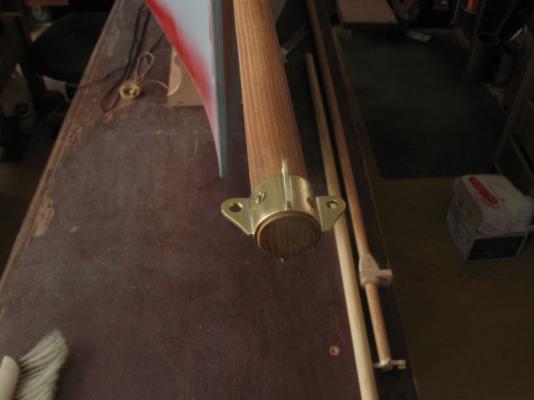
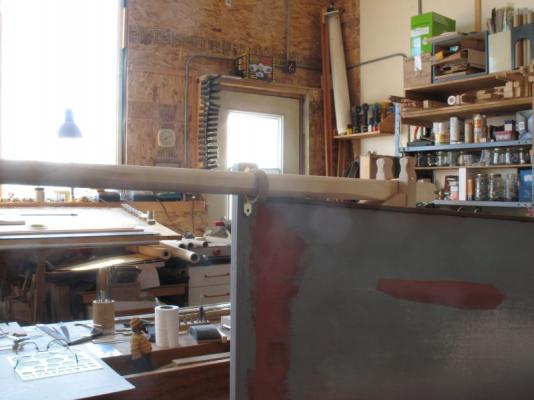
The Gammon Iron was mounted today and a saddle carved for the bowsprit along with finishing cleaning up the bowsprit end cap. I will need to make a protective metal saddle for the anchor on the opposite side of the Gammon Iron and also the winch for the anchor chain. I'm beginning to see why these models take a while. I put 4 screws to hold the cap to the bowsprit. The next items are the jib traveler for the bowsprit and the bob stay fitting on the stem. Michael
- 2,215 replies
-
Wim that looks really sharp, nice brass work. Michael
- 59 replies
-
- creole queen
- steamboat
-
(and 1 more)
Tagged with:
-
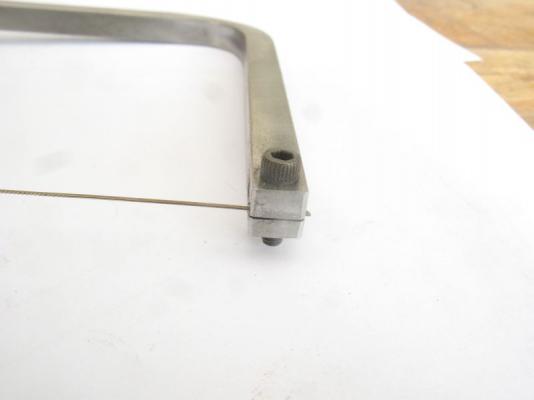
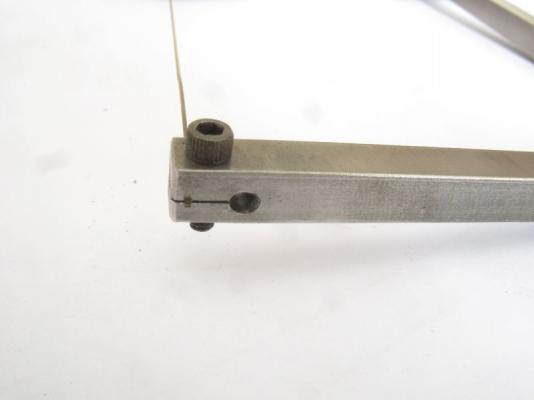
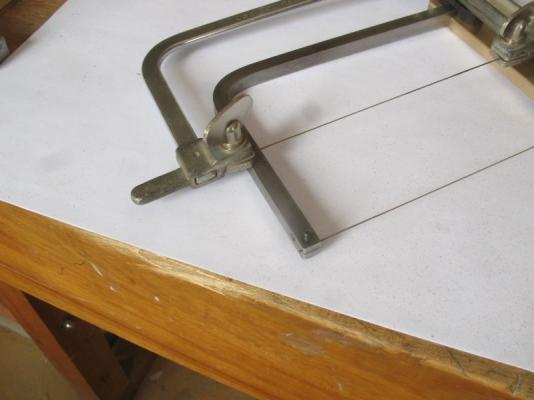
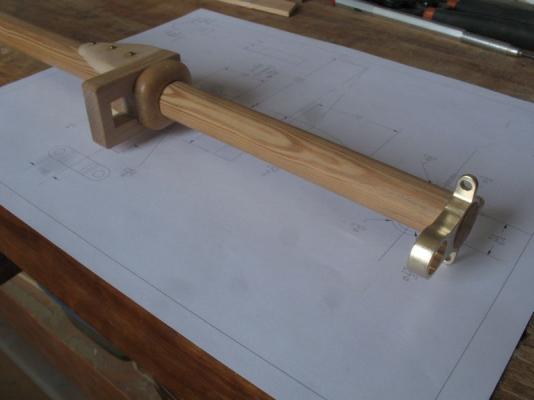
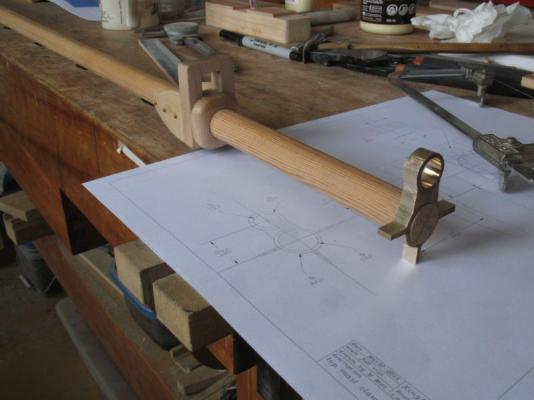
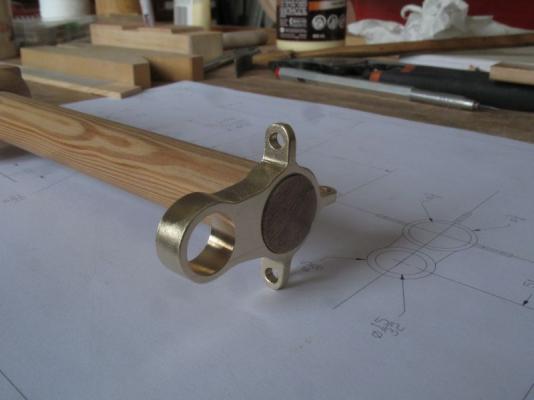
John , Johann, thanks for your kind words. Bob here is a couple of pictures that will hopefully show the way that the blade is clamped. The screws are 4x40 the top one is a regular cap screw the bottom one is a round head cap screw for the top one I drilled a #43 hole and slotted the end with a .010 slotting saw and the bottom one is by having a clearance hole #33 through the brass arm and a piece of 1/4x 1/4 brass threaded with the 4x40 to clamp to the main bar. Michael
- 2,215 replies
-
Ilhan, just catching your build again. Exquisite workmanship clean precise use of wood and other materials enjoyable to watch the progress. Michael
-
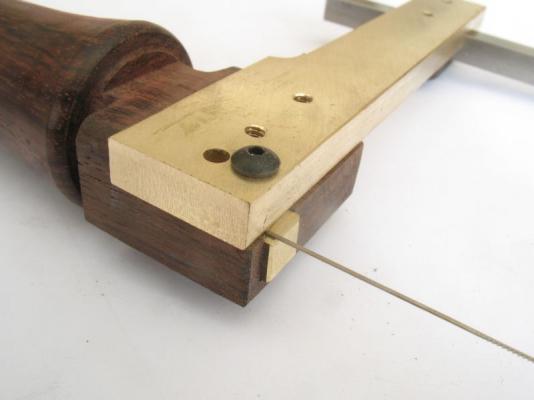
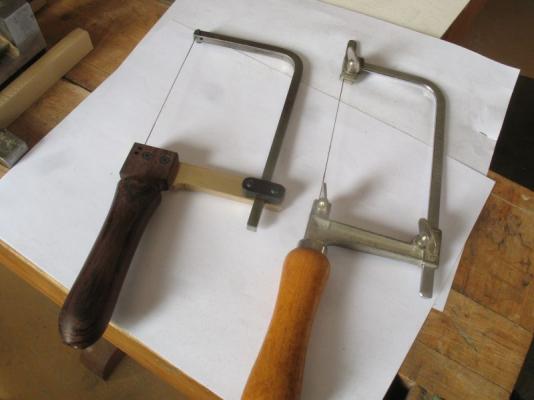
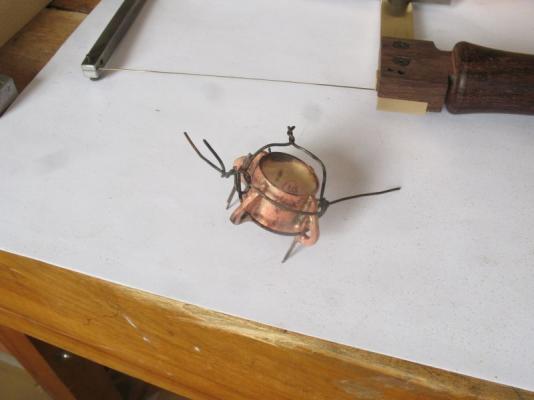
Matt it is a Myford ML7 Sarah, thanks Thanks John, I'm not sure about the lesson though. Before moving on to finish the rest of the tabs I was tired of hitting my index finger with the locking screw of the jewelers saw. So I made a new one this morning with a smaller head end The handle is rosewood the locking bar is ebony the rest is brass and steel. after fretting out the rest of the tabs it took about 1/2 hour to set it up to solder with some soft iron wire to hold it all together, the silver solder was slug over the tabs like saddles The wire did get attached in a few places but will clean up easily enough. The rest will wait till tomorrow. Michael
- 2,215 replies
-
Many Happy returns Daniel, It was interesting that Sarah thought you were much older than you are , I too had the same thought, It seems that Sarah is still quite young as well judging from the picture in the builder thread. I must echo the thoughts about working with the finer grained hardwoods. Basswood is nice but has it limitations as do all woods. if you have a Lee Valley store close, they sell small blanks of the fine grained woods for turning pen bodies etc, they are very reasonably priced as well. The hull shape looks great. Michael
-
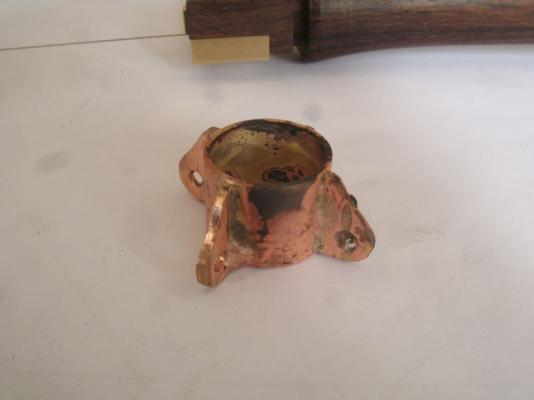
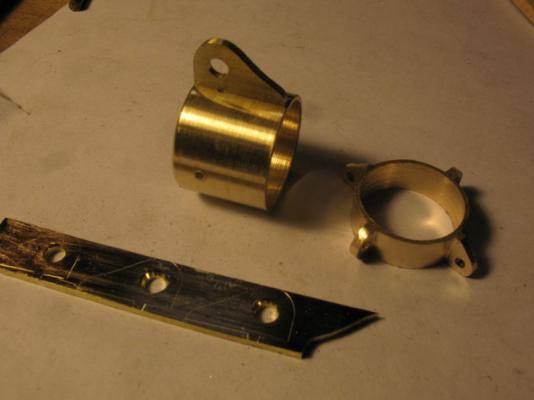
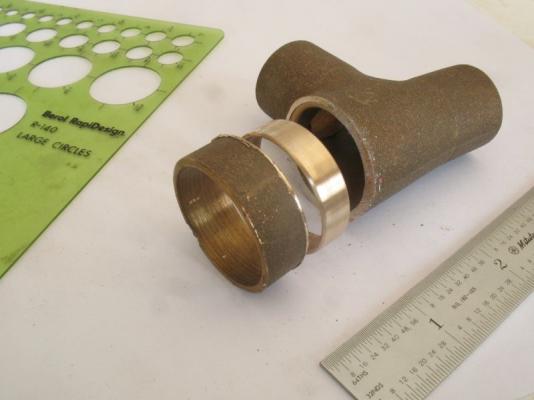
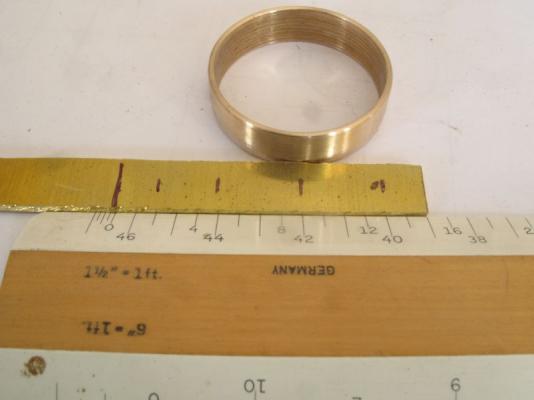
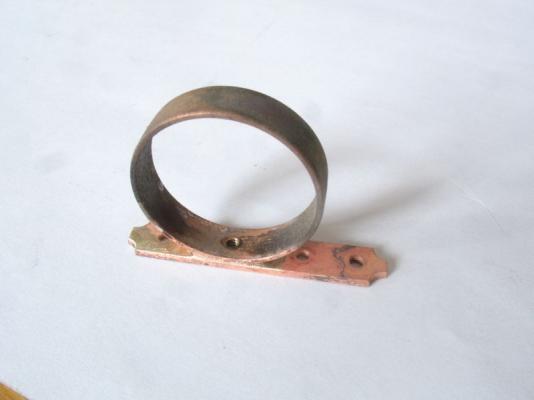
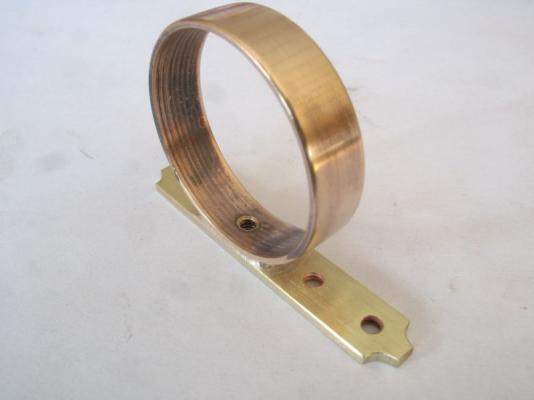
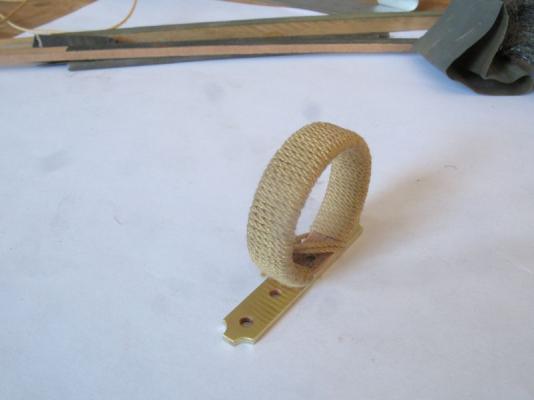
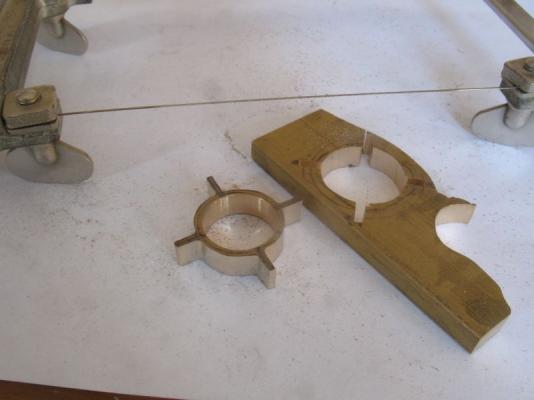
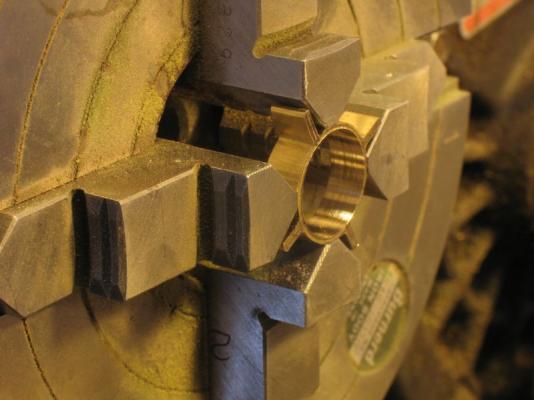
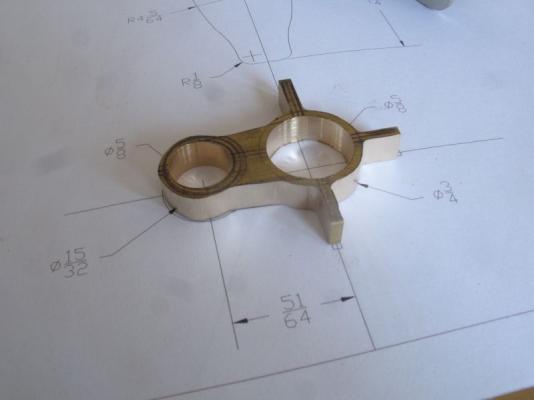
Sherry, I cut another today but it is not going to work for me this time, I made a couple of errors doing the rest of the work. Bob,thanks. Russ, thanks for the comment regarding the shape of the bowsprit, Quite a few of the cutters and smacks that I have seen on the web seem to follow this basic design. John thanks for looking in. As I mentioned above I did some more cutting today, but before I get to it I worked on the Gammon Iron I fabricated it from a couple of pieces the ring came from an old bronze plumbing fitting, I cut off the end with a hacksaw then turned and parted off the ring. Next I pulled a strip out of the strip tray and laid out the hole positions with a felt pen. Soldering was a bit cranky I had to pickle it and rework the solder. Then the time consuming clean up with the usual assortment of files, wet and dry paper, steel wool. Then it was a fairly straightforward wrap of some soft rope made from embroidery floss which makes a nice soft rope. After the gammon iron I began working on the cap for the end of the bowsprit, another 20 minutes of cutting with the jewelers saw (same blade)from the previous cutting, I am always amazed at how well these blades stand up to use. I was pleased with the cutting but then had to chuck it up in the lathe to open the hole up to 11/16 because I did not have an end mill that size. this allowed me to put in the taper as well. Then I cleaned it up with files getting the ring even and drilling the holes, then it came to filing the tabs and the first pair I filed the angle backwards to the taper. I was a bit peeved, but though I could still save the day by rounding them and was going to rotate the ring so that they could act as the bowsprit shrouds lugs. Started to file the bob say and jib tabs and well you guessed it I went and filed them backwards as well. This was the straw that ..... Went back to the brass bins and found a section of 3/4 inch brass pipe which was thick enough to accept the taper both inside and out. So forward to the next bowsprit end cap, this also gave me the opportunity to increase the size because apart from the fabrication shortcomings the first attempt was a little small overall. a piece of 1/16 by 3/8 strip was drilled for the tabs this where it is at so far. I will finish cutting them out tomorrow, Ive had enough fretting today already. Michael
- 2,215 replies
-

ancre Le Commerce de Marseille by Zbigniew
michael mott replied to Zbigniew's topic in - Build logs for subjects built 1751 - 1800
Zbigniew Very fine work on your stern section, I look forward to the continued updates on this interesting model. I have a question regarding the way that you are fixing the planks to the hull. Your model shows metal nails (treenails) and on many other ships of this period there seem to be wooden ones. Was this something that changed with different builders on full sized ships of the period ? Is this a modelers choice. I wonder because the metal would be more difficult to smooth than wooden ones. Michael -
Daniel, Daniel, John, Alfons, Druxey, Ron, Matt and Mark. Thank you all for you congratulations and kind thoughts and comments. Later on Tuesday I was able to change pace and finish shaping the tops of the bowsprit bits. The bits are rock maple 1/2 inch square and the knees have been glued now to the bits I will add some through bolts and the other fittings before the final gluing to the deck. The brass pin is just a place holder for a larger top retainer. I am looking next to working on the boom fittings including the the fitting that will attach to the stem ( cannot think of the name of it right at the moment) I will set up the fore stay similar to this one on Betty. Michael
- 2,215 replies
-
Mario, I Loved it the first time around, and it was just as delightful the second. Michael
- 45 replies
-
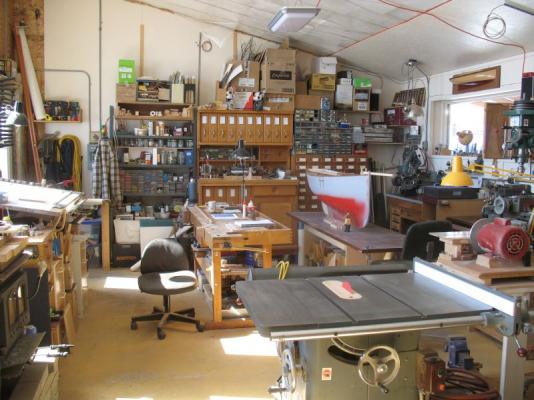
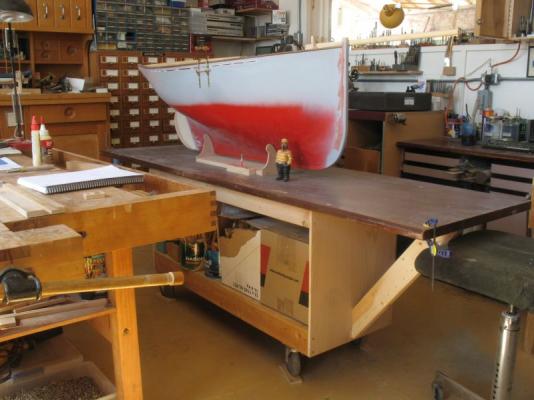
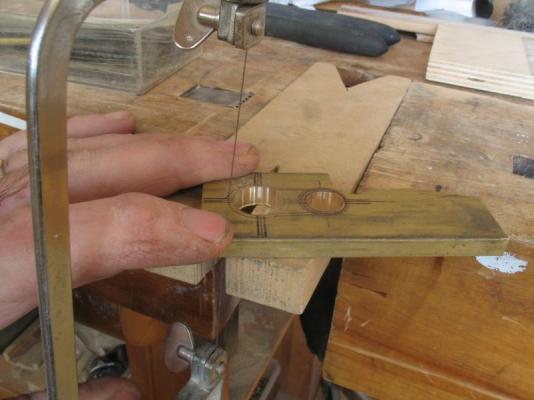
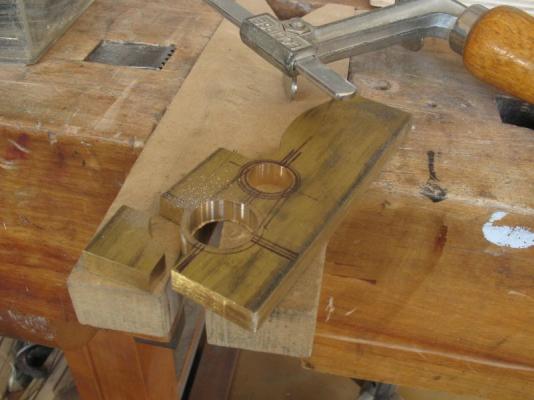
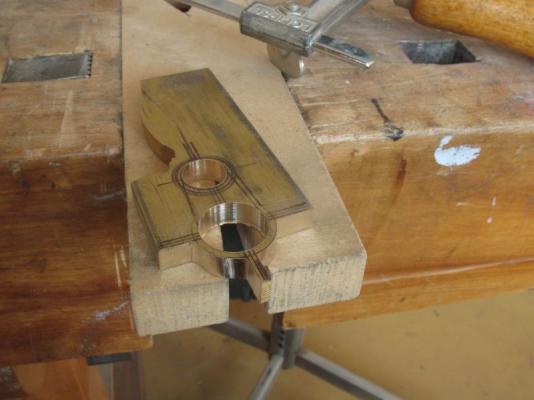
Russ, Carl, Matt, Mark, Mark, John, Yambo, Popeye, Bob, and Druxey. Thank you all for your kind thoughts. I had to rearrange the shop today again! the boat was blocking the light on the bench. so I also took the opportunity to rebuild the building bench. The model was longer than the bench and I kept almost walking into the bowsprit or the stern, I had an old office desk top that was 90 inches long so I used it to ensure that I cannot walk into the boat. Also lowered it to 30 inches high. Then I was able to continue with the hounds cheeks and bolster ready for the topmast. The fitting at the top of the main mast is a metal component that I wanted to make out of a single piece of metal instead of soldering up a group of parts. I used a scrap of 1/4 inch thick brass bar and drew the shape with a felt pen and cut it out with the jewelers saw after drilling the two holes. The roughed out shape ready to drill the holes in the tabs.I was pleased that I did not break any blades doing the cutting which took about 20 minutes. After the holes were drilled I sat in front of the wood stove enjoying the warmth and filed the filling to the final shape. Next it was cleaned up with the wire wheel which gives it a cast appearance. Now to make the topmast. Michael
- 2,215 replies
-
Dan, I just checked in on your build, what graceful lines this boat has, I am looking forward to seeing the build develop along. Michael
-

micro table saw stop
michael mott replied to michael mott's topic in Modeling tools and Workshop Equipment
Hello Mark, it is great that you are able to make this work. In reading about your clamp to the table issue, a though comes to me that you could simply drill and tap the surface of the saw and bolt the stop body down to the table. and in retrospect I believe this would be a more stable and safer option. It would depend of course on the thickness of the table top but if it is 16 gauge or more or you could still use a fine thread to set it down. Michael -

HMS Victory by EdT - FINISHED - 1:96 - POB
michael mott replied to EdT's topic in - Build logs for subjects built 1751 - 1800
Ed, very fine work indeed. Michael
About us
Modelshipworld - Advancing Ship Modeling through Research
SSL Secured
Your security is important for us so this Website is SSL-Secured
NRG Mailing Address
Nautical Research Guild
237 South Lincoln Street
Westmont IL, 60559-1917
Model Ship World ® and the MSW logo are Registered Trademarks, and belong to the Nautical Research Guild (United States Patent and Trademark Office: No. 6,929,264 & No. 6,929,274, registered Dec. 20, 2022)
Helpful Links
About the NRG
If you enjoy building ship models that are historically accurate as well as beautiful, then The Nautical Research Guild (NRG) is just right for you.
The Guild is a non-profit educational organization whose mission is to “Advance Ship Modeling Through Research”. We provide support to our members in their efforts to raise the quality of their model ships.
The Nautical Research Guild has published our world-renowned quarterly magazine, The Nautical Research Journal, since 1955. The pages of the Journal are full of articles by accomplished ship modelers who show you how they create those exquisite details on their models, and by maritime historians who show you the correct details to build. The Journal is available in both print and digital editions. Go to the NRG web site (www.thenrg.org) to download a complimentary digital copy of the Journal. The NRG also publishes plan sets, books and compilations of back issues of the Journal and the former Ships in Scale and Model Ship Builder magazines.


