HOLIDAY DONATION DRIVE - SUPPORT MSW - DO YOUR PART TO KEEP THIS GREAT FORUM GOING! (Only 13 donations so far - C'mon guys!)
×

CDW
-
Posts
7,743 -
Joined
-
Last visited
Content Type
Profiles
Forums
Gallery
Events
Everything posted by CDW
-

Fokker Dr.I by Torbogdan - FINISHED - Model Airways
CDW replied to Torbogdan's topic in Non-ship/categorised builds
Gas Patch models make a beautiful set of 1:16 Spandau guns, but they are pricey. https://www.bnamodelworld.com/for-other-scales-model-planes-gaspatch-models-gas15-16079?zenid=d1f49320612eb0ea8862234ad9690013 Regards CDW -
Looks like it's working like a charm.
- 146 replies
-
- 3
-

-
- dumas
- Chris-Craft Commander Express
- (and 2 more)
-
This would be the perfect ship modeling post/reply if you had stuffed that message in a bottle. As it is, I love it anyway.
- 146 replies
-
- 2
-
-
- dumas
- Chris-Craft Commander Express
- (and 2 more)
-
For all intent and purpose, I am cell phone illiterate. I must ask my children how to do most everything except the basic functions. Truth be known, I really don't want to take the time to actually learn to use my cell phone. In any event, I love to follow your progress on the Chris Craft and hope you get your issues sorted out soon. Looking forward to seeing more photos of your build.
-
With all the turrets and electrical/mechanical features of a battleship, there must have been a tremendous amount of maintenance that had to be carried out at sea. So many moving parts, something would have been bound to break down at worst and/or at least need preventive maintenance every day.
-
Very convincing, just like the real thing shrunk down. Ever see that old movie, Honey I Shrunk the Kids? These pieces look like the fellow got a hold of the real things, used his machine and presto!....model ship guns. Very nice indeed, Greg.
-
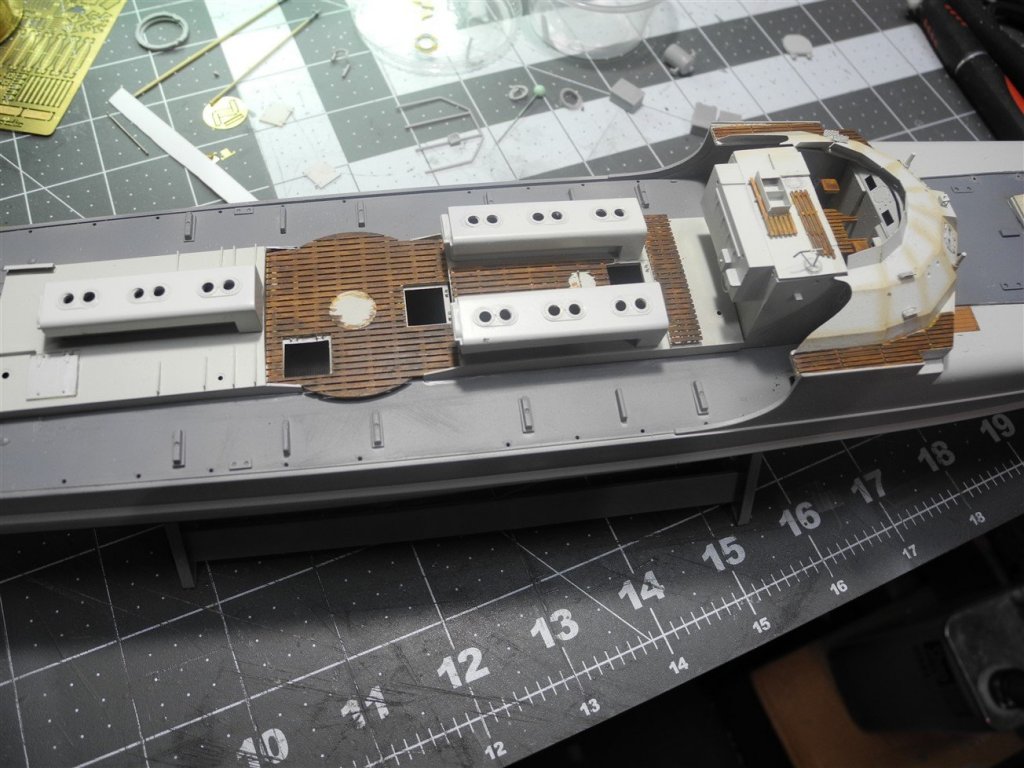
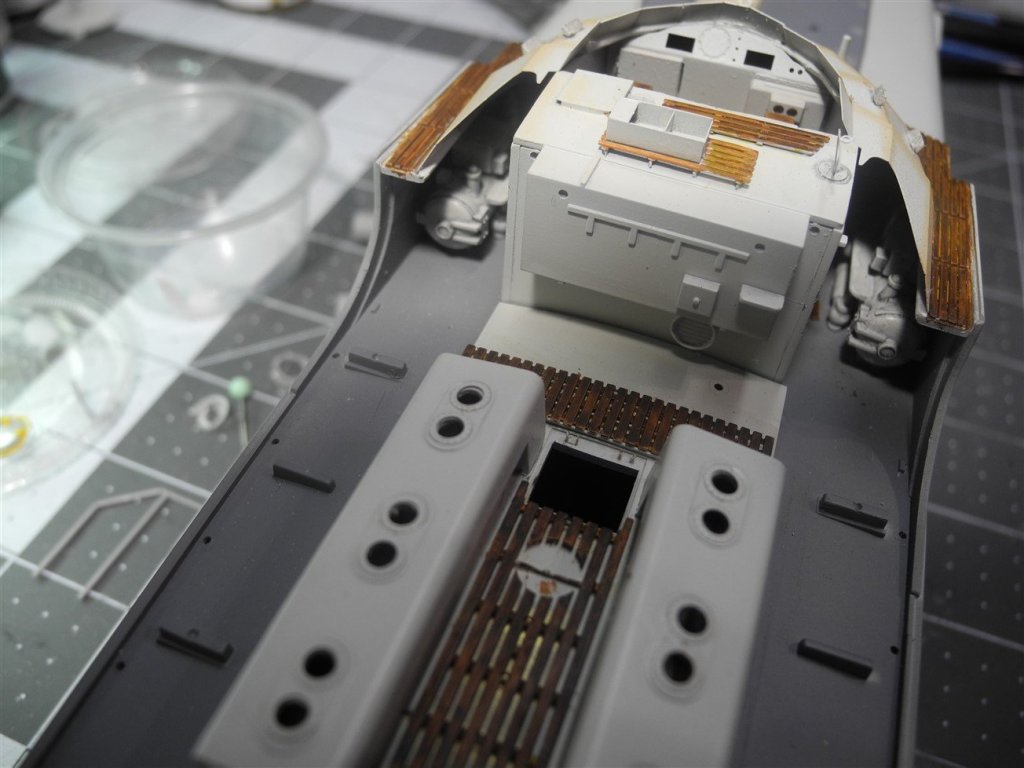
Not a lot of progress lately on the model. Been getting the yard, side and back patios ready (spring cleaning) for an upcoming birthday party for one of our grandchildren. Here is the current state of the ship. Trying out some Flory Models weathering pigments. Keep in mind, I have much shading, paint detailing, and weathering to do before its anywhere near finished. I could have put a lot more detail on those torpedo launchers seen at each side of the cockpit area (last picture), but they are so darn hard to see it hardly seems worth doing too much. Will try to make sure and give everything on the deck attention to detail where it can easily be seen.


- 44 replies
-
- 12
-
-
- schnellboot s-100
- revell
- (and 2 more)
-
Clever idea, using those empty frames to form your strips.
-
Those guns look SO good, but man, I know that is some tough duty building all those. Takes some real determination to finish them all in a week. The stock Tamiya guns are obviously not as good as the Pontos ones, but they are presentable to be sure. I agree those small handrails must be a nightmare to do. Some compound vertical curves it appears. Tough duty.
-
This all makes much more sense to me, now that we know the picture is not of Musashi nor Yamato, but of a more modern ship. Thanks! PS: I found the AOTS from an online bookseller located in the UK for a reasonable price ($35.51 shipped).
-
I'm glad you asked that question about the holes in the hull, Sam. I was ready to show my ignorance and ask the same question.
-
I'll bet you're right, Slog. That stubborn spot on the side panel is probably due to the mylar as it won't hold a curve shape. Maybe too late now to remove the mylar, but white glue can be used to create clear portal windows like that after the panel has been shaped and secured to the model. I always keep a bottle of Micro Krystal Klear handy for just these kinds of projects where I need to create small clear windows, or instrument panel lenses, etc. https://www.amazon.com/Micro-Kristal-Klear-Microscale-Industries/dp/B0006O029E/ref=sr_1_1?ie=UTF8&qid=1490462277&sr=8-1&keywords=micro+crystal+clear
- 244 replies
-
- 2
-
-
- borodino
- dom bumagi
- (and 1 more)
-
My most recent installment of the Yamato, I received month 7 of the Soleil Royal instead of the month 7 of the Yamato. When I called DeAgostini, they told me "sorry about that...just keep the Soleil Royal installment we accidentally sent out and we will send you the correct month 7 installment for the Yamato." And that's about all I've done with mine so far. Yours on the other hand is coming along beautifully!
-
Guess I shall put that book on preorder tonight. Looks like a great reference to have for these ships.
-
Fokker Dr.I by Torbogdan - FINISHED - Model Airways
CDW replied to Torbogdan's topic in Non-ship/categorised builds
A tough choice to be sure. My inclination would be to go with my gut feeling on how it should look. You are after all, the one whom must be pleased with the finished product. I'm sure it will be a beautiful display which ever way you choose, as both will have their pluses and minuses.- 250 replies
-
- 10
-
-
Just finished a fantastic, great buying experience with Clare for one of his Woody Joe kits. Communications were excellent, shipping lightning fast, and packaged professionally for the trip to my address. I hope to have the good fortune to trade with Clare gain one day soon!
-
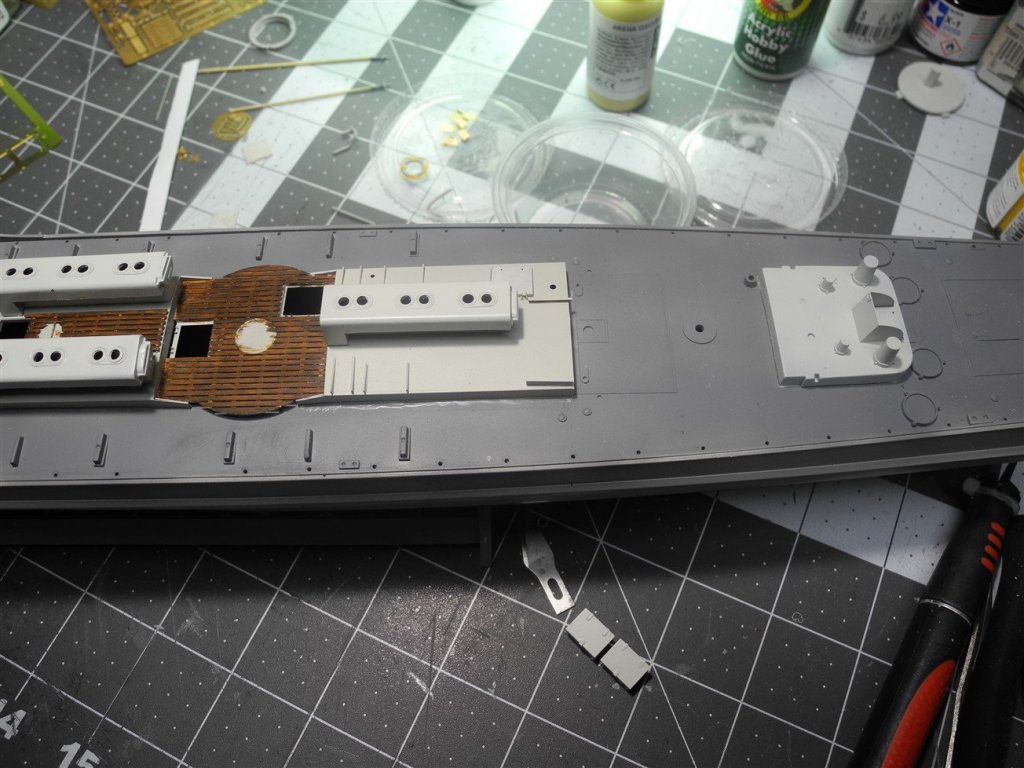
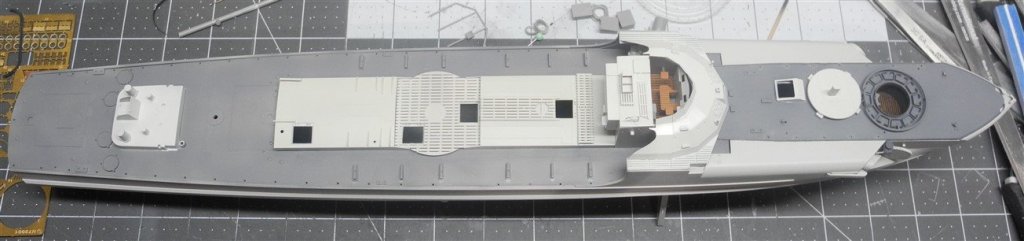
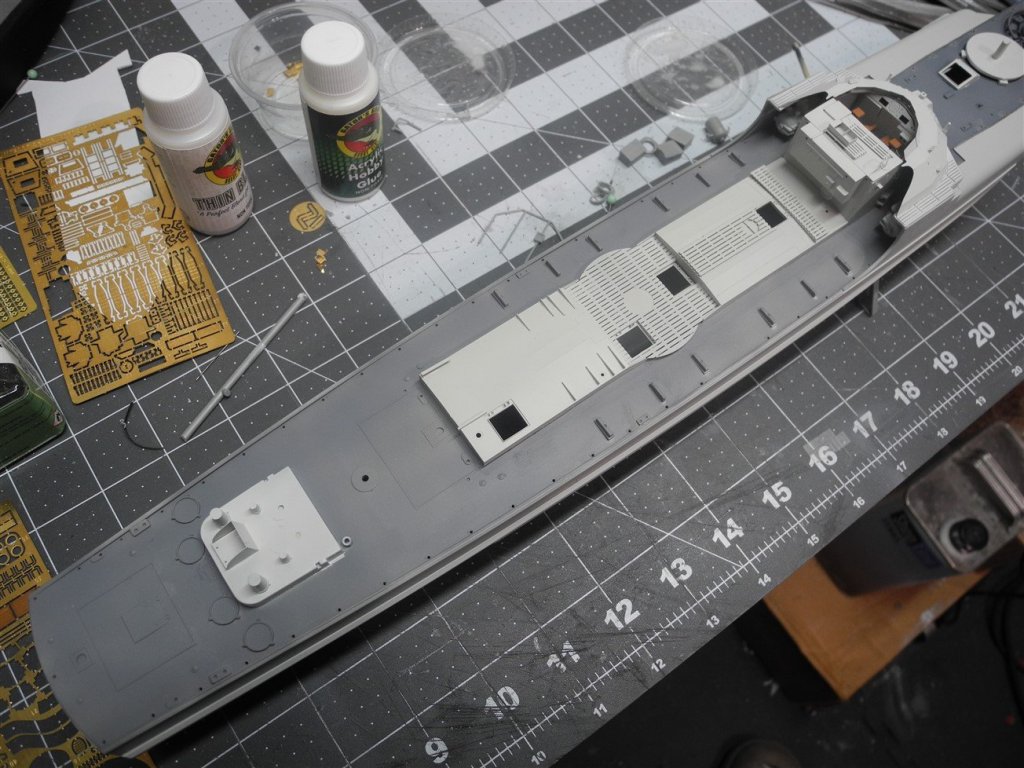
A little more surgery, photo etch added, a little paint, and now some more dry fitting. Not a real good fit on some of the parts out of the box. Need some tweaking to ensure a decent fit.

- 44 replies
-
- 9
-
-
- schnellboot s-100
- revell
- (and 2 more)
-
On the bright side, your pictures are far better than smoke signals. Seriously, everything is looking great, Mike. Hope you get your computer issues sorted out, soon. I know what a pain that can be.
- 146 replies
-
- 3
-
-
- dumas
- Chris-Craft Commander Express
- (and 2 more)
-
Looks great, Slog. Is there a magic bullet to protect against starved cow effect, like maybe some type of filler between bulkheads and decks? It's not really noticeable except and until you pointed it out.
- 244 replies
-
- 4
-
-
- borodino
- dom bumagi
- (and 1 more)
-
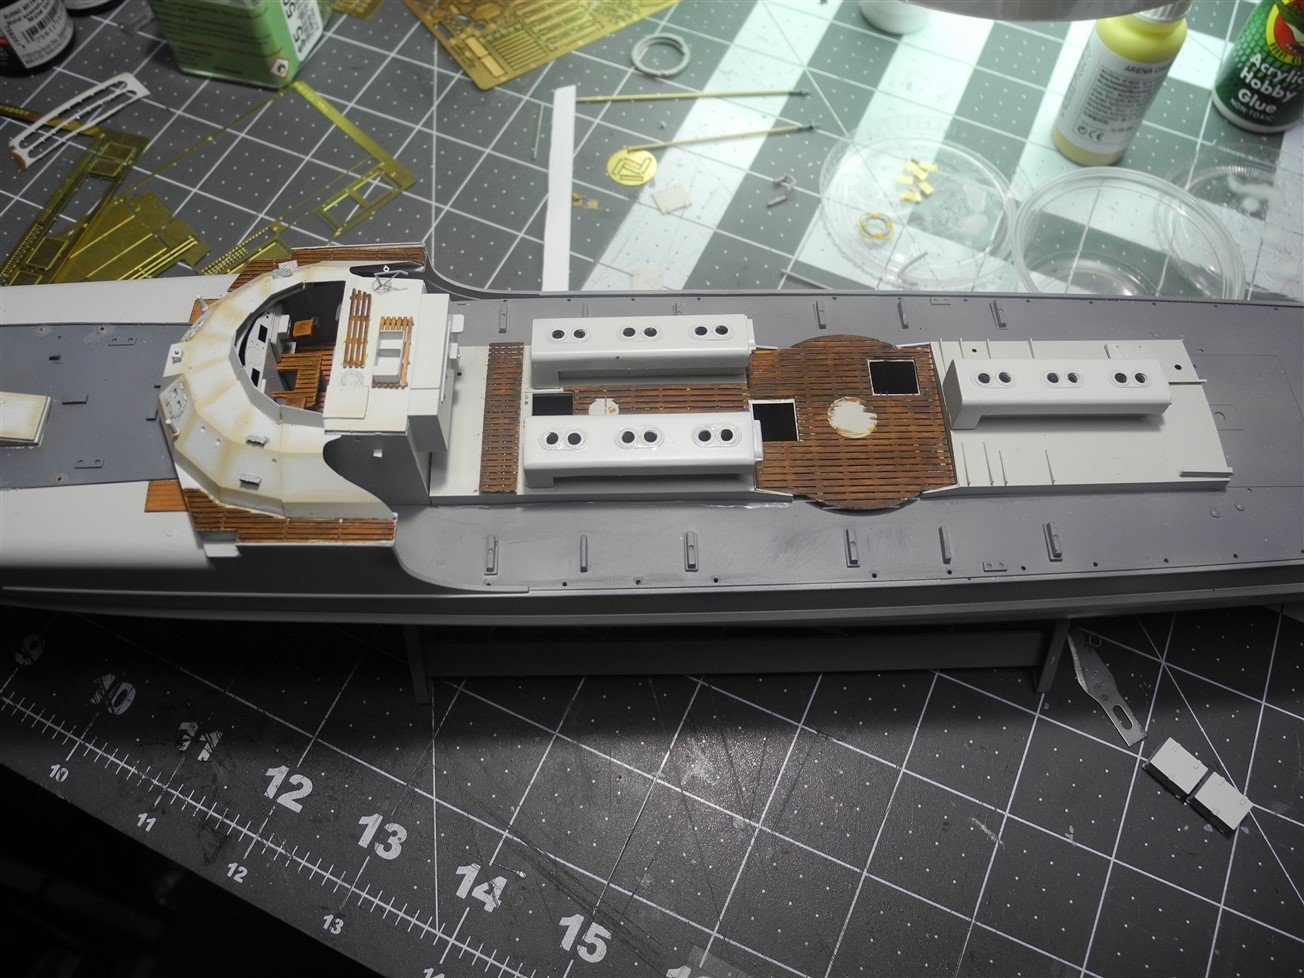
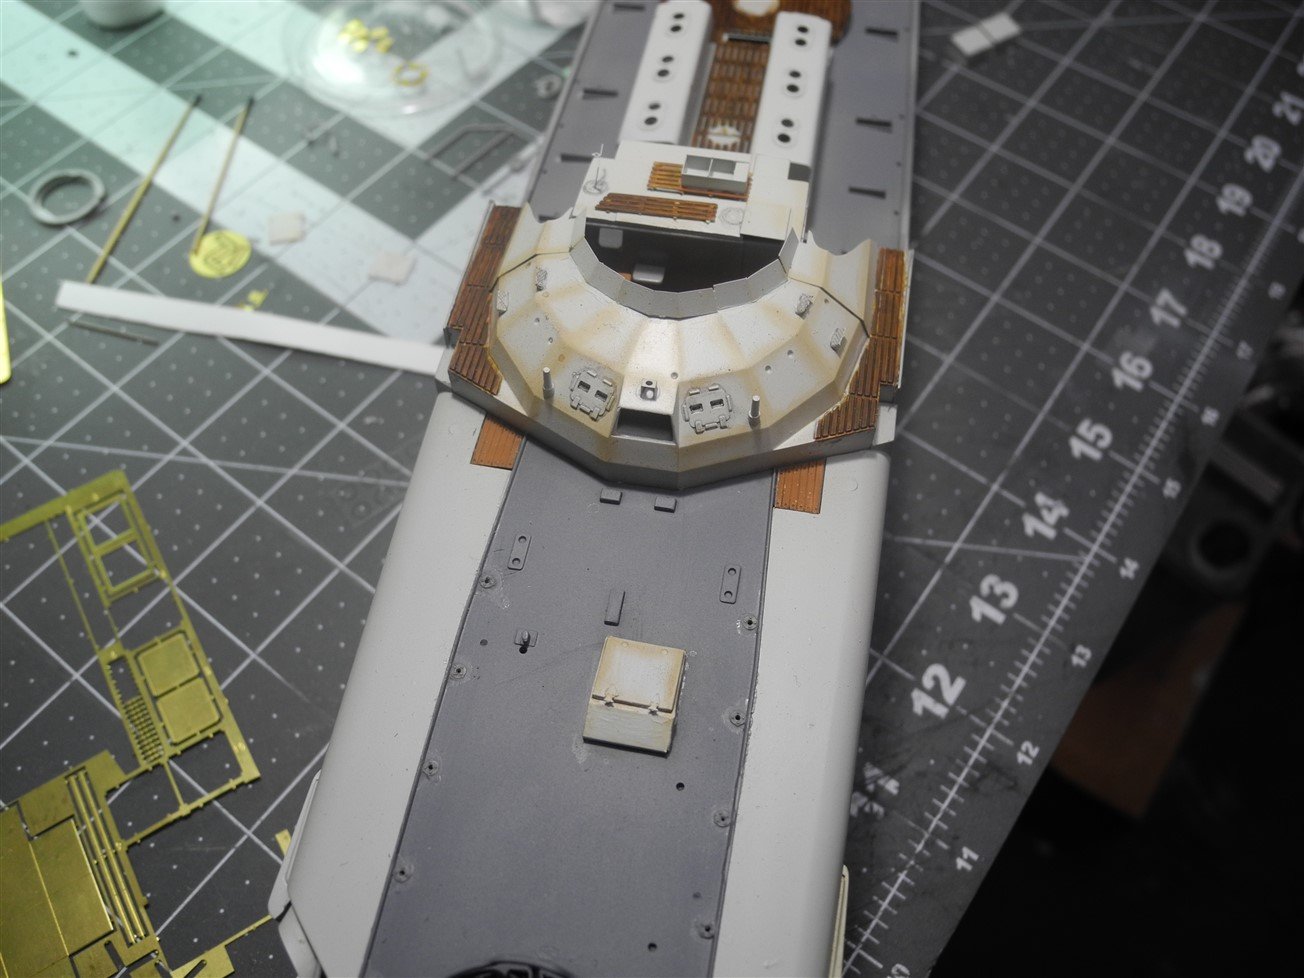
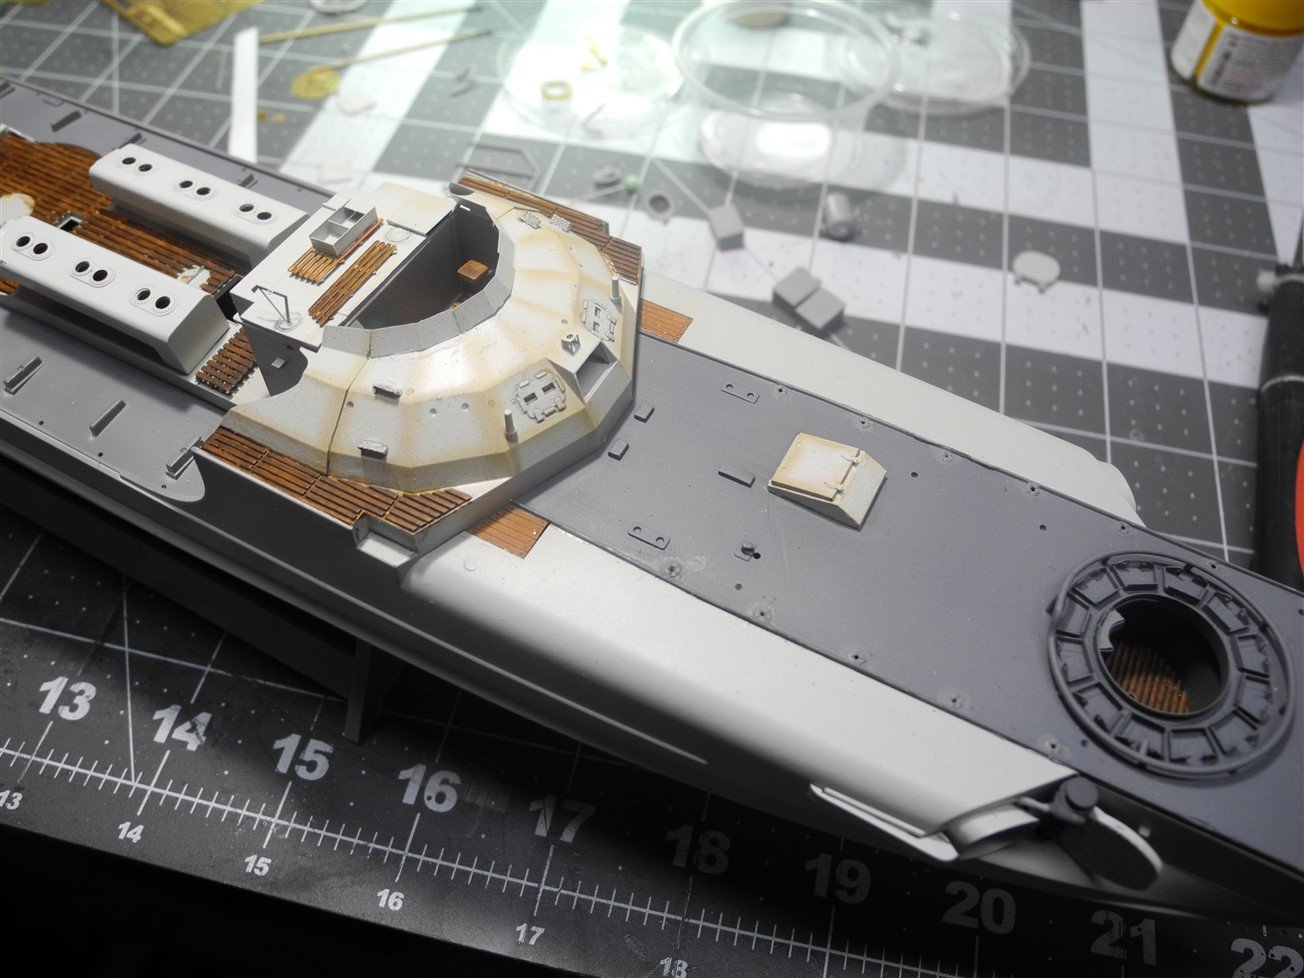
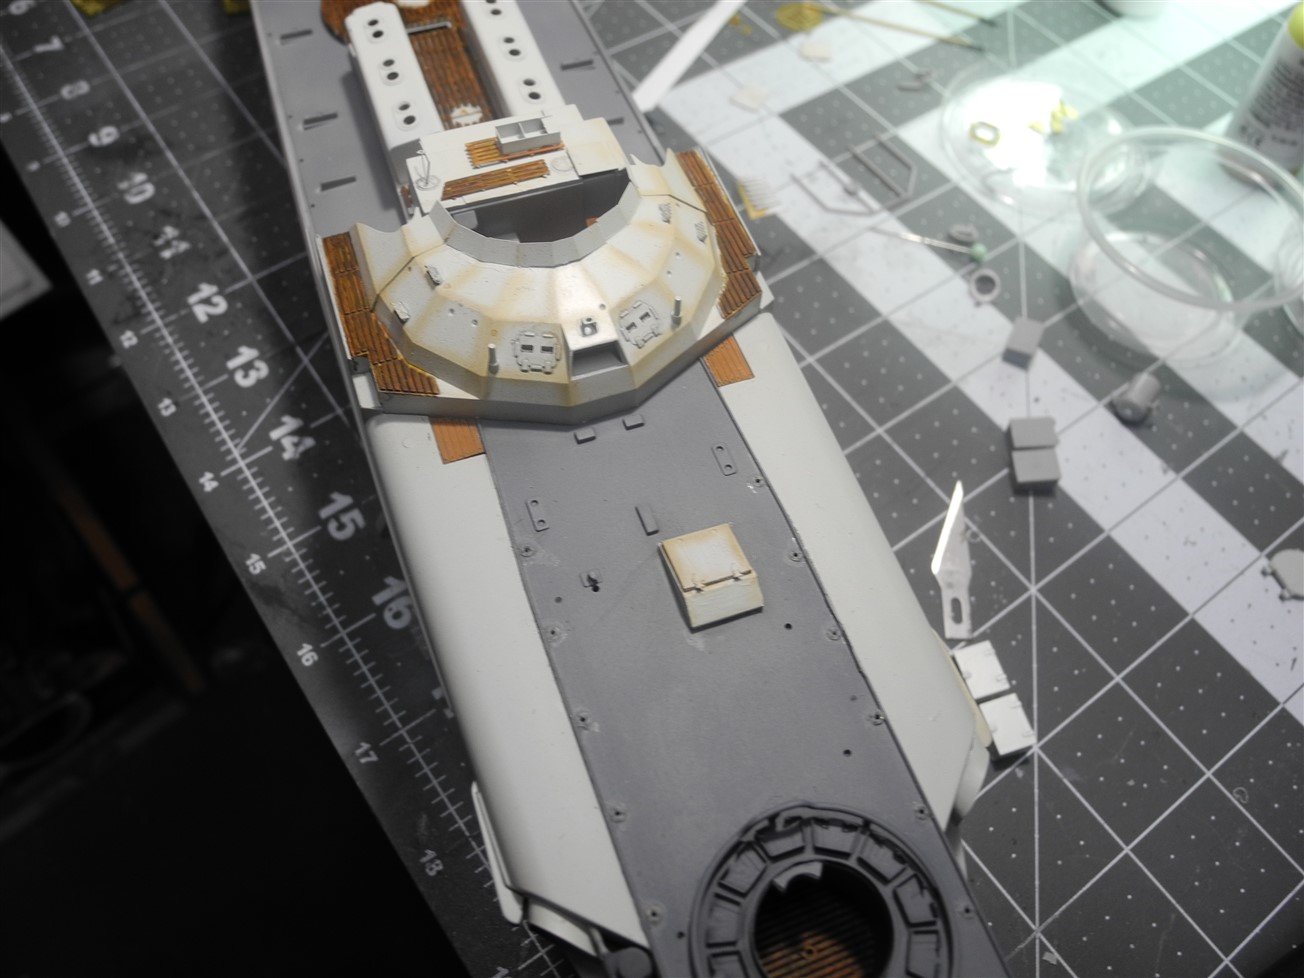
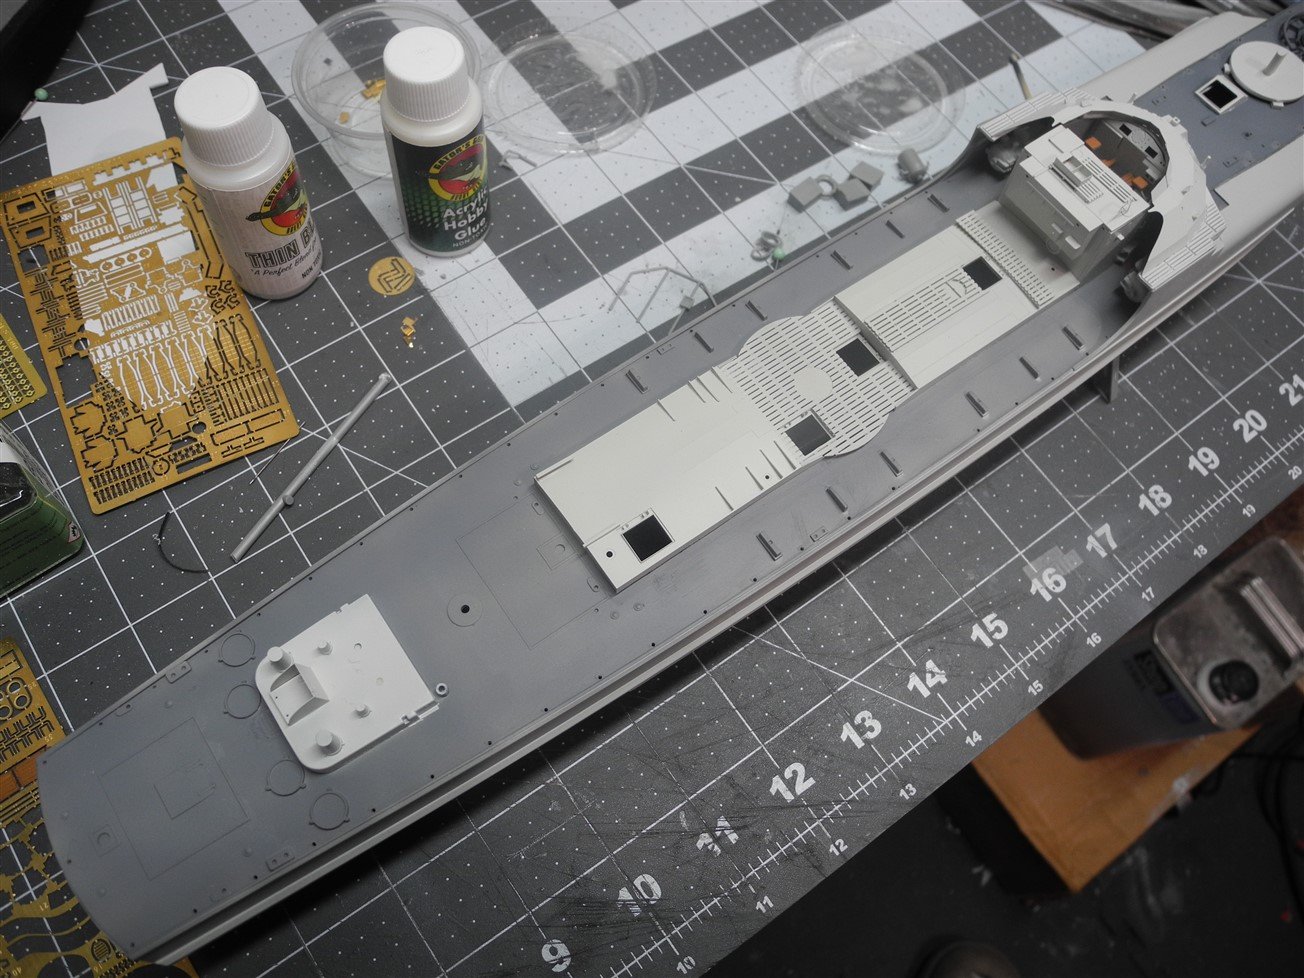
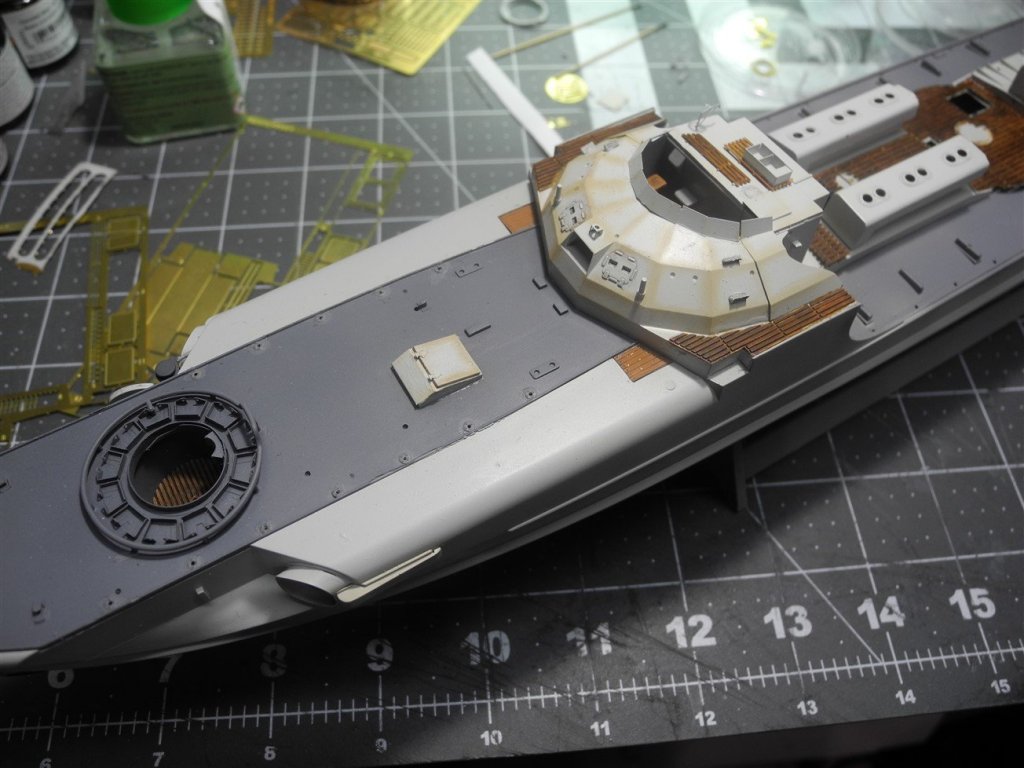
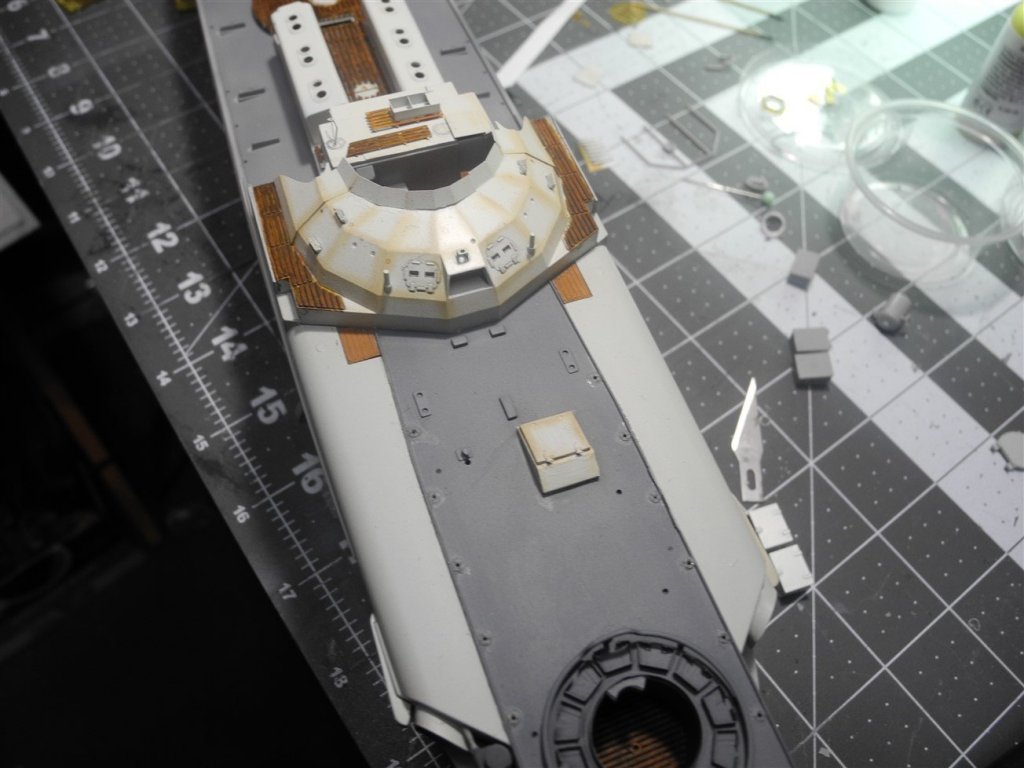
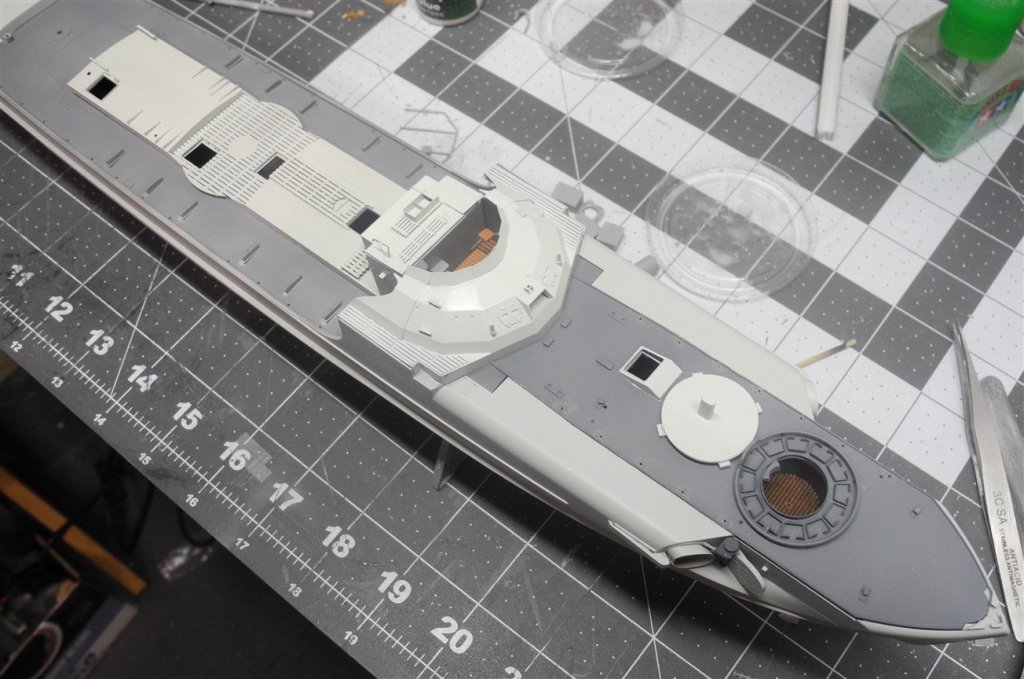
Added the gun tub detail to the forward deck including the ammo racks. Added the rail stanchion base plates and a new hatch, then gave everything a gray base coat for the decks. Put some base color paint on the center superstructure and will now begin adding all the detail bits and pieces. Lots of folding photo etch to do.

- 44 replies
-
- 11
-
-
- schnellboot s-100
- revell
- (and 2 more)
-
Nils I sincerely believe you are an even greater humble gentleman than extraordinary modeler, if that is possible. It's exemplary threads like yours that make me happy and proud to read forums like these.
- 2,625 replies
-
- 6
-
-
- kaiser wilhelm der grosse
- passenger steamer
- (and 1 more)
-
She's a Mona Lisa. We've been blessed to be witnesses to the building of a modeling masterpiece.
- 2,625 replies
-
- 4
-
-
- kaiser wilhelm der grosse
- passenger steamer
- (and 1 more)
-
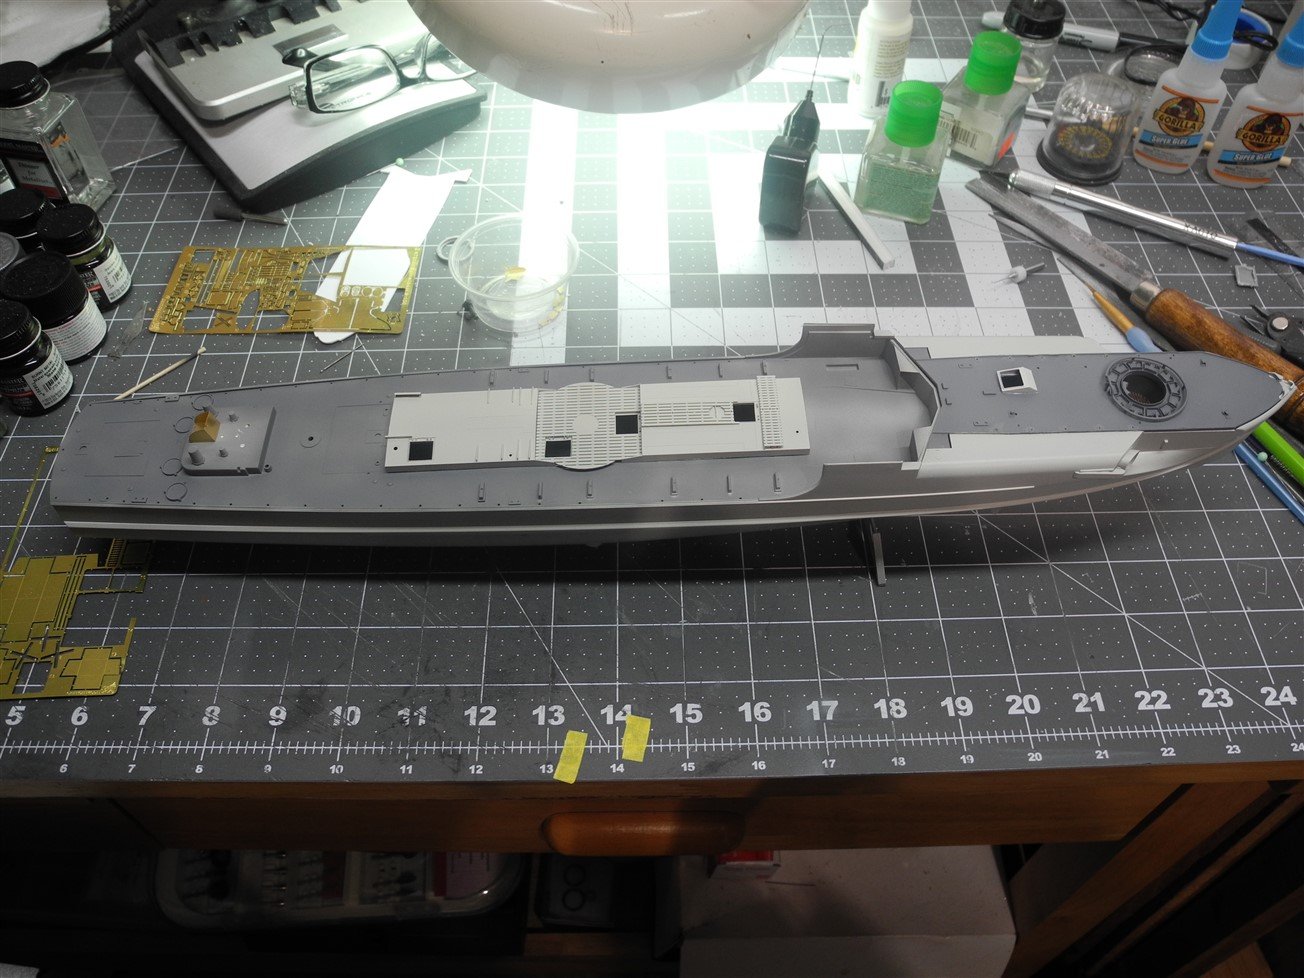
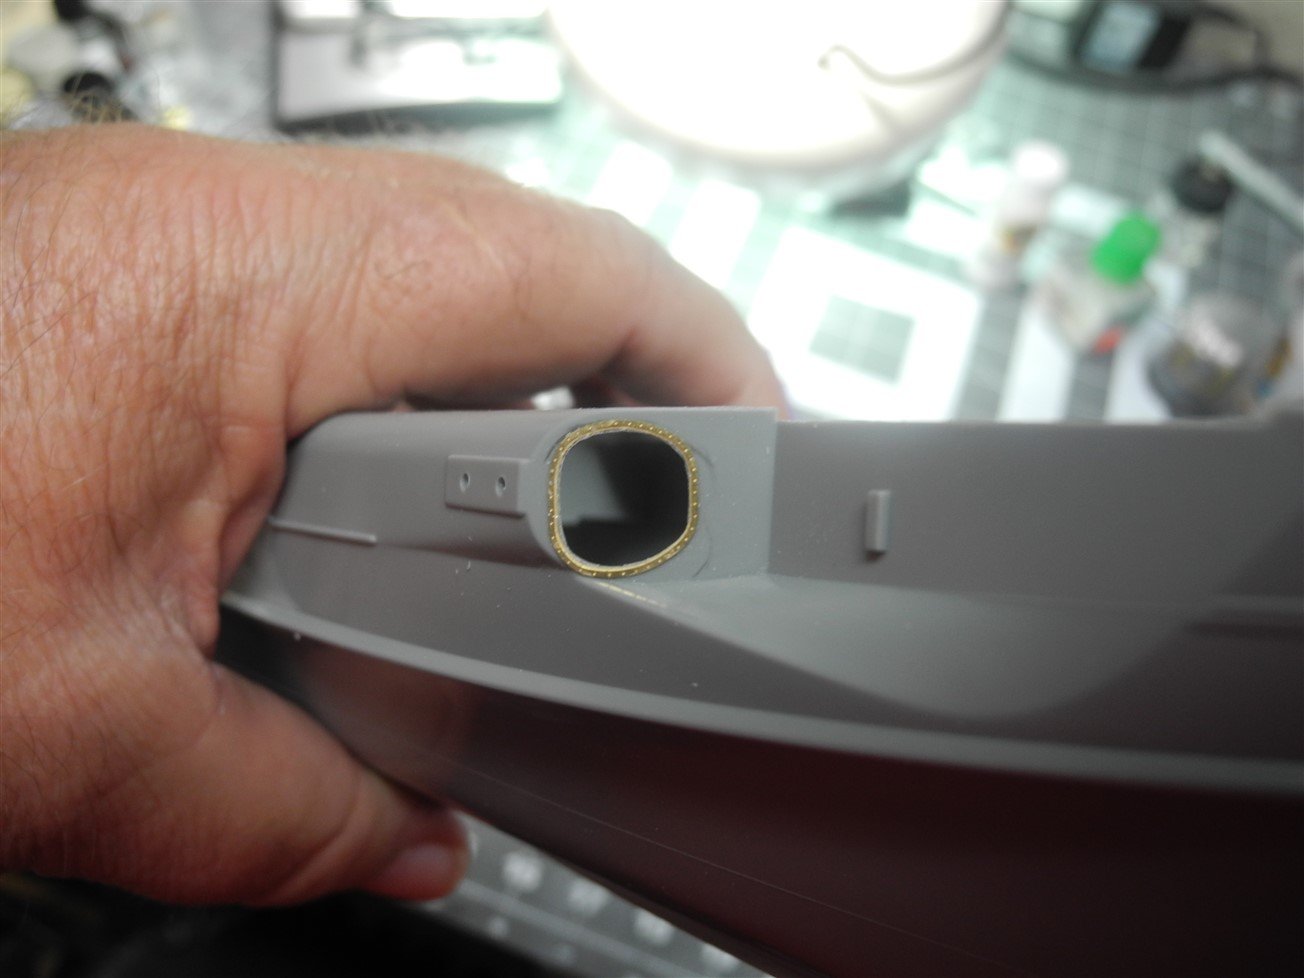
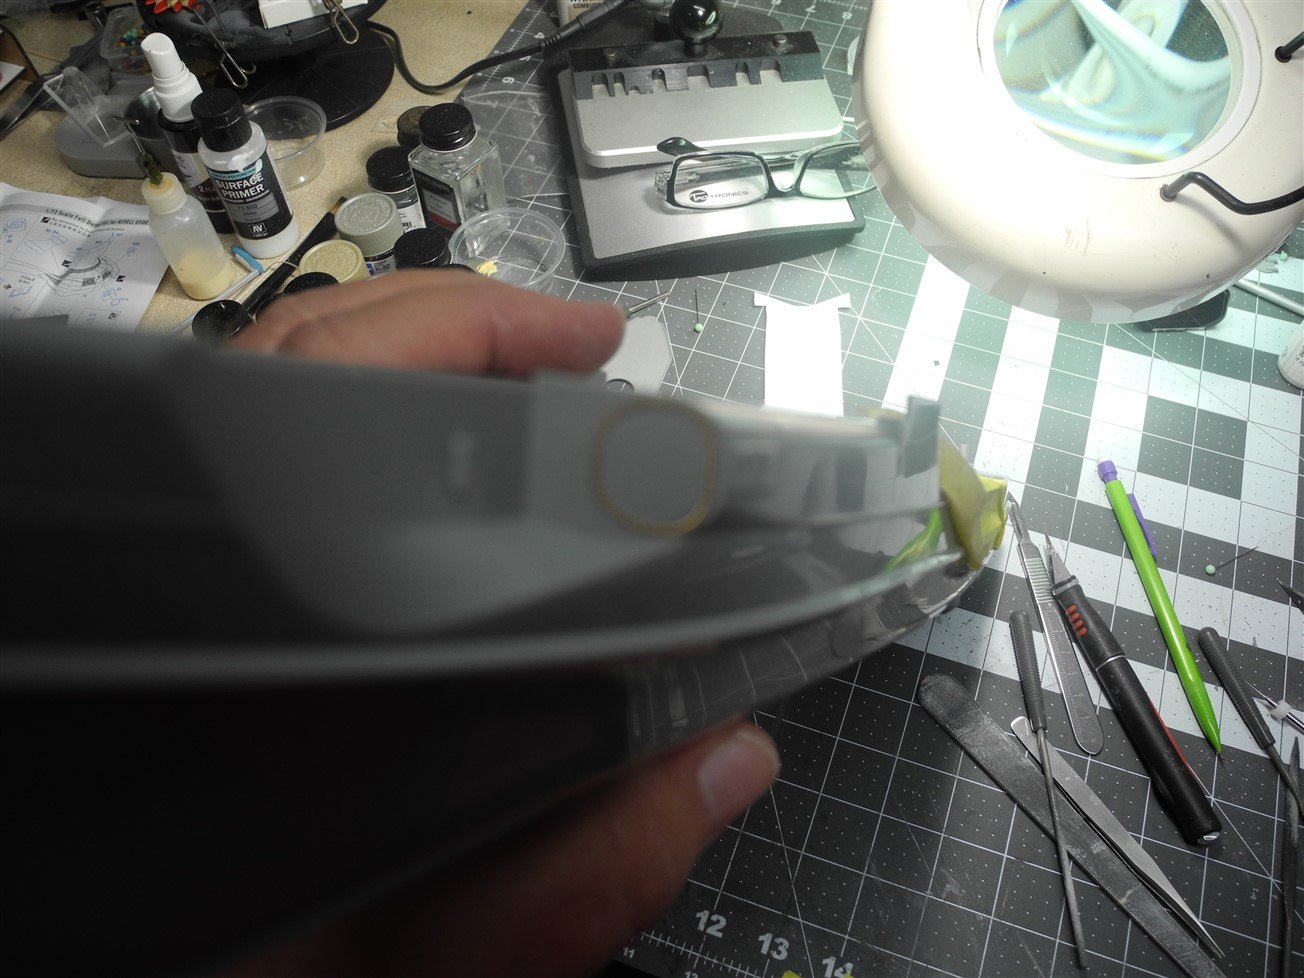
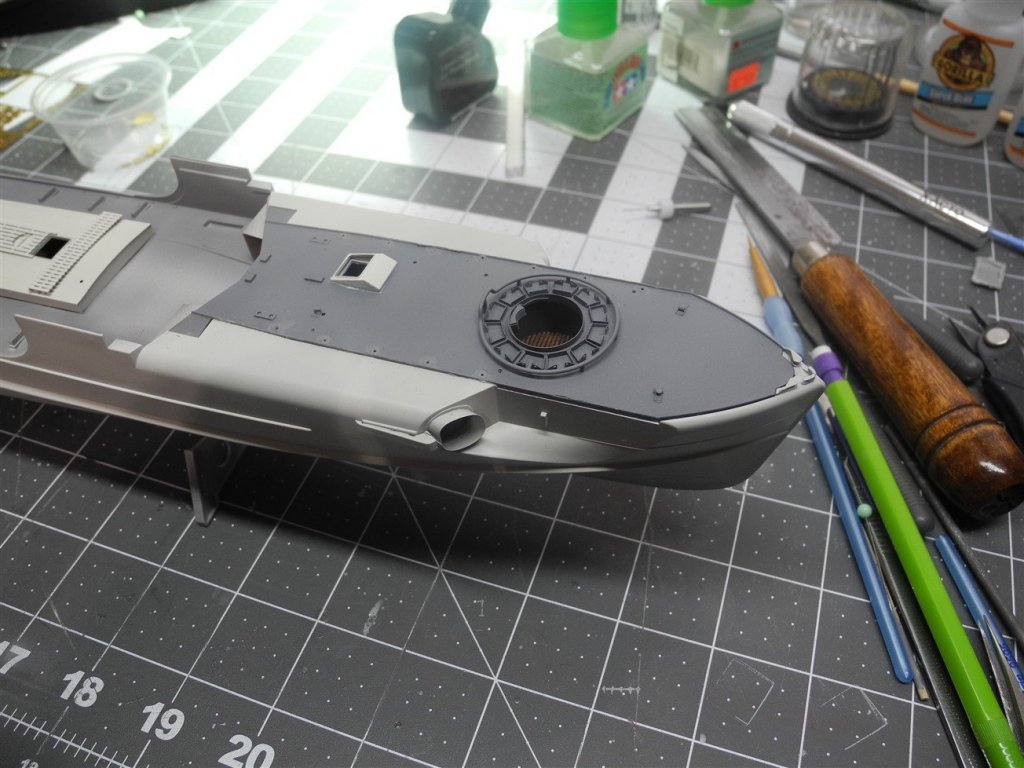
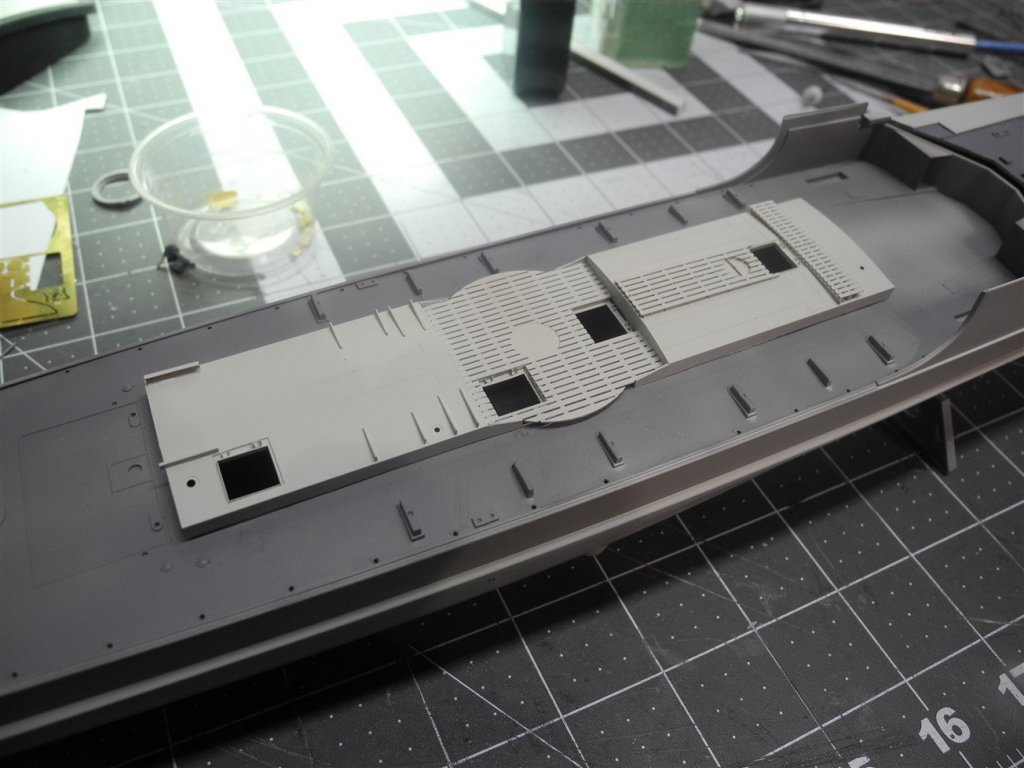
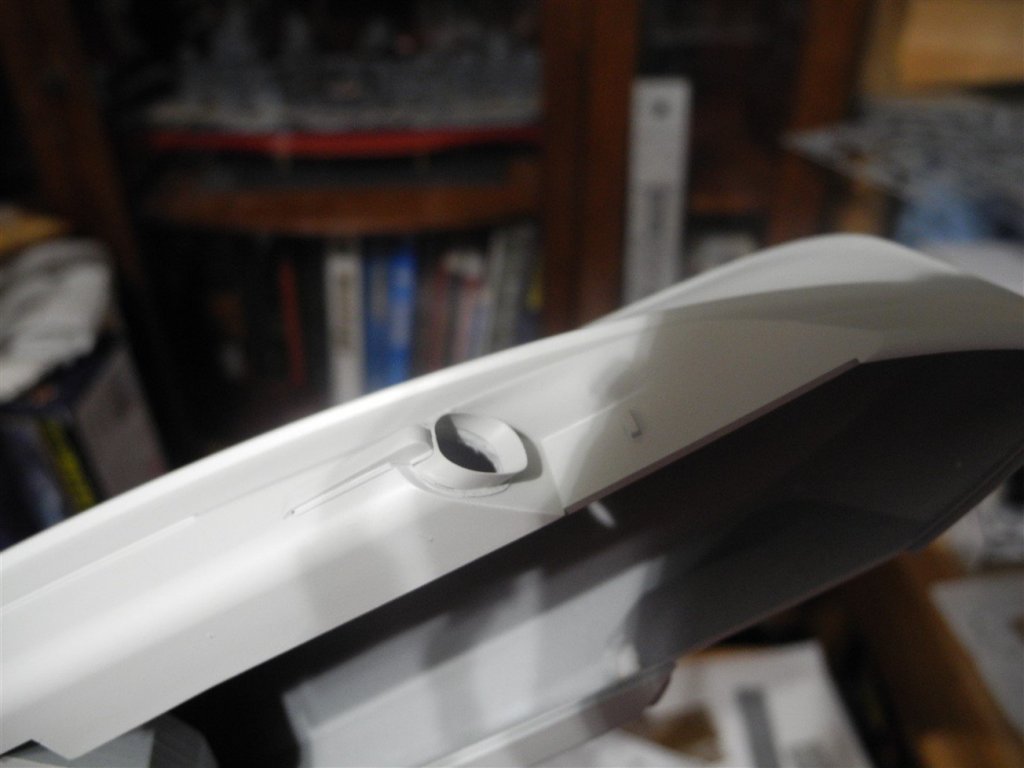
After the torpedo tube holes are cut out, I then use some photo etch flat stock, anneal it, then shape it to the outline of the torpedo tube opening and glue it in place. In these pictures, the photo etch is in place and I've shot some primer on the hull.

- 44 replies
-
- 10
-
-
- schnellboot s-100
- revell
- (and 2 more)
-
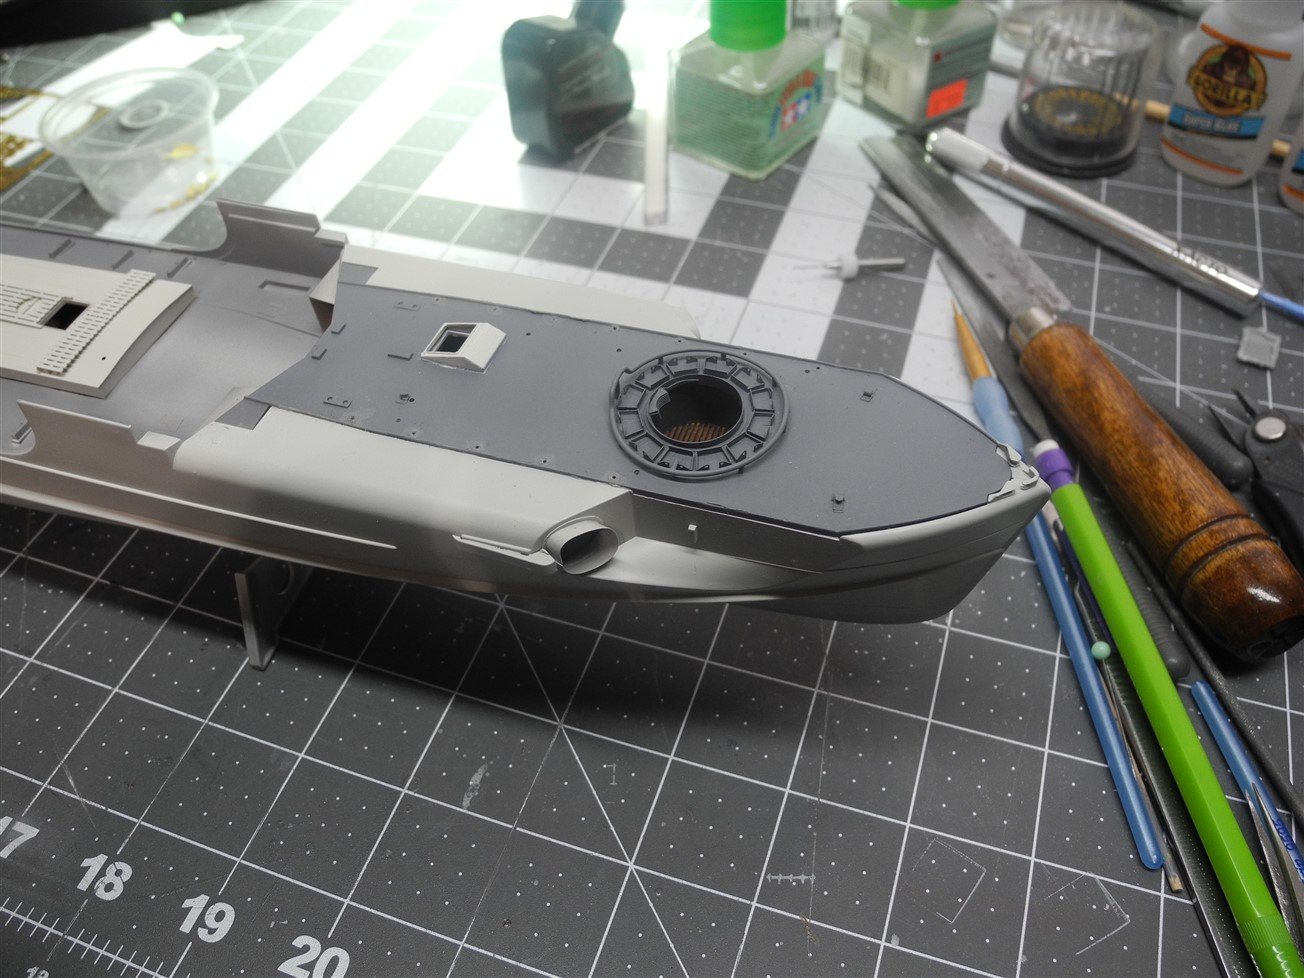
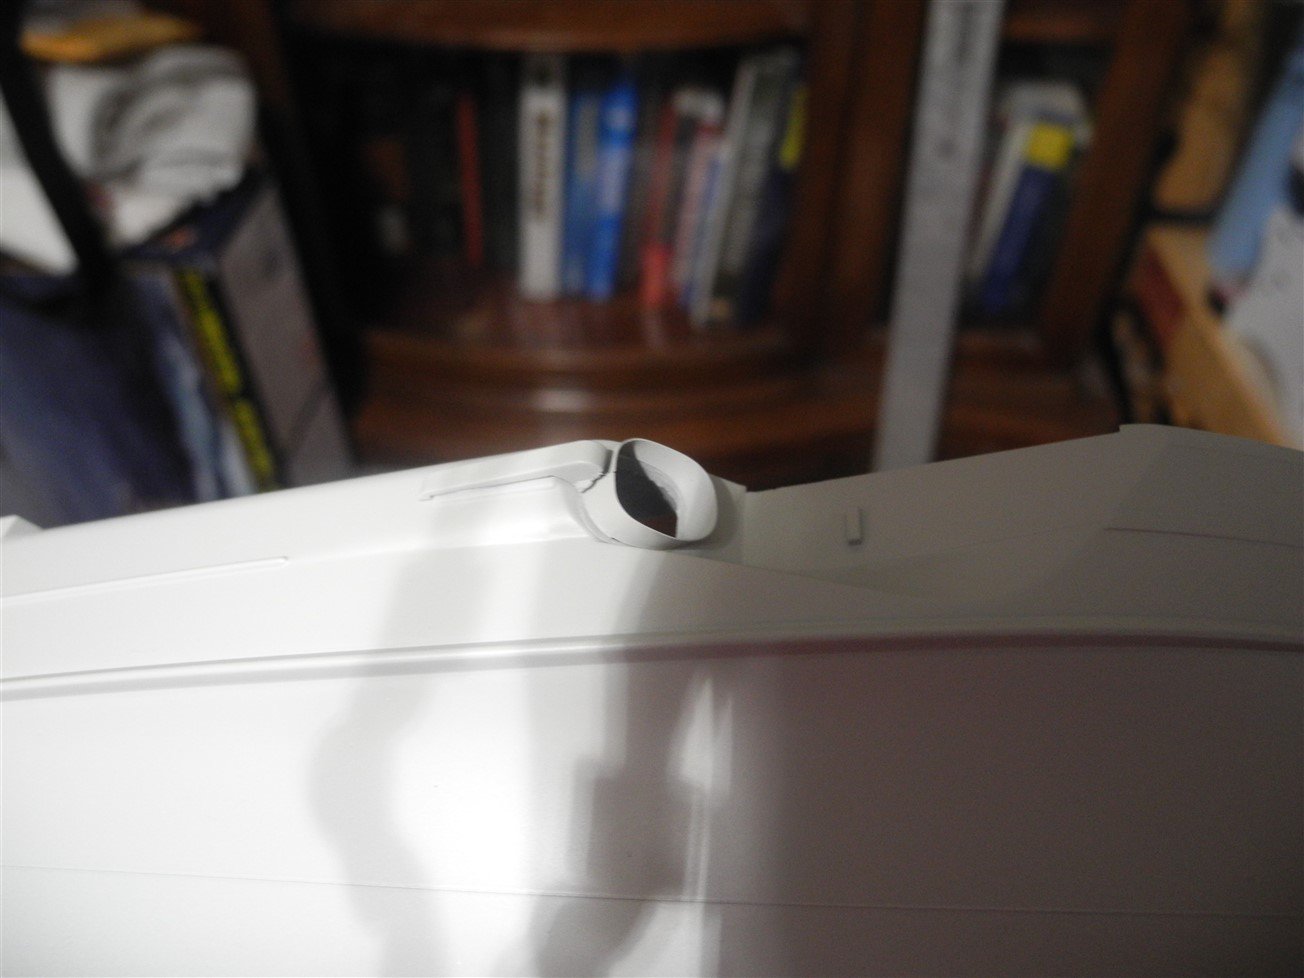
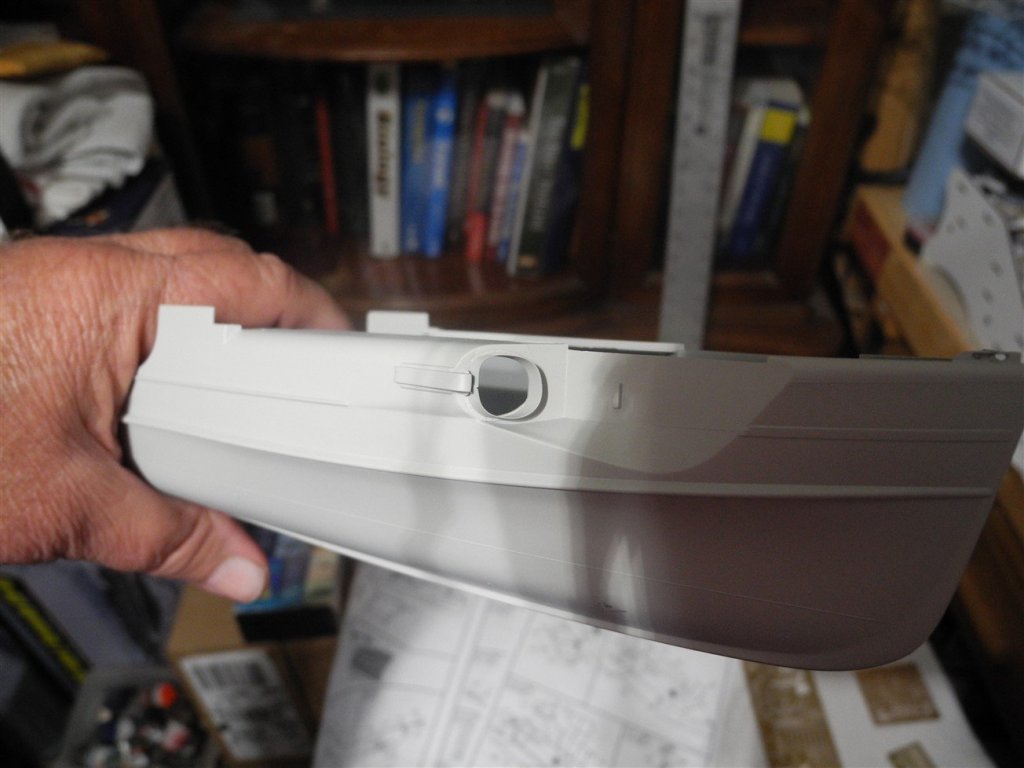
The torpedo tubes at the bow of the boat get a little work over to correct some of the kit deficiencies. Again, this requires some surgery. There are some photo etch outlines that go to the front of the tubes. I first glue those PE pieces in place with acrylic glue, then use the inside outline as a pattern to drill small holes all the way around allowing me to cut out a proper opening in the plastic.


- 44 replies
-
- 6
-
-
- schnellboot s-100
- revell
- (and 2 more)