HOLIDAY DONATION DRIVE - SUPPORT MSW - DO YOUR PART TO KEEP THIS GREAT FORUM GOING! (Only 13 donations so far - C'mon guys!)
×


Salty Sea Dog
-
Posts
666 -
Joined
-
Last visited
Content Type
Profiles
Forums
Gallery
Events
Everything posted by Salty Sea Dog
-
 Definitely a lot of interest. Thanks for the great photos and sharing your experiences at the museum too. I would be interested to know more about how they made the nails if you have time. Your experiences with the Billing kit is very helpful to me. Best Wishes,
 -
Say, who learned you guys to spoke so good?
-
I got skills!
-
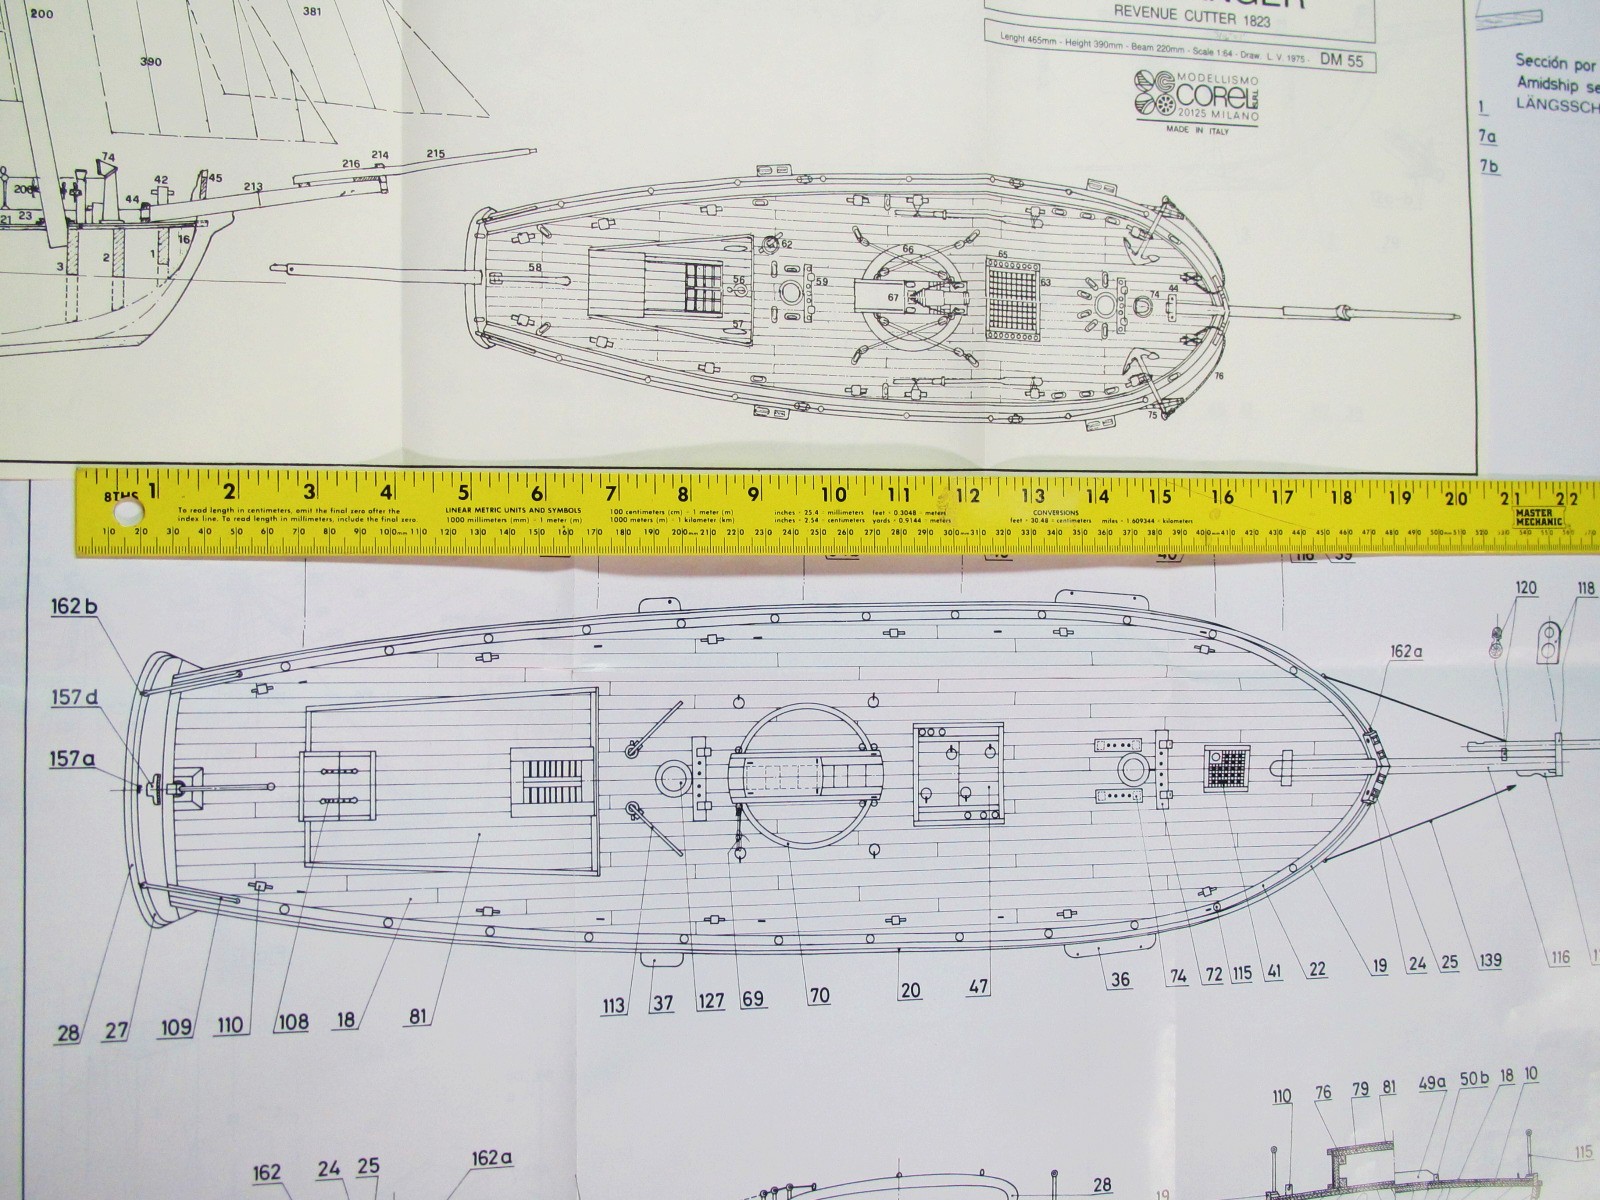
I did some length on deck measuring on the two plans and worked the scale thing backwards to see how it worked out with Chapelle's descriptions. Using highly nautical terms, I measured the length along the centerline to the raised edge board thingies around the perimeter of the deck. I went to the closest 1/16". In the picture below, the Ranger deck plan is above the yellow yardstick and the Dallas deck plan is below that. In "The History of American Sailing Ships", Chapelle says the Dallas was a sister ship to the Surprise built to William Doughty's 69'-6" plan (pg 194). I measured 17.25" on the AL Dallas plan and at 1:50, that would be 17.25 divided by .24 = 71.875'. If the scale were really 1:48 instead of the more Euro 1:50, the 17.25 would be divided by .25 = 69' which matches Chapelle's info more closely. On the Corel Ranger plans, I measured 10-15/16" to the perimeter board thingies. Dividing that by .1875 for the 1:64 scale, that ends up at 58'-4". On page 186, Chapelle describes the Massachusetts as being 58'-6-1/2". So the Dallas would be the largest tonnage and the Ranger would be the mid-size one. I don't know if this is helps, but it was fun to open the boxes and look stuff over!

-
Thank you for the book suggestions guys! I noticed that the 1st book had English translations but do any of the others have lots of pictures and drawings that someone who doesn't read Dutch would benefit from? I would like to see boeiers and botters but want to know about hoogaars and zeeschouws too. I'm sure there are some other really cool Dutch boat types I don't know about too.
-
Hi Wayne, I was rooting around in the ships locker trying to figure out what my next build should be and thought you might like to see a comparrison between the deck of a 1:50 AL Dallas and the Corel 1:64 Ranger. The Dallas is in the running for the next build after seeing Dubz' USRC Alert!
-
Hi JP! Just catching up with this build log and read about the toothpick in the Dremel and a draw plate. I had to try it and I have not stopped grinning yet! I'll be doing that on my next build - should be easier than grinding down the stainless steel pins I used on the whaleboat! I admire your persistence to keep at a task until you feel it's right. Your ship is looking great! You might try 220 grit sawdust packed into the planking seams with diluted white glue. Best wishes
-
Thanks for the replies and pictures wefalck and Jan! I really like the unique styles of the older Dutch boats and ships but don't know too much about them. Your website has been a great resource wefalck! Jan, it seems like there are at least 2 names for anything in English!
-
Very cool wefalck!! The machine work is awesome- nice work! I'll be following along. By the way, are "botters" the same as "boeiers"?
-
Hi guys! Thanks for the really nice comments. JPett and Brian- I'm glad my posts on finishing offered some help. If you need more info about any of it, please feel free to ask. Brian, your red paintwork on the Niagara looks flawless! I might be asking you for help when I need to paint wood.
-
Hi Brian! The curved rails turned out great. The symmetry looks pertfect. That is one wise dog!
-
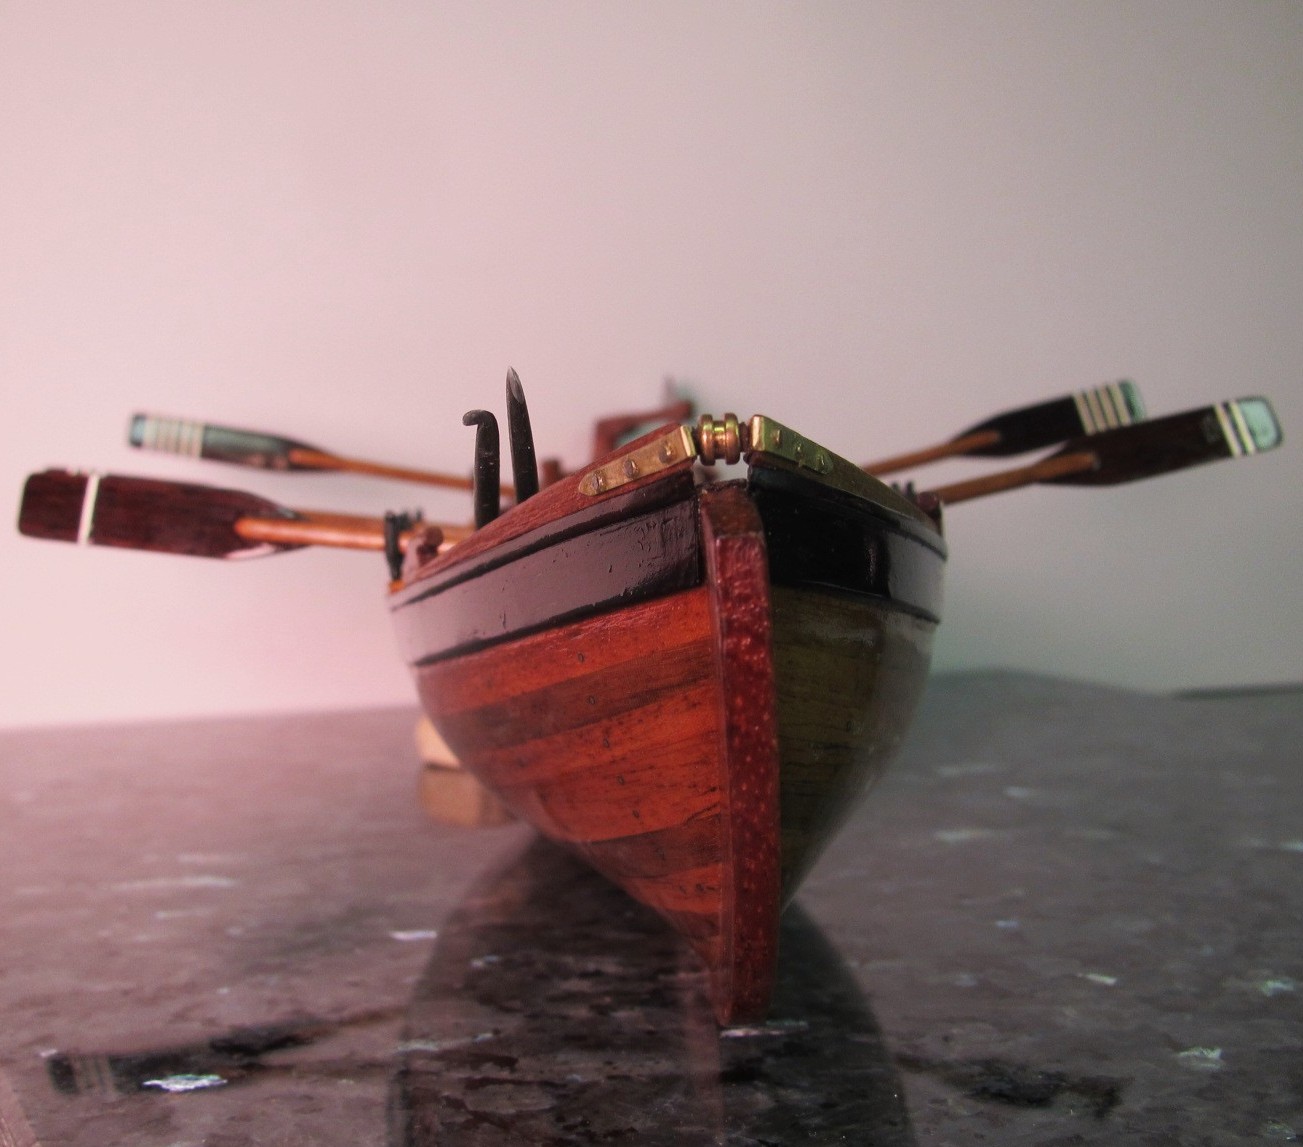
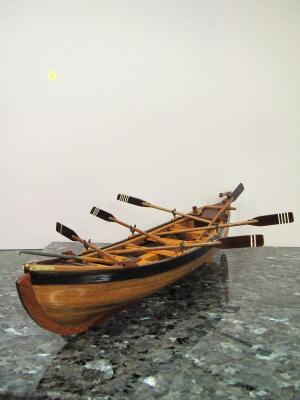
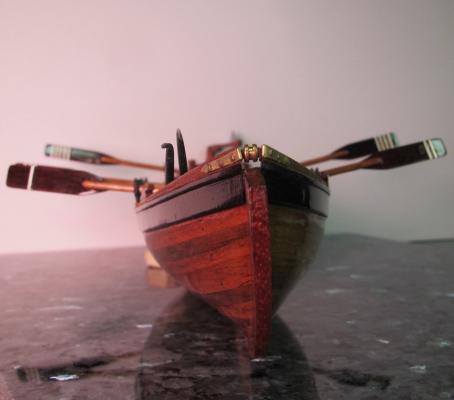
Hi Keith. In the pic that was shot from above (bottom pic), the greenish background is my Formica workbench countertop. It is a green marbled color. In the top pic, the boat is sitting on a Blue Pearl granite tile which looks like water too. I posted another pic of that in the General forum in the 'rock base' thread. Here's another one:
- 515 replies
-
- 5
-

-
- artesania latina
- whaleboat
- (and 1 more)
-
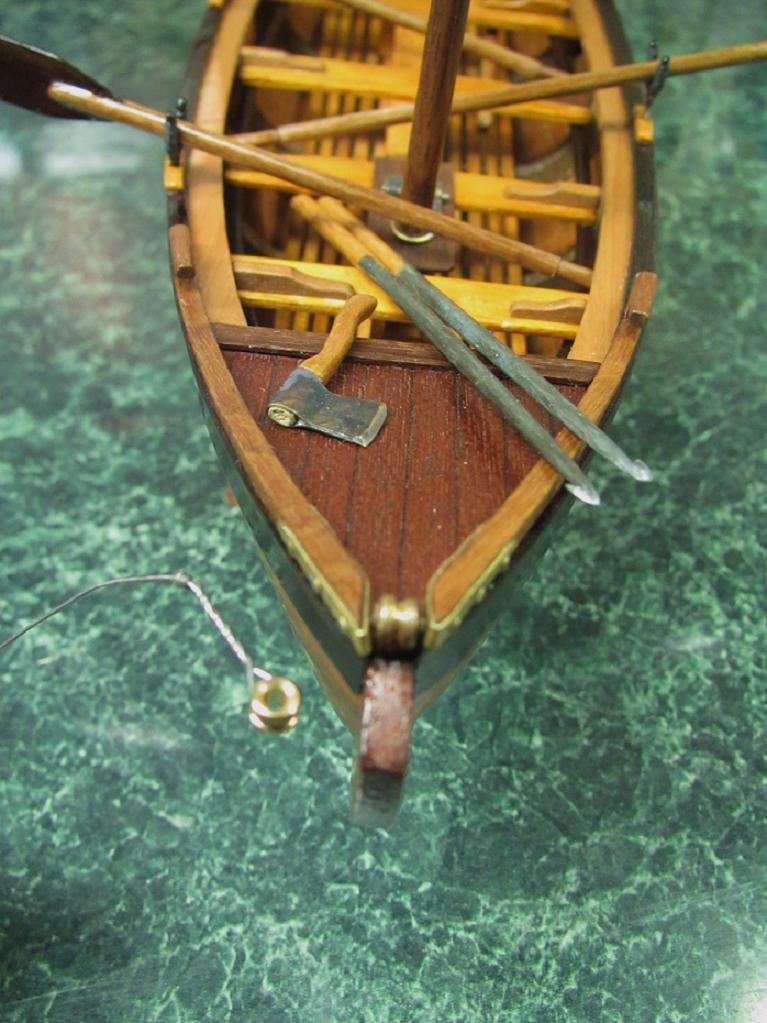
9) A little more progress: Hello everyone! It's been a while since my last update. I had been out of town for 1 week and it seemed to take 2 weeks to get caught back up with work and chores. I did get a little French polishing in and am about done with it, but I keep noticing little areas that need further touch-up. It has a pretty even coverage of finish now and a decent depth to the shine. I would not recommend French polishing on a hull with multiple whales and rubbing strakes because it is hard to get into the grooves. Something like a smooth hulled racing yacht would be a good candidate as long as it's not RC and will see water (water can cloud up the finish if left in contact too long). I also made a roller for between the chocks. This was a result of hexnut's link to the 1:1 build back on pg 2 -thanks hexnut! The roller was made from the ball end of a guitar string with a thinned down toothpick for an axle. The harpoons are coming along now too and just need to have the lines and wrappings attached. Best wishes til next time!

- 515 replies
-
- 4
-
-
- artesania latina
- whaleboat
- (and 1 more)
-
Hi John! Thank you for stopping by and the kind words -they are much appreciated. Loved the picture of your dogs!
-
Hi Matt! Just came across your build and my mind is boggled! You have mad skills sir! Thanks for the tips on the photos too - your results with those are as stunning as your build. I suppose your skills riding your KTM must be equally impressive!
-
Hi John! I've fallen way behind on keeping up with all the build logs and had missed seeing this. WOW!! this turned out great! Very nice job.
-
The deck is looking great! Nice job! Maybe you can whittle some oars for the life boat when your camping at Custer State Park (beautiful place!). If you are going to double the rum rations while on vacation, maybe you should stay away from knives though...
- 773 replies
-
- 1
-
-
- san francisco ii
- artesania latina
- (and 1 more)
-
Brian, The different size nails are how it really is. Here's a link that shows the model at the museum and the real Wasa behind it. Michael has 'nailed' the look perfectly! http://commons.wikimedia.org/wiki/File:Vasa_stern_color_model.jpg
-
Matti - Thanks for re-posting the pic. That is a great shot. Michael - That looks awesome!!
-
Hi Matti! I'll be following along on your build. I have an older Billings Wasa on the shelf but I want to get a bit more experience before taking it on. Your off to a really good start -it looks really good! I don't know if it is just my connection, but the last picture where you said you were trying to figure out how to plank that area is not displaying. Can everybody else see it? Brian C - Since there are different versions of this kit out there I thought I would mention that my kit is a #490 which includes fittings and has a 1982 date on the side of the box with the bar code. This was an eBay buy at half the price of a new one. This kit has plastic figures and carvings,as well as plastic grates. All the blocks and deadeyes are wood. The bulkheads are pre-cut, but all the other parts are printed on wood and must be cut out. I'm actually ok with that, but I'm odd that way!
-
Hi Jeff! Just wanted to say congratulations and thank you for being a moderator. The Constitution looks great!
-
Hi Sarah! Congratulations and thank you for being a moderator! Along with your work on the calendar and your great build logs, you are one of the treasures of this site! LMAO at your hubby's scratch & sniff comment too -good one Jared!