Trussben
-
Posts
2,007 -
Joined
-
Last visited
Content Type
Profiles
Forums
Gallery
Events
Everything posted by Trussben
-
 Hey Toni, Paint job looks good and even. Is there a reason why your outer hawse hole is higher in that pic? Or is it camera angle? I just did mine and was told it needed to lower than the inner one. Ben
 -
Thanks Alan, Druxey and Mark, I'm embarrassed to say that this was indeed V1.0, it worked out pretty well! Proberbly more luck than skill. I just followed TFFM on how to make it, broke it down into the steps described by David and on the last step of getting the chock side angles I just took my time taking tiny slivers off each side until I found the angle to match. I wish the damn hawse timbers had been as straitforward! Ben
-
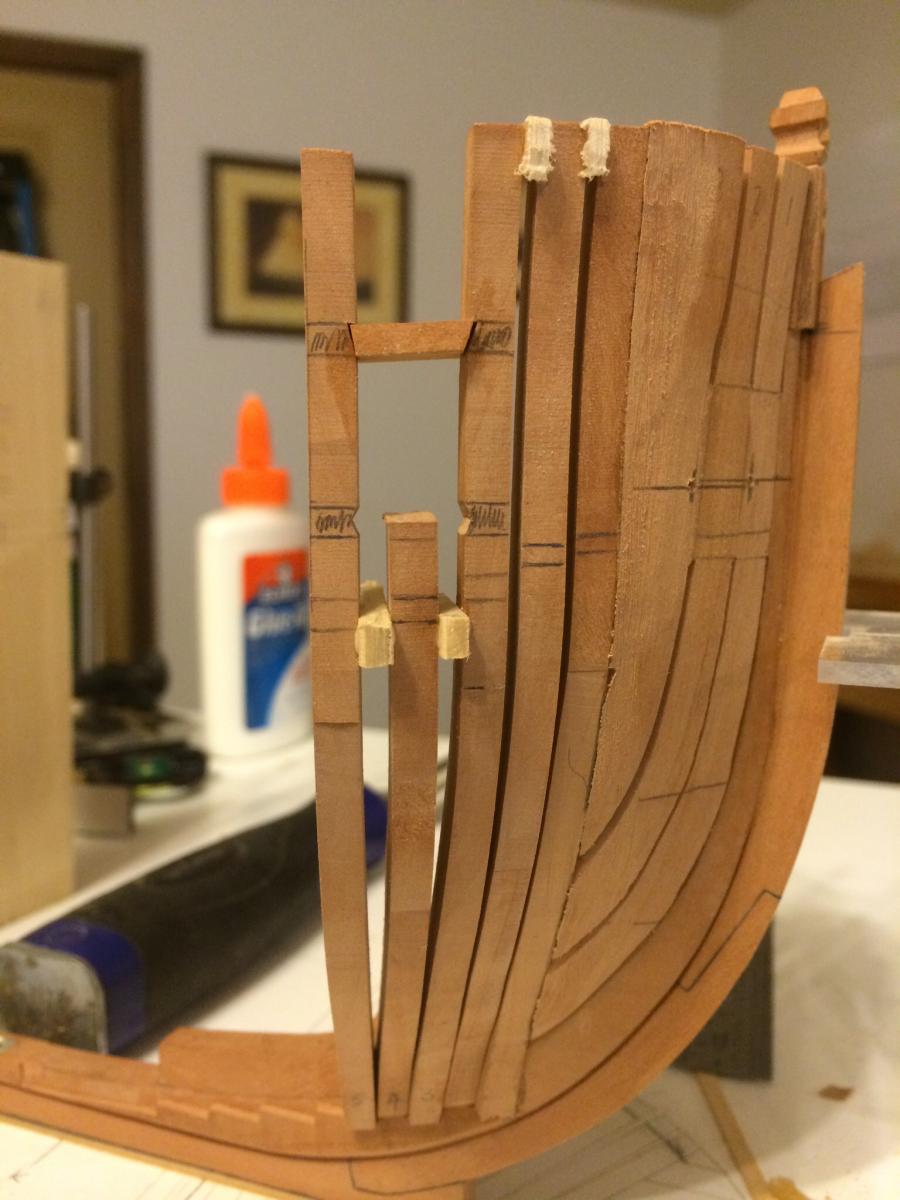
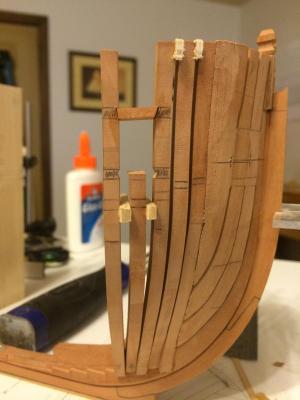
Thanks Michael. The bridle ports sills/lintels have been completed and the temp spacers removed, just need to re add the toptimbers above the port. Ben

- 889 replies
-
- 12
-

-
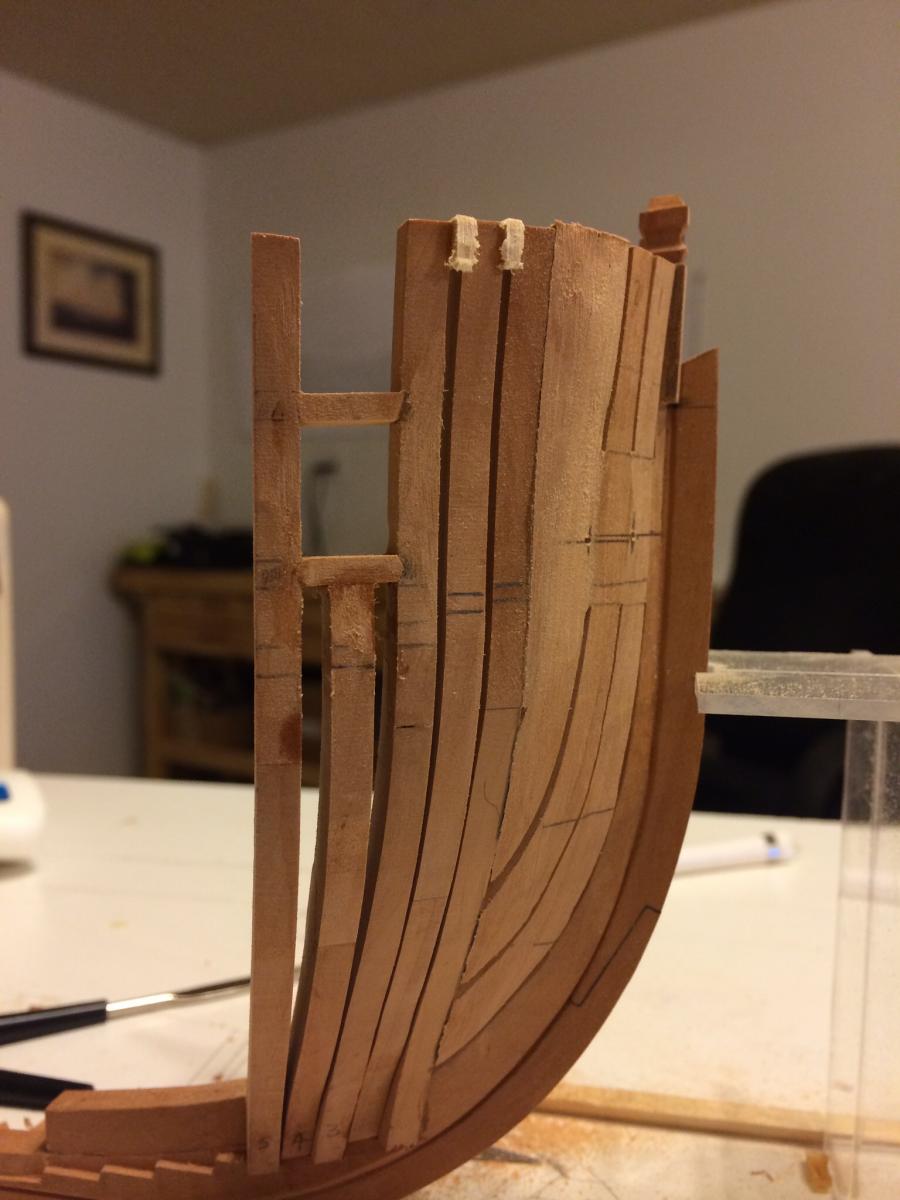
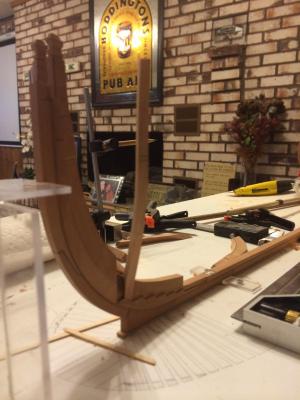
Cants 3 thru 5 have been fitted permently and now the bridle port sills/lintels are being fitted. Ben
- 889 replies
-
- 17
-
-
Hey Druxey, The holes are not level, the outer ones are a 1/16 lower that the inner ones, notice the pencil lines. Ben
-
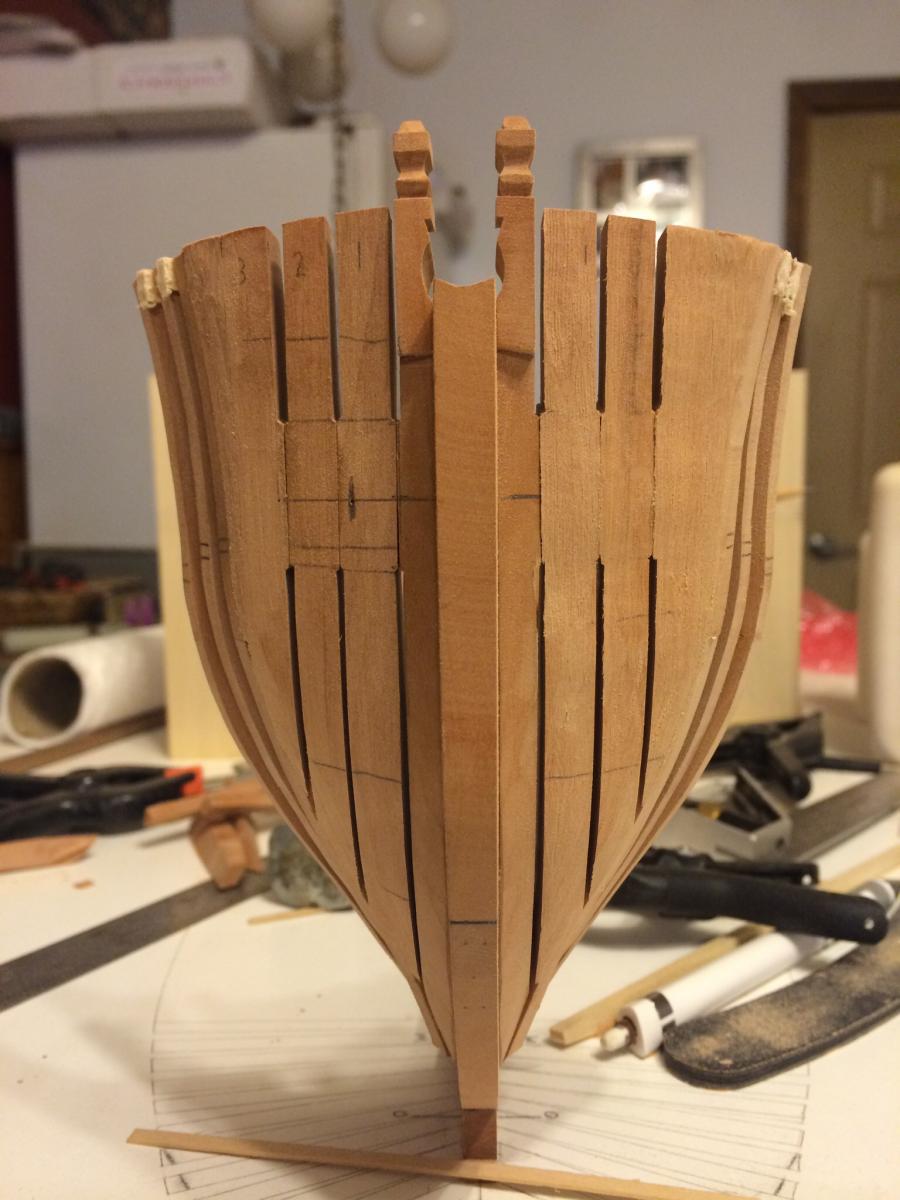
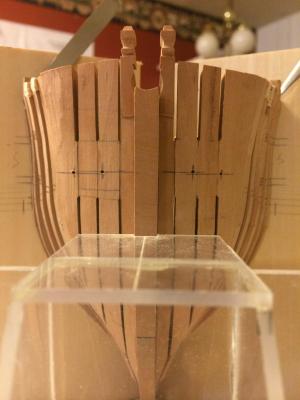
Thanks for the comments and likes. Managed to temporarily fix in place cants 3 thru 5 on both sides and mark up for the narrow bridle port, came out at the correct dimension of 1'9" wide which gives me a good feeling on the cant frame positions. The frames will now be pulled back out and the scores for the sills/lintels will be cut in. Also I marked and drilled #65 pilot holes for the Hawse holes. Ben
- 889 replies
-
- 13
-
-
Glad to hear your making progress Augie. What scarph joints?? I thought you already had the margin planks in?? Maybe you mean the hooded scarphs against the margin planks? Ben
-
As Grant said, only a few thousand more, couple of weeks work for you Sjors! Ben
- 1,616 replies
-
- 1
-
-
- caldercraft
- agamemnon
- (and 1 more)
-
Now that's some very fine work Toni! Nice idea using the pop bottle for soaking the plank, I'll remember that one. Ben
-
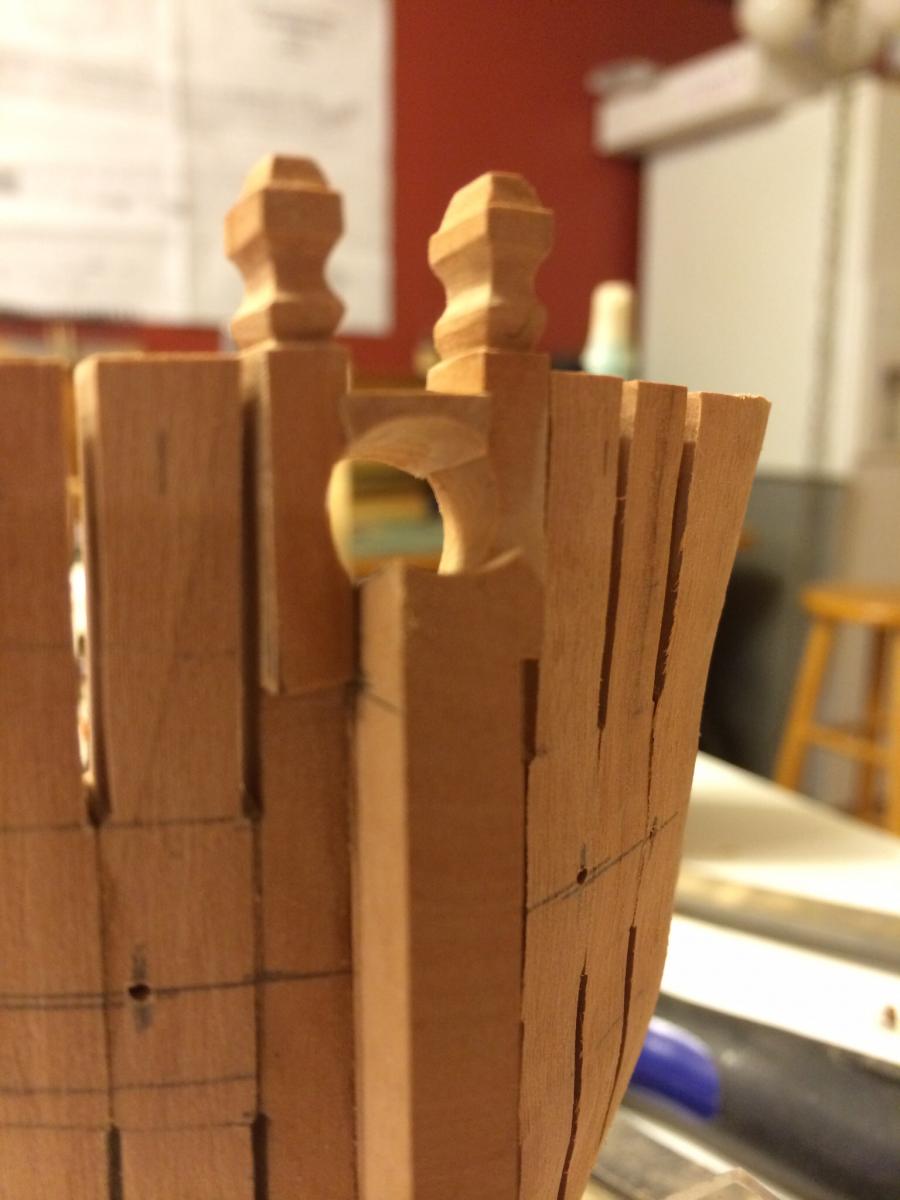
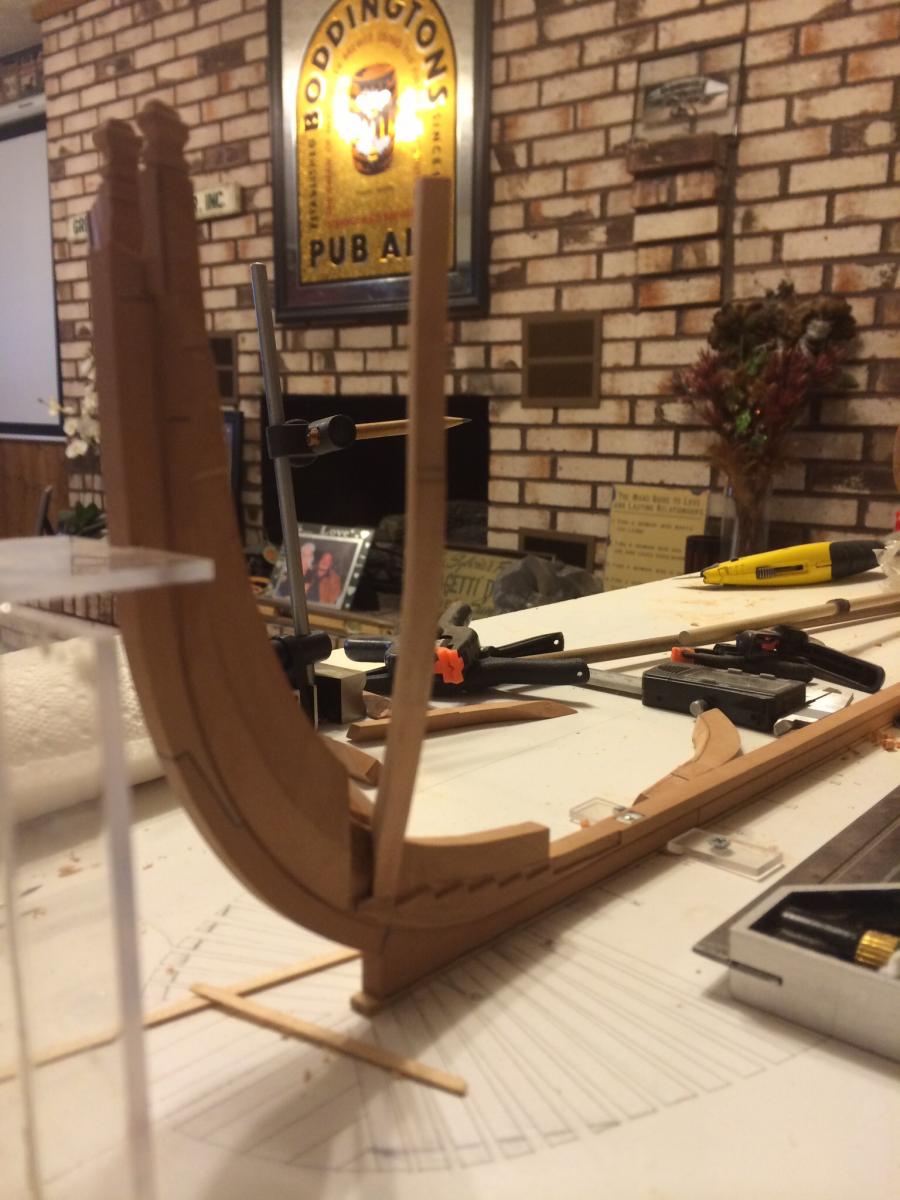
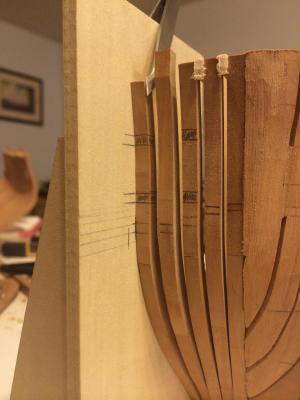
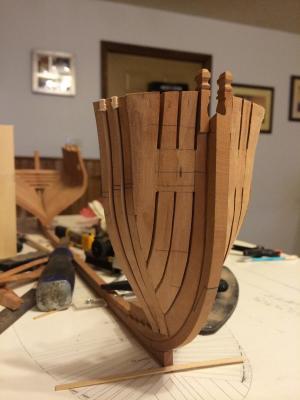
Thanks for all the likes, comments and support. Yippee! Managed to complete the hawse timbers after the damaged can't frame 1 was replaced, obviously I need to mark and drill the hawse holes as well as make the bowsprit chock but pretty happy to of finally got to this point. I have also been making up the rest of the cant frames in readiness. And I have even spent quite a bit of time working on the Indy plans. Ben


- 889 replies
-
- 19
-
-
Just saw that micro mark has come out with a 3D printer for $725. Love to see if anybody gives it a try. Ben
-
Use as many as needed to get a finish that you are satisfied with, the only reason that I use that many is because I make my paint very thin, therefore it takes a lot of coats to build up the coverage, but the bonus is that you get a very even paint job with no brush marks. Ben
- 1,616 replies
-
- 6
-
-
- caldercraft
- agamemnon
- (and 1 more)
-
Beautiful
-
Thanks for all the likes and support, I shall conquer this. Ben
-
Thanks Grant, it's slow going here but ure right, I needed to walk away and come back! Ben
-
Go for it Rusty, no drops or steelers will be impressive if you pull it off. Just a question on your math, 4 belts of 7 planks would be 28 total, not 24. 24 would of course be 4 belts of 6 planks?? Typo?? Ben
-
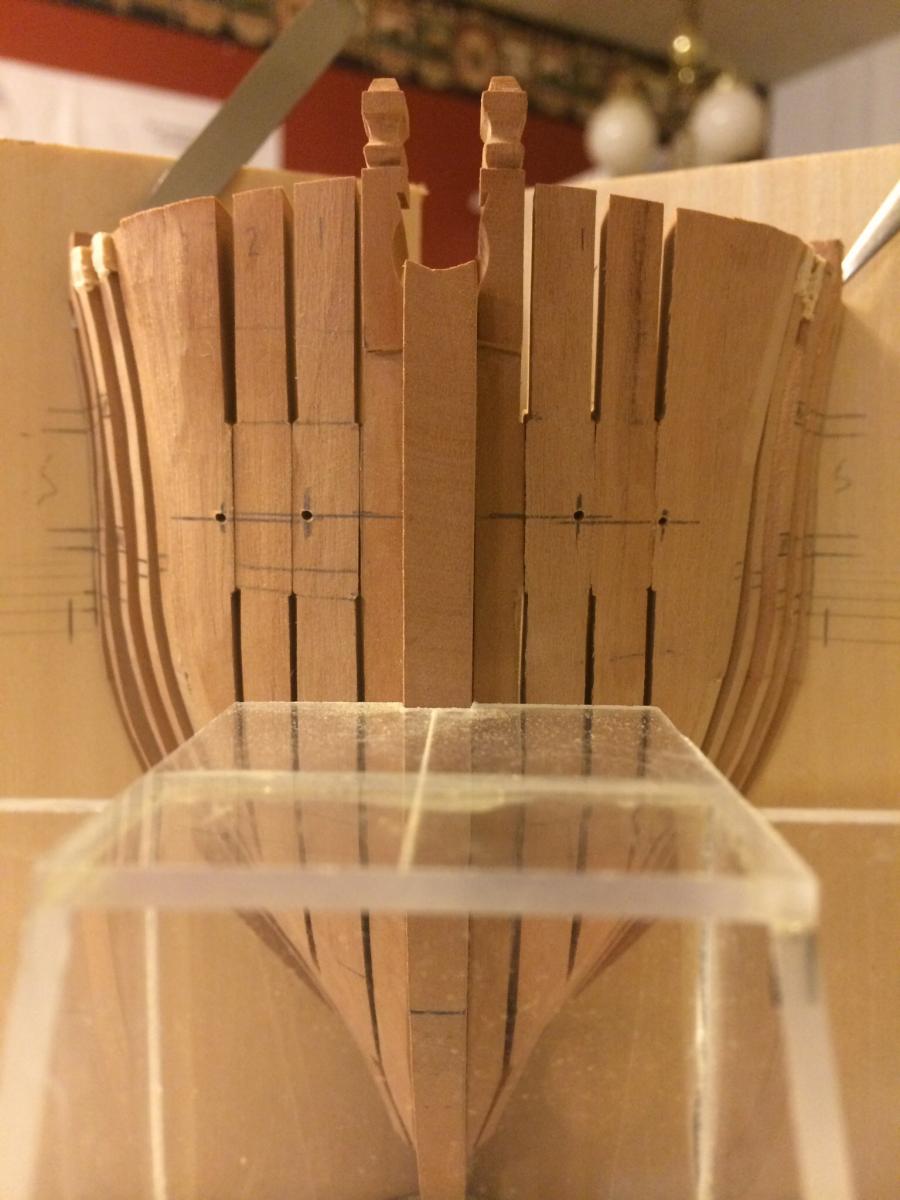
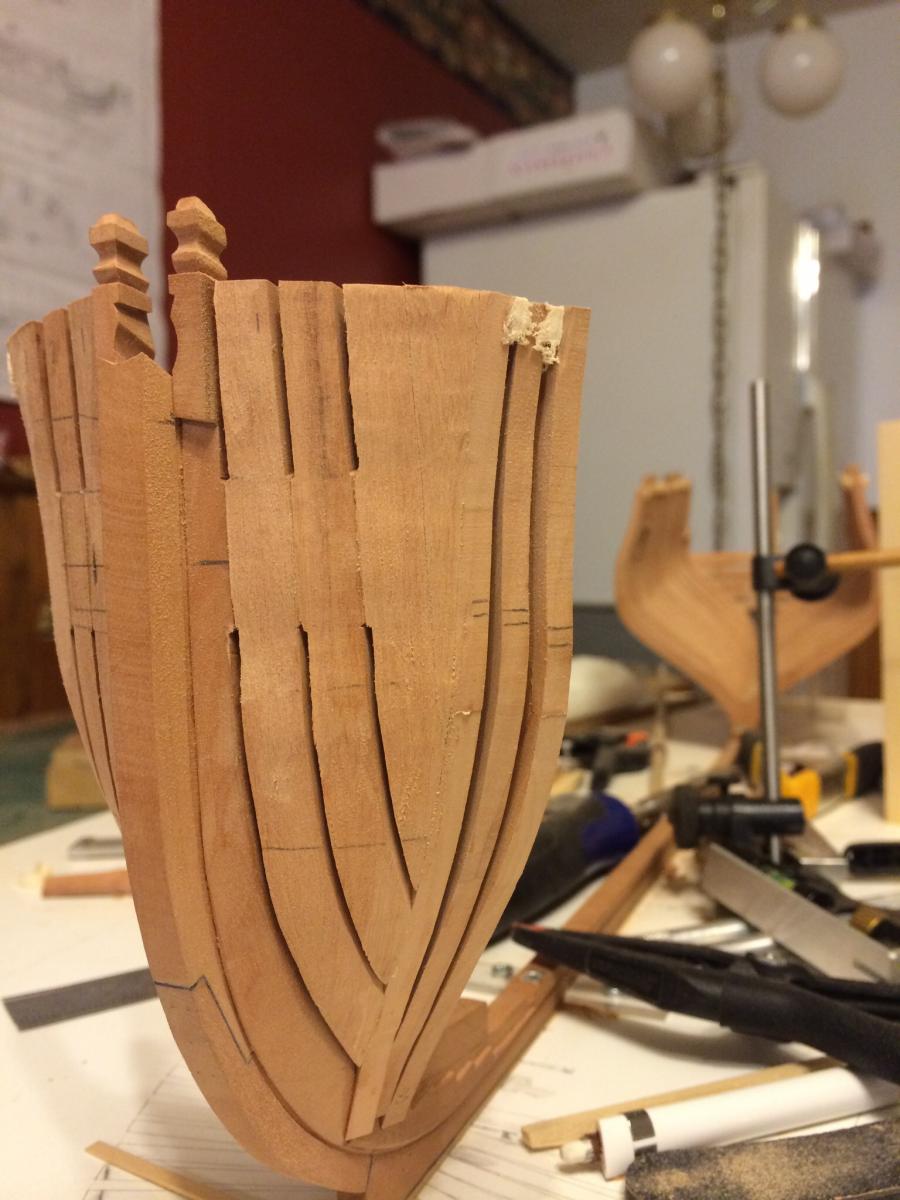
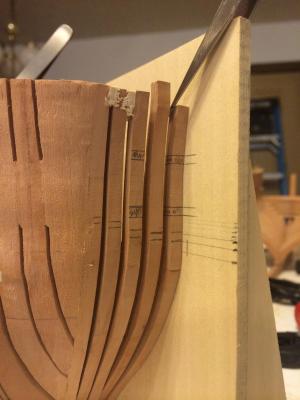
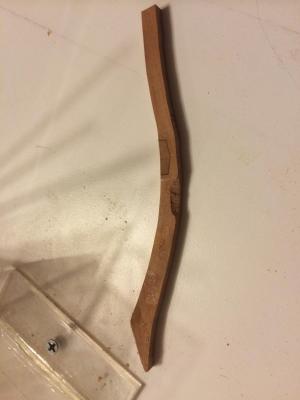
Well not much work has been done in the last few weeks, I decided I needed a break as I was getting frustrated with the hawse timbers, while working on the portside and taking them in and out, the temporary glue holding them in place, well I guess I didn't let the ISO soak in long enough, and when I pulled them back out it damaged the first cant frame, see picture. After having this breather I have removed the cant and have made another. Then I will complete the hawse timbers and move on again. Ben
- 889 replies
-
- 10
-
-
Yep, very nice indeed, it's gonna take a lot of copper plates to cover that beast. Ben
-
Perfect as always Ed. Ben
-
Sounds believable to me Remco! Lol. Ben
-
Those look really good Dan, and congrats on the workshop. Ben
-
Harbor Freight Workbench
Trussben replied to Landlubber Mike's topic in Modeling tools and Workshop Equipment
Just had the flyer through the door today, workbench is back on special for $140. Ben -
Cool Musket Remco! Don't know how you do it, now where's it's powder horn? Ben