Trussben
-
Posts
2,007 -
Joined
-
Last visited
Content Type
Profiles
Forums
Gallery
Events
Everything posted by Trussben
-
 Planking coming along great Remco, and thanks for the blown up pics of the clamps. Ben
 -
Very Nicely done Alan, you will be raising frames in no time! ben
-
Great cabin floor??????????? C'mon Man! Ben
-
So where are the pics? Lol Ben
-
HMS Ocean 1898 by tozbekler
Trussben replied to tozbekler's topic in - Build logs for subjects built 1851 - 1900
Do you own your own shop?? Looks like some nice models in there. Ben -
Hi Druxey, The compromise you mention is exactly the path I intend to follow, seems to have worked ok on the port I have done. As for the miss spelling of "bridle" , I apologise from one English born man to another, unfortunately the spell check on my iPhone is American and auto corrects my queens English lol. Ben
-
Thanks Rusty, This was the first time I have ever tried to do these notches off the model, seems to have gone ok this time, we will see what happens when it comes to the bridal port which will be the next one I make. ben
-
Have to agree that if there was one that I would say get first it would be the disc sander, its a beautiful machine ( not affiliated with Jim - just a happy customer ). Then get Thickness sander when you need to start milling scale lumber. I'd accept Grants offer of a trial quick smart, you get to play with both and see a beautiful model of the Victory at the same time. ben
-
Hi Allan - My plan was to add the ports as I go along ( same way described in TFFM and how Danny did it ), on my Echo I did them afterwards and I had issues getting good joints by fileing the birdsmouths in. Cutting them off the model with a sharp chisel sure does make nicer and tighter joints but I hear what your saying about getting a better run of the ports by doing later, I feel that the aft port is in the right place compared to plans, measured lots of times. I will have to think about these pros and cons. ( aka - about to send yet another e-mail to my Mentor! ). Thanks everybody else for making me think that maybe I'm not as messy as the Admiral would lead me to believe. The long dreaded bollard timbers are next - I can see a few do-overs in my future with these buggers. ben
-
Well done Allan, Getting used to using the Brynes takes some time but because it's so well made it's is worth the investment as it's so repeatable and accurate. Have you bought one of Jim's disc sanders yet? It's just as good as the saw and makes making the chocks for the frames much easier IMO as well as many other parts when scratch building full framed models. Ben
-
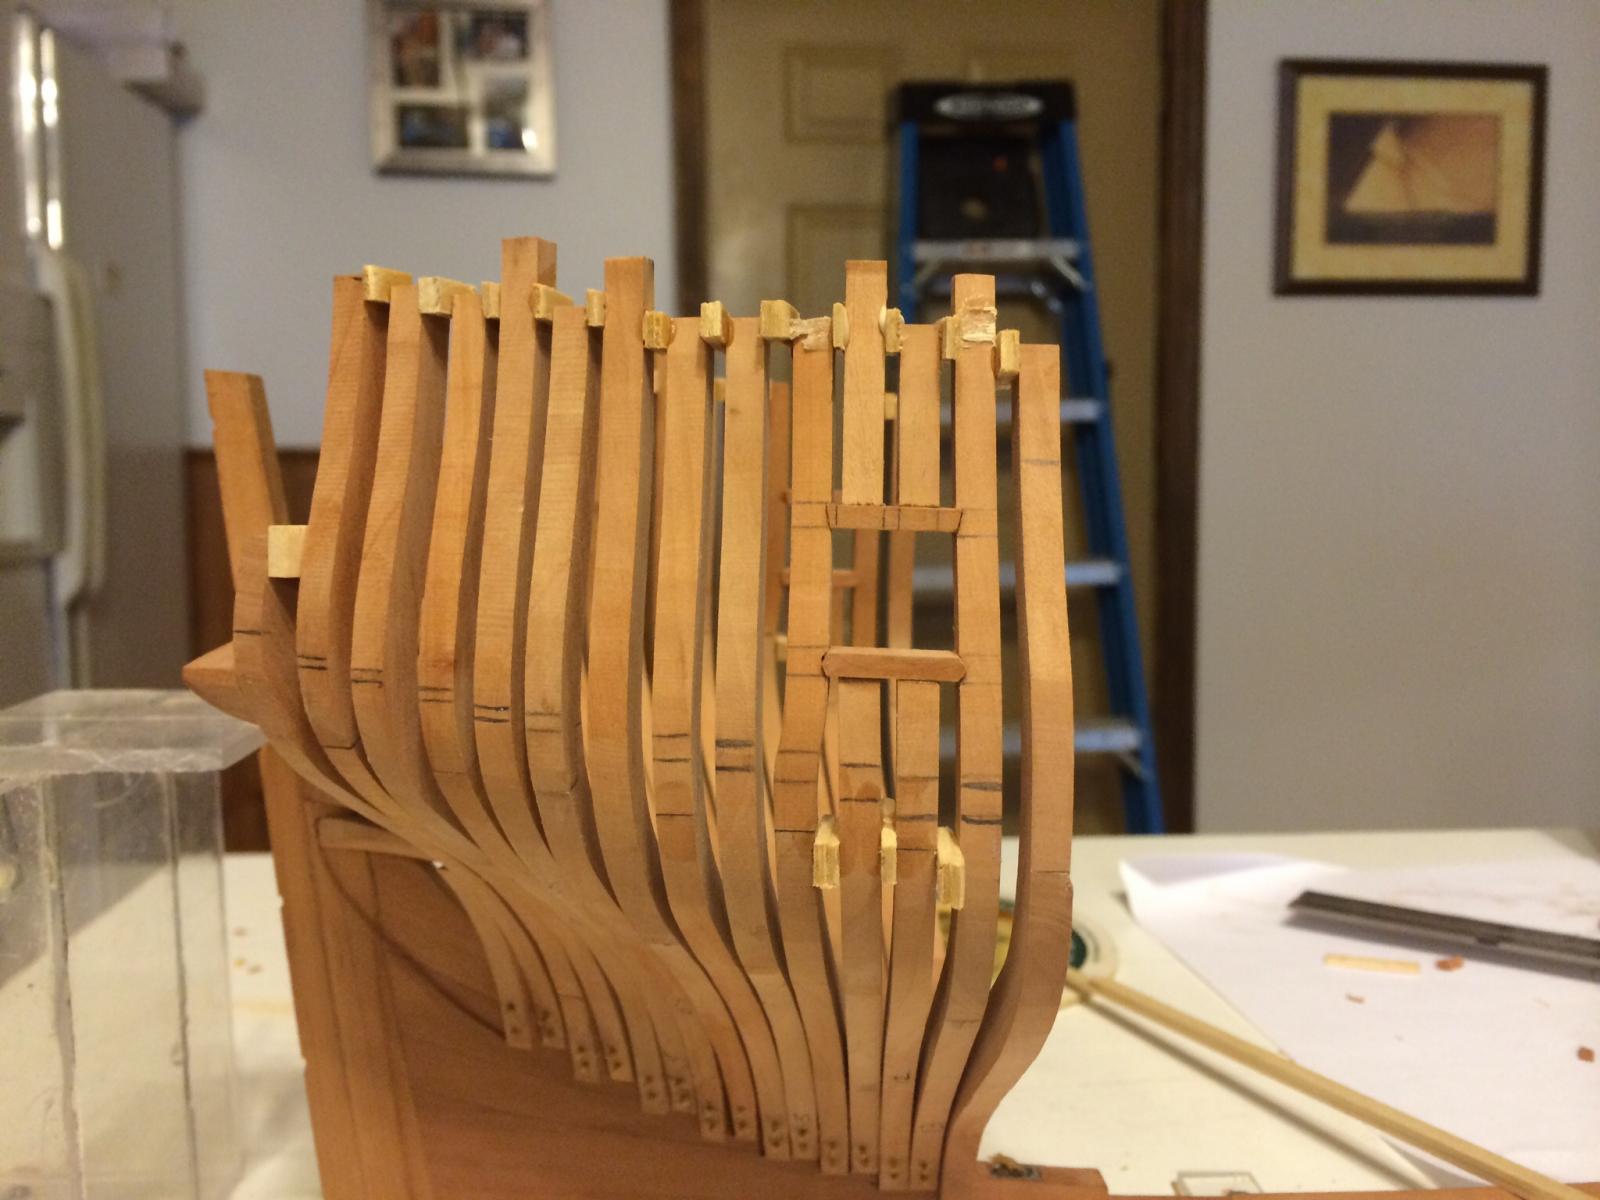
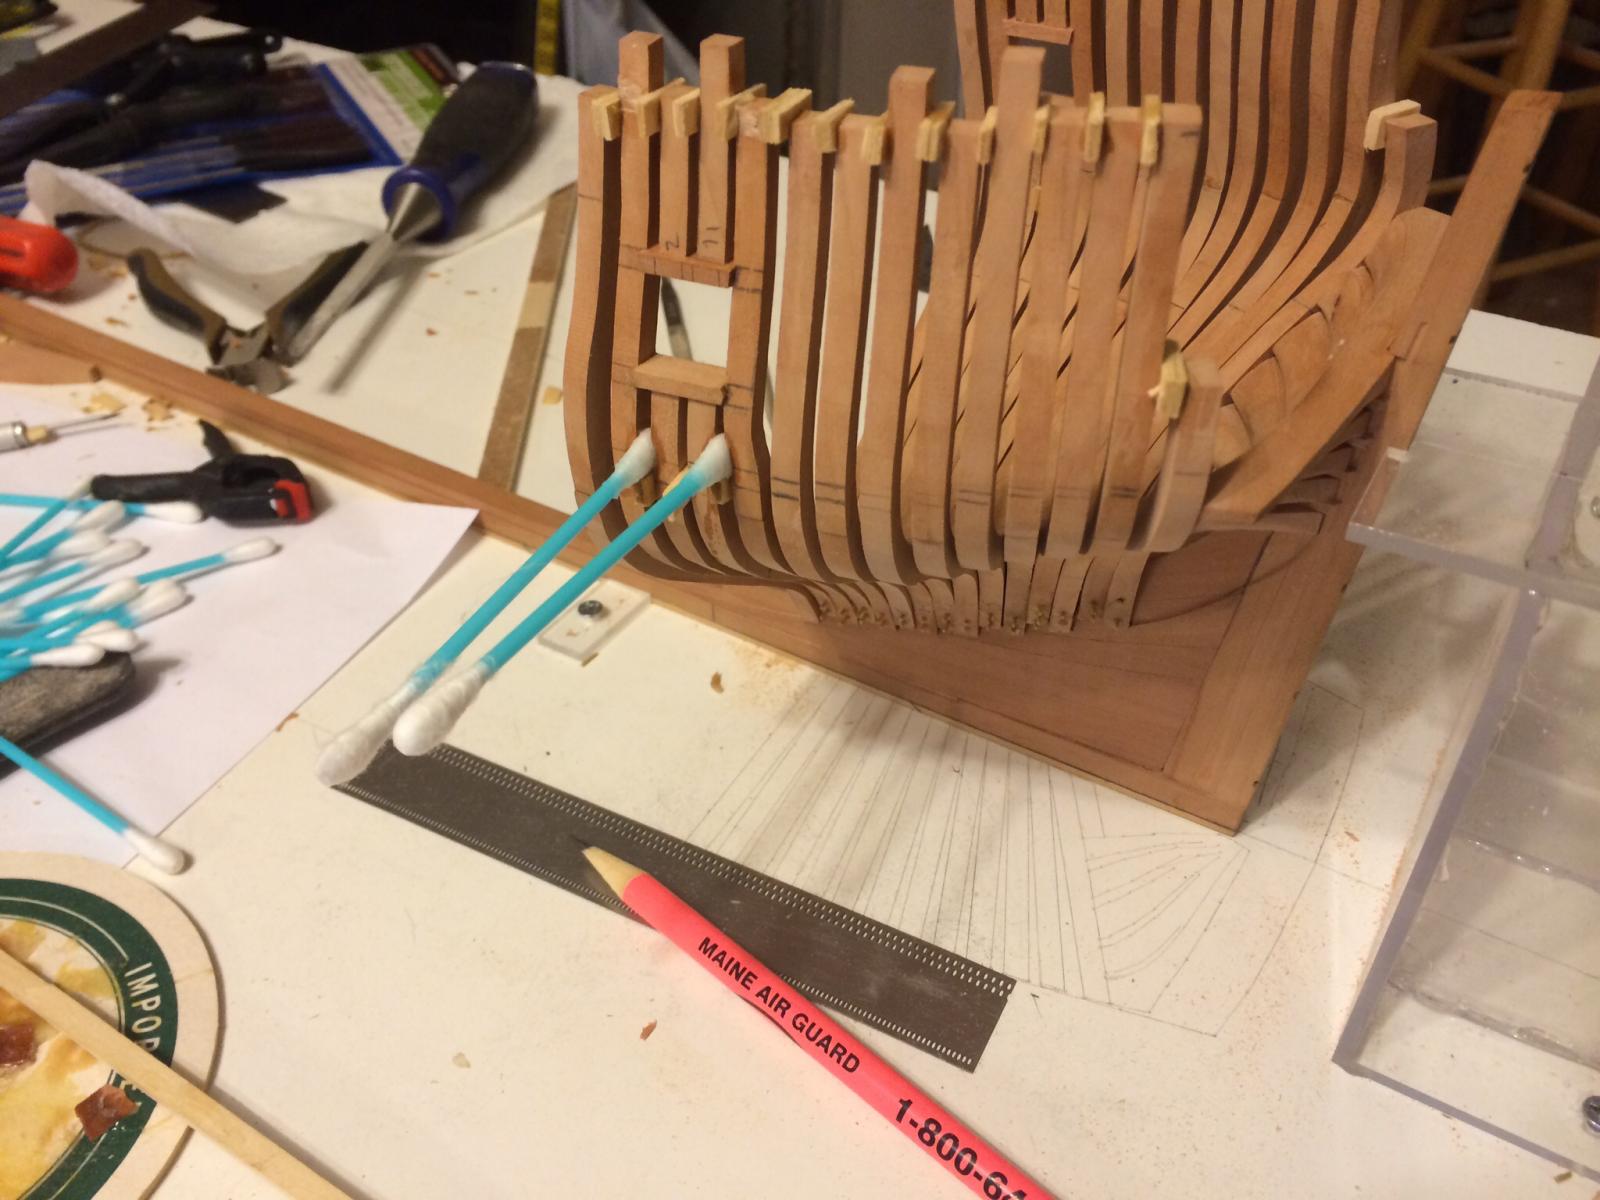
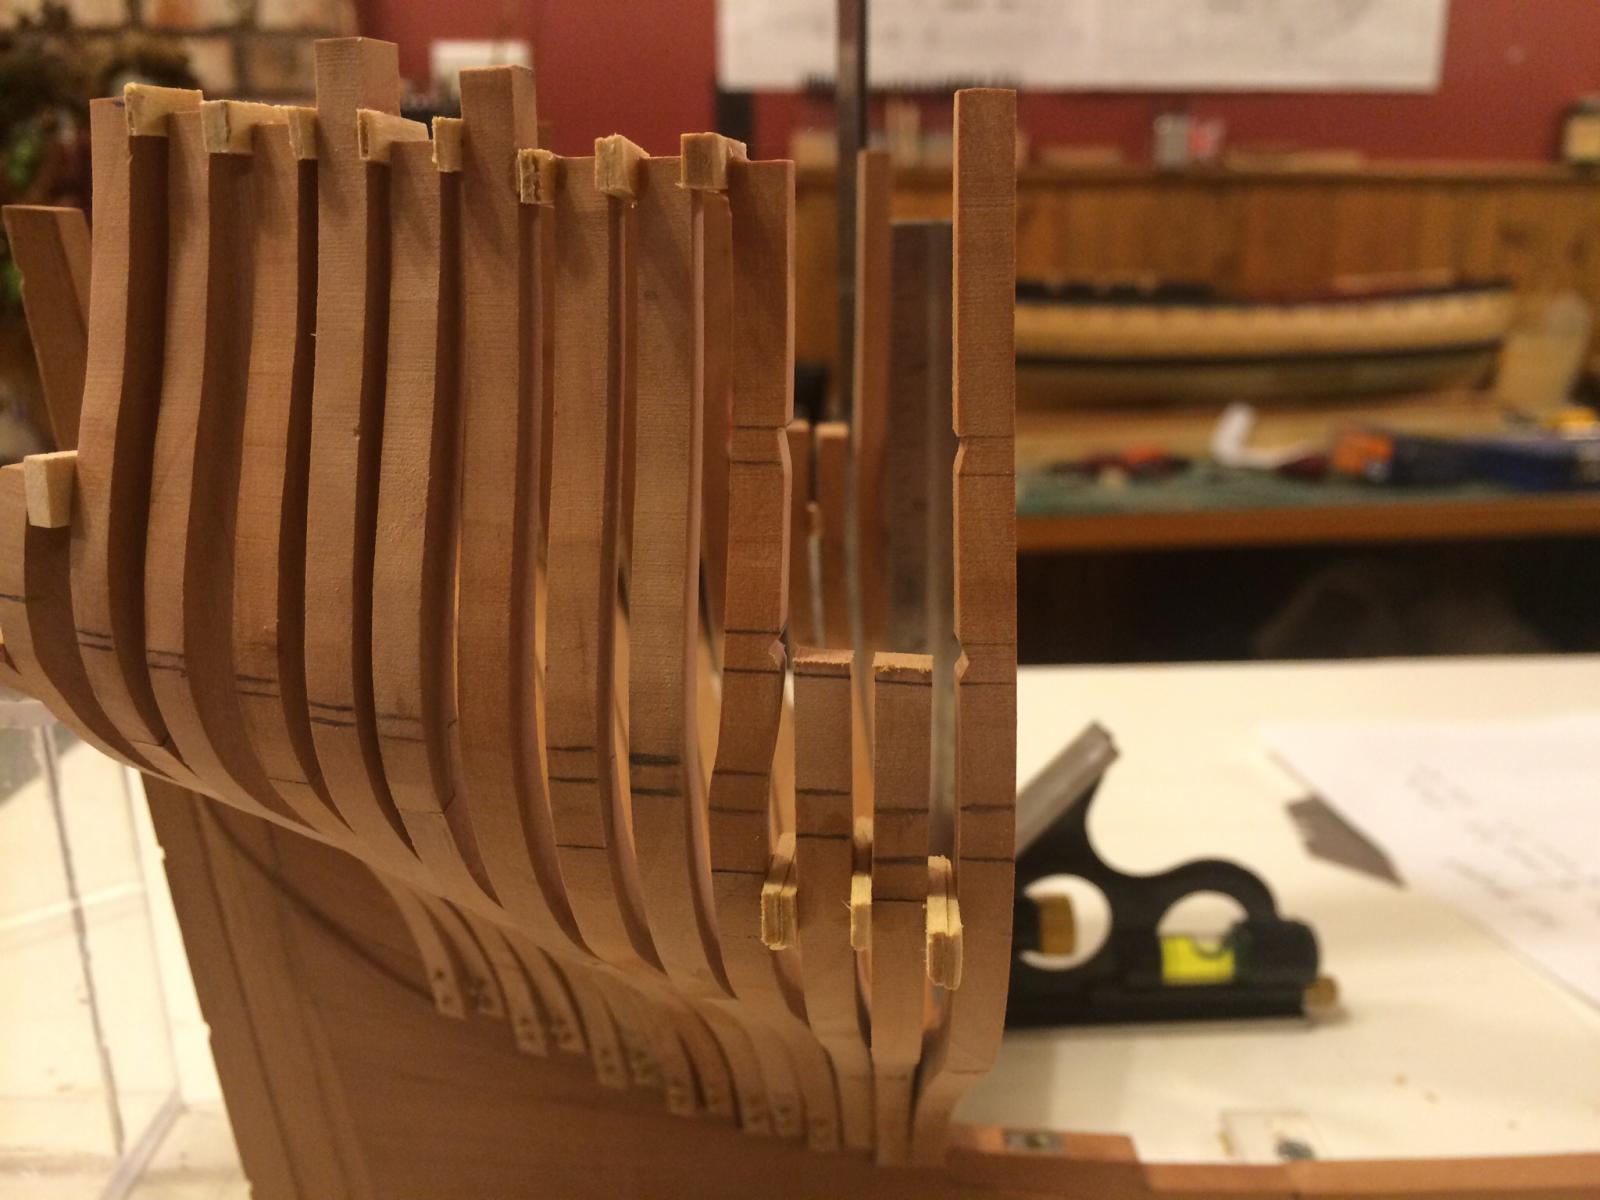
Thanks Alan, Druxey and all the likes. First pic shows all aft framing up to and including the first square frame 14 aft. Gunport sills and lintels were made of 5" stock Tennoned into the frames, took a few attempts to get these a good fit. Second pic shows one method I use to apply iso for debonding glued in temp spacers, after the earbuds are soaked in ISO they are positioned and covered in cling film to stop it evaporating, after an hour the spacers will pop out. Last pic shows how messy the work area has become, it shall be cleaned before any more work is done but also gives an idea of my progress to date. I think I will fair in the inside aft framing before moving forward to start making the bollard and hawse timbers. Ben


- 889 replies
-
- 16
-

-
Looks great Remco, nice uniform finish and I agree with the others, subtle treenails. Ben
-
Seems us central Ohioans will get some workshop time indeed! Ben
-
Damn, we should meet up and exchange dockyard tales, wish there were a few more people around! Ben
-
Those main Bitts look excellent Bob, well done. Ben
-
Looks good Alan, I made the rising wood both by hand like you and I made one on my Byrnes saw, I didnt really see much difference in the quality but it was a hell of a lot faster using the Byrnes. ben
-
So your in Springboro?? Im about 5 miles south in Red Lion!
-
Hey Rusty, I may have to look into one of those dust deputy's myself, thanks for sharing. Ben
-
Just came across your build, very nice. Where around Dayton are you? Im in Lebanon and I know Patricks up in Colombus. ben
-
Hi Patrick, The time you have taken to make a good build board will pay dividends in the future. Ben
-
Week or two?? U doing a lot of fishing? I can't wait to see your great cabin floor!! I remember you chasing me at that point in my build!! Lol Ben
- 2,191 replies
-
- 1
-
-
- confederacy
- Model Shipways
- (and 1 more)
-
You are making that look easy Danny, but I'm sure that it isn't. You say the Swiss Pear is too soft for those details? Ben