Trussben
-
Posts
2,008 -
Joined
-
Last visited
Content Type
Profiles
Forums
Gallery
Events
Everything posted by Trussben
-
 SWEET! Love Swiss pear!! You going to do all deck planking in it? That will look superb! So great cabin in pear/ebony or holly/ebony?? Watch out for the laser cut gratings if you are going to use them as my kit had 2 different thicknesses included, don't use the wrong ones!! Ben
- 2,191 replies
-
- 1
-

-
- confederacy
- Model Shipways
- (and 1 more)
-
Hi Michael, That's the first time I seen a design with the keelson like that, interesting. Thanks for taking my comments the way they were intended. Nice work of the deck beams so far! Ben
-
Nice Toni. Ben
-
Sorry but after looking at that fame pic again it looks like all of your frame pairs are sat about 1/16" too high on the rising wood, above the rabbit by that much. That may also be causing the keelson to be further away from the top of the keel if you catch my drift. Ben
-
Hi Michael, You are quite correct that the keelson should step down between the frames to the top of the keel therefore locking their positions in place. Was the keelson in the kit made of several pieces? Or just one piece of wood? Should be 2 or 3 pieces for a ship of her size. You can always remove it and add the notches now, I agree it just looks wrong the way it is now, maybe a few hours work but I'm sure you would be happier. Ben
-
Hey Grant, I'm just going off the master builders advice, but as soon as I drew the crosshairs of the breadth lines on it I knew it would work much better than what I was doing before! ( not sure if I just came up with the crosshair thing in my own mind but it works for me ). Thank god that they are free with their advice on MSW! Ben
-
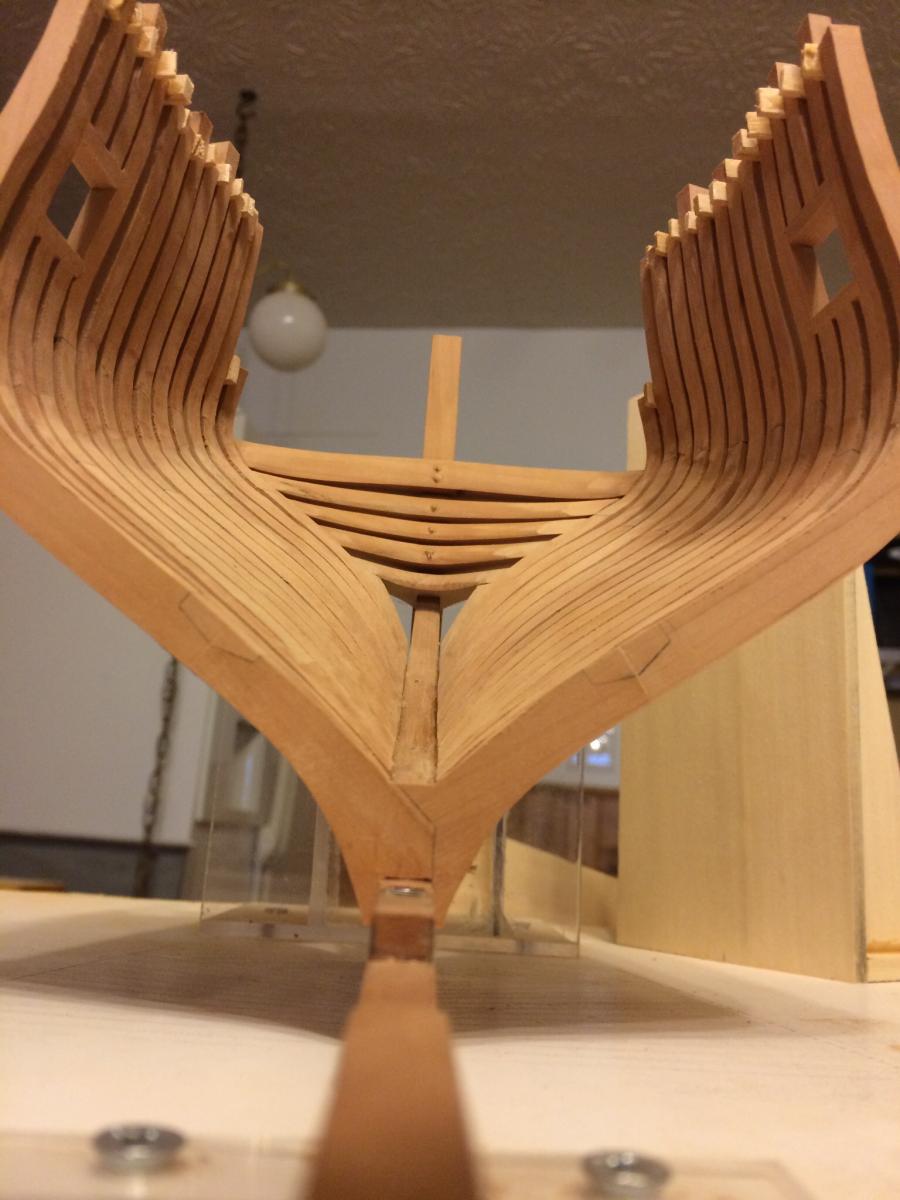
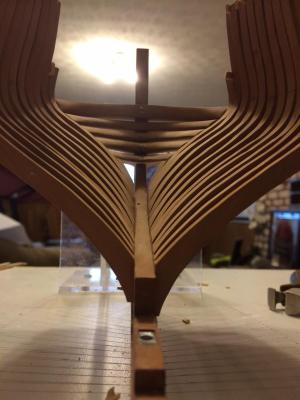
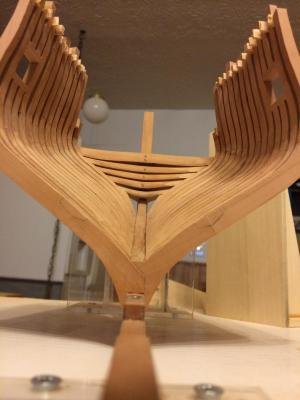
Thanks Pete and all the likes. Also started rough fairing of the aft internal framing. Pics are before and after. Ben
- 889 replies
-
- 12
-
-
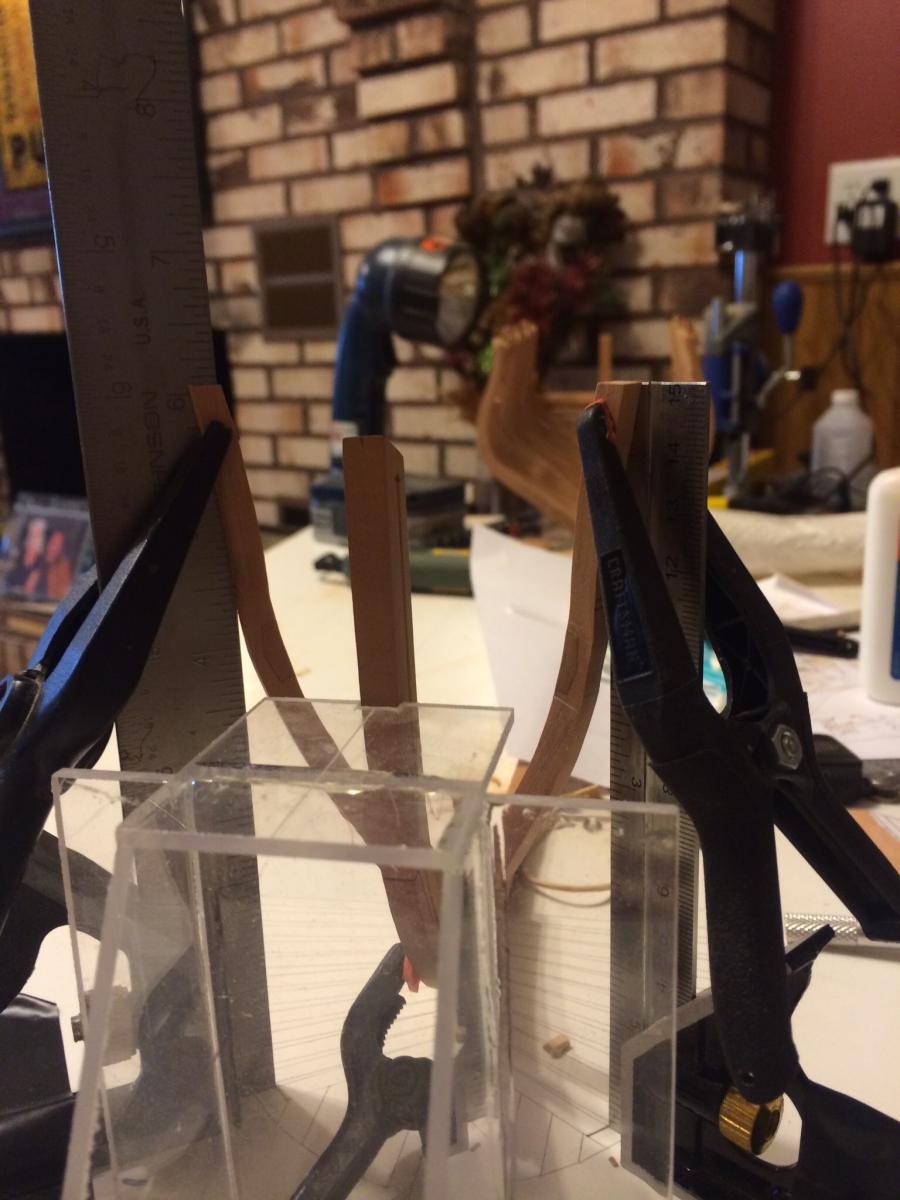
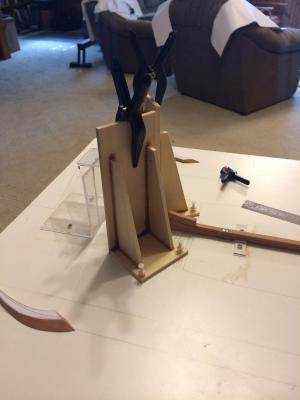
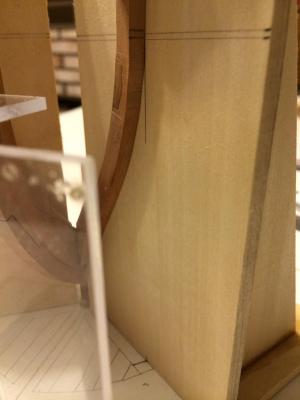
So here are my framing squares completed, I decided to add pins to the back so I can secure it in position to the build board without fear of losing it's place, now they can be repositioned back in the exact same place. I then held them up to the plan and marked the horizontal lines of the breadth lines, then they were fitted back to board and the vertical line of the breadth line was marked up to intersect with the horizontal lines, this gives me a perfect crosshair target of where the frame should be. Ben

- 889 replies
-
- 11
-
-
Hi Alan, On the subject of the rockler system, there are many manufactures of T Tracks out there, I'm sure somebody in OZ is making them for woodworkers. Do you have a woodworkers/carpenters store nearby or one that operates in OZ online? Most should carry T Tracks without the need for the shipping costs. Ben
-
Hi and thanks for all the likes and tips, got home this afternoon after being away all week and went down to the workshop And made up two plywood squares as per all the advice, they are currently drying and it will be using them tomorrow to try and set up the cants for the 4th time, hopefully they will help a lot. Ben
-
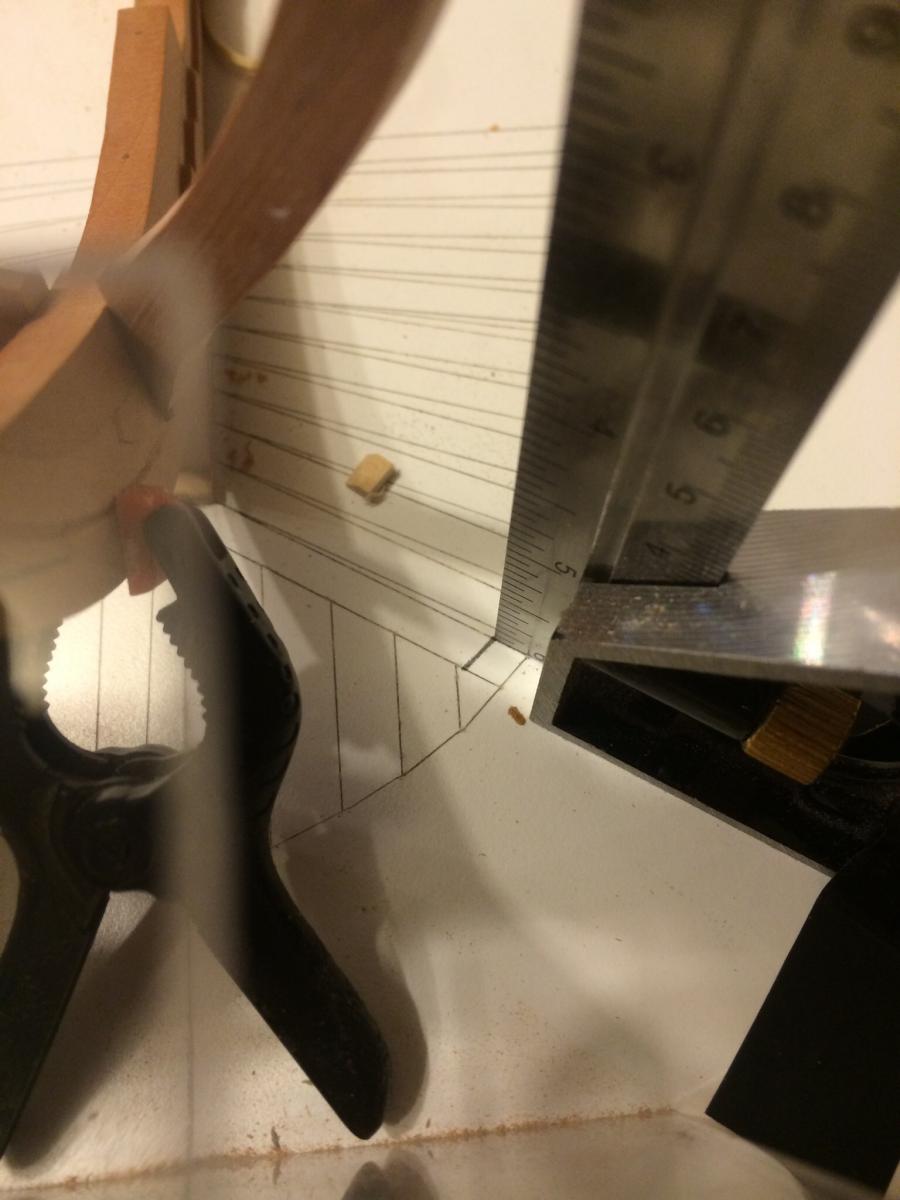
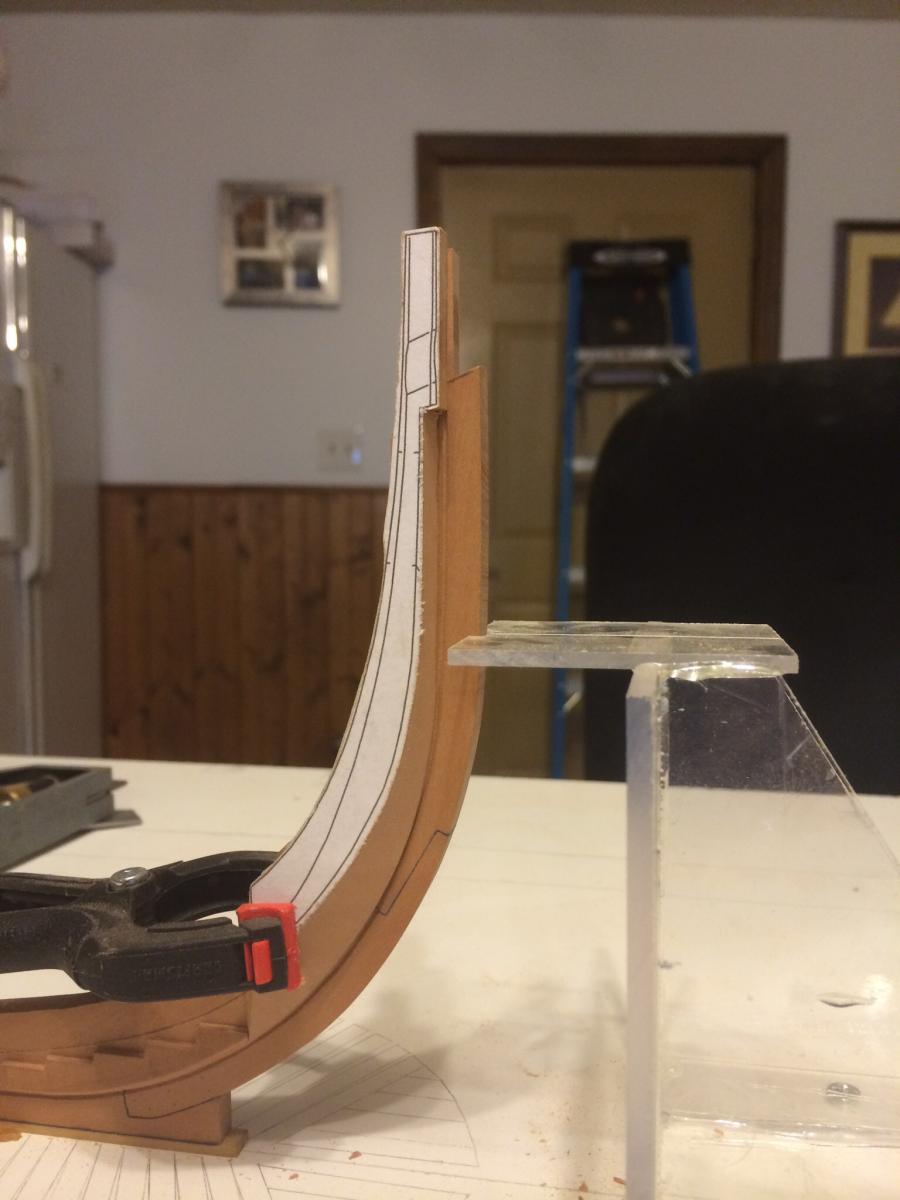
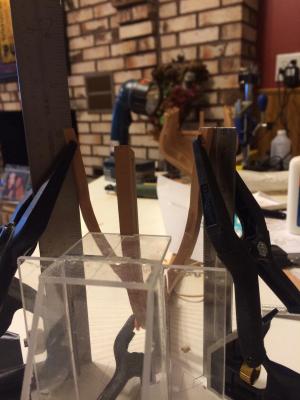
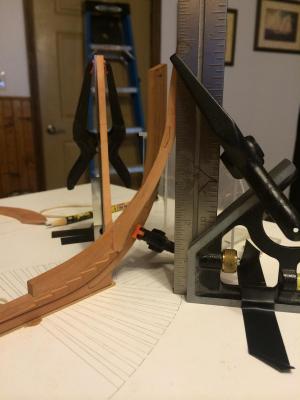
Temporary installation of forward can't frame commences, I'm finding it difficult to get all angles to match and breadth heights to match, this is the third attempt. Ben

-
Nice Michael, she looks great out of the crib! As for planking practice, if that's all you really want to do, just buy a cheap kit and have at it, it's all just practice and finding a way that you are comfortable with to get the desired results. Ben
-
Hi Allan, Greg gave you perfect advice regarding the offset hole. Would have to agree as well that the EdT board is a bit OTT for a small cross section, but if you want to go down that road I can't see any downside to it. Ben
-
Hey Jeff, Thanks for doing a poll like this, I hope you get a lot of response, I will certainly take the time to fill it in. BTW the Swiss pear you supplied for my Pegasus is a joy to work with, will be buying more from you my friend, you may need to hire a helper if your business keeps growing! Ben
-
Nice Michael, be interesting to see her out of the Jig. As for your problems with plank creep, it because you are edge bending wood in a way that it's not designed to be, spiling off is the only way to get planks to lay correctly and it's really not that difficult to learn, there are a few planking tutorials on the site that you should look at. Ben
-
Nice work on the stern framing Pat, take it easy man and don't sweat the small stuff. Ben
-
Thanks Patrick and Michael and all the likes. Michael, there is a harbor freight by Dayton mall on Lyons road, they normally have the benches in stock, look out for coupons on their website, I got the bench for $140 on sale. There are some good write ups on this site under the tools section stating all of its pros/cons, but for $140 you can't beat it IMO. Ben
-
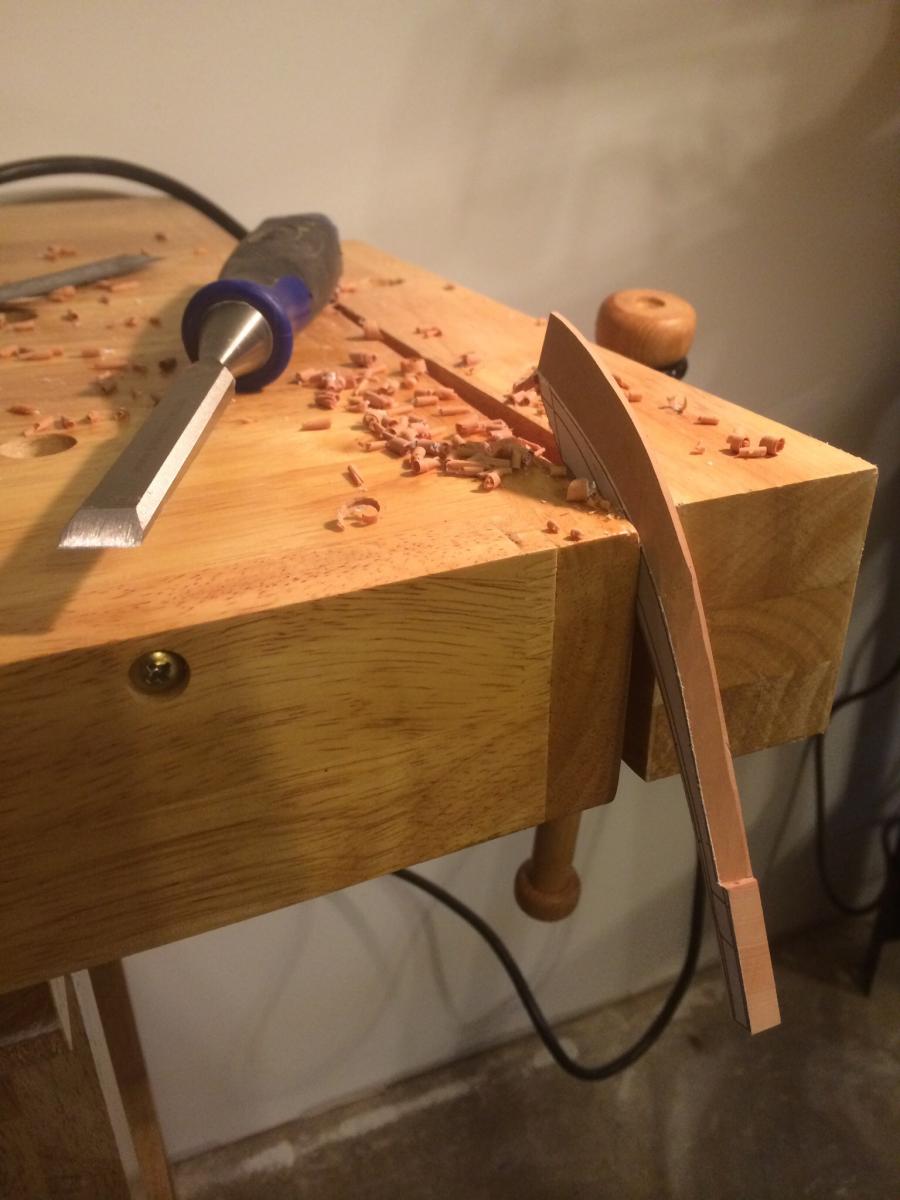
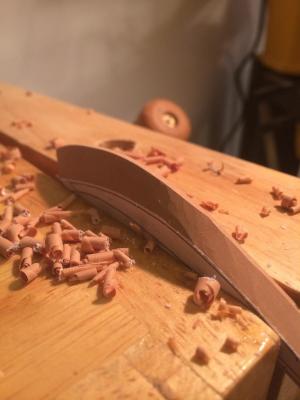
Hi Allan, The workbench and vise are from harbor freight, $140 !! No plane was used, the bollard was cut out of 12" stock and then just a very sharp chisel was used to shape it. Ben
-
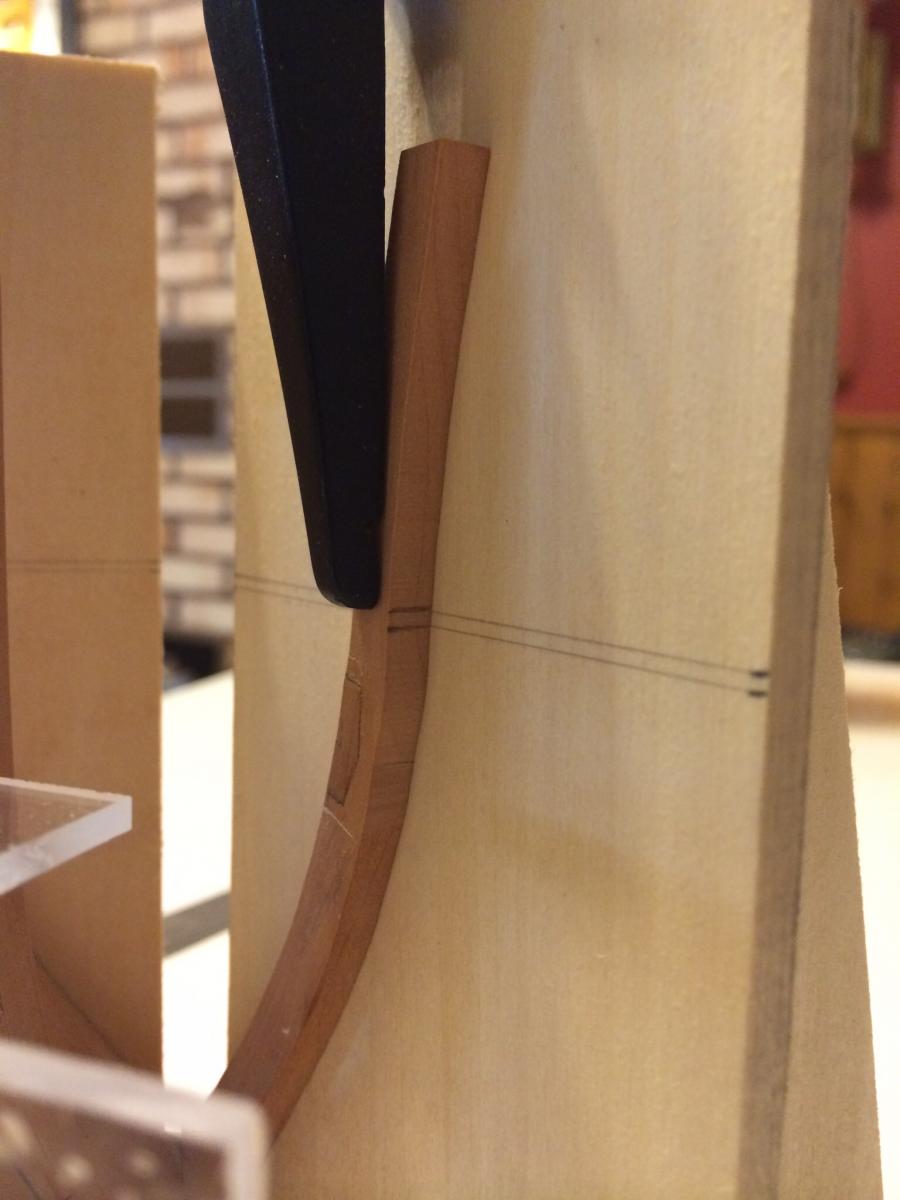
Thanks for the input Toni. Started on the parts I have feared most up to now, bollard and hawse timbers, pics show what is my first attempt. On advice from my Mentor I will make and temp install the first cant as that is a good reference to use for the angles. I may well make V2.0 to see if I can get a better fit. Ben


- 889 replies
-
- 16
-
-
Doing really well catching all of the FUBAR's of the kit there Sjors, always helps as you say having a few hundred eyes watching over your shoulder, helped me out a few times on Pegasus! Ben
- 1,616 replies
-
- 2
-
-
- caldercraft
- agamemnon
- (and 1 more)
-
Very nicely done Augie, you have got the deck clamps perfect where the cabin partition line on the false deck is right under the deck clamp cutout. Now are you gonna spill the beans on what wood you are going to use for the Floor?? Ben
- 2,191 replies
-
- 1
-
-
- confederacy
- Model Shipways
- (and 1 more)
-
Yep, that looks like a real fun part to make, how many attempts Danny? Ben