


Baker
-
Posts
4,134 -
Joined
-
Last visited
Content Type
Profiles
Forums
Gallery
Events
Posts posted by Baker
-
-
-
I guess that it is something you don't have to do every year 😁.
Actually, it was 20 years ago and painting became urgent

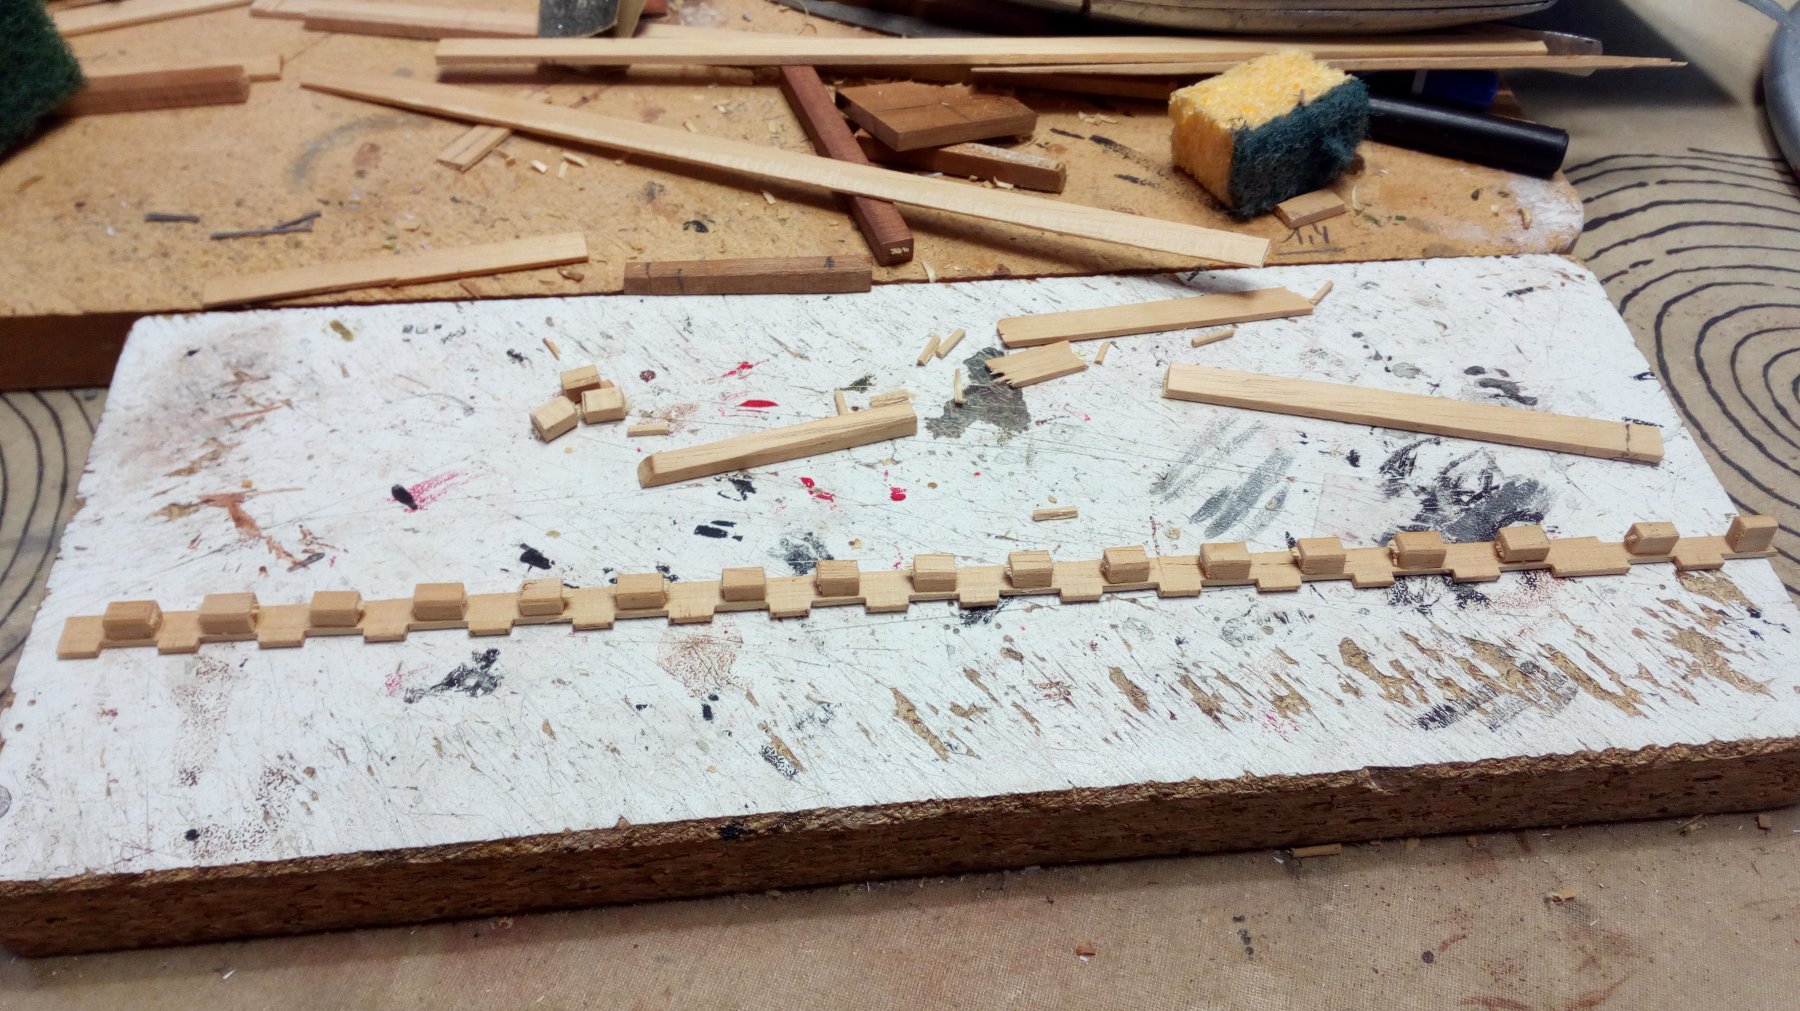
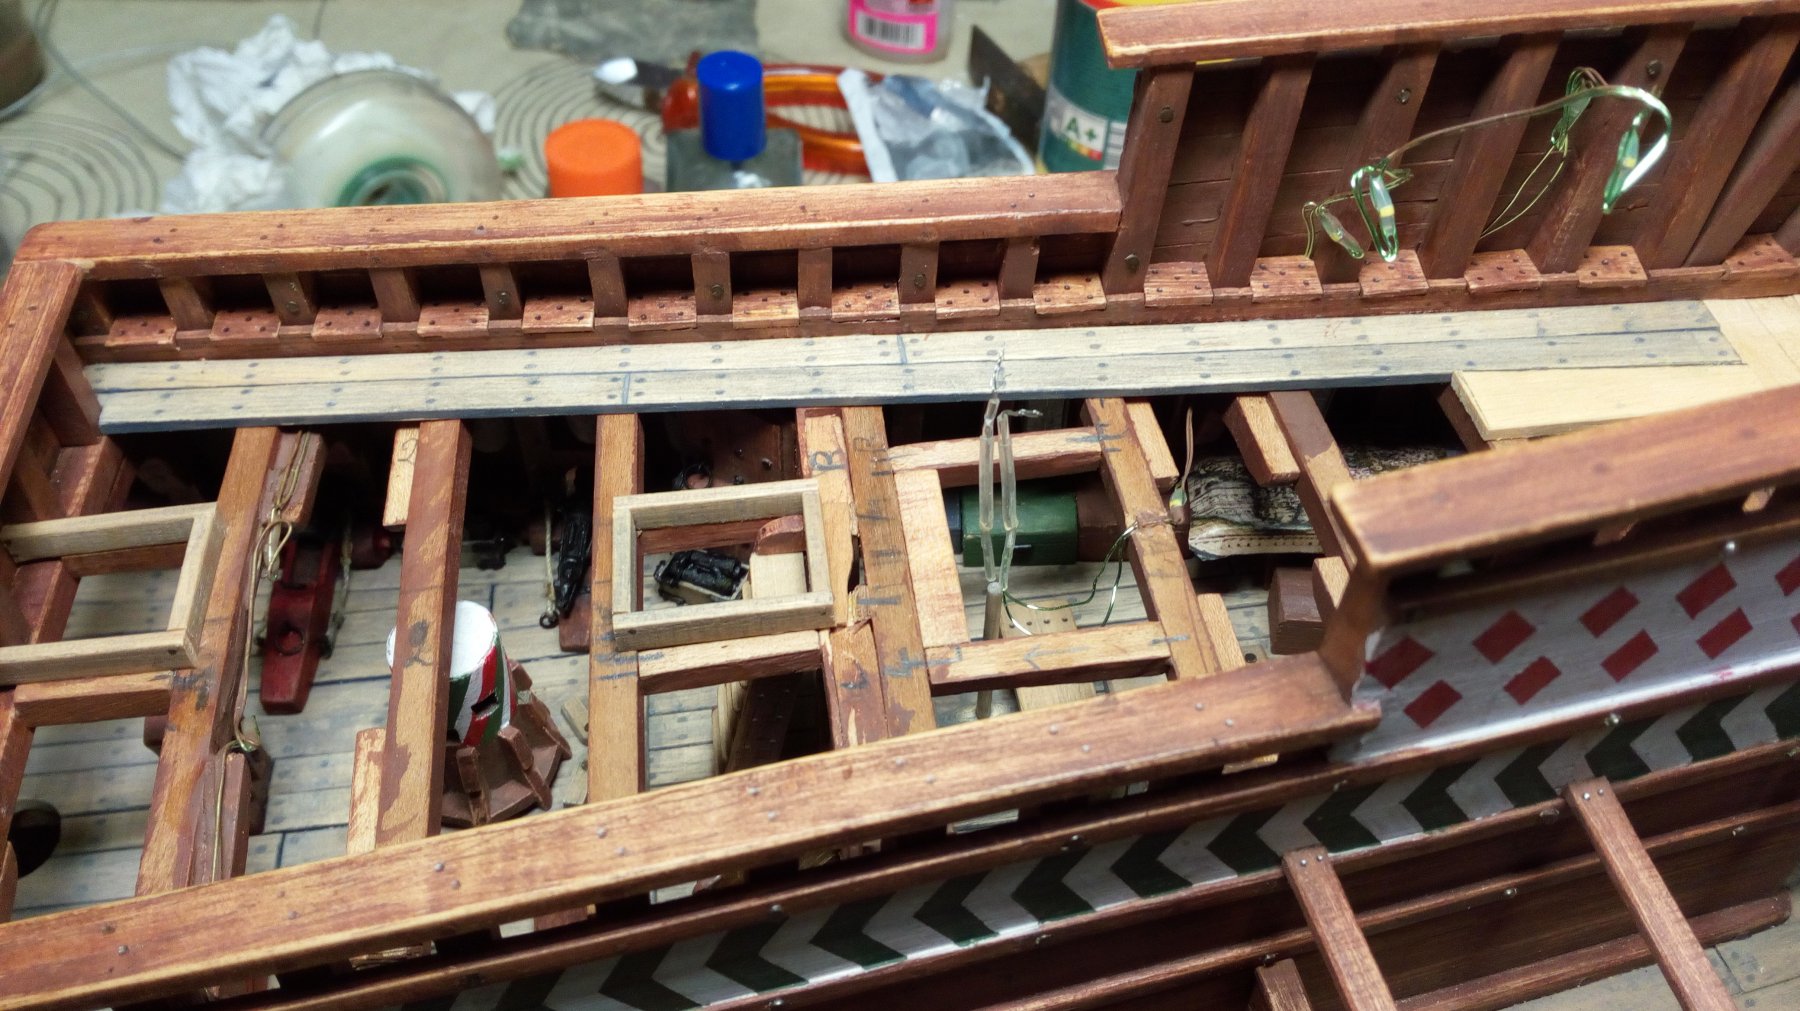
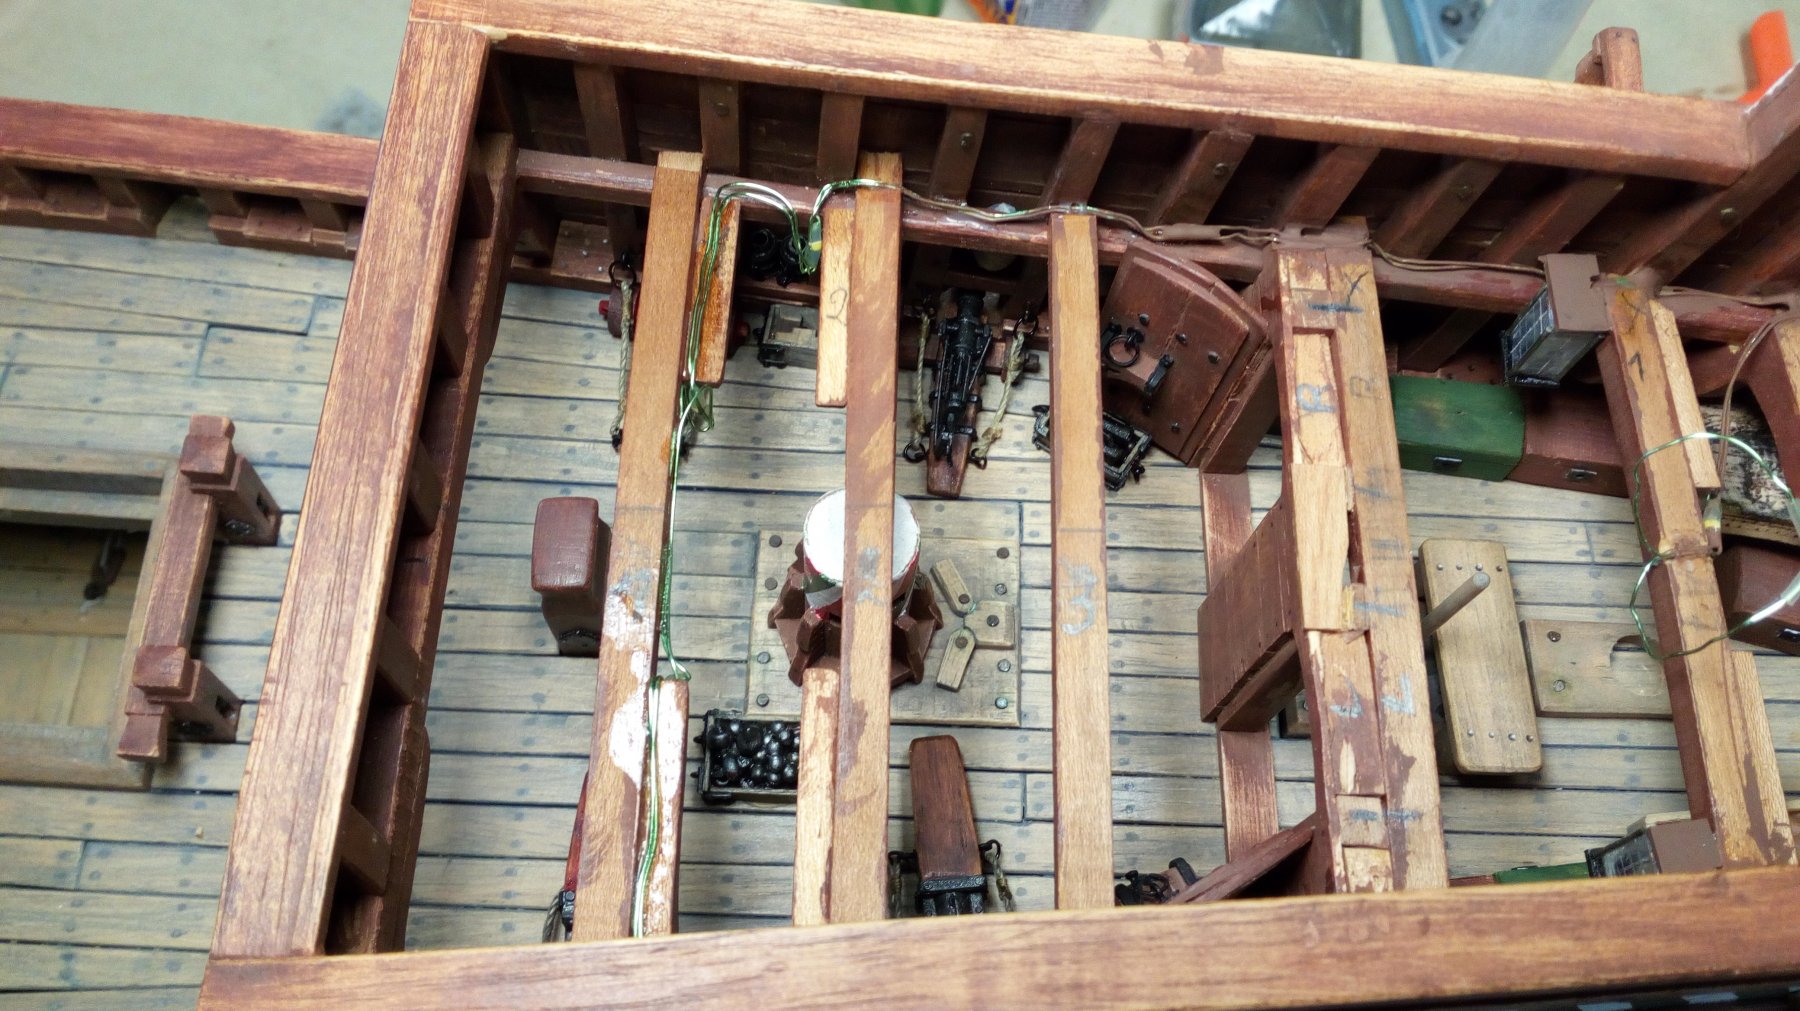
Made some progress and started with the deck. The finish between the deck and the frames is just the same as the deck below.
First a plank is made that is glued to the frames. Supports are glued to the rear of this plank.

The plank is glued and then the first 2 deck planks.
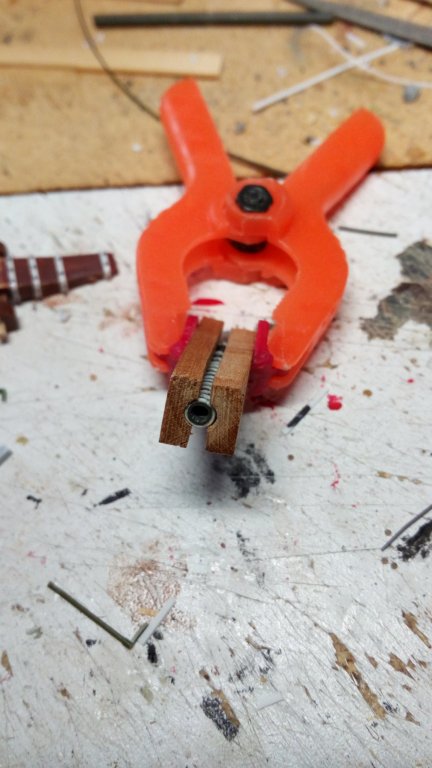
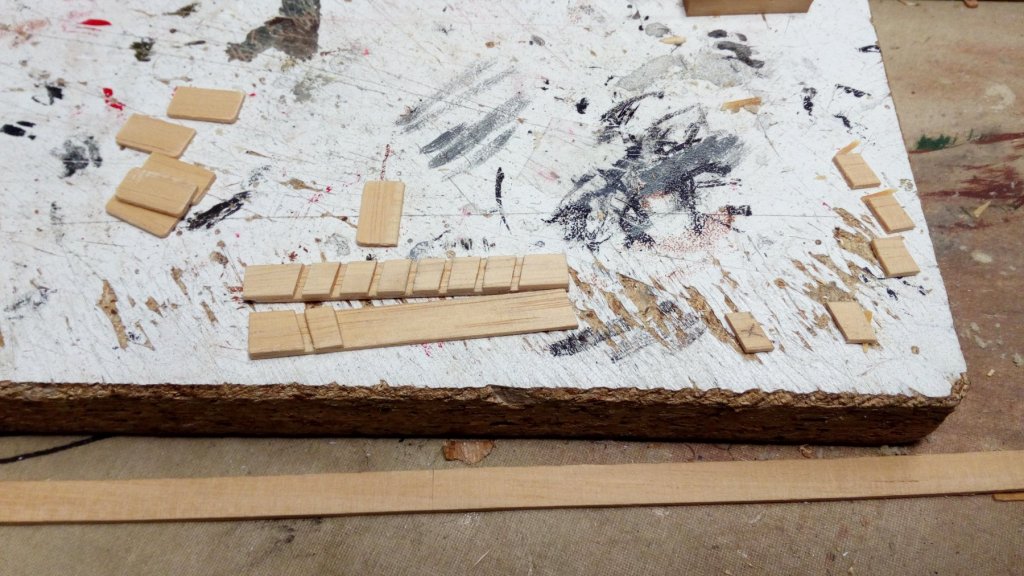
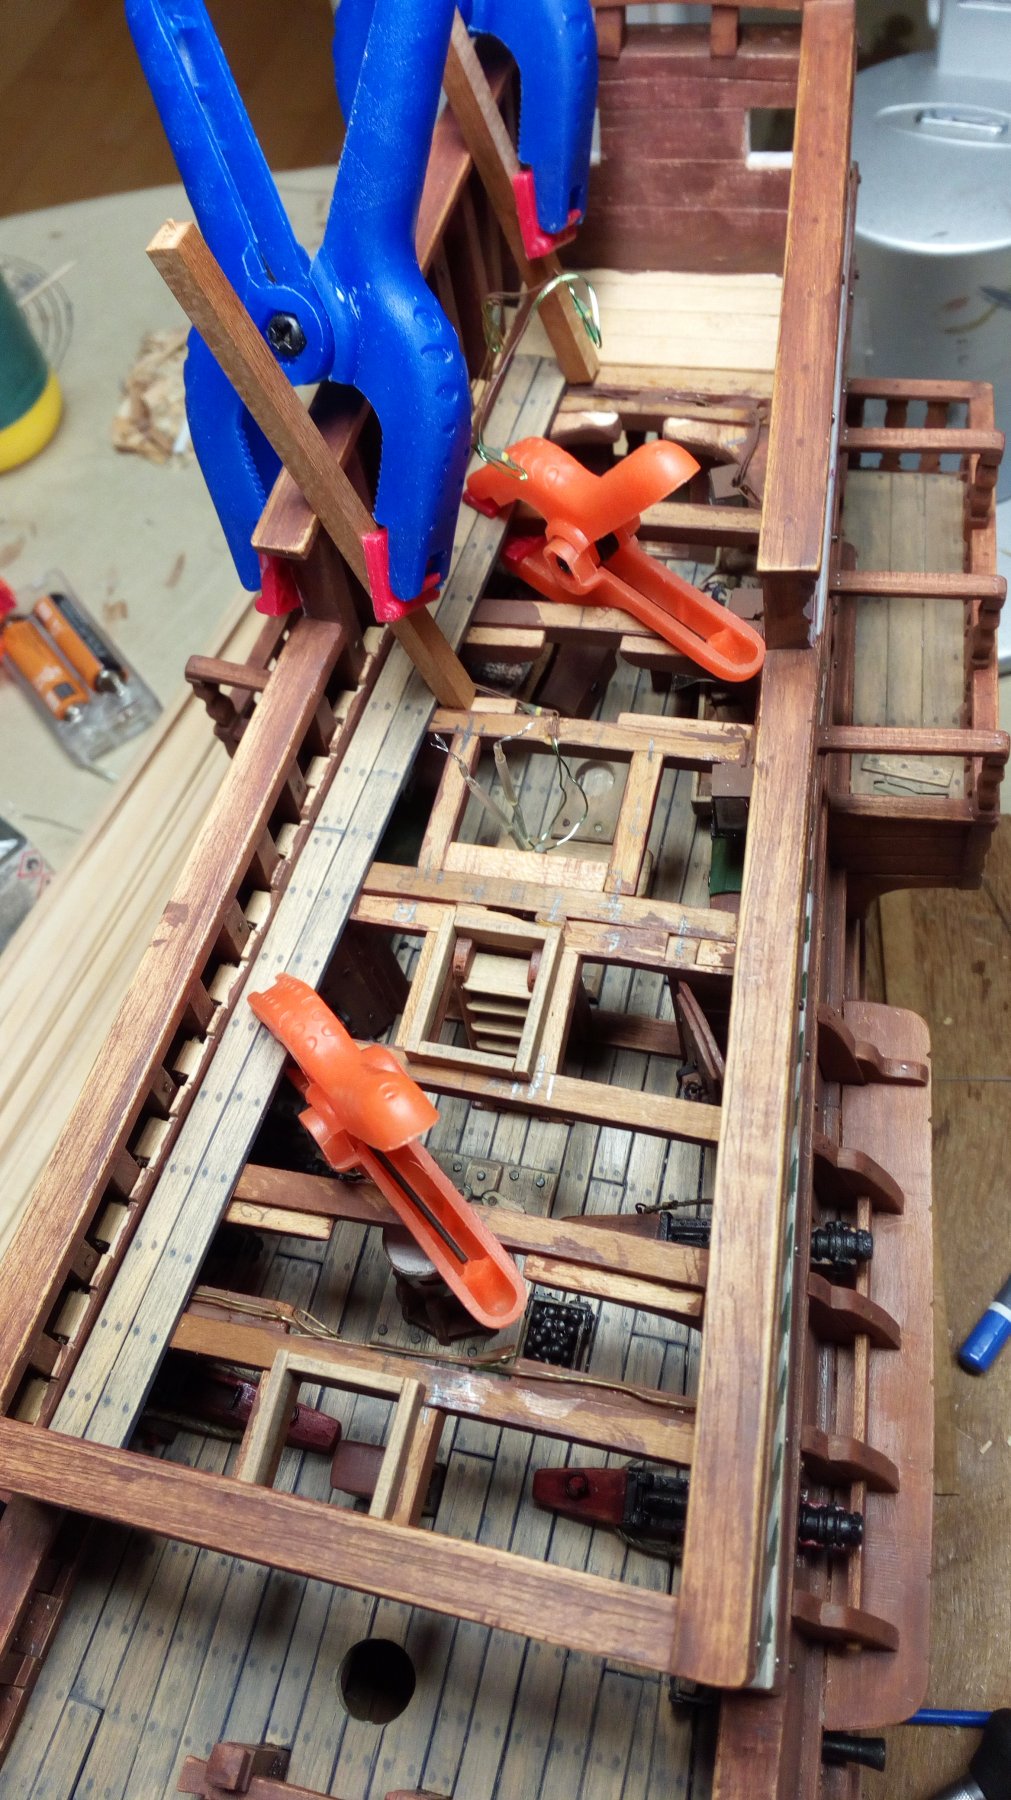
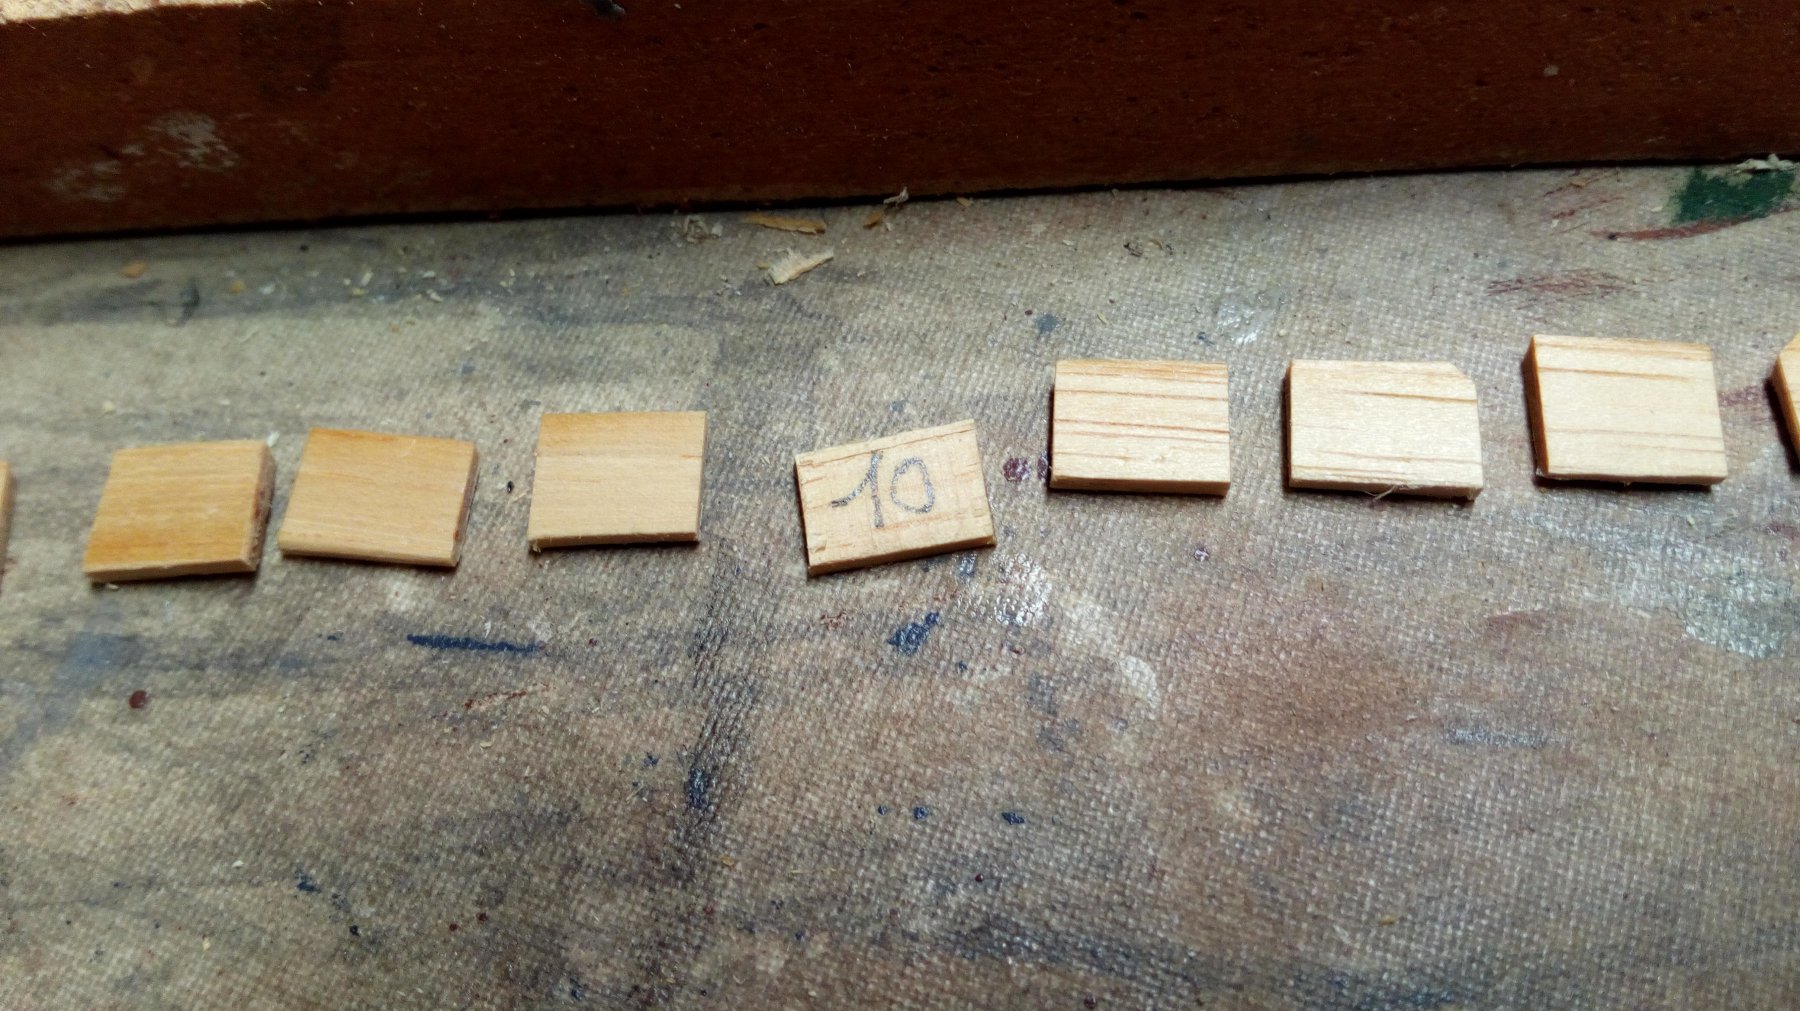
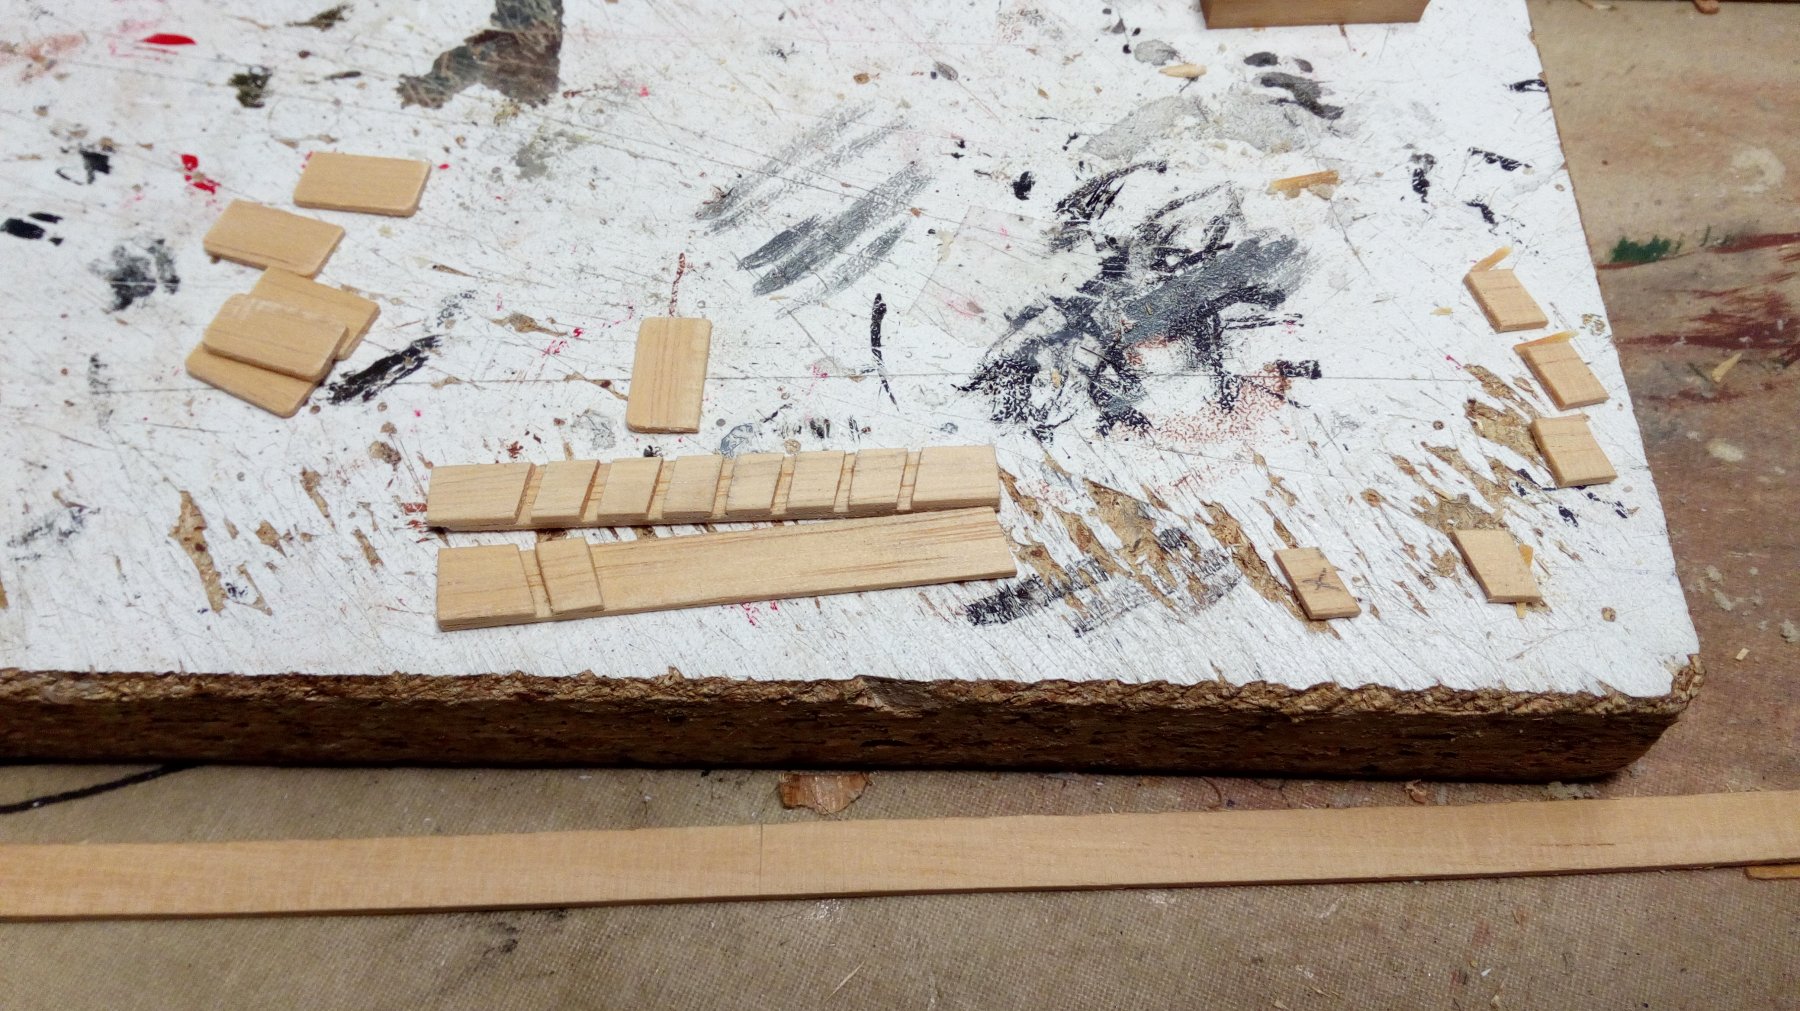
The holes between the frames are closed with small planks. These are first all made separately (and numbered) and then painted before assembly.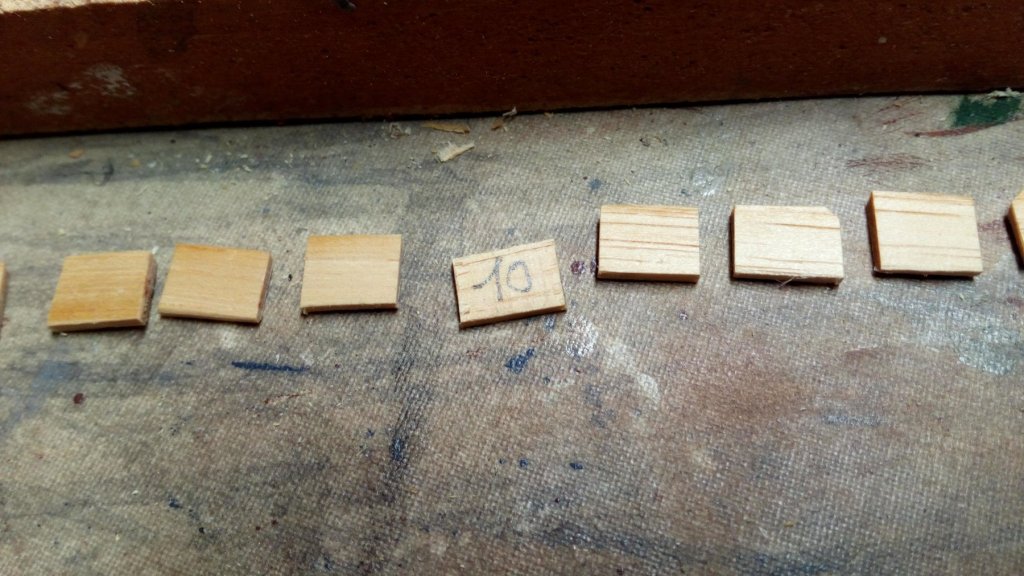

And the alignment of the "nails" in the deck planks is indeed not in line with the alignment of the deck beams.
But once the deck is completely planked, this error is no longer visible.
Thanks for following
- md1400cs, marktiedens, Barbossa and 6 others
-
 9
9
-
-
-
-
-
-
-
-
Hello,
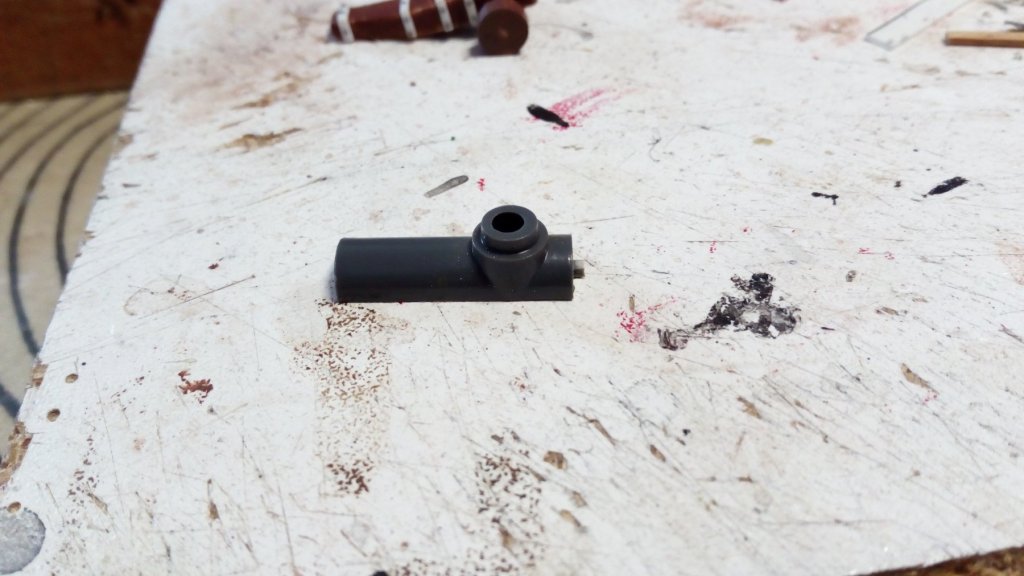
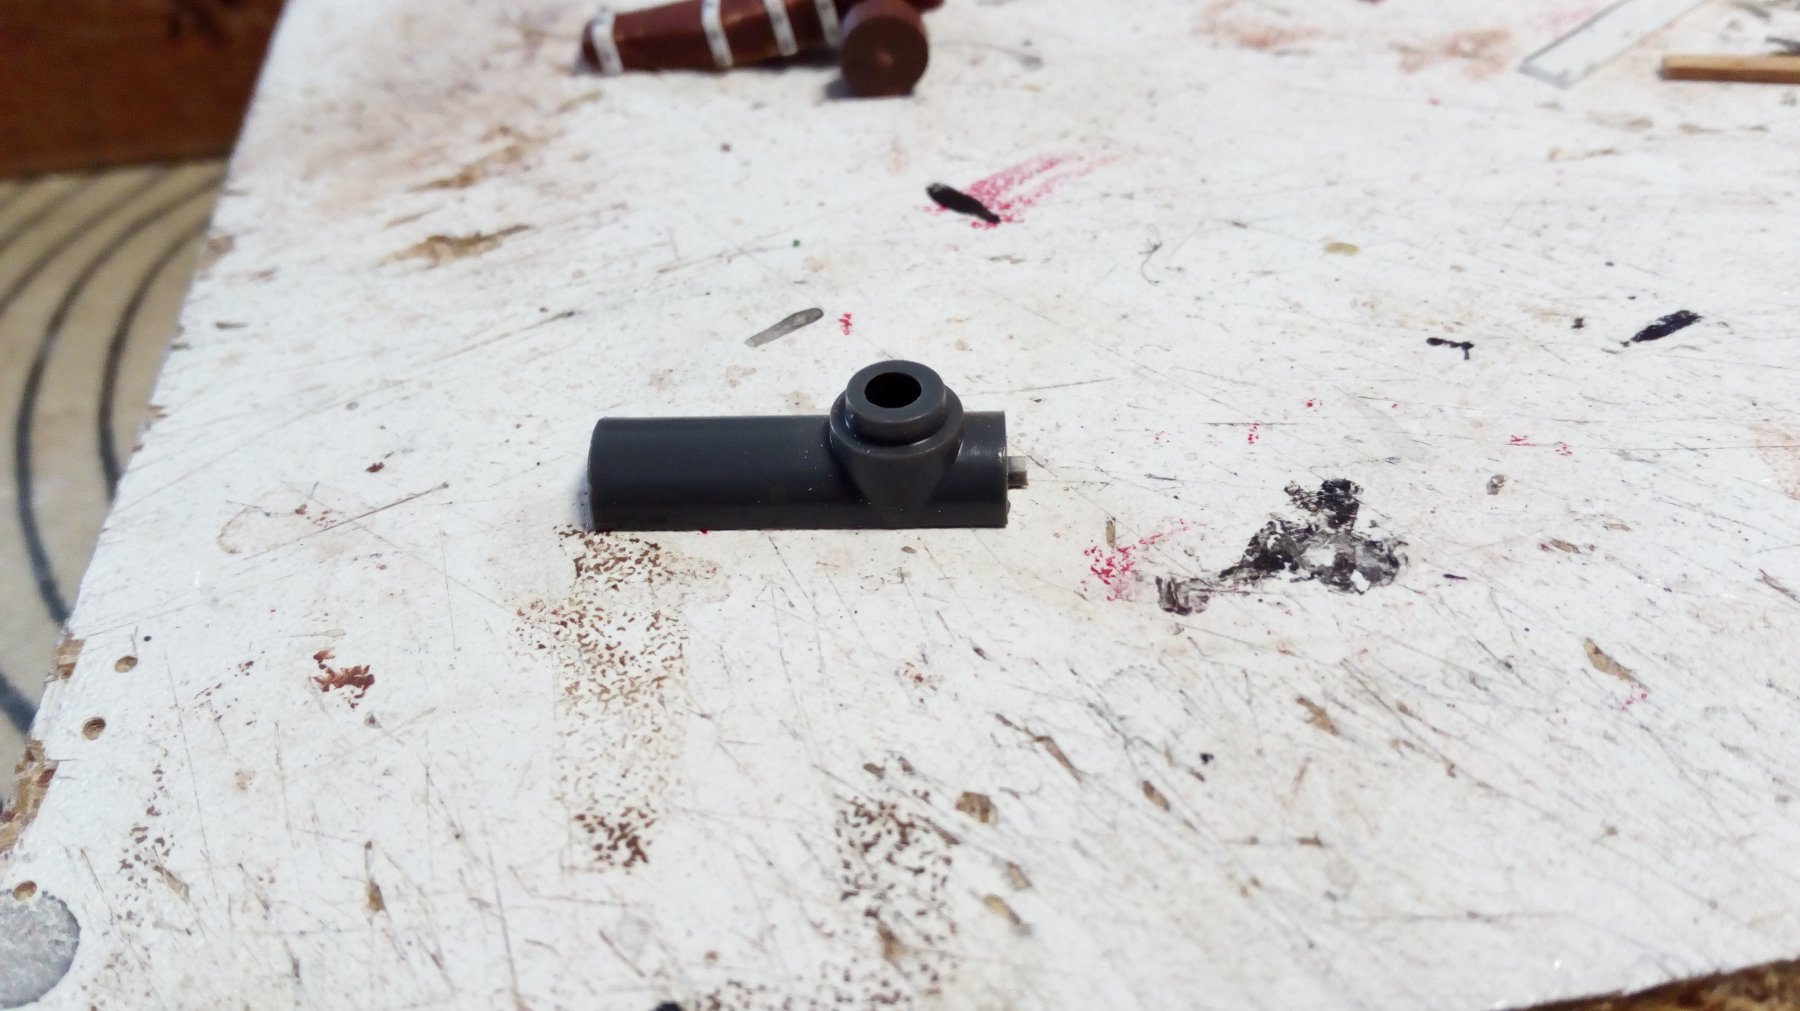
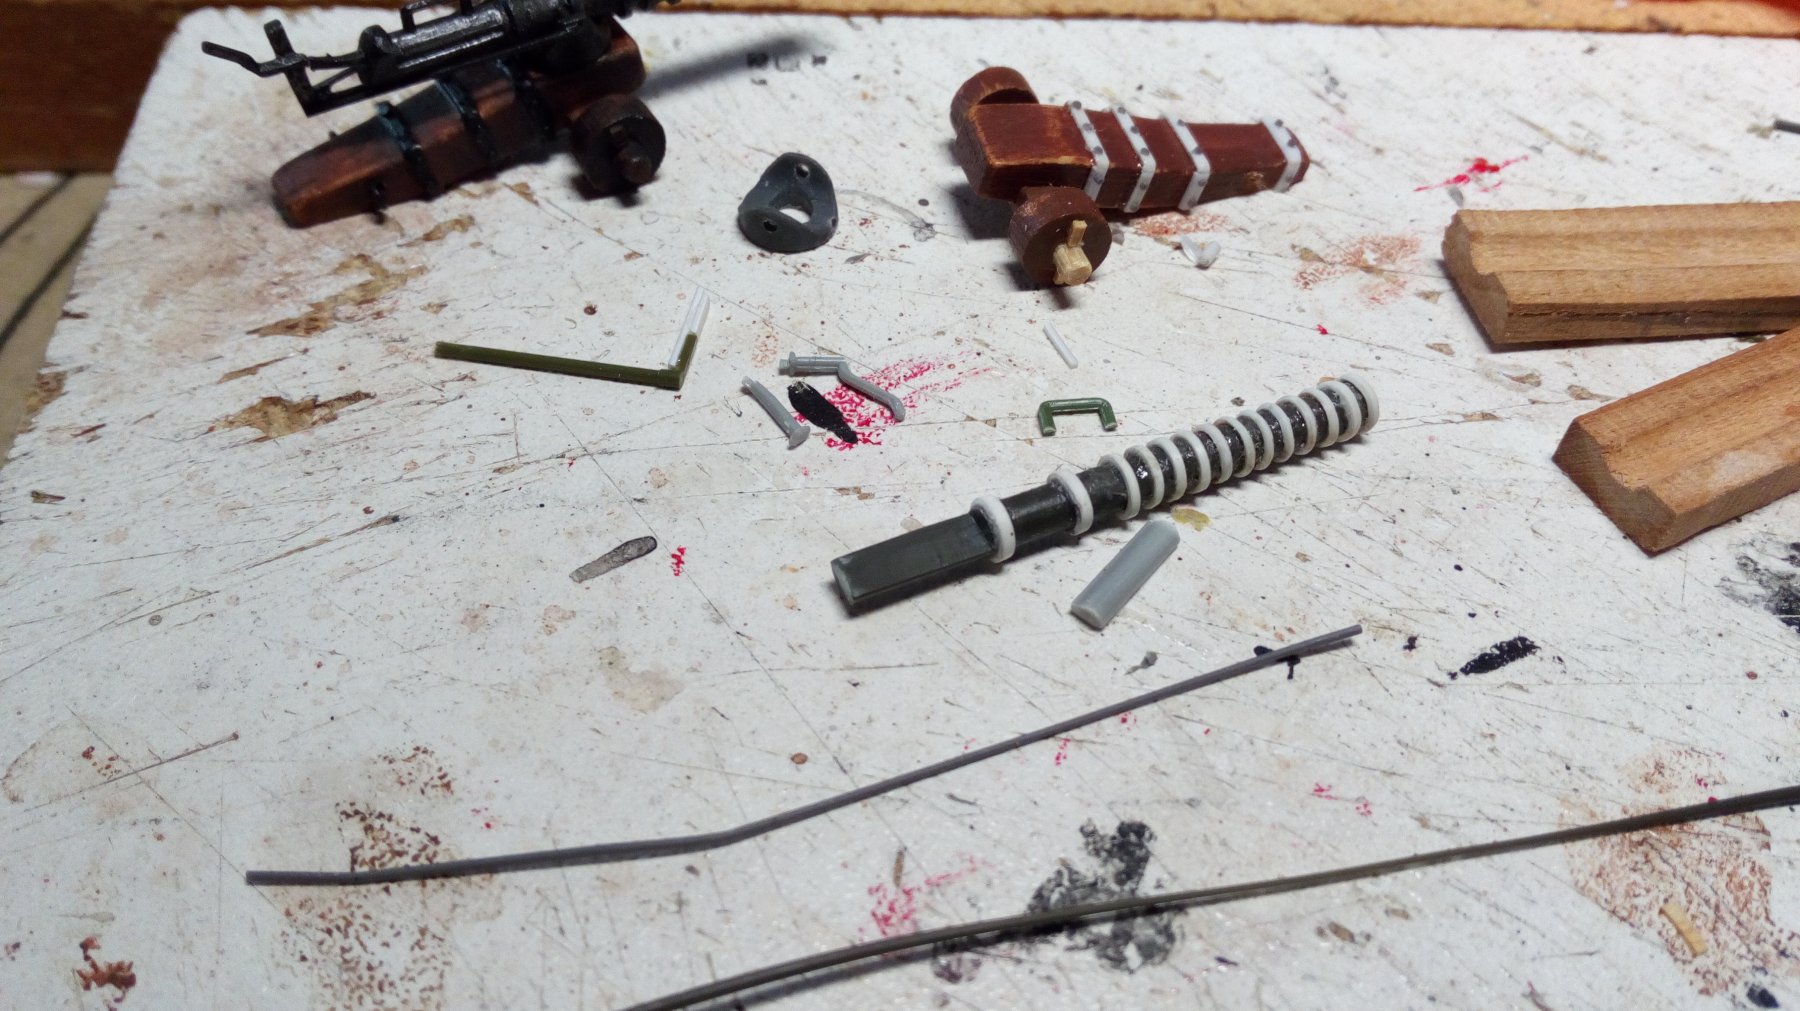
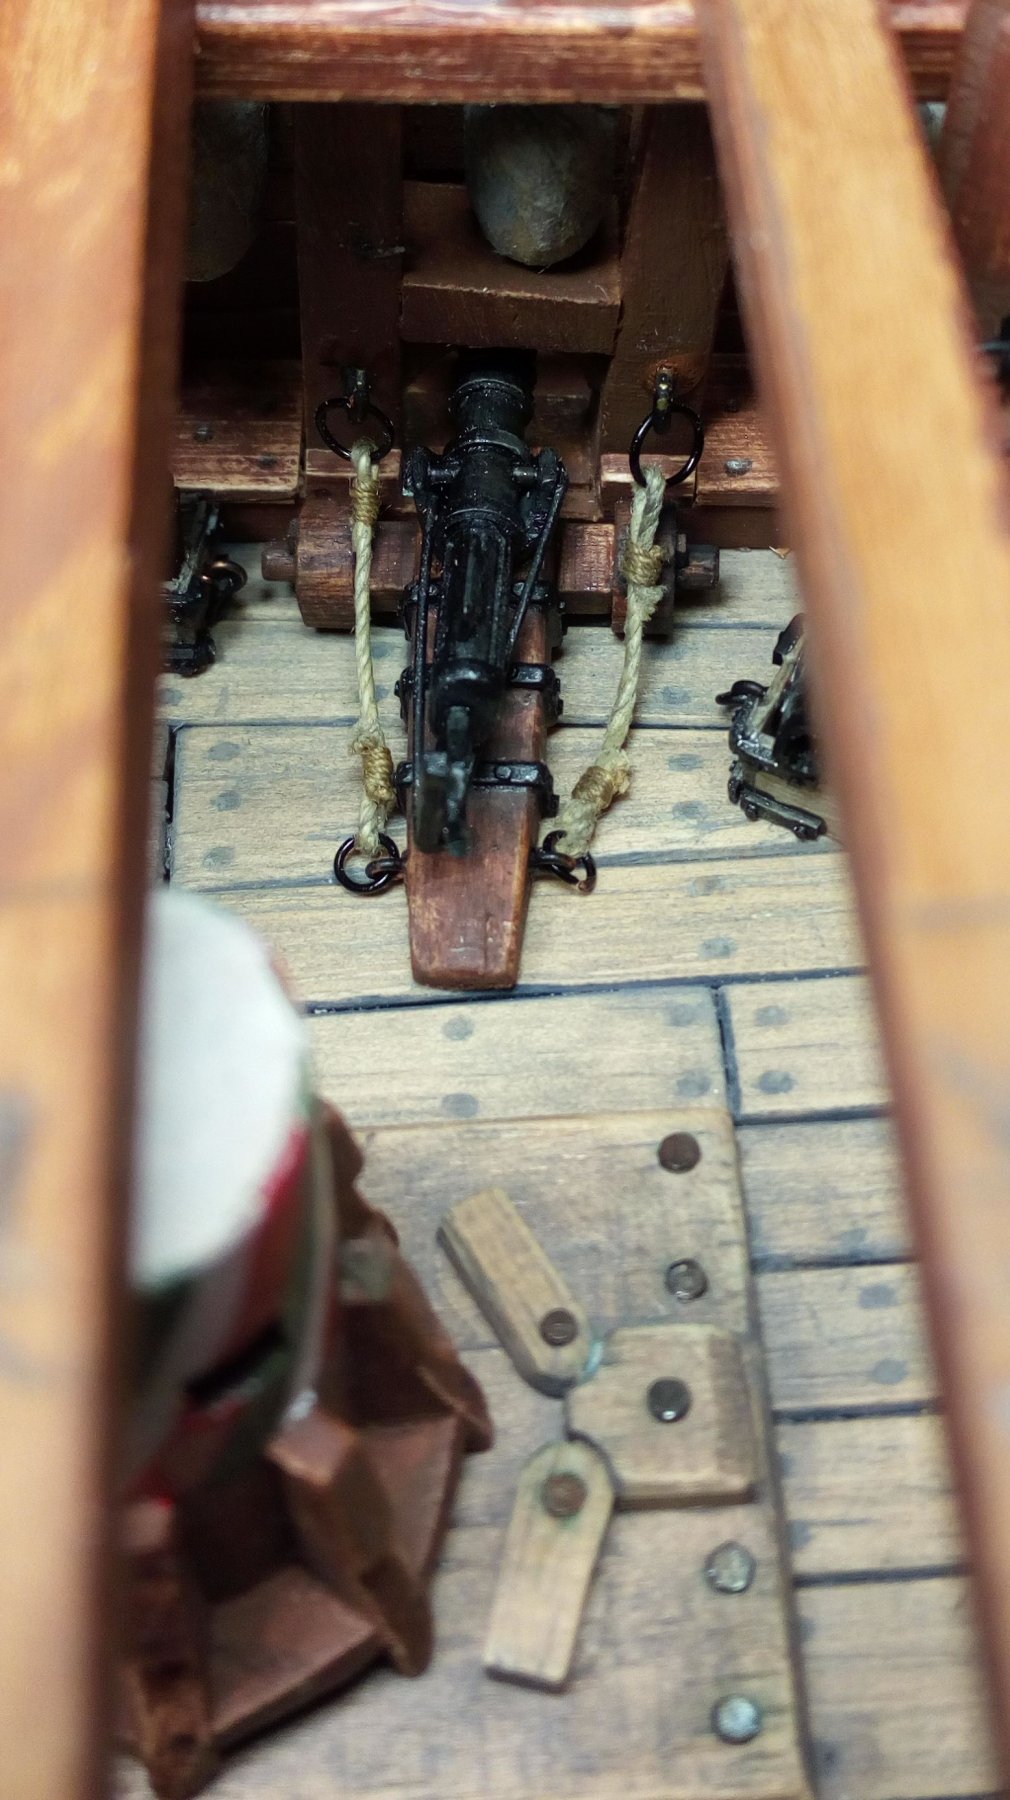
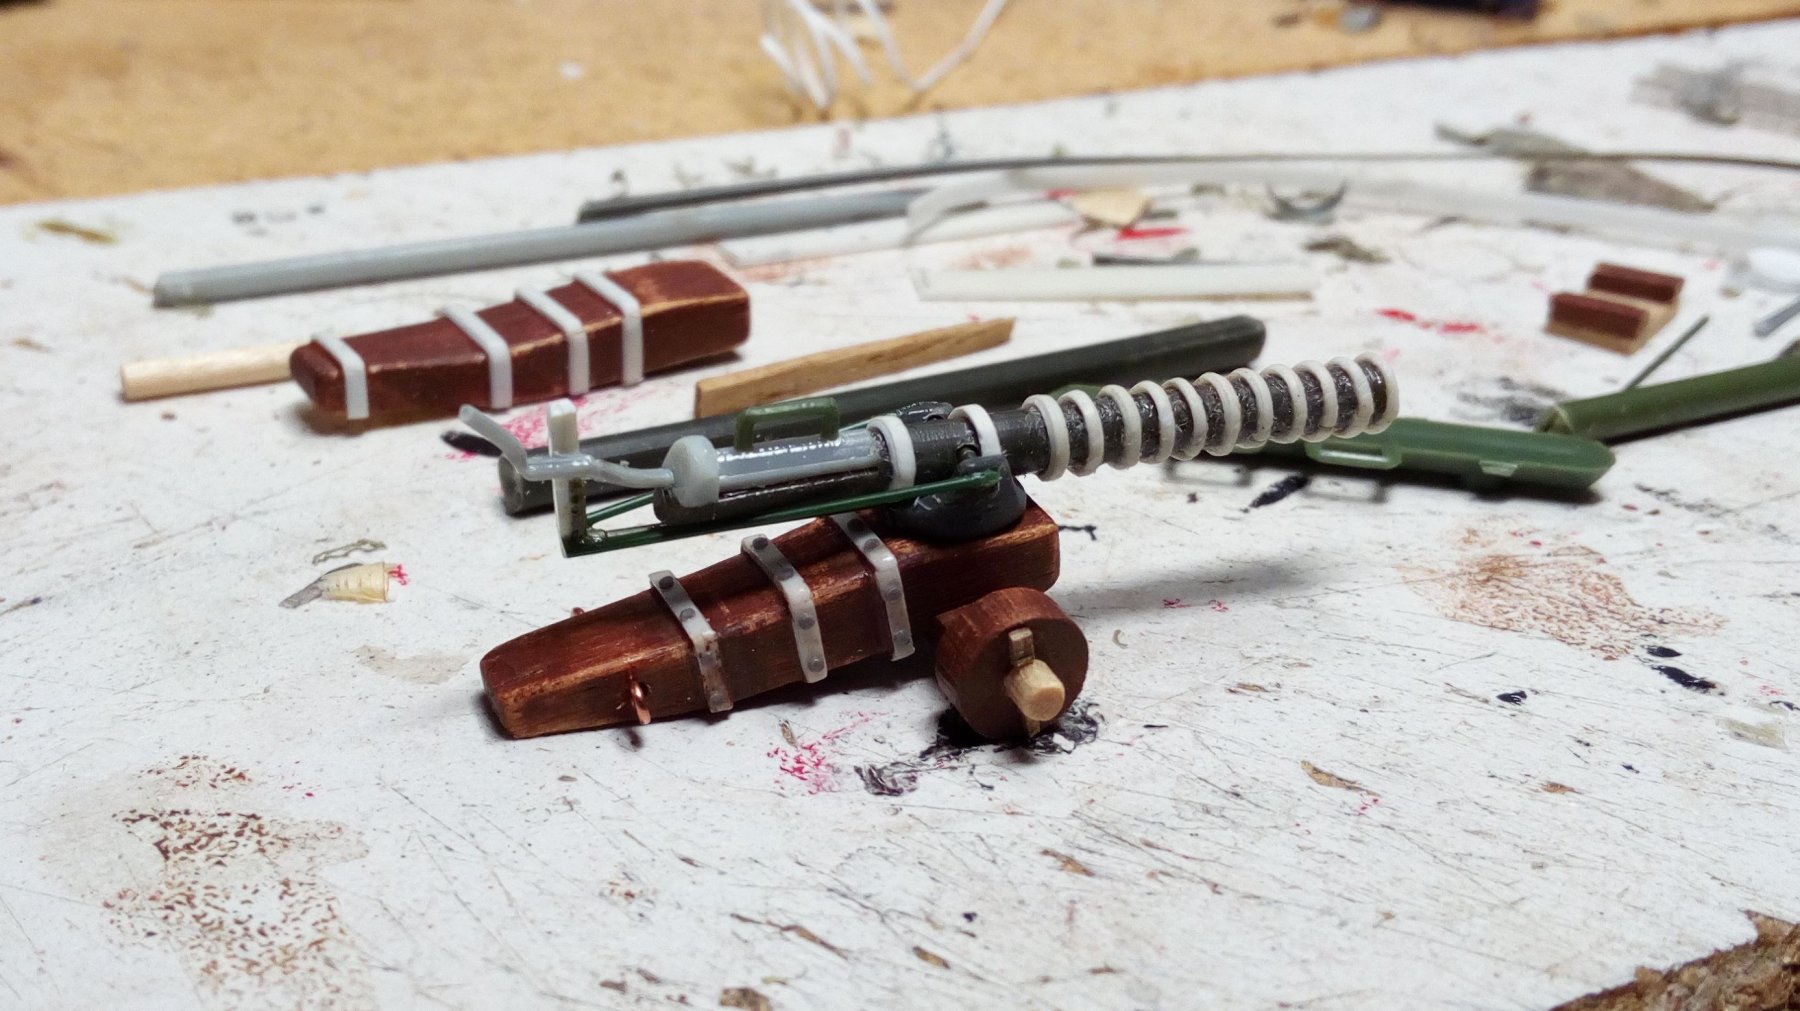
The 2nd cannon is ready. All plastic parts come from my military partsbox, plastic sprue and strips.

cannon installed, together with deck beams and knees.


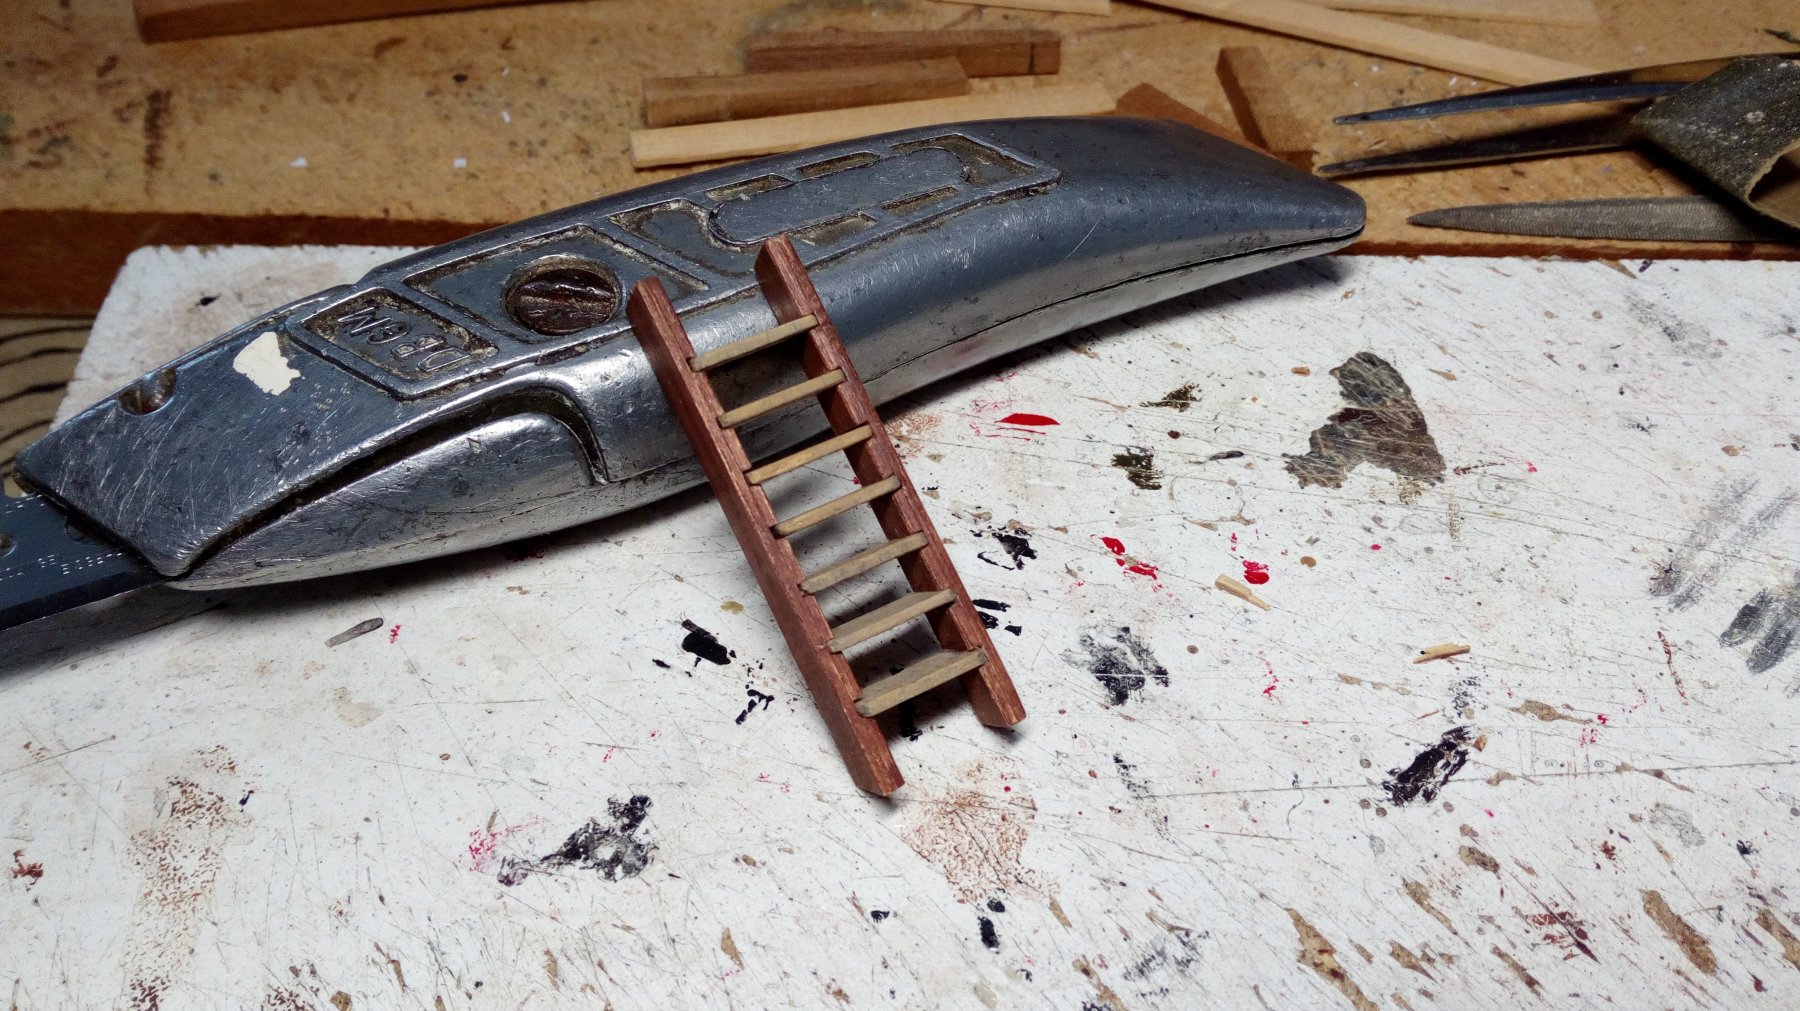
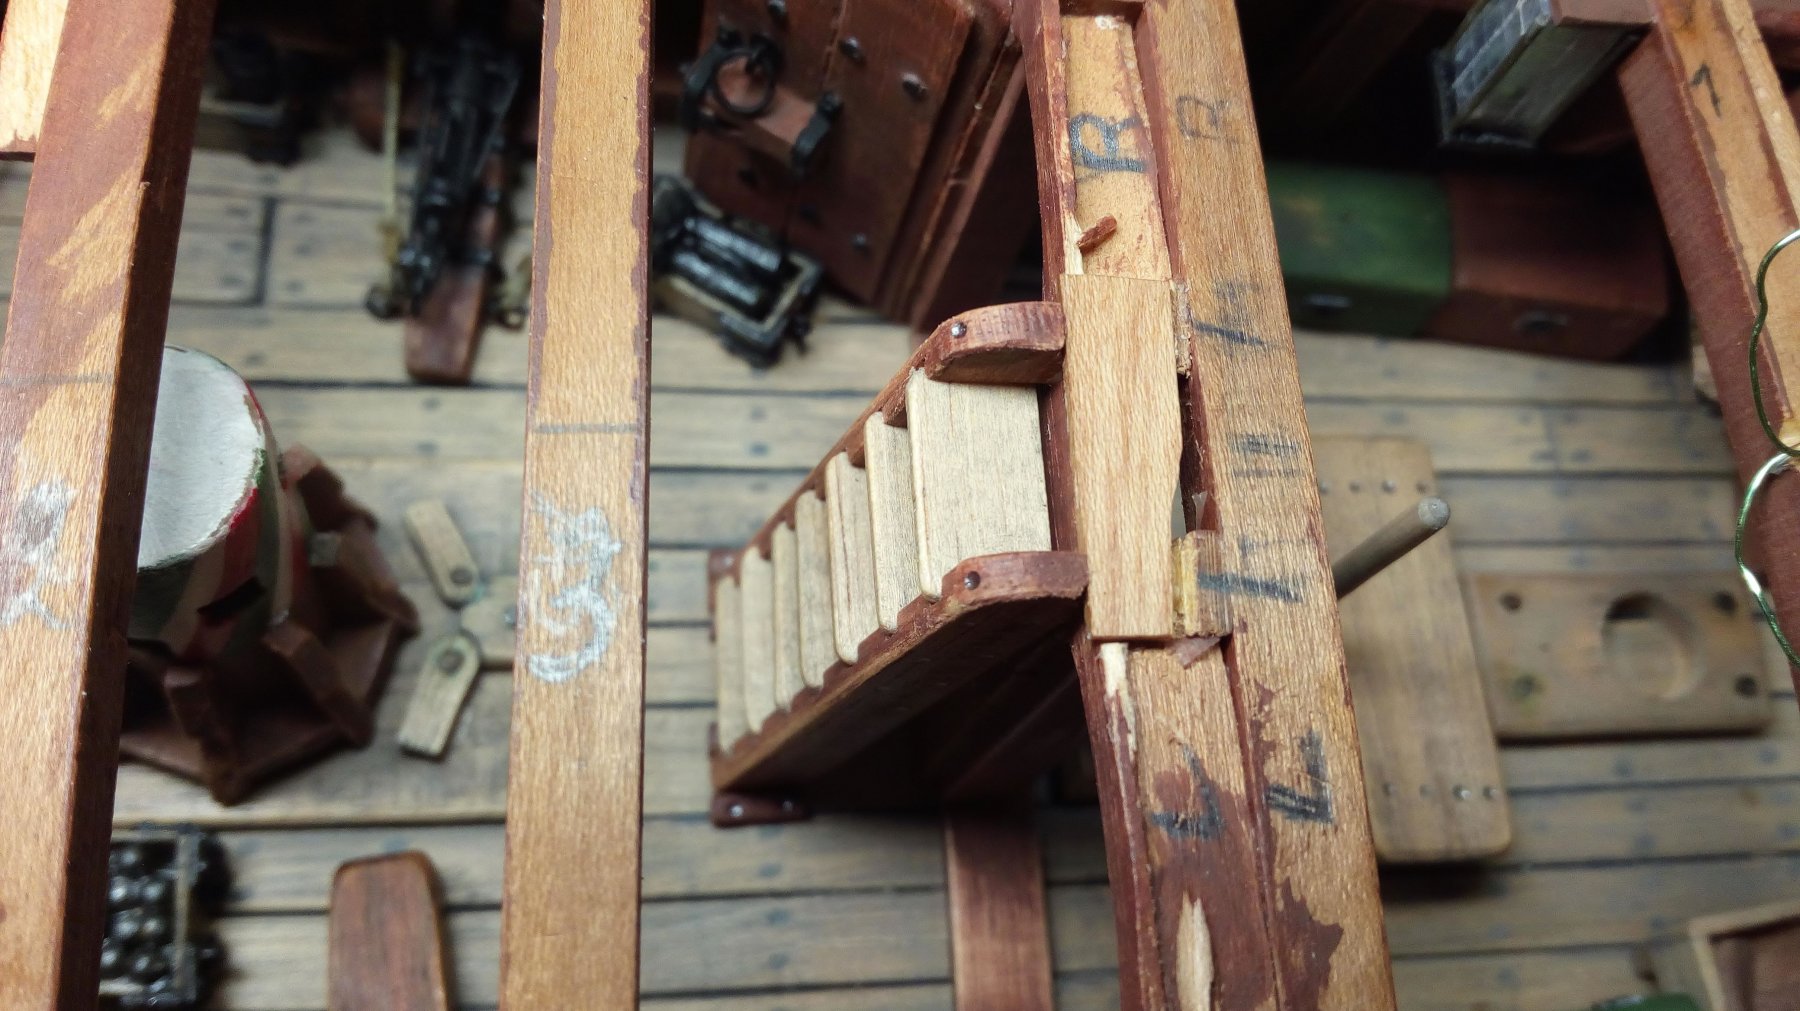
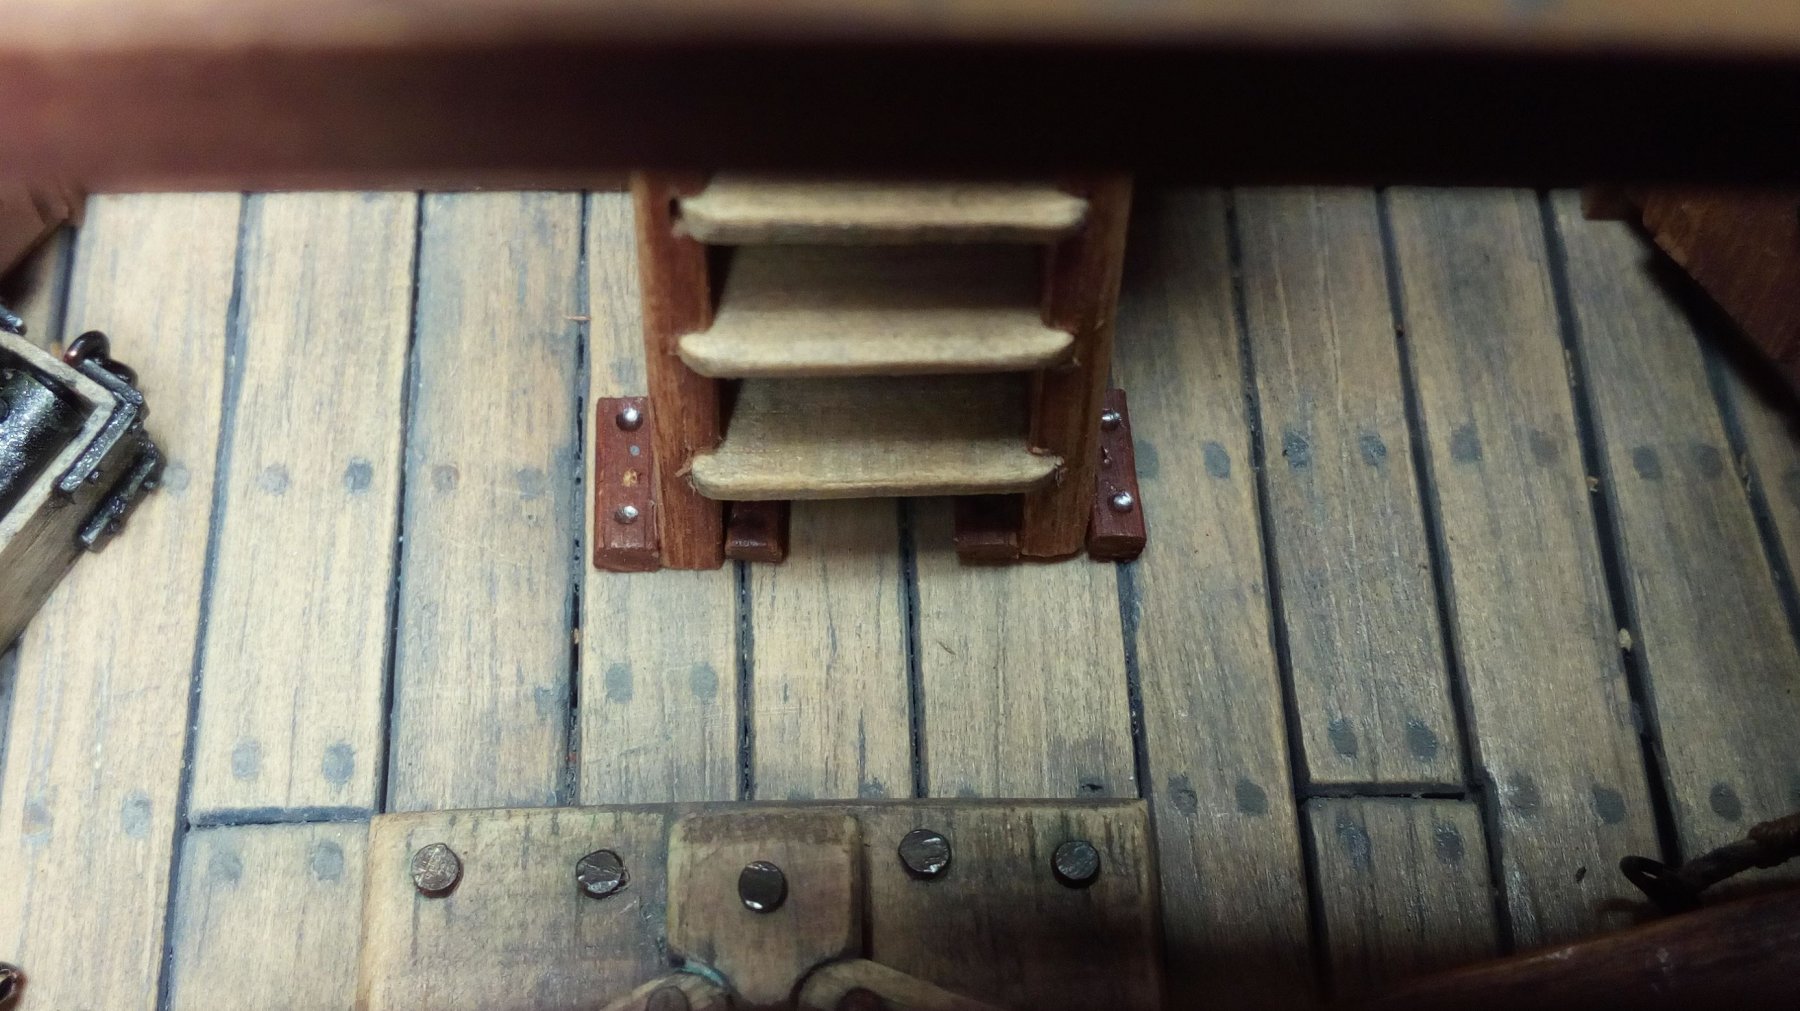
A ladder is also built. There is not much room left therefore she is placed between the 2 doors.


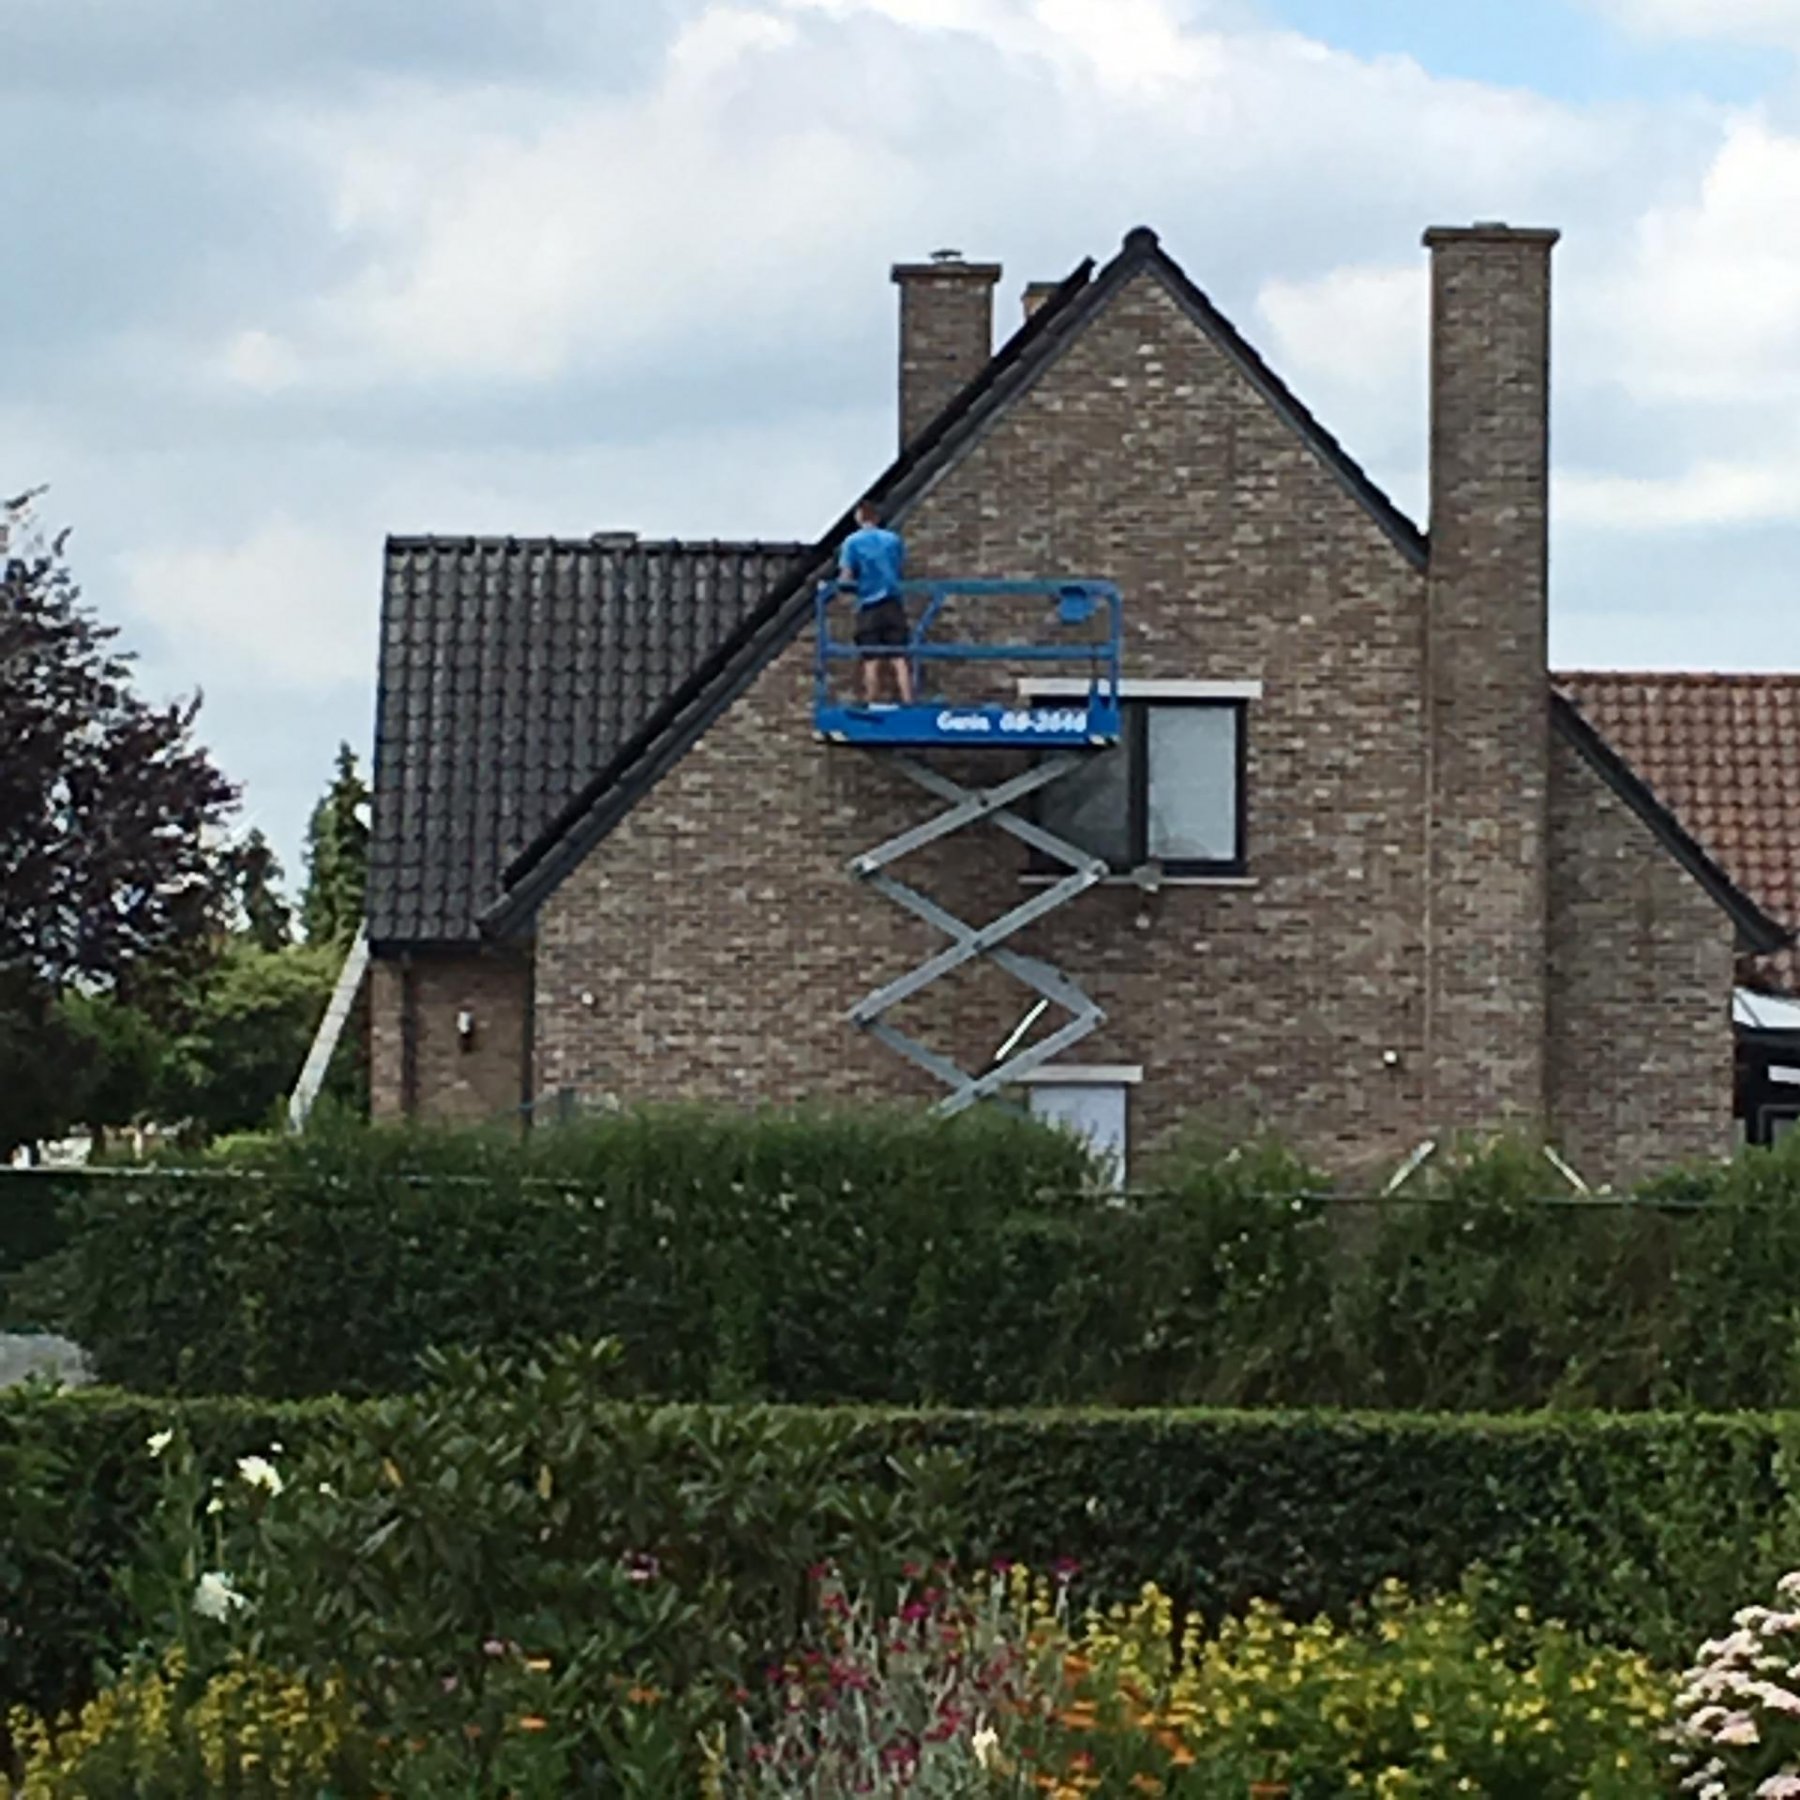
And: My painting job on the house is ready.
I don't like to work on a ladder, i start sweating and get the shaking in my legs. ( Dutch : Ik begin dan te zweten en krijg dan de bibber in de benen ).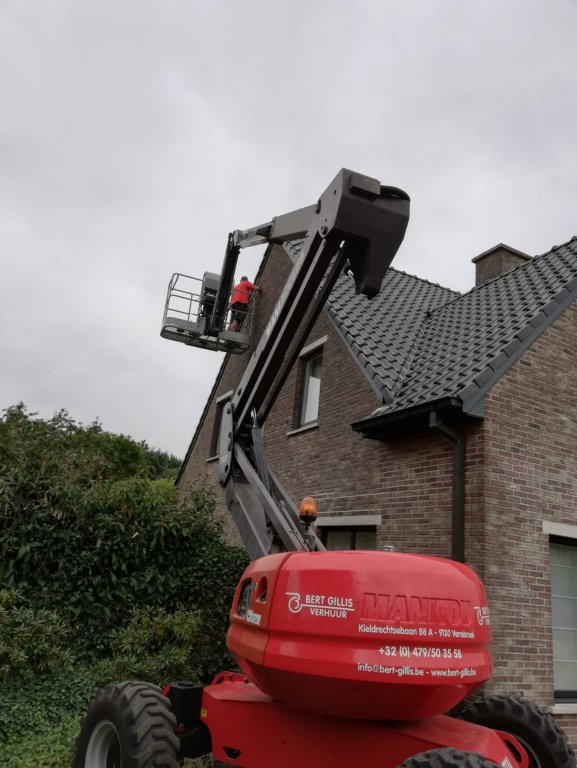
Thanks for following
-
Nice workplace.
You still have many models to build.
- popeye the sailor, mtaylor, Jörgen and 2 others
-
5
-
Very beautiful models

- Jörgen, Old Collingwood, Canute and 5 others
-
8
-
-
-
Good idea to start with a small model.
Greetings, and welcome to MSW
- JeffT, mtaylor and Jonathas Costa
-
3
-
-
Thanks for the nice comments.
I actually wanted to make wooden spoked wheels. In plastic this was possible, but in wood this was beyond my skills.
Meanwhile : Backer is busy painting on the house

A nice view from a height of about 8 meters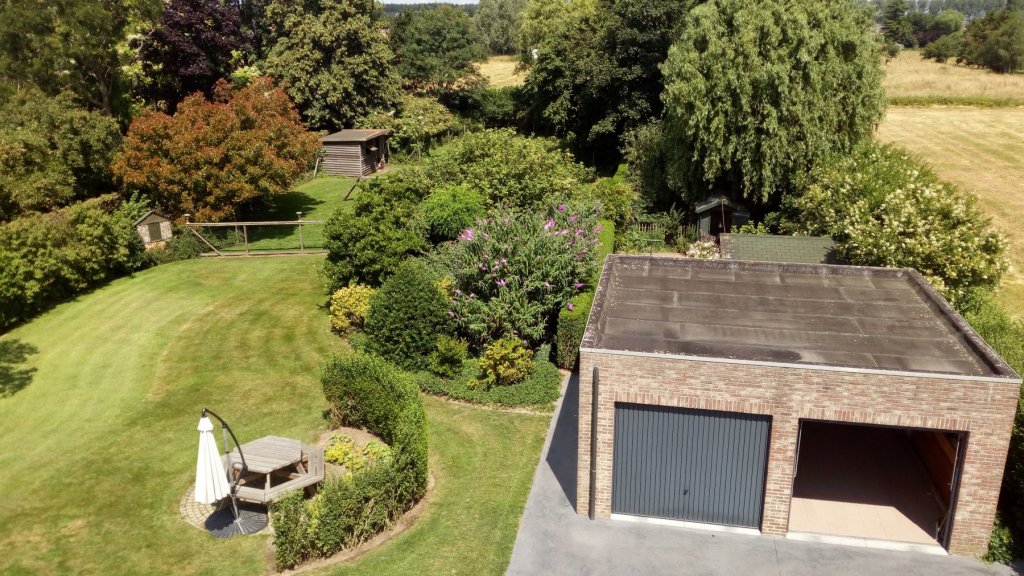
- G.L., GrandpaPhil, Barbossa and 4 others
-
7
-
-
-
-
Thanks Marcus
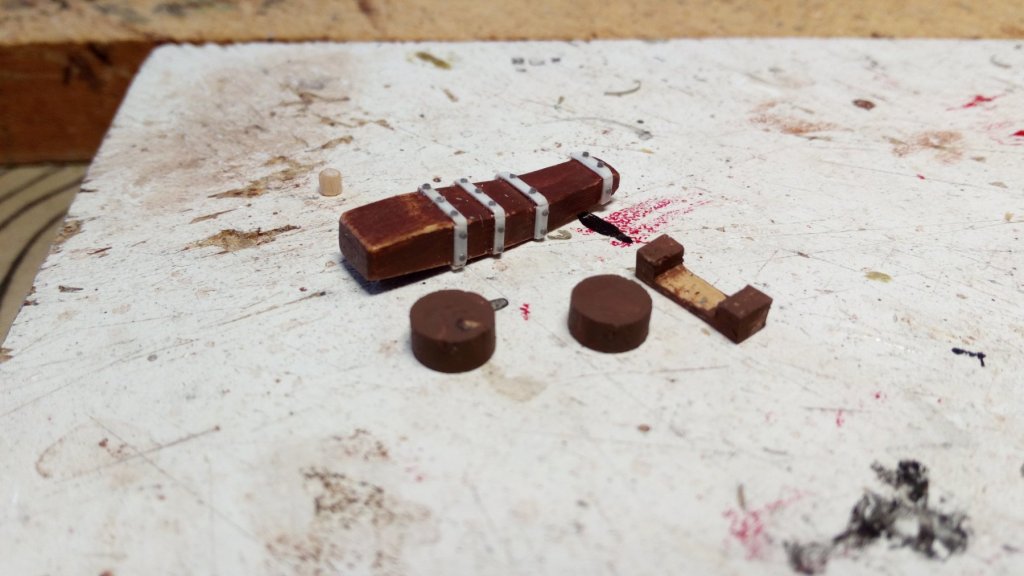
After a few weeks of silence, a very short update (it is currently a little to hot to do anything)
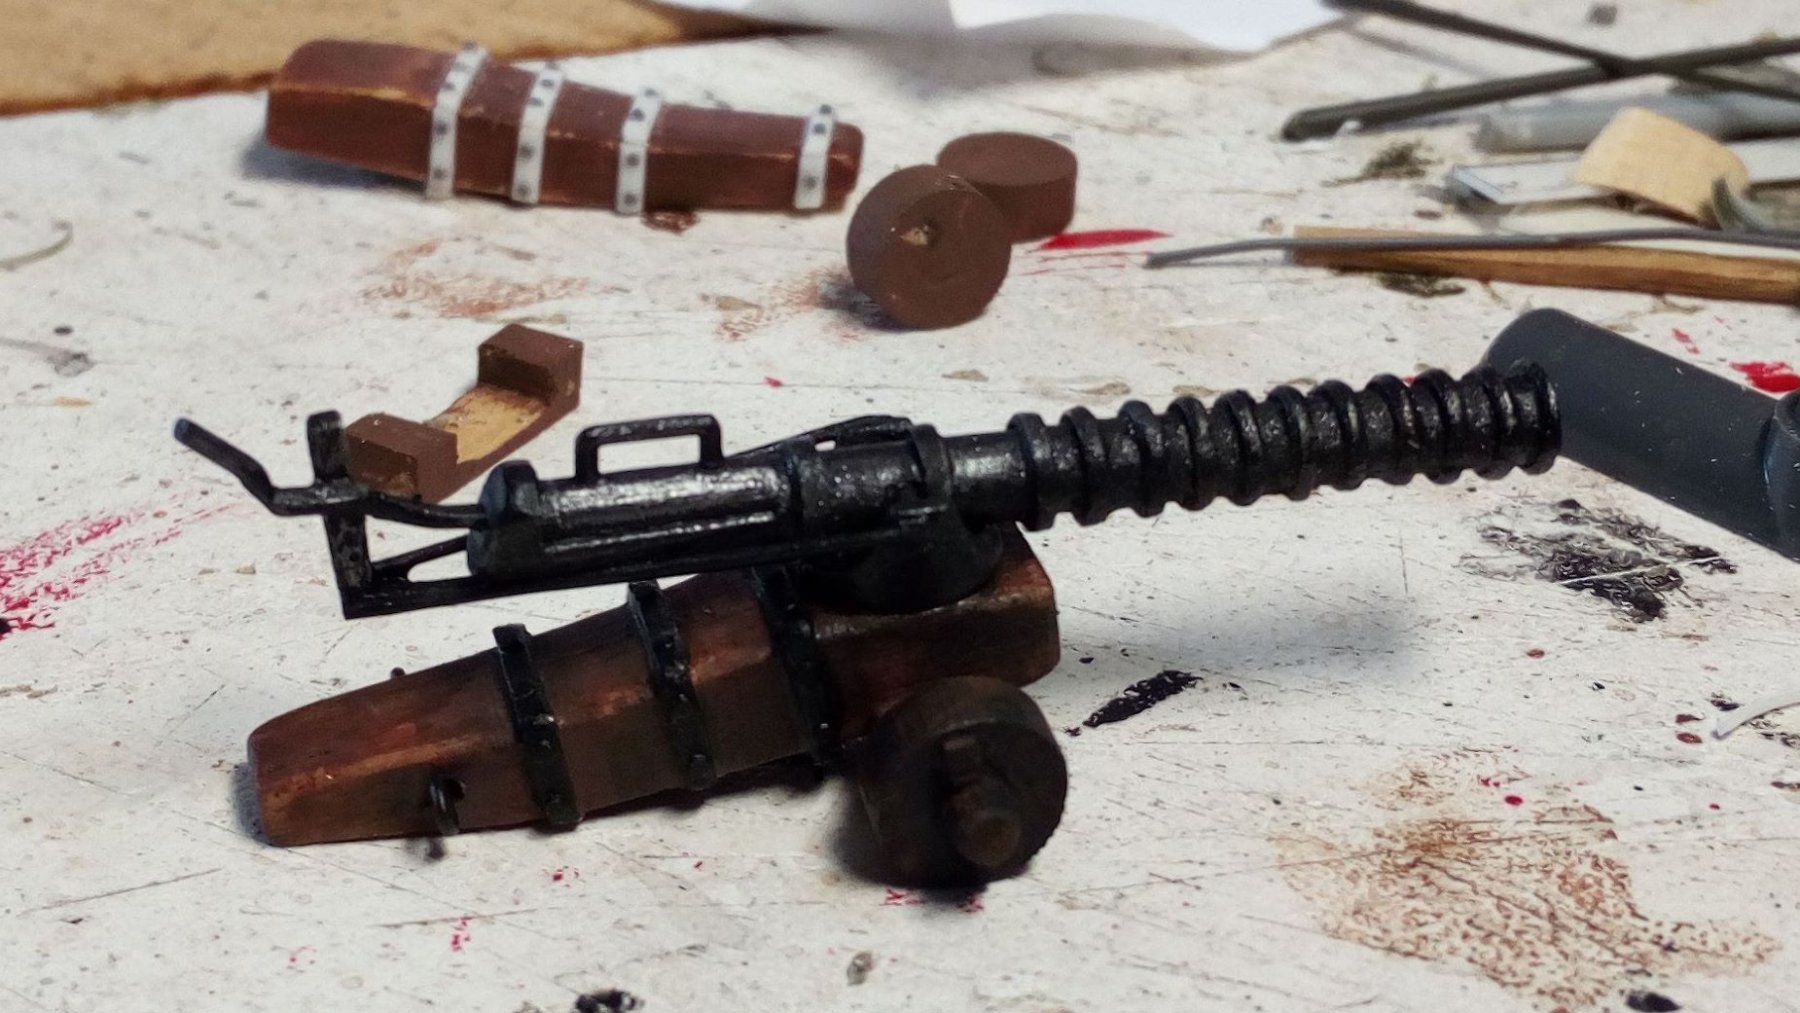
I finally succeeded in making one cannon (after a few failures) I'm going to make another identical cannon to place in the forecastle. A construction method of this second cannon will follow later.Unpainted cannon

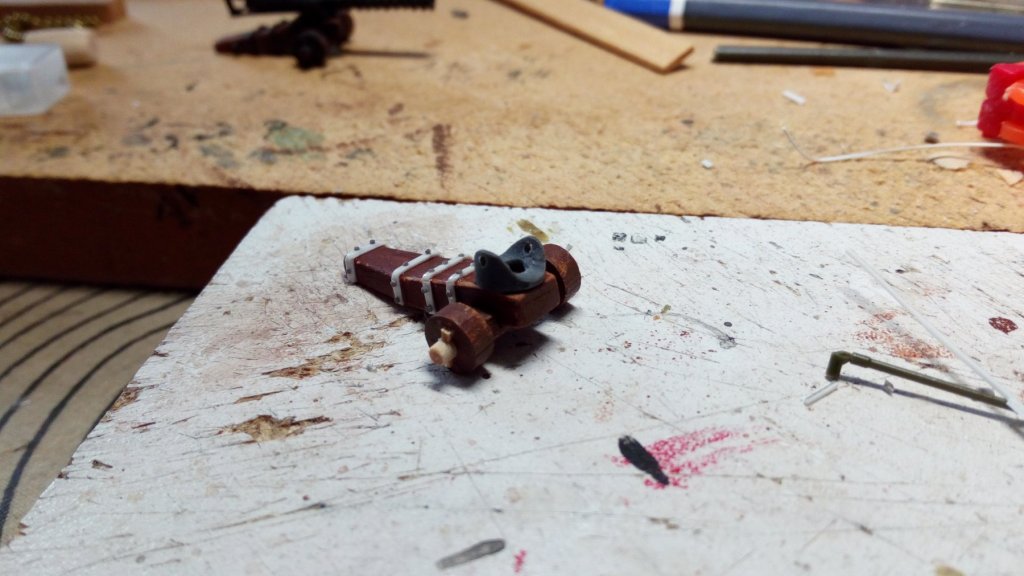
painted cannon
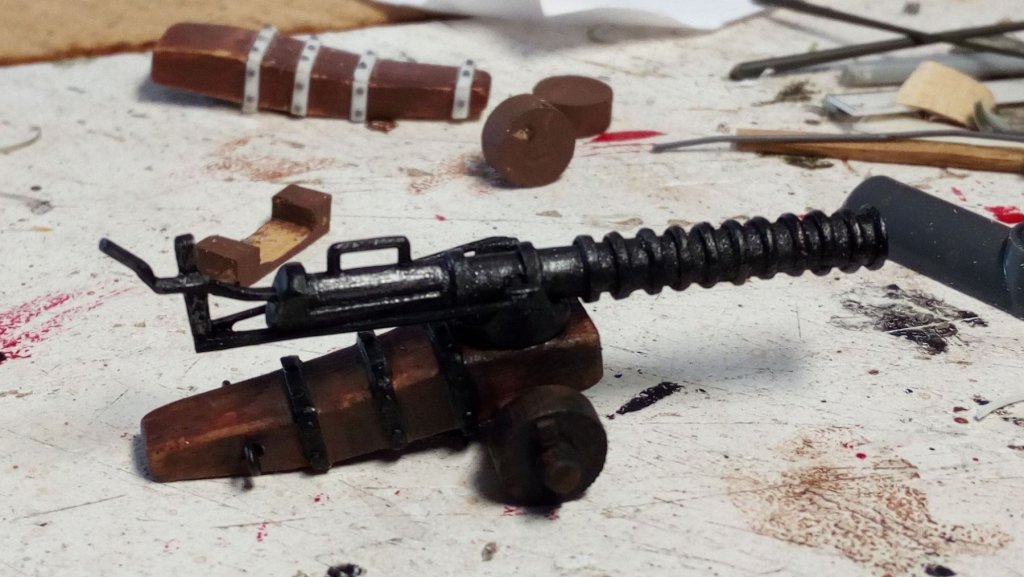
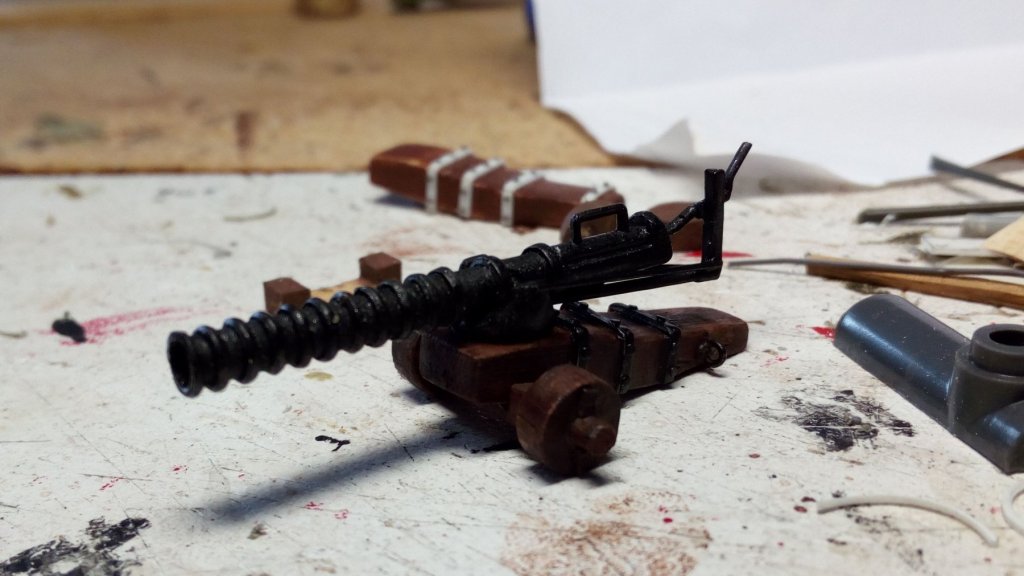
Thanks for following
- EricWilliamMarshall, luponero, cog and 7 others
-
10
-
just this answer: an emoji
- FriedClams, mtaylor, G.L. and 1 other
-
4
-
-


anchor rigging
in Masting, rigging and sails
Posted
My idea
The cable goes through hawse hole n° 33, is attached to n° 40 and is stored in the cable tier n° 25 (And certainly not use a chain)
Photo and info from the book "Galleon The great ships of the armada era" by Peter Kirsch.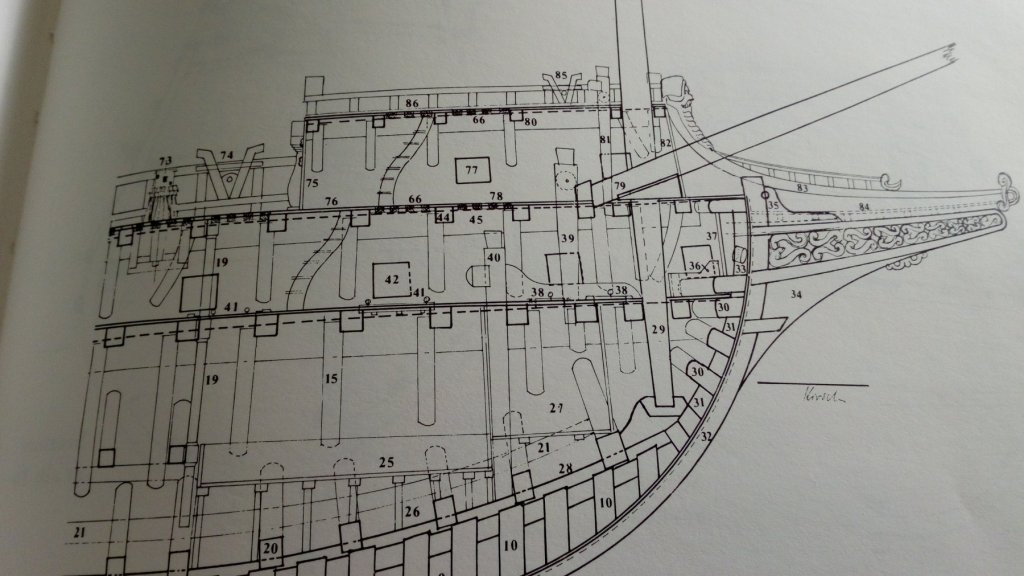
And on my 16th century English Galleon Golden Hind. The 2 cables of the anchors will "disappear" in the 2 holes in the hatch.