


Baker
-
Posts
4,134 -
Joined
-
Last visited
Content Type
Profiles
Forums
Gallery
Events
Posts posted by Baker
-
-
Nice model
Great work with the stretched sprue for gap filling
-
-
Belgian triple (beer) and a lot of free time.

- peveka, pontiachedmark, thibaultron and 3 others
-
 6
6
-
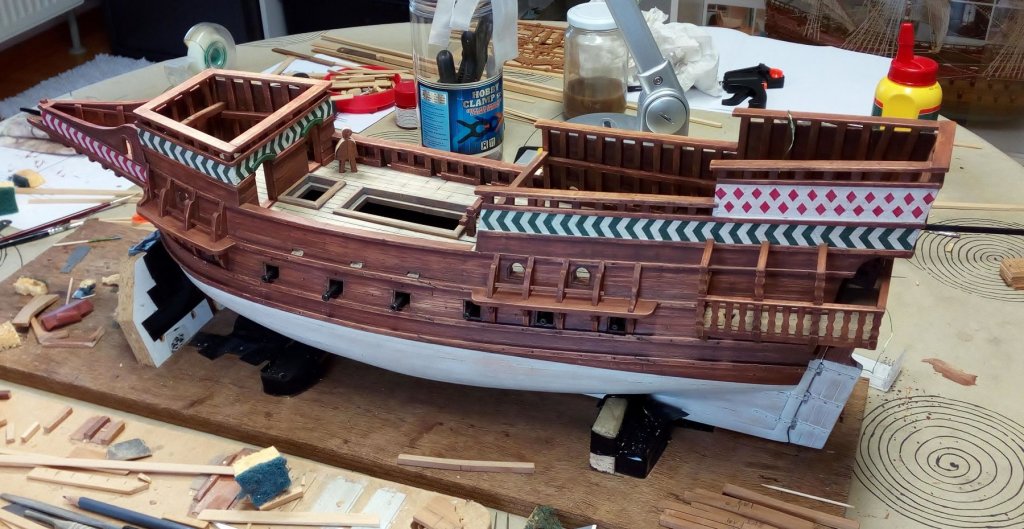
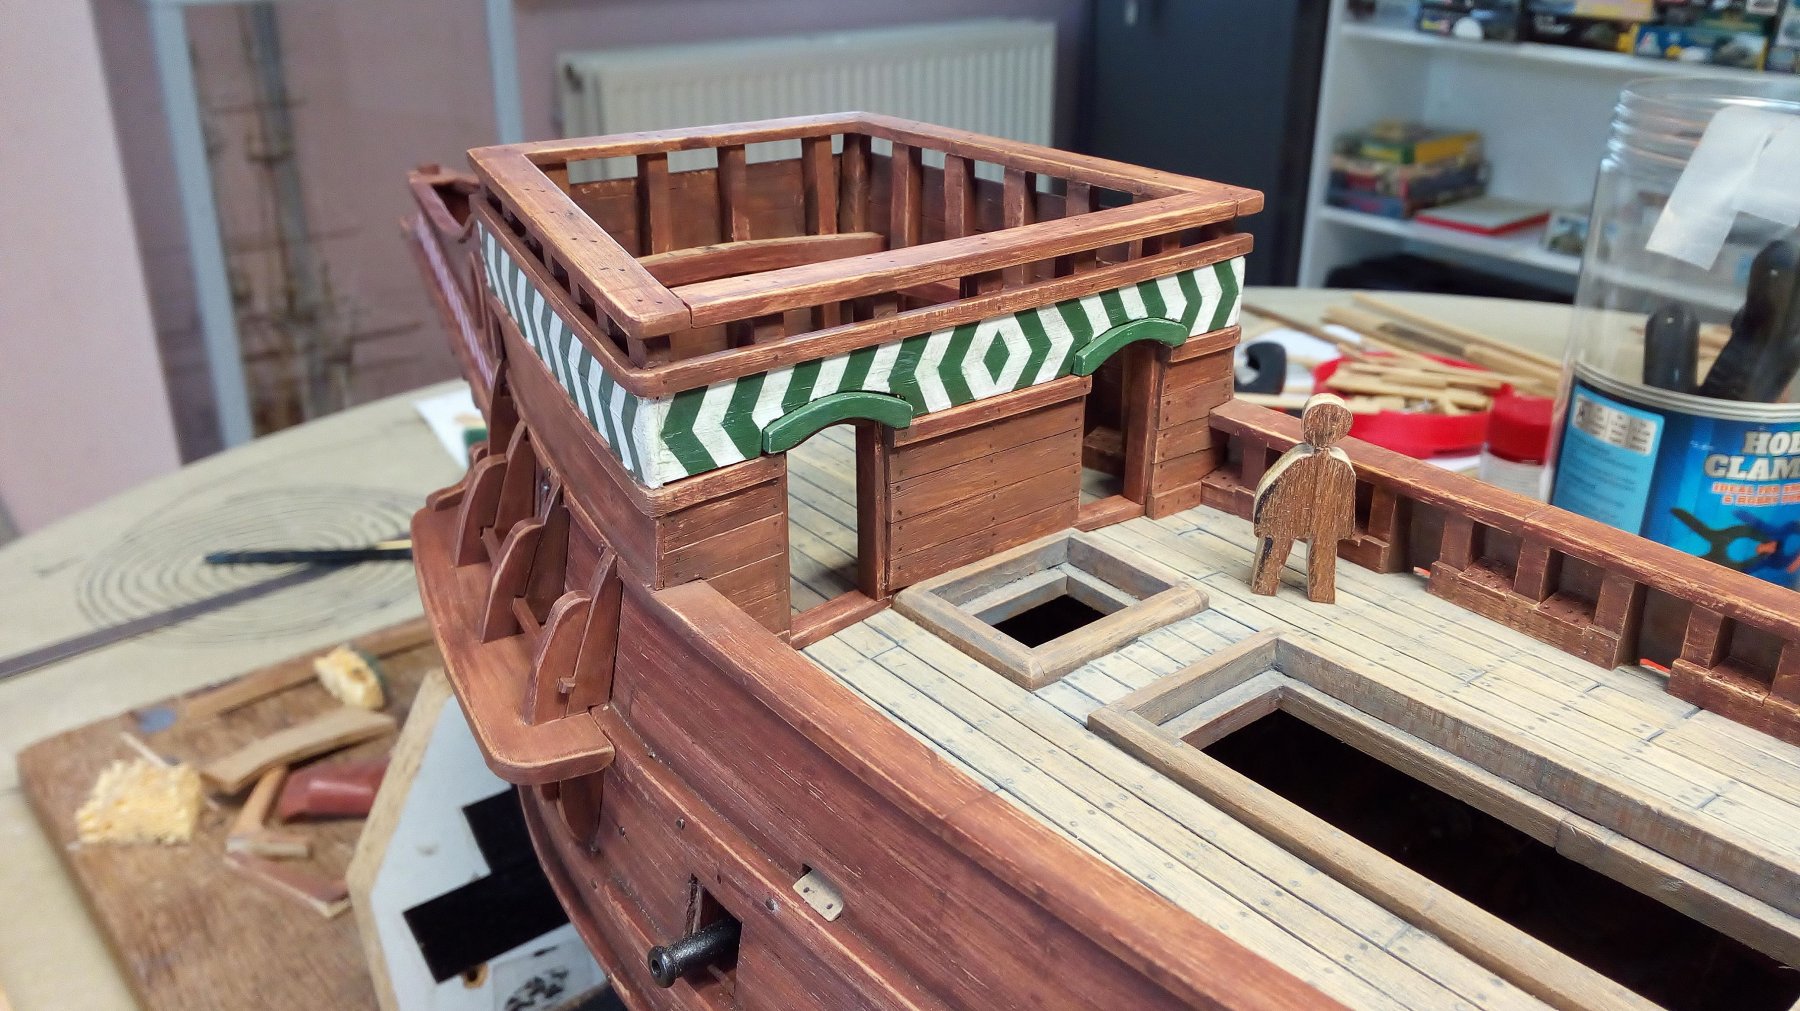
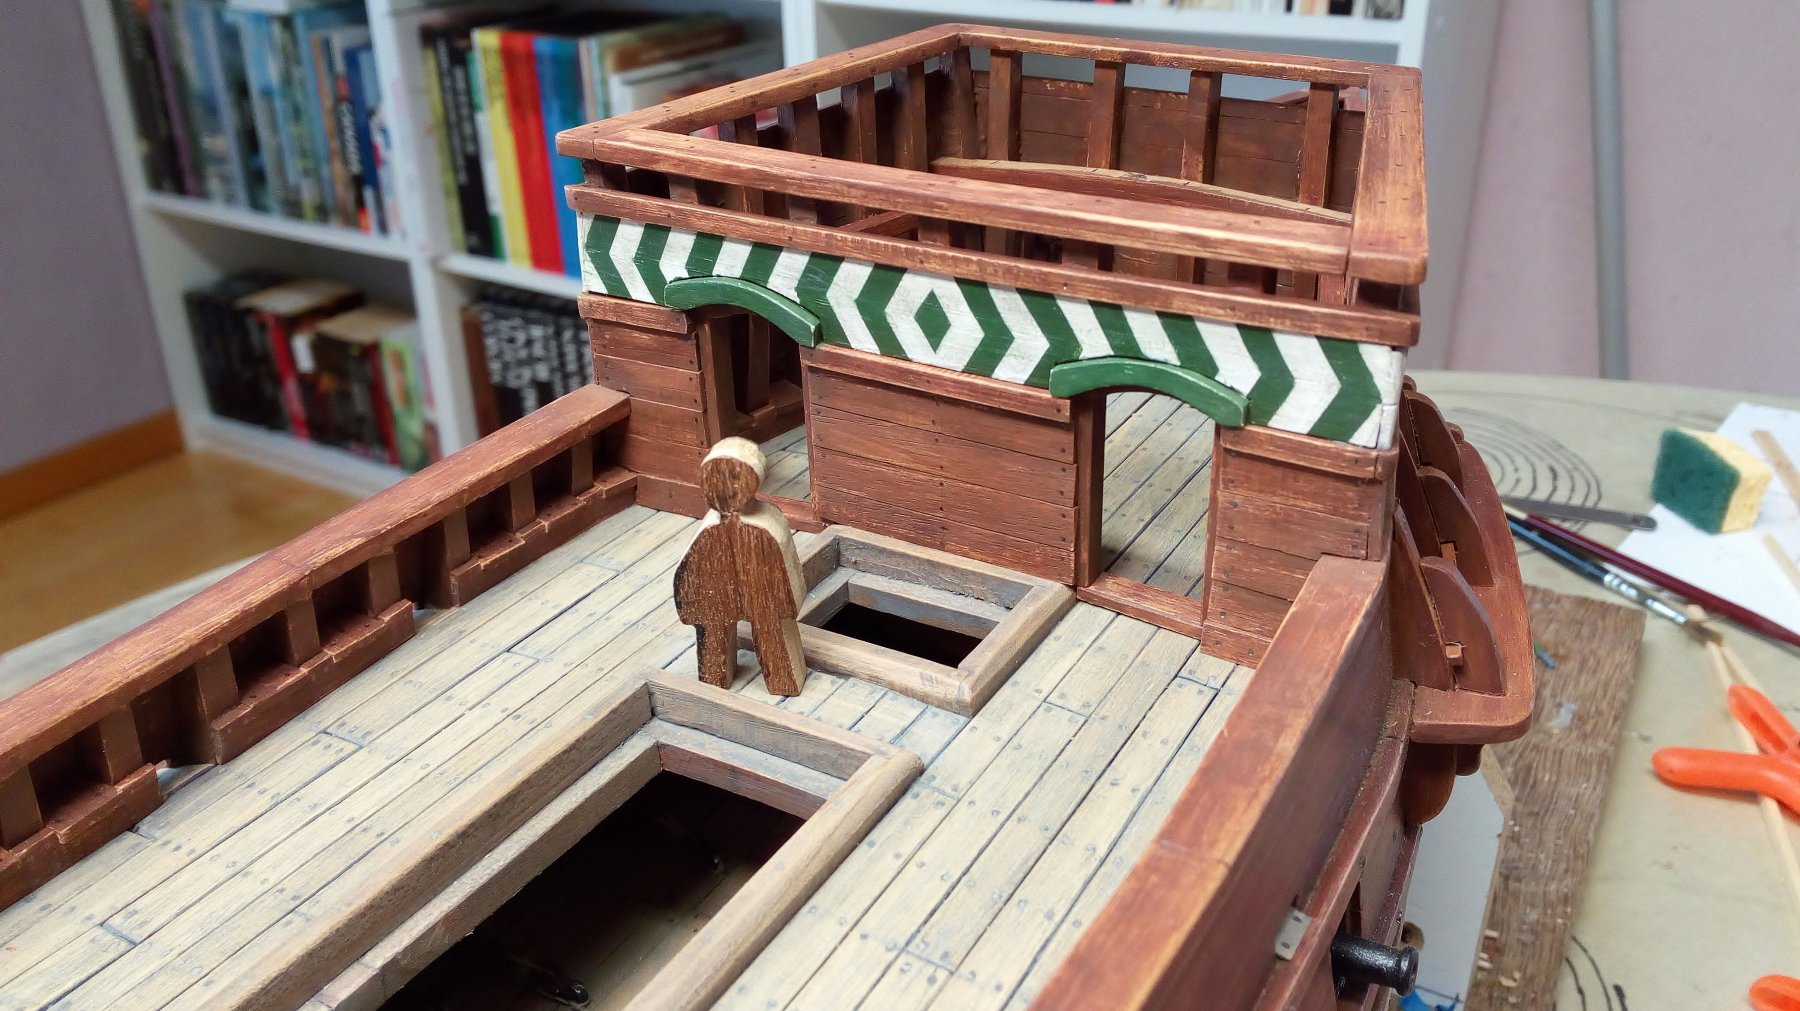
Update,
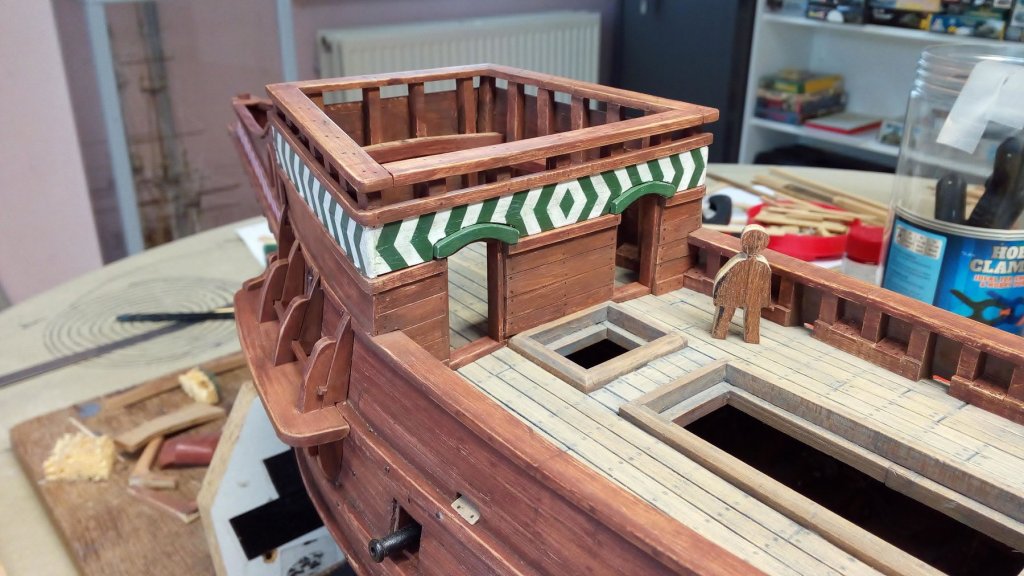
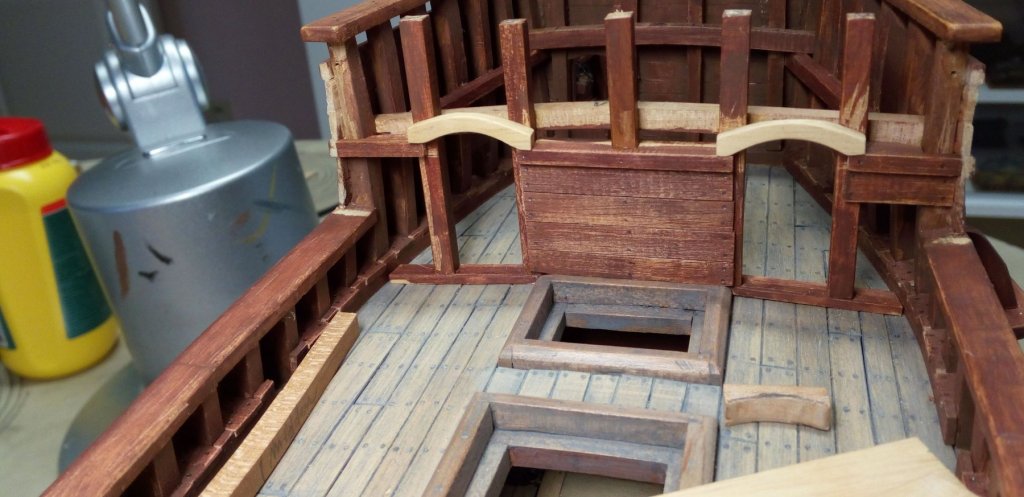
The outside of the forecastle is ready. The doors will be made later and a ladder will be provided later in the castle itself .
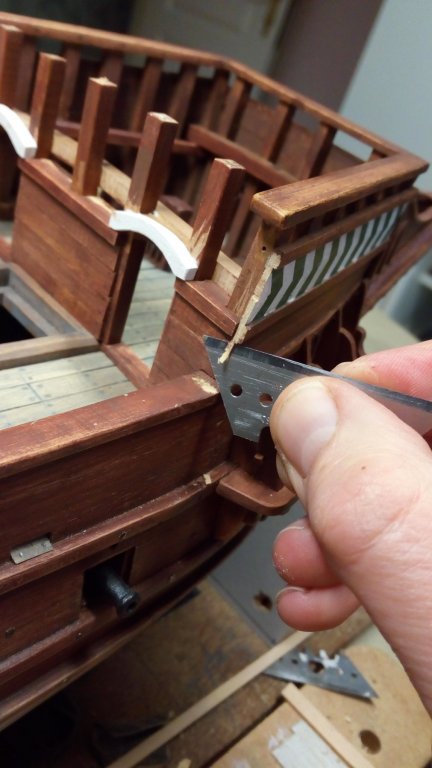
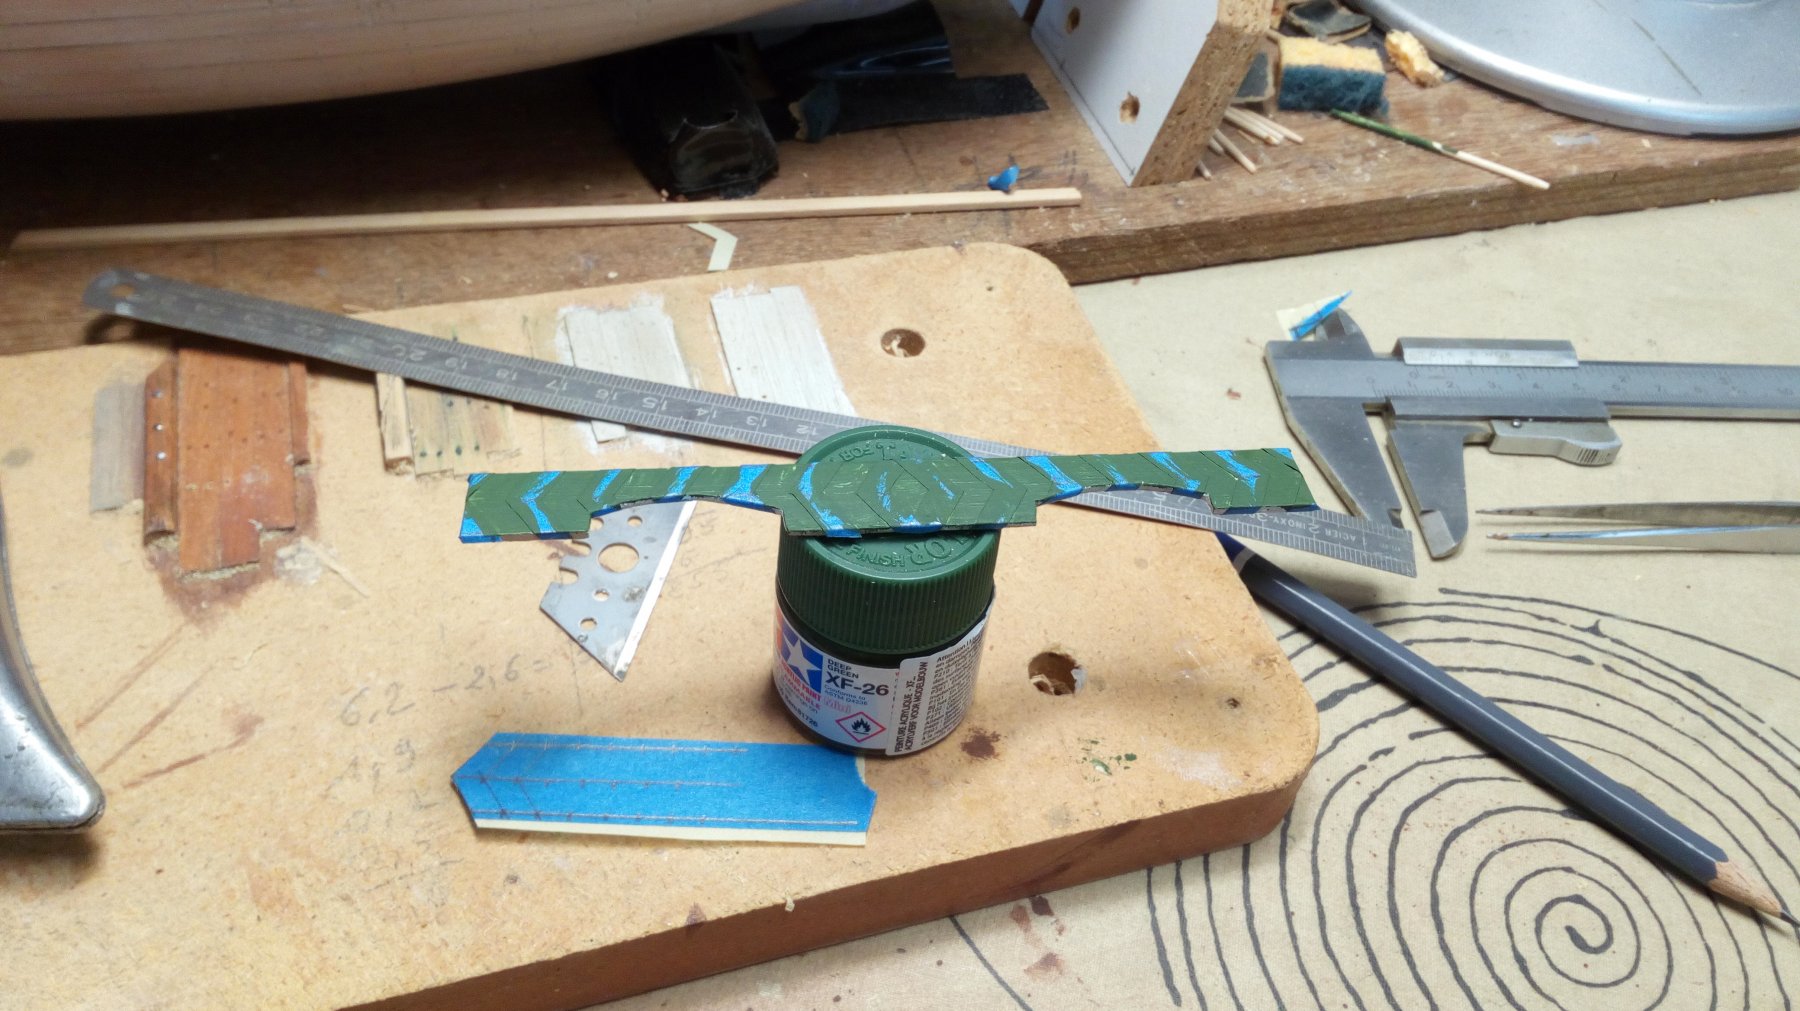
A tricky part
Tricky part is ready, painting

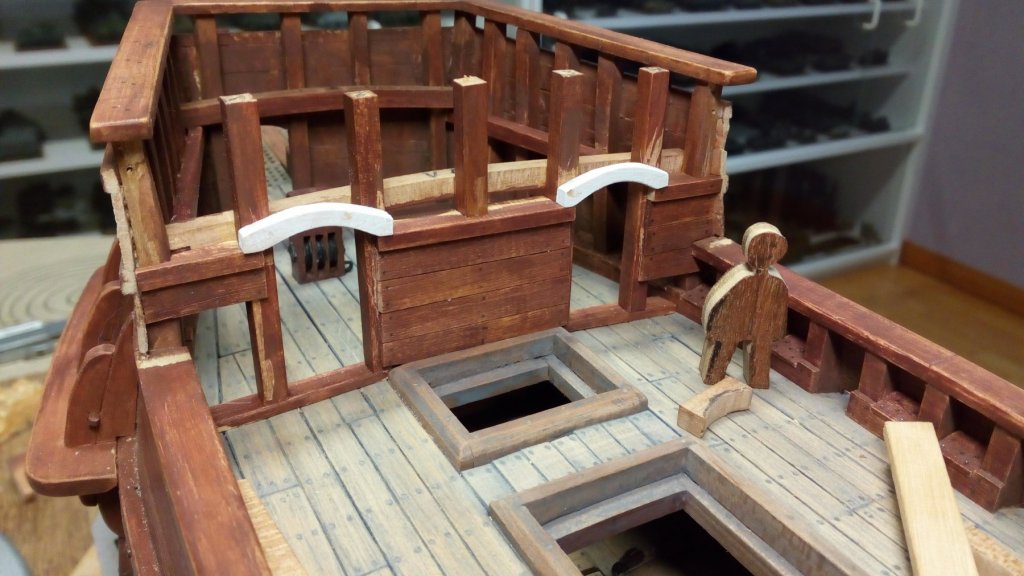
Saw at the right height (and dust prevention with tape)
Work in progress

Ready

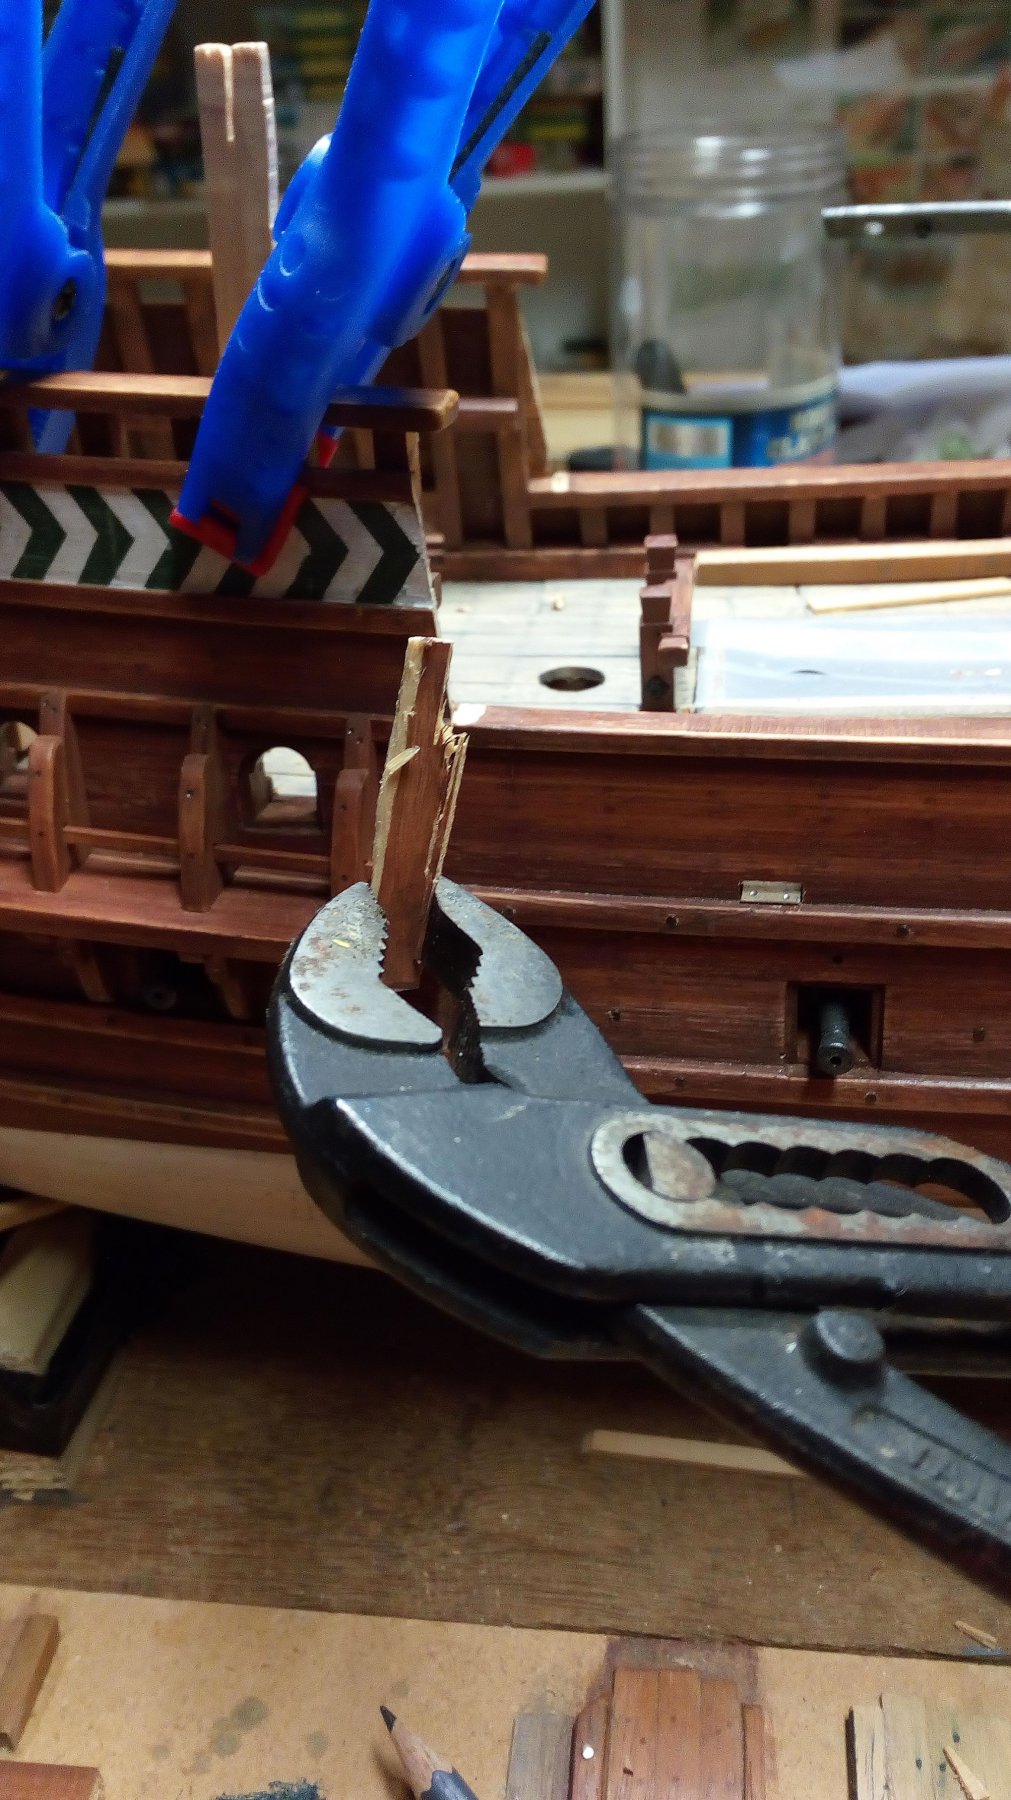
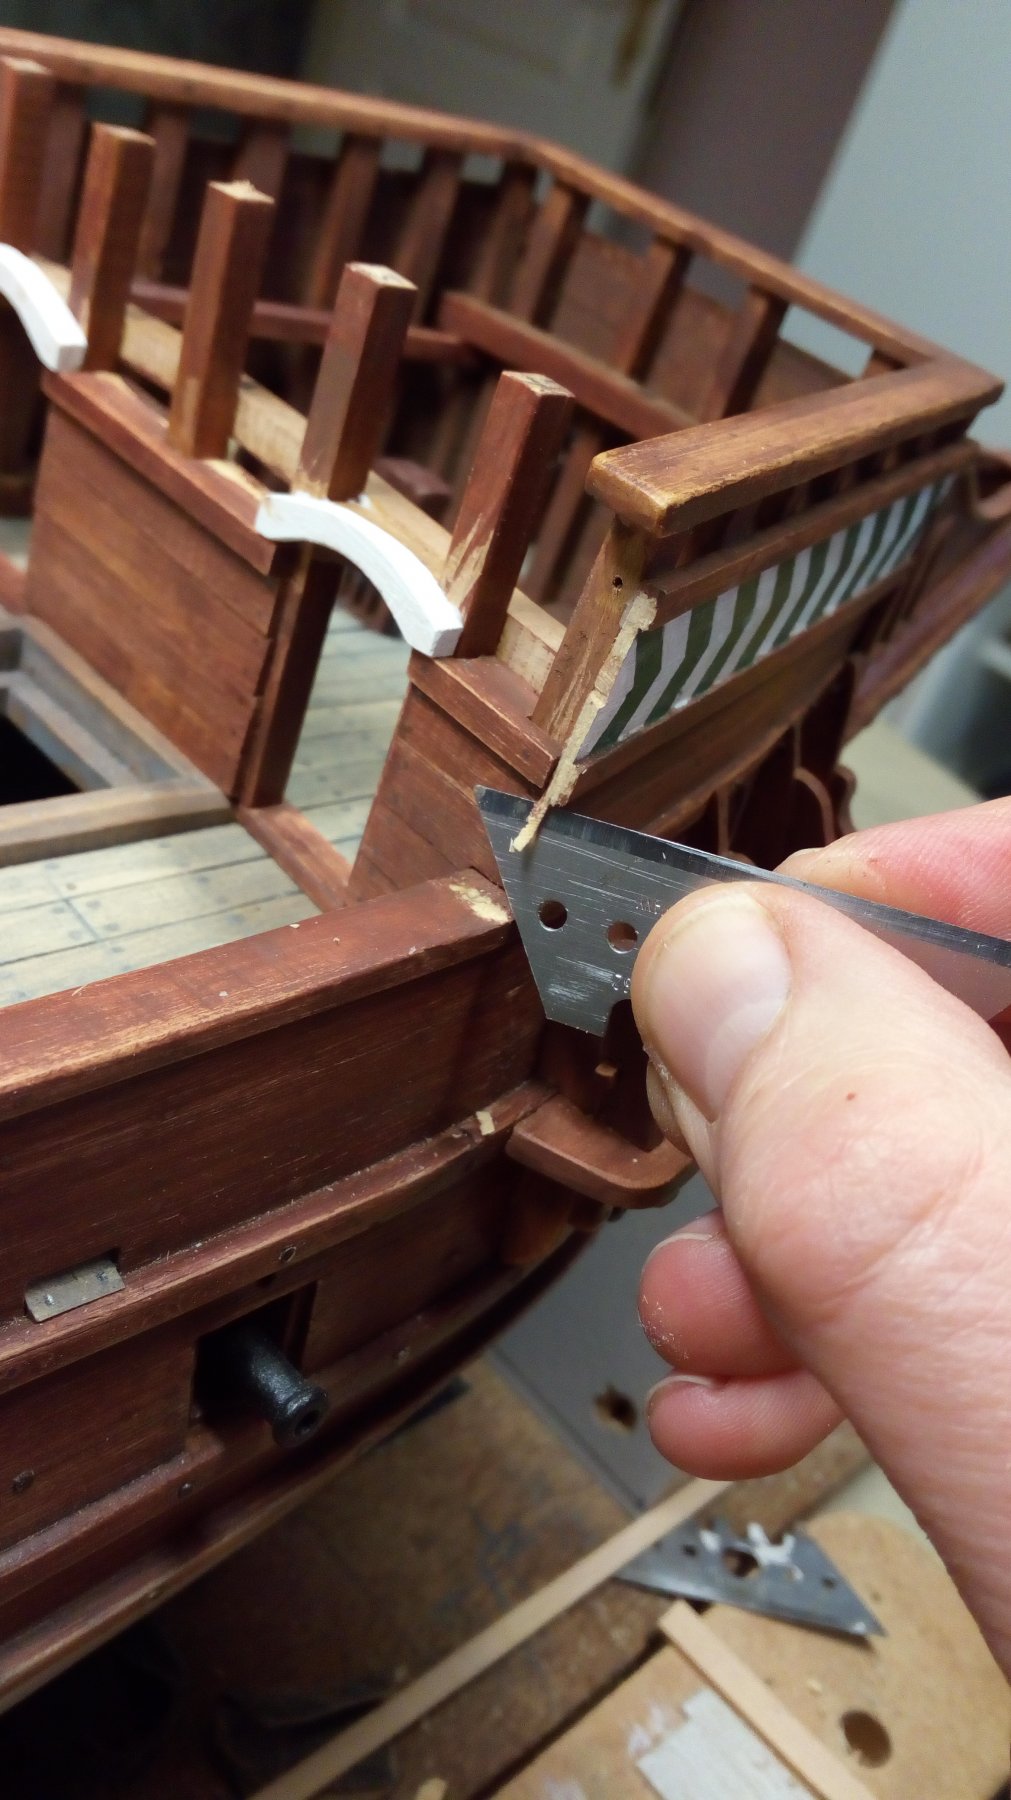
There is a proper tool for every job.
A file is not a chisel (I learned this in the technical school when I was 12years old...)
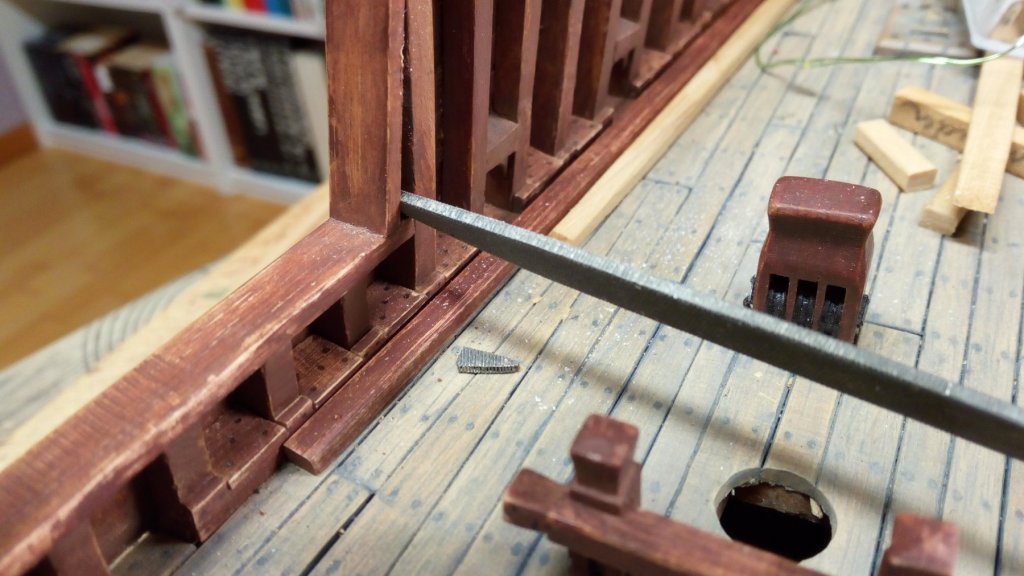
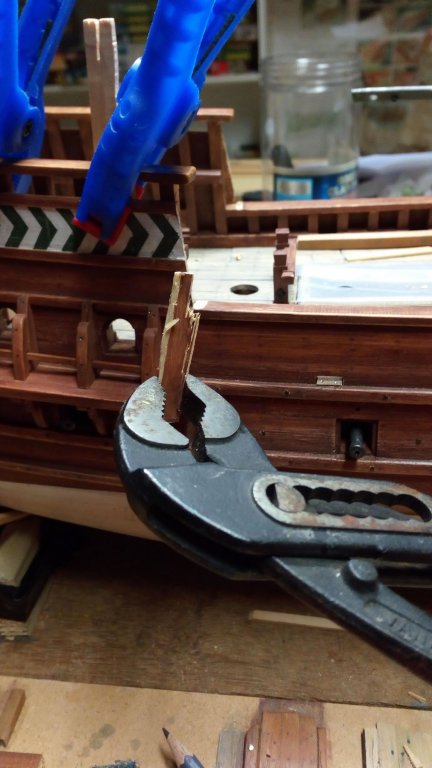
revenge
 part removed the hard way
Thanks for following
- GrandpaPhil, Binho, vossiewulf and 8 others
-
11
-
-
-

Welcome, and greetings from Belgium.
- Dave Marson and mtaylor
-
2
-
Welcome, and greetings from Belgium
- mtaylor and Seamanpeter
-
2
-
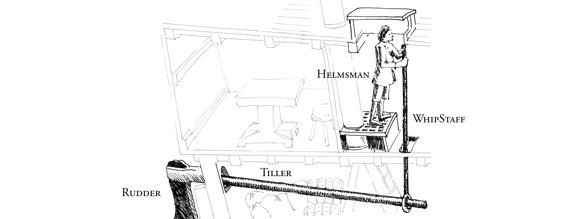
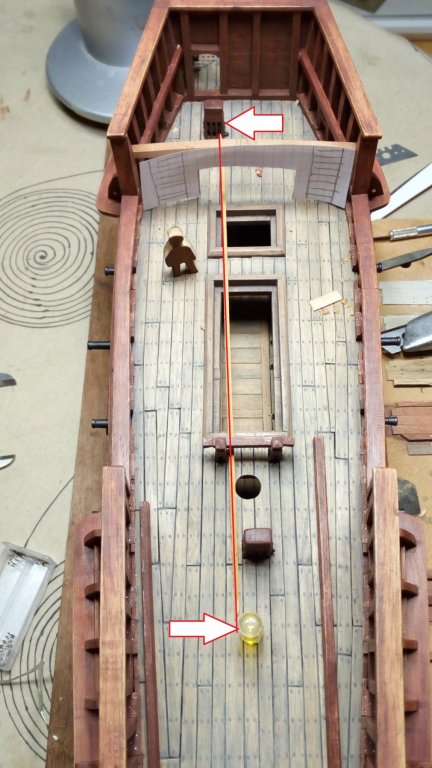
The helmsman is standing at the back of the ship. These windows are at the front.
And Vasa did not have a forecastle
- davyboy, mtaylor and thibaultron
-
3
-
12 hours ago, G.L. said:
Patrick,
You are surely on the right track!
6 hours ago, md1400cs said:As always Patrick -- fun to follow and learn
Thanks for the positive comments
5 hours ago, Louie da fly said:Oh dear. Sorry for putting you to all that extra work - that's certainly not what I intended. Still, I think you're doing the right thing and you'll end up happier with it.
Steven
No worries.
This is going to look much better then my first idea -
Thanks Fabio,
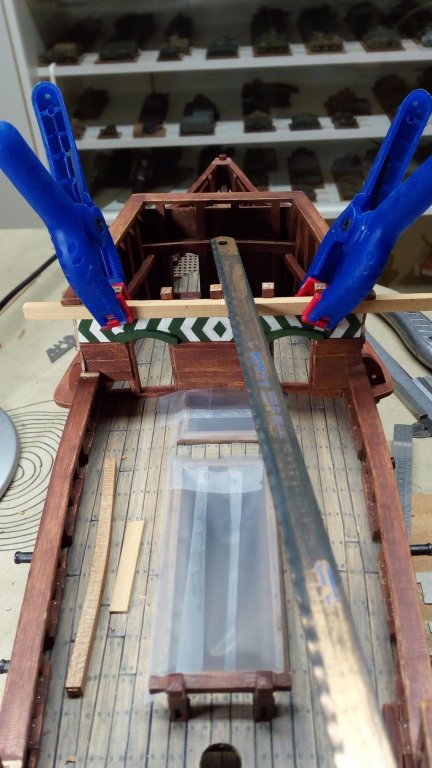
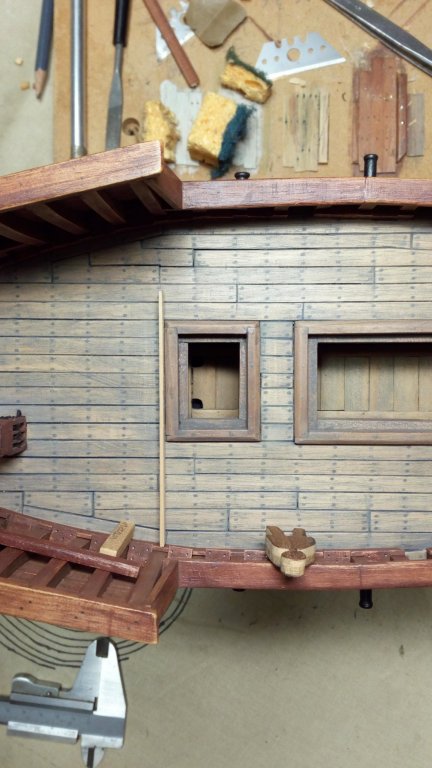
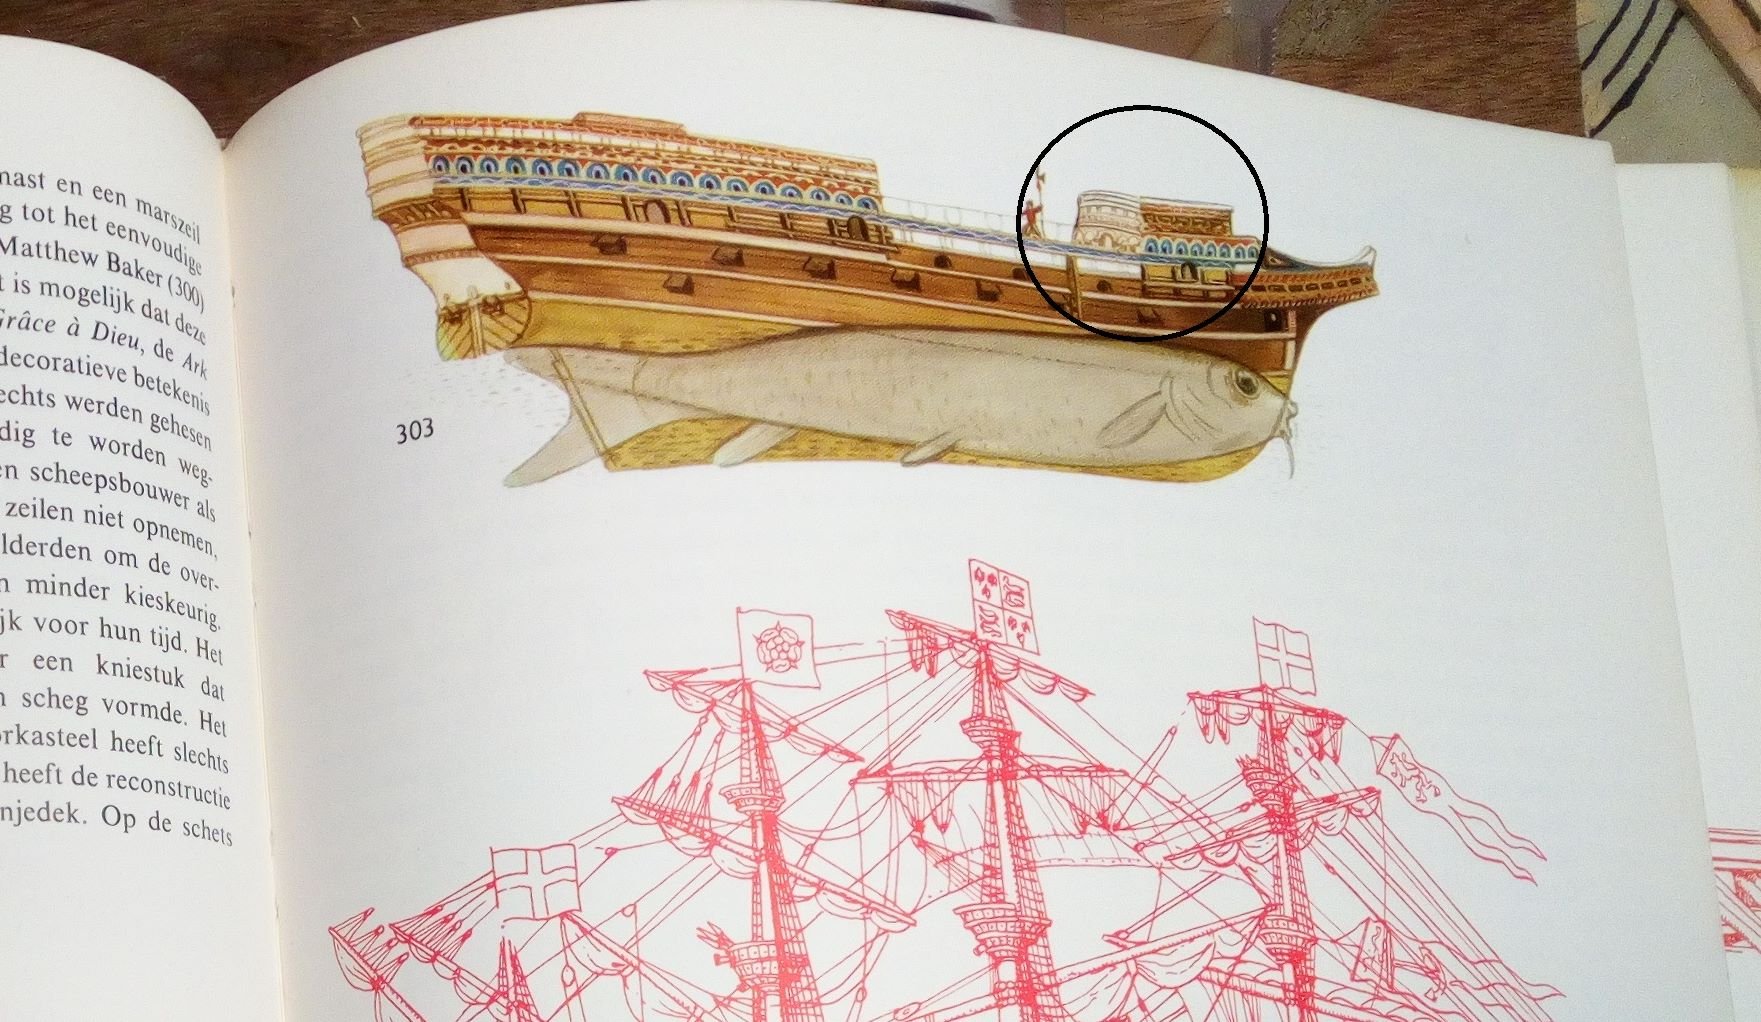
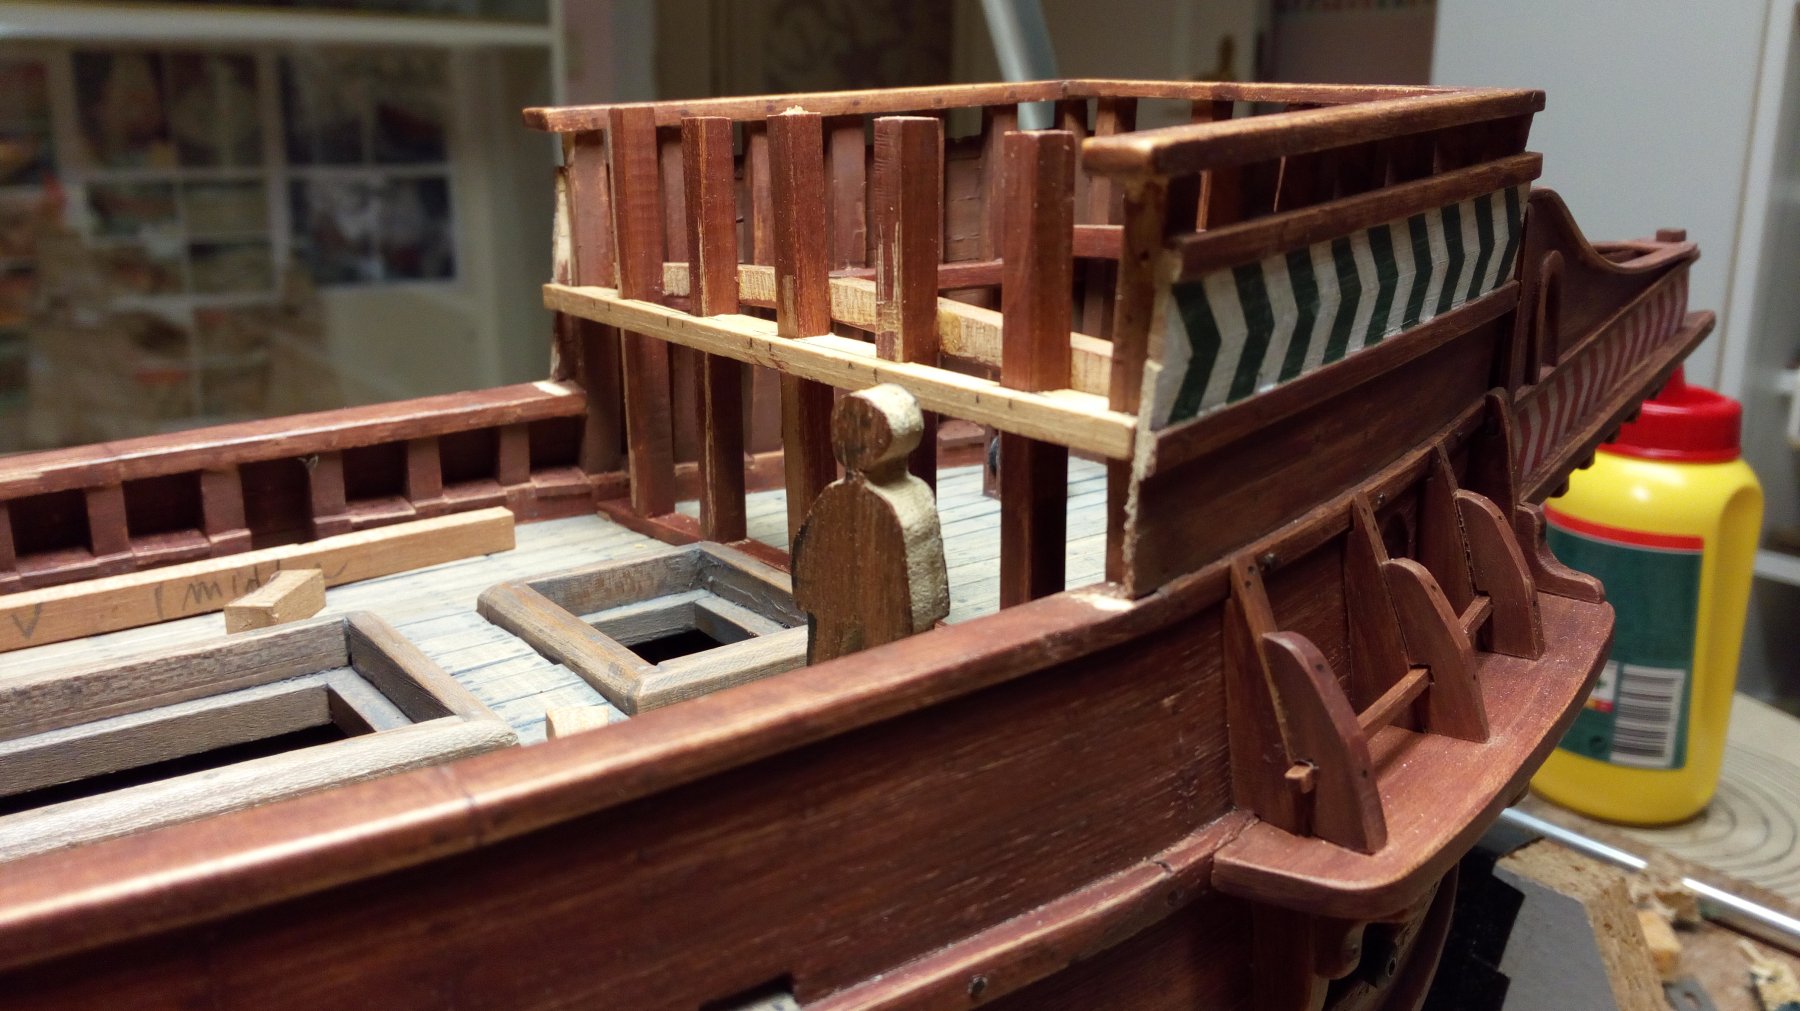
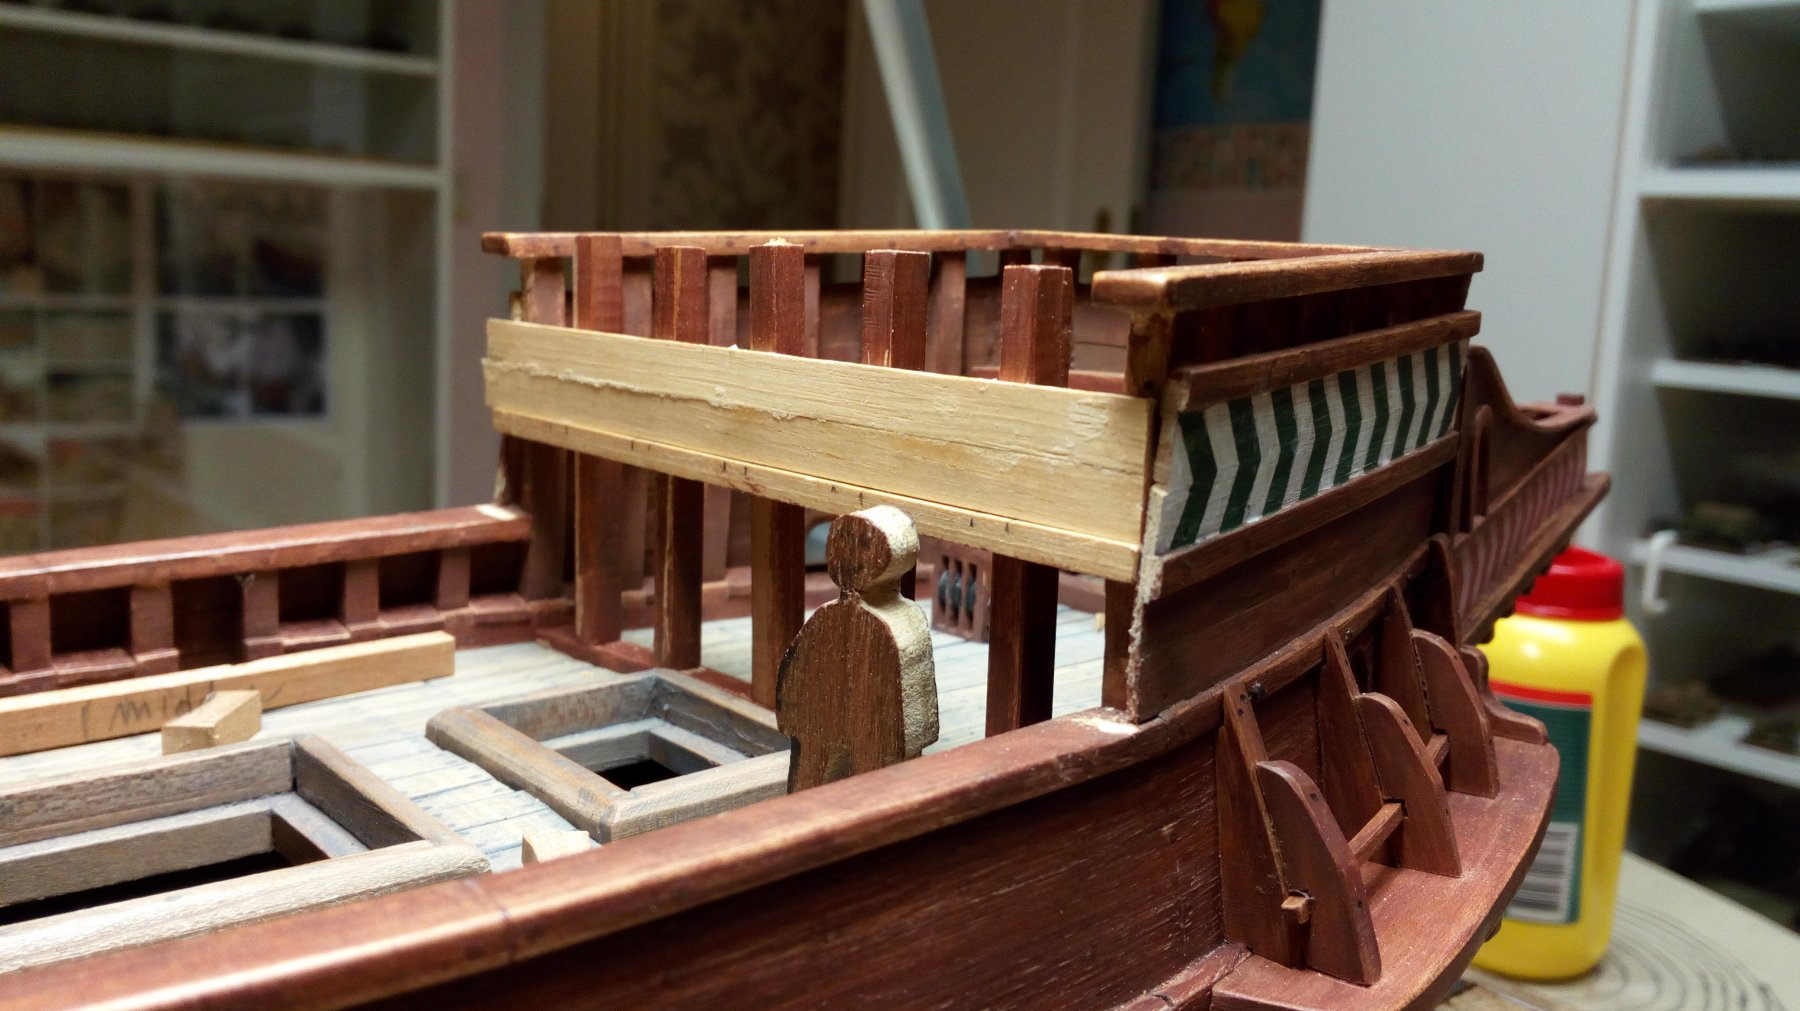
After searching through my documentation, I found that Steven is absolutely right. Going back to the beginning of this log I came across Matthew Baker's drawing. The sides of the fore castle must be as identical as possible all around. Wales, symbols, figures they have to go through in one line as much as possible.

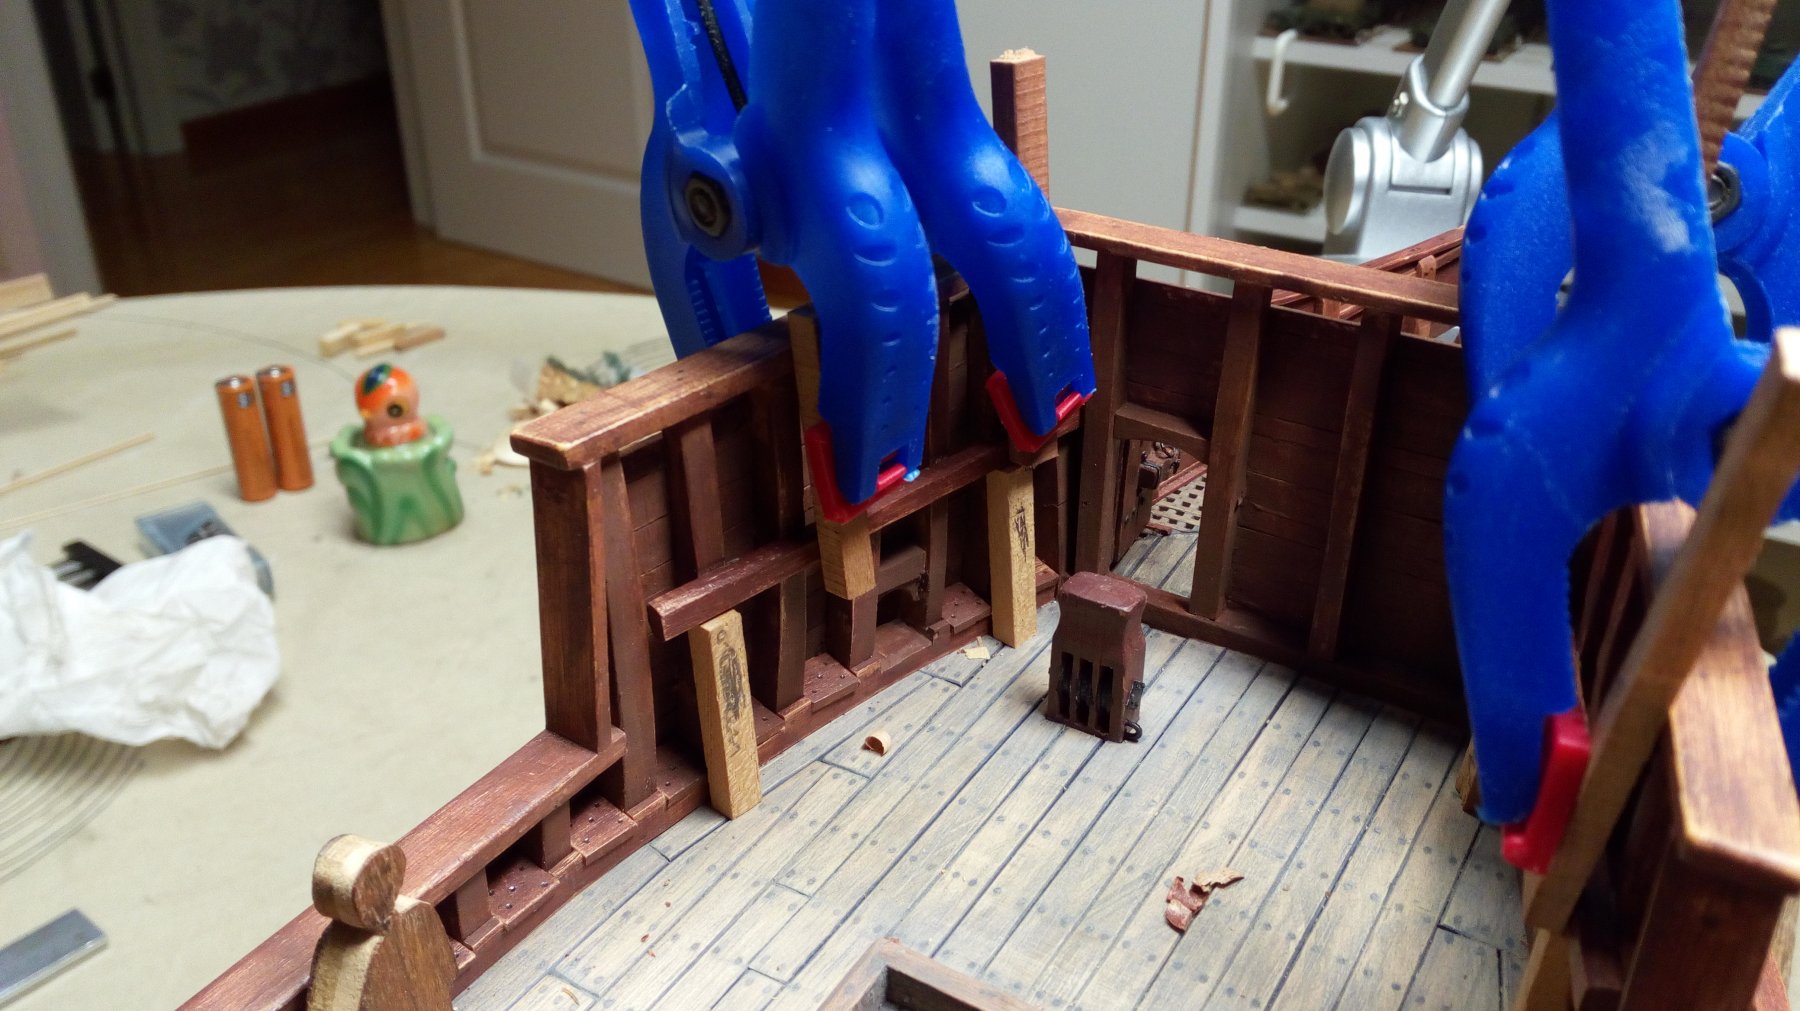
So first i need to remove some pieces.
And then start to rebuild.
2 doors are provided with "sufficient" passage height. Parts are first pre-painted as much as possible. But, here and there some area's will have to be sanded and repainted.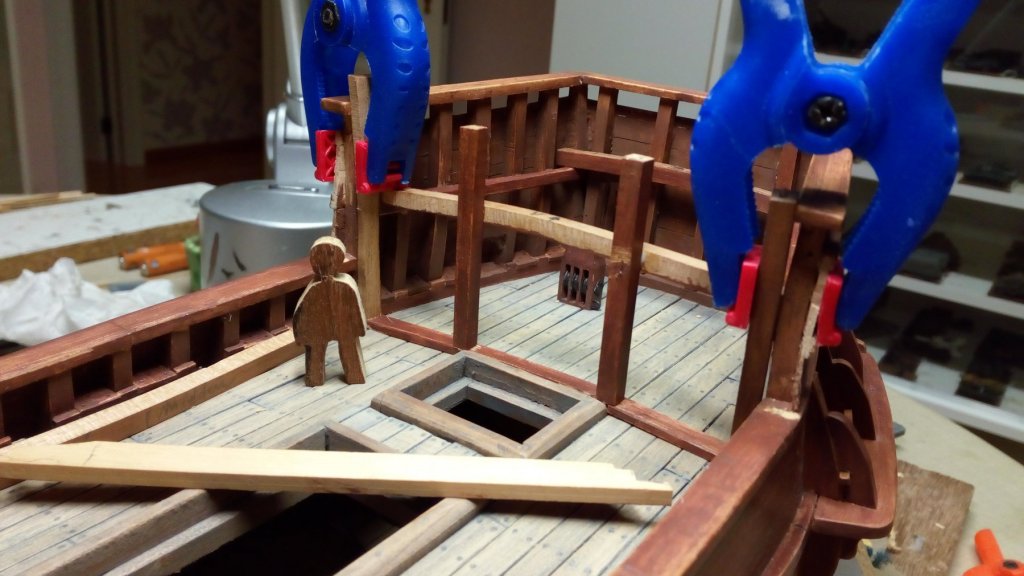
2 Dry fitted parts


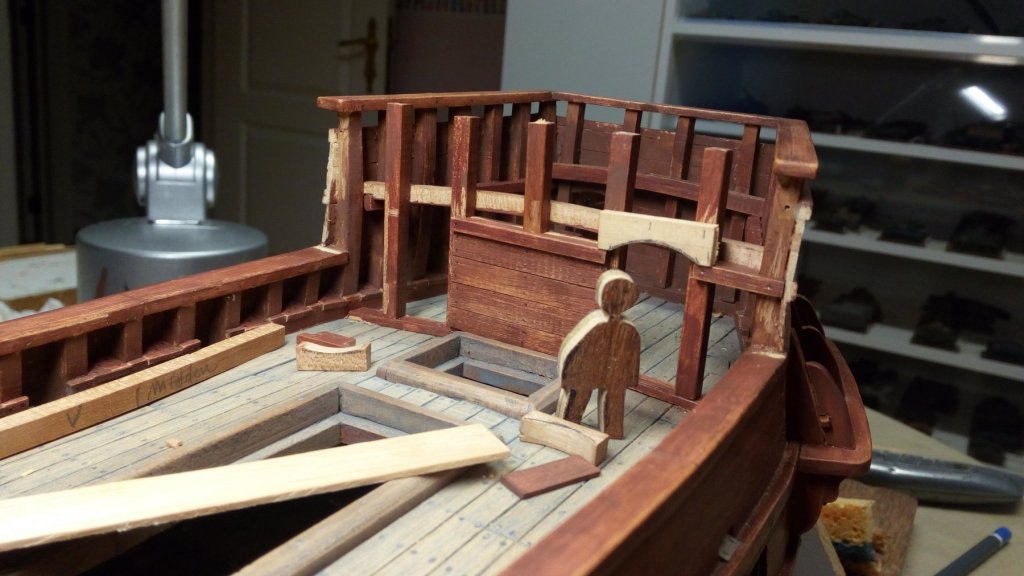
I think i am back on the right track. Thanks for following
- md1400cs, Louie da fly, robdurant and 10 others
-
13
-
As always.
Beautiful and detailed.Great work GL
.- FriedClams and mtaylor
-
2
-
Yes, Welcome back
")
Ps,
Great model.
-
-
I am probably too late with this. Sorry.
If you paint the deck that is under the grating black then it will look more like there is an "space" under this grating.
So, just paint the piece of deck under the grating black. The grating itself is not be painted black.Ps,
If you do not like this yourself. Then you should not do this.
This is just free advice.- vossiewulf and BETAQDAVE
-
2
-
12 hours ago, mfrazier said:
I also made the little "hickey with a window". I'm sure someone can tell me what it is actually called.
that is fore the helmsman
-
Nice work, great to see you back at the shipyard
- EJ_L, md1400cs and popeye the sailor
-
3
-
-
-
4 hours ago, Louie da fly said:
This looks good, Patrick. Apart from your own pragmatic reasons for having a single large opening for the forecastle, contemporary pictures of carracks (yes, I know, 50-100 years or so earlier) show them with large openings both under the main deck at the break of the aftercastle, and at the entry to the forecastle. I realise you're doing a galleon not a carrack, but I think you're on the right track with this.
And yes - the support beam for the deck beams is the beam shelf.
Steven
Steven,
I also do not find this a good solution. I expected (actually hoped) for this comment.
Early galleons had this opening (1540-1550), but after this period not.For the time being I place only the 2 beams. and think further about the what to do : 1 opening / 2 doors.
It is perhaps best to place 2 doors and ignore the problem between the block and the capstan.The doors will always remain visible. The problem with the block not.
-
-
Thanks for the comments,
The forecastle.
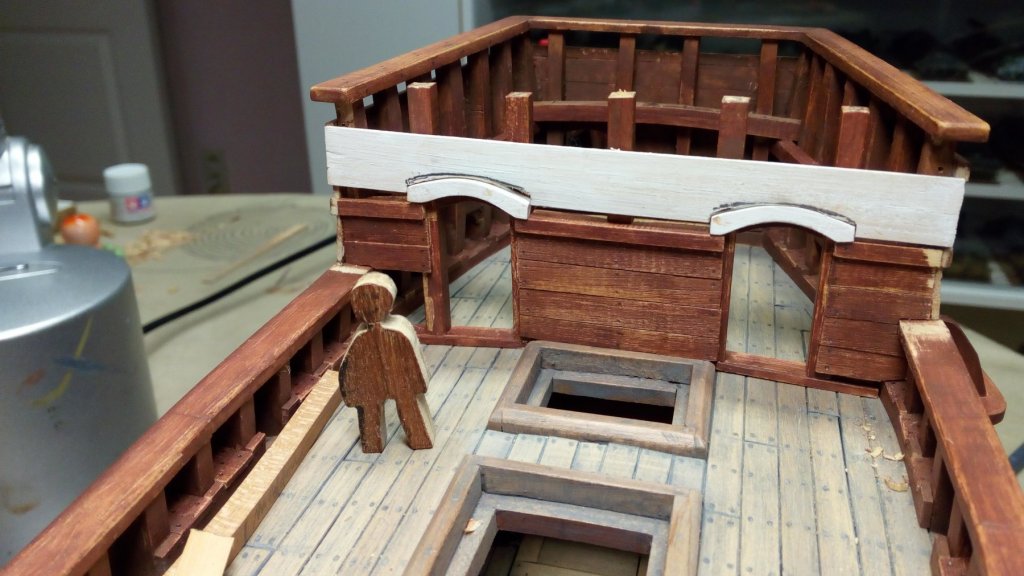
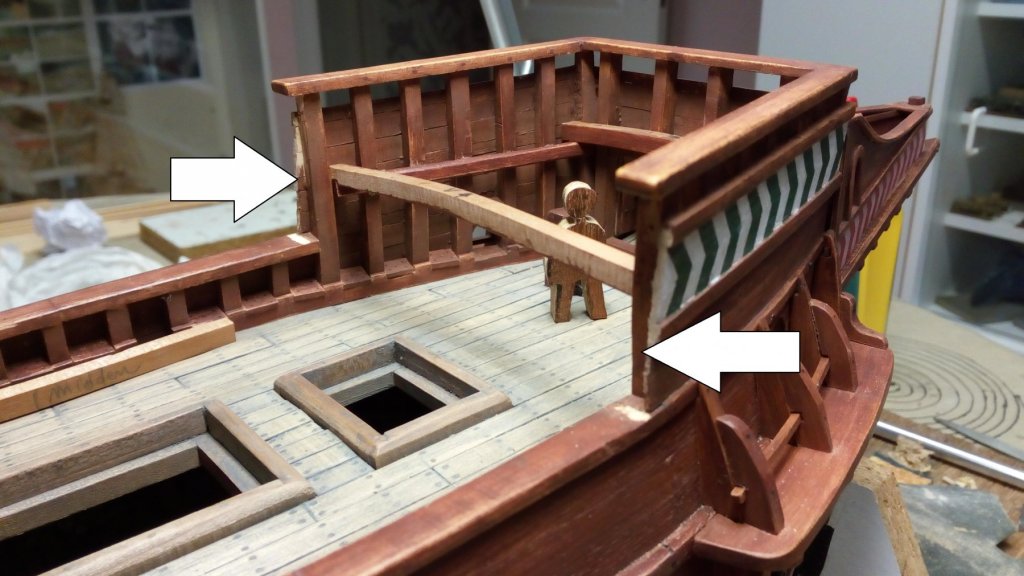
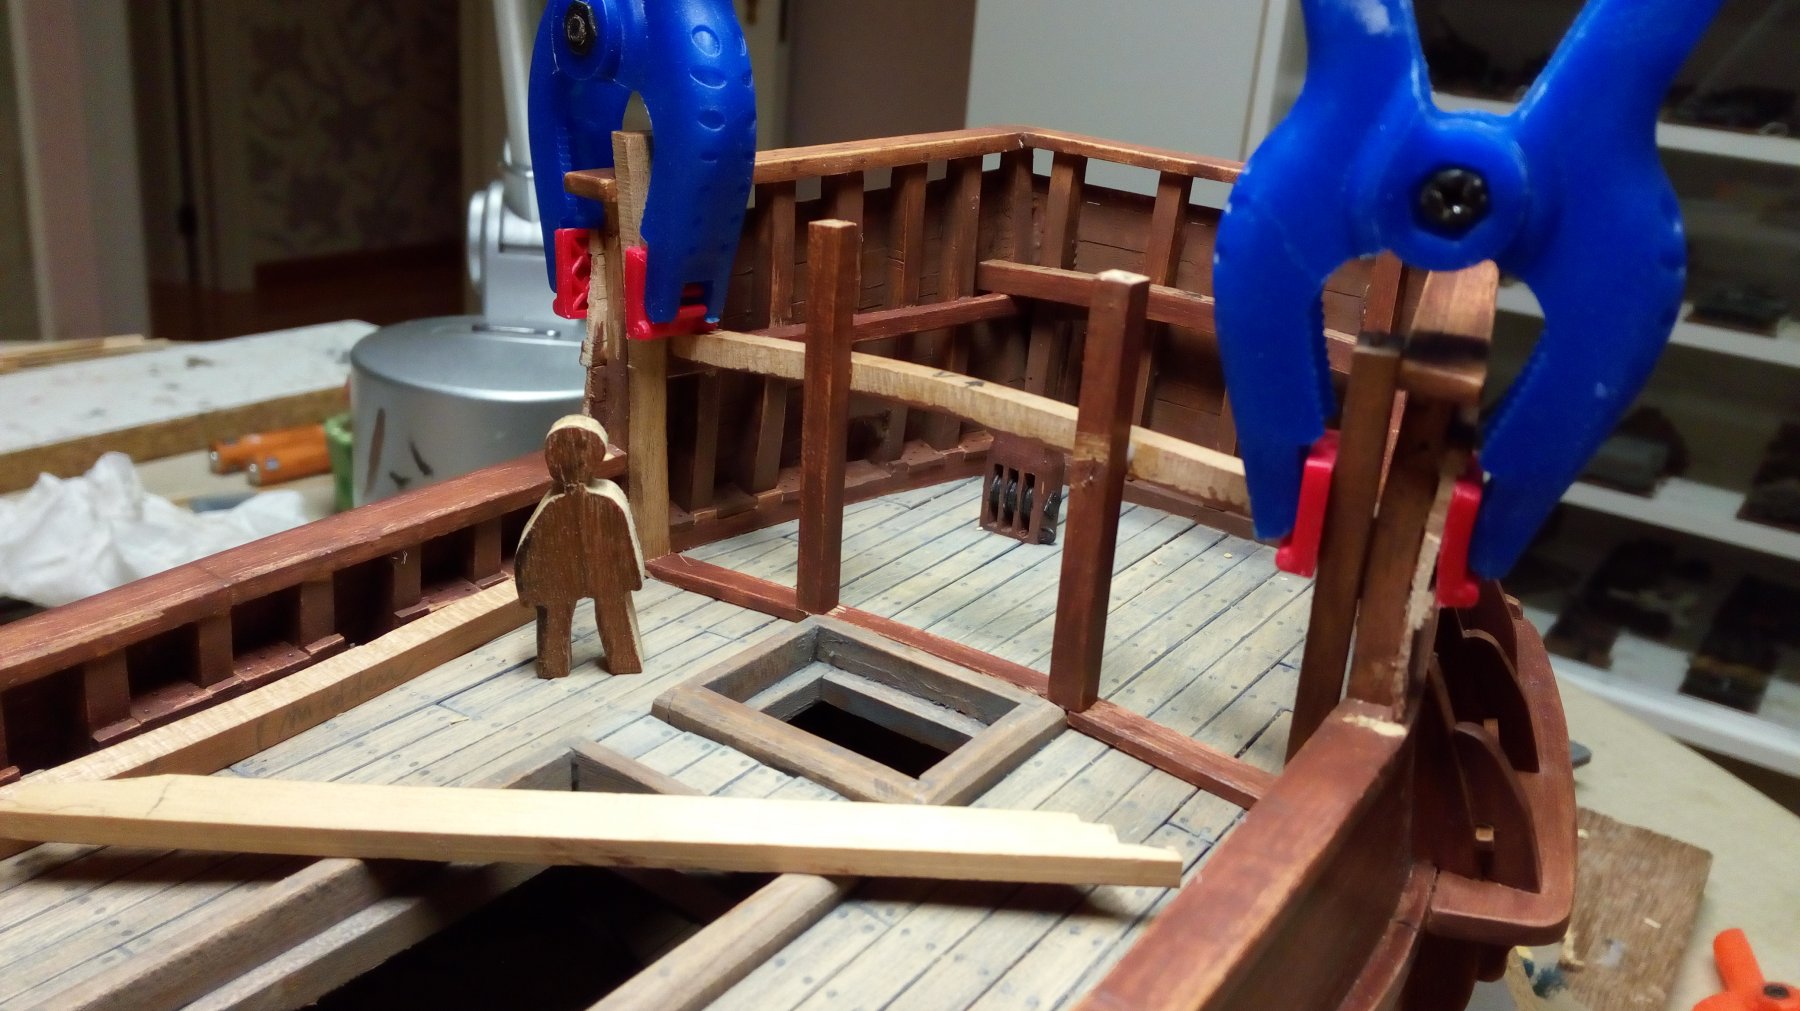
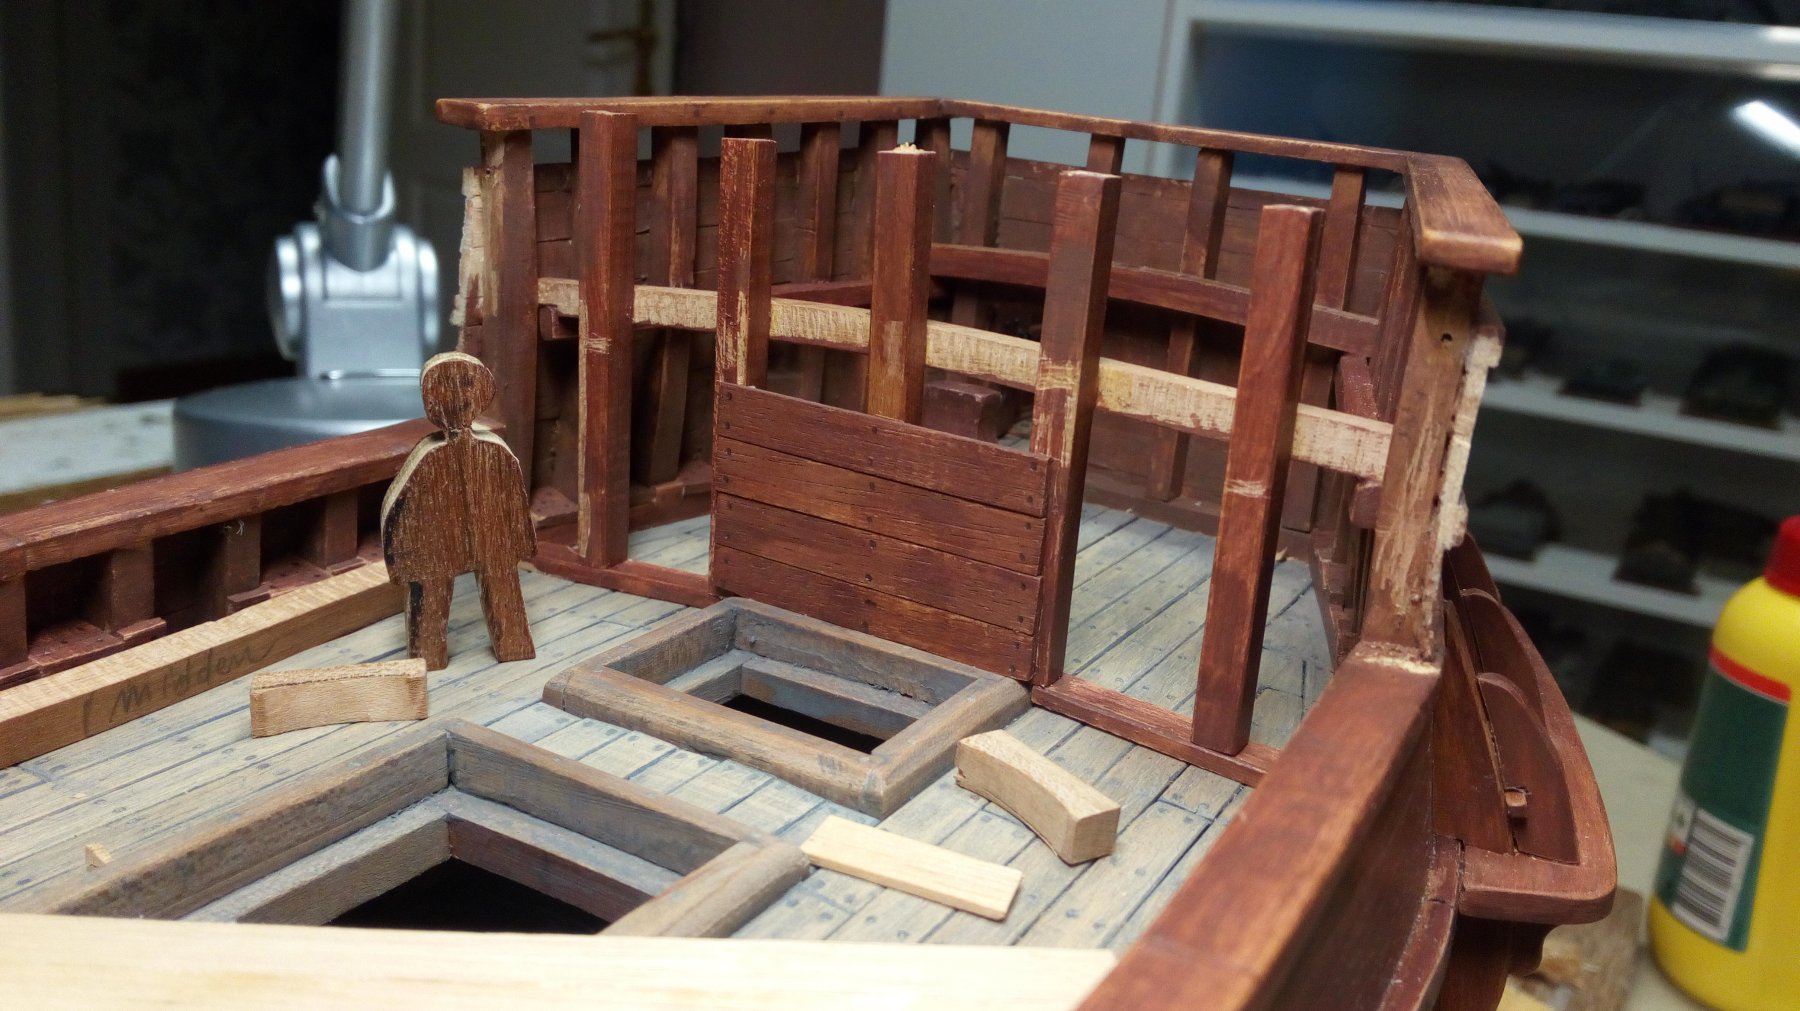
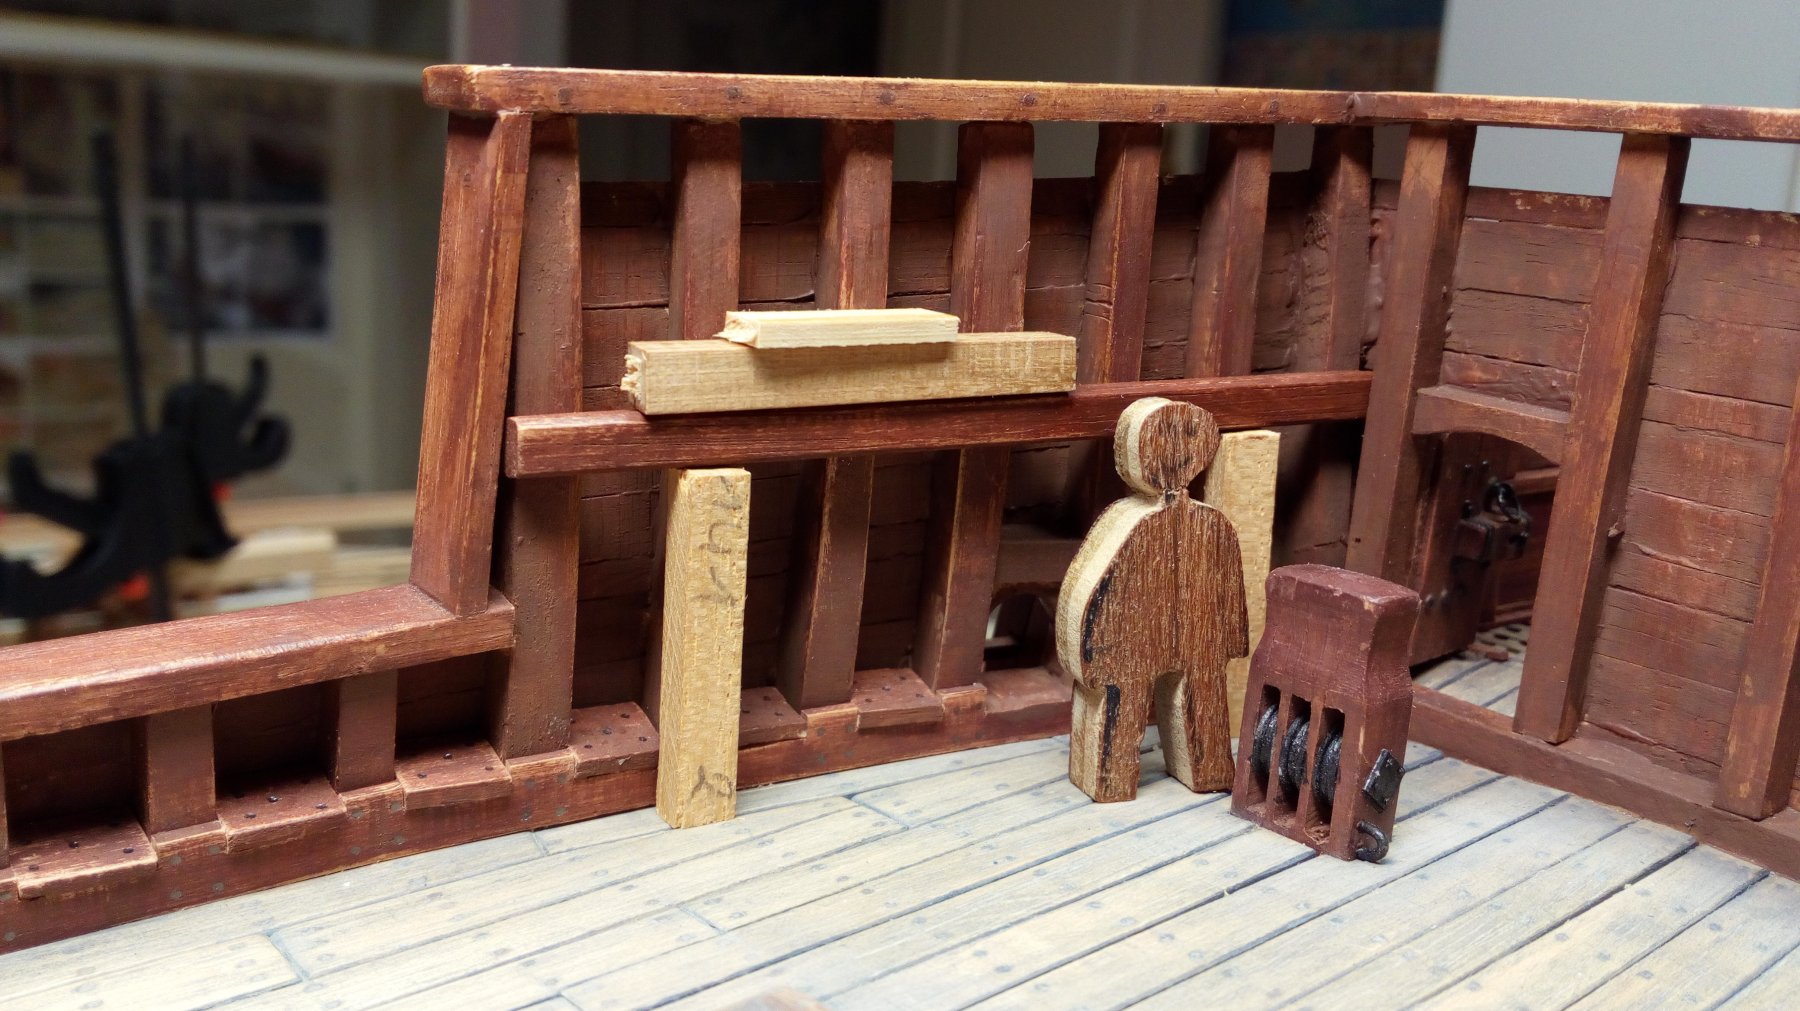
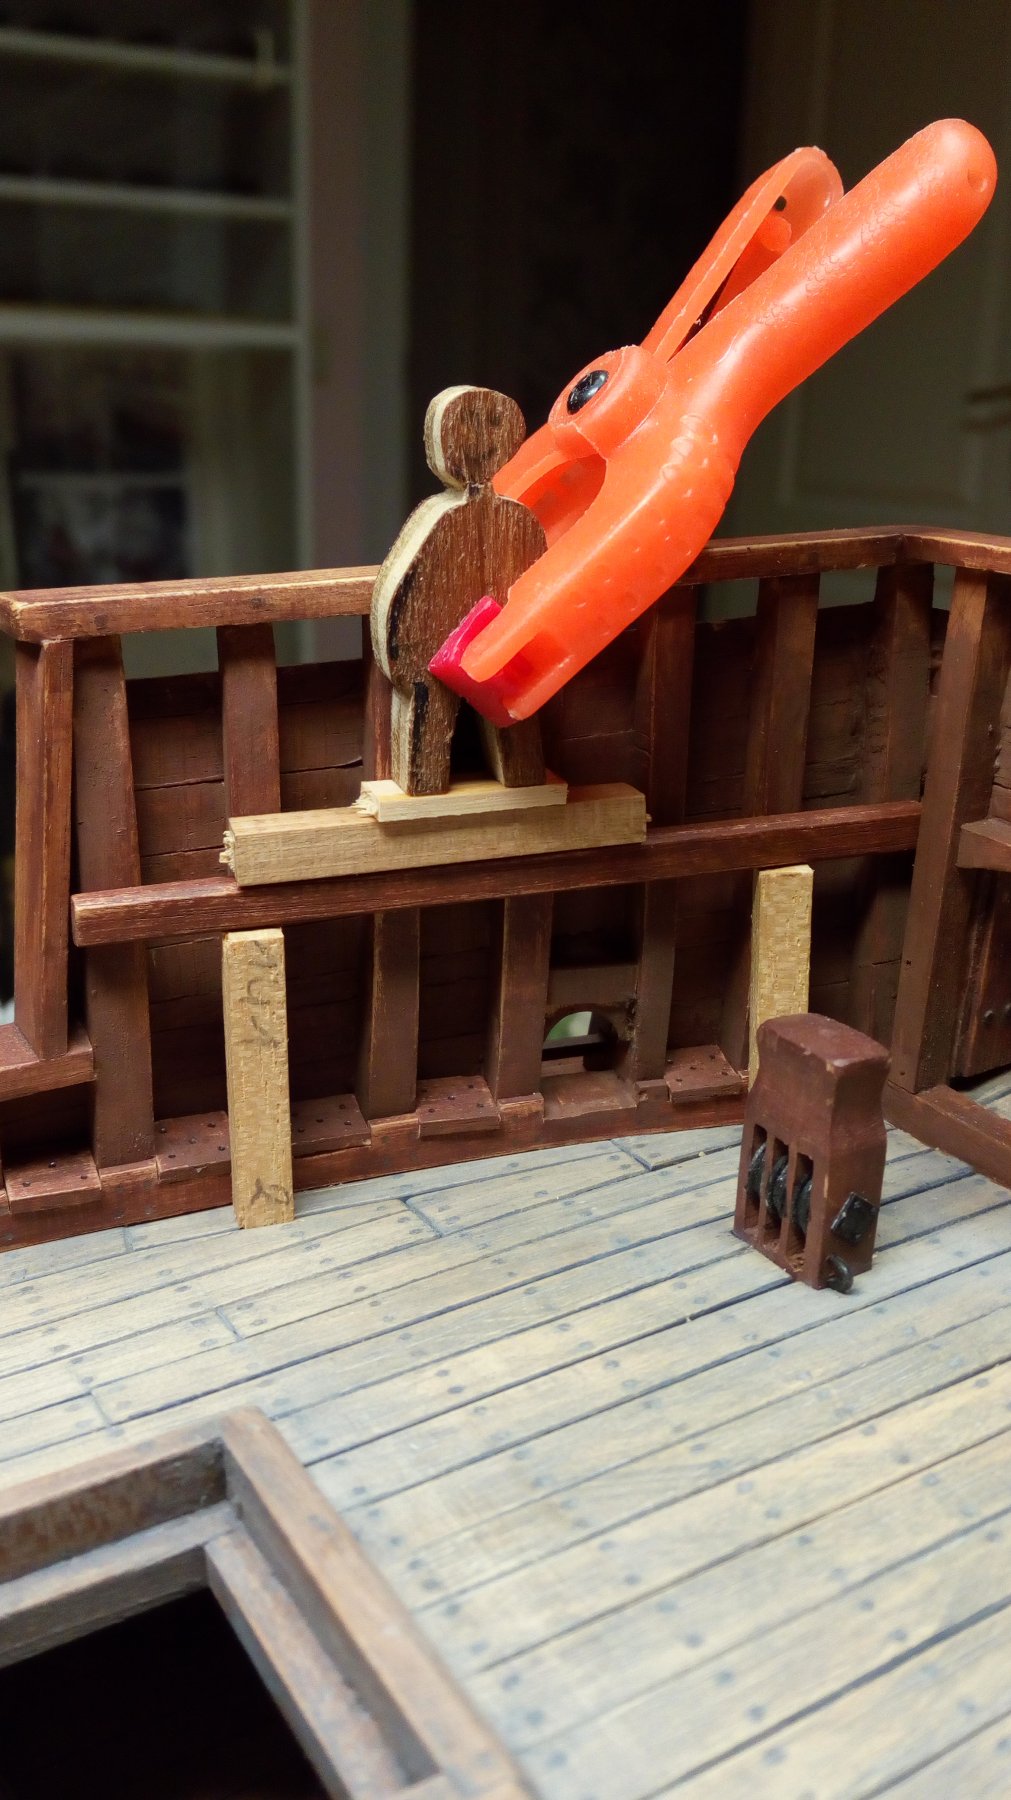
What looked simple was actually a bit complicated. Where to place the doors ? Where to place the ladders? The height of the deck ?The hatch to the lower deck is in the way. It was not smart of me to provide this hatch at this place.
First the height of the deck is determined. My assistant is very helpful in this.


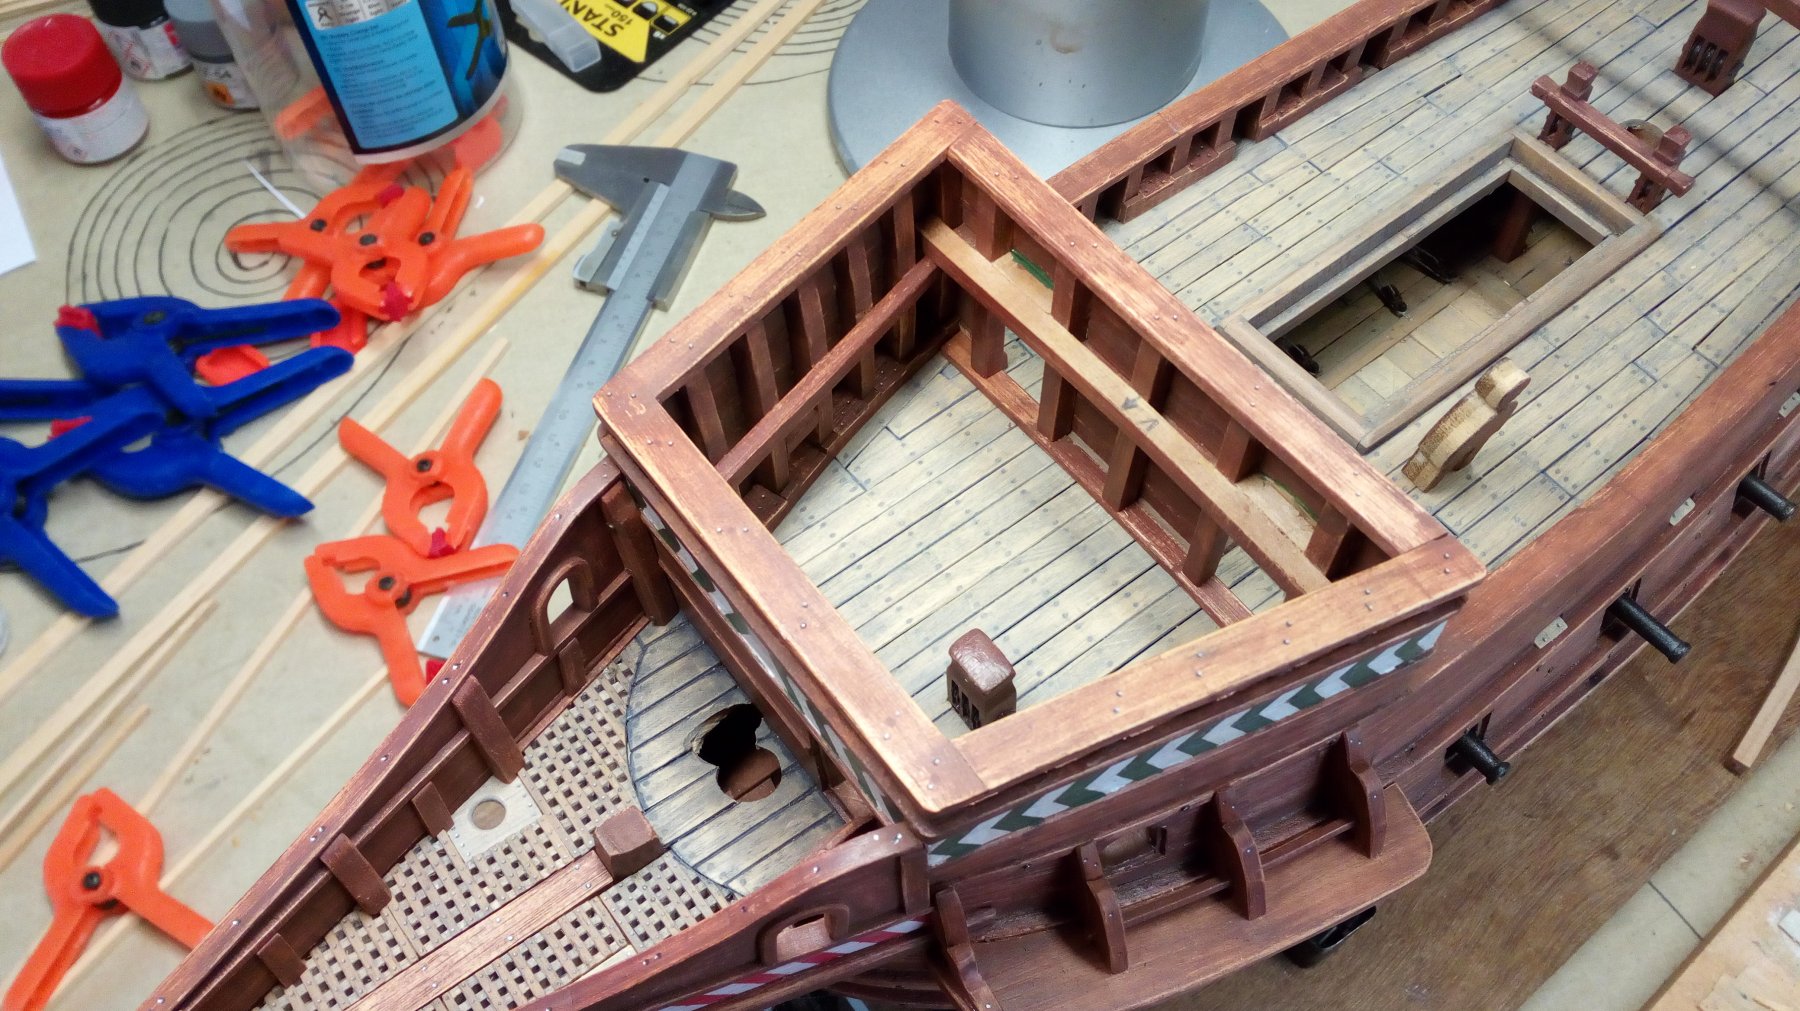
Then the support beam (beamshelf?) Of the deck beams is placed.
The location of doors and ladders is now being studied.
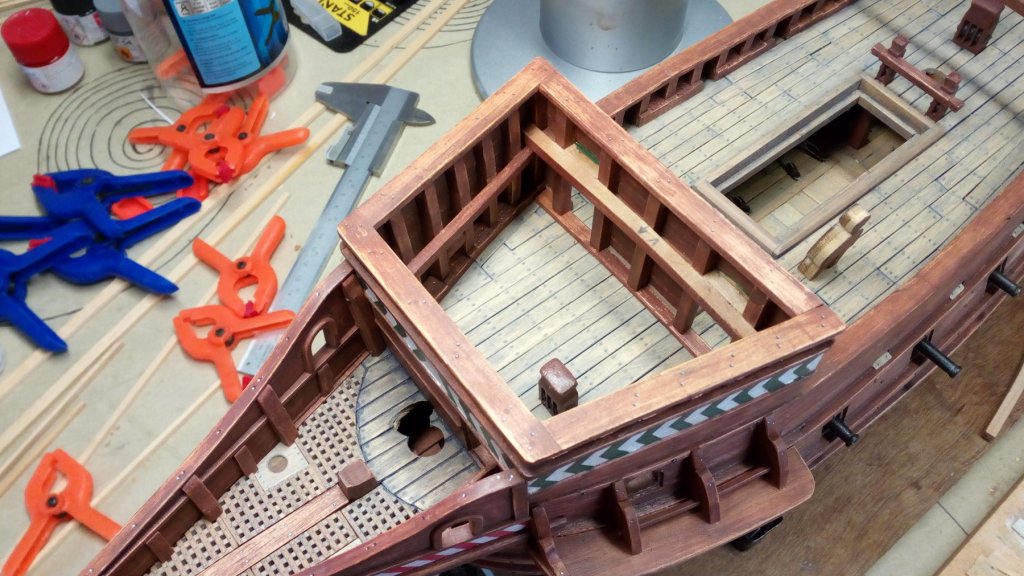
2 doors or openings on the side is not an option, the block in the fore castle can not be operated with the capstan.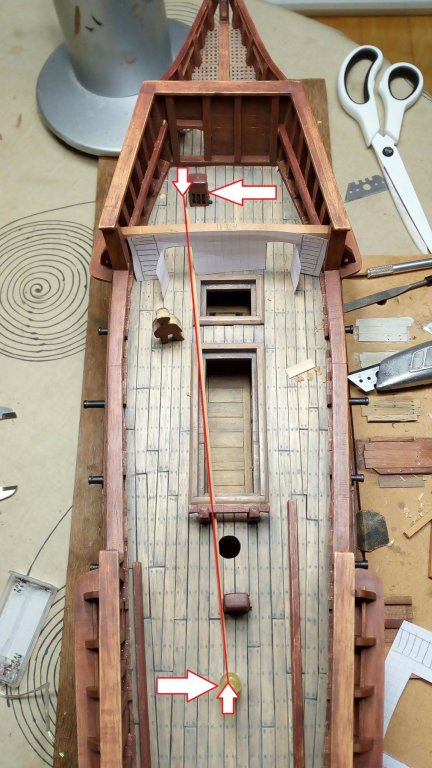
The only solution on this model is one large opening in the middle without doors. The block in the fore castle can be operated with the capstan.
The opening will be made wider than the example so that access to the fore castle is easier.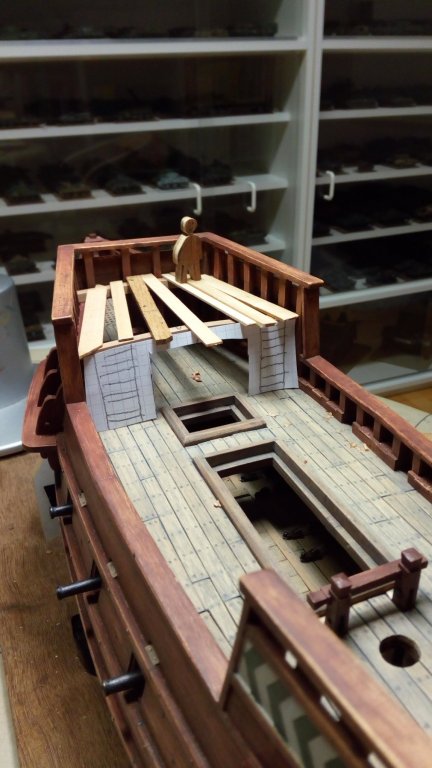
I now know how to proceed. And looking at drawings from that time both solutions can be correct.
To be continued. Thanks for following.
- Valeriy V, vossiewulf, luponero and 11 others
-
14
-
16th century cannonbarrels
http://nautarch.tamu.edu/Theses/pdf-files/Hoskins-MA2004.pdf
Batavia (early 17th century) rigging
https://www.modelships.de/Museums_and_replicas/Batavia/Photos_Batavia.htm
-
Great work
You are on the right track with your GH. The changes you want to make are a very good idea


Vasa by Baker - FINISHED - Billing Boats Scale 1/75
in - Kit build logs for subjects built from 1501 - 1750
Posted
Thanks,
I had actually already thought about doing this.
Perhaps with diluted paint (tamiya colors diluted with water / isopropanol) dont now yet.
But before I do anything about this
I first have to try this out on some leftovers from the rigging.