


Baker
-
Posts
4,134 -
Joined
-
Last visited
Content Type
Profiles
Forums
Gallery
Events
Posts posted by Baker
-
-
Congratulations on your beautiful model
party
")

- CaptainSteve and MESSIS
-
 2
2
-
12 hours ago, Ondras71 said:
At the end of the 16th century, cast cannons were already used. I've found a current build of a same age replica of Barents' ship from 1595, which already had cast cannons with a carriage with only front wheels. The build is based on archaeological findings of wrecks..
Ondras,
interesting info is on these 2 pdf files.
And there is a detailed drawing of a carriage with 3 wheels.
http://nautarch.tamu.edu/Theses/pdf-files/Hoskins-MA2004.pdf
"Risse von Schiffen des 16./17. Jahrhunderts" is a very interesting book. But do not ask for detailed plans about ships from the 16th century.
They simply do not exist.Dont do
 you are building a beautiful model
-
-
Take a look at this
Apply PE parts is easy ..... (for some of us)- BLACK VIKING, EJ_L and Old Collingwood
-
3
-
9 hours ago, md1400cs said:
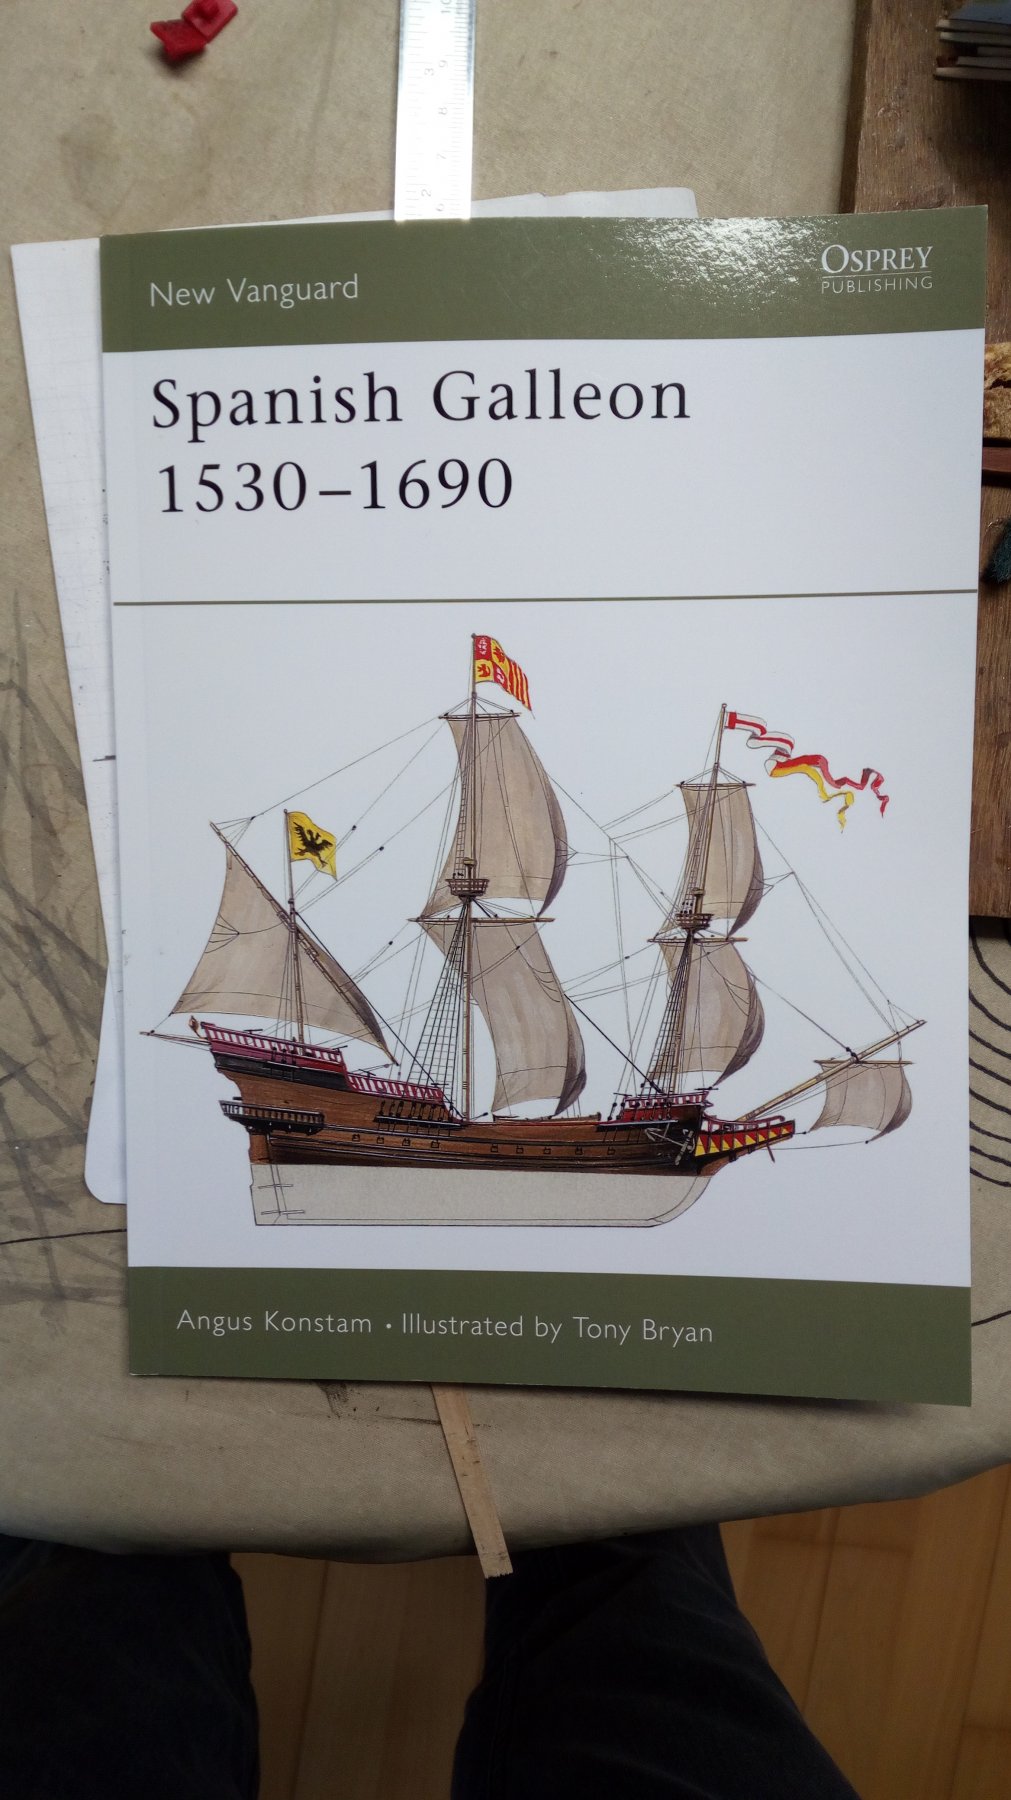
PS: Box art.
Your model is much better than "the box art" 👍
- EJ_L, md1400cs, popeye the sailor and 3 others
-
6
-
-
-
Thank you everyone for the nice comments.
(Carl, I'm not a fan of football. I also like peace and quiet).
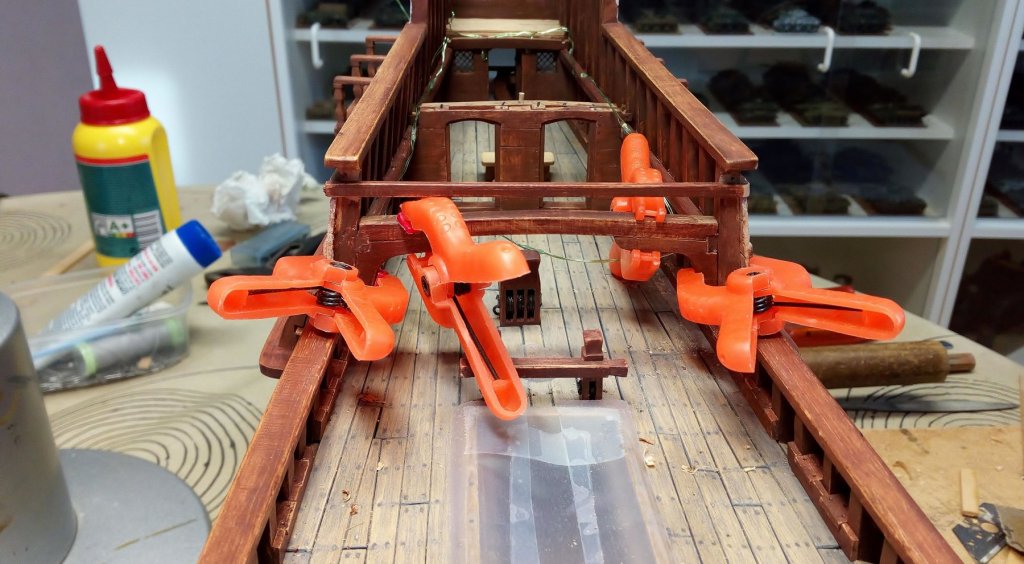
I have added some bolts in the upper wales.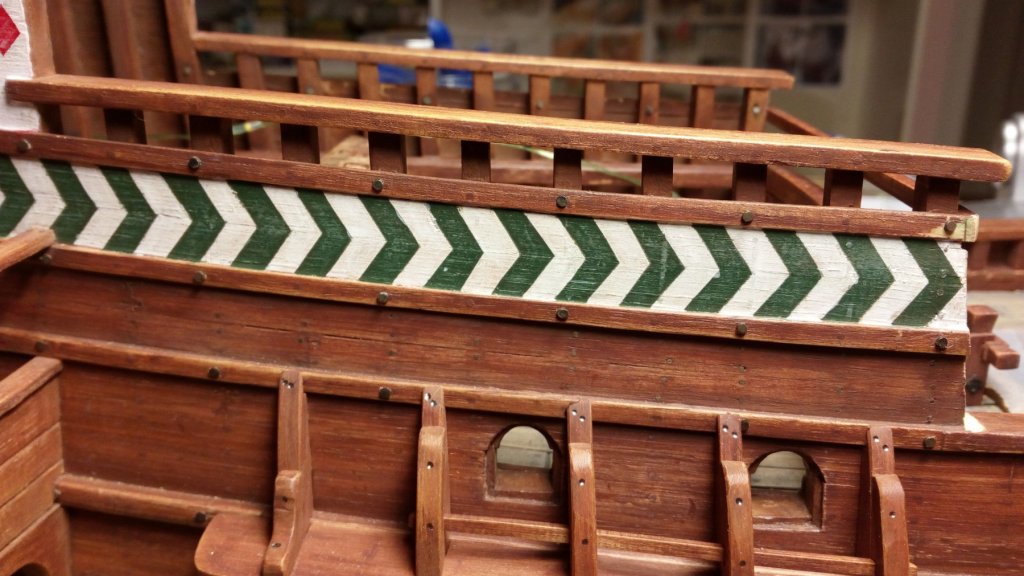
Bolts that remain visible on the inside are also fitted. So that it looks that these bolts run through the frame and the wale.
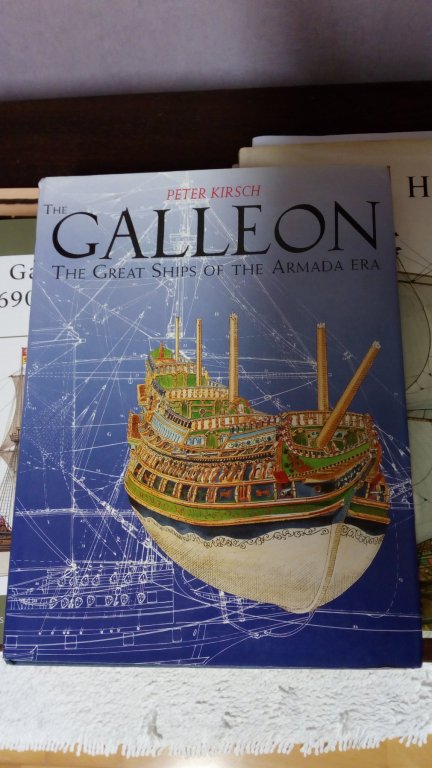
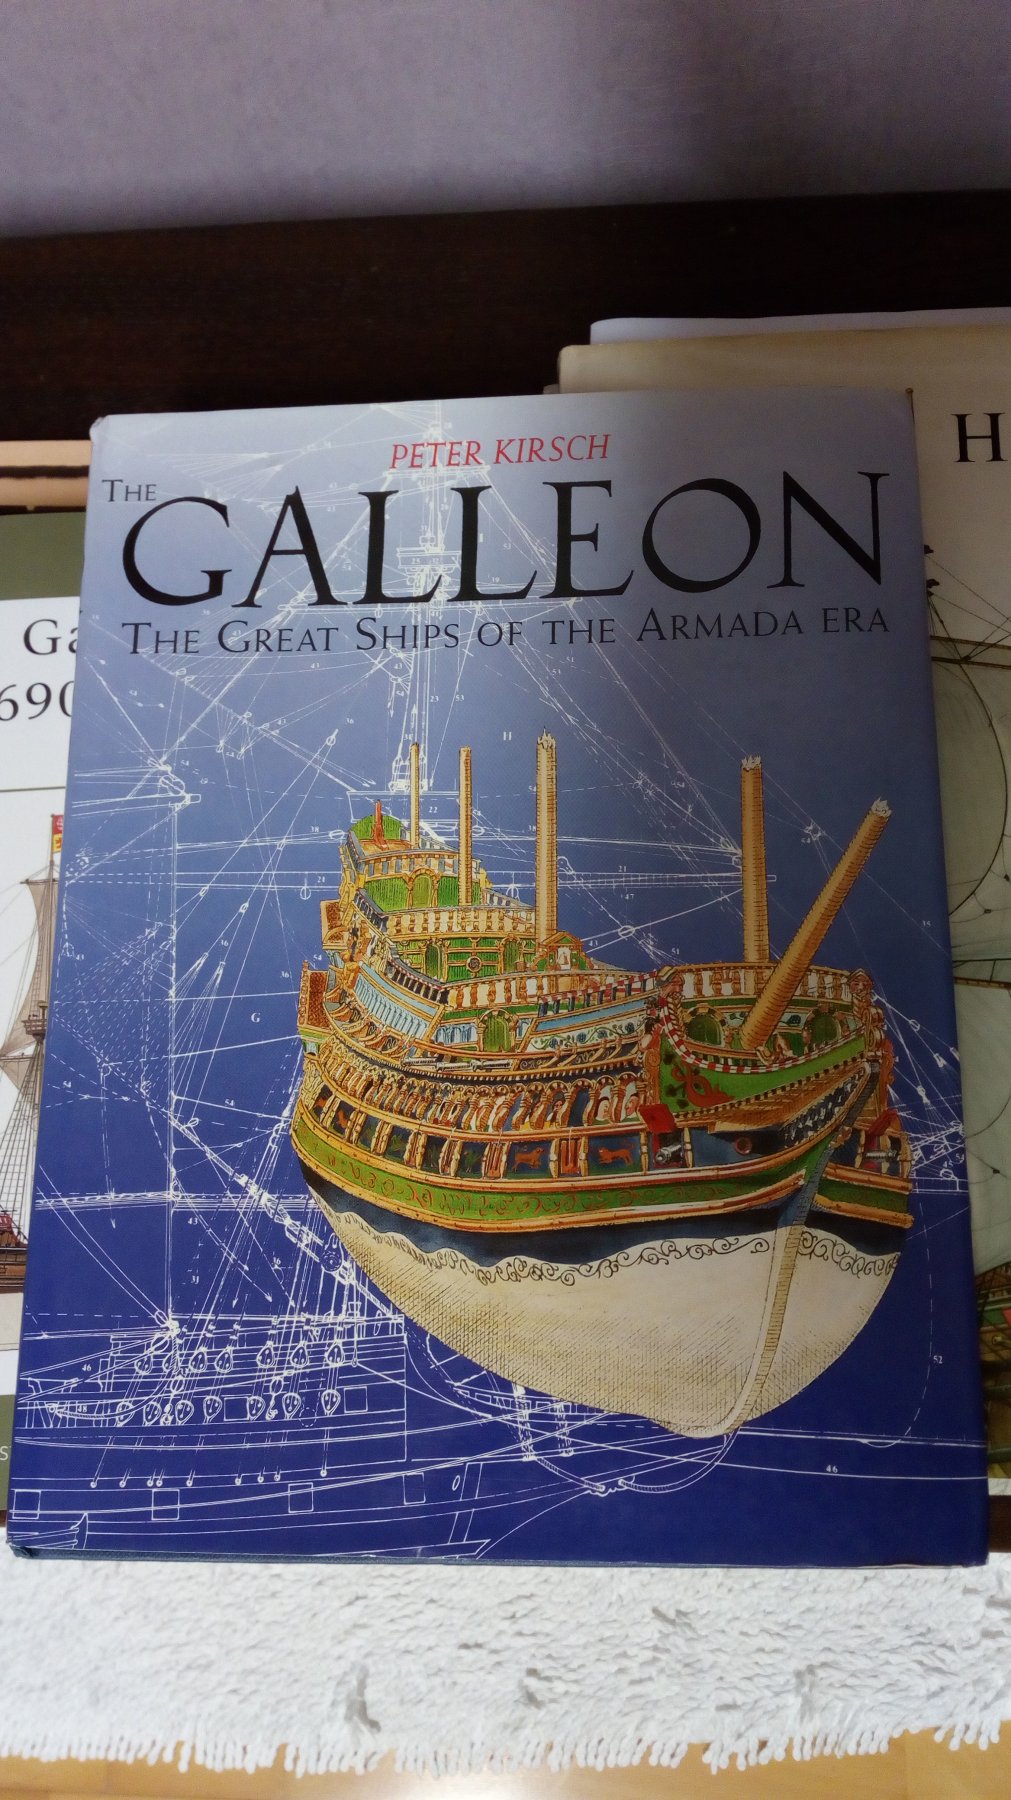
And i have become the proud owner of some interesting books. First I will read and study before I continue to build

-
Beautifully painted.
I use CA glue for PE parts. This is indeed difficult, to glue everything neatly in the right place.- BLACK VIKING, EJ_L and md1400cs
-
3
-
-
8 hours ago, G.L. said:
Patrick,
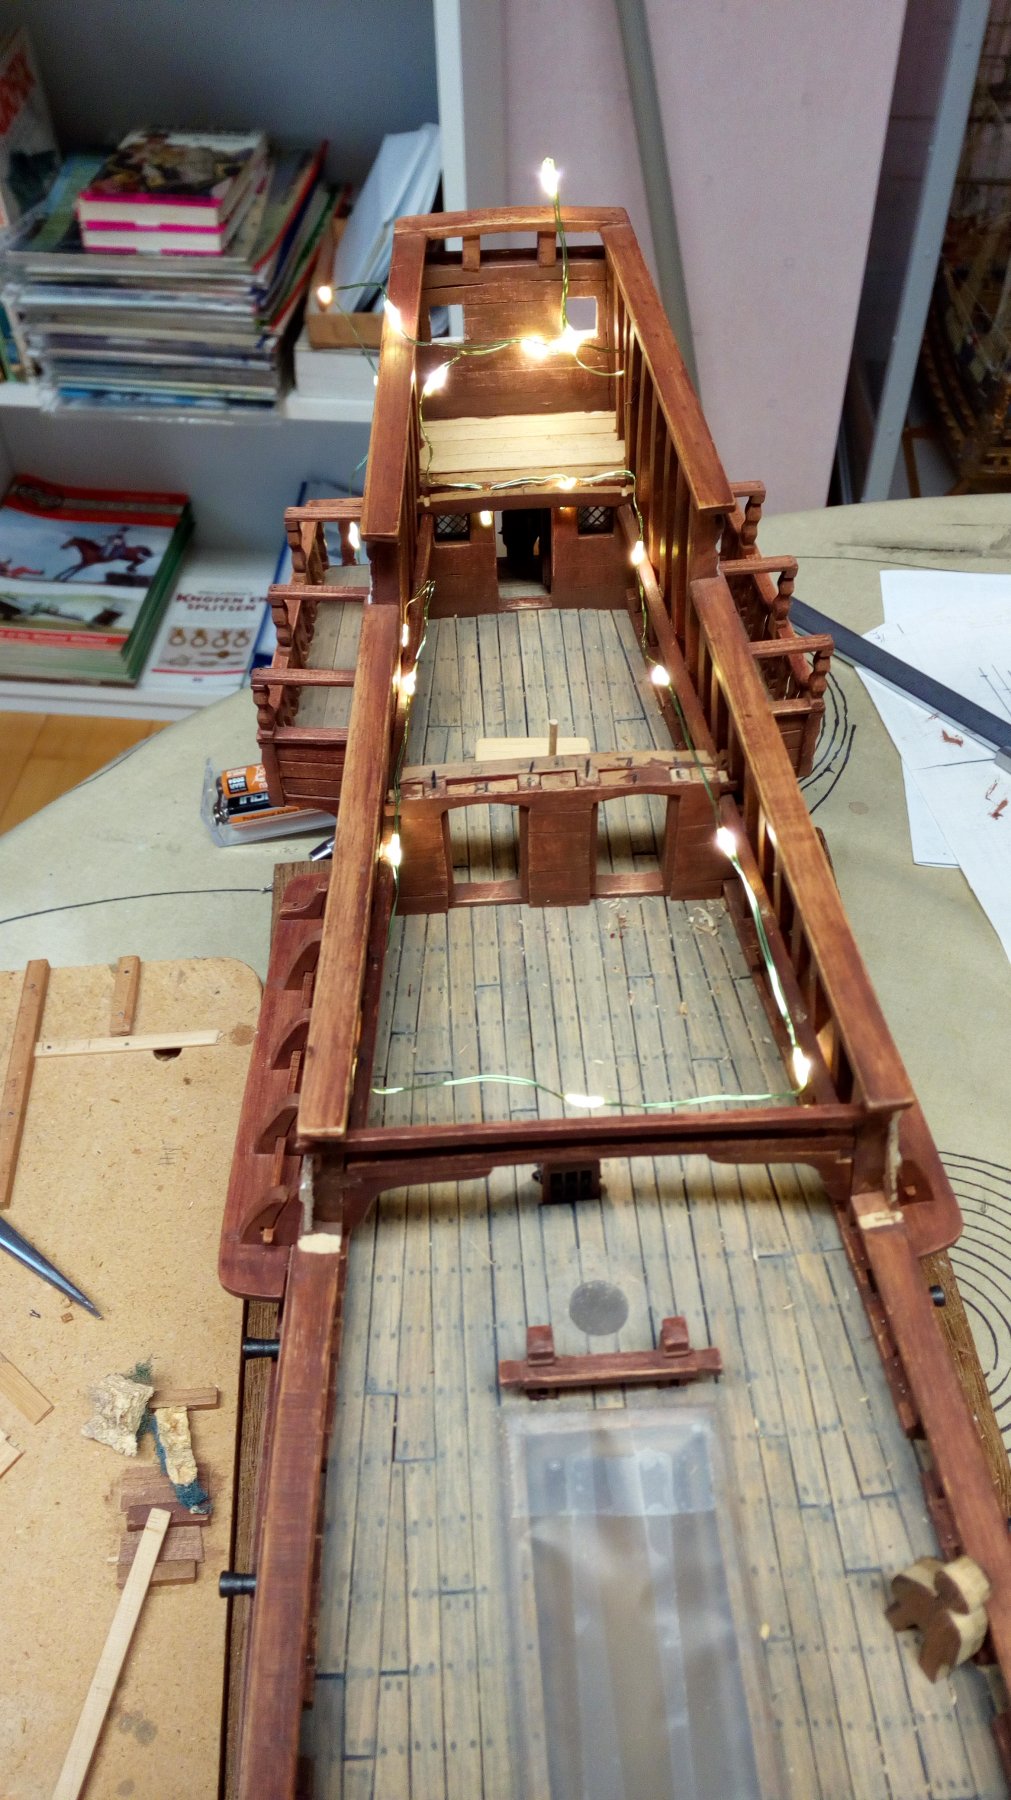
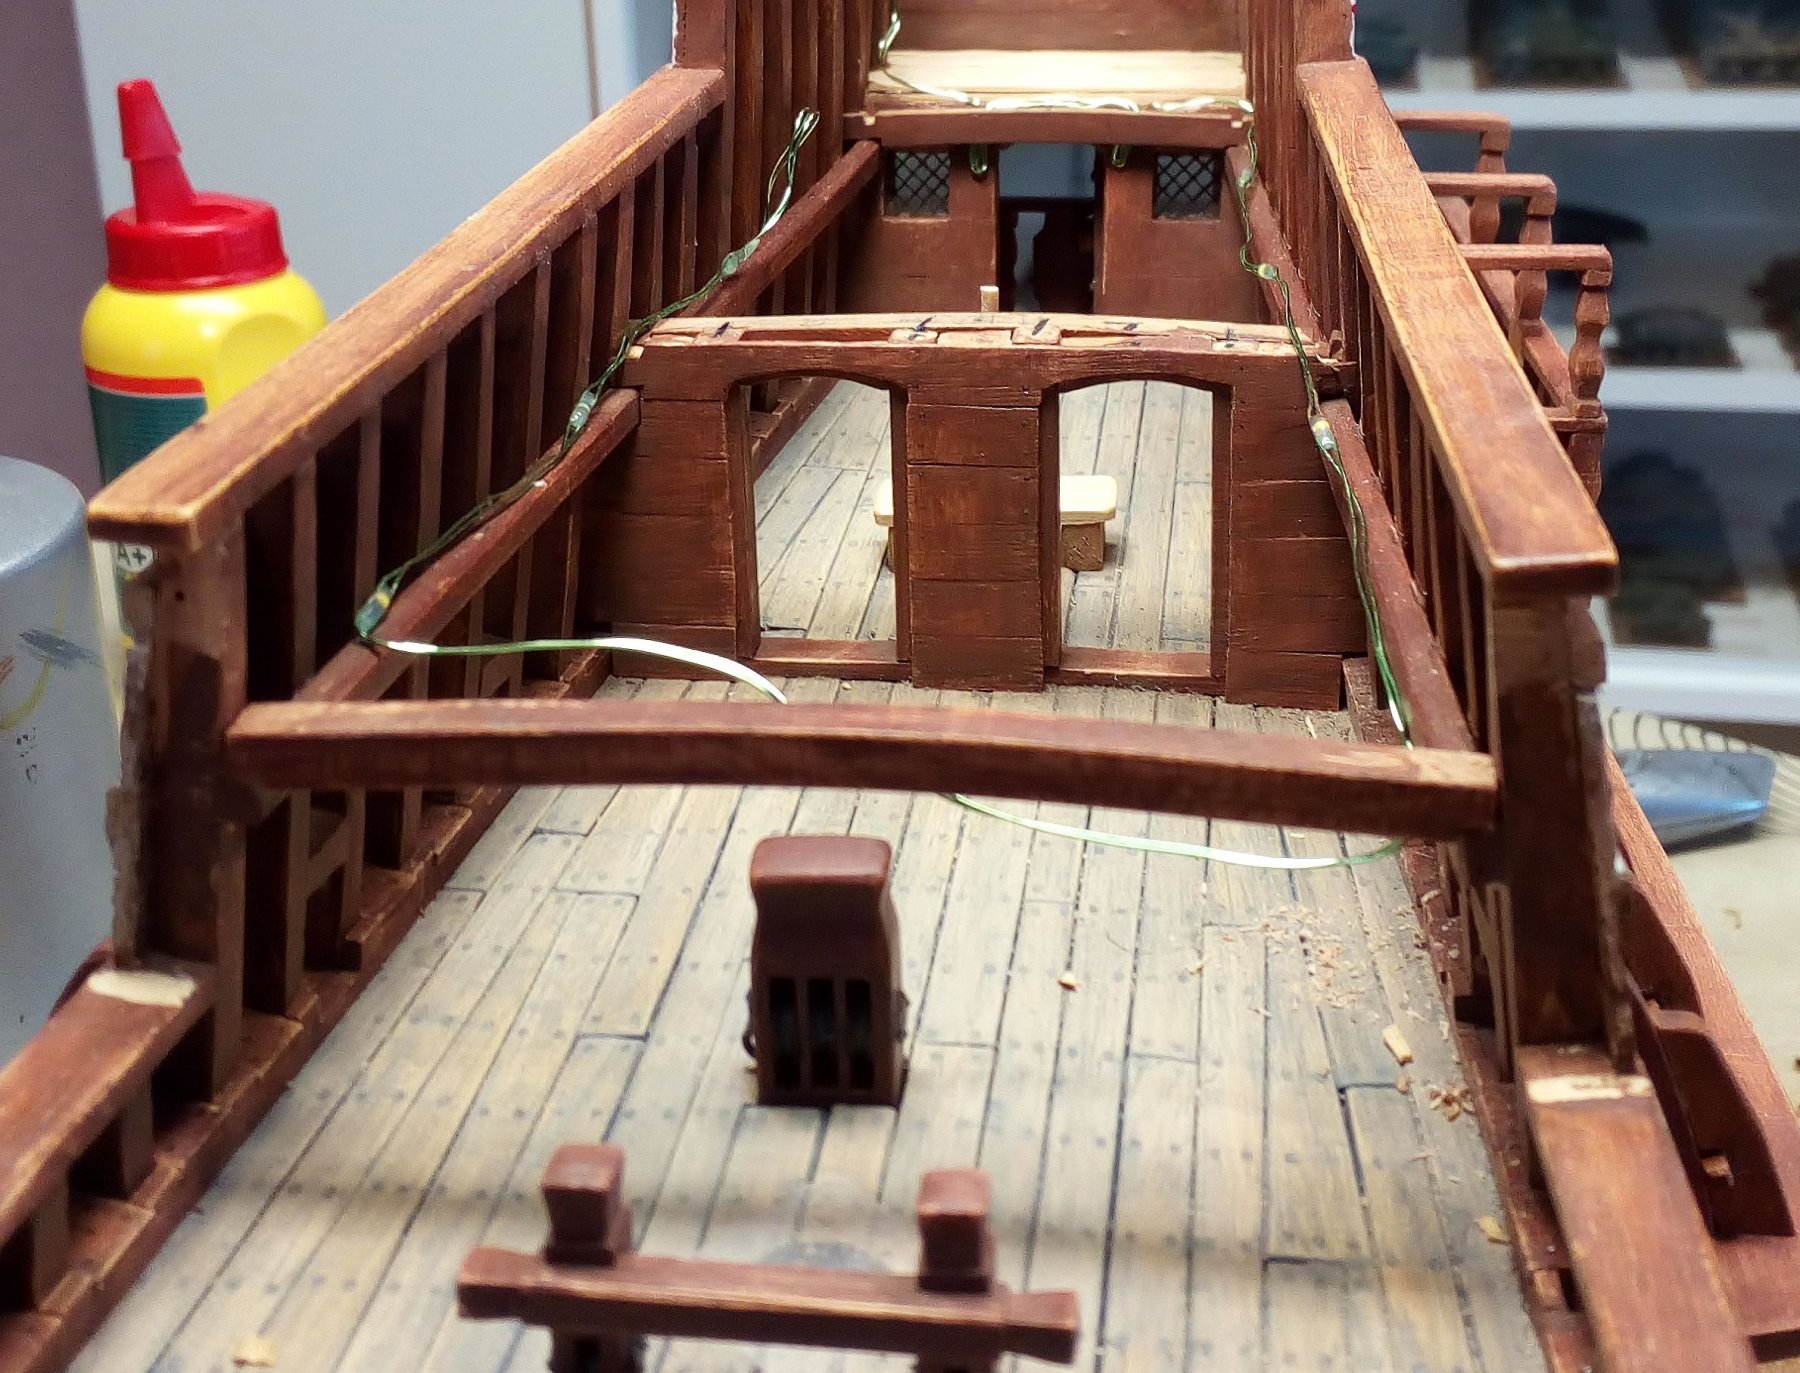
The wire on the sides of the cabin ceiling, is that for lighting?
Indeed
I'm not really that good with electricity so I bought a ready-made set. The disadvantage is that all lights are at the same distance from each other.
That is why it is sometimes a puzzle to get the lights in the right place.
cannon deck below
 6 hours ago, peveka said:
Hi Patrick
I just discovered your log and I like it very much. Very detailed, very informative. Thank you for sharing!
Cheers
Pieter
Welcome on board Pieter
- cog, Barbossa, GrandpaPhil and 3 others
-
6
-
-
-
Thank you all for the nice comments and following
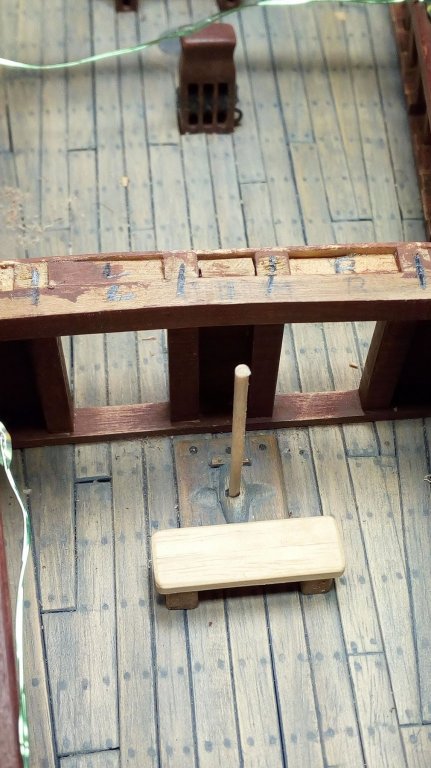
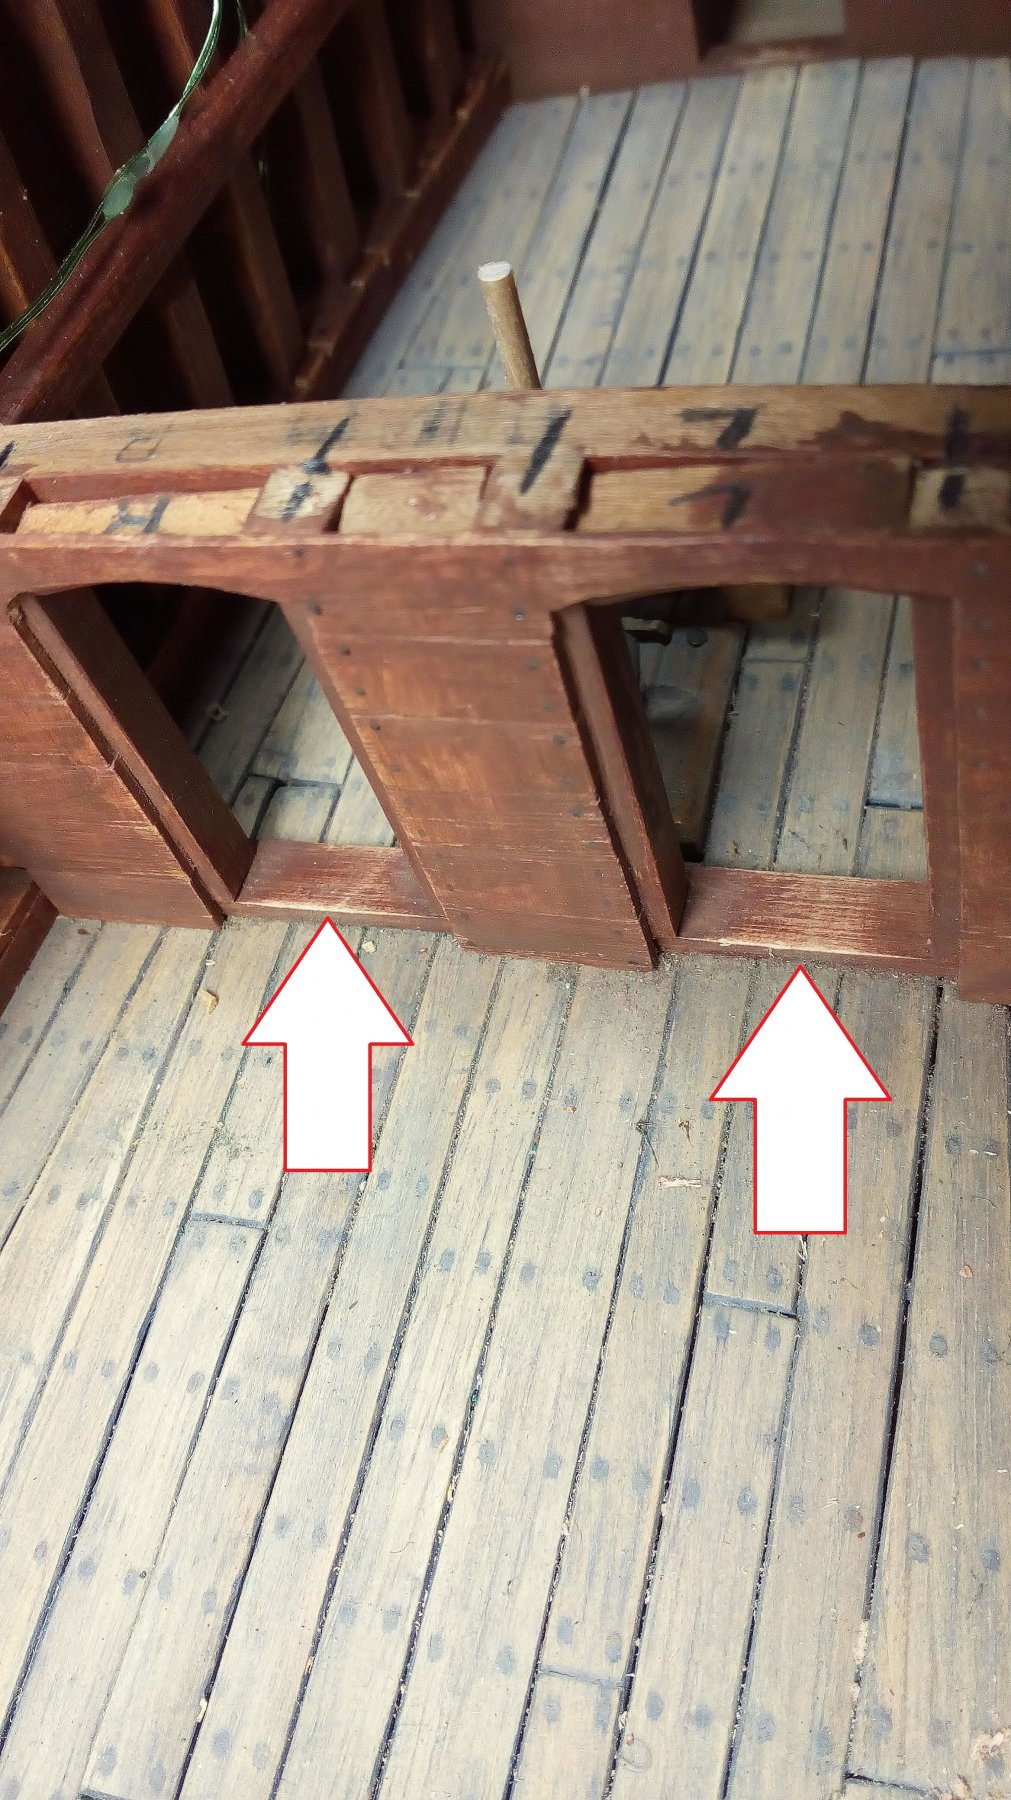
I started with the rear castle. The front part will remain open and the rear part is the cabin for officers, here is also the whippstaff.

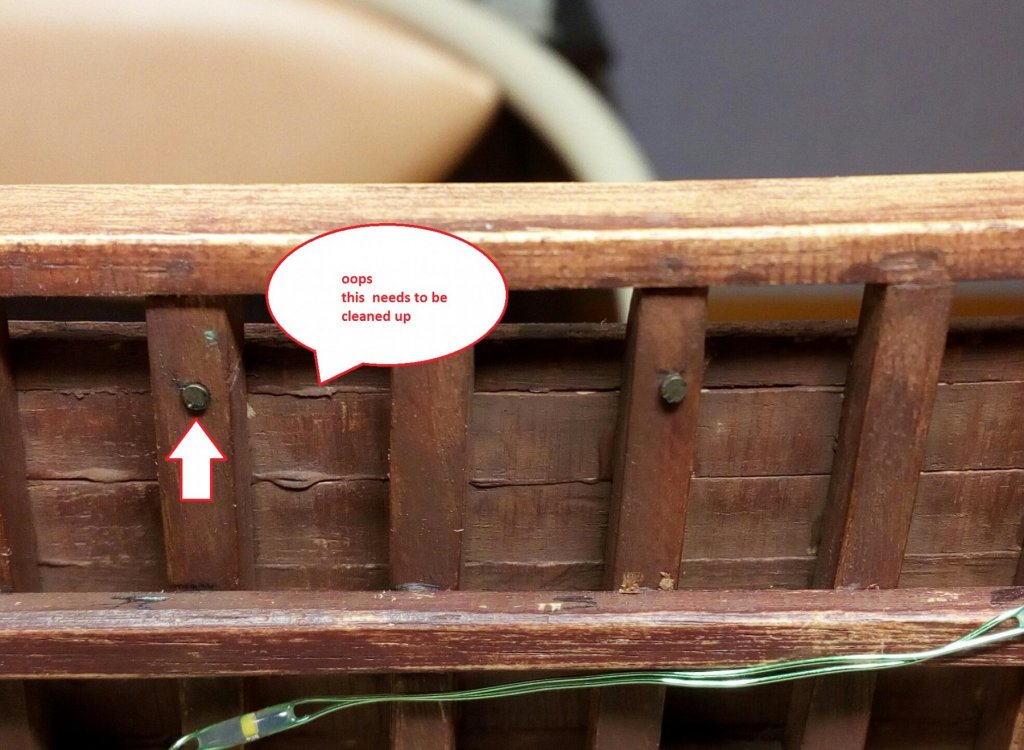
Wear due to frequent passage. Some of the crew are too lazy to raise their feet when they go through the door
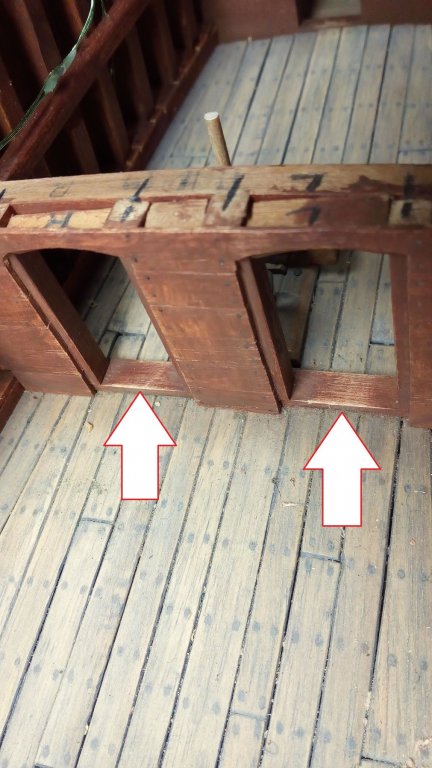
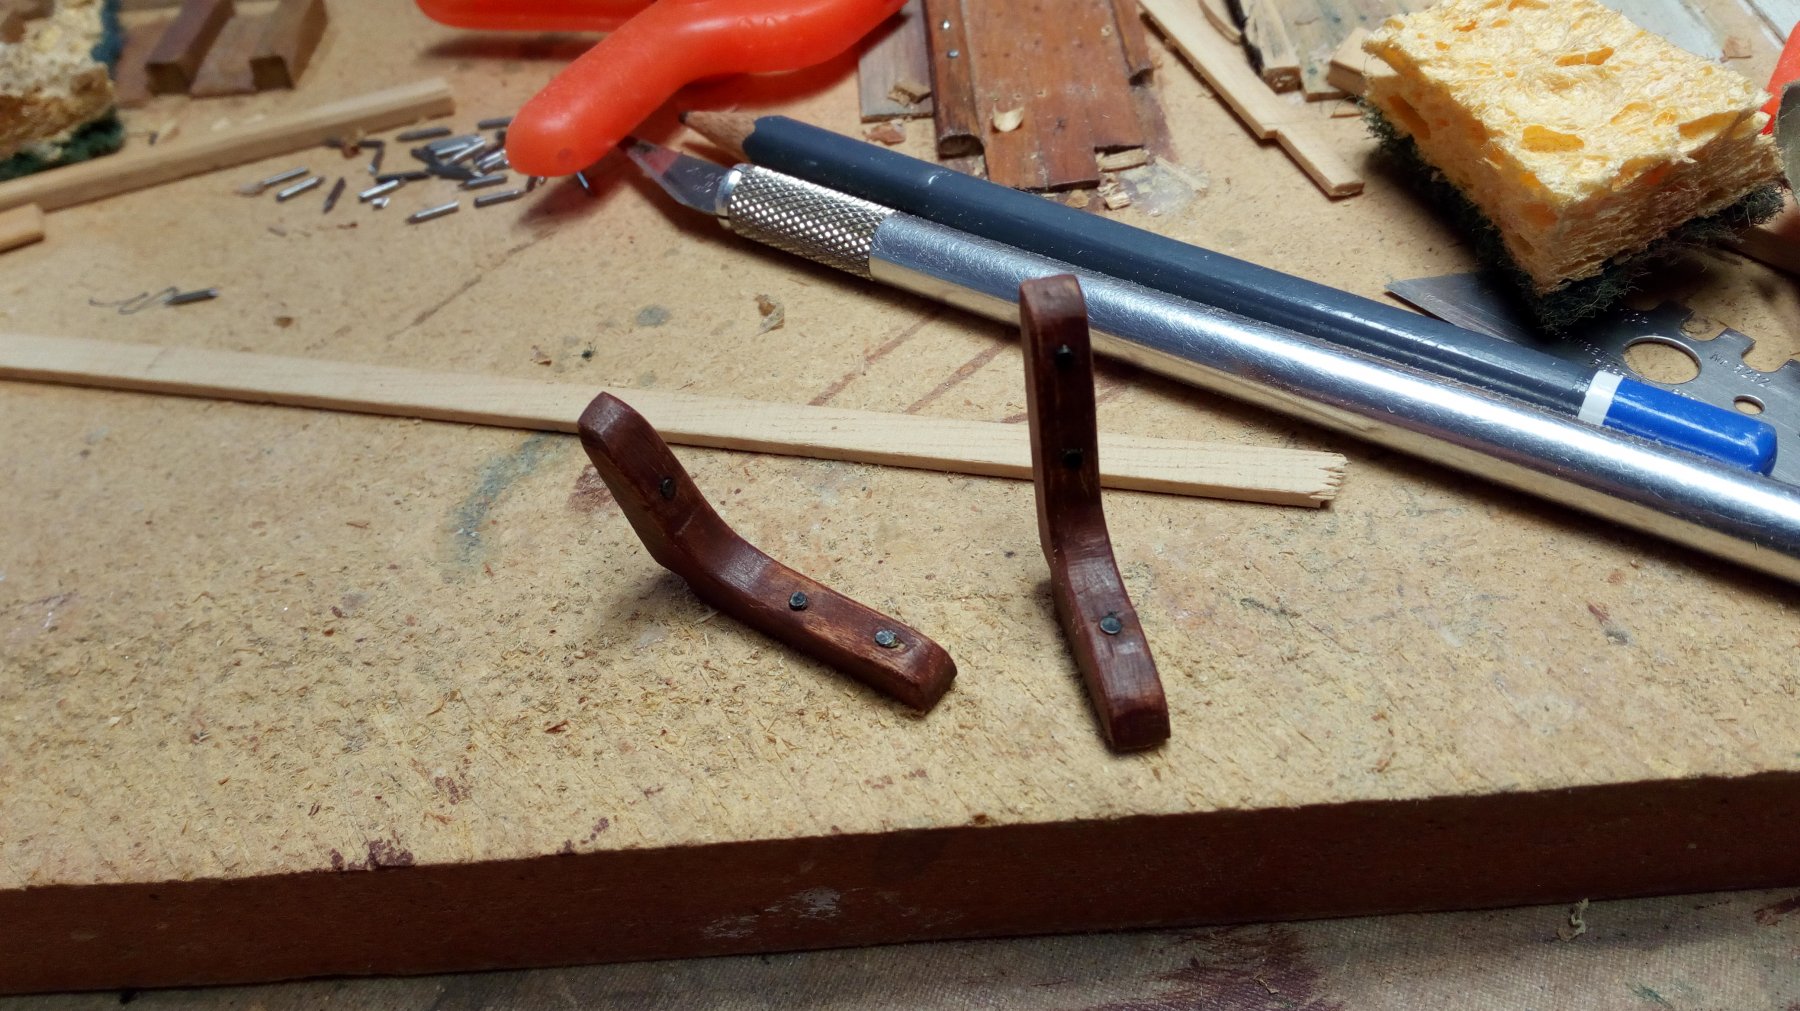
2 hanging knees with bolts

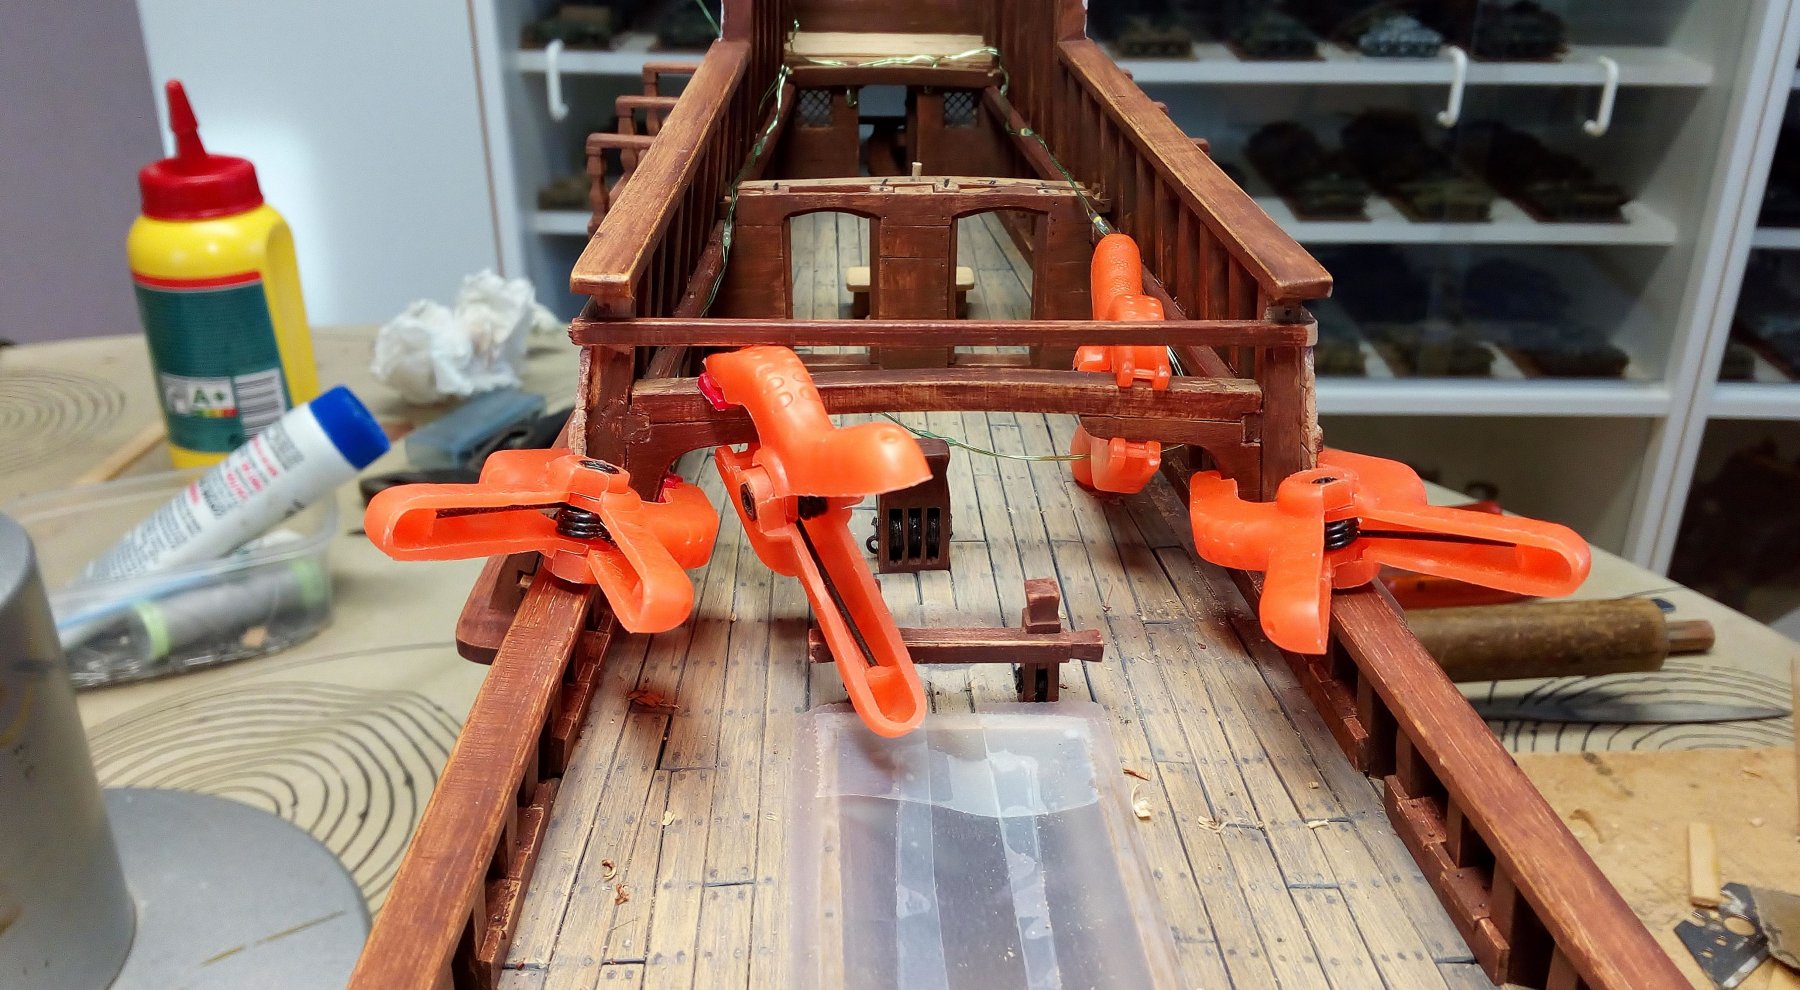
Work in progress
Thanks for following
-
-
-
-
Welcome to MSW Sodburybungy, and good luck with finishing the Victory
-
-
Nicely made and very well explained.
Always a pleasure to follow.- FriedClams, mtaylor, cog and 3 others
-
6
-
-
-
I am also interested in this topic
The Mary rose looks to be a good source of information.
look here on page.80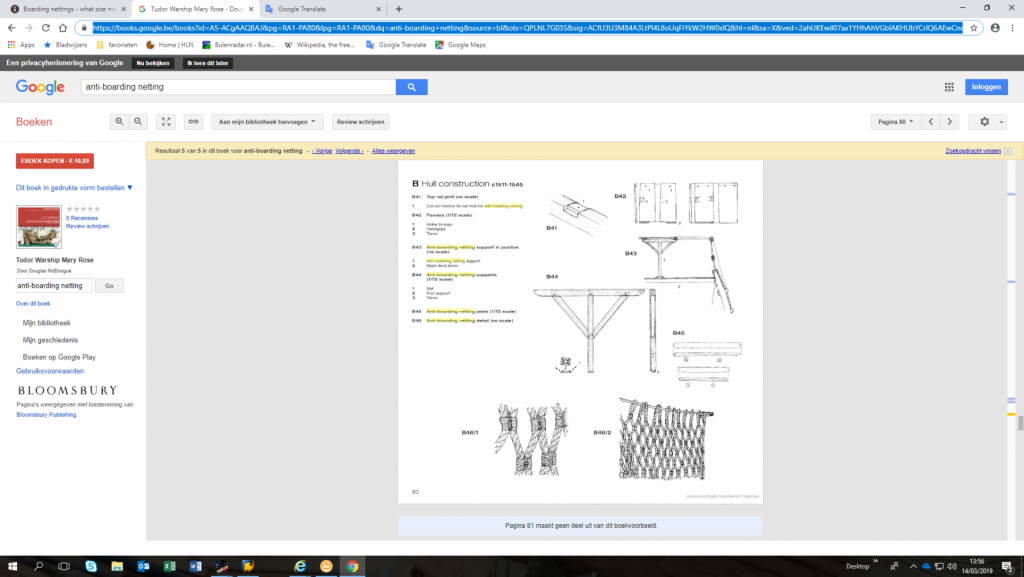
searching further 🧐
And found some more
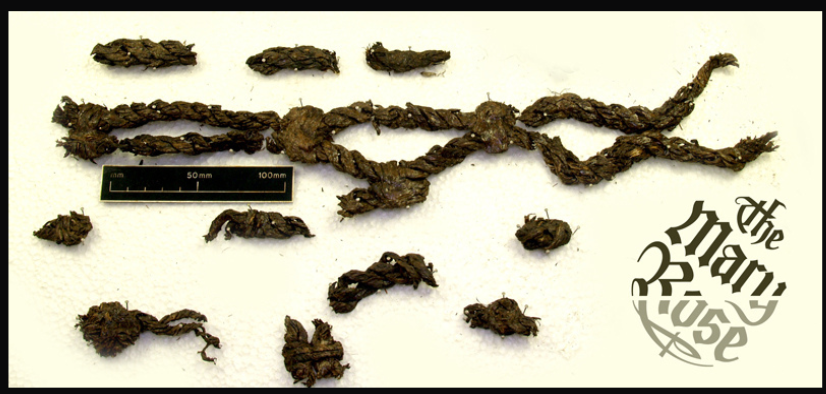
The mesh is about 10cm
The rope is (roughly estimated) 1.5cm
Anti-Boarding Net _ These are fragments of anti-boarding net… _ Flickr.html
- allanyed, mtaylor, Louie da fly and 1 other
-
4
-
Made a few 1/72e scale military kits from Hobbyboss
They were easy to build and of good quality


Just Begining
in New member Introductions
Posted
Greetings and