


Baker
-
Posts
4,134 -
Joined
-
Last visited
Content Type
Profiles
Forums
Gallery
Events
Posts posted by Baker
-
-
-
An impressive cross section
well done
- FriedClams, mtaylor and G.L.
-
 3
3
-
Great work, and very detailed
Well done !
- popeye the sailor, md1400cs and EJ_L
-
3
-
There are no dumb questions about this topic
")
The piece looks way too big. Are you sure this is the right piece on the right place?
planking info :
http://modelshipworldforum.com/ship-model-framing-and-planking-articles.php
-
-
Hopefully this info will help you further,
The lengths and widths of the planks varied during this period
More info can be found in my log of the Golden Hind (approximately from post 50)
Following the information found the planks were 4.2 to 5.2 meters long
The average thickness is 7 cm
The width varied between 36 and 48 cm
The widest planks were located at the bottom of the hull
Greetings,
Patrick
- Tigersteve, Osmosis and Griphos
-
3
-
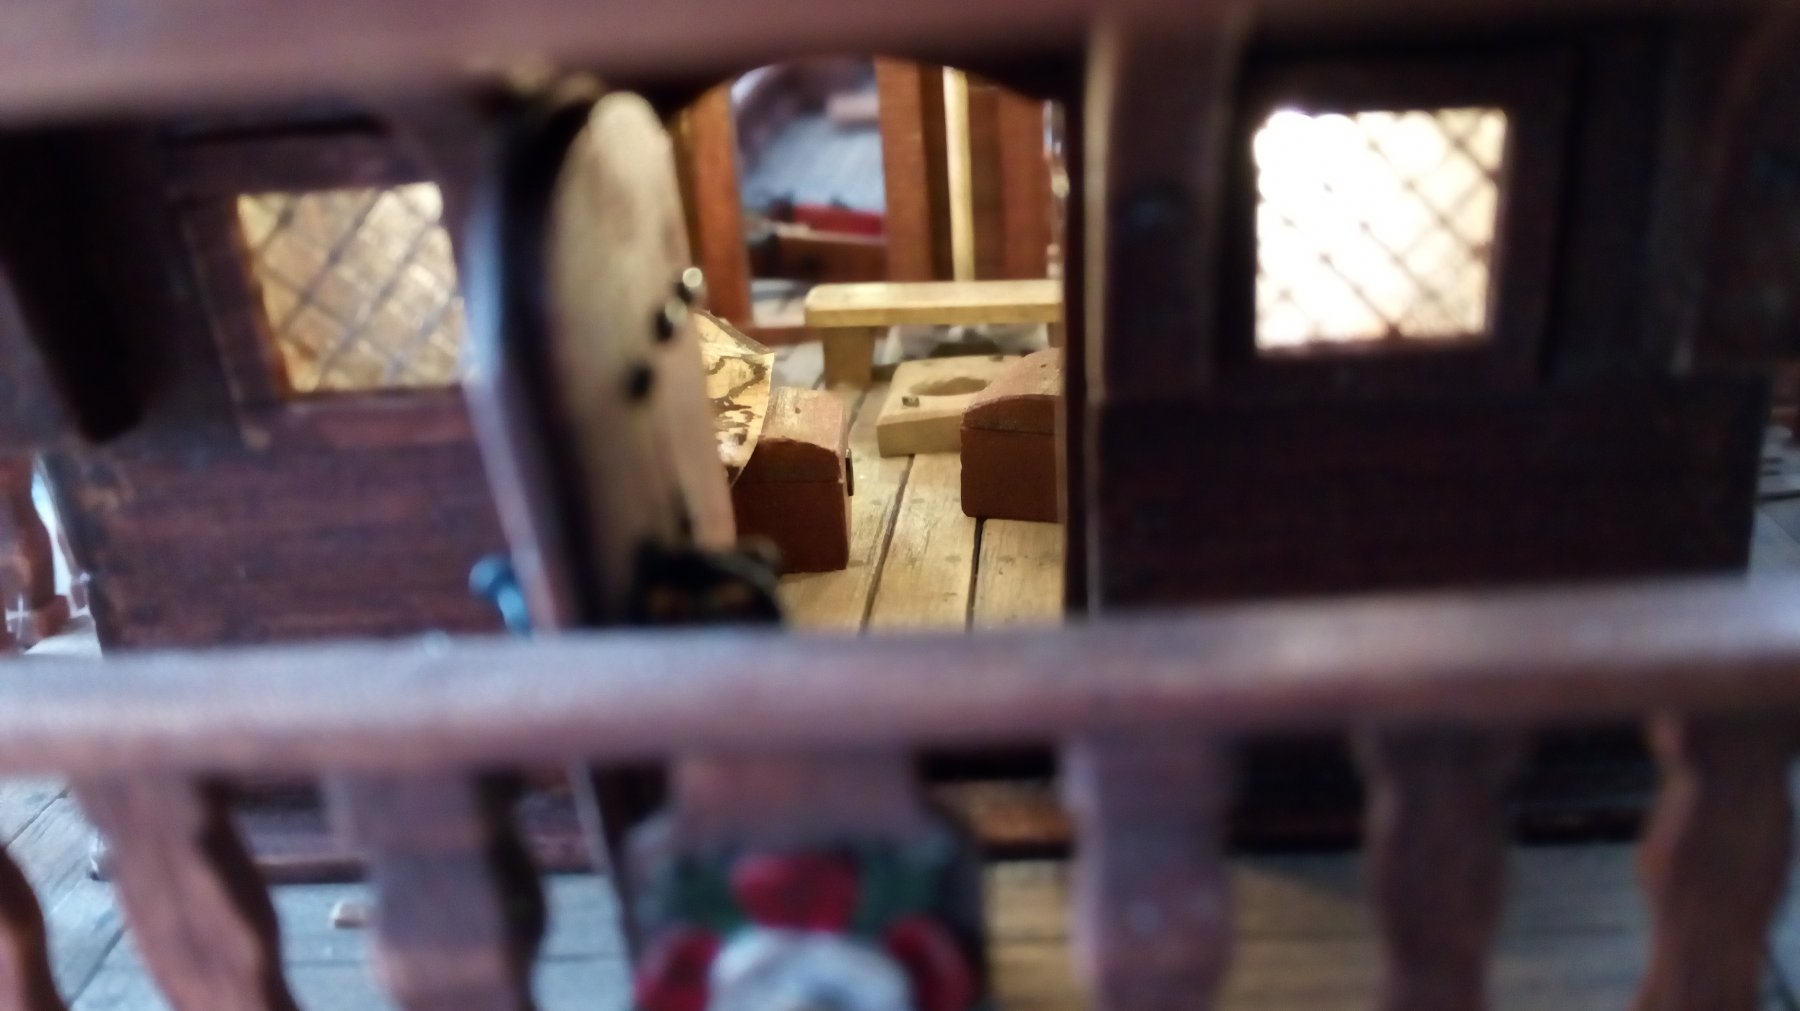
22 hours ago, cog said:
I love those details, Patrick. Well done. THe shots taken trhough the ship look marvelous.
Thanks for yhe nice words.
14 hours ago, G.L. said:Very detailed! Nice work Patrick.
Your next gun doesn't look very easy to build.
thanks. And yes, building these 2 canons will be a challenge.
-
Hello everyone,
Update.
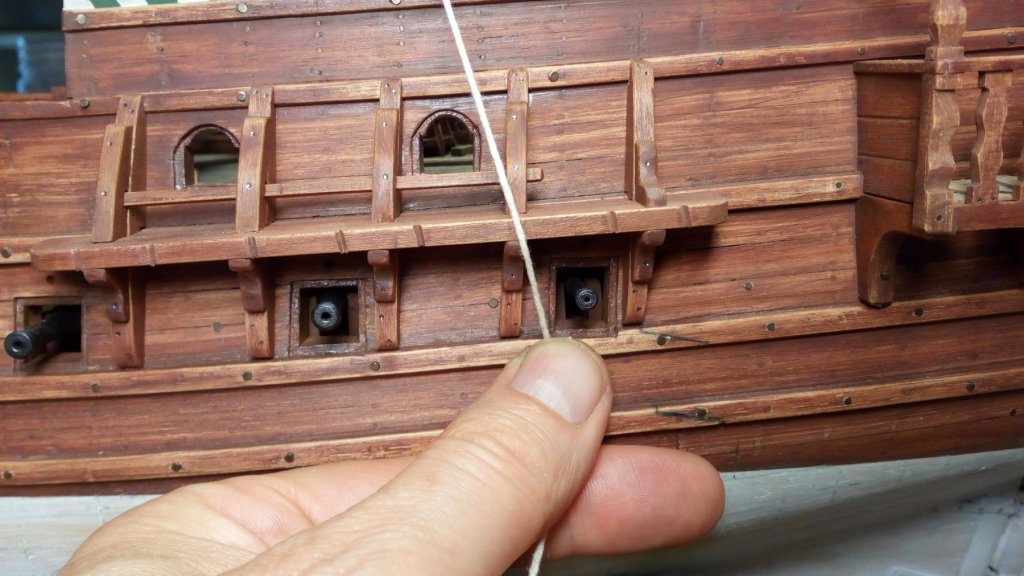
Grooves are made in the channels.
marking with a pencil
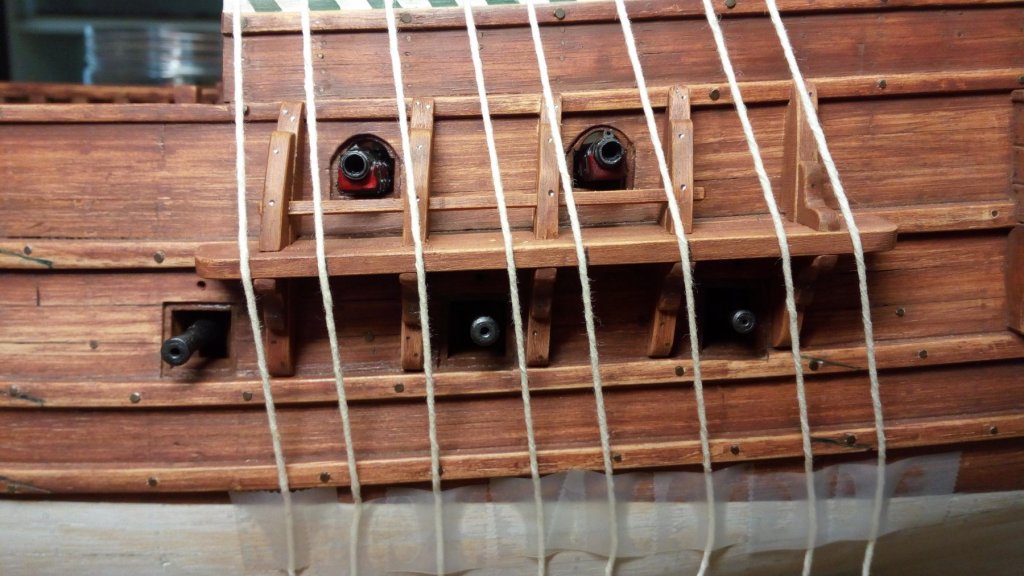

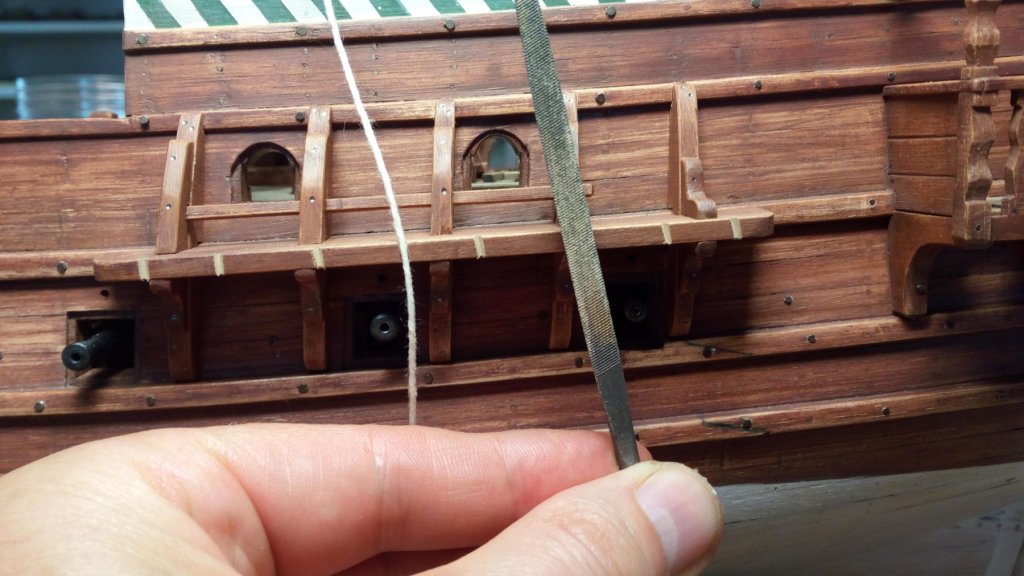
I think (hope) that they are big enough.
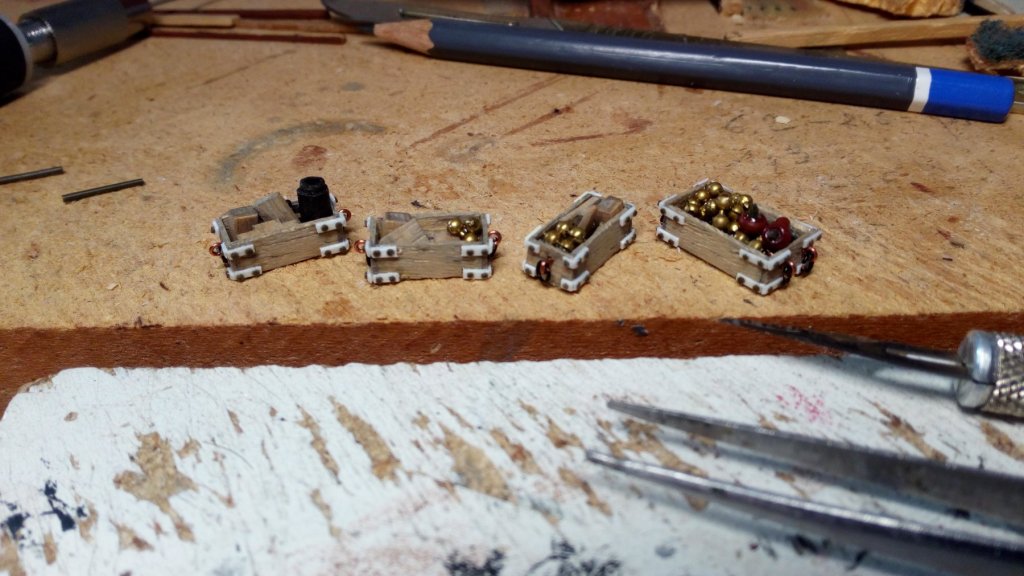
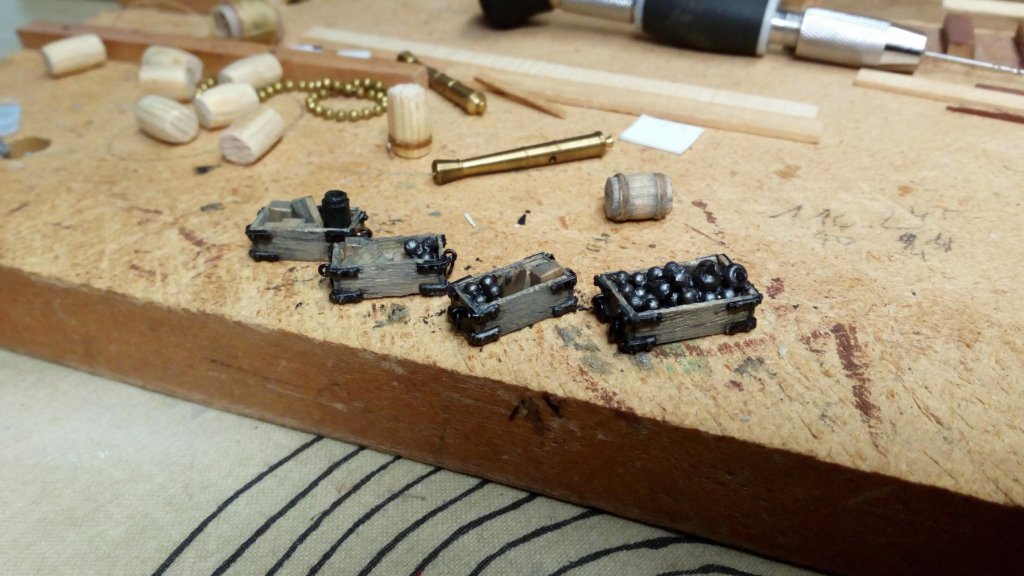
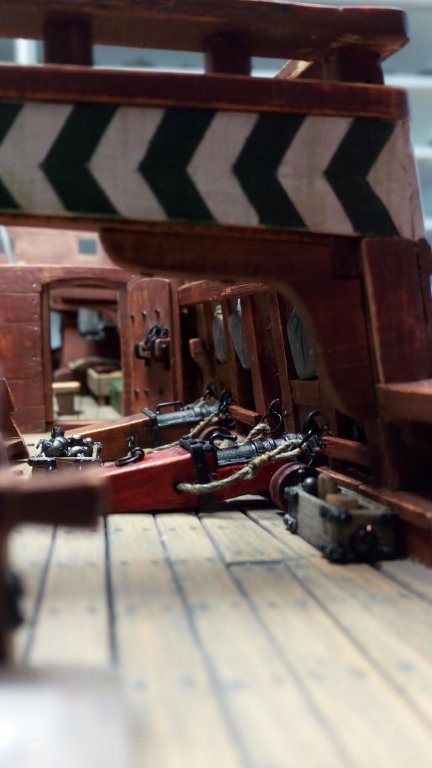
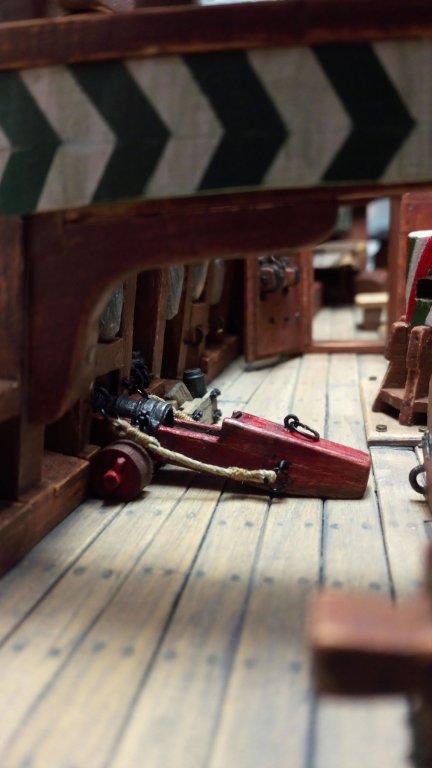
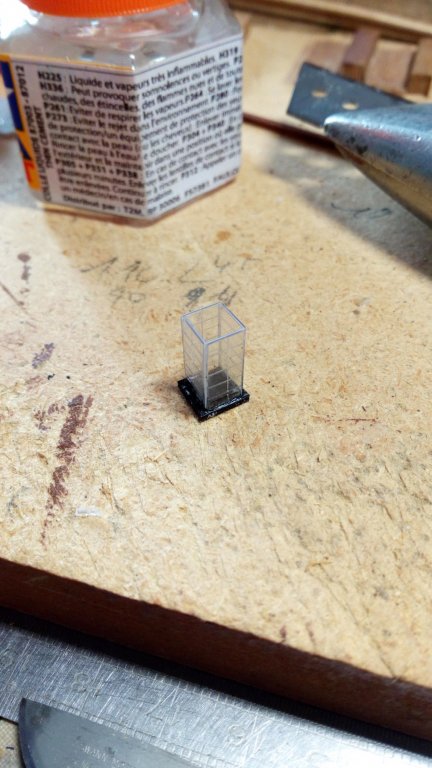
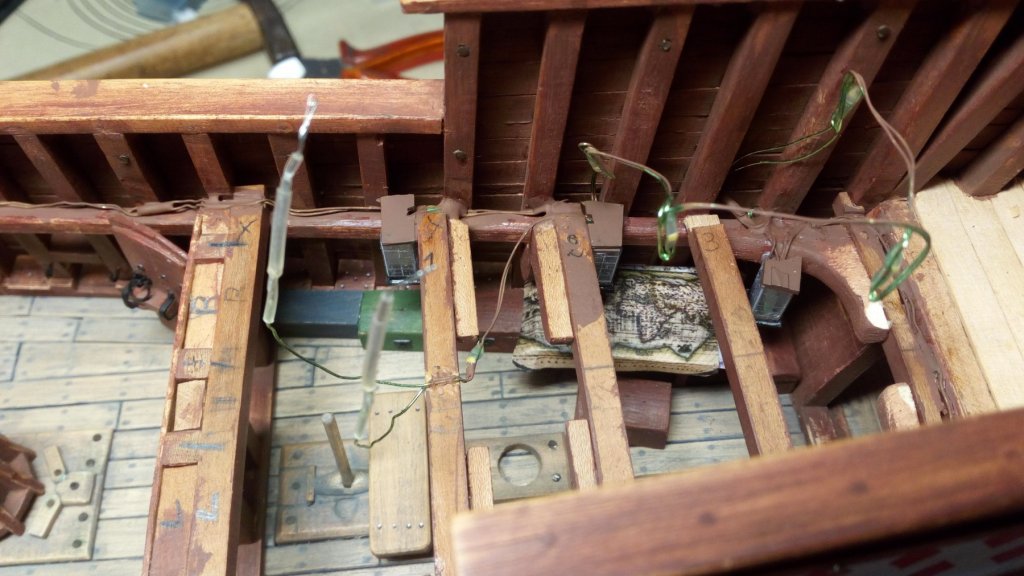
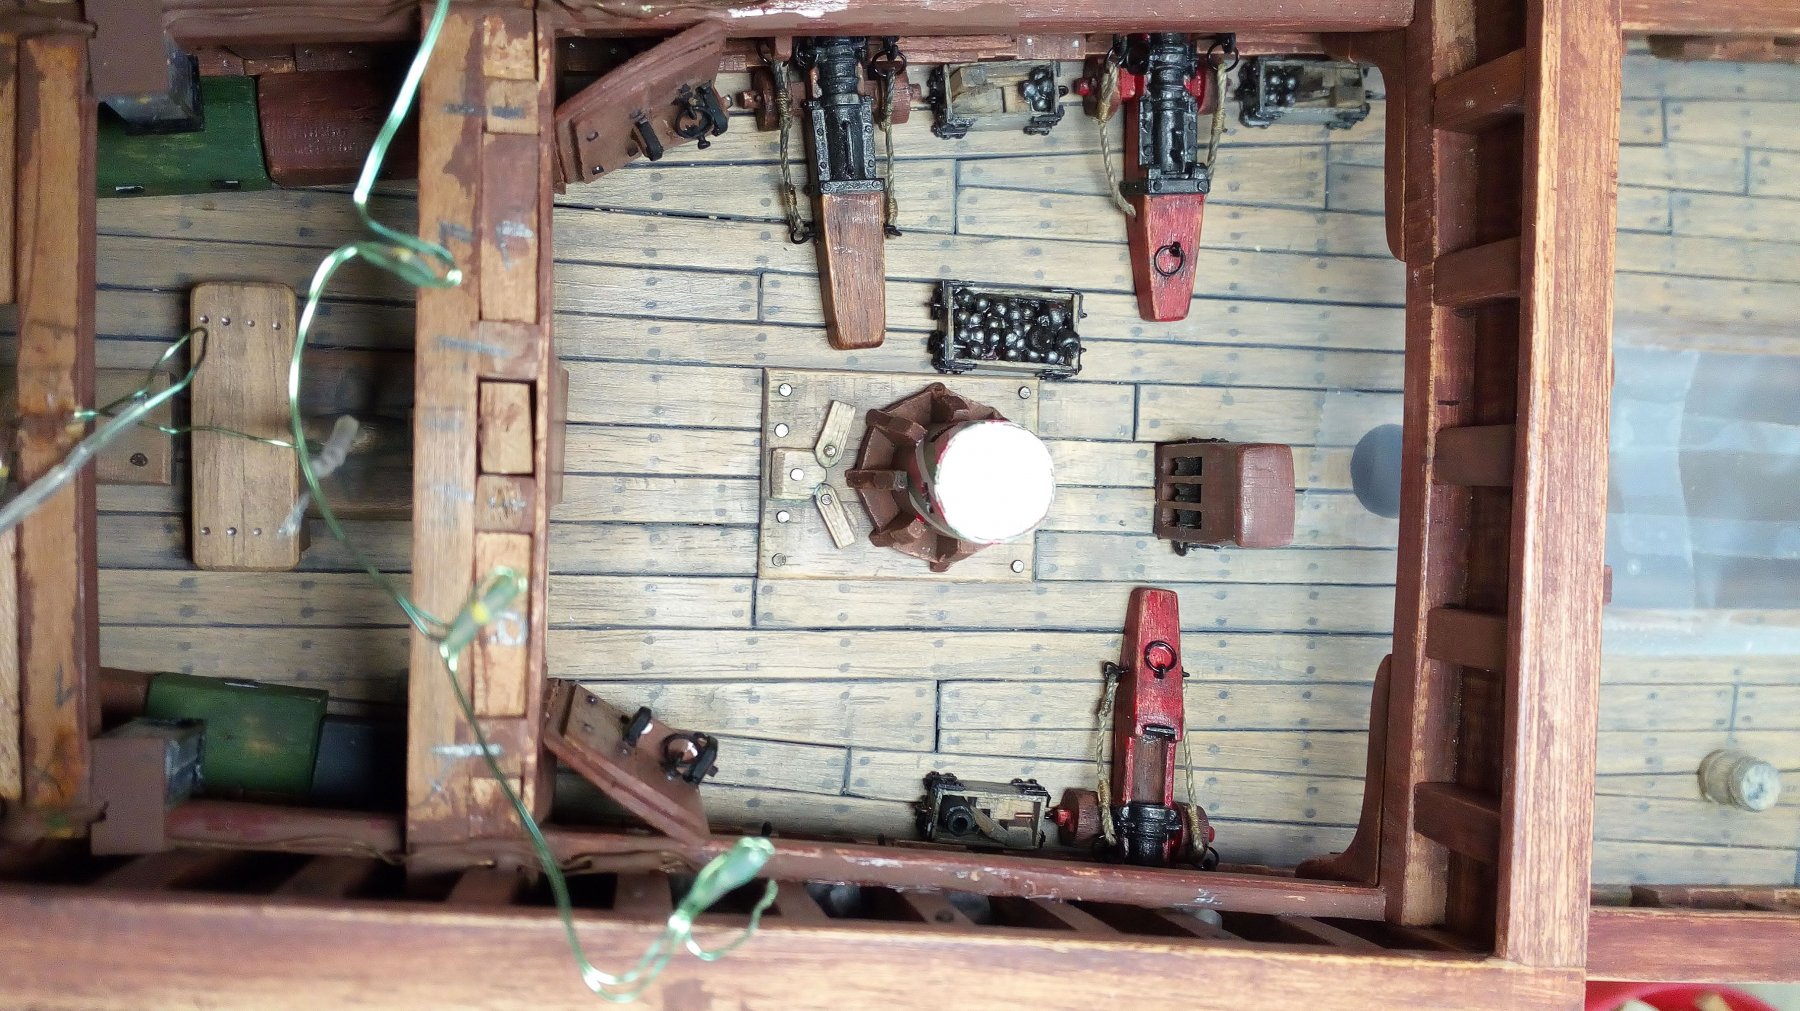
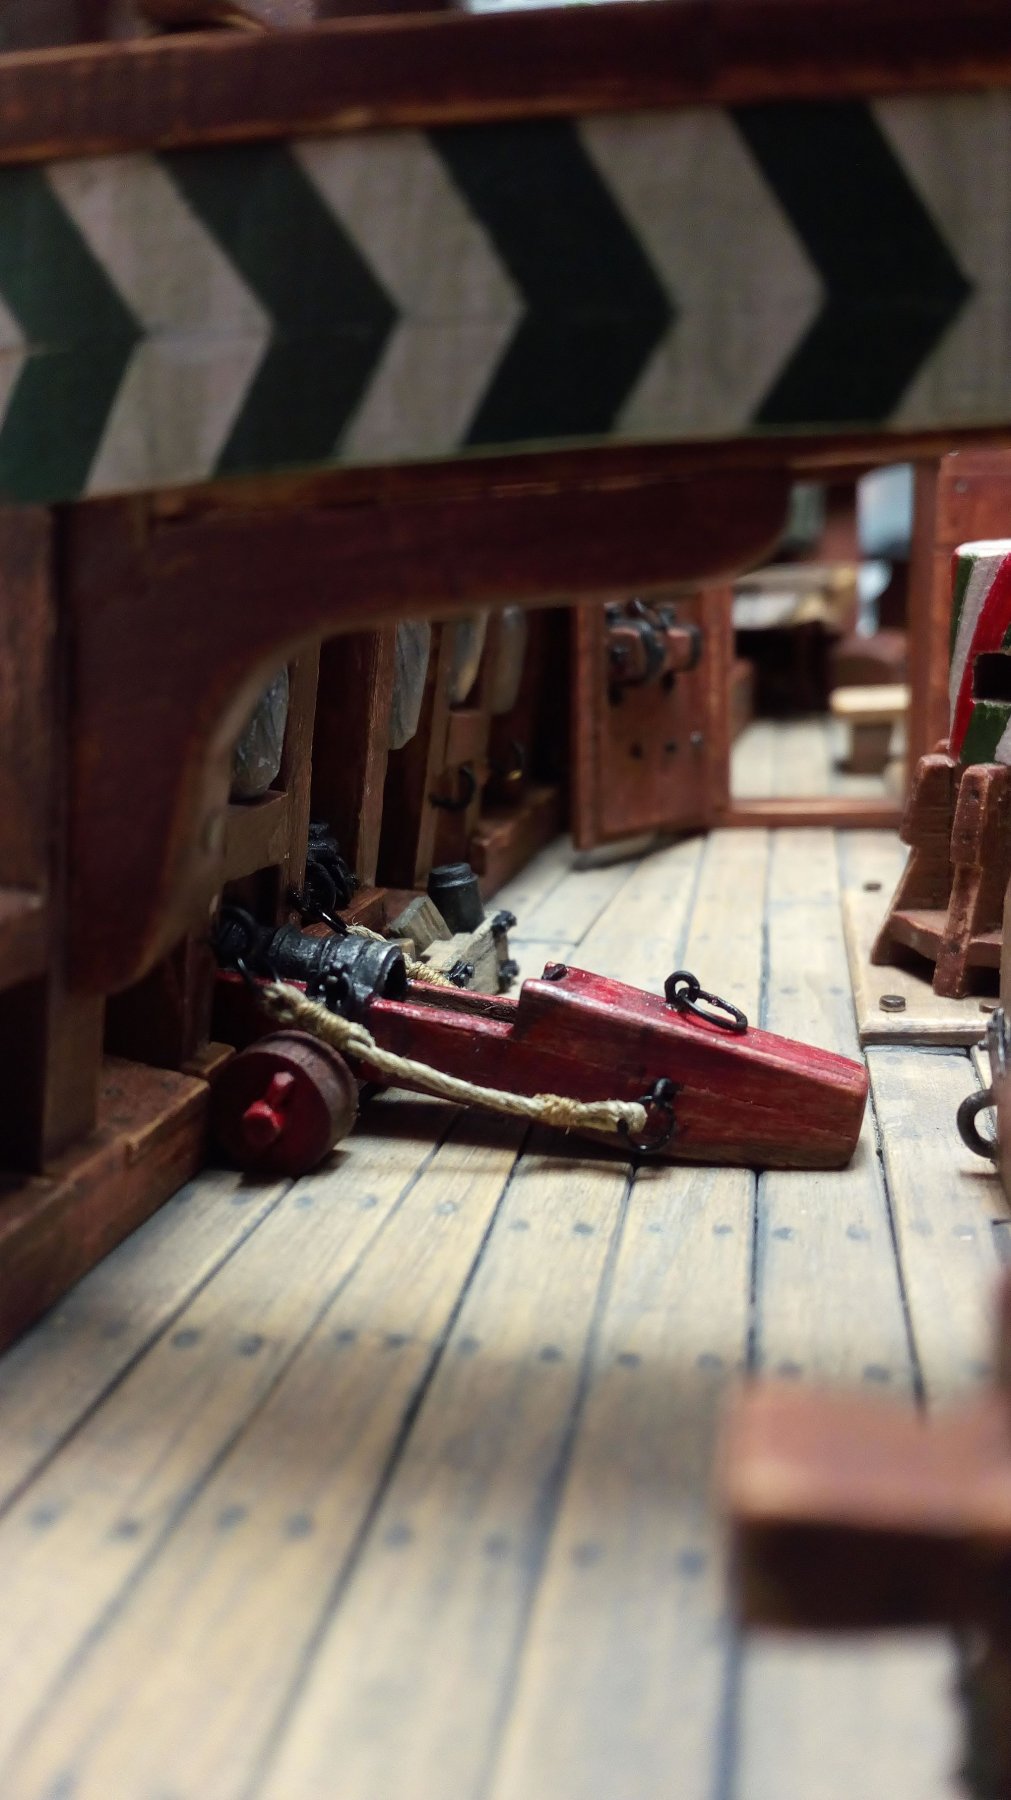
To bring some life into the model varied personal items will be added. "Bags" of crew members, small barrels, a crate with material for each cannon and a crate with ammunition for the present cannons. Gunpowder was not stored near the cannons for safety reasons.
An example how it could be
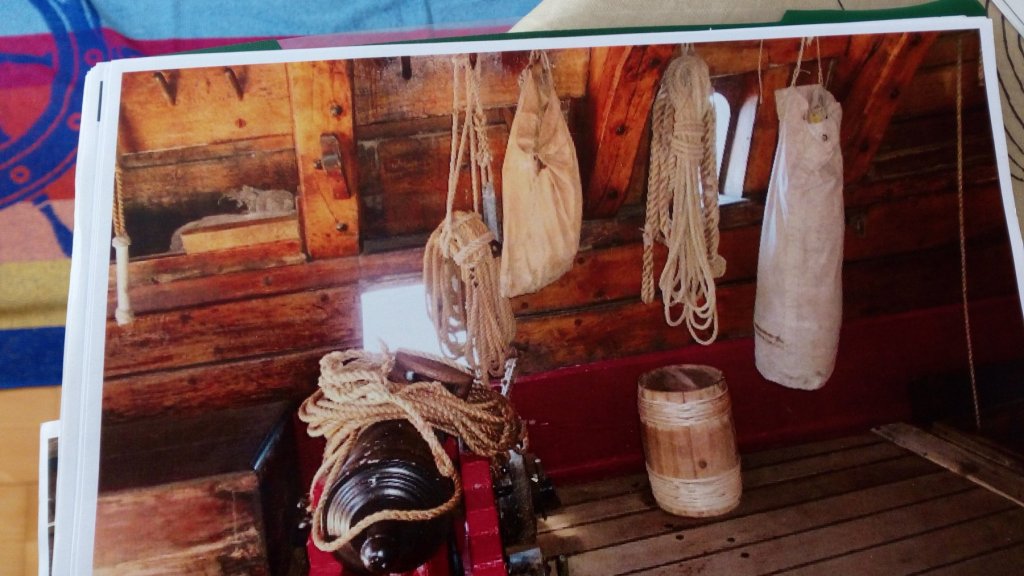
Bags are of wood and tissue. Barrels of wood and rope


Crates an varied ammunition
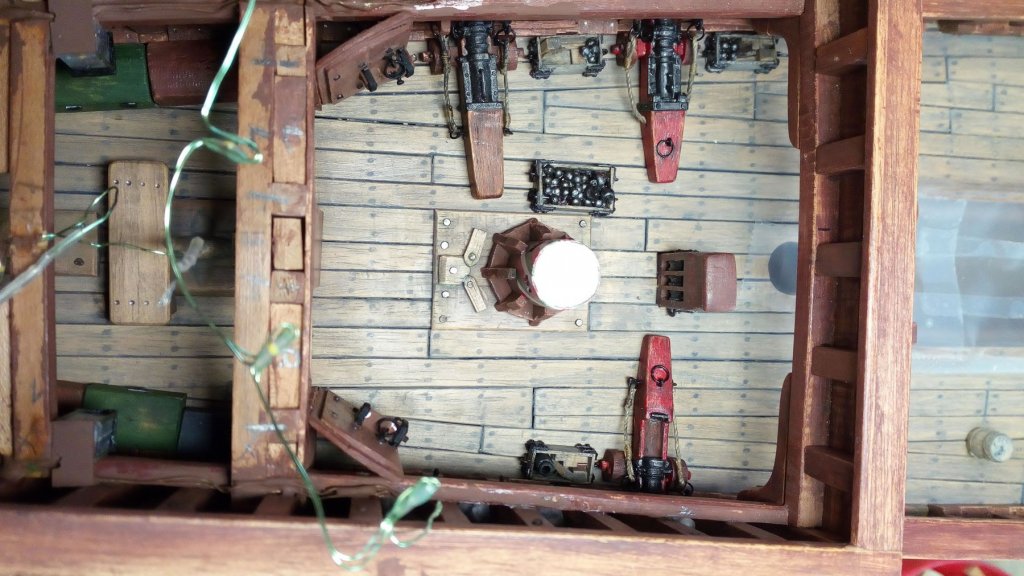
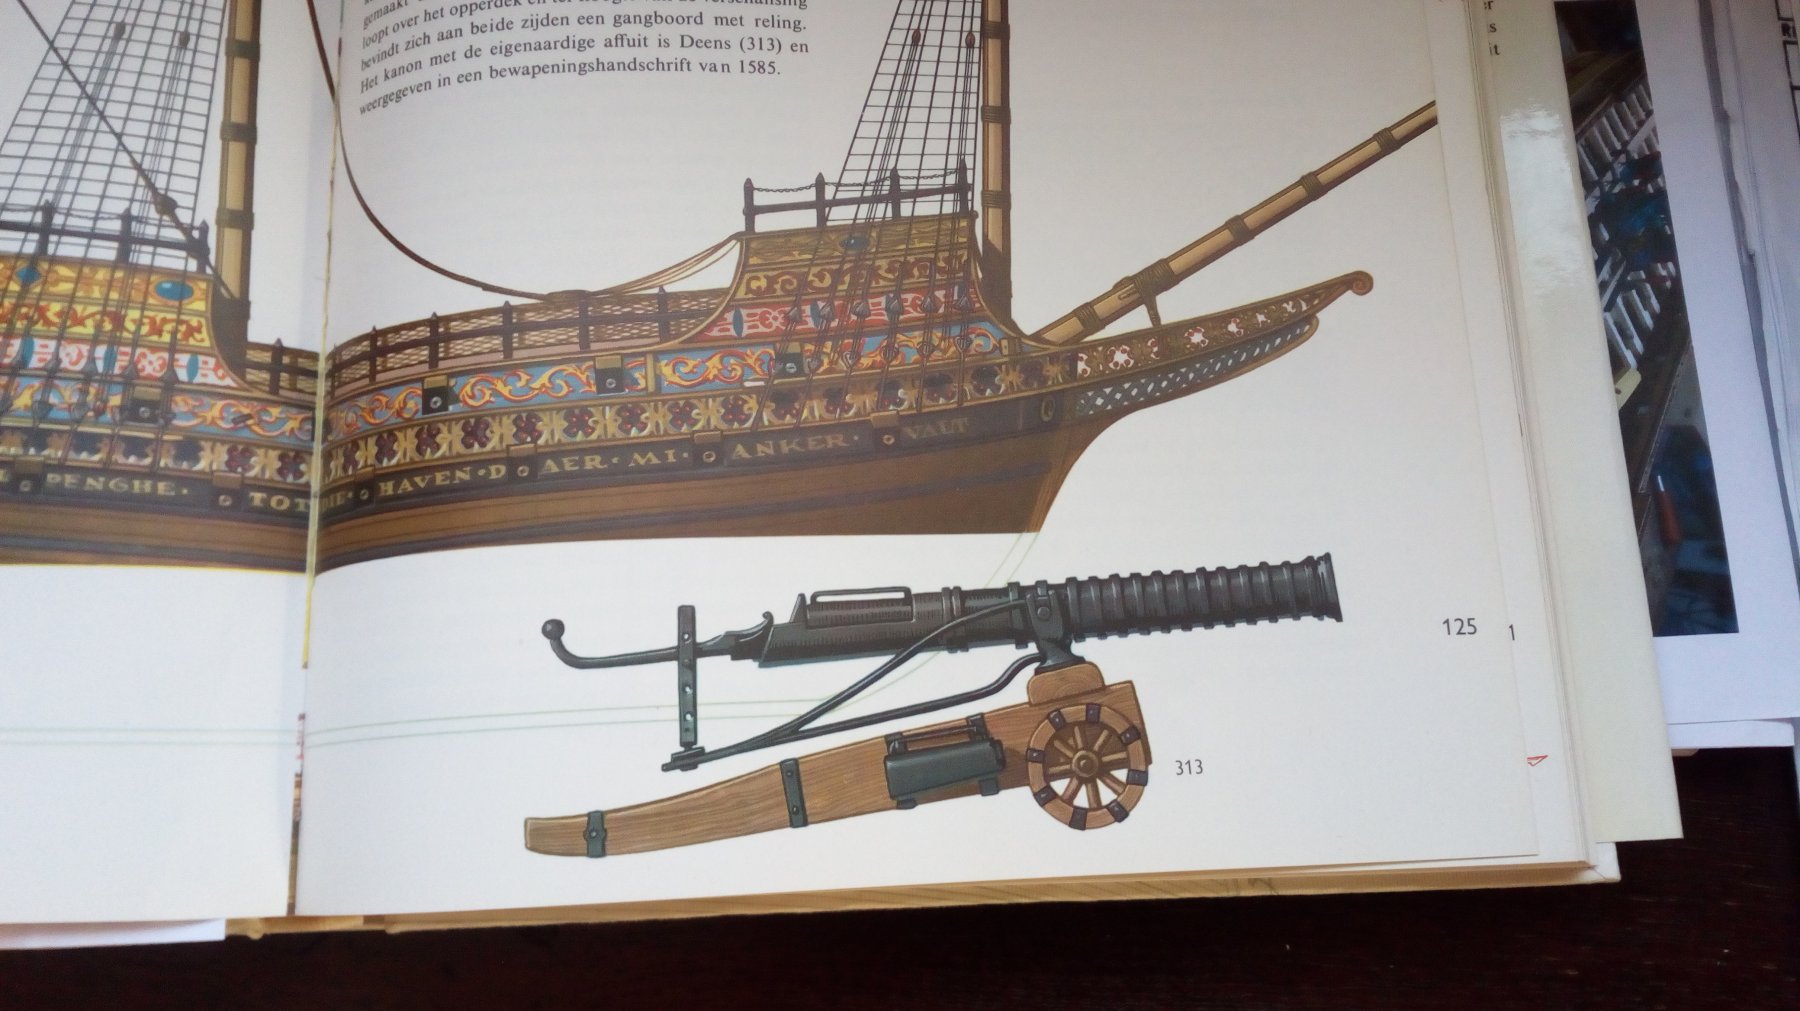
Cannons (3) are placed. I still have to make 1 cannon. This will be a different type,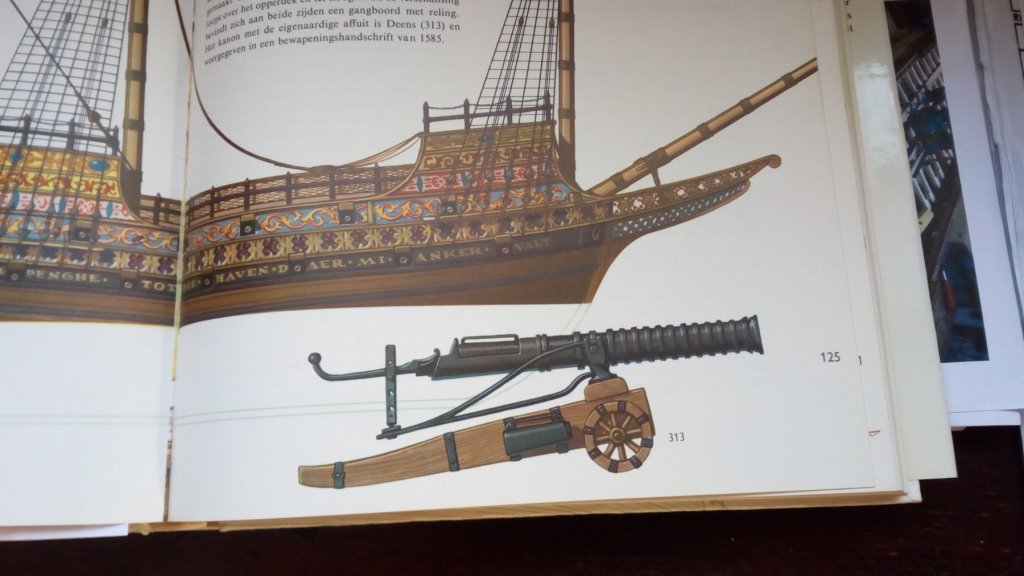
Current state
Thanks for following
- GrandpaPhil, goetzi73, cog and 12 others
-
15
-
-
-
-

Greetings from Belgium, and good luck with your first build
- pontiachedmark and mtaylor
-
2
-
Thanks
We have a large garden. Nice, but sometimes with a little too much maintenance work
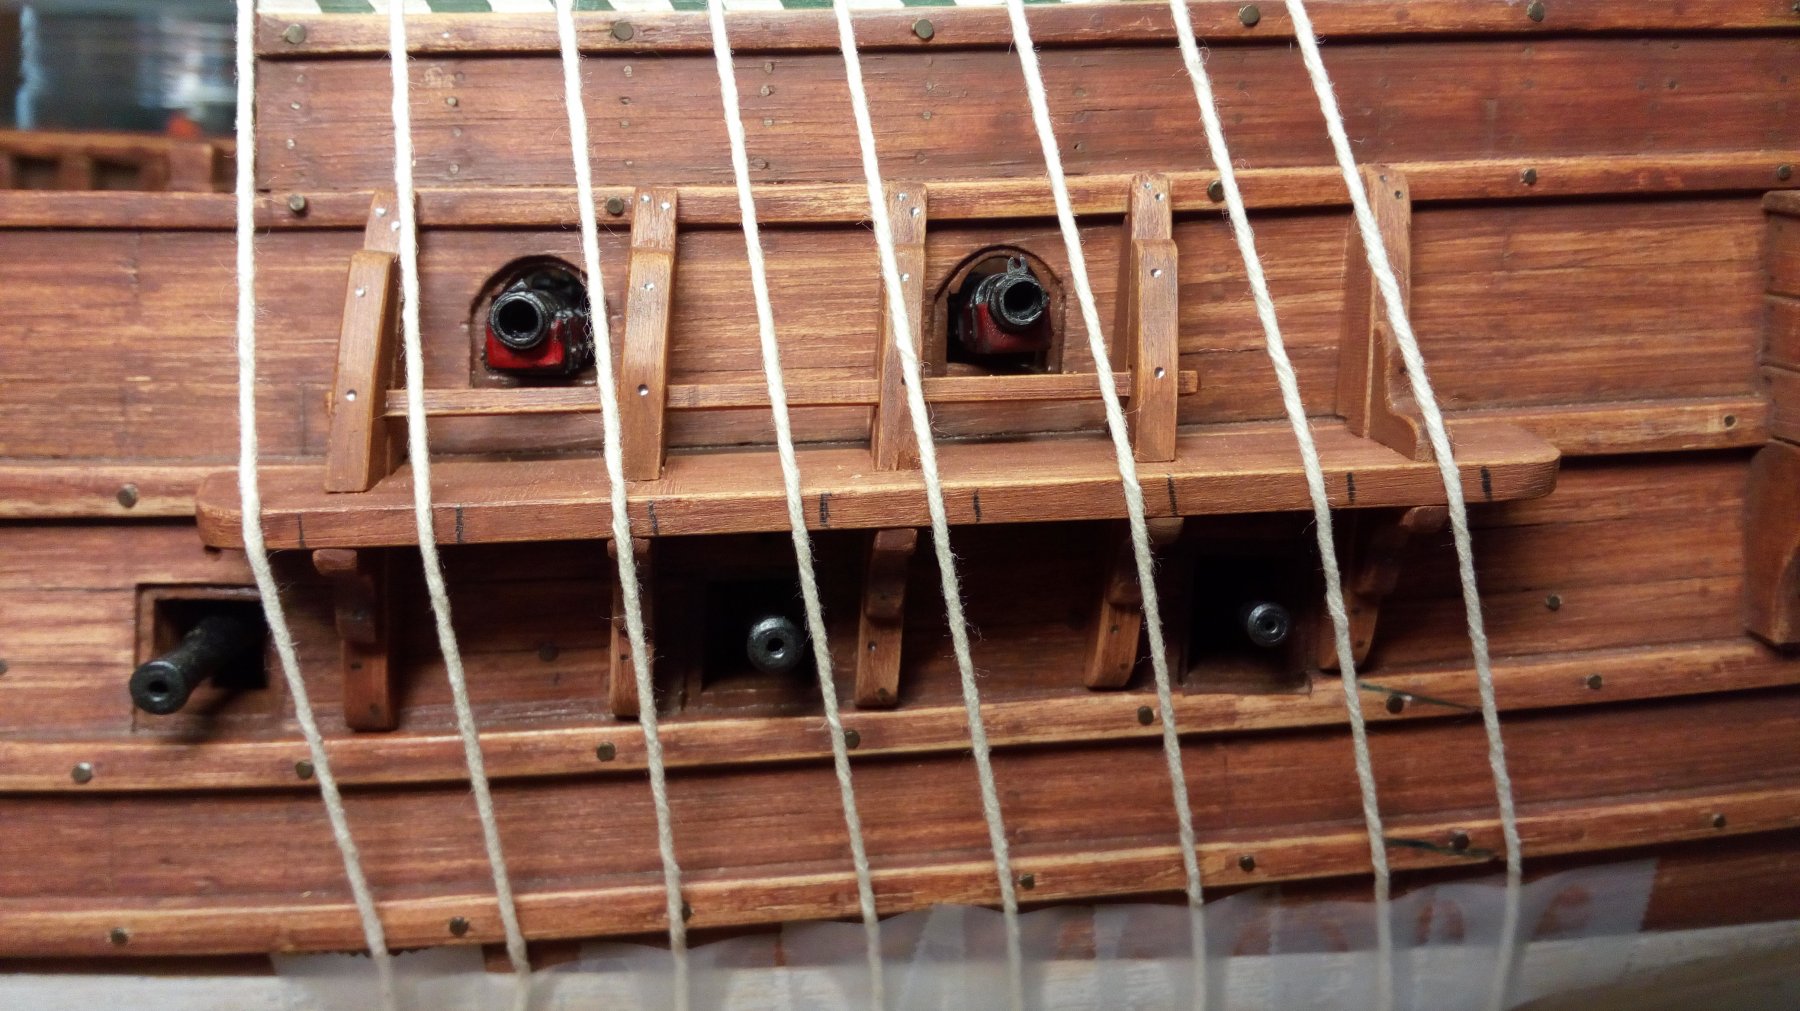
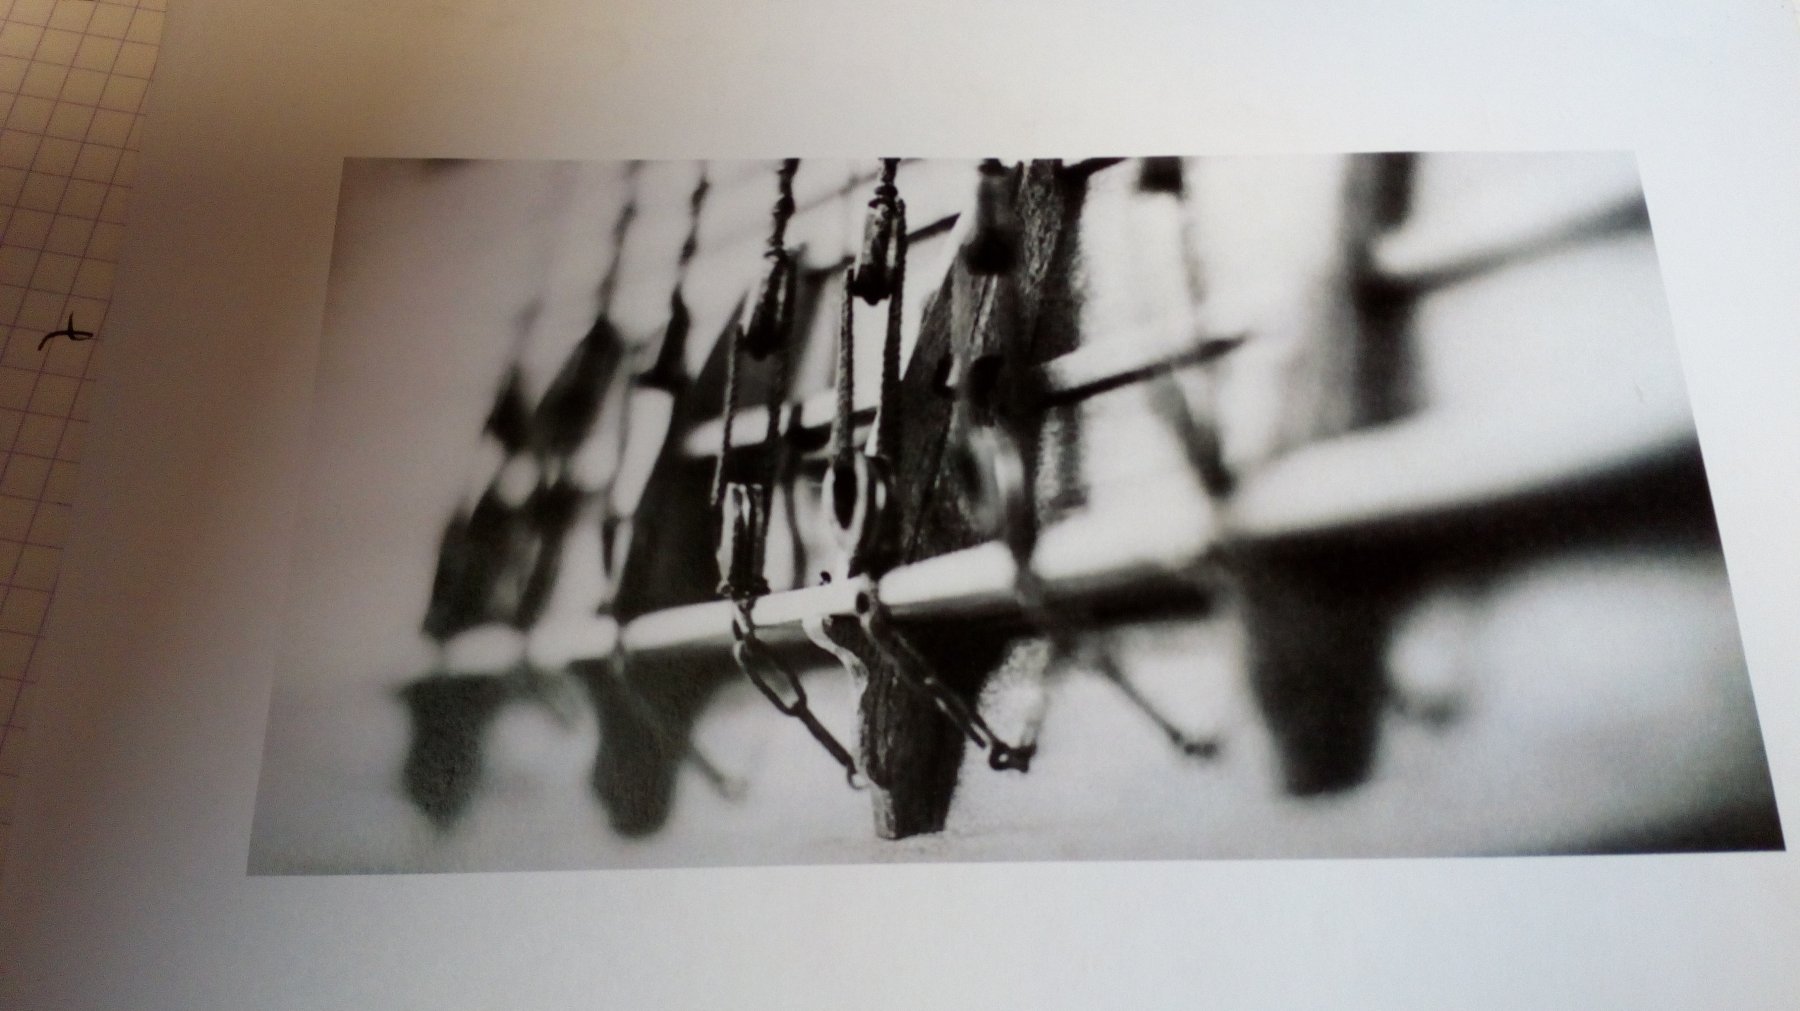
before I glue the cannons on the rearcastle. It is probably best that first make grooves in the channels where the deadeyes come.
The intention is to get something like this.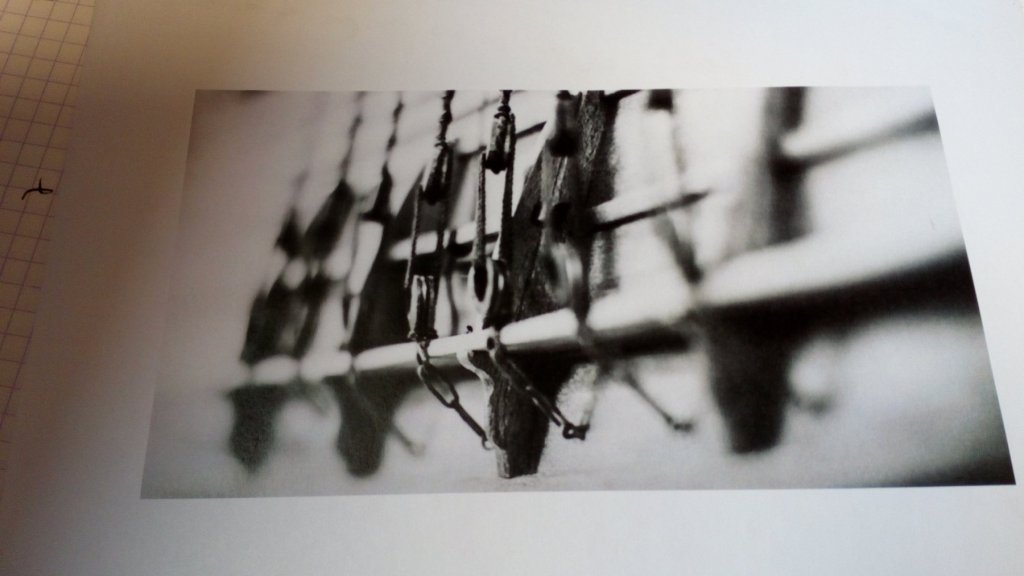
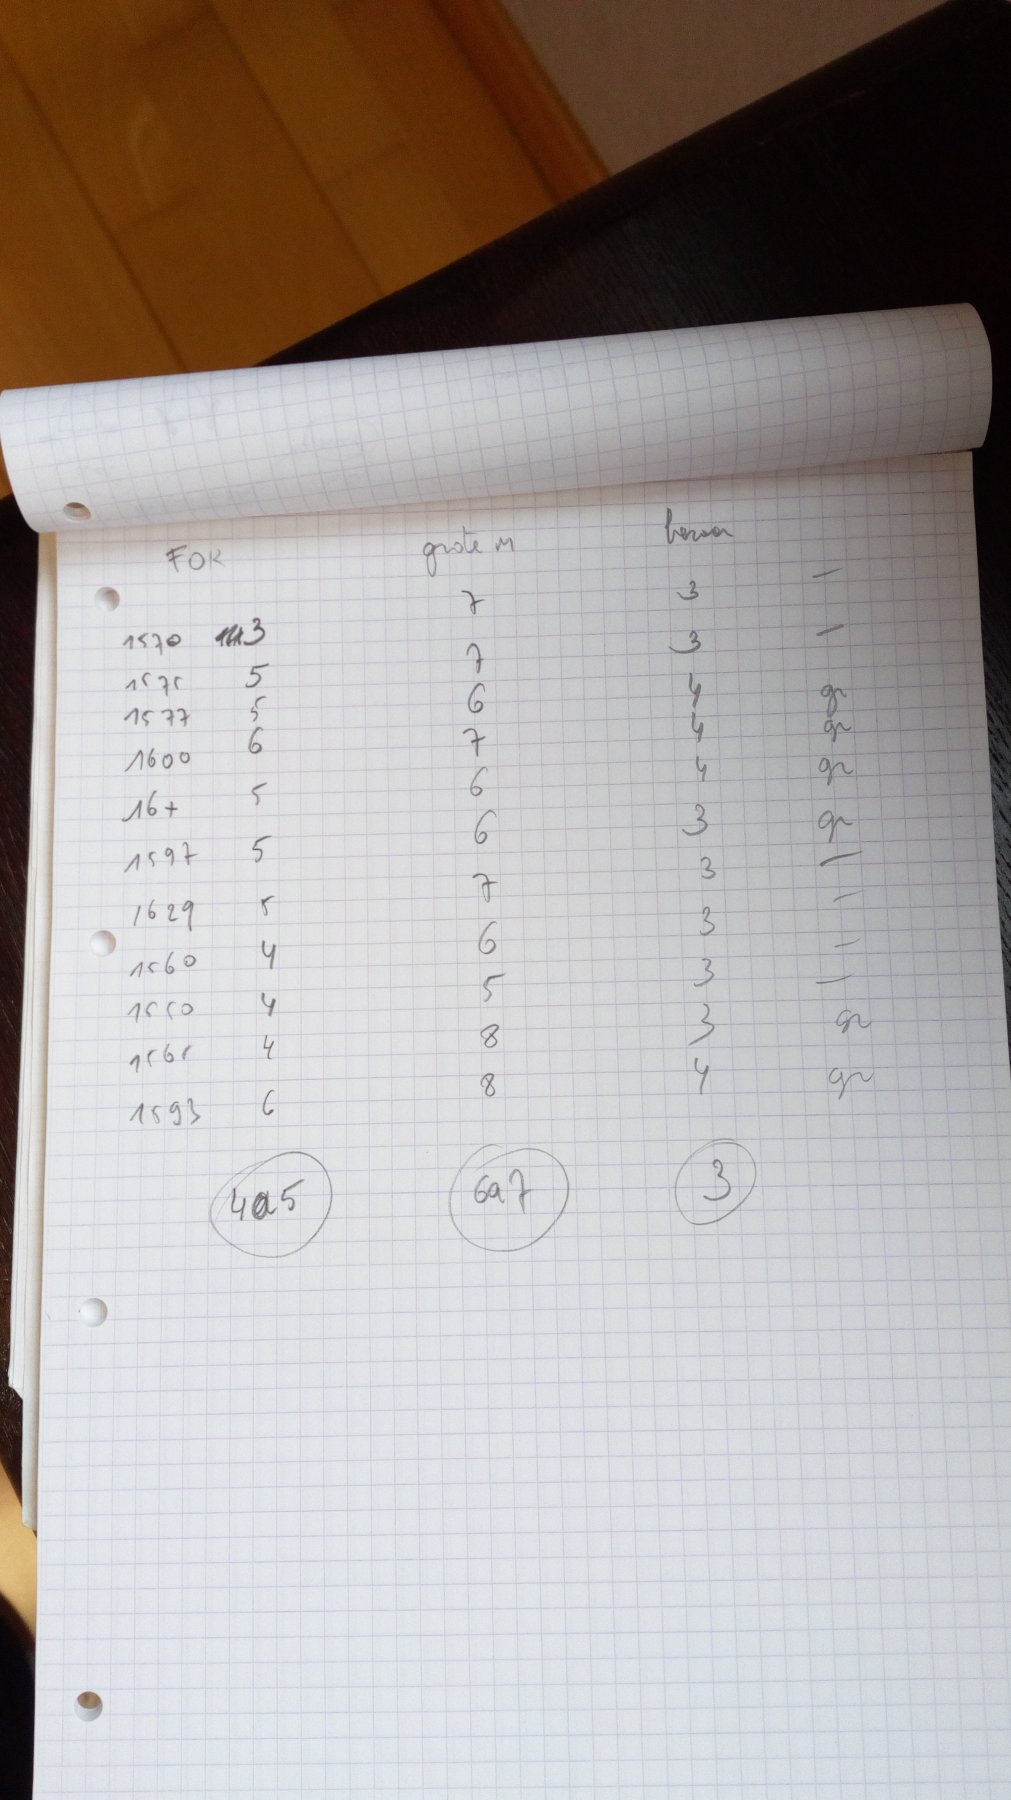
As is quite the case with this build, I first had absolutely no idea about what, how much and where to place them. So first i have to find out what we are going to do.On average there are 6, 7 or 8 deadeyes for the main mast.

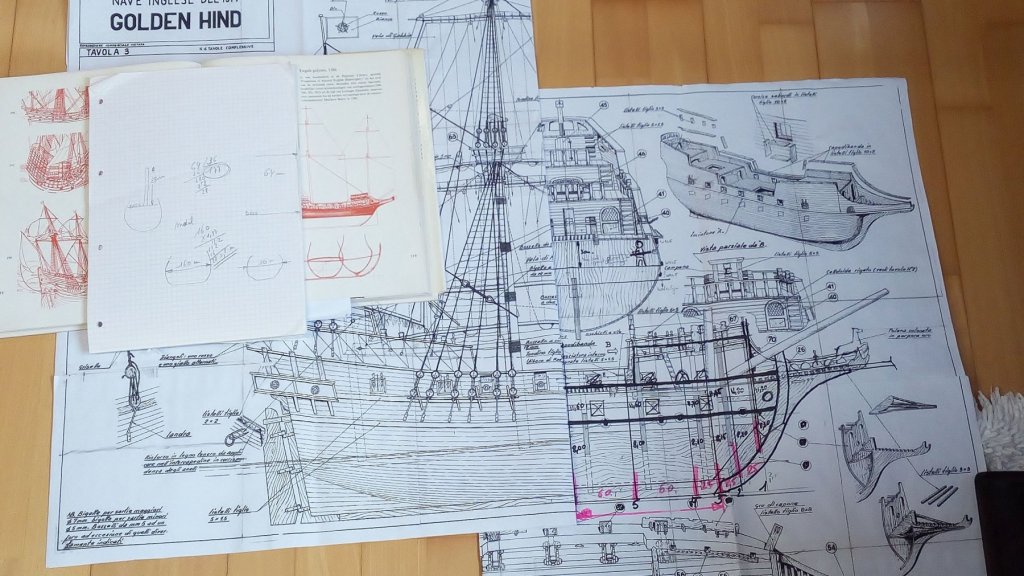
At the beginning of the 17th century there were apparently already rules to determine the length of the masts.
But i obtained confusing results with this method.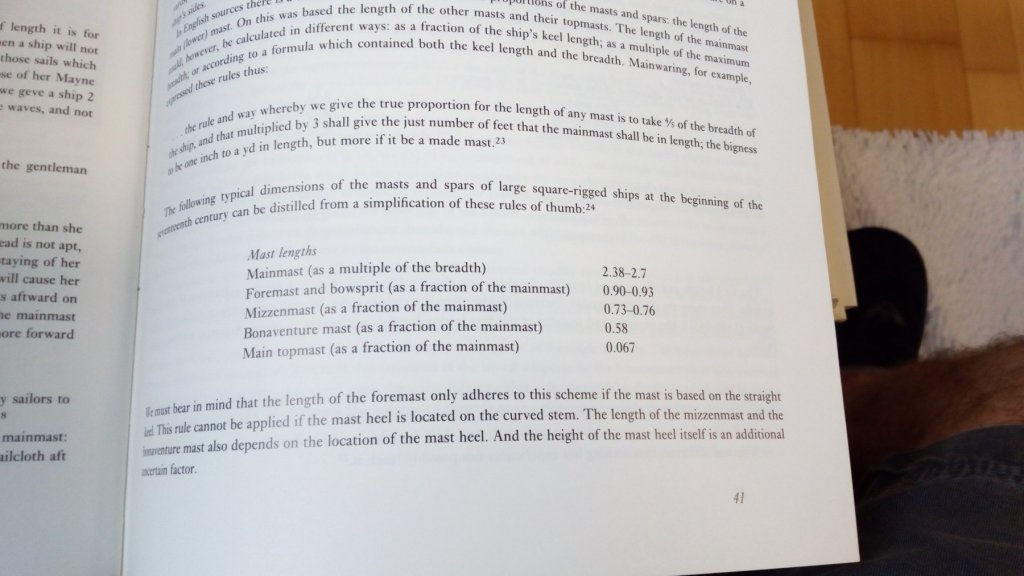
I continue with a sketch by Mathew Baker.
this gives : the length of the lower part of the main mast is 1.77 times the beam.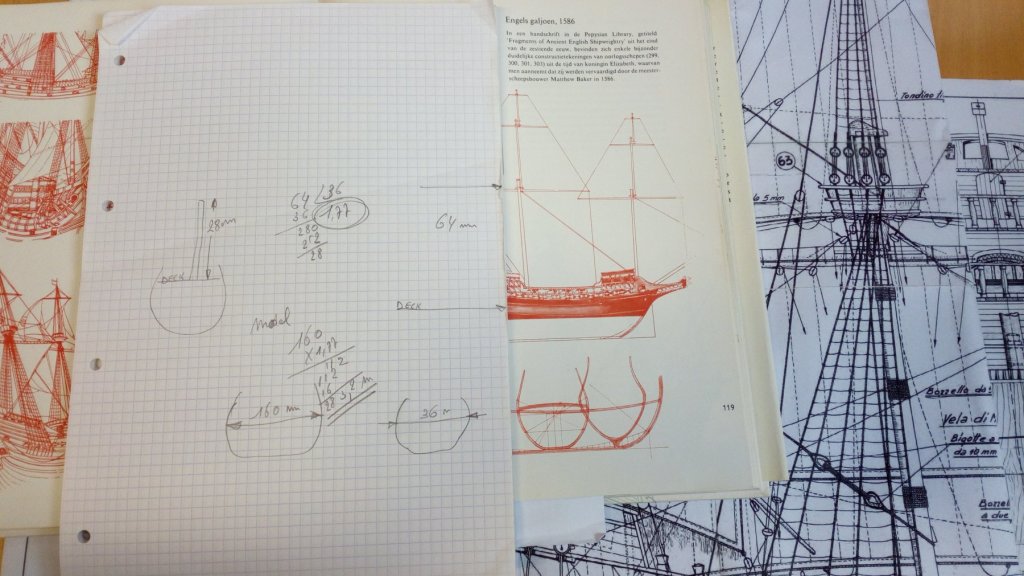
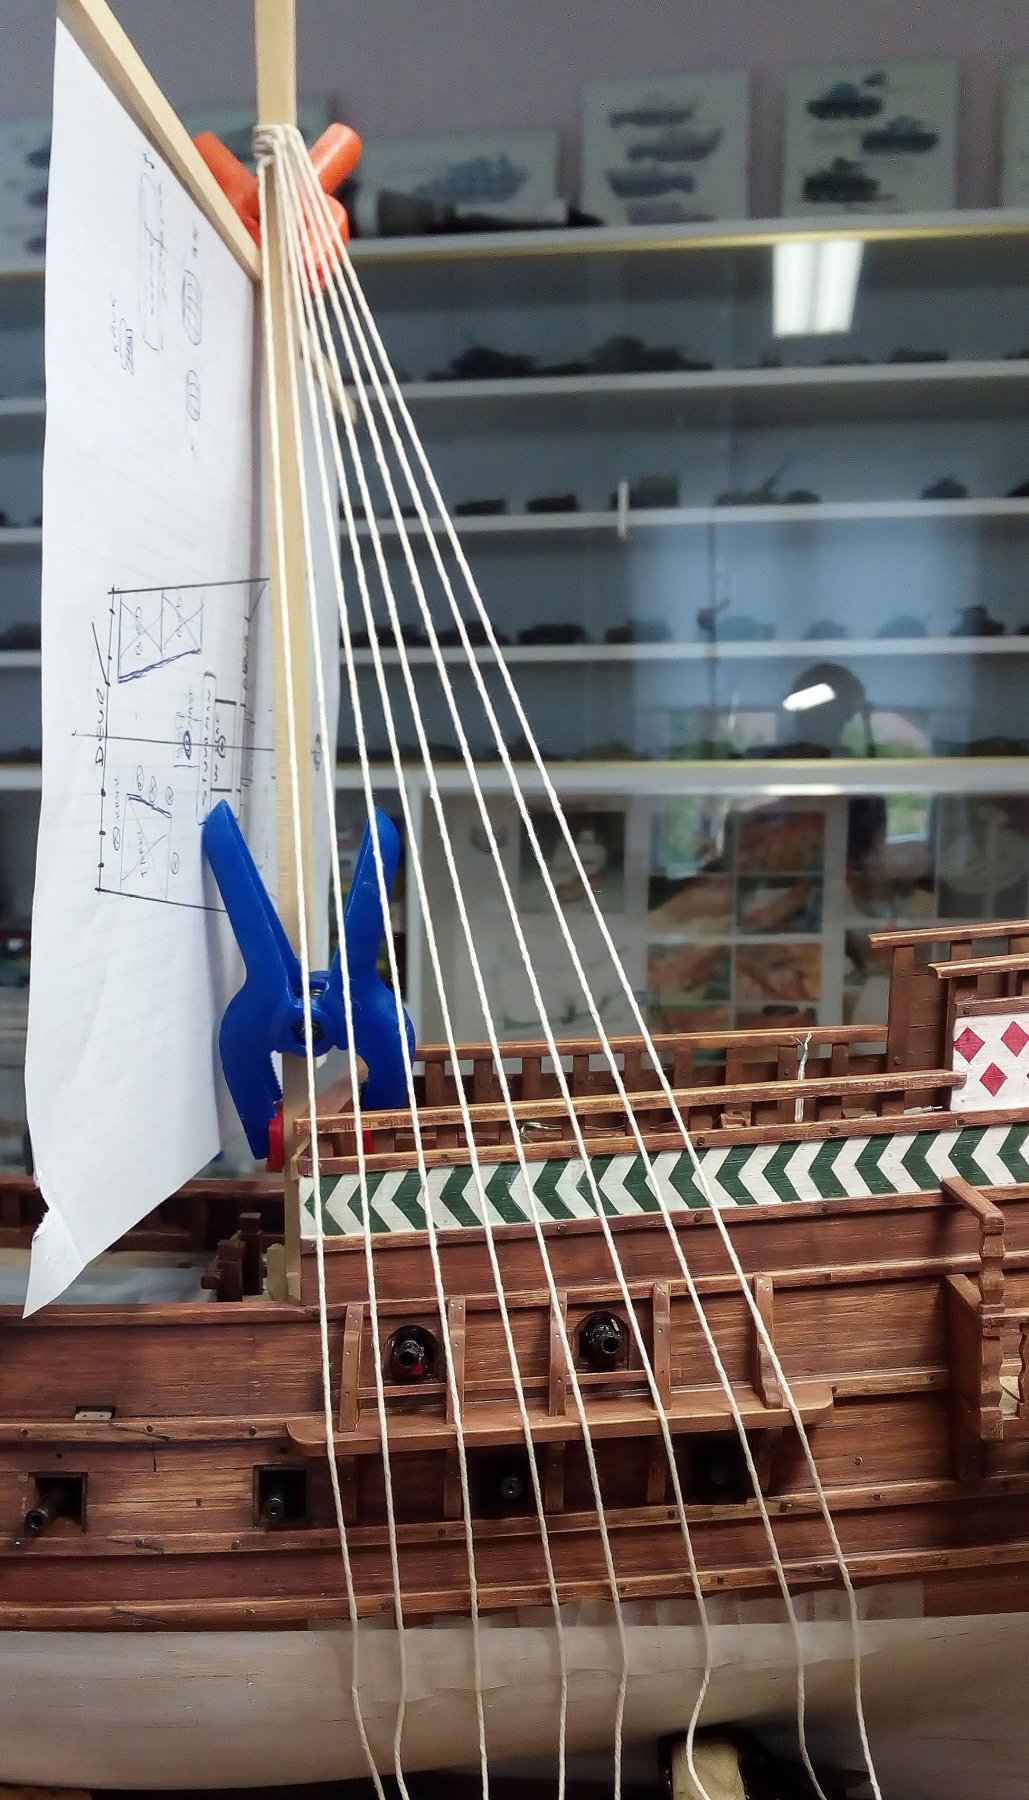
The "test mast"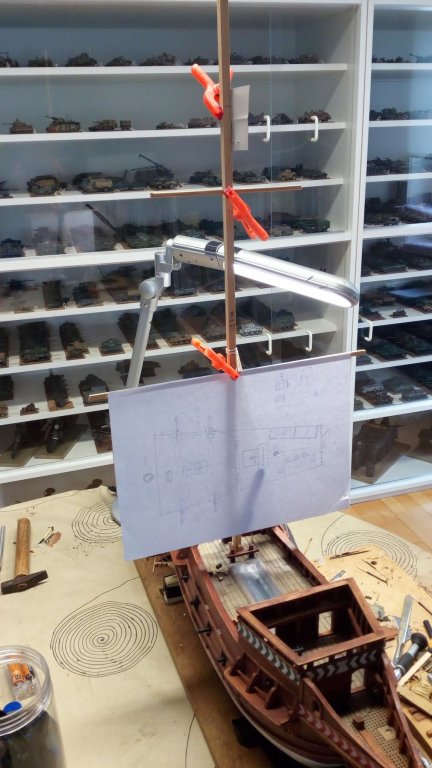
With improvised standing rigging (8 deadeyes). This setup seems ok to me. She will stay that way for the time being
(i think about it first and then make the grooves in the channels)
- luponero, GrandpaPhil, cog and 8 others
-
11
-
-
-
Due to other activities (painting and gardening) there is little time left for modeling.

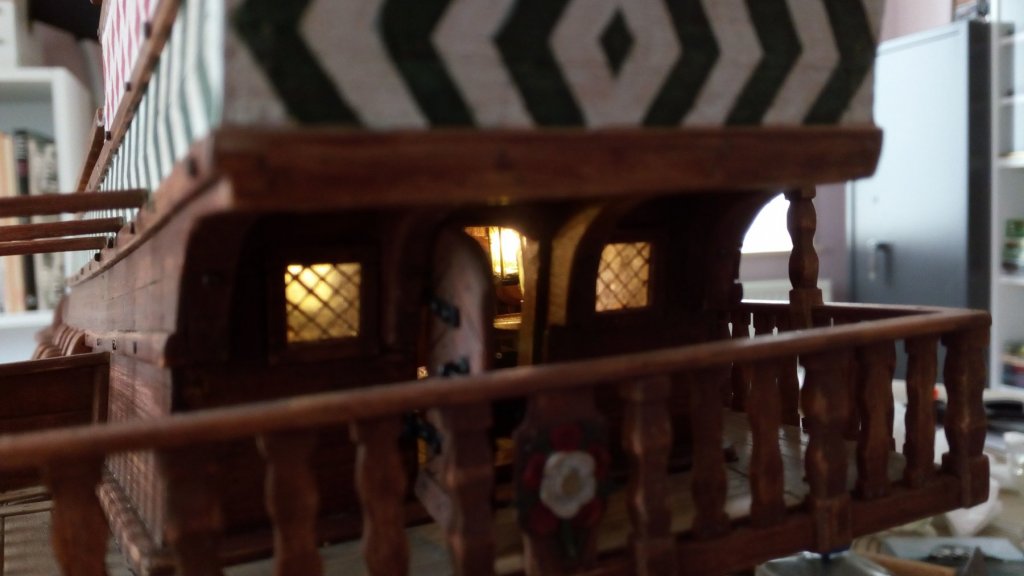
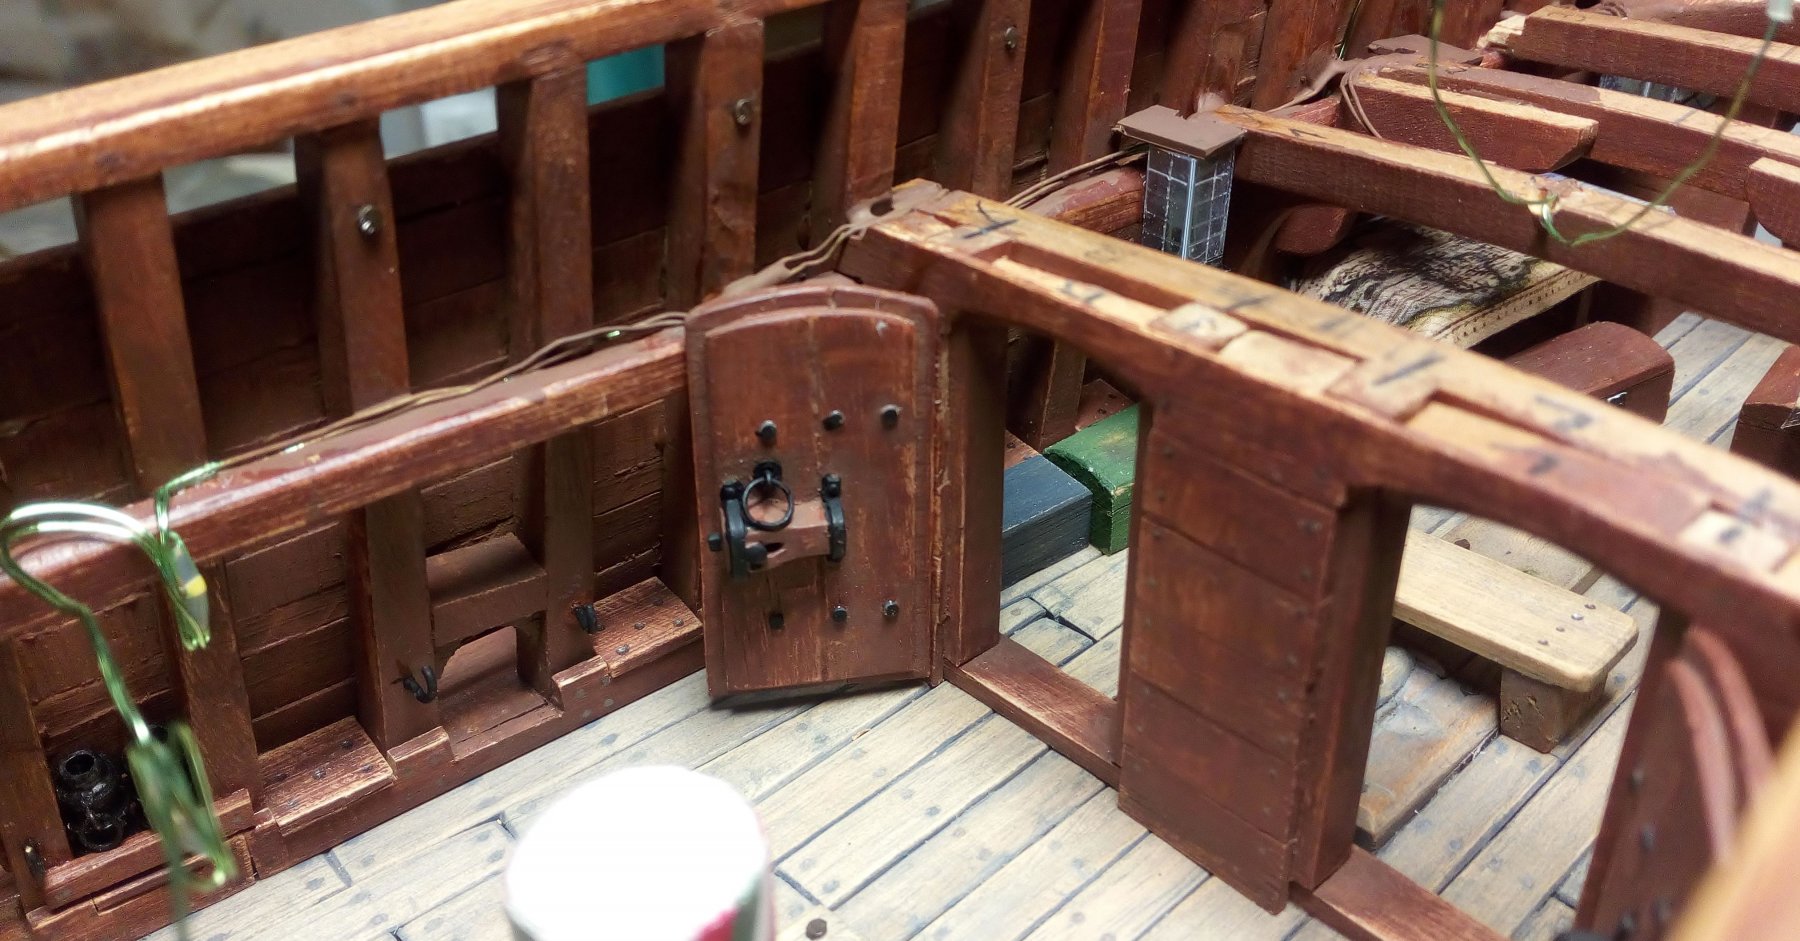
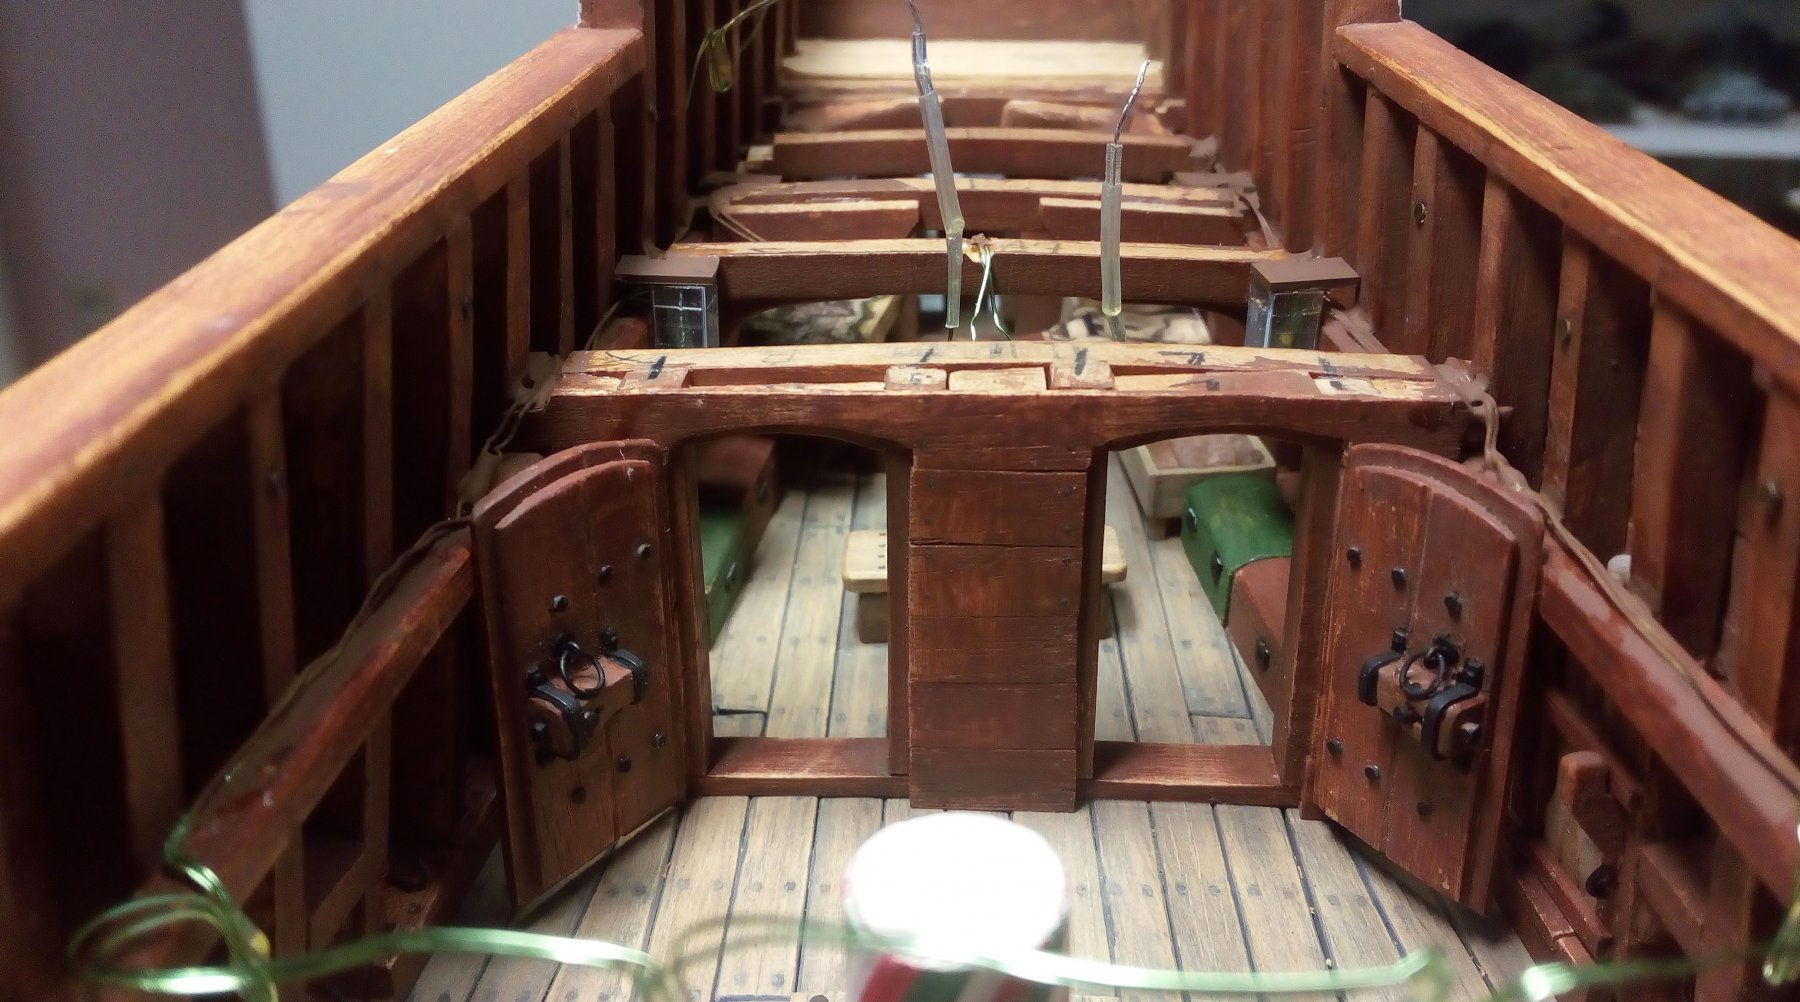
I made 2 doors. These doors are made in the same way as the doors in the stern and the beakhead. The only exception is that these doors are only finished on one side because the back is not visible.


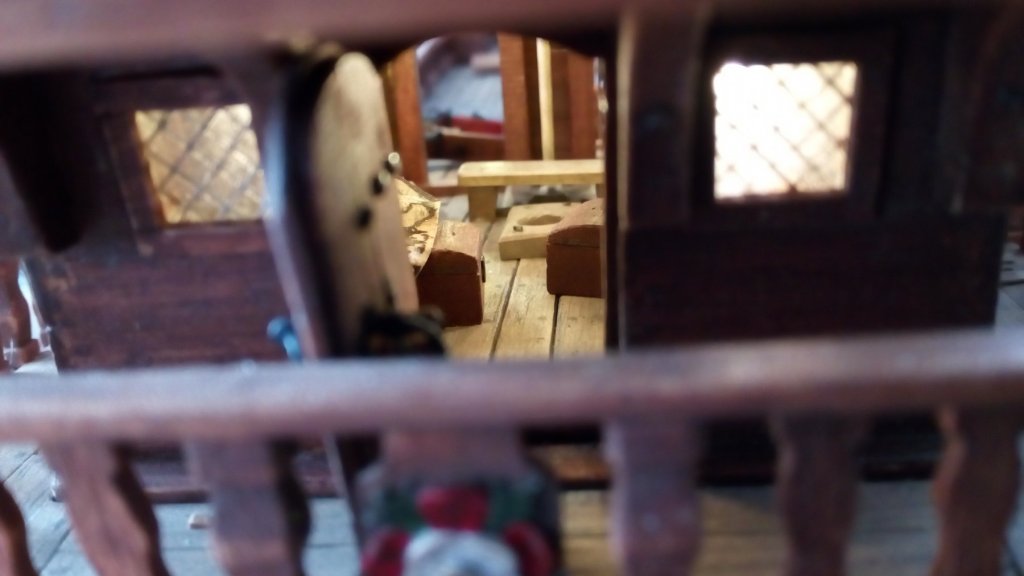
I also attempted to install the LED lighting. Each LED light is "hidden" by a simple lantern.
I am not completely satisfied with this solution, but once the ceiling is installed it seems pretty ok. And there is sufficient light.The intention is to make the hatch of the helmsman removable and provide power to the LED lamps at this location.
Thanks for following.
-
-
Looks great.
This way is much better than with the kit supplied parts.
-
Beautiful model and great painting.
- popeye the sailor, dziadek4444 and J11
-
3
-
Welcome to MSW.
What can be legally called scratch built? Maybe you will find the answer in this topic.
(And I really don't know why my Minerva comes as a photo in the link
 )
)
-
-
-
22 hours ago, Louie da fly said:
But I need to get into the habit of taking enough care the first time.
I recognize myself in these words. I sometimes have the same problem
.
Nice ladder and cover
- cog, Louie da fly, mtaylor and 1 other
-
4
-
3 hours ago, G.L. said:
Good solution. Je moet er maar aan denken!
2 hours ago, Barbossa said:Errors ?
I didn't notice.
Wonderful work
Thanks,
It was my lucky day.
The square parts of the bars measure 3 mm, the space between 2 frames is 9 mm. And there could be 2 bar behind each other between the frames.
So just enough room to place the 6 bars of the capstan.- cog, mtaylor and EricWilliamMarshall
-
3


 Very beautiful .


New Member
in New member Introductions
Posted
Greetings
and