


Baker
-
Posts
4,134 -
Joined
-
Last visited
Content Type
Profiles
Forums
Gallery
Events
Posts posted by Baker
-
-
-
-
16 hours ago, cog said:
So that's where I came from, dug up
")
Interesting bits of information
Carl, you are not from Gelderland in the Netherlands, you are from Doel in Flanders Belgium.
In my back yard...

- cog, EricWilliamMarshall and mtaylor
-
 3
3
-
-
Thank you everyone for the nice comments and good advice.
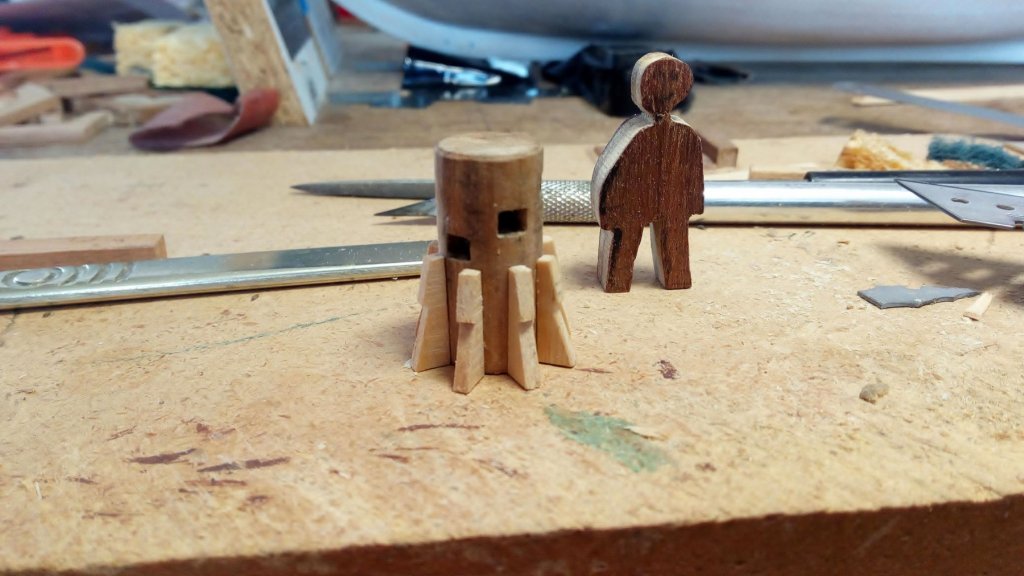
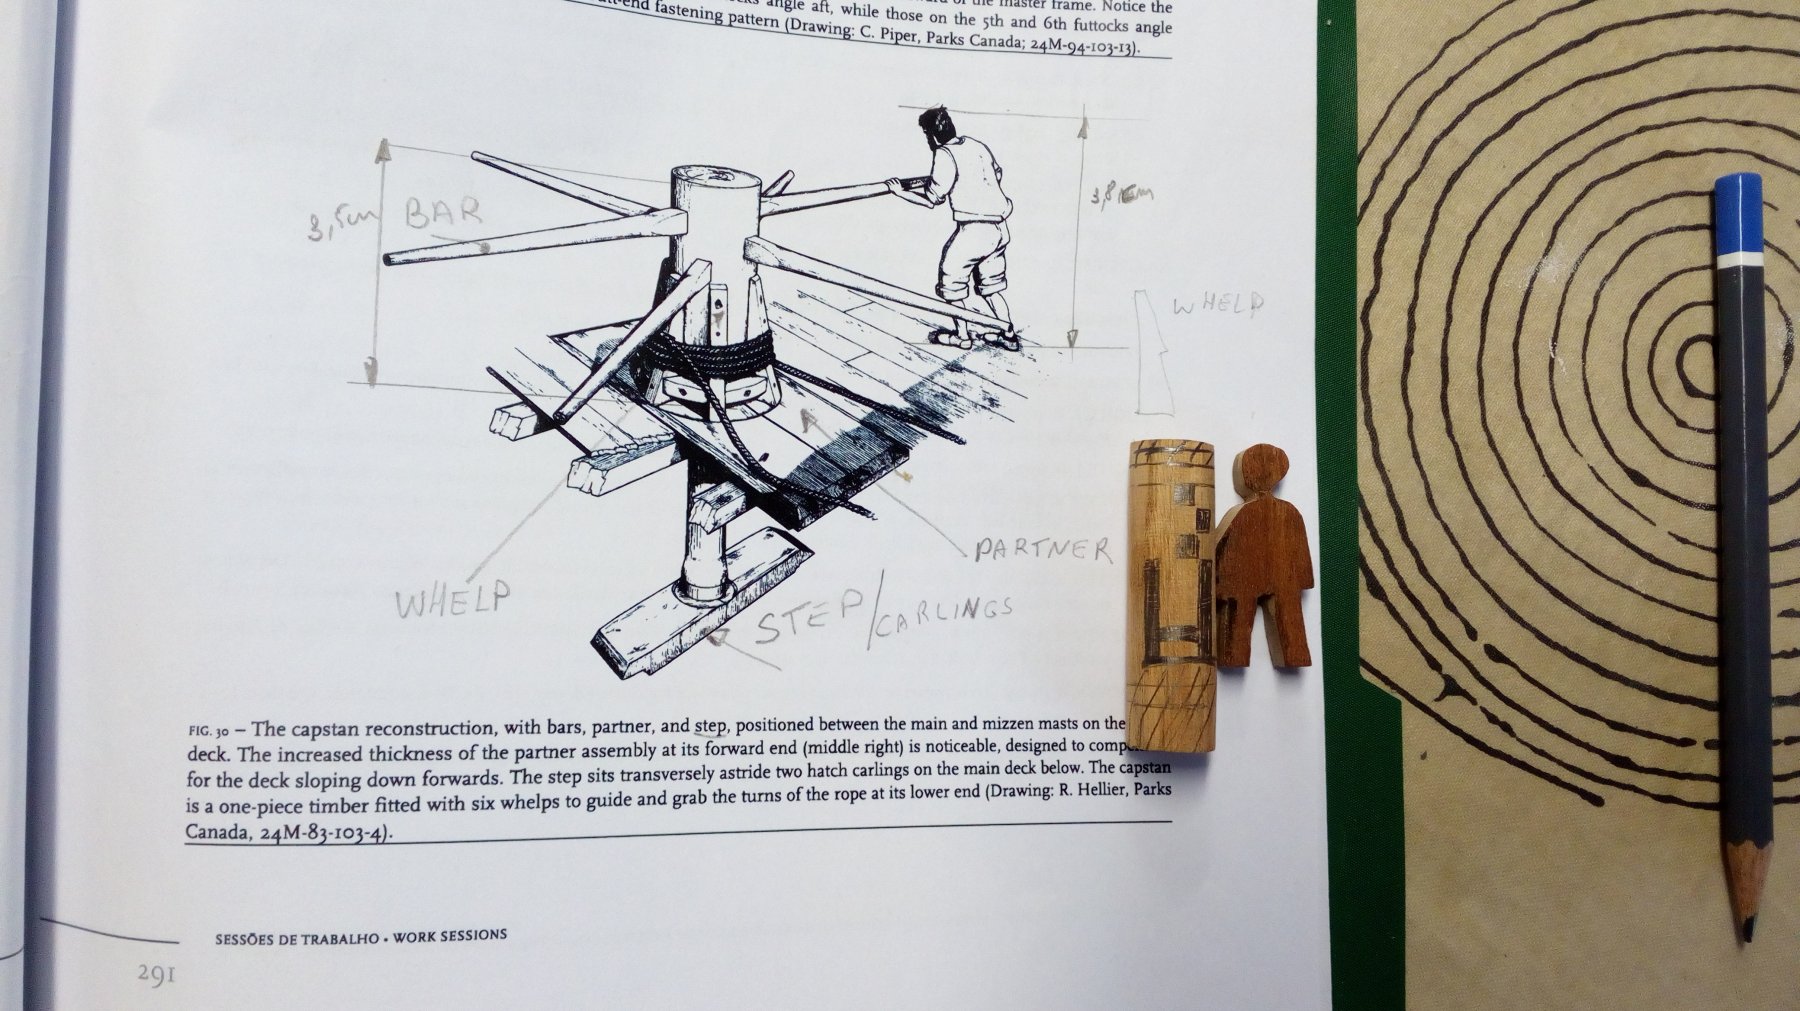
It looks that I am reasonably correct with my model capstan (The Mary Rose and San Juan whale ship capstans are quite identical )
Since nobody could take a photo in the 16th century and nobody neatly stated where the bars were stored. I will have to find a place myself.And no, its not made in Italy
Made in Verrebroek.
Btw.
The meaning of the name "Verrebroek" (the town where we live).
verre, means : higher dry land
broek, means : wetland area
So Verrebroek is founded on a higher dry land in a swampy area.
Now this area is all dry land. But in the Middle Ages this area was swampy.
Not so far away from our home, during the expansion works of the port of Antwerp, people even found a cog while digging a new dock.Patrick
-
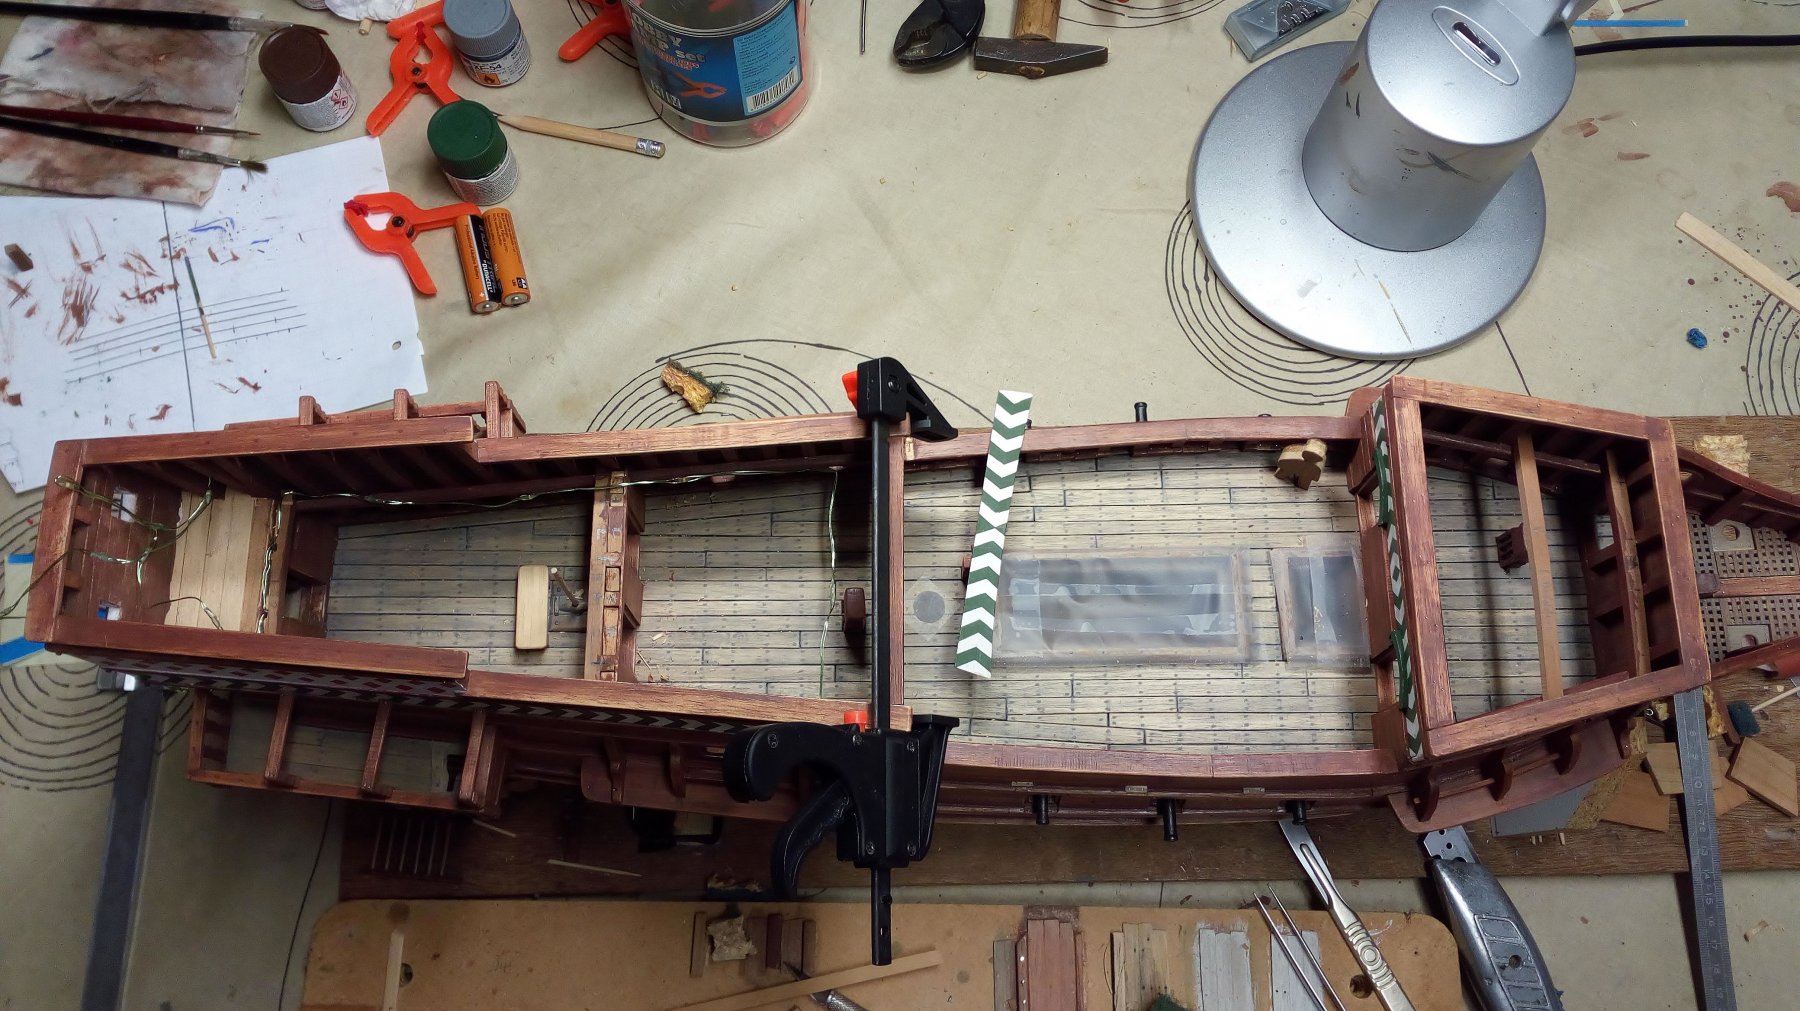
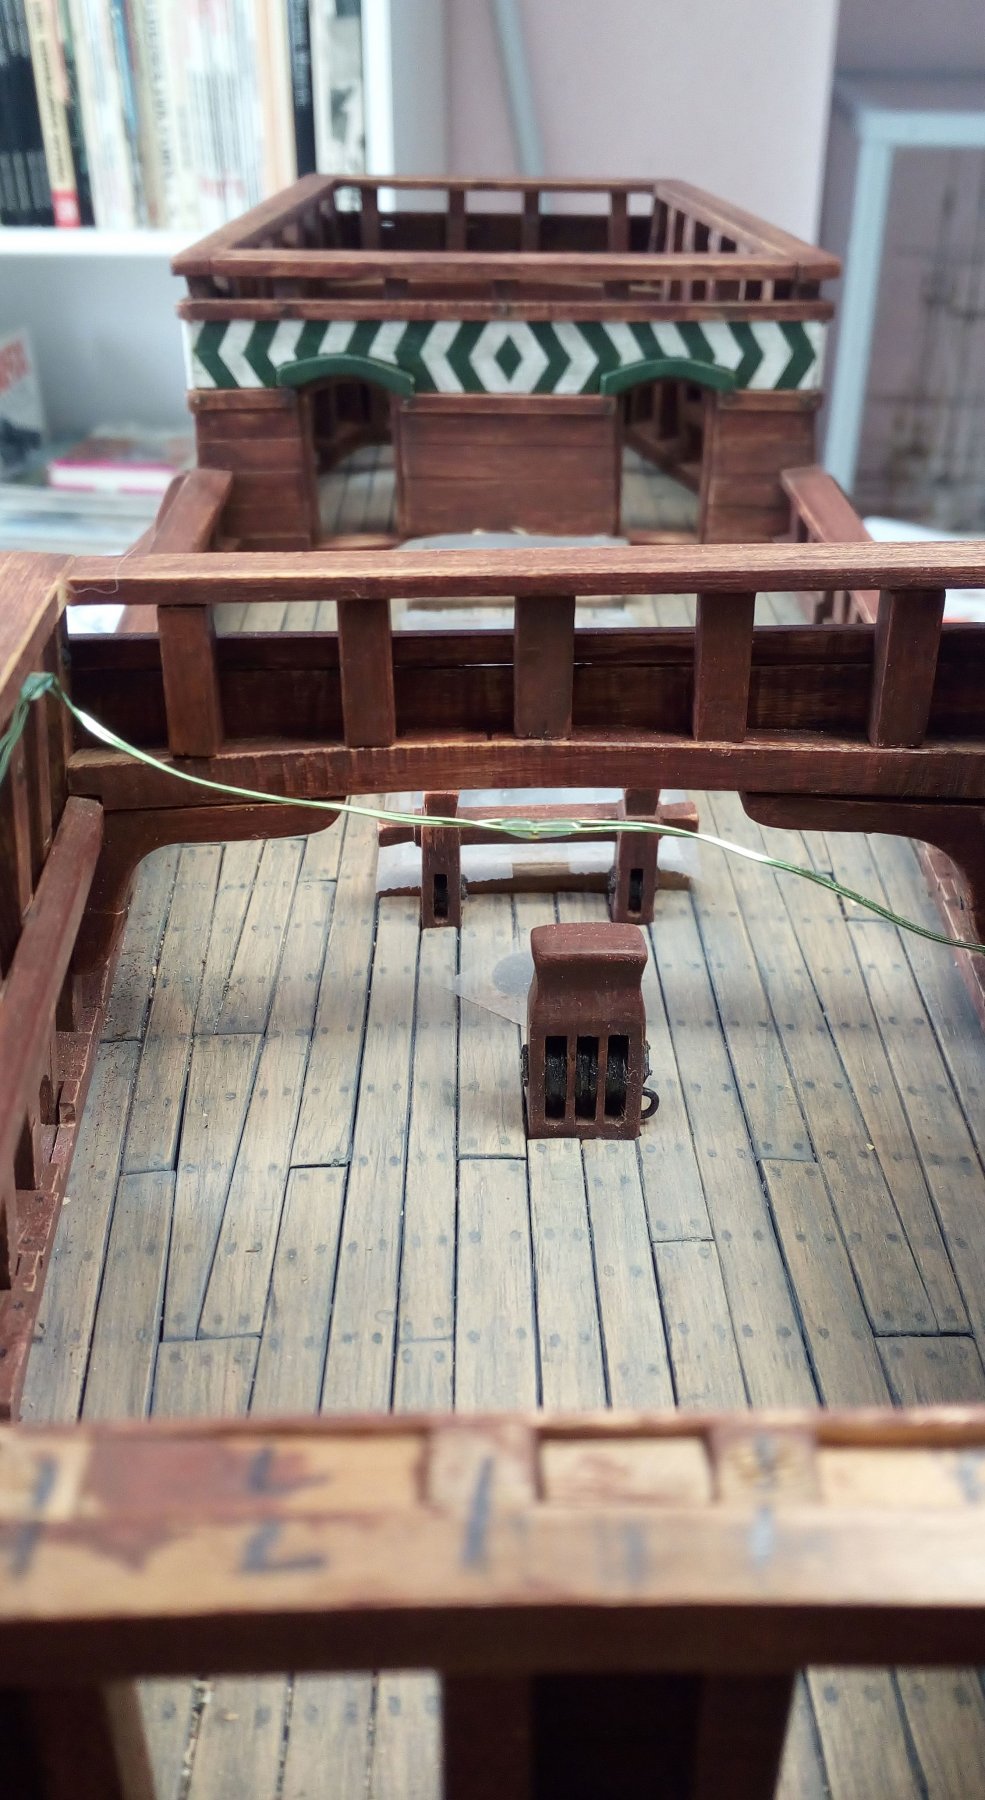
On the capstan is just where I don't want to place them permanently. Then I have no space left at all.
My idea was that the guns deployed there were only in position during combat operations.
So there is no place left to operate the capstan.During non combat operations secured to the side of the ship.
Then there is room to operate the capstan.But that's just an assumption.
-
-
As always
Very nicely done.- G.L., FriedClams and mtaylor
-
3
-
Thanks GL
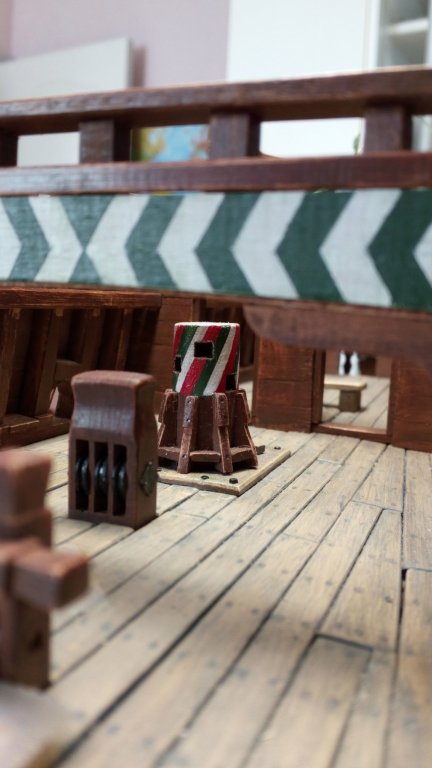
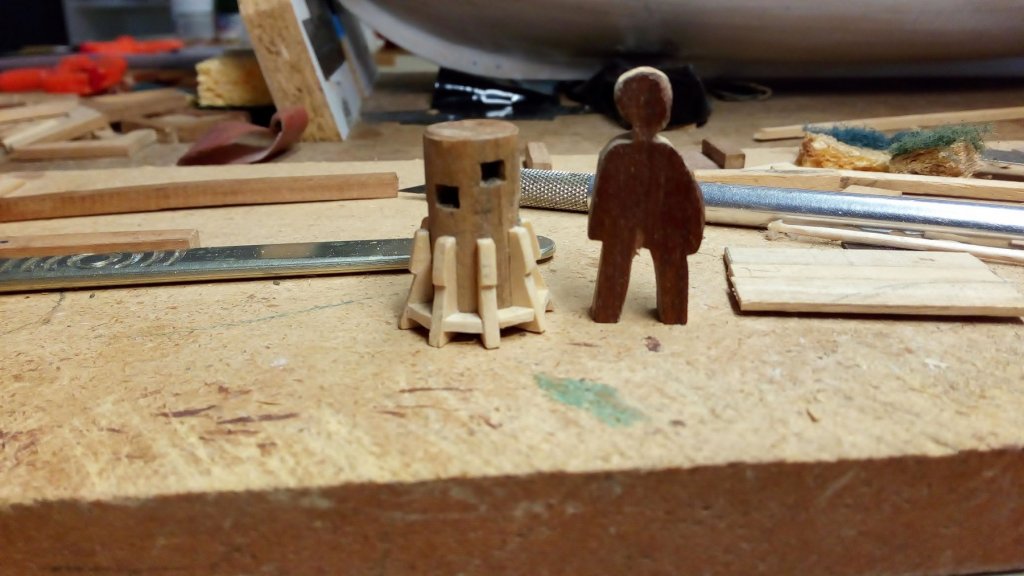
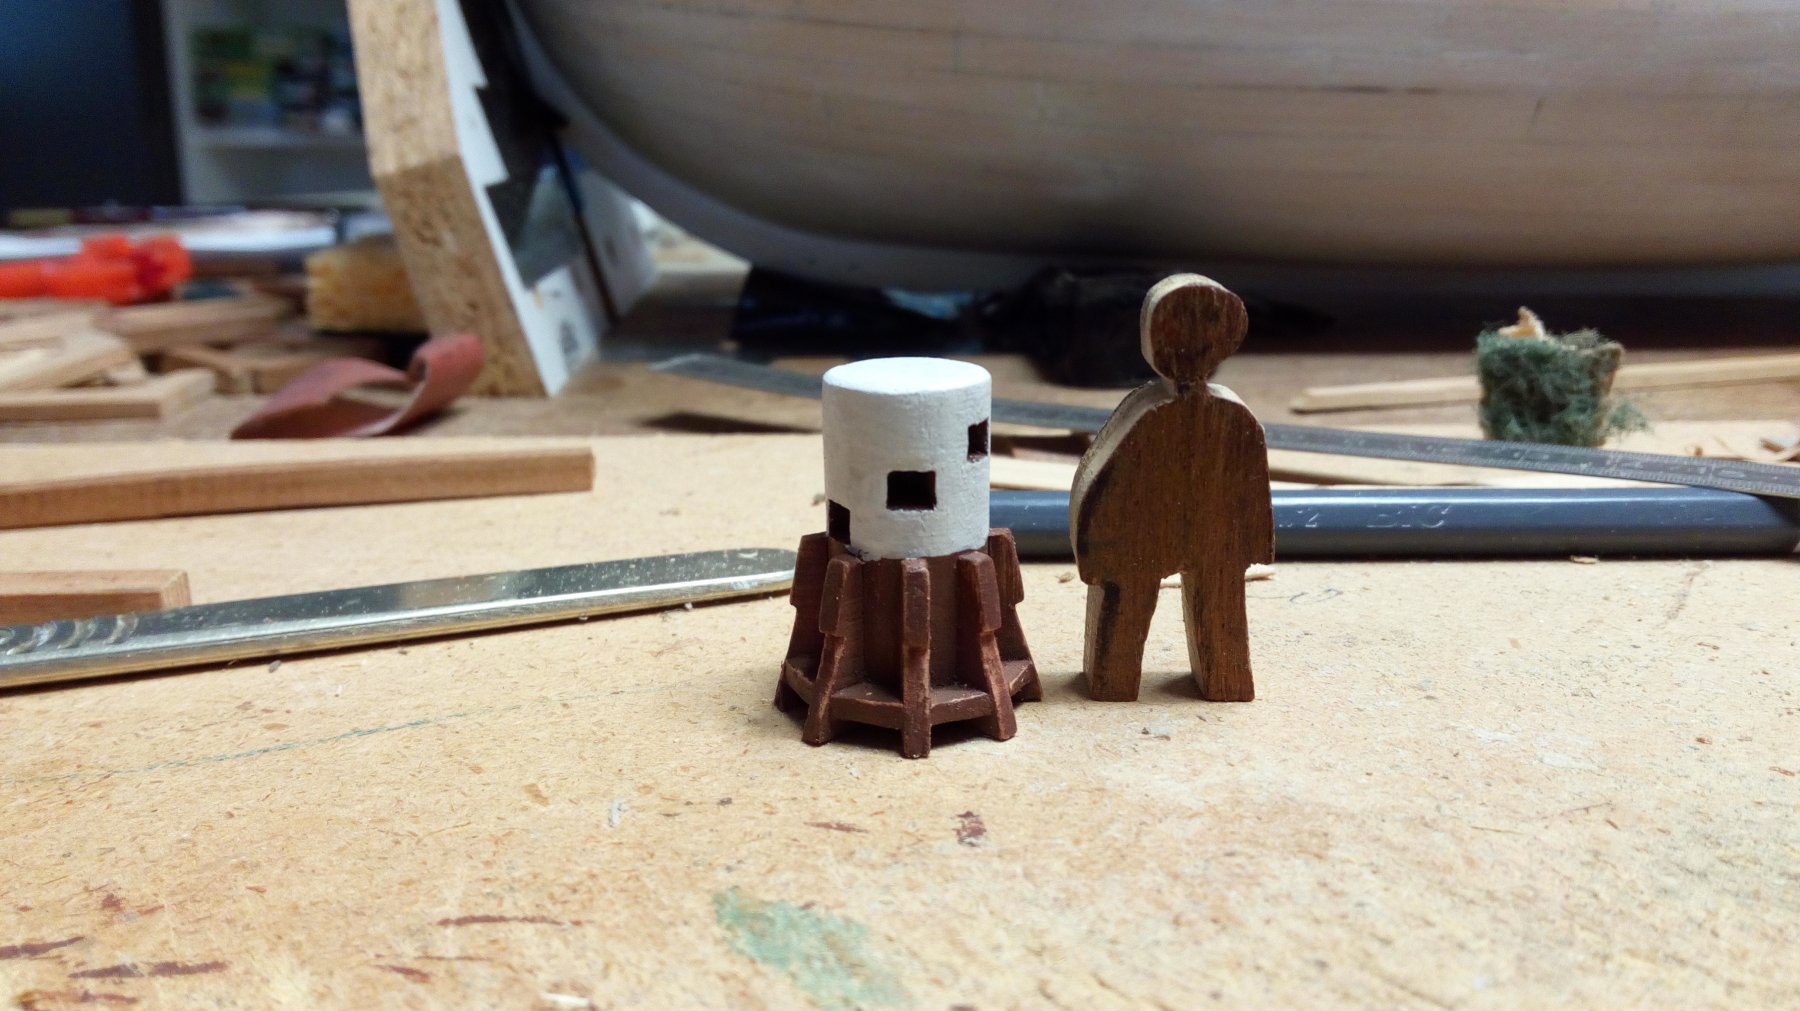
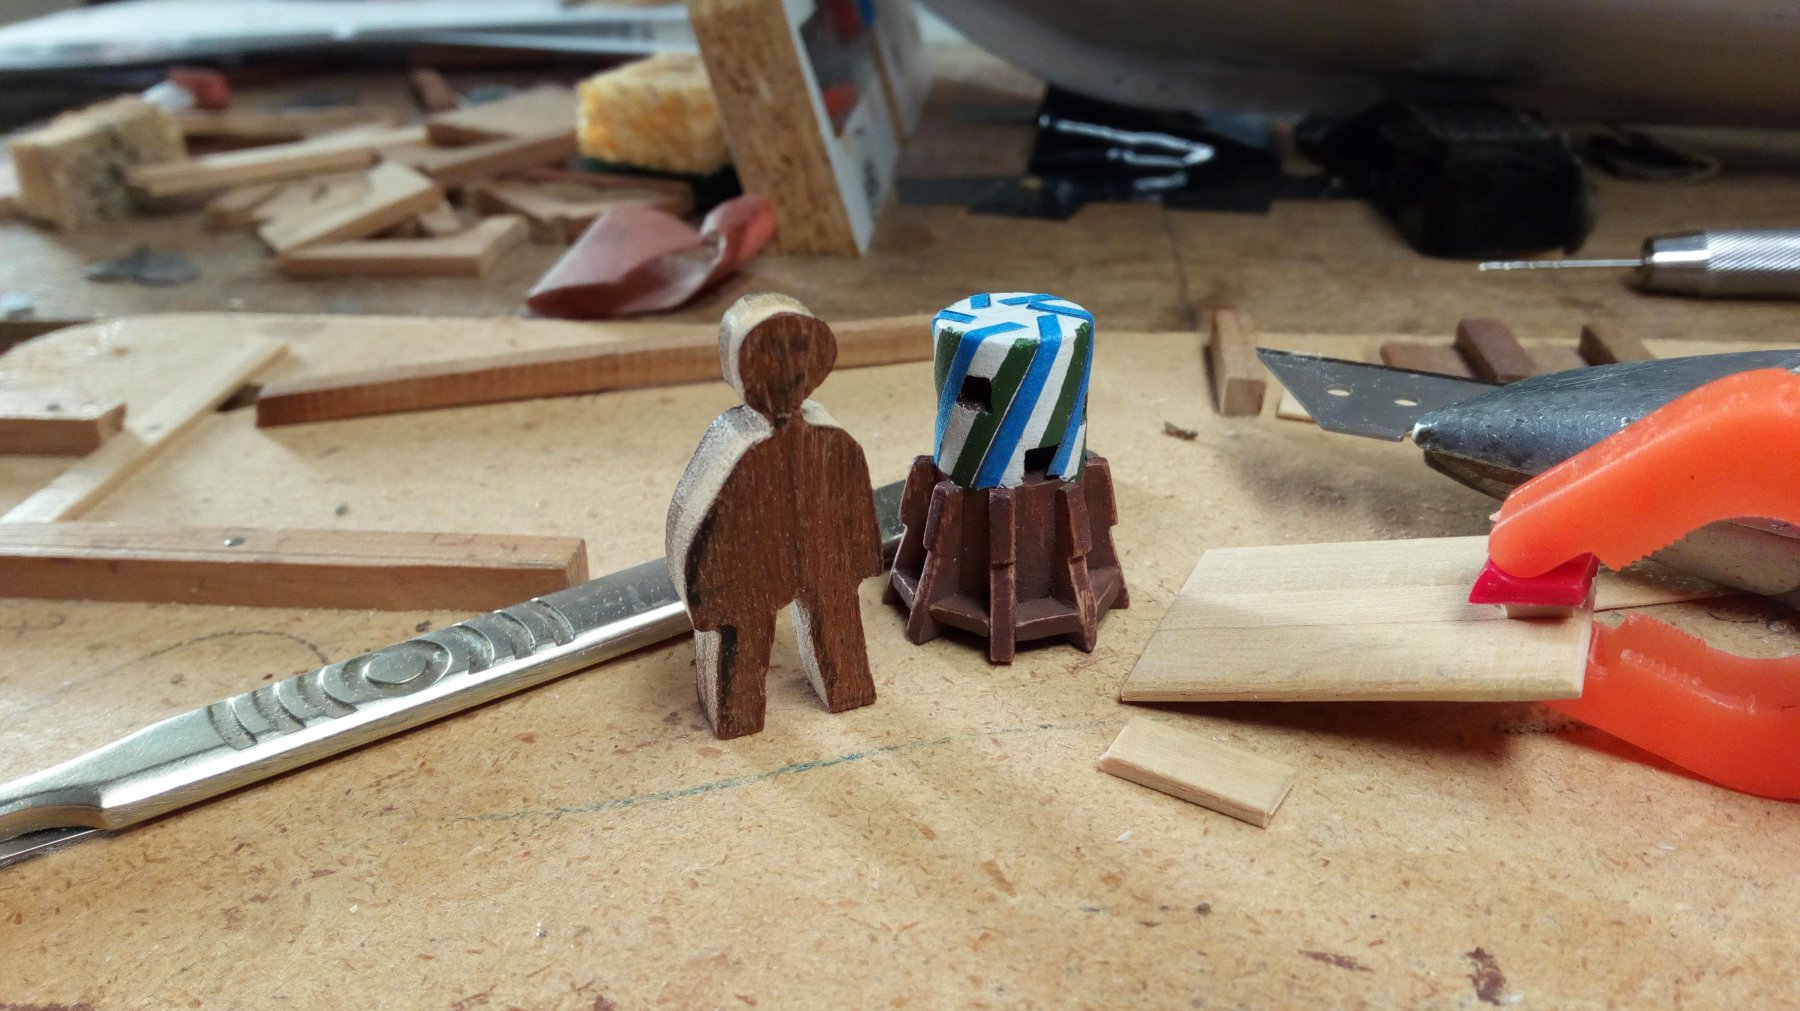
Next step is painting the capstan.
A painted (replica) example of the Batavia from the early 17th century was a challenge I couldn't resist.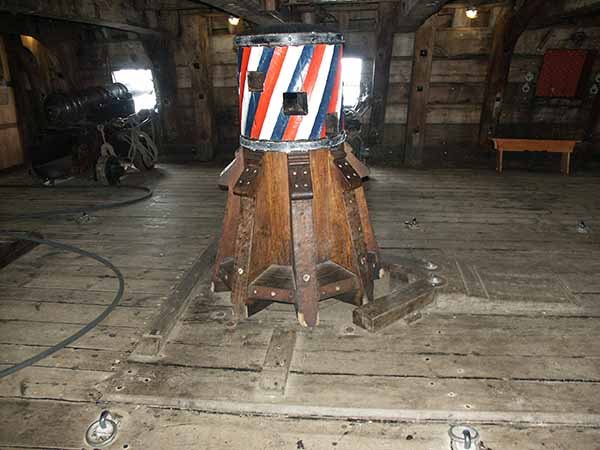
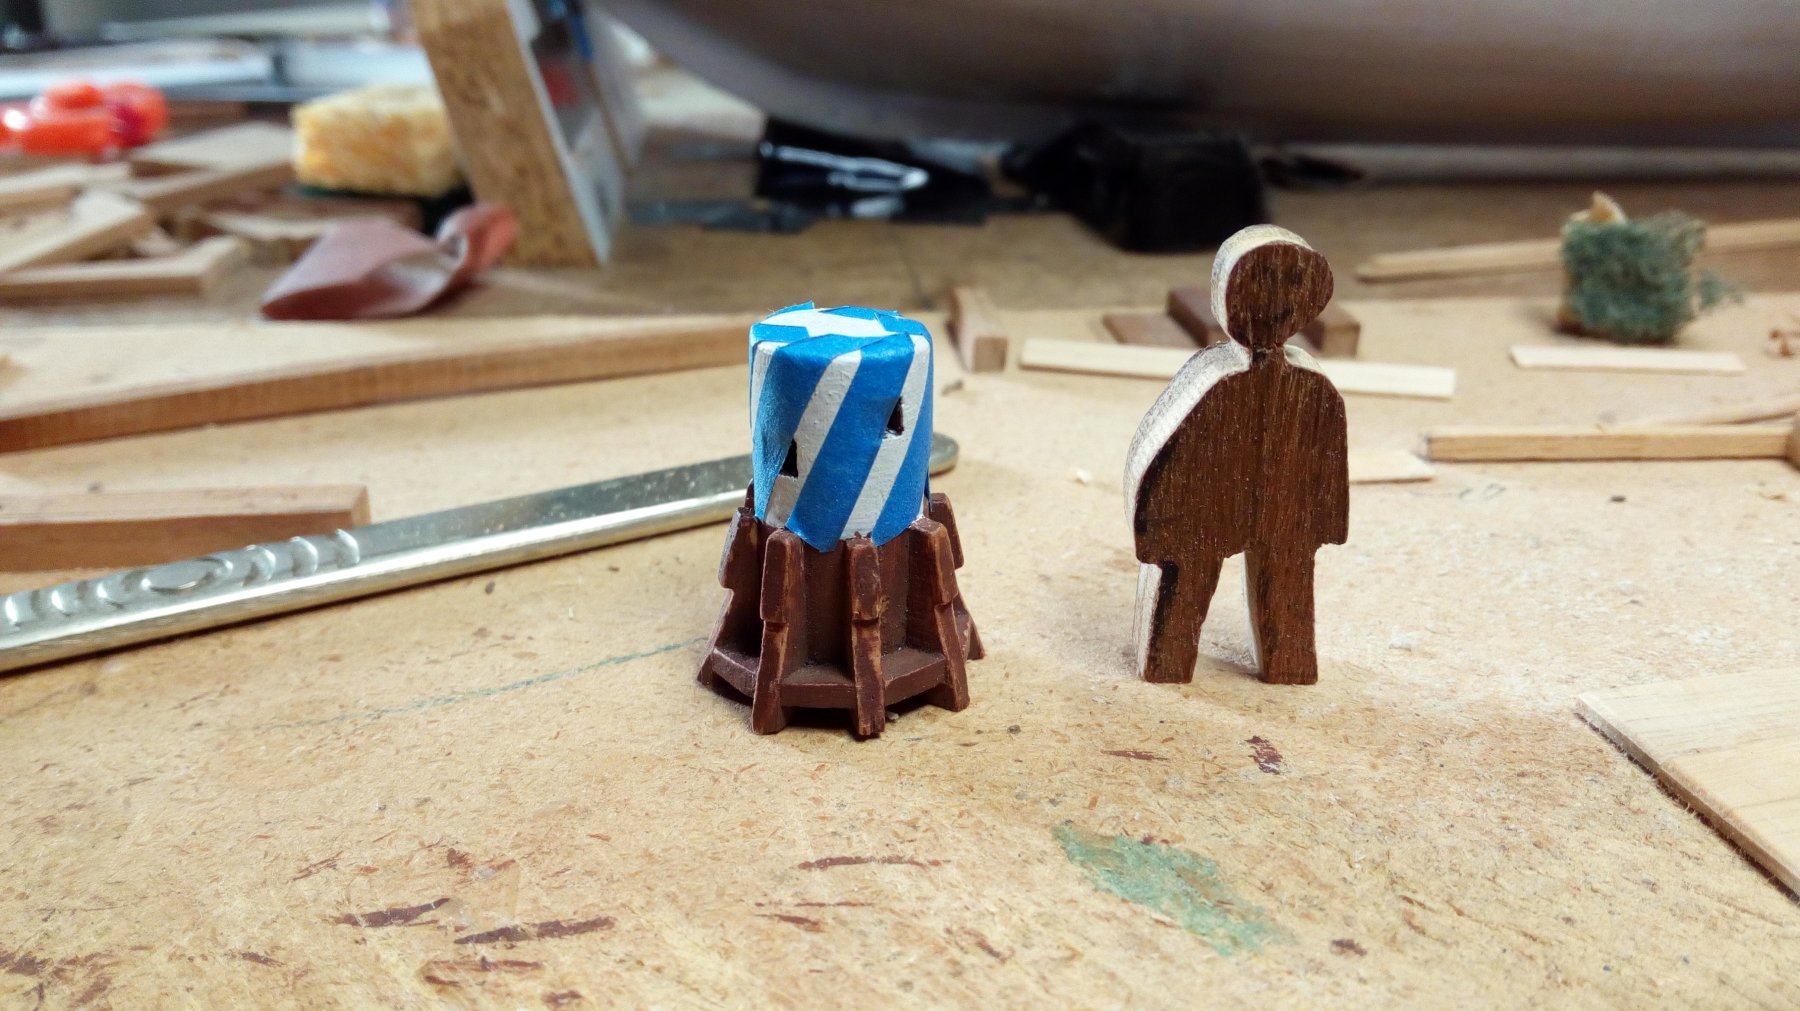
Thus, I did an attempt to paint this "color scheme". White is the basic color and red green as the secondary colors.


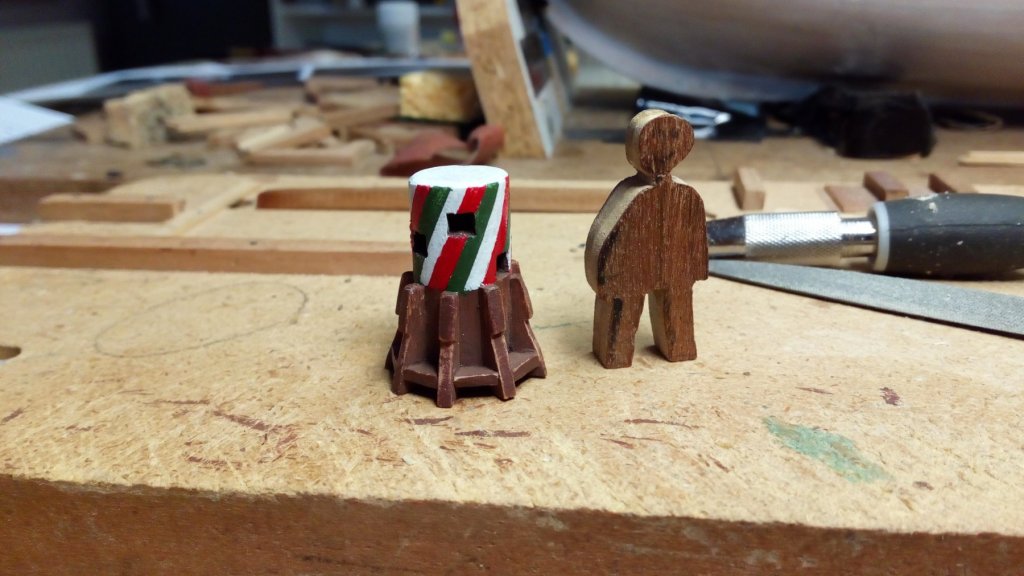
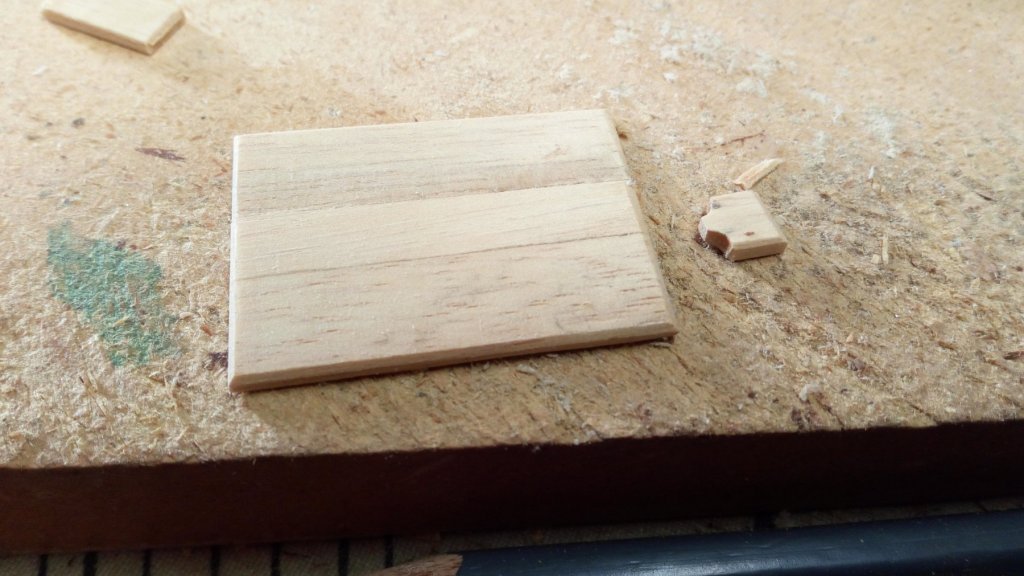
The basis on which the capstan stands is thicker than the deck plancks.
Of course I forgot this during deck planking ...So plan B. Make it look like the capstan stands on thicker planks. And add an extra tree nail here and there in the original planking.
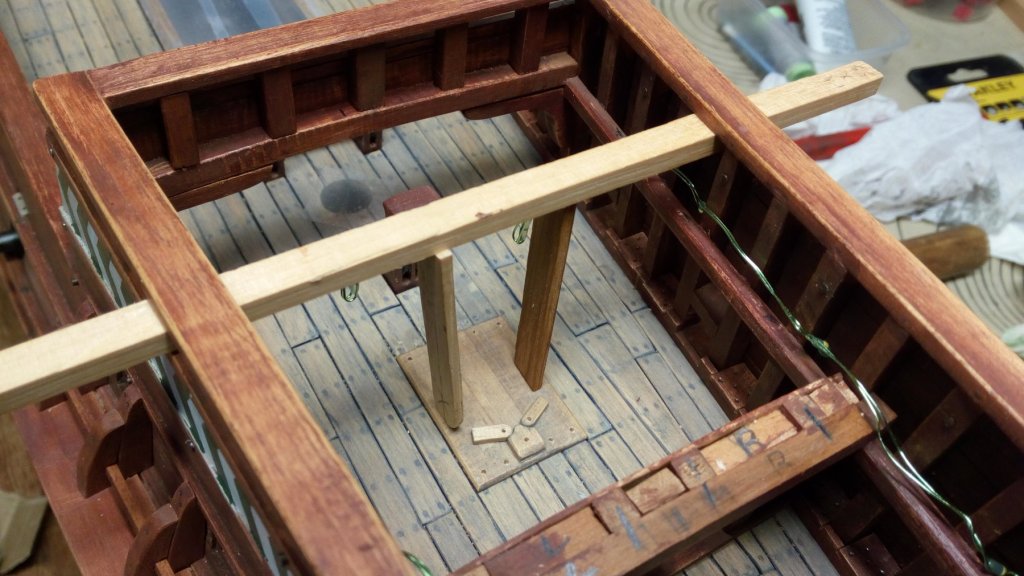
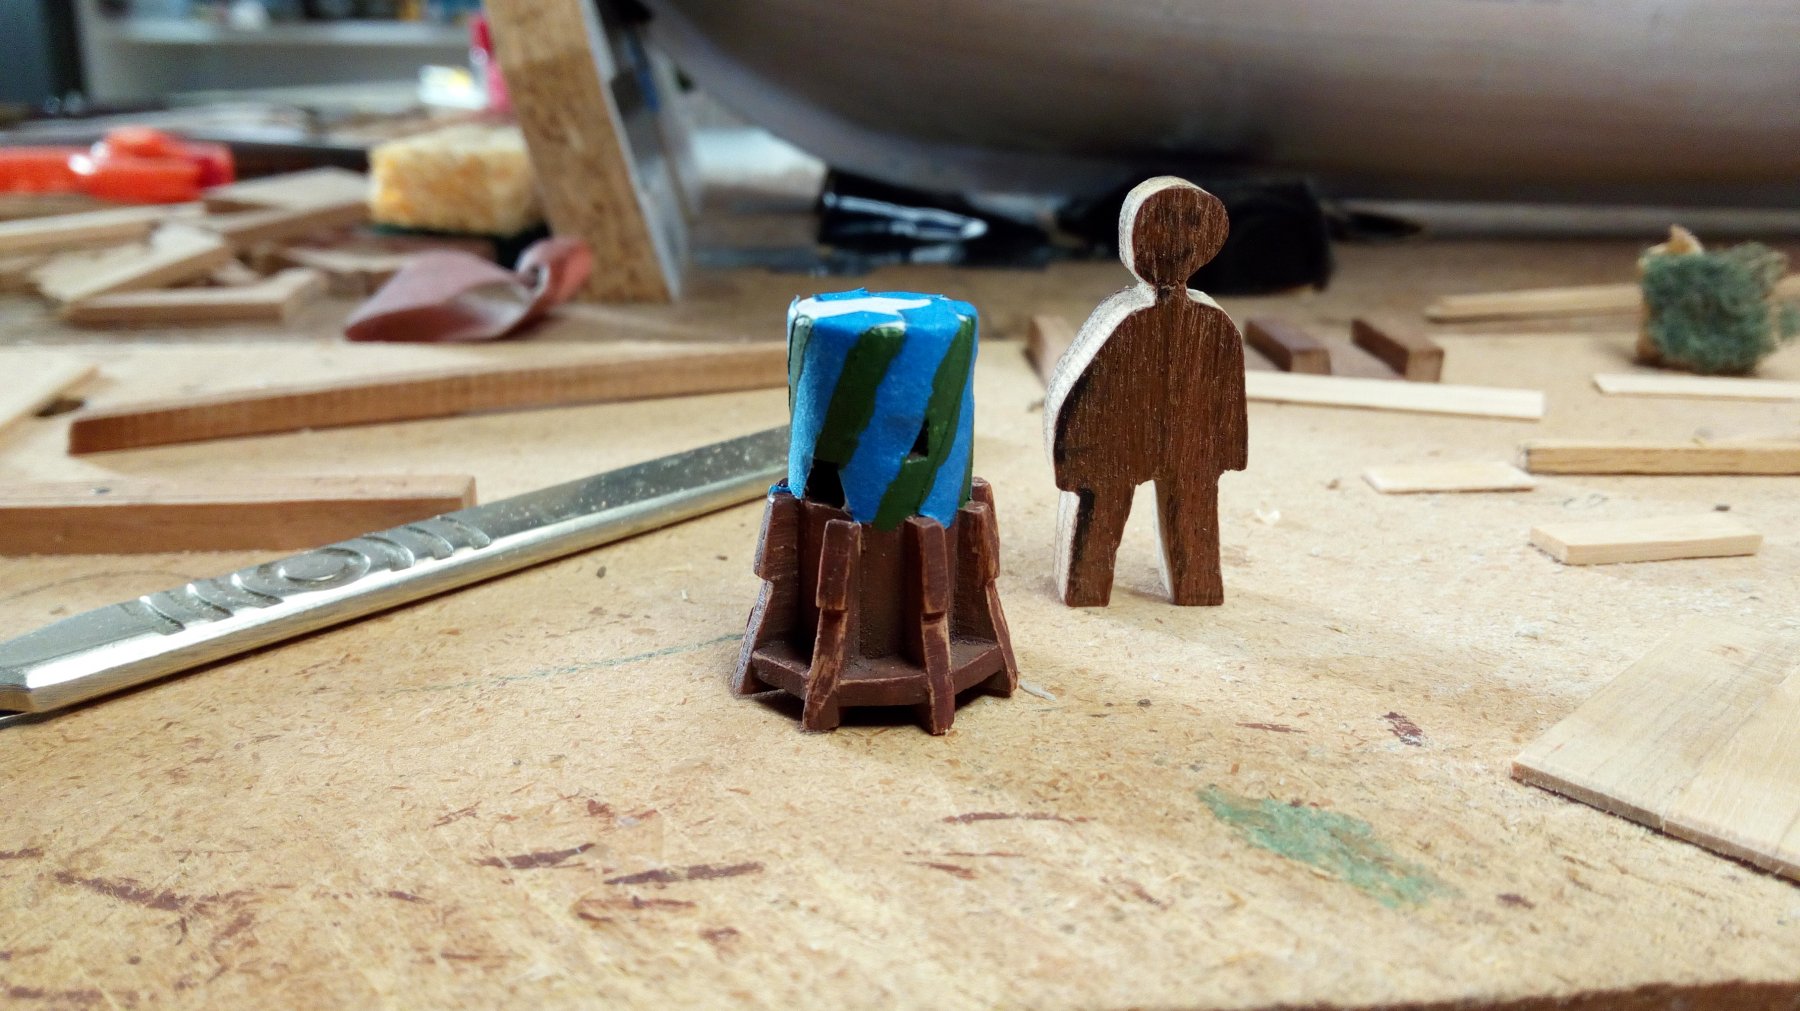
ready

Bars for the capstan will by made later. For the moment I have no idea where I can put them.Thanks for following.
- John Allen, zappto, Katsumoto and 11 others
-
14
-
-
Greetings,
and

-
-
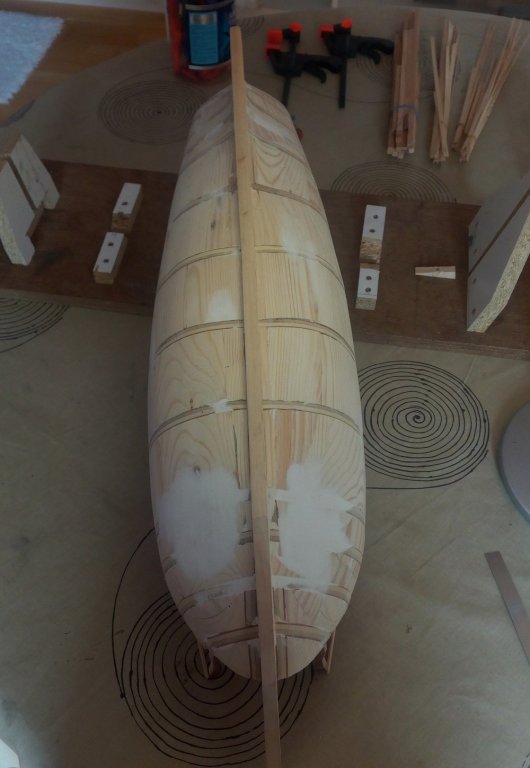
Back from vacation and learned a lot from my 2 new books.
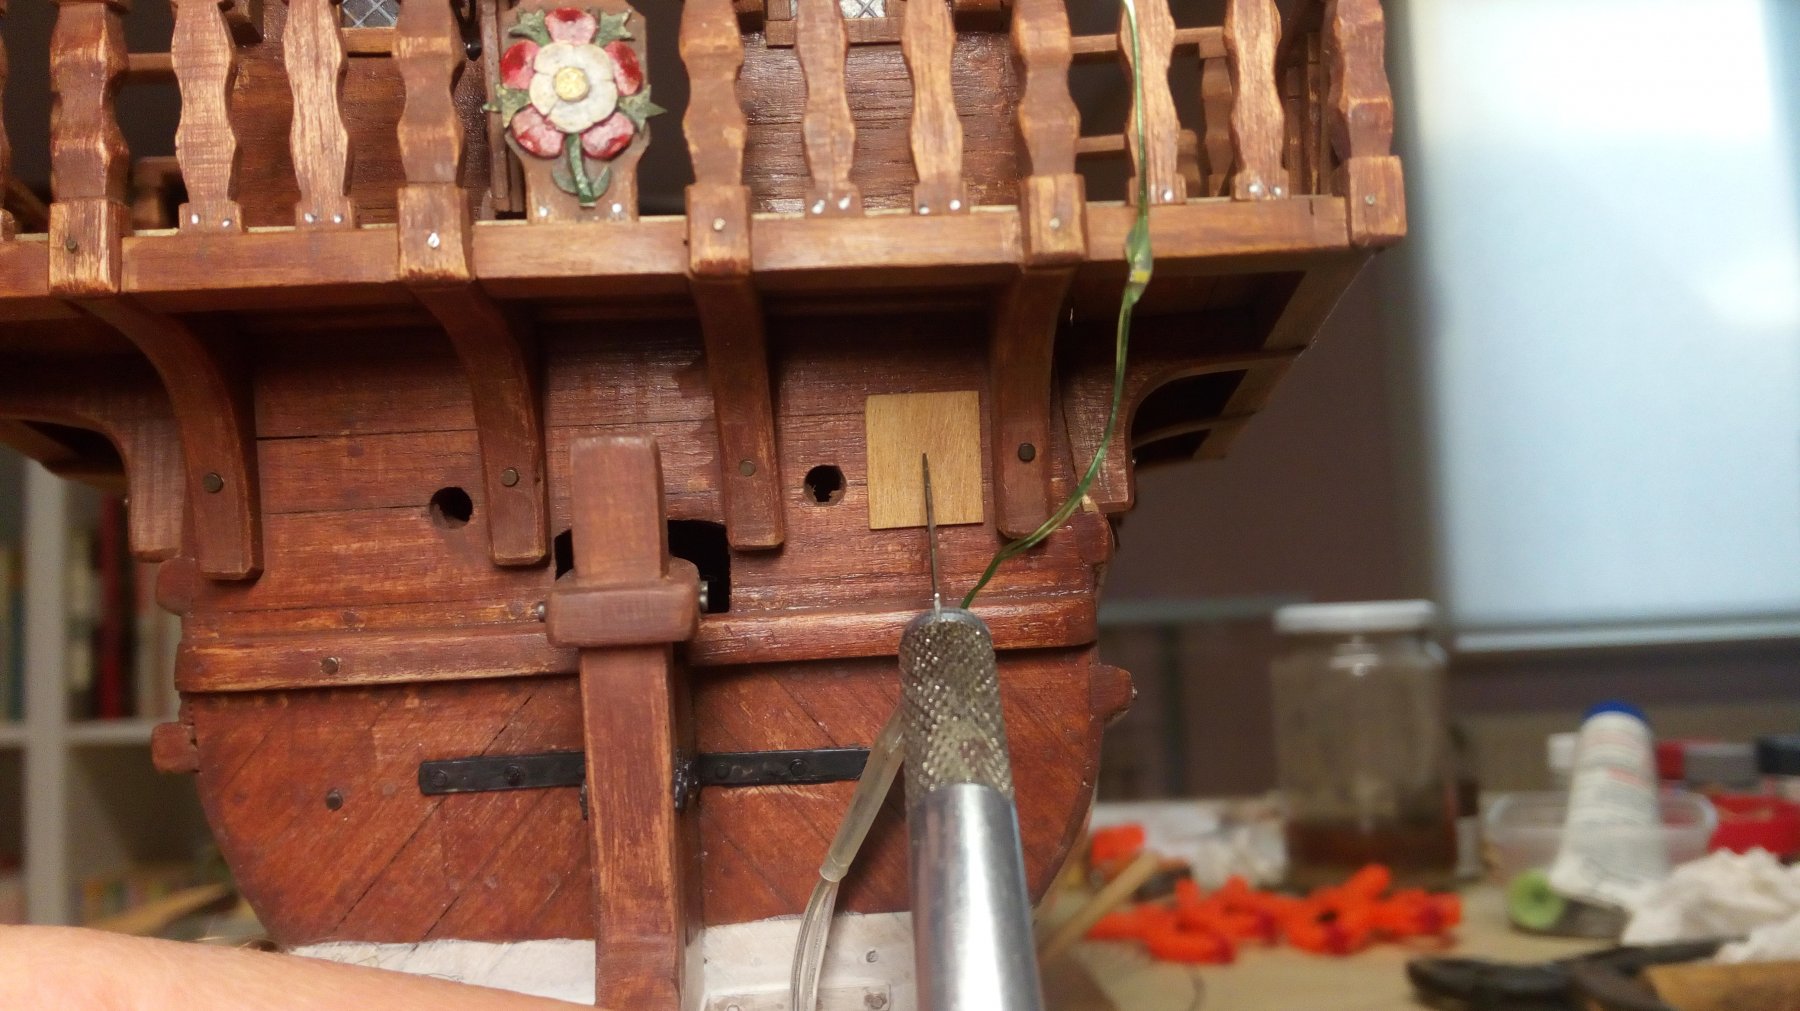
And, discovered that my model should actually have 2 stern chasers. Most warships and armed merchantmen had these.
I might try to add 2 closed canon ports but these are problems for later.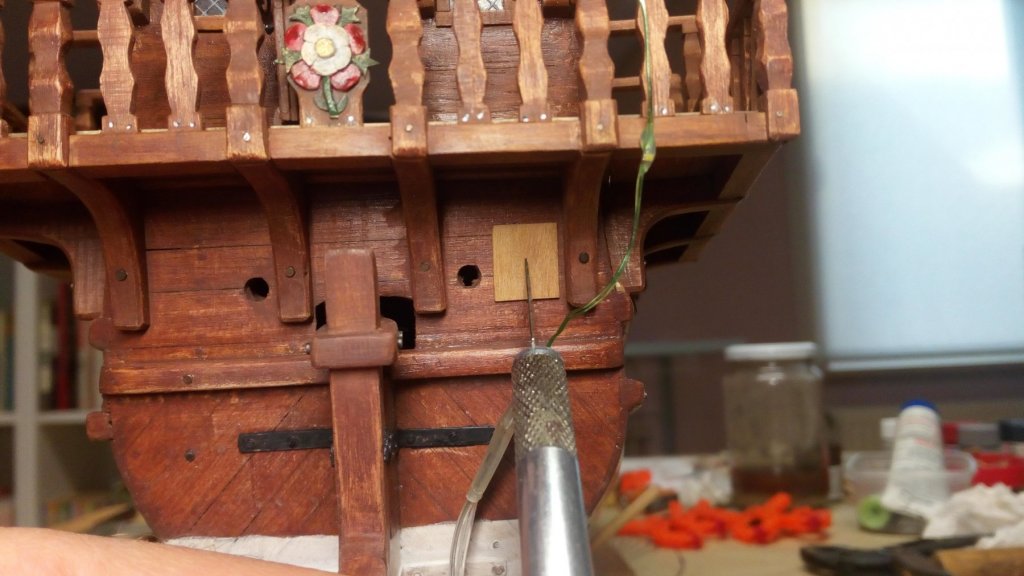
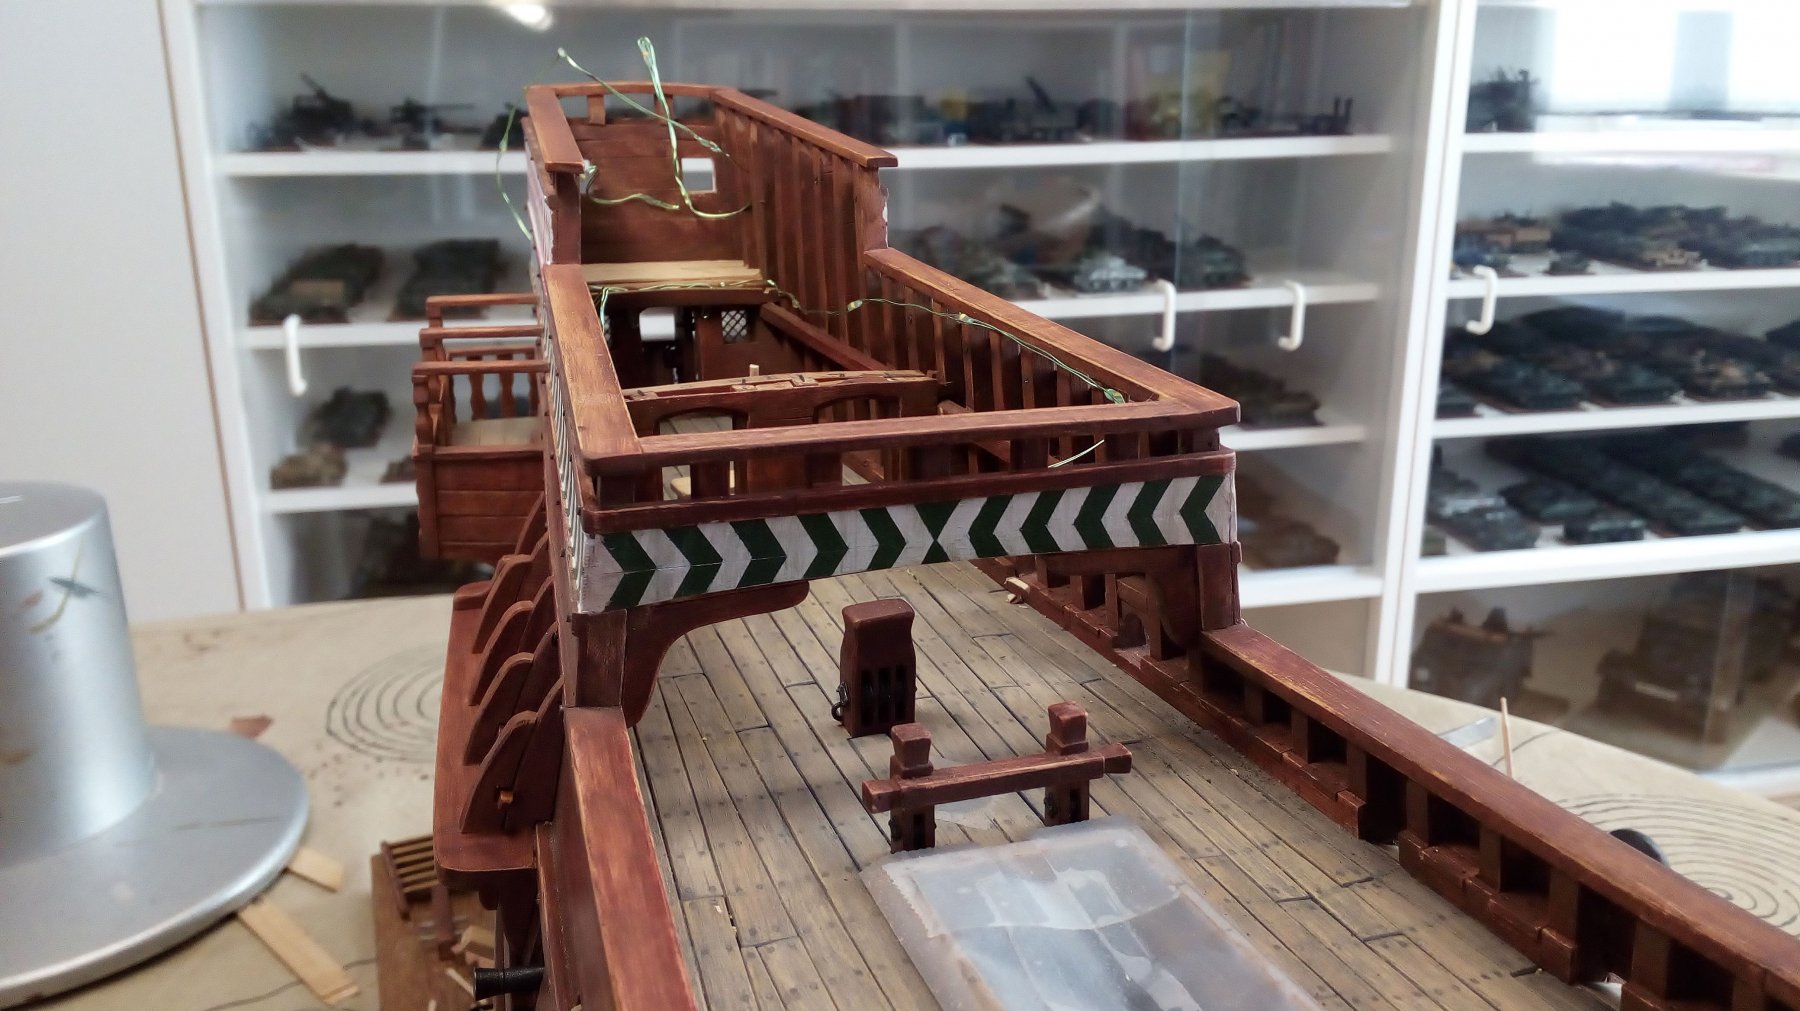
In the meantime, further work has been done on the rear castle.


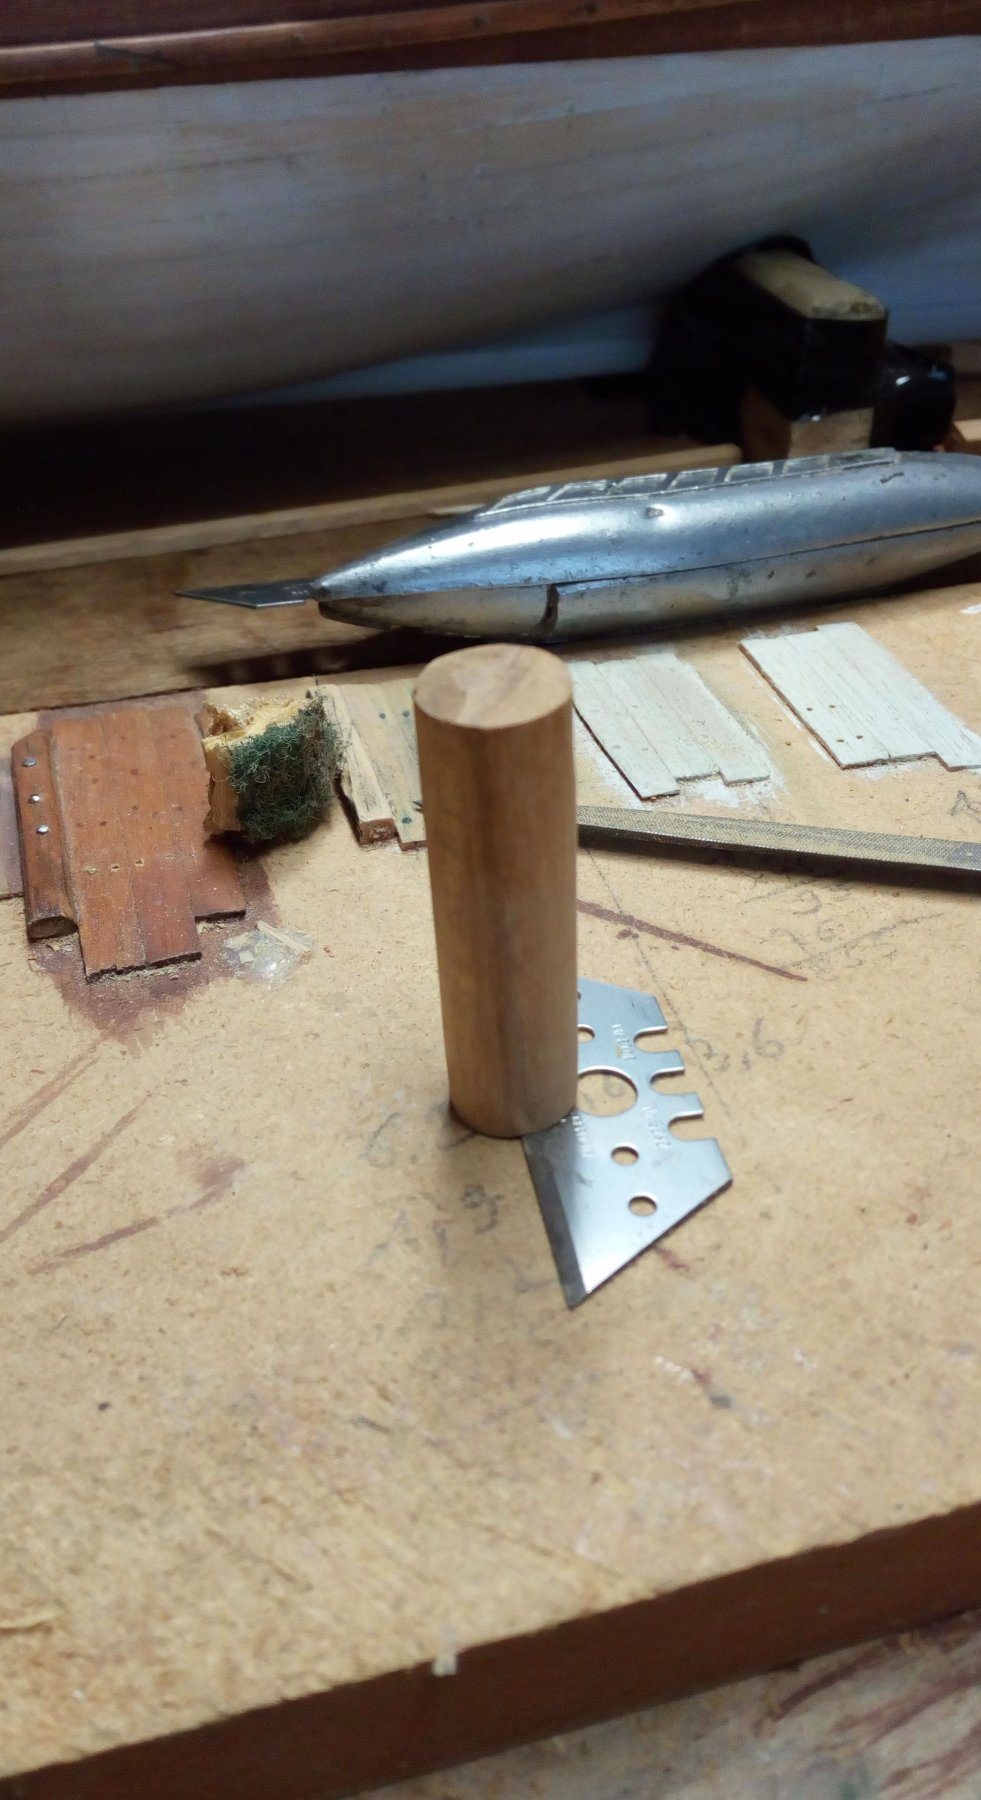
And I started on a capstan. The intention is to build something like this drawing.

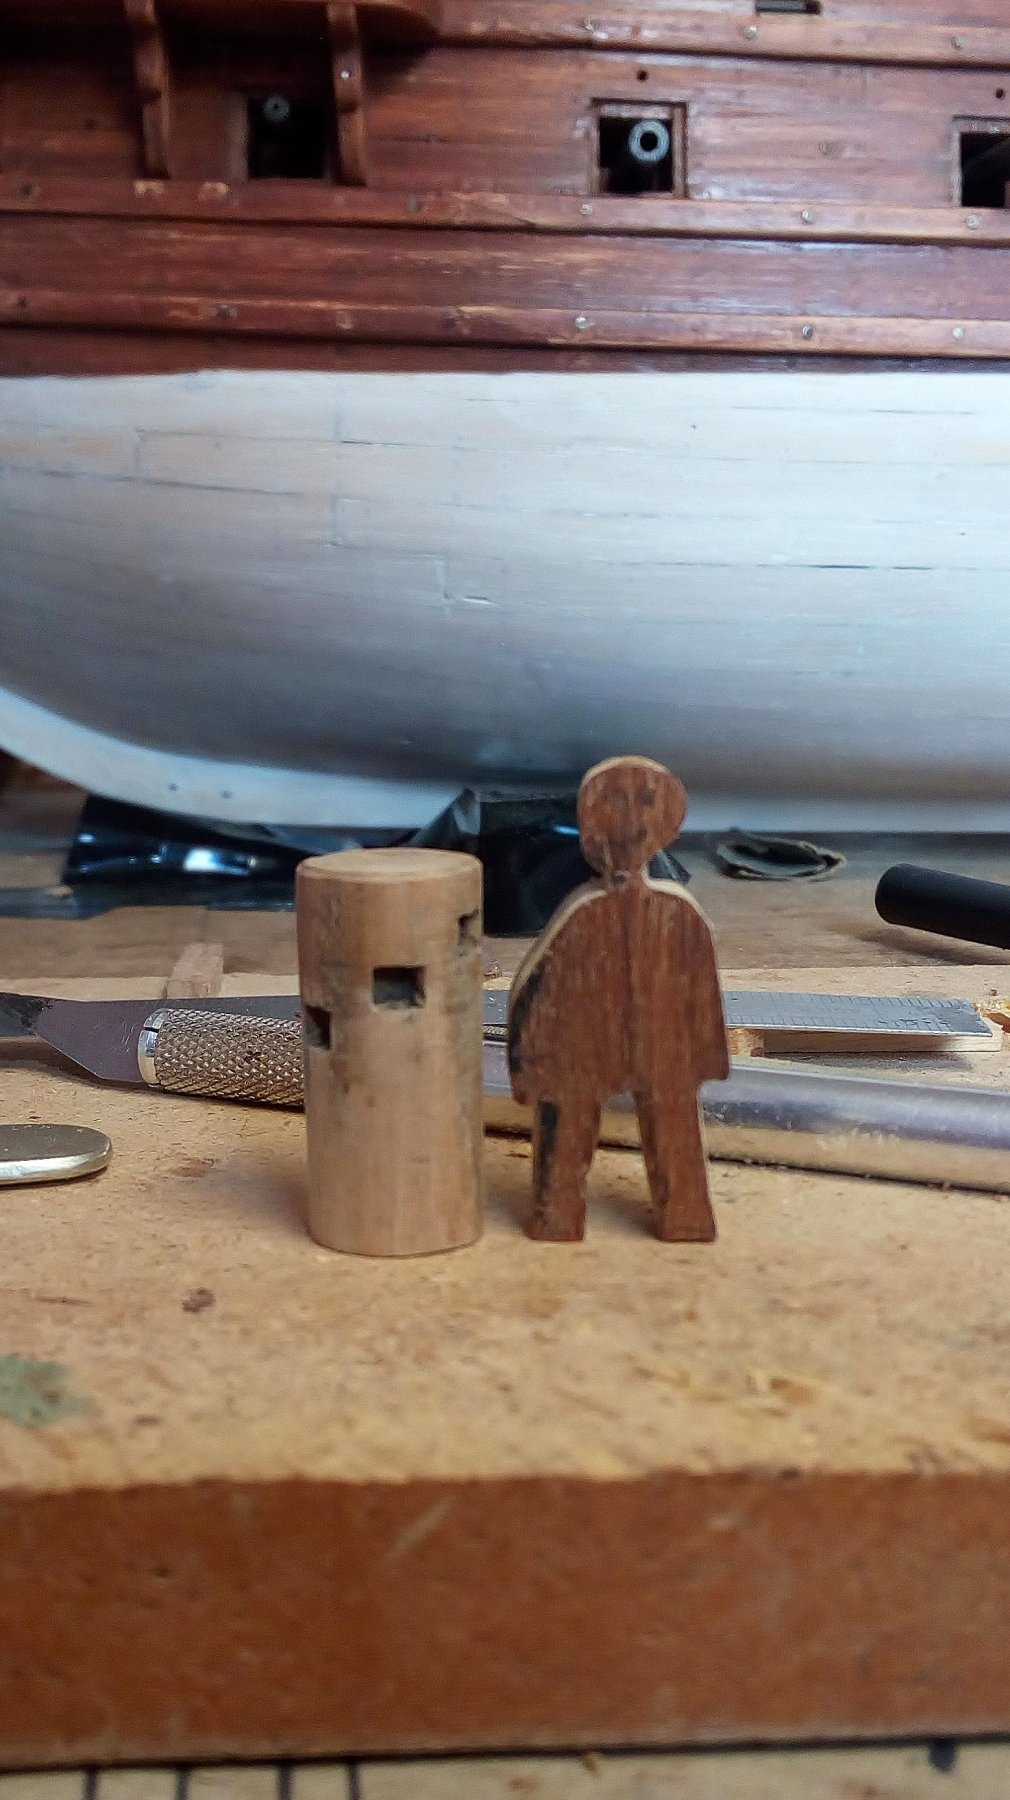
The start A cylindrical piece of cherry wood
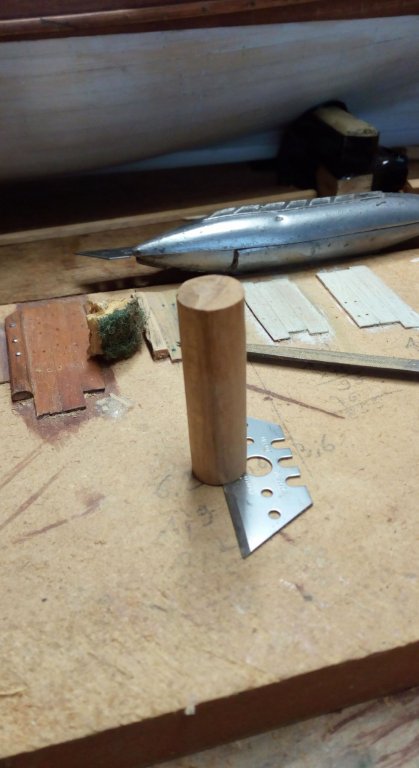
6 square holes approximately at shoulder height or lower.

Thanks for following
-
I am very satisfied with filler blocks
My method of working see page 1 of the Golden Hind
- tkay11, thibaultron, mtaylor and 2 others
-
5
-
-
-
-
Greetings,
And
- mtaylor and Keith Black
-
2
-
Mooi gedaan. Nicely done.
Congrats 👍
- FriedClams, cog and mtaylor
-
3
-
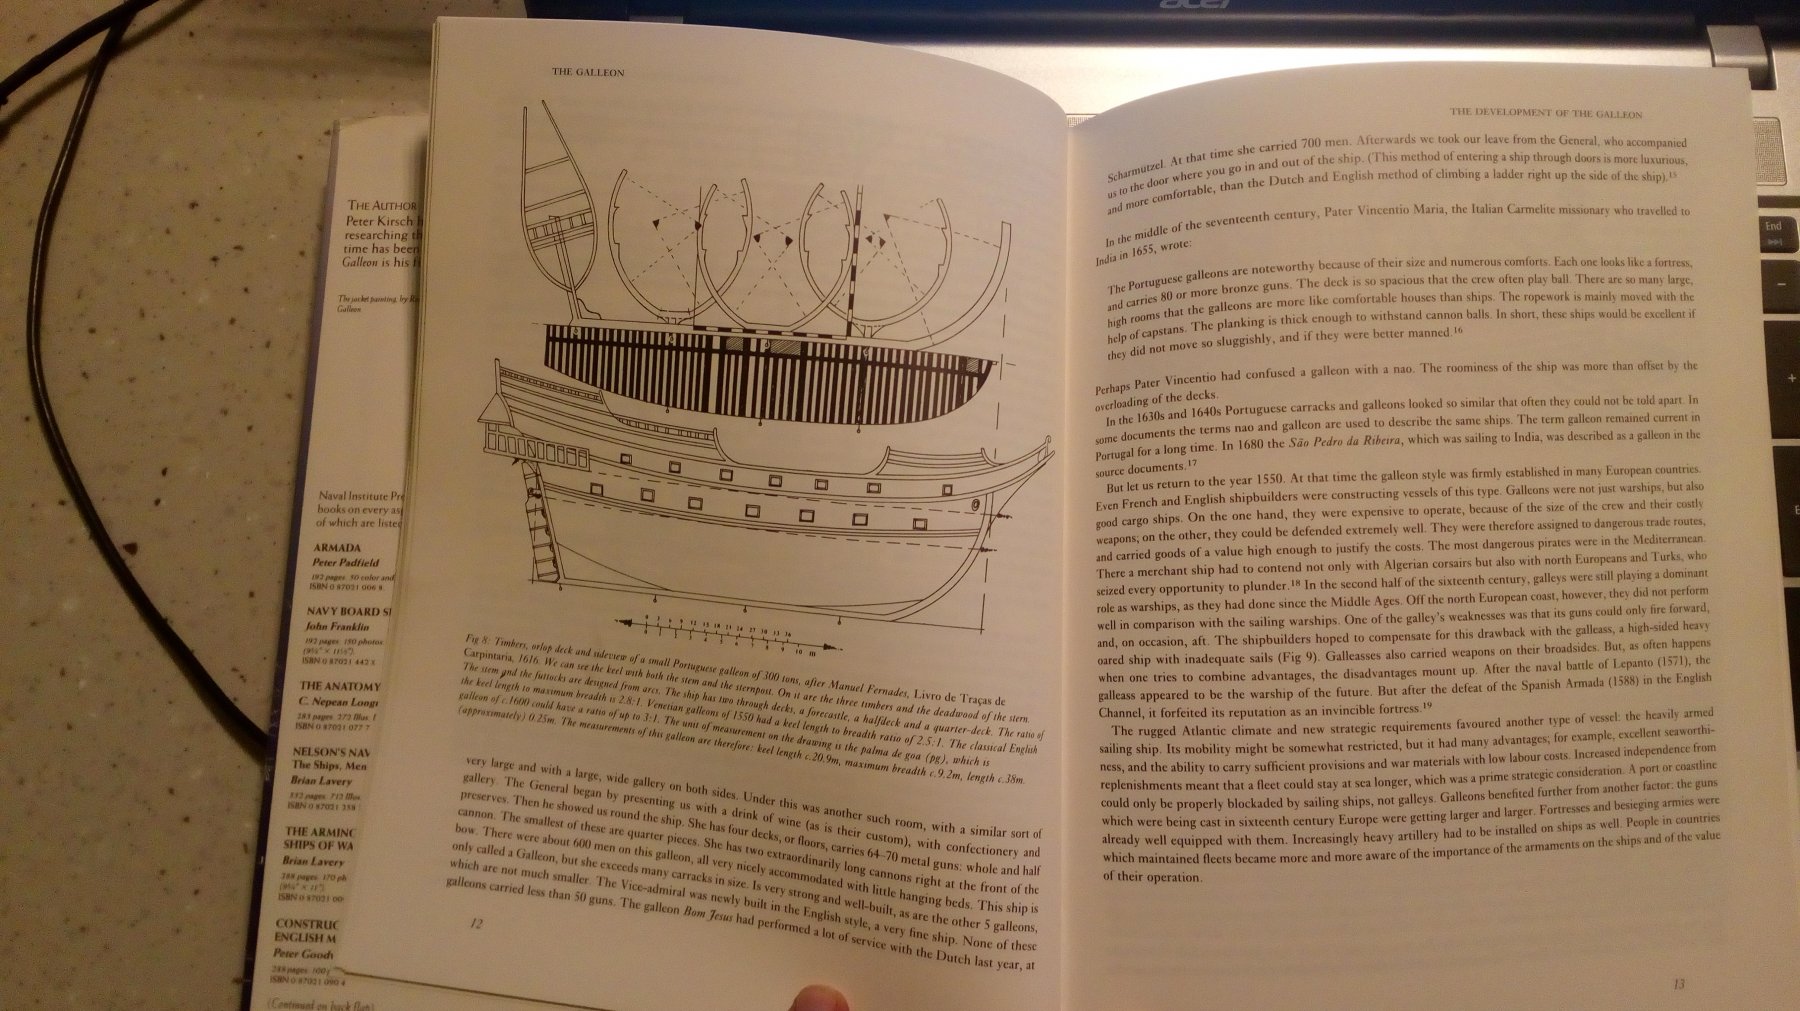
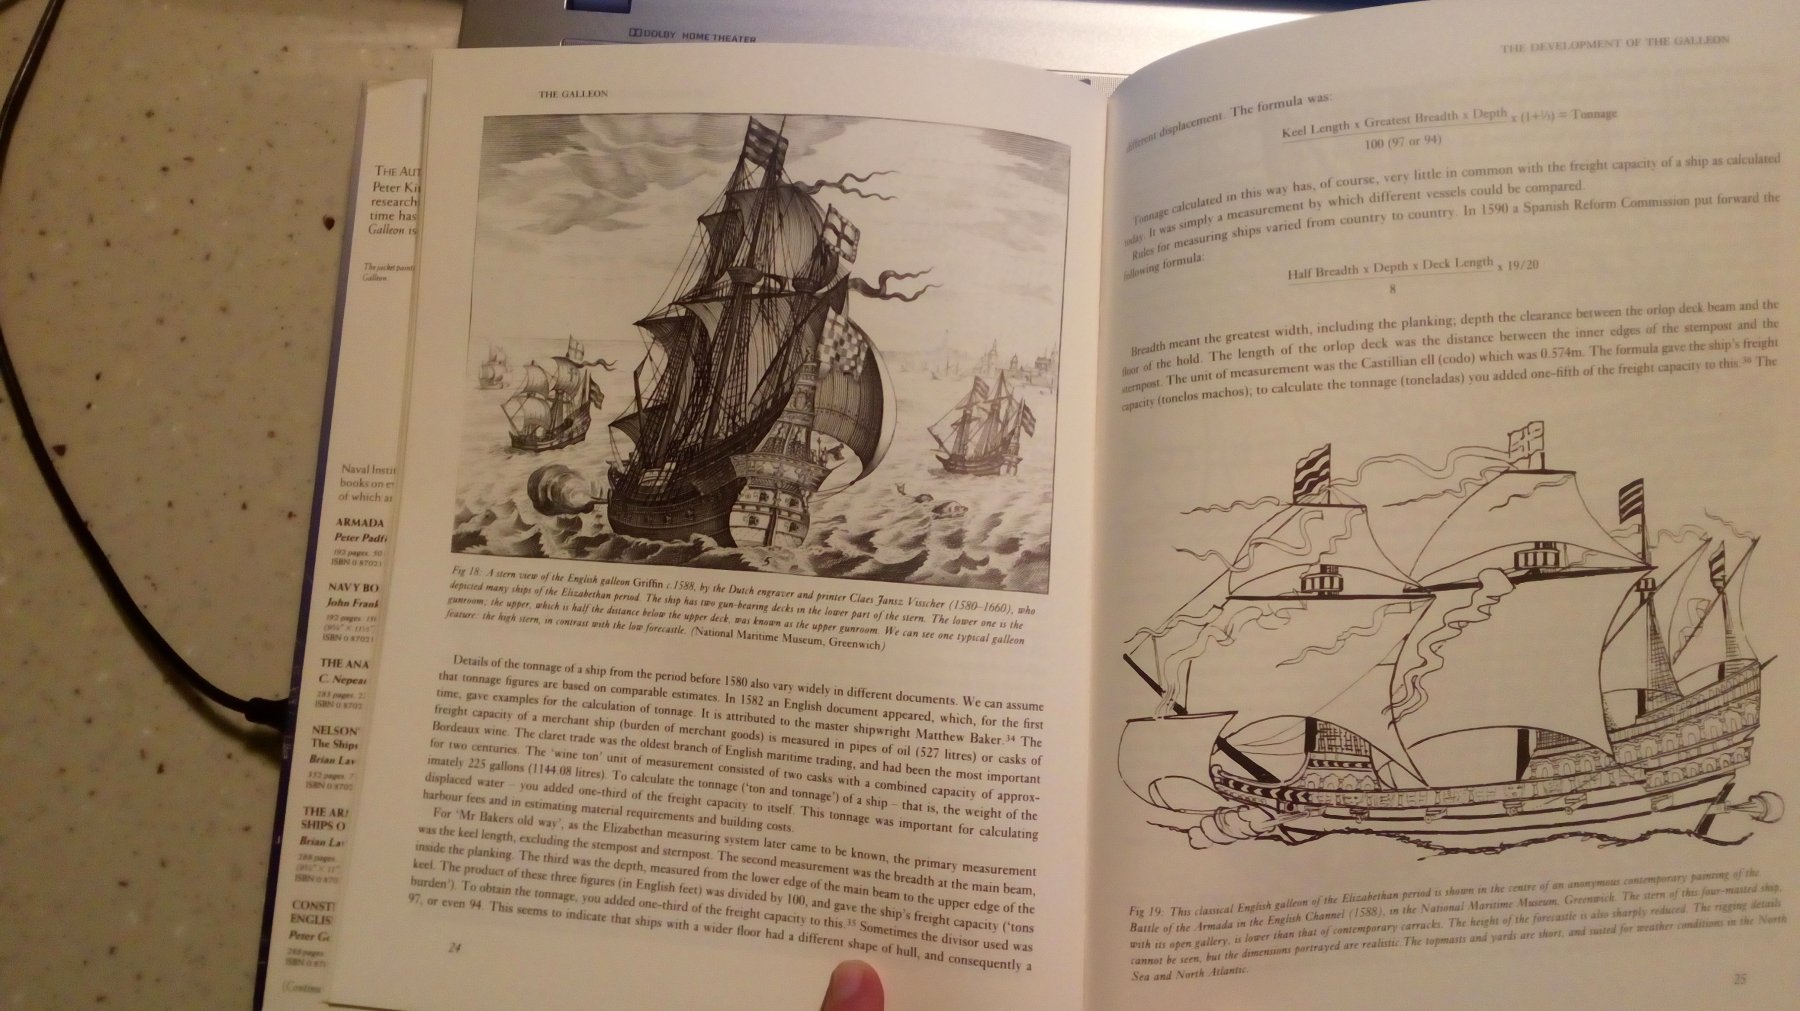
First German edition in 1988
First English edition in 1990With as subject the history, origin and end of the galleons in Spain England the Netherlands, Portugal France, Scandinavia ..
Construction Rules and armament
Strategy for attack and defense
Life and routine on board
The men on board (who did what)
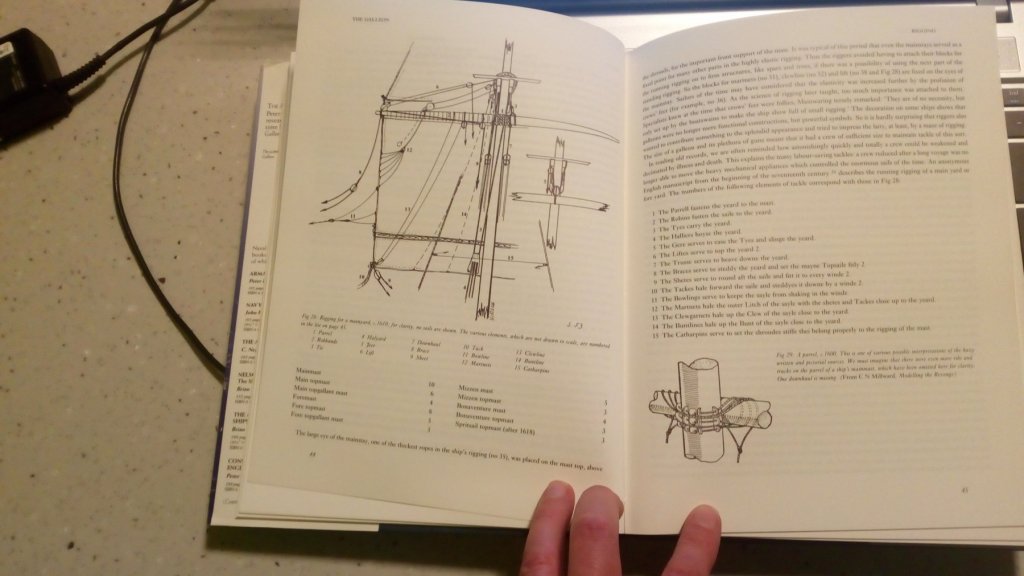
RiggingWith beautiful photos, drawings and plans.
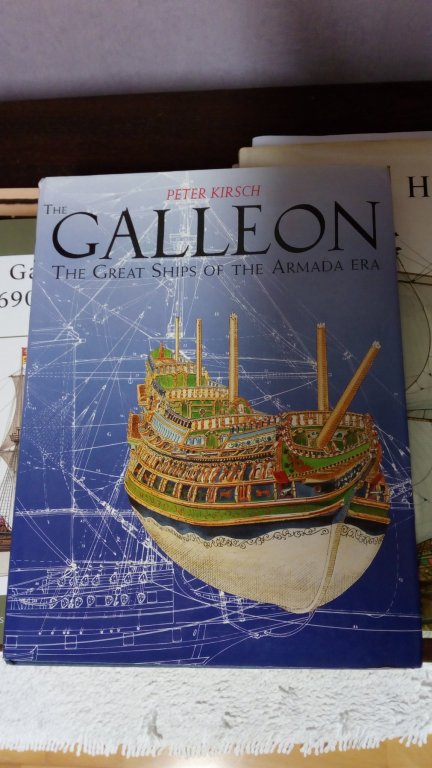

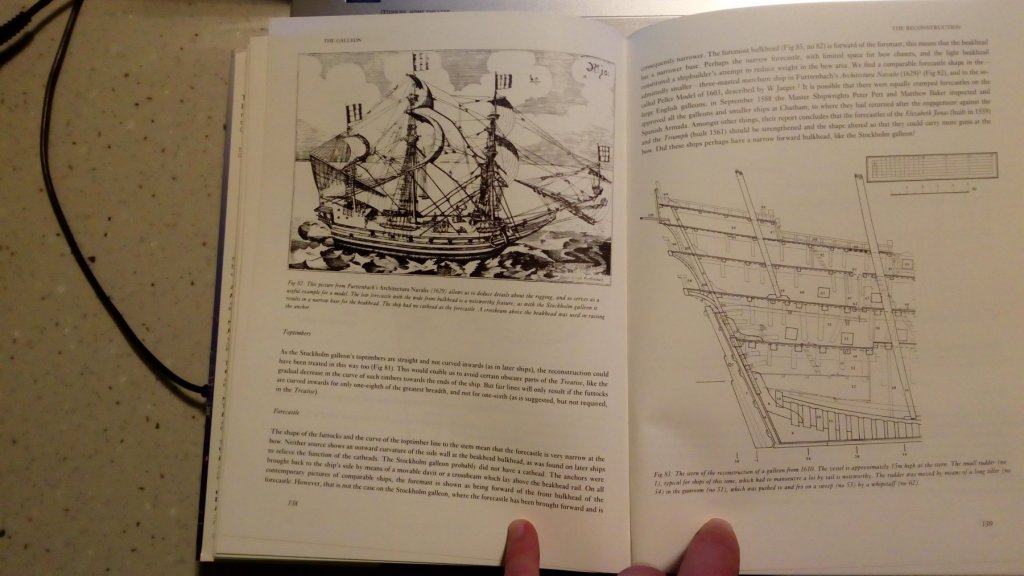
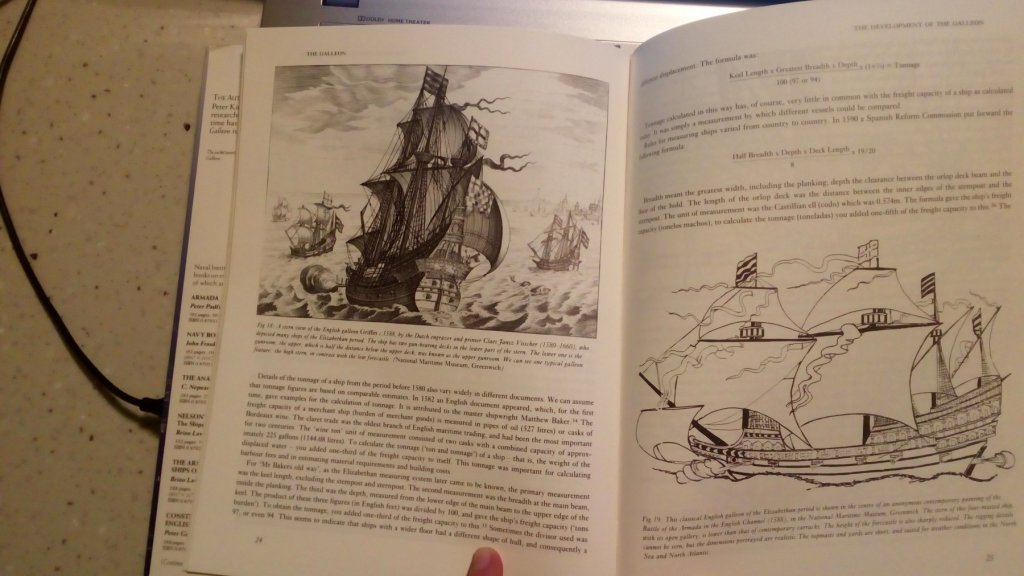
Detailed description of the original "Stockholm Galleon model"
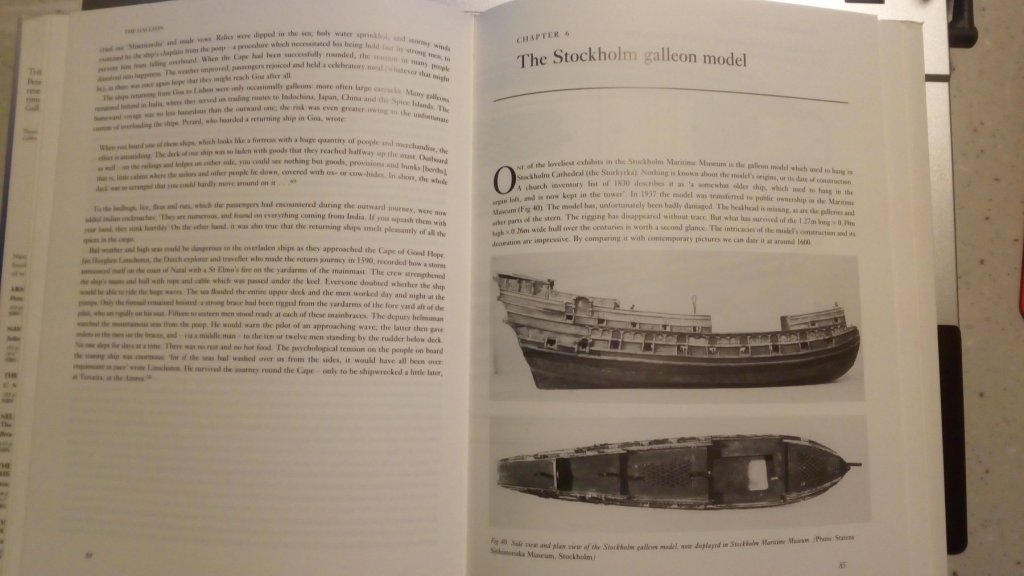
Description of a built model of this galleon.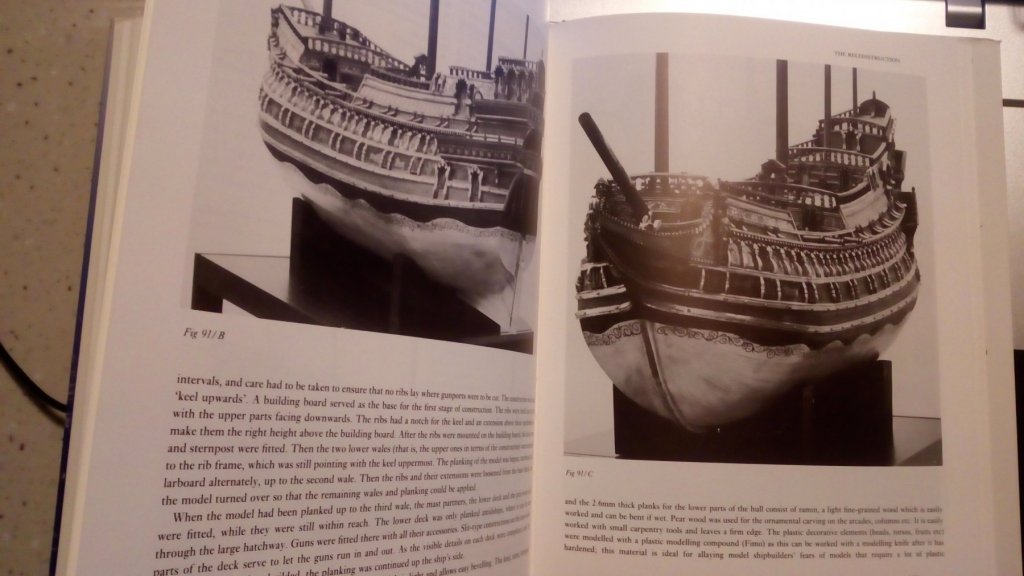
Recommended
- Jolley Roger, Archi, ccoyle and 4 others
-
7
-
-
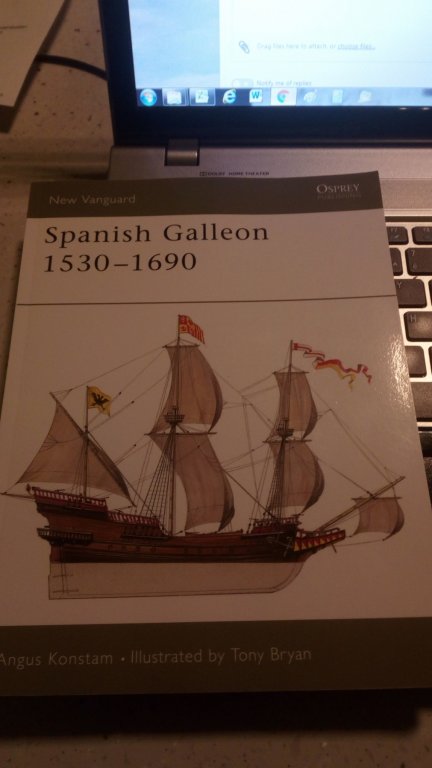
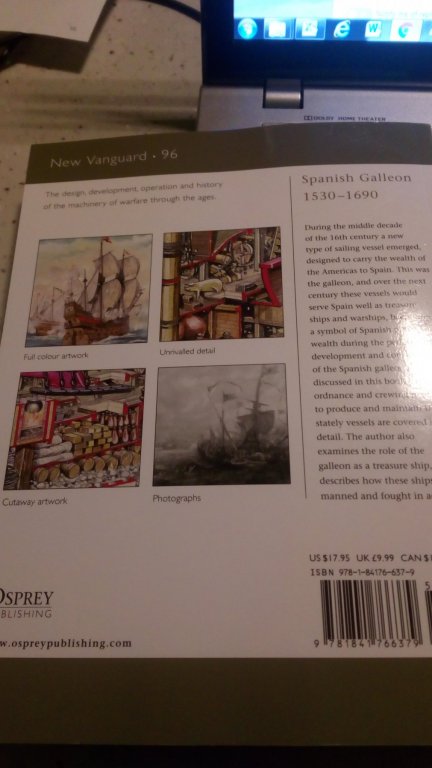
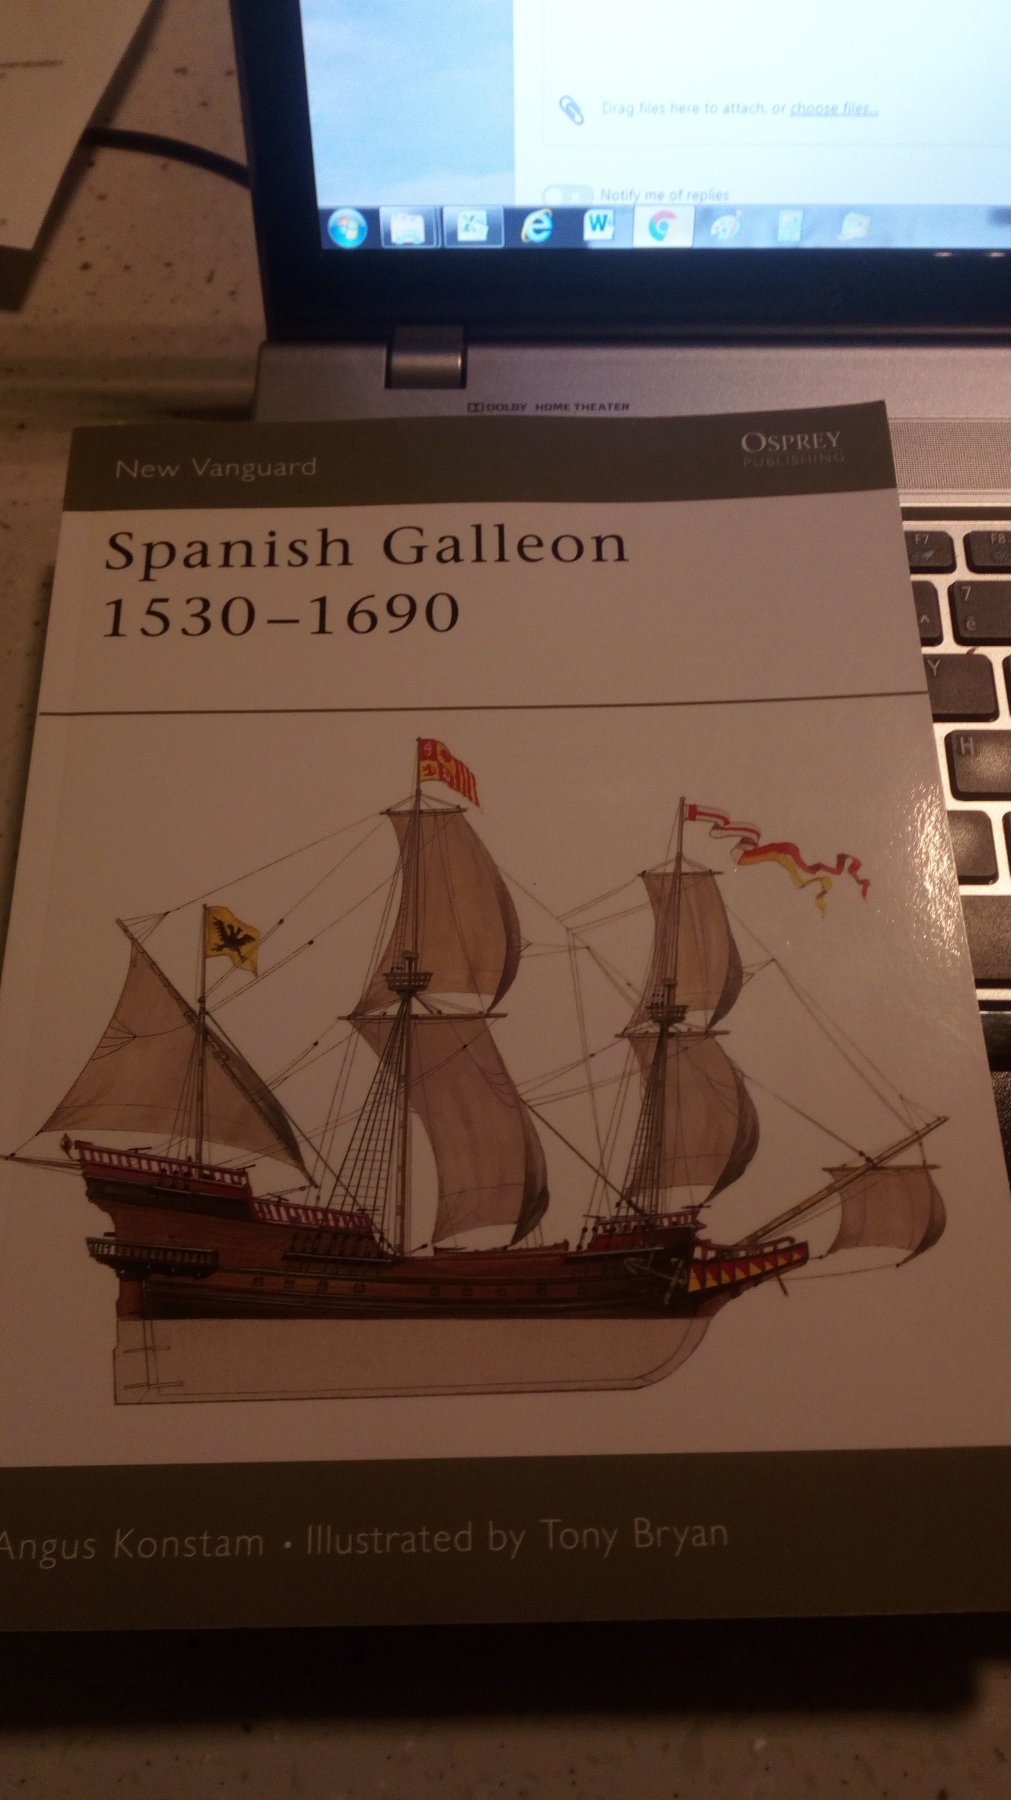
The layout is in the well-known New Vanguard style. First edition was in 2004
The subject is :
The history, origin and purpose of the Spanish galions
Operation of the convoy system between the de Americas and Spain
Construction rules and armament
The attack and defense strategy
Life and routine on board.Easy to read text (even for someone like me who never learned English at school)
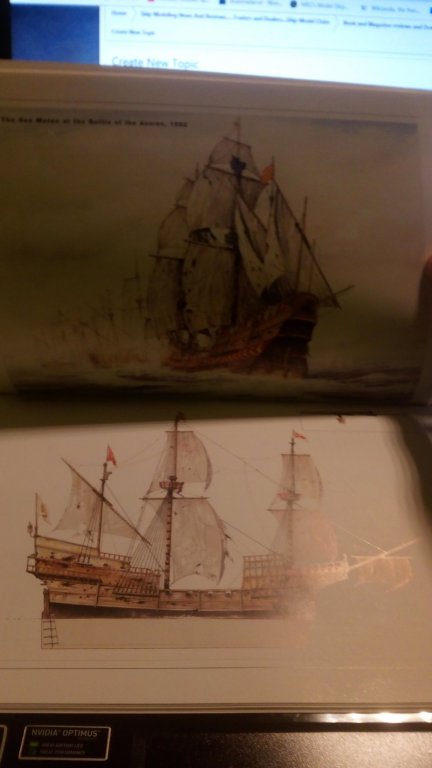
With beautiful photos and color prints
Bought for 8.48 pounds. I am happy with my purchase
- BLACK VIKING, druxey and mtaylor
-
3
-
-


A new old start
in New member Introductions
Posted
Welcome to MSW, and I wish you a speedy recovery.